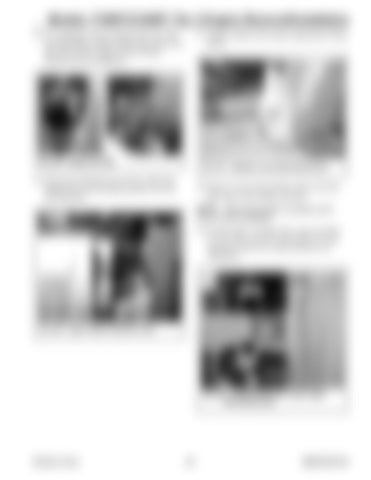
Models 1750RT/2100RT Tier 4 Engine Removal/Installation 55. If so equipped, remove fasteners (R, Fig. 345) securing engine oil filter bracket (Q) to the lower left corner of the radiator shroud. Retain fasteners (R) for installation.
57. Support radiator (Q) using an appropriate lifting device.
R Q
Q
R
S Q
Fig. 345 – Engine Oil Filter
Fig. 347 – Radiator Lower Mounting Screws
56. Disconnect hydraulic hose (P, Fig. 346) from radiator (Q). Cap and plug hydraulic hose (P) and fitting (B).
58. Remove screws (R) and flat washers (S) from both sides of the radiator (Q) base. NOTE: Record the location of washers (S) to ensure correct installation. 59. On both sides of radiator (Q), remove locknut (T, Fig. 348), screw (U), flat washer (V), and large flat washer (W). Retain hardware for installation.
B
P W
T Q Fig. 346 – Upper Raditor Hydraulic Hose
U
V Q
Fig. 348 – Radiator/Hydraulic Cooler Upper Mounting Screws
Printed in U.S.A.
217
50940164/C0718


