
1 minute read
Tier 4 Engine Removal/Installation


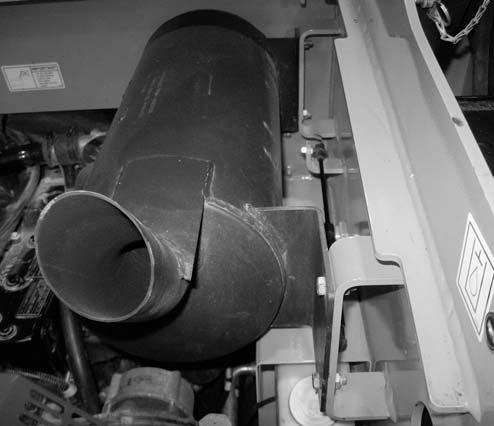
14.Place clamp (H, Fig. 450) loosely over engine exhaust tube and install muffler (D) using 4 carriage bolts (E), flat washers (F), and locknuts (G). Tighten securely.
IMPORTANT: Make sure muffler exit tube fits over the engine exhaust tube when installing.
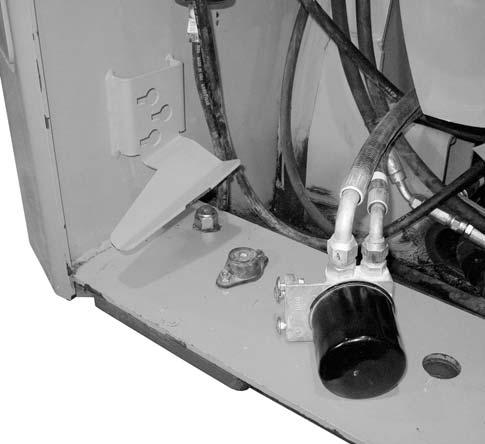
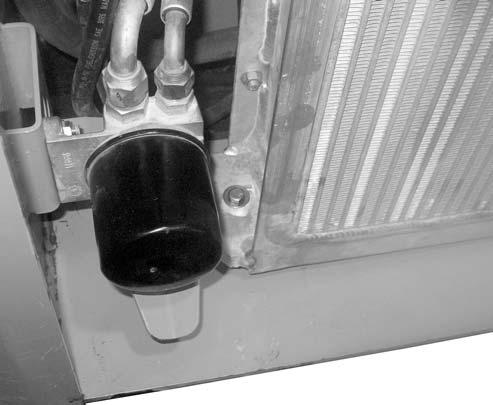
16.Loosely install 3 carriage bolts (I, Fig. 451), flat washers (J), and nuts (K) on the engine oil filter assembly (L).
15.Secure muffler (D) to engine exhaust tube using clamp (H). Tighten securely.
17.To install the engine oil filter assembly (L) to the frame bracket (M), insert the heads of the carriage bolt through the large openings in the bracket (M) and slide the filter assembly all the to the back of the slots in bracket (M). Tighten nuts (K) to secure the assembly to the frame bracket.
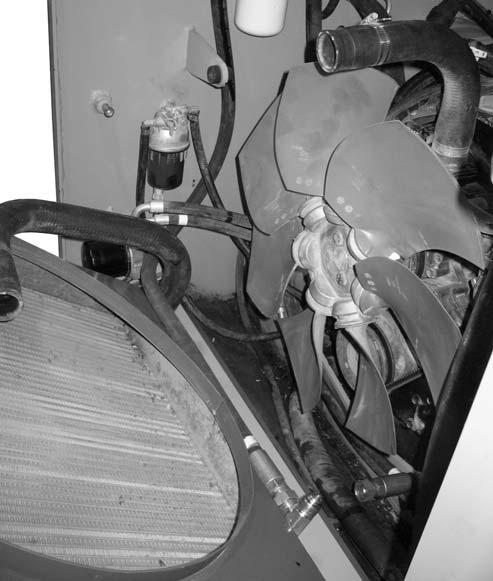
18.Carefully lift radiator (N, Fig. 452) into place using an appropriate lifting device.
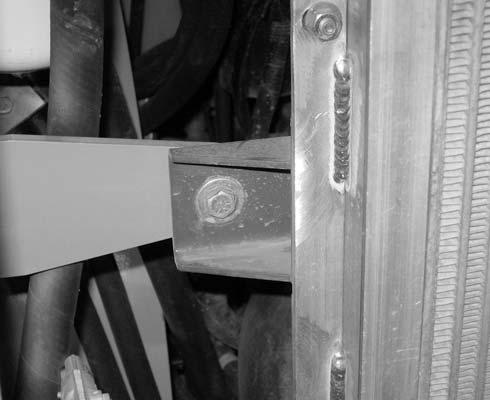
21.Install screw (R, Fig. 453), washer (S), large flat washer (T), and nut (U) into upper mounting bracket (V) on each side of the radiator. Tighten securely.
22.Install screw (W, Fig. 454) and washer (X) into the lower mount on each side of the radiator. Tighten securely.
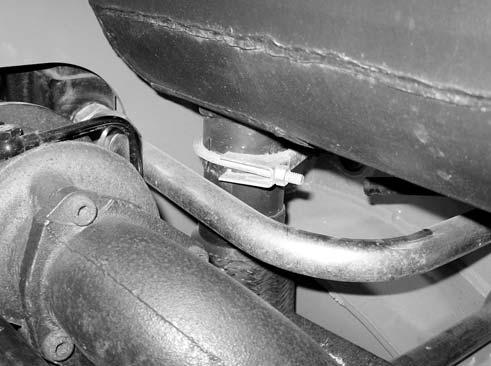
19.Route hydraulic hose (O) to hydraulic filter as shown.
20.Tilt up radiator (N) and connect lower hydraulic hose (P) to fitting (Q).


