1 minute read
4 Engine Removal/Installation


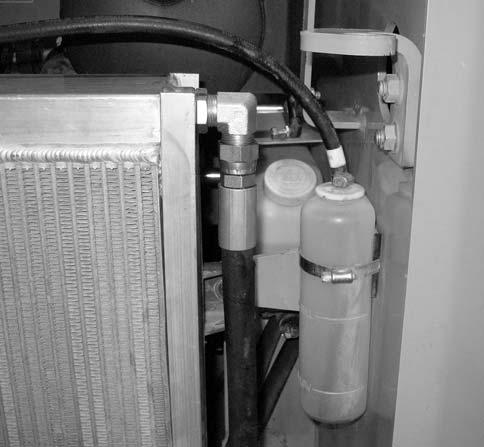
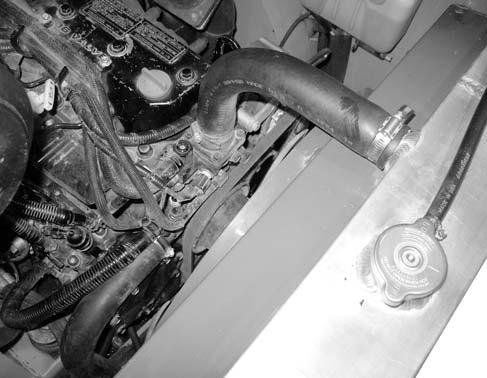
23.Remove cap and plug, and connect hose (Y, Fig. 455) to fitting (B) on the radiator. Tighten securely.
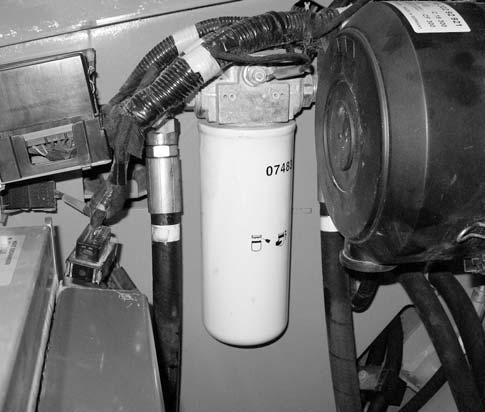
25.Connect lower coolant hose (A, Fig. 457) to the coolant pump using hose clamp (B). Tighten securely.
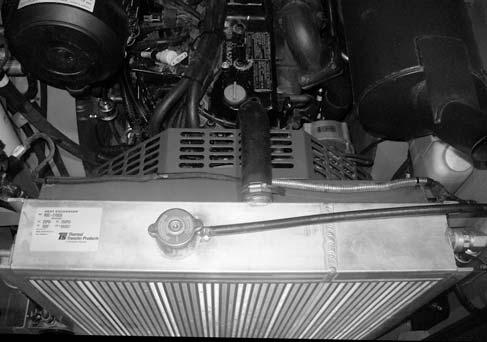
24.Remove cap and plug, and connect hose (Z, Fig. 456) to the oil filter. Tighten securely.
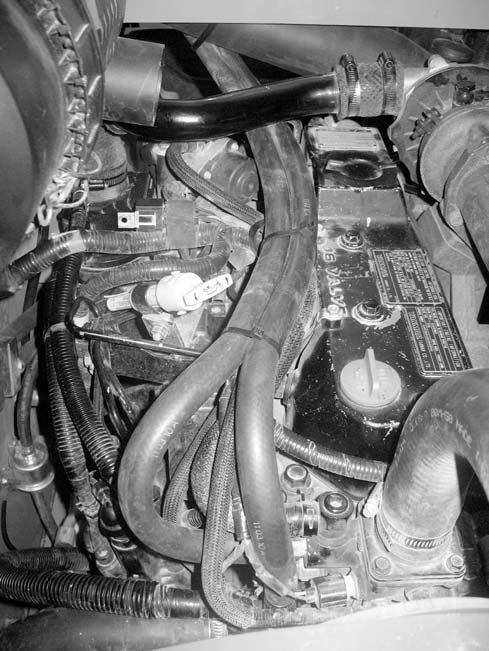
26.Connect upper coolant hose (C) to the thermostat housing using hose clamp (D) Tighten securely.
27.Connect overflow hose (E) using hose clamp (F). Tighten securely.
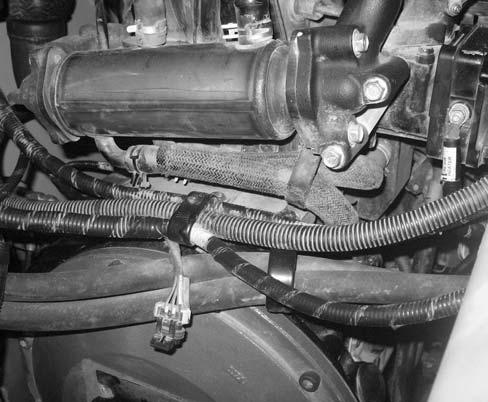
28.Connect heater return hose (L, Fig. 458) to the coolant pump. Tighten securely.
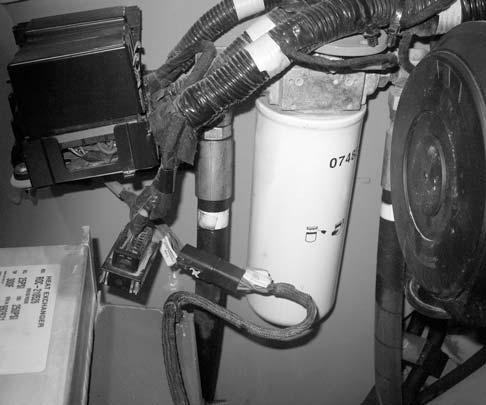
31. Connect engine compartment access door harness (F, Fig. 459) to the windshield washer pump.
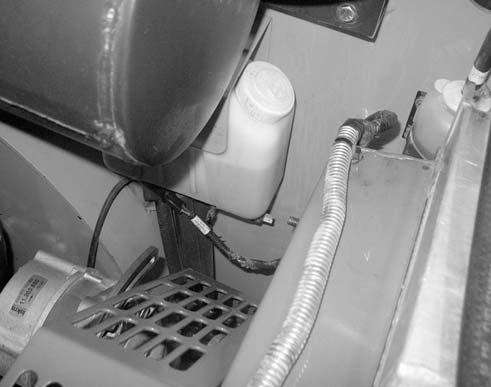
32.Snap harness retainer (G) into the radiator shroud.
33.Route engine compartment access door harness (F, Fig. 460) along the top of the radiator shroud, and under upper coolant hose (G).
29.Connect heater supply hose (K) to the thermostat housing. Tighten securely.
30.Secure the heater hoses using cable ties (R) as shown.
34.Snap harness retainer (G, Fig. 461) into the radiator shroud.

37.Install new screws (P, Fig. 462) and large flat washer (Q) in both front motor mounts. Torque screws (P) to 813 Nm (600 lb.-ft.)
NOTE: Use new screws (P) for installation. Refer to the parts manual for ordering information.
35.Connect the engine compartment access door harness (F) to the main harness (H).
36.Raise the ROPS/FOPS according to “Raising ROPS/FOPS” on page140.
Warning
Always secure the ROPS/FOPS in the tilted position with pins and spring pins. Never allow anyone under the ROPS/FOPS if the tilt securing pins are not in place.
38.Install 2 hose/cable clamps (N, Fig. 463) on the engine block using 2 screws (O). Tighten securely.