1 minute read
Tier 4 Engine Removal/Installation


62.Route engine compartment access door harness (E, Fig. 479) into the engine compartment.

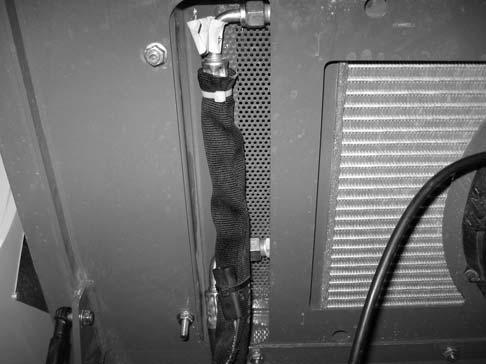
a.Connect supply (Q, Fig. 481) and return (R) air conditioning lines to the air conditioning condenser.

63.Lift engine compartment cover (I, Fig. 480) into position using an appropriate lifting device.
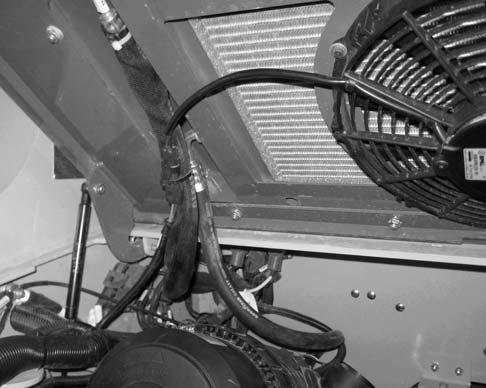
b.Connect the condenser cooling fan connector (S, Fig. 482) to the main harness connector.
c.Recharge the air conditioning system with refrigerant. Refer to “Fluids/Lubricants Types and Capacities” on page37 for proper refrigerant specifications.
64.On both sides of engine compartment cover (I): a.Install pin (J) and spring clip (K). b.Connect support strut to bracket (L) and secure using nut (M). Tighten securely.
65.On machines equipped with air conditioning:
66.Fill the hydraulic system reservoir according to “Changing Hydraulic Oil and Filter” on page132. Refer to “Fluids/Lubricants Types and Capacities” on page37 for proper hydraulic oil specifications.
67.Fill the cooling system according to “Draining/ Refilling Cooling System” on page125. Refer to “Fluids/Lubricants Types and Capacities” on page37 for proper coolant specifications.
68.Fill the fuel tank according to “Adding Fuel” on page128. Refer to “Fluids/Lubricants Types and Capacities” on page37 for proper fuel specifications.
69.Fill the windshield according to “Windshield Washer Reservoir” on page154. Refer to “Fluids/Lubricants Types and Capacities” on page37 for proper fuel specifications.
70.Reconnect the negative cable to the battery.


