Golf 2015 ➤ , Golf Variant 2015 ➤ Engine Mechanical, Fuel Injection and Ignition - Edition 04.2015 Note
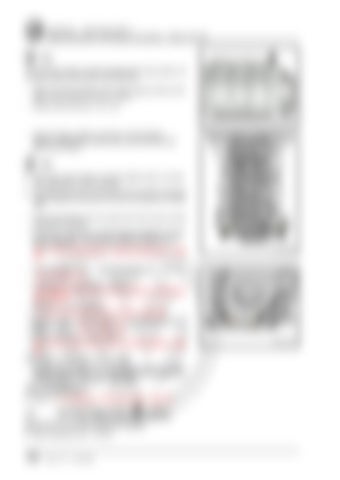
The lubrication system could be plugged with excess sealant. Do not apply sealant bead thicker than indicated. – Apply the silicone sealant on the clean sealing surface of the upper oil pan section as shown -arrows-. •
Sealant bead thickness: 2 to 3 mm.
– Apply the silicon sealant, as shown in the illustration -arrows-, between the cylinder block and the timing chain guard lower section. Note ♦ The oil pan upper section must be installed within 5 minutes
after application of silicone sealant.
♦ The sealant bead may not be thicker than specified, otherwise
excess sealant could enter the oil pan and clog the oil intake tube.
•
On the transmission side, the upper part of the oil pan and the crankcase must align.
c
ss
pe rm itte d
– Install the bolts -arrows-. Tightening specifications -item 16⇒ Item 16 (page 105) . es, in part or in w l purpos hole ercia , is n m ot com
– Install the oil pump. Refer to ⇒ “1.5 Oil Pump, Removing and Installing”, page 188 . – Insert the new oil baffle and attach it. Tightening specification. Refer to -item 7- ⇒ Item 7 (page 180) . – Install oil pan lower section. Refer to ⇒ “1.3 Oil Pan Lower Section, Removing and Installing”, page 182 . Assemble in reverse order of disassembly.
Tightening Specifications ♦ Refer to ⇒ “1.1 Overview - Oil Pan/Oil Pump”, page 179 . c o p yri gh t. C op yi
Oil Pump, Removing and Installing Prote cted by
188
Rep. Gr.17 - Lubrication
AG.
♦ Elbow Assembly Tool - T10118-
agen lksw Vo by
Special tools and workshop equipment required
ht rig py Co t.
1.5
do c um en
r te o iva r rp fo g n
– Fill with engine oil and then check the level. Refer to ⇒ Main‐ tenance ; Booklet 36.1 ; Procedure Descriptions; Engine Oil, Draining, Replacing Oil Filter, and Filling .
rrectness of i t to the co nform spec a t i h re o n in wit thi s
– Install the rear sealing flange. Refer to ⇒ “2.3 Sealing Flange, Removing and Installing, Transmission Side”, page 59 .
ility ab y li an pt ce
un le
– Position the upper section of the oil pan and tight‐ olkswimmediately agen AG AG. VRefer does en the bolts, tightening sequence. to Tightening se‐ agen w s k n ot g quence. Refer to by Vol u aa d ⇒ Fig. ““Oil Pan rUpper Section - Tightening Sequence”“ , rpage nte ise o eo h t 181 . u ra a


