5_108.bk Page 62 Thursday, October 4, 2001 11:45 AM
MAINTENANCE RAW WATER PUMP
38
Raw Water Pump Maintenance The raw water pump does not require any routine maintenance. It is lubricated by engine oil in a metered amount from the end of the auxiliary shaft. However, seasonally, it is a good practice to remove the pump end cover and replace the flexible impeller at the end of the boating season. The end cover of the water pump also needs to be removed to allow any remaining trapped water to be removed before the vessel is stored for winter. The raw water pump body or liner should also be checked for cracks or wear and replaced, if necessary. A raw water pump seal malfunction is indicated by leakage of water from the openings in the pump housing. These openings, located between the pump mounting flange and the inlet and outlet ports, must remain open at all times. Leaky seals require replacement. Authorized MackPower™ service outlets are properly equipped to perform these services. RAW WATER PUMP IMPELLER REPLACEMENT 1. Close the engine sea water seacock. 2. Drain sea water from the raw water cooling system by separating the outlet hose at the raw water pump.
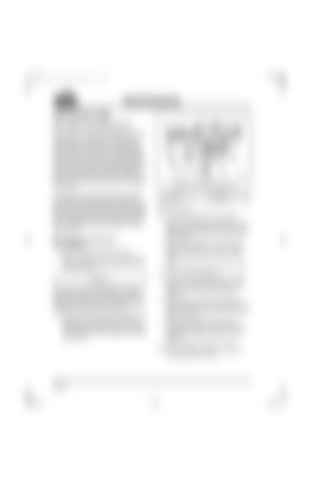
Figure 38 — Raw Water Pump Cover 1. Six Raw Water Pump Capscrews
2. Raw Water Pump Cover and Gasket
Refer to Figure 39. 4. Remove the impeller outer wearplate. 5. Inspect the impeller area and remove any grass, sea weed, impeller pieces, etc., which are present. Also allow any remaining sea water to drain. 6. Grasp hub of impeller (7) with pliers and remove the impeller from bore. If impeller O-ring remains on shaft, remove it from shaft. 7. Remove cam/liner (3) from the pump body. 8. Remove inner wearplate (9).
The entire raw water cooling system will drain back through the removed raw water outlet hose. This system contains many gallons of water. Be prepared to catch the water in buckets or allow the bilge pump to pump it out of the hull. 3. Remove the six special brass impeller cover capscrews and remove the end cover by prying off with a gasket scraper. Care should be exercised to avoid scratching or bending the end cover.
9. Remove the seal retaining ring (8), taking care not to scratch shaft. Remove carbon portion of seal with tensioning spring attached. 10. Remove bolts securing port adapters to ports. Remove four 5/16″ bolts (11) and lock washers (10) holding the pump body to the bearing housing. 11. Remove pump body (2) from bearing housing and shaft sub-assembly. Remove any remaining gasket material from port adapters. 12. Remove slinger O-ring (1) from shaft. 13. From drive end of pump body, press out remaining portions of seal.
Page 62


