Engine — Drive Coupling Removal Drive Coupling Removal
Drive Coupling Installation
STEP 1
STEP 1
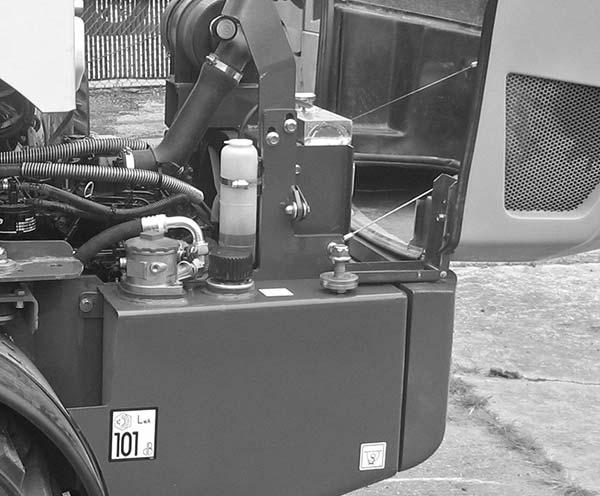
Remove the Piston/Drive Hydraulic pump. See “Piston/ Drive Hydraulic Pump Removal” on page 150.
WARNING 1
Support the engine before removing the engine mounting bracket. Serious injury or damage to the engine can result if the engine is allowed to fall.
STEP 2 NOTE: New bolts purchased from Mustang have locking compound already applied.
4
7
Apply Loctite® 262 or equivalent to bolts.
2
Install coupler and bolts (1).Tighten bolts to 33 lb-ft (45 N•m).
7
1
STEP 2
3
3
7 Remove the six upper bolts (1). Remove engine mounting bolts (7). Remove the engine mounting bracket (2). Remove the two lower bolts (3) and remove the drive coupler cover (4).
7
4
STEP 3
2
NOTE: New bolts purchased from Mustang have locking compound already applied.
6
Apply Loctite® 262 or equivalent to bolts (2). Use the two lower bolts (2) to install the drive coupler cover (3). Install the six upper bolts (4). Tighten all the bolts to 33 lb-ft (45 N•m).
5
Install engine mounting bolts (7), rubber isolators, and lock nuts. Tighten bolts to 155 lb-ft (210 N•m). STEP 3
Remove the eight bolts (5) and remove the drive coupler assembly (6).
PRINTED IN U.S.A.
NOTE: New bolts purchased from Mustang have locking compound already applied.
87
50940008/AP0311