1 minute read
Maintenance — Fuel System


7.The engine is self-priming. To remove air before starting, turn the ignition key to the ON position for 30 seconds.
Water Separator Maintenance
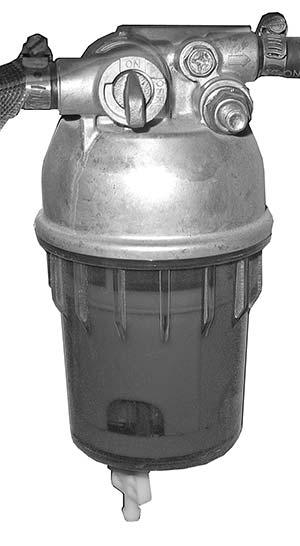
The water separator contains a red indicator ring that will float on top of any accumulated water. Under normal conditions this ring sits at the bottom of the separator. If the red ring is somewhere between the bottom and the white ring (2, Figure 11), then the accumulated water must be drained.
1.Perform the “Mandatory Safety Shutdown Procedure” on page4.
2.To view the water separator, use the slot in front of the right-rear tire, near the step.
3.Access the water separator underneath the loader, near the right-rear wheel. Check for water in water separator by checking level of float in water separator bowl. If water is present, complete steps 4-7.
4.Turn the fuel shut-off valve lever (1, Figure 11) on the water separator to the OFF position.
5.Place a container underneath the drain plug. Loosen the plug until water begins draining. Allow water to drain until the indicator ring returns to the bottom of the water separator.
6.Tighten the drain plug and discard fuel/water according to environmental laws. DO NOT pour the fuel/water onto the ground or down a drain.
7.Turn the fuel shut-off valve lever (1) on the water separator to the ON position.
Checking and Adjusting V-belt Tension
1.Perform the “Mandatory Safety Shutdown Procedure” on page4.
2.Open the engine cover.
Air Conditioning V-belt
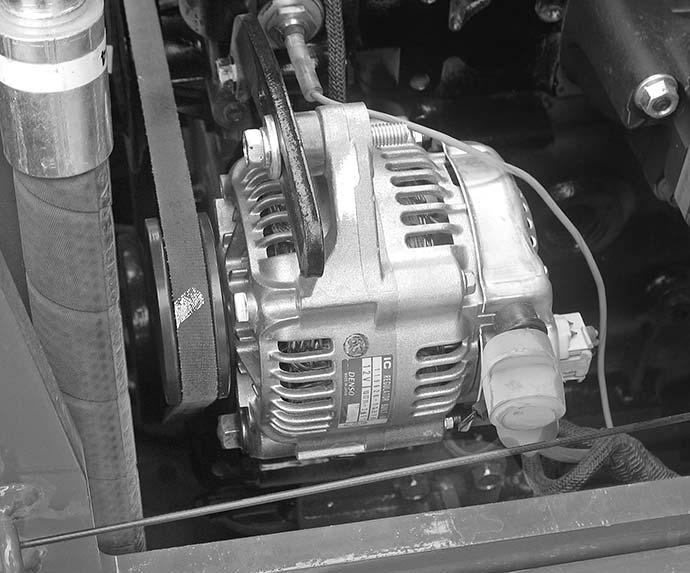
Inspect and service the air conditioning V-belt (X, Figure 13) the same as directed in Checking and Adjusting V-belt Tension.
To adjust the air conditioning V-belt tension
1.Perform the “Mandatory Safety Shutdown Procedure” on page4.
2.Open the engine cover.
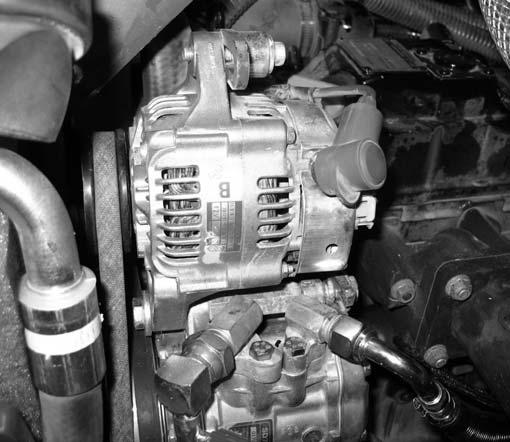
3.Inspect the V-belt (1, Figure 12) for damage. Replace if damaged or worn.
4.Press on the V-belt (1) to check deflection. The belt should deflect no more than 8 mm (5/16").
5.If deflection is more than 8 mm (5/16"): Loosen the adjustment bolt (2) and rotate the alternator (3) outward until V-belt tension is correct. Tighten bolt (2) and re-check V-belt tension.
3.Inspect the V-belt (1, Figure 13) for damage. Replace if damaged or worn.
4.Press on the V-belt (1) to check deflection. The belt should deflect no more than 8 mm (5/16").
5.If deflection is more than 8 mm (5/16"): Loosen the adjustment bolt (2) and rotate the air conditioning compressor (3) outward until V-belt tension is correct. Tighten bolt (2) and re-check V-belt tension.
Caution
Overtightening the V-belt can cause severe damage to the compressor and the deflection pulley.