1 minute read
Maintenance — Air Cleaner


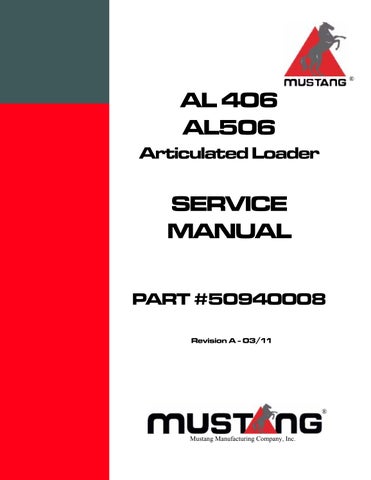
Air Cleaner
IMPORTANT: Do not operate the engine without the air cleaner components installed or damage to the engine could occur. Failure to follow air cleaner servicing instructions can also cause engine damage.
The air cleaner consists of an outer (primary) filter element, an inner (secondary) filter element, an air filter restriction indicator and a dust valve. If the air cleaner becomes restricted, the air filter restriction indicator (1, Figure 5) turns red to warn the operator that the element(s) require service. Push the reset button located on the end of the indicator after installing a clean filter element(s). Pinching the dust valve (2, Figure 5) opens a slit at the end of the valve, allowing accumulated dust in the end of the element cover to drop out without removing the cover.
Only replace the inner element every third time the outer element is replaced, unless the outer element is damaged or the inner element is dirty.
Be sure that the restriction indicator, air cleaner intake hose, clamps and mounting bracket hardware are properly tightened.
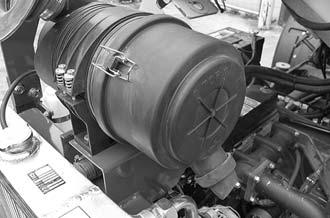
Accessing the Outer and Inner Filter Elements
1.Perform the “Mandatory Safety Shutdown Procedure” on page4.
2.Open the engine cover.
3.Unlatch the clamps on the air cleaner housing and remove the element cover.
4.Clean any debris from the cover.
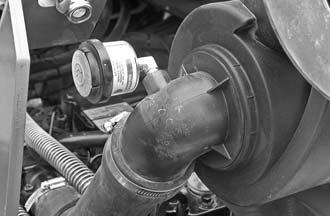
Changing the Outer Filter Element
1.Perform the “Mandatory Safety Shutdown Procedure” on page4.
2.Carefully remove the outer filter element. Do not remove the inner filter element unless it is to be replaced. See “Changing the Inner Filter Element” on page23.
NOTE: Cleaning the outer filter element is not recommended; replace instead.
3.Clean any debris from the housing. Leave the inner filter element installed during this step to prevent debris from entering the engine intake manifold.
4.Install the new outer filter element.