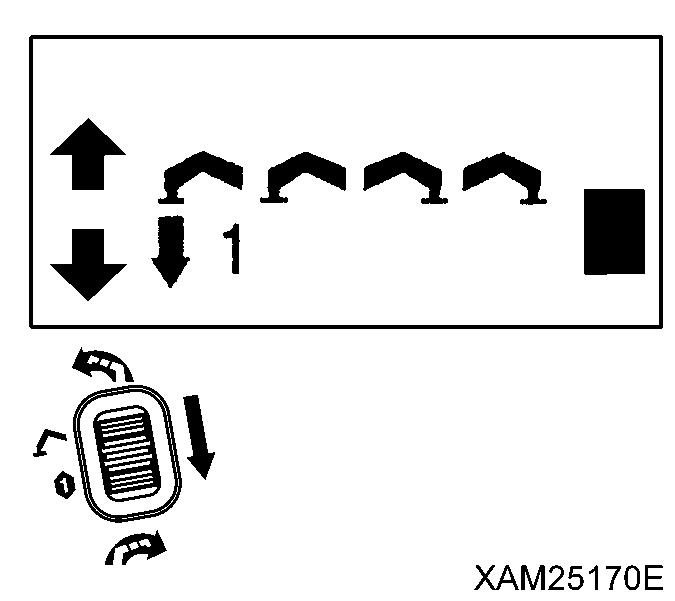
5.2 DIAGRAM OF WORKING RADIUS AND LIFTING HEIGHT • The diagram of working radius and lifting height shows the relationships between the working radius of this machine, boom angle, and lifting height above the ground with no object hoisted. The diagram has been made allowing for no deflection in the boom. • The boom (4) in the diagram of working radius and lifting height represents a state that half of the “ mark” passes boom (3).
1. Point A denotes a boom angle and point B denotes a lifting height above ground in the figure at right. The same working radius is applied to points A and B.
2. The “diagram of working radius and lifting height” shows the relationships the working radius, boom angle, and lifting height at no load, allowing for no deflection in the boom. A deflection occurs in the boom when an object is hoisted, which causes the working radius to widen slightly. The rated total load decreases with increase in the working radius. Actual crane operation requires the planning of work, allowing for sufficient clearance more than that provided in the diagram. 1-8