
5 minute read
AIR CLEANER ELEMENT

Do not clean and replace the air cleaner when the engine is running. Potential damage to the engine may occur if disregarded.
Caution
Always avoid using the air cleaner element in a dry condition. Such condition allows particles or dusts to enter into the engine, resulting in a shortened engine life
Always keep it damp by dipping the element into engine oil once, then wringing it out.
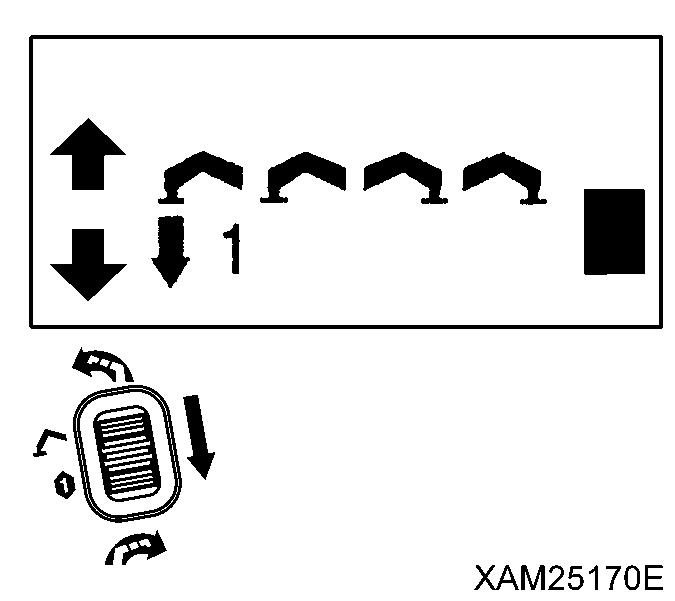
1. Put your hands into the maintenance window in the left rear sid e of the machine and unfasten the upper and lower holders (2) of the air cleaner cover (1).
2. Take the element (3) out from the cover (1) and check that the element (sponge) is not clogged with particles or dust buildup, and that it has no tear or serious damage.
Notes
• The element must be replaced when it has tears or serious damages.
• While the cover is off, the air intake port should be shielded with a clean cloth or tape to avoid particles or dust going into it.
3. Clean the inside of the cover (1).
4. Clean the inside of the body (4)
5. Clean the element (3) according to the practice as below:
(1) Wash the element with kerosene
(2) When washed, squeeze kerosene out of the element thoroughly and allow it dry.
(3) Dip the element into engine oil and then squeeze engine oil out of the element tightly.

6. Set the element (3) to the cover (1).
7. Push in the cover to the body (4) and secure it with the two holders (2).

[11] CHECKING HORN FOR OPERATION
1. Turn the starter switch to the ON position and check the following.


2. Press the horn switch of the top of the travelling lever stand to verify that the horn sounds. If not, the horn may be faulty or the circuit may be open. Ask us or our sales service agency for repair.
[12] CHECKING HEADLIGHTS FOR OPERATION
1. Turn the starter switch to the ON position and check the followings.
2. Pull the headlight switch and verify that the headlight on front of the machine lights up. If it does not light up, the bulb may be burned or the circuit may be open. Ask us or our sales service agency for repair.
[13] CHECKING FUSE FOR DAMAGE
If fuses are blown frequently or if you find the trace of a short circuit created in the electrical wiring, be sure to find the cause and fix the problem.
1. Turn the fuse holders (3) on control panel counterclockwise and take tubular fuses out.

2. Check the fuse for damage and meltdown and if the fuse of the specified capacity is being used.
3. If a fuse has melted down or the trace of an open/short circuit is found in the electrical wiring, ask us or our sales service agency for repair.
2.1.3 CHECKS AFTER STARTING THE ENGINE
Check the followings in this section after starting the engine and before starting work every day.
Caution
The checks described in this section should be carried out after starting the machine. Refer to "Operation 2.2 Starting the Engine" and later to execute the engine startup, travelling operations, outrigger operations and crane operations.

[1] CHECKING/ADJUSTING RUBBER TRACK TENSION CAUTION
• Set the outriggers and raise the rubber track for about 50 mm from the ground when checking/adjusting the tension of the rubber tracks
• The standard tension of the rubber track is that the clearance between the wheel tread of the track roller at centre and the shoulder of the rubber track is 5 to 10 mm.
• If the tension is not sufficient even after injecting the grease, the rubber track or the sealing of the tension adjustment cylinder needs to be changed. Contact us or our sales service agency for the judgement of whether to replace, repair, or keep the rubber track.
The rubber tracks are worn out differently depending on the working conditions and ground quality Regularly check the wear and tension of the rubber tracks
Especially, with the new machine or when a new part was installed, “initial slack” appears with 5 to 30 hours of driving after adjusting the tension to the specified value. Adjust the tension frequently until the period of “initial slack” passes. This will prevent “rubber track from coming off due to insufficient tension on the rubber track”.
[TENSION CHECK]
1. Move the left and right crawlers so that the junction of the rubber track (indicated by M) comes to the top centre between the axles.
2. See “Operation 2.13 Outrigger Set Up Operation” to set the outriggers and raise the crawlers for About 50mm from the ground.

3. Measure the clearance between the wheel tread of the track roller at centre and the shoulder of the rubber track.
Notes
The clearance of 5 to 10 mm indicates the standard tension.
4. If the tension is out of the standard range, see the section of tension adjustment on the next page to make adjustments.

[TENSION ADJUSTMENT]
If the “tension check” of the rubber track found the tension lower than standard tension of the rubber track, make adjustments as described below. Working with the loose rubber track (the tension of the rubber track at 15 mm or more) will cause run-off or early wear of the core metal.

• LOOSE TENSION (INCREASE TENSION)
• Have a grease gun (pump) ready.
1. Remove the 2 bolts (2) and then remove inspection cover (1).
2. Inject the grease from the grease nipple (3) using the grease gun.
3. Perform the following tasks to verify the proper tension.
(1) See “Operation 2.23 Outrigger Stowing Operation” to stow the outriggers and lower the machine on the ground.
(2) Move the machine forward/backward.
(3) See “Operation 2.13 Outrigger Set Up Operation” to set the outriggers and raise the crawlers again for about 50mm from the ground.
4. Perform the “tension check” of the rubber track again. If the tension is not appropriate, make another adjustment.

5. Install the inspection cover (1) to the original position and tighten 2 mounting bolts (2).
6. See “Operation 2.23 Outrigger Stowing Operation” to stow the outriggers and lower the machine on the ground.
•
TIGHT TENSION (DECREASE TENSION)
Inside the rubber track tension adjustment device, the grease is sealed. The grease is under high pressure due to the tension of the rubber track. Making adjustments without observing the followings may cause the grease valve to fly away, resulting in serious accidents.
• Do not loosen the grease valve for tension adjustment more than 1 turn. The grease valve may pop out.
• Do not place yourself right in front of the grease valve when adjusting the tension to avoid any danger.
1. Remove the 2 bolts (2) and then remove inspection cover (1).
2. Slowly loosen the grease valve (4) to drain the grease.
Notes
When loosening the grease valve (4), do not loosen more than one turn.

3. If the grease is not drained easily, perform the following to drain the grease.
(1) See “Operation 2.23 Outrigger Stowing Operation” to stow the outriggers and lower the machine on the ground.
(2) Move the machine forward/backward.
(3) See “Operation 2.13 Outrigger Set Up Operation” to set the outriggers and raise the crawlers again for about 50mm from the ground.
4. Tighten the grease valve (4).
5. Perform the “tension check” of the rubber track. If the tension is not appropriate, make another adjustment.
6. Install the inspection cover (1) to the original position and tighten 2 mounting bolts (2).
7. See “Operation 2.23 Outrigger Stowing Operation” to stow the outriggers and lower the machine on the ground.


