
5 minute read
2.21 ACCELERATION OPERATION

Accelerating the operation speed of the crane functions more than is necessary is dangerous.
Caution
Decrease the speed in the beginning or near the end of an operation. Change the speed to low speed or high speed according to the load.
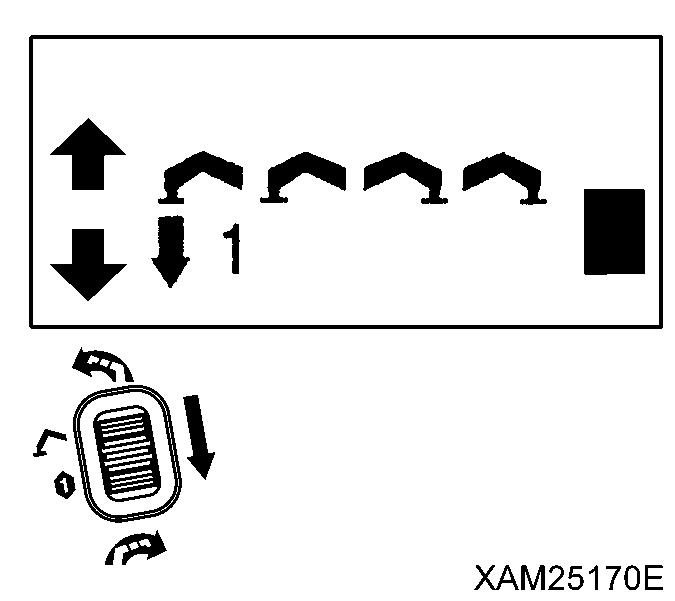
Operate the acceleration lever (6) as follows.
• Low idling: Fully turn the lever toward right.
The engine speed decreases and the operation speed of the crane functions slows down.
• High speed: Fully turn the lever toward left
The engine speed increases, and the operation speed of the crane functions accelerate.
Notes
At the desired engine speed for your work, release the lever. It will stop at that position.
2.22 CRANE STOWING OPERATION
•The hook stowing switch cancels the auto stop function of the over hoist detector. Operate the winch lever carefully not to let the hook block hit the boom when stowing the hook block.
• Use this hook stowing switch only for the purpose to stow the hook.
• When fastening the hook block to its holder, be careful so that your hands are not trapped.
•When the hook block is stowed in the hook block holder and the wire rope slacking is eliminated, turn OFF the hook stowing switch without delay. Otherwise, the wire rope will be over-wound which causes it to wedge into the winch drum.
Caution
• Stop the swing of the hook block before stowing the hook block.
• When stowing the hook block, do not topple the entire hook block sideways on the ground by loosening the wire rope too much. This will cause irregular winding on the winch drum.
• The boom “retracting” operation will lower the hook block. The hook block also lowers with the boom “lowering” operation. Raise the hook at the same time so that the hook block will not touch the ground or interefere with the machine.
• When fastening the hook block, be careful not to give excessive tension to the wire rope. That may damage the wire rope or the hook holder to fasten the hook block. On the other hand, when the wire rope is loose, the hook block may swing which cause it to hit components around and damage them.

• When fastening the hook block, use hook stowing switch to wind up the wire rope. Since this switch enables slower winding than the normal operation by winch lever, it facilitates inching.
1. Operate the boom telescoping lever (2) to the “RETRACT” (pull toward you) side to fully retract the boom.
2. Operate the slewing lever (1) to the “LEFT” or “RIGHT” side so that the boom slews to the centre of the machine.

3. Operate the boom derricking lever (4) to the “LOWER” (push forward) side and lower the boom until it automatically stops.

4. With the boom stowing switch placed to the ON position, operate the boom derricking lever (4) again to the “LOWER” (push forward) side to stow the boom.


Notes
The boom shall be fully lowered in this operation. During this operation take care not be trapped by the hook block.
5. Operate the winch lever (3) to the “UP” (pull toward you) side and winch until the hook block automatically stops (over hoist).
Notes
Hoisting the hook block too much will result in the detection of over hoist. Then the alarm buzzer will be heard and the hook raising operation automatically stops.
6. Hold the hook block with one hand and turn the hook stowing switch to the ON position (Upward) to wind up the hook block (10).
7. Leave the hook stowing switch in the ON position (Upward) and fasten the hook of the hook block (10) to the hook holder (9).
Notes
To put in the hook to the holder (9), keep the hook stopper (13) of the hook block (10) closed and move the hook laterally to the holder (9). Otherwise, if the hook stopper (13) of the hook block (10) is opened and set the hook to the the holder (9) by moving the hook upward, the hook stopper (13) may be damaged.
8. Leave the hook stowing switch in the ON position (Upward) yet and wind up the hook block (10) to eliminate the wire rope slack.
9. When the hook block (10) is secured, release the hook stowing switch soon so that it returns to OFF position (Downward) and winding up stop.
10. After the hook block (10) is stowed, shake the hook block (10) to ensure that it would not hit anything around. Where any interference is seen, repeat procedures 6 and 7.
2.23 OUTRIGGER STOWING OPERATION
• Do not let people approach the machine when stowing the outriggers. Staying around the machine may result in serious accidents such as getting caught between an outrigger and the main unit of the machine.
• Verify that there is nothing under the rubber tracks when stowing the outriggers. If there is any object under the rubber tracks, the machine may overturn and serious accidents may occur when stowing the outriggers.
• Stop the engine for operation except for extending/setting the outrigger cylinders. Another person touching an outrigger may result in sudden movement of the outrigger cylinder, which may lead to serious accidents.
• When the position pin is removed, the outrigger inner box and outrigger top loses the support and rotates. Always hold the outrigger inner box and outrigger top with one hand when removing the position pin.
• Do not put your hands or fingers around the gaps of movable areas when stowing the outriggers. Your hands or fingers may get caught, and it may lead to serious accidents.
• Insert the position pin to the end and secure with snap pin when stowing the outriggers.
• Reduce the engine speed to medium speed less than when operating the outrigger switches. At the high engine speed, the outriggers operate suddenly, leading to serious accidents such as overturning of the machine.
• To put down the lifted machine by control of the Outrigger collective setting switch, use the procedure as follows:
• Avoide lowering the machine in a continuous rapid operation, when the machine is installed on a slope or rough terrain. The machine may tip during such an operation. Turn the switch to IN position and NEUTRAL position alternately so that you can ensure that 4 of outriggers retract equally to lower the machine to the ground.
• In such event that all the 4 outriggers are not retracted evenly, use the applicable Outrigger individual setting switch to control the outrigger to be kept even.
• To lower down the raised machine by control of the Outrigger individial setting switches, use the procedure as follows:

• This machine has 4 outriggers. Be careful not to confuse the use of respective 4 Outrigger individial setting switch. Check both the outrigger numbers indicated in the control panel and number labels attached to each outrigger. A serious accident may be resulted when the outrigger numbers are confused.
• When you control 2 of the individual switches at one time, only 2 in the front (outriggers [(1)] and [(4)]) or only 2 in the rear (outriggers [(2)] and [(3)]) shall be operated at the same time. When 2 outriggers in either left or right side are controlled at the same time, these may retract very quickly to cause crane tipping.
Caution
For outrigger operations, set the travelling lever stand in the Travelling Operation Unit to the "Crane Operation Position".
When the travelling lever stand is in "Travelling" position, any outrigger setting switches are not availble for outrigger operations.
There are four outriggers installed to the machine. Stowing of outriggers is achieved in the same practice except for the setting positions of outrigger rotaries (1).
The stowing positions of outrigger rotaries (1) are different between outriggers [(1)] and [(4)]) and outriggers [(2)] and [(3)]. Read descriptions in next pages so that outriggers are correctly stowed.


