4 minute read
5. COMPONENTS OF THE RECEIVER


5.1 COMPONENTS OF THE RECEIVER
Caution
The remote control system provides the following safety functions:
• Abnormal Signal Detector Circuit
When the Main switch of the Receiver is turned ON, this circuit checks the dispatch of crane operations signals for 3 to 4 seconds. Thus, the Crane will not be immediately ready for operations.
When dispatch of any crane operation signals are noticed, power will be automatically turn OFF and the Crane stops. To resume, push the Reset button of the Transmitter.
• Automatic Power OFF circuit
Power of the Transmitter will be automatically OFF when the remote control of the crane operation is discontinued for a specific time.
To resume, push the Power switch of the Transmitter to ON
• Voltage Drop Limiter (for the Receiver)
The Receiver will automatically shut down in the event whereby the voltage of the battery drops below DC 9 volts.
This prevents malfunctions of the Crane due to voltage drop and the operation will resume automatically when the voltage is restored to DC 9 volts or higher.
[1] CONTROL BOX (1)


The Control box contains the receiver devices and control devices. Never attempt to dismantle this Control box.
[2] MAIN SWITCH (2)
The Main switch is a toggle switch to power ON or OFF the Receiver

• ON : Turn the toggle to ON to start the Receiver.
• OFF: Turn the toggle to OFF to terminate the Receiver.
Caution
• Before starting the engine, always turn this Main switch of the Receiver to OFF.
• Where the remote control is not in use, always turn the main switch of the Receiver to OFF.
[3] MONITOR DISPLAY (3)
In the event that the abnormal signal detector of the controller serves, the Monitor display indicates error codes.
Caution
In the event that the monitor display (3) indicates an error code, settle the error as follows:
1. Push the Reset button of the Transmitter.
2. When the practice as above 1. results in another error code, turn the Receiver OFF, then start it again.
3. When the practice as above 2. results in a further error code, it is suspected that the Transmitter or Receiver has faults; contact us or our agents for services
For detail of error codes, refer to “10. TROUBLE SHOOTING”.
[4] CABLE CONNECTOR
Connect the connection cable from the Transmitter, here.
Caution
• Before attaching the connection cable to the cable connector (4), always confirm that the Main switch (2) is in the OFF position. After insertion, secure the plug by the screw.
• Always apply the water proof cap while the remote control is not in use.
• In the condition where the remote control is not provided, this cable connector is redundant. Always keep the water proof cap attached.
5.2 FUSE IN THE RECEIVER

• For any tests or replacement of a fuse, always turn OFF the Main switch of the Control box, before removing it.
• The fuse must be replaced with the same type of glass tube fuses, and of the same rating.
Caution
A fuse is inserted in the (+) line of the main power supply of the Receiver as a protective circuit of internal devices and prevents circuits from burning out.
• A glass tube fuse is employed. In the event where the fuse is corroded and shows white dust , or when a loose condition is recognized, always replace it with a new one.
• When the fuse is blown, never fail to examine the circuit for the cause and repair it before replacing the fuse.
• The fuse must be replaced with the same type of glass tube fuses, and of the same rating.
The fuse is placed inside the Receiver.
Test and replacement of the fuse shall be practiced as follows:
1. Remove the receiver protection cover.
2. Remove the side cover of the receiver body.
3. Pull out the fuse from its clips, then examine it.
4. Insert a new fuse or the examined fuse to its original position.
[Fuse class]
Type : Glass tube fuse
Rating: 10A
6. MODE SETTING OF THE TRANSMITTER


This device provides the “A MODE” in which the initial values of the Transmitter are established, the “OUTRIGGER MODE” in which the outriggers are set or stowed, and the “CRANE MODE” where the Crane is operated. This device is designed to switch to the applicable mode for the operation by the Transmitter
6.1 A MODE
•To perform A Mode setting, turn ON the starter switch in the machine body first, set the Travelling lever stand to "Crane Operation" Position next, then turn ON the main switch of the Receiver.
• Before the setting of values for A MODE, ensure that “A MODE” is correctly indicated in the LCD screen. Otherwise, un-expected motion of the Crane may result in a serious accident, due to entry of values in the other mode, by mistake.
6.1.1 OPENING A MODE SCREEN
Push the Speed/Mode button and Power switch jointly for 2 seconds. A message as “A MODE” appears in the LCD screen for 2 seconds.
6.1.2 MESSAGES IN THE A MODE SCREEN
Refer to the figure on the right for the A MODE screen: It contains eight function items ((1) to (8)) and the Exit command ((9)).
Notes
In the A MODE, following applicable items are adjustable, as required:
(1) “Contrast ratio” of LCD screen
(2) “Loudness control”
(3) The “Engine speed limit”, controllable by the Accelerator lever.

(4) LCD backlight, “Time for lighting, until the auto-cut”.
(5) “Auto Shut-OFF time” of the Transmitter power.
(6) “Low idling rate” of the engine. (Idling only while the crane operation levers are manipulated.)

(7) Reset of “user values” by the speed set-up mode.
(8)Version information of the Transmitter hardware.
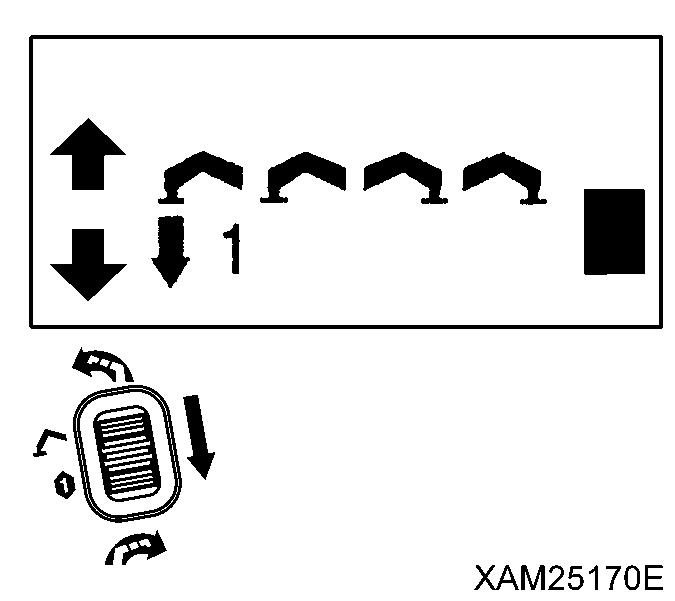
To switch the function item to another, or to change the setting value of the function, use the Hook raising and lowering lever. Then, to fix the value in the function, push the Setting button.