
3 minute read
[ADJUSTMENT OF BOOM TELESCOPING WIRE ROPE] CAUTION

The wire ropes must be adjusted to the correct tightness.
A boom extending wire rope (1 piece) and retracting wire rope (1 piece) are used in this machine. Adjustment of these wire ropes must conform to the specified procedure. Use the following procedure for wire rope adjustment.
1. With the booms retracted in a horizontal position, extend the telescoping booms approx. 2m.
2. Retract the booms completely. Slow boom retraction is required. Measure clearance (a) to check the following for proper adjustment.
• If 5mm or more clearance (a) is formed, adjust the retracting wire rope (6) See step 3 “Adjustment of boom retracting wire rope (1)”.
• If no clearance (a) is formed, adjust the extending wire rope (1). See step 4 “Adjustment of boom extending wire rope (1)”.
3. Adjustment of boom retracting wire rope (6)


(1) Remove the 3 mounting bolts (5) and remove the boom top cover (4)
(2) With the lock nut (7) loose, turn the adjusting nut (8) in the direction that the retracting wire rope (6) becomes tight (clockwise) to provide laterally even tightening until clearance (a) is bridged.
(3) If the retracting wire rope remains sagging or 5mm or more clearance remains present after performing steps 1 and 2, readjustment is required.

4. Adjustment of boom extending wire rope (1)

(1) With the lock nut (2) loose, turn the adjusting nut (3) in the direction that the extending wire rope (1) becomes tight (clockwise) to provide tightening to the verge of the extension of No.4 boom.
(2) Provide retightening to both adjusting nuts (8) of the boom retracting wire rope (6) one turn each.
(3) Secure the adjusting nut (3) of the boom extending wire rope (1) with the lock nut (2)
(4) Secure the adjusting nut (8) of the boom retracting wire rope (6) with the lock nut (7).
(5) Install the boom top cover (4) to original position and tighten the mounting bolts (5) securely.
• This machine uses gasoline (Octane number between 89 and 92). Be extremely careful with fire such as cigarette.
• To drain the fuel, always stop the engine and allow it to be sufficiently cooled. When fuel is drained in a condition just after the engine stops and it remains still hot, spilled fuel may ignite when it touches hot parts, such as a muffler. Wipe fuel off cleanly whenever it spills.
• For a long-term storage of the machine, drain all the fuels in the tank, carburetor and other fuel systems. Such practice not only protects deterioration of the fuel system but also prevents unforeseen fire due to the change of environment during the storage.
1. Place the machine on a level and firm surface.
2. See “Operation 1.6 Machinery Cover” to remove the machinery cover.
3. Place a drain pan directly underneath the fuel filter pot (1) to receive drained fuel.
4. Turn the lever (2) on the head (3) to a horizontal position (Close position) to stop fuel supply.
5. Turn the filter pot (1) and remove the filter pot (1) from the head (3).
6. Turn the lever (2) on the head (3) to a vertical position (Open position) to drain fuel.


7. After draining fuel, install the filter pot (1) to the head (3).
8. Place a drain pan directly underneath the drain plug (5) of the carburetor (4) to receive drained fuel.

9. Turn the drain plug (5) on the carburetor (4) with screw driver (Philips) and drain fuel to the drain pan.
10. After draining fuel, turn the drain plug (5) on the carburetor (4) with screw driver (Philips) to tighten it.
11. Remove the spark plug (6) and put a small amount (2 to 3 drops) of the engine oil through the hole.
12. Pull the knob of the recoil starter (1) toward you several times, then attach the spark plug (6).
13. Pull the knob of the recoil starter (1) toward you again and stop it when you feel compression.
14 See “Operation 1.6 Machinery Cover” to install the machinery cover.
8.7 MAINTENANCE EVERY 50 HOURS [1] GREASING MACHINE UNITS
Caution
• Grease type varies with greasing points. Failure to grease properly may cause the machine to shorten its useful life. See the following table for grease types.
• Greasing a new machine is required once every 10 hours until the machine attains the first 100 hours of operation that initial fit emerges.
• Use proper grease specified below according to the greasing points.
1. With the use of the grease gun, grease the greasing points (No.1 to 9) specified in the above table through corresponding grease plugs. (See the following page)
2. Wipe off old grease squeezed out after greasing.
3. Place the outriggers when greasing the outrigger cylinders.
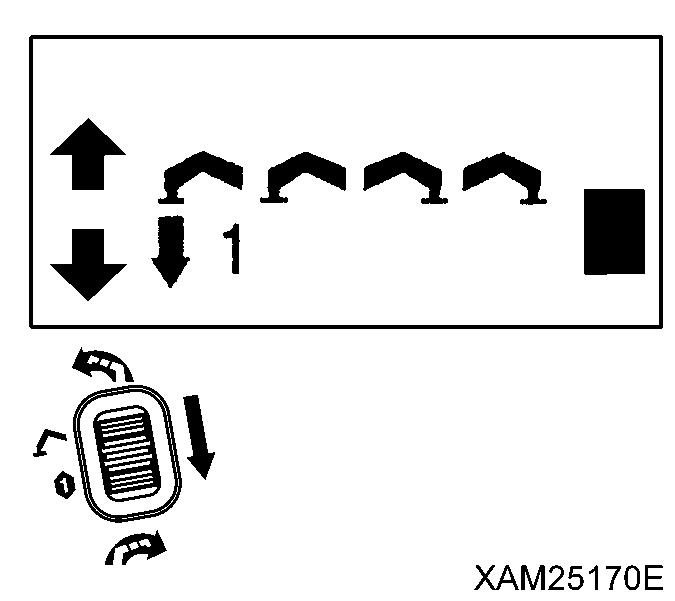
4. Place the boom derricking lever in the “Raise” position (pull toward you) to raise the boom slightly for greasing the derricking cylinder mounting pin.
5. Place the boom telescoping lever in the “Extend” position (push forward) to extend the boom for wire rope.
6. Apply red rope grease to prevent wire rope abrasion and rust formation With the rope surface cleaned, grease the rope with a brush.


