Synchronizer Assembly How to Assemble the Synchronizer Assembly Special Instructions Assembly should be done on a clean, flat surface slightly lower than your waist. Pins on the Low range synchronizer must line up with the chamfered holes on the sliding clutch bottom. When compress the HI range synchronizer springs cover with a shop rag. In the event compression is not achieved the first time, this prevents the springs from leaving the bench area.
Special Tools •
Shop rag
Procedure -
163
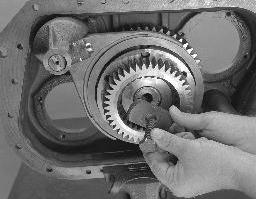
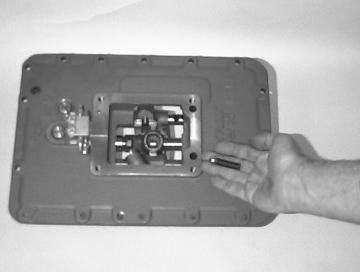
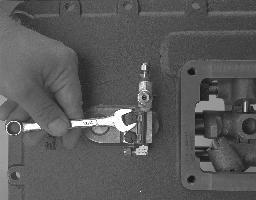
1.
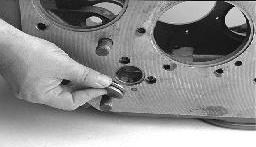
On the bench place the larger LO range synchronizer ring face down with pins up.
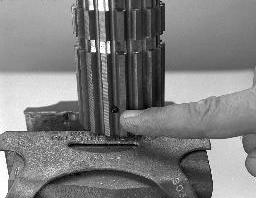
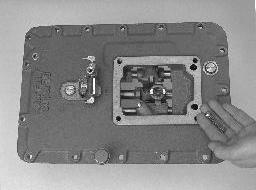
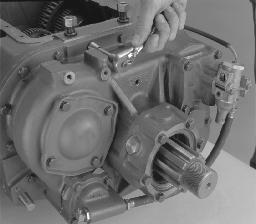
2.
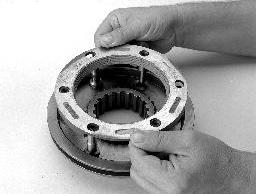
With the sliding clutch recessed side up, place the sliding clutch on the LO range synchronizer pins.
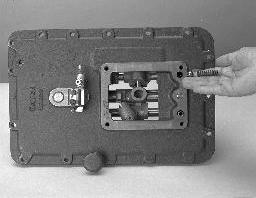
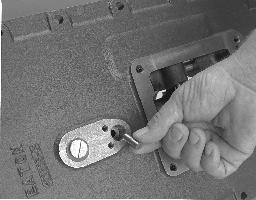
3.
In the HI range synchronizer bores, install the three (3) springs.