1 minute read
How to Install the Reverse Idler Gear Assembly

Special Instructions
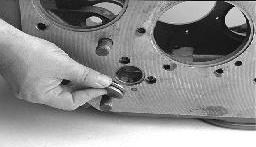
If you install the bottom reverse idler gear assembly, make sure the three (3) magnetic discs are securely in place at case bottom. Use Eaton Adhesive #71210 or equivalent.
Special Tools
• Typical Service Tools
Procedure -
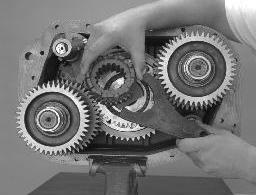
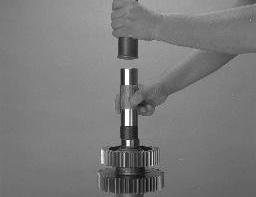
1. If reverse gear assembly is disassemble, position the needle bearing and inner race into the reverse idler gear.
2. Thread the pipe plug into the reverse idler shaft and tighten.
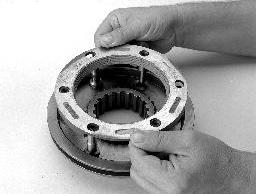
3. On the reverse idler shaft, position the idler shaft plate, flat side to the front.
4. Insert the idler shaft into the case bore, threaded-end to the front. As the shaft passes through the case bore position the reverse idler gear on the shaft, long hub to the front. Insert the thrust washer between the reverse idler gear and the case support boss. Finish inserting the idler shaft.
5. Make sure the reverse idler shaft is seated in the support boss bore.
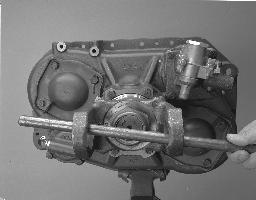
6. Install the washer and lock nut on shaft front. Tighten the stop nut to 50-60 lb-ft of torque.


Final Check
• Make sure the stop nut is properly torqued. • Make sure the bearing outer race is installed against the idler plate.
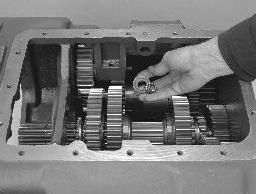
7. Use a bearing driver and a maul and install the auxiliary countershaft front bearing outer race against the idler plate.