1 minute read
How to Disassemble the Standard Shift Bar Housing

Special Instructions
The shift bar housing must be removed from the transmission.
During disassembly, lay all parts on a clean bench in order of removal to facilitate assembly.
Shift bars not being removed must be kept in the neutral position or the interlocking parts lock the bars.
Start with the bottom shift bar.
Cut the lockwire and remove the lockscrews from each bar just before their removal.
Special Tools
• Typical Service Tools

Procedure -
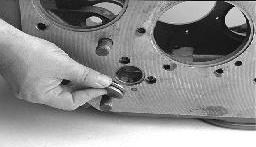
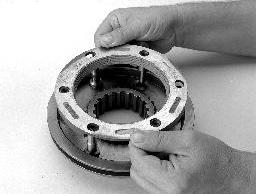
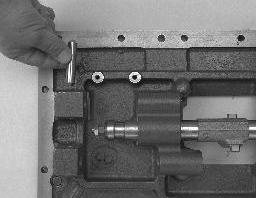
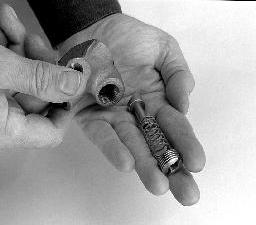
1. If the two (2) sets of tension springs and balls from housing bores and the anti-rotating pin have not been removed, place the shift bar housing on its side to remove them.
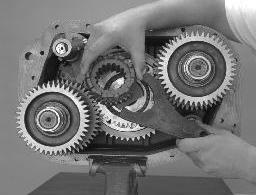
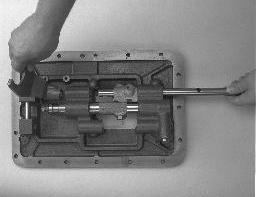
2. With the housing rear to the right, lay the assembly on a flat surface. If installed, remove the oil trough retaining capscrews and oil trough.
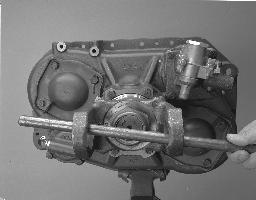
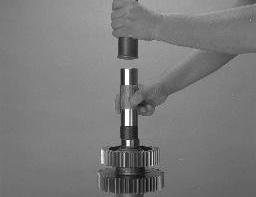
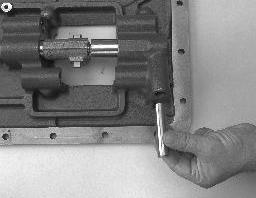
3. While removing the bottom yoke bar, remove the shift yoke.
4. While removing the top yoke bar, remove the shift yoke assembly and block assembly.
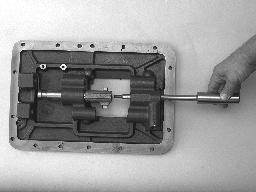
5. Remove the interlock pin.
6. From the middle yoke bar, remove the jam nut, plain nut, and washer.
7. Remove the range interlock bar.
8. From the middle yoke bar, remove the select interlock bar to the right.
9. Pull the select tube to the left and remove the shift select block.
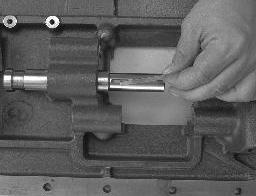

10. Remove the select tube with key to the left.
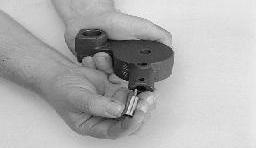
11.From the 1st & reverse shift yoke, remove the snap ring, washer, spring, and plunger. From the 3rd speed block, remove the plug, spring, and plunger.
12.Inspect the yoke or block parts, replace the worn parts.