1 minute read
With Tapered Bearings

How to Install the Auxiliary Section With Tapered Bearings
Special Instructions
There are different capscrew lengths, install in the correct location.
Auxiliary sections can be installed either with the transmission in the horizontal position or the vertical position.
To install in the vertical position, the clutch housing must be installed.
Special Tools
• Typical Service Tools • An auxiliary section hanger bracket for horizontal removal • A steel bar longer than the width of the output yoke for vertical removal • A hoist with a lifting chain
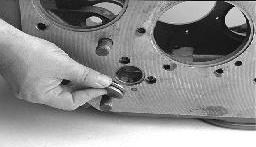
1. Position a new gasket on the transmission mounting surface.
2. Attach an auxiliary section hanger bracket to the auxiliary section top.
3. Attach a lifting chain to the auxiliary section hanger bracket.
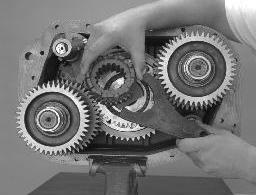
4. Position the auxiliary section on the two (2) dowel pins.
5. Slide the auxiliary section on until the hanger bracket contacts the front section back.
6. Remove the auxiliary section hanger bracket.
7. Slide the auxiliary section the rest of the way into position.
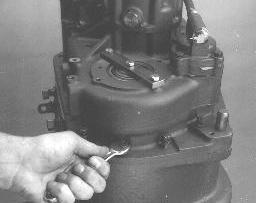
8. Apply Eaton/Fuller Sealant #71205 or equivalent to the retaining capscrews.
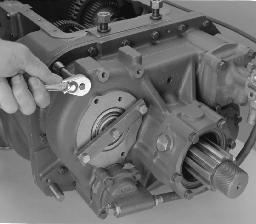
9. Install the retaining capscrews, tighten to 35-45 lb-ft of torque.
10.To finish installation, see "The Shimming Procedure for Tapered Bearings".
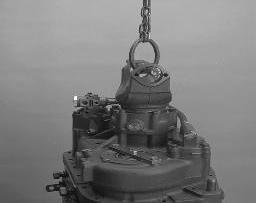
1. With blocks under the clutch housing to prevent input shaft damage, place the transmission in the vertical position, clutch housing down.
2. Position a new gasket on the transmission mounting surface.
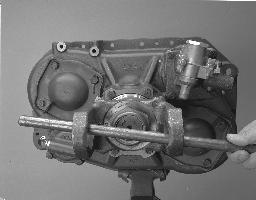
3. Install a steel bar through the yoke.
4. Attach a lifting chain to the steel bar.
5. Position the auxiliary section over the two (2) dowel pins.
6. Slide the auxiliary section down the dowels.
7. Apply Eaton/Fuller Sealant #71205 or equivalent to the retaining capscrews.
8. Install the retaining capscrews, tighten to 35-45 lb-ft of torque.
9. Remove the steel bar and chain.
10.To finish installation, see "The Shimming Procedure for Tapered Bearings".
Final Check
• Make sure capscrews are properly torqued. • Make sure the input shaft rotates.