2 minute read
How to Assemble the Output Shaft Assembly (A Series How to Install the Countershaft Assemblies

How to Assemble the Output Shaft Assembly (A Series)
Special Instructions
Make sure the magnetic plugs are installed in the auxiliary housing.
Output shaft stack up should be done on a clean, flat surface.
When heating the bearings, do not heat bearings above 275°F (136°C).
When installing the rear bearing race, the proper depth is when the race shoulder is seated on bearing bore top.
Because the collar becomes distorted when compressed, do not use old nylon collar on rear bearing cover.
Special Tools
• Typical Service Tools • Toolmaker’s dye • Heat lamp or hot plate and oil • Oil seal installation tool

Procedure -
1. Use toolmaker’s dye and mark the LO range gear for timing purposes.
Mark any two (2) adjacent teeth on the LO range gear. Repeat the procedure for the two (2) adjacent teeth directly opposite the first set marked.
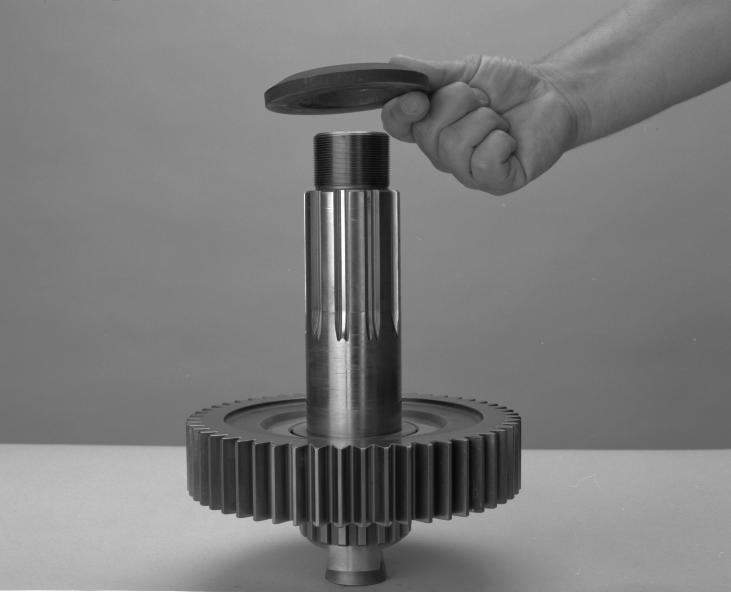
2. With splined washer facing up, place the washer on the output shaft shoulder.
3. With LO range gear clutching teeth down, position LO range gear on the output shaft, engage the washer splines.
4. With chamfer side up, position the LO range gear rear washer on the output shaft against the LO range gear.
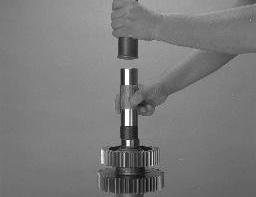
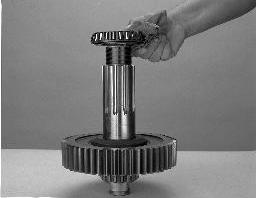
5. With tapered side up, use heat or appropriate driver and install the output shaft front rear bearing.
6. On the output shaft, position the bearing inner spacer. Set aside.

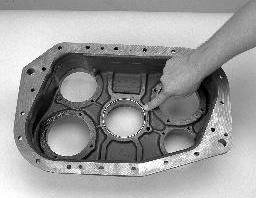
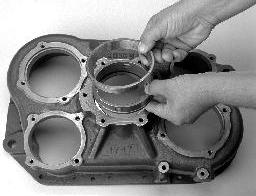

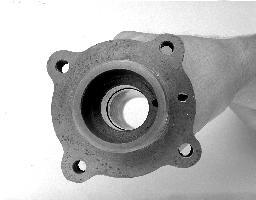
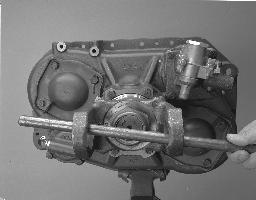
7. Lay the auxiliary housing front face up on a clean, flat surface. Install the front bearing cup.
8. Turn the auxiliary housing over, install the rear bearing spacer and rear bearing race in the bearing bore.
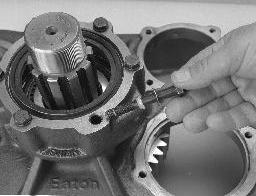
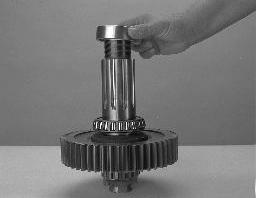
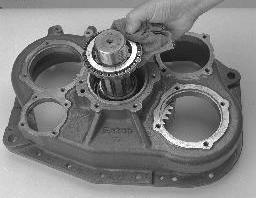
9. With the auxiliary housing rear up, set the housing over the output shaft.
10.With tapered side down, use heat or appropriate driver and install the output shaft rear bearing.
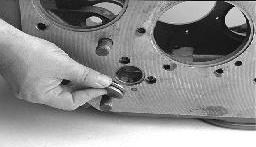
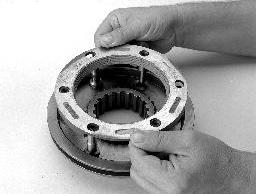
11.Position a new gasket on the rear bearing cover mounting surface, making sure the gasket oil return holes align with the case oil return holes.
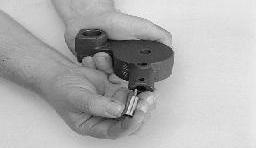
12.If previously removed, use an oil seal installation tool and install the oil seal in the rear bearing cover.
13.Position the rear bearing cover over the new gasket.
14.Apply Eaton/Fuller Sealant #71205 or equivalent to the retaining capscrews.
15.Install the five (5) retaining capscrews in the non-chamfered hole, tighten to 35-45 lb-ft of torque.
16.Install the nylon collar and brass washer in the chamfered hole, tighten to 35-45 lb-ft of torque.
Final Check
• Make sure the rear bearing is seated. • Make sure the rear bearing capscrews are properly torqued. • Make sure the output shaft rotates freely.