1 minute read
How to Install the Input Shaft Assembly

Special Instructions
As part of assembling the input shaft assembly, the mainshaft drive gear must be installed and timed.
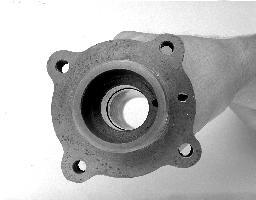
Replace the pilot bushing, if worn.
Apply Eaton lubricant #71215 or equivalent to the pilot bushing so that a film of lubricant covers the entire internal surface of the bushing.
Special Tools
• Typical Service Tools • Toolmaker’s dye
Procedure -
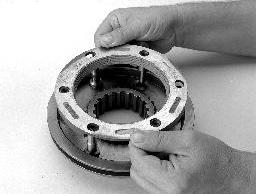
1. In I.D. of main drive gear, install the snap ring.
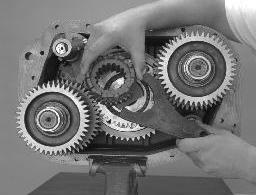
2. Use toolmaker’s dye and mark the main drive gear for timing purposes.
Mark any two (2) adjacent teeth on the drive gear. Repeat the procedure for the two (2) adjacent teeth directly opposite the first set marked.
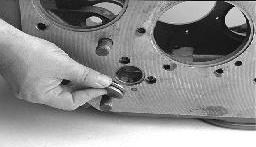
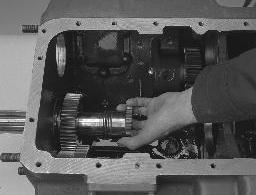
3. Inside the case, mesh the lower countershaft drive gear marked tooth with either set of marked teeth on the main drive gear.
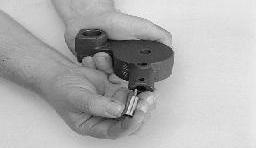
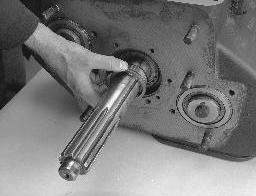
4. Slide the input shaft through the main drive gear.
5. Over the input shaft, install the drive gear spacer.
6. With the bearing external snap ring to the outside, position the bearing on the input shaft.
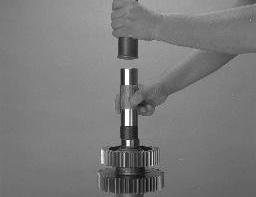
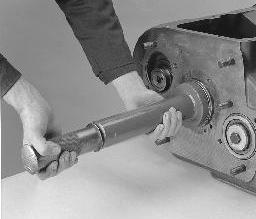
7. Use a flanged-end driver and maul to seat the input shaft bearing.
8. Temporarily install the front bearing cover.
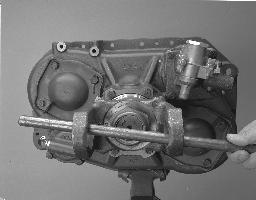
9. From inside the case, use a soft bar and maul to drive the input shaft through the bearing. Remove the front bearing cover.
10.Install the bearing retainer snap ring.


Final Check
• Make sure the drive gear is timed with the lower Countershaft. • Make sure the front bearing cover capscrews are tighten properly.
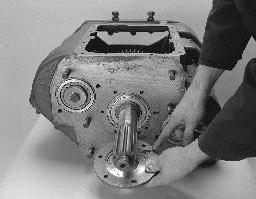
11.Position a new gasket on the bearing cover mounting surface, making sure to align the gasket oil return hole with case oil return hole.
12.Position the front bearing cover, making sure to align the cover oil return hole with case oil return hole.
13.Secure the front bearing cover with six (6) capscrews, tighten to 35-45 lb-ft of torque.