2 minute read
Shift Bar Housing (w/Super 10 on cover How to Disassemble the Forward

How to Assemble the Standard Shift Bar Housing (w/Super 10 on cover)
Special Instructions
Inspect shift blocks and shift yokes for wear.
Apply Eaton sealant #71208 or equivalent to the shift bar housing plugs which are used to plug oil cooler provision holes. The sealant should be applied so that at least 5 complete threads are covered.
Apply Eaton lockwire #1819 or equivalent to all shift bar housing assembly set screws in both blocks and yokes. The wire should anchor the capscrew at least 2 complete 360° turns. The lockwire ends should be trimmed and bent out of the way of any part interference.
Keep yoke bars in neutral while assembling.
Special Tools
• Typical Service Tools
Procedure -
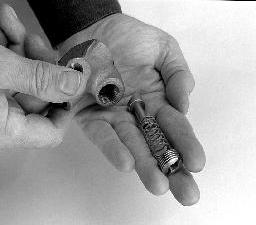
1. Assemble the 1st & reverse shift yoke assembly: a. Install the plunger in the 1st & reverse shift yoke bore, plunger shank to the outside. b. Install the spring into the bore over the plunger shank. c. Position the washer over the plunger shank. d. Install the snap ring.
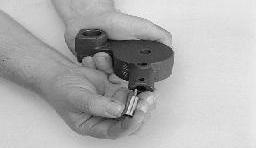
2. Assemble the 3rd speed block assembly: a. Install the plunger in the 3rd shift block bore, plunger shank to the outside. b. Install the spring into the bore over the plunger shank. c. Install the plug and tighten to compress the spring. d. After plug bottoms out, back the plug out 1-11/2 turns. e. Complete the block assembly process by staking the plug through the small hole in block.

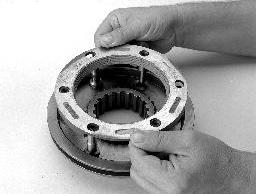
3. With the housing rear to the right, lay the assembly on a flat surface.
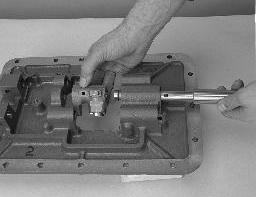
4. Install the center rail in the middle boss.
5. As the center rail passes through the first boss, install the shift block.
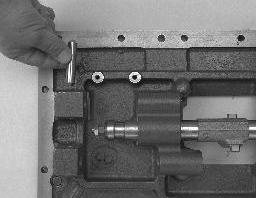
6. Drive the center block roll pin through the center bar to hold the center block in position.
7. Install the interlock pin, centered between bosses.
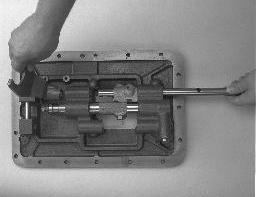
8. While installing the top yoke bar, position the shift yoke assembly and block assembly. The block assembly aligns with shift select block ear.
9. Install the lockscrews, tighten to 35-45 lb-ft of torque. Lockwire securely.
10.While installing the bottom yoke bar, position the shift yoke. The block assembly aligns with shift select block ear.
11.Install the lockscrew, tighten to 35-45 lb-ft of torque. Lockwire securely.
12.Install the oil trough and oil trough retaining capscrews.
13.Turn the shift bar housing over, and install the two (2) sets of tension springs and balls.
Final Check
• Make sure interlocking system is working – can’t shift into 2 gears at the same time. • Make sure all capscrews are lockwired. • Make sure the two (2) sets of tension springs and balls are installed.