1 minute read
How to Assemble the Splitter Cylinder Assembly

Special Instructions
Apply Eaton lubricant #71214 or equivalent to all shift cylinder assembly and insert valve O-rings so a film covers the entire surface of each O-ring.
Apply Eaton rust preventative #71213 or equivalent to all shift cylinder walls and yoke bars, cover the entire yoke bar surface that comes in contact with the shift cylinder O-ring.
Apply Eaton lockwire #1619 or equivalent to the shift yoke capscrews. The lockwire should anchor each capscrew head securely to the yoke or to the second capscrew which fastens to the yoke bar. The lockwire should be twisted together, trimmed, and bend out of the way of other parts.
Special Tools
• Typical Service Tools • A vise with brass jaws or wood blocks
Procedure -
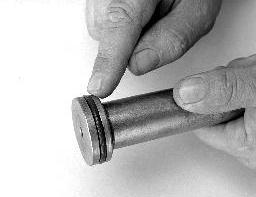
1. If previously removed, in the cylinder housing bore, install the small O-ring.
2. If previously removed, on the piston O.D., install the piston
O-ring.
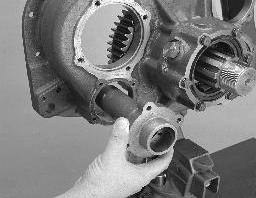
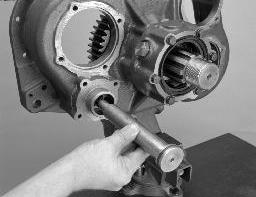
3. Place the auxiliary housing upright in a vise.
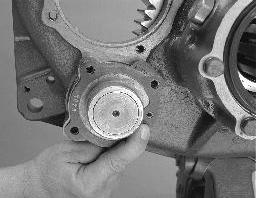
4. Position a new gasket on the cylinder housing mounting surface.
5. From the rear, with the air passage towards the rear bearing cover, install the cylinder housing.
6. From the rear, insert the piston. Make it flush with the cylinder housing.
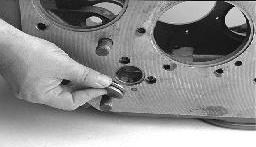
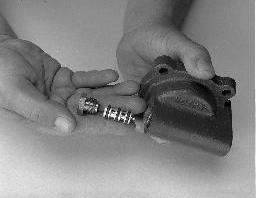
7. If previously removed, install in the cylinder cover bore the insert valve, nipple in the proper direction.
8. If previously removed, install over the insert valve the insert valve retaining nut. Tighten the retaining nut to 40-50 lb-ft of torque.
9. Position a new gasket on the cylinder housing cover mounting surface. The gasket air passage must align with the housing air passage.
10.Position the splitter cylinder cover over the gasket.
11.Apply Eaton/Fuller sealant #71205 or equivalent to the retaining capscrews.
12.Install and tighten the retaining capscrews to 20-25 lb-ft of torque.
Final Check
• Make sure the retaining nut and capscrews are tighten to proper torque. • Make sure gaskets were used at appropriate positions.