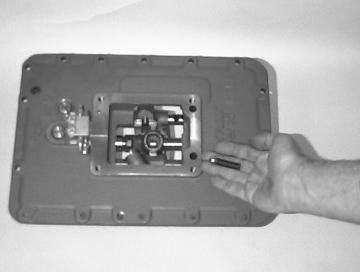
How to Assemble the Auxiliary Section How to Install the Countershaft Assemblies (w/Tapered Bearings) Special Instructions For "A" Series, go to “A” Series Section. To make auxiliary section assembly easier, you can make an auxiliary section fixture out of a 2" x 12". Make sure to use an auxiliary drive gear retaining bolt with thread sealant material.
Special Tools •
Typical Service Tools
•
Auxiliary countershaft retaining straps
•
Toolmaker’s dye
Procedure -
147
1.
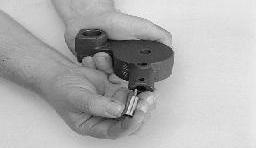
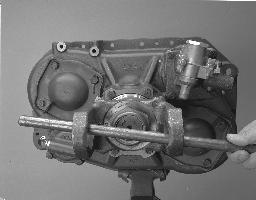
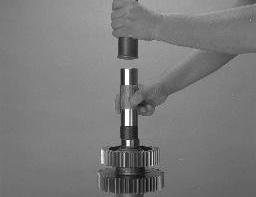
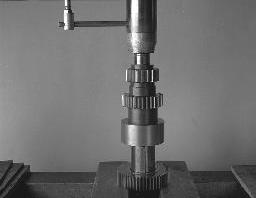
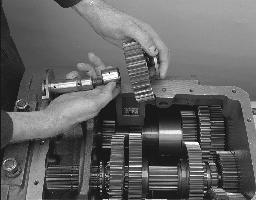
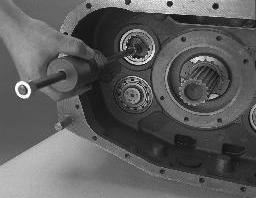
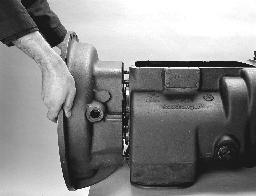
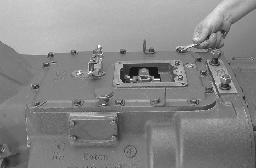
Place the countershaft assembly vertical on a clean, flat surface. If previously removed, use the proper driver and maul to install the countershaft bearings.
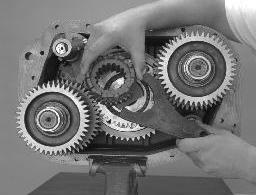
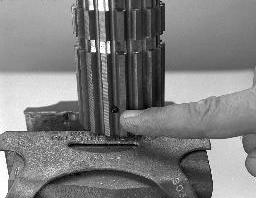
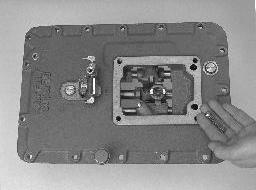
2.
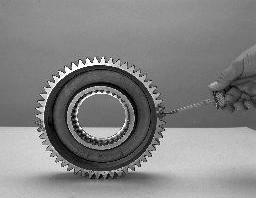
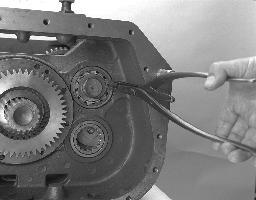
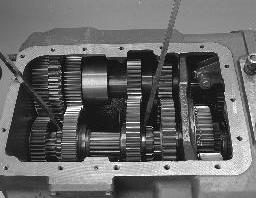
Mark each countershaft for correct timing. Locate the "O" stamped on the countershaft and mark the tooth with highly visible toolmaker's dye or paint.
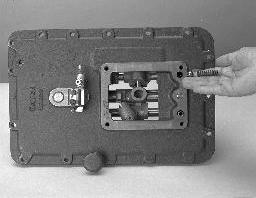
3.
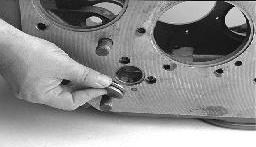
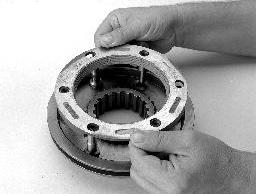
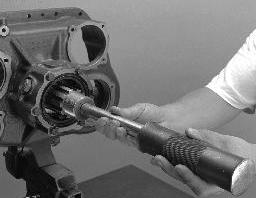
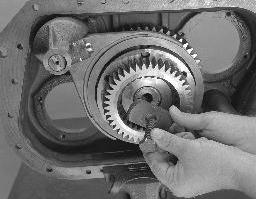
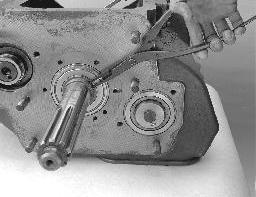
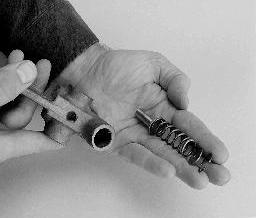
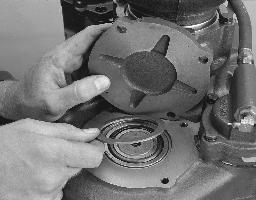
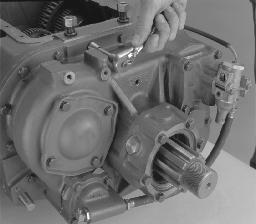
Install the synchronizer assembly on output shaft front.
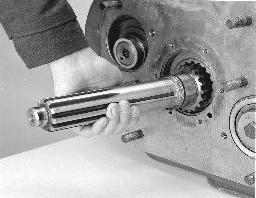
4.
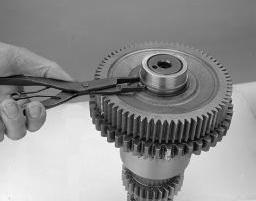
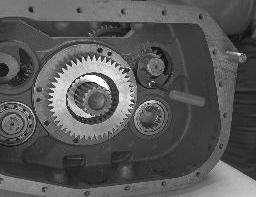
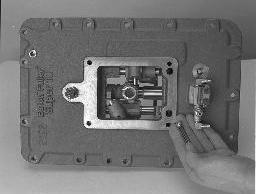
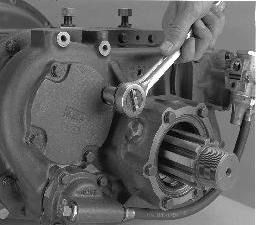
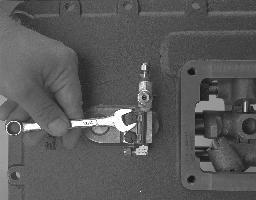
Place the thrust washer, the rear auxiliary drive gear, the thrust washer, the retainer and the 15/16" capscrew on the output shaft assembly. Finger tighten the capscrew.