Gehl RT165 RT165 (EU) RT165 X-Series Compact Track Loader Operator’s Manual 50950264 - PDF DOWNLOAD

Page 94

Warm Up Do not operate the machine until the hydraulic system reaches operating temperature. When cold, hydraulic response is slow and can be unpredictable, presenting an unsafe condition. Damage to the machine can also result.

WARNING

1. After starting, allow the engine to run at low idle with no load for a minimum of 5 minutes without operating the drive, lift, tilt or auxiliary functions. 2. Run the engine at 1800 rpm with no load for 5 minutes. 3. Raise the lift arm so the attachment is off the ground. 4. Extend and retract each of the cylinders several times with no load. 5. Travel slowly forward and backward several times. 6. In cold weather, tilt the attachment all the way forward and keep it there for 20-25 seconds. Repeat this step until the attachment tilt speed is normal.

Run-In Period The performance and service life of the machine is heavily dependent on using the machine carefully during its first 100 operating hours. •

Do not operate the machine at the maximum rated operating capacity.

Do not run the engine at a high speed for extended periods of time.

Increase the load gradually while varying the engine speed.

Follow the maintenance schedule. See “Maintenance Schedules” on page 127.

Stopping the Machine When stopping the machine, perform the “Mandatory Safety Shutdown Procedure” on page 14. Raise the operator restraint bar, unfasten the seat belt(s) and grasp the hand-holds while climbing out of the operator’s compartment. Important: Do not stop the engine at full throttle. Damage to the engine can result. Note: The machine is equipped with a spring-applied automatic parking brake. The parking brake is applied when the operator restraint bar is lifted, the operator’s leaves the operator’s seat, the engine is shut off, or the parking brake switch is actuated.

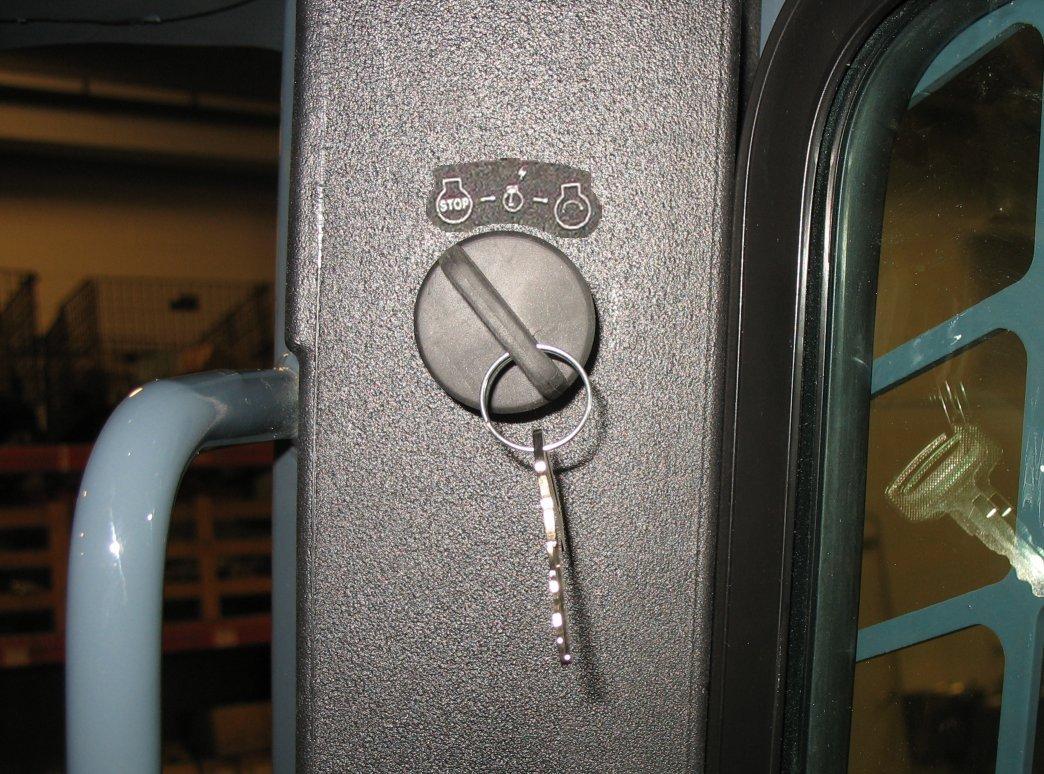
Engine Stalling If the engine should stall for any reason during operation, always turn the ignition keyswitch all the way counter-clockwise to the OFF position and place the lift/tilt, drive and auxiliary hydraulic controls into the neutral positions before re-starting the engine according to “Starting the Engine” on page 85.

WARNING

88

50950264/D0819


Turn static files into dynamic content formats.

Create a flipbook

Articles inside

Common Materials and Densities

1min
pages 205-206

Hydrostatic Drive System Troubleshooting

1min
page 177

Table 26: Hydraulic System Troubleshooting

1min
page 176

Table 26: Hydraulic System Troubleshooting

1min
page 175

Final Shutdown / Decommissioning

1min
pages 166-167

After Storage

1min
page 165

Fuses, Relays and Diodes

2min
pages 161-164

Seat and Restraint Bar Switches

1min
page 160

Travel Motor Maintenance

3min
pages 157-159

Hydraulic Hose Maintenance

1min
page 156

Changing Hydraulic Oil Filter

1min
pages 154-155

Draining/Flushing Cooling System

1min
pages 152-153

Engine Mounting Hardware Inspection

9min
pages 143-151

Engine Maintenance

1min
page 142

Lifting the Machine

1min
page 141

Removing Foreign Material

1min
pages 139-140

General Lubrication

1min
page 138

Back-Up Alarm

2min
pages 130-132

Diesel Particulate Filter (DPF) Regeneration Procedures (DPF Models)

5min
pages 124-129

Lifting the Machine Using a Crane or Hoist

1min
page 123

Loading and Transporting the Machine on a Transport Vehicle

2min
pages 121-122

Transporting Loads Using Pallet Forks

2min
pages 119-120

Using Pallet Forks

2min
pages 117-118

Grading

1min
pages 115-116

Backfilling Holes and Embankments

1min
page 114

Loading a Bucket

1min
pages 112-113

Self-Leveling (Option)

2min
pages 109-111

Connecting Auxiliary Hydraulic Couplings

1min
page 107

Disconnecting Attachments

1min
page 106

Changing Attachments

2min
pages 104-105

Sprocket Tooth Wear and Track Life

2min
pages 101-103

Parking the Machine

8min
pages 95-100

Warm Up

1min
page 94

After Starting

1min
page 93

Starting the Engine

2min
pages 91-92

Table 12: Pre-Start Checks

1min
pages 88-90

Auxiliary Hydraulic System

2min
pages 84-87

Attachment Mounting

2min
pages 81-83

Beacon/Position/Work Lights

3min
pages 78-80

Hydraglide™ Ride Control System (Option)

1min
page 77

Lift Arm Float

1min
pages 75-76

Table 10: Hand and Foot Controls

2min
pages 72-74

Table 7: Status, Maintenance and Error Code Screens

5min
pages 63-71

Table 7: Status, Maintenance and Error Code Screens

1min
page 62

Table 7: Status, Maintenance and Error Code Screens

1min
page 61

Information Center Electronic Display Screens

1min
page 60

Information Center Electronic Display

1min
pages 57-58

Optional Lights/Lockout Keypad Indicators/Buttons

1min
page 56

Table 2: Control Keypad Indicators

1min
page 53

Safety Interlock System (Hydraloc™)

4min
pages 46-51

SAFETY EQUIPMENT

2min
pages 43-45

Indicator and Operation Symbols

23min
pages 15-29

Vibration Information

2min
pages 13-14

Fields of Application

1min
page 12

Proper Machine Use

1min
pages 10-11
Issuu converts static files into: digital portfolios, online yearbooks, online catalogs, digital photo albums and more. Sign up and create your flipbook.