8 minute read
Parking the Machine

from Gehl RT165 RT165 (EU) RT165 X-Series Compact Track Loader Operator’s Manual 50950264 - PDF DOWNLOAD

Park the machine away from traffic on firm, level ground. If this is not possible, park the machine across the incline and block the tracks to prevent movement.
After performing the “Mandatory Safety Shutdown Procedure” on page 14, perform the following:
• Check for coolant, fuel and/or oil leaks. Inspect all hoses, working components, covers and chassis for damage or advanced wear. Check for loose or missing parts. Repair or replace damaged, leaking, worn or otherwise compromised components before starting the machine again.
• Fill the fuel tank. See “Fluid Capacities/Lubricants” on page 187 for proper fuel specifications.
• Remove any dirt and/or debris from the engine compartment.
• Remove any mud/dirt from the chassis. Clean any dirt or water from the cylinder rod surfaces to prevent corrosion and protect the cylinder seals.
• If parking the machine for an extended period, lock the cab door (if so equipped) and the engine compartment. Take the keys with you.
Jump-starting
If the battery is discharged or does not have enough power to start the engine, jump-start the engine as follows:
WARNING
Two people are required for safe jump-starting. An additional person is required to remove the jumper cables with the operator remaining in the operator's seat once the engine is running. Start the engine from the operator’s seat with all controls in “neutral.”
NEVER make jumper cable connections directly to the starter solenoid of either engine.
To reduce the risk of a short circuit, keep metal parts on your clothing and metal jewelry away from the battery.
Do not jump-start a frozen battery, or it may explode. A discharged battery can freeze at 14°F (10°C).
Wear safety glasses and avoid leaning over the batteries while jumpstarting.
To avoid personal injury, closely follow the procedure, step-by-step.
Important: The external power source must deliver 12 volts, DC. Supply voltages higher than 12V can damage the electrical systems of both machines. Only use jumper cables that are in good condition.
Important: The booster battery must have a voltage of 12-volts.
1. Turn the ignition keyswitches of both machines to the OFF position. Be sure the controls in both machines are in the neutral position and the machines are NOT touching each other. If the machine with the booster battery has a drive transmission, place the transmission into neutral and apply the parking brake.
2. Open the engine compartment to provide access to the discharged battery (Figure 56). If the machine is equipped with a battery disconnect switch (see “Battery Disconnect Switch” on page 76), be sure the switch is in the ON position.

3. Route the jumper cables so that they cannot catch on any moving objects or components and connect the positive jumper cable to the positive (+) terminal (A, Figure 57) on the discharged battery.
Important: Prevent the other positive jumper cable clamp from touching any metal other than the positive (+) remote battery terminal.
4. Connect the other end of the positive jumper cable to the positive (+) terminal (B) on the booster battery.
5. Connect the negative jumper cable to the negative (-) terminal (C) on the booster battery.
6. Connect the other end of the negative (-) jumper cable to an unpainted frame surface (D) inside the engine compartment of the machine with the discharge battery. Connect the cable as far as possible away from the battery.
Important: Prevent the other negative jumper cable clamp from touching any metal other than the frame of the machine with the discharged battery.
Do not connect the other end of the negative jumper cable clamp to the negative terminal (-) on the discharged battery. Gas emerging from the battery may ignite if sparks are formed.
7. Start the machine with the discharged battery. See “Starting the Engine” on page 85. If the engine does not start immediately, stop cranking after 10 seconds and repeat starting procedure after approximately 30 seconds.
Note: Alternately, a third person can start the machine with the booster battery, to avoid excessive drain on the booster battery.
8. Once the machine with the discharged battery is running, disconnect the jumper cables in reverse order of connection. Be careful not to short the jumper cables together when disconnecting.
9. Run the machine for at least 30 minutes to re-charge the battery.
Travel Drive Operation
Refer to travel drive control information starting on page 61
Never allow anyone to enter the machine travel path and/or inside the turning radius of the machine. Signal your intention to move by sounding the horn.
Traveling should be performed with the attachment in transport position. See “Attachment Transport Position” on page 96.
Avoid sudden stops, starts or turns. Do not raise the arm rests/safety bars while traveling. Raising the arm rests/safety bars will apply the parking brake abruptly. Loss of control could result.
Do not turn the ignition keyswitch to the OFF position while traveling. Sudden braking will occur and loss of control could result.
Always check and look behind you before and while traveling in reverse. Traveling in reverse without checking and looking could result in collision with a person or obstacle.
Remove obstacles in the machine’s path before traveling with a load.
Two-Speed Drive
Two-speed drive has two (high and low) travel speed ranges. See “Two-Speed Drive” on page 91 for two-speed drive control information.
Reduce speed before shifting from two-speed to single-speed drive. Down-shifting from two- to single-speed drive while traveling at high speed may cause the machine to tip and can cause injury, loss of control and damage to the machine.
Driving on an Incline
When traveling on an incline, travel with the heavy end pointing uphill.
Driving over Rough Terrain
When traveling over rough terrain, activate the Hydraglide™ ride control system and drive slowly with the bucket lowered in the transport position (“Attachment Transport Position” on page 96). See “Hydraglide™ Ride Control System (Option)” on page 73 for details about activating Hydraglide™.
Transport on Public Roads
Refer to “Loading and Transporting the Machine on a Transport Vehicle” on page 115 if it is necessary to transport the machine a long distance. For short distance travel on public roads, attach an SMV (Slow-Moving Vehicle) emblem (purchased locally) to the back of the machine. For highway operation, install the optional flashing beacon.
Important: Follow the applicable legal regulations of the country and locality where the machine is used. Only the attachments listed in the operation license or vehicle papers are admissible for driving on public roads.
Transport Hydraulics Lock-out (Option)
When driving the machine on public roads activate the transport hydraulics lock-out on machines equipped with this option.
Position the lift arm in the transport position and press the hydraulics lock-out button (A) to deactivate the attachment lift and tilt hydraulics and prevent inadvertent lift arm movement. Pressing the button again will toggle hydraulic function back on.
Note: Attachment tilt and lift hydraulics are deactivated when LED (B) is lit.
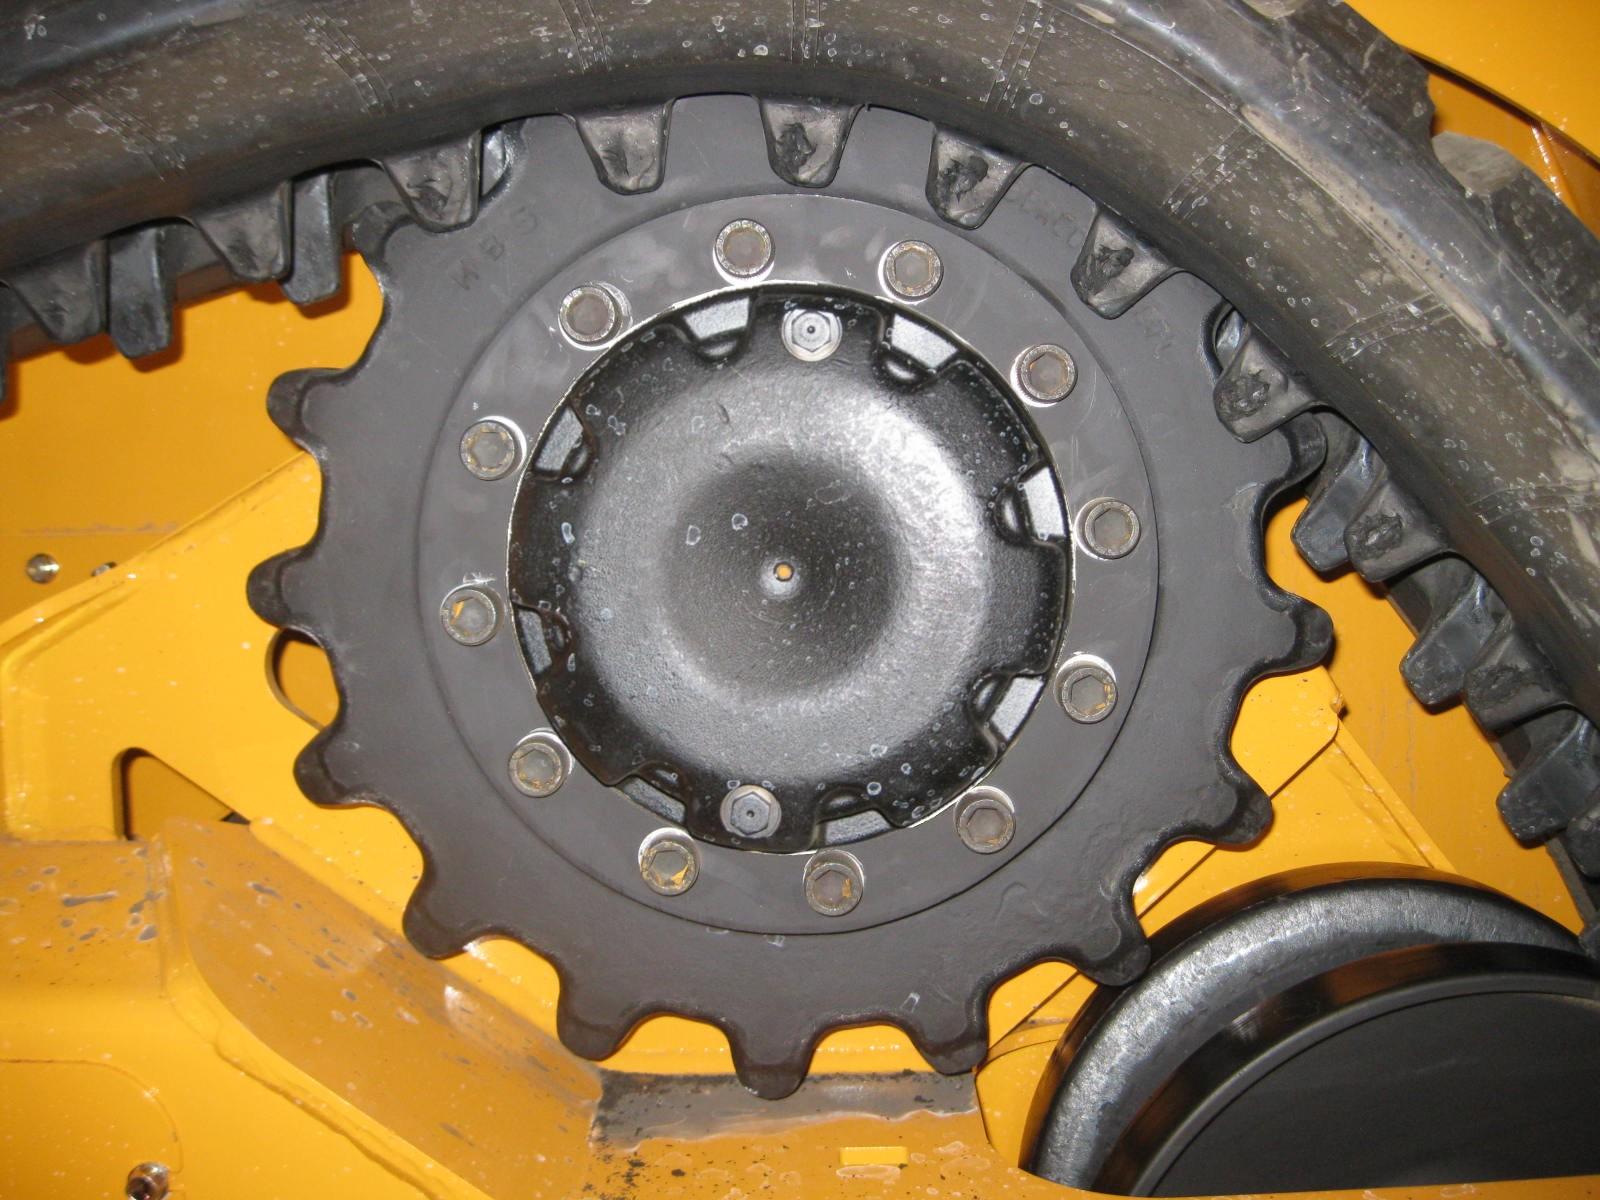
Rubber Track Use Cautions and Tips
Carefully following the recommendations in this section will result in better track wear performance.
Caution
If possible, avoid traveling over broken or jagged stone, metal objects, on other sharp objects that could damage or cut the tracks.
Inspect tracks and undercarriage components for wear frequently. Worn components accelerate track wear.
If possible, avoid traveling in areas with loose rocks that could get stuck in the tracks, or between the tracks and the track wheels.
Avoid using the machine in salt water areas. Salt can corrode the metal cores in the tracks.
Clean any fuel, oil, salt, fertilizer or chemical solvents that might get on the tracks. These substances could corrode the metal cores in the tracks.
Avoid traveling on roads immediately after asphalting, or on other hot surfaces or over fires. Damage to the tracks could result.
If climbing steps or cobblestone, avoid climbing at an angle. Climb straight up the slope and do not change course at the top of the slope.
When climbing slopes. Do not suddenly change course at the point where the slopes starts.
Avoid traveling with one track on a slope or other raised surface and the other track on a flat surface.
Harder surfaces cause accelerated track and undercarriage component wear. Avoid sharp and spin turns on hard surfaces such as concrete.
Avoid drops that cause severe blows to the tracks.
High-speed operation and track slippage accelerate track and undercarriage component wear.
Avoid rubbing the sides of the tracks against walls or other vertical surfaces.
It is impossible to estimate track life, because track life is affected by operating conditions, maintenance and application.
Due to varying applications, there is no wear guarantee on rubber tracks. As a “rule of thumb”, however, rubber track life expectancy for track loaders in “dirt” applications can be up to 2 to 2-½ times the normal life of a set of pneumatic tires on a skid-steer loader.
Important: Track damage caused by heavy and/or abusive use is not covered under warranty. Damaged tracks cannot be repaired and must be replaced.
To extend track life, the IdealTrax track tension is loosened when the engine is not running. When the engine is started, the tracks are automatically adjusted to the correct tension. Monitor the tracks at startup to ensure the automatic track tensioning system is working properly. Tracks running loose can de-track. Over-tightened tracks can cause power loss, excessive roller, idler bearing and sprocket wear, and track tearing.
Tracks and undercarriage should be cleaned regularly. Mud and/or debris buildup in the track rollers, sprockets and/or undercarriage structure can accelerate track wear. It prevents proper engagement between the mating surfaces of sprocket teeth and track links, can cause the tracks to be crowded off the rollers, and may prevent roller rotation, leading to roller and/or track failure. IdealTrax makes cleaning tracks and undercarriage easier due increased clearance provided when the machine is off and tension on the tracks is relaxed.
Constant operation on slopes, side hills, crowns and depressions accelerates guide lug, idler, roller and sprocket wear. Avoid cutting across slopes. Instead, drive up or down them. It is best to climb straight up or down, and then turn when the machine is in a more level location.
Alternate turning direction from one side to the other. Always turning in one direction can accelerate sprocket tooth, track tread, guide lugs and roller flange wear.
Unnecessary track slippage accelerates undercarriage and track wear and can cut tracks. Avoid track slippage when driving into material and dig using the lift/tilt hydraulics. Be aware when track slippage occurs and adjust machine operation to prevent it.
Avoid making spin turns or pivot turns, which accelerate wear and cause de-tracking. Always make wide turns whenever possible.
Don’t allow the sides of the tracks to strike against objects such as curbs or walls.
Avoid traveling with one track on a slope or a projecting object and the other track on a flat surface. Travel with both tracks on a level surface if possible. Operating tracks with the outside or inside edge of the track turned up on a curb, mound or stone can crack tracks or shear the rubber.
Operate slowly and carefully. High-speed operation accelerates wear on all undercarriage and track components.
Avoid traveling or operating on broken stone, jagged base rock, iron rods, scrap iron or other recycling-type materials. Rubber tracks are not intended for these surfaces.
Working in heavily stone-laden soils or conditions can cause damage or de-tracking due to stones becoming lodged in the idler or drive sprockets.
Rubber tracks are not intended for use in quarry, recycling or demolition applications.
Rubber track loaders are not intended for use with cold planers.
Harder surfaces cause accelerated wear on track treads, links, rollers, idlers, sprockets and other undercarriage components. To minimize wear, avoid routinely driving and turning on hard surfaces like asphalt and concrete.
Avoid allowing fuel, oil, salt or fertilizer to get on the tracks. These substances can corrode the metal cores in the rubber tracks. If these materials come in contact with the tracks, flush the tracks and undercarriage with clean water to remove the damaging materials.
Avoid operating in job sites where there are sharp objects, such as jagged rocks or broken concrete, which can damage the lug surface of the tracks. Use common sense when operating in conditions which are potentially damaging to rubber tracks, because the same conditions are damaging to rubber tracks as well. Damaged tracks cannot be repaired and must be replaced, and are not warrantable for failures under these conditions.
Excessively worn undercarriage components will damage tracks. Monitor these components to ensure maximum track life. If replacing tracks, replace any worn undercarriage components at the same time.
Listen for unusual or loud track/undercarriage noises during operation. Loud/unusual noises often indicate worn tracks/undercarriage.