Gehl RT165 RT165 (EU) RT165 X-Series Compact Track Loader Operator’s Manual 50950264 - PDF DOWNLOAD

Page 121

Loading and Transporting the Machine on a Transport Vehicle Park the transport vehicle on a level surface. Be sure the vehicle and its ramps have the weight and size capacity to support the machine. Make sure the driver of the transport vehicle knows the overall height, width and weight of the vehicle, including the loaded machine, before starting transport. See “Weights” on page 189.

WARNING

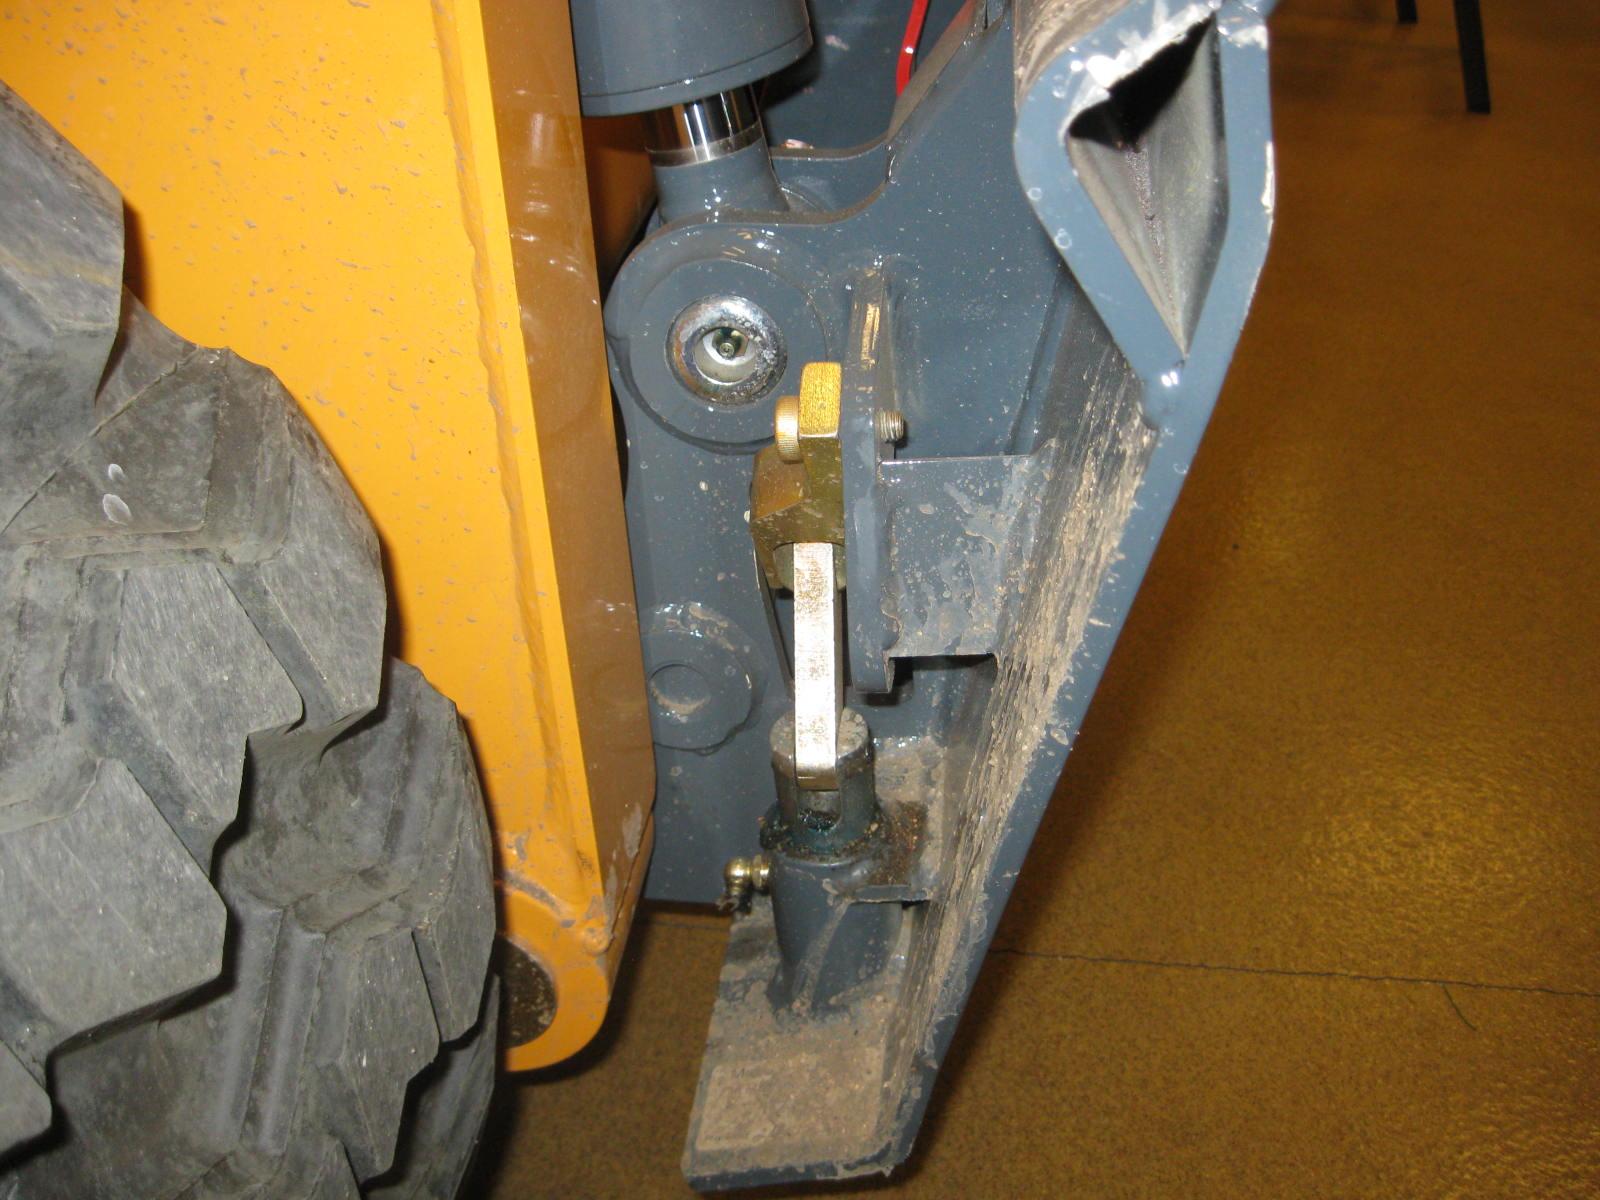
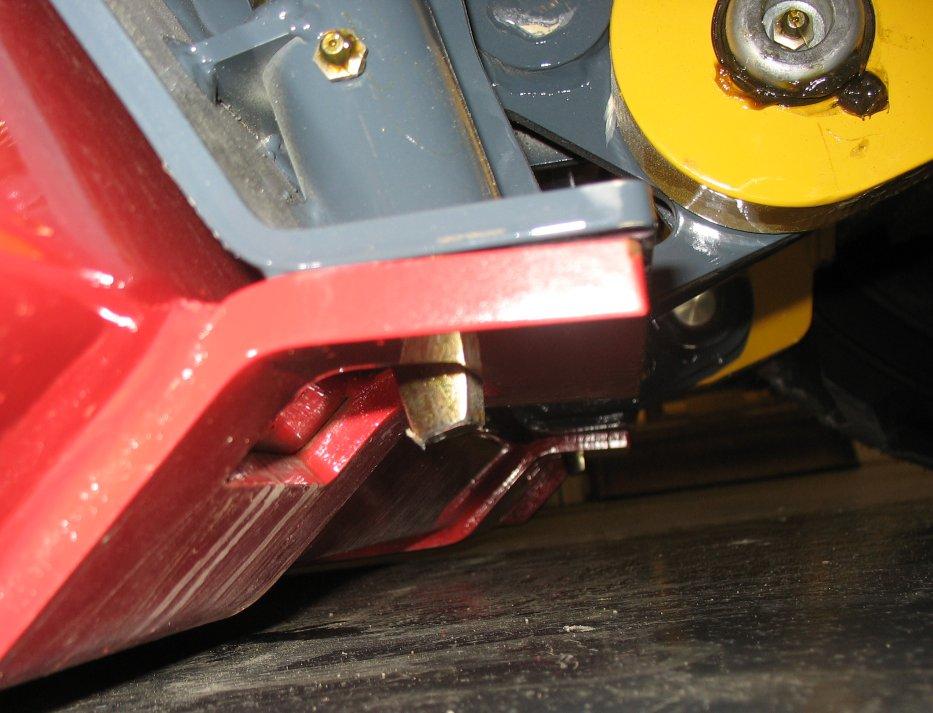
Make sure the load does not fall short of the minimum axle load of the steering axle, otherwise the transport vehicle’s steering could be seriously affected. Make sure the transport surface and the loading ramps are clear of debris and slippery material that may reduce traction. Secure the loading ramps to the transport vehicle before loading. Position the loading ramps at the shallowest possible angle. Do not exceed an angle of 15°. Only use ramps with anti-skid surfaces. Move the machine on and off the vehicle ramp slowly and carefully. Position the machine at the lowest possible position on the transport platform, with the center of gravity of the load over the centerline of the transport vehicle. Distribute partial loads to ensure an even load across the axles of the transport vehicle. Secure the machine properly so it cannot move during transport. Consider all possible transport conditions such as: heavy braking, evasive maneuvers, and uneven or rough roadways. Always use the proper tie-down points when using straps and chains. See “Machine Orientation” on page 3. Failure to follow these instructions could result in an overturn accident. Important: Observe all local regulations governing the loading and transporting of equipment (Reference: U.S. Federal Motor Carrier Safety Regulations, Section 392). Ensure that the hauling vehicle meets all safety requirements before loading the machine. 1. Park the transport vehicle on a level surface. Block the tracks on the transport vehicle at the front and rear. 2. Before starting, check the engine oil level. The oil level must be at the “Full” mark on the dipstick. Add oil if needed. See “Checking Engine Oil Level” on page 137. Important: When loading and driving on ramps, the engine can be damaged if the engine oil level is too low. 3. Start the machine and raise the hitch plate/attachment enough so that it will not touch the loading ramps. 4. Slowly and carefully drive in reverse up the ramp onto the transport vehicle. 115

50950264/D0819


Turn static files into dynamic content formats.

Create a flipbook

Articles inside

Common Materials and Densities

1min
pages 205-206

Hydrostatic Drive System Troubleshooting

1min
page 177

Table 26: Hydraulic System Troubleshooting

1min
page 176

Table 26: Hydraulic System Troubleshooting

1min
page 175

Final Shutdown / Decommissioning

1min
pages 166-167

After Storage

1min
page 165

Fuses, Relays and Diodes

2min
pages 161-164

Seat and Restraint Bar Switches

1min
page 160

Travel Motor Maintenance

3min
pages 157-159

Hydraulic Hose Maintenance

1min
page 156

Changing Hydraulic Oil Filter

1min
pages 154-155

Draining/Flushing Cooling System

1min
pages 152-153

Engine Mounting Hardware Inspection

9min
pages 143-151

Engine Maintenance

1min
page 142

Lifting the Machine

1min
page 141

Removing Foreign Material

1min
pages 139-140

General Lubrication

1min
page 138

Back-Up Alarm

2min
pages 130-132

Diesel Particulate Filter (DPF) Regeneration Procedures (DPF Models)

5min
pages 124-129

Lifting the Machine Using a Crane or Hoist

1min
page 123

Loading and Transporting the Machine on a Transport Vehicle

2min
pages 121-122

Transporting Loads Using Pallet Forks

2min
pages 119-120

Using Pallet Forks

2min
pages 117-118

Grading

1min
pages 115-116

Backfilling Holes and Embankments

1min
page 114

Loading a Bucket

1min
pages 112-113

Self-Leveling (Option)

2min
pages 109-111

Connecting Auxiliary Hydraulic Couplings

1min
page 107

Disconnecting Attachments

1min
page 106

Changing Attachments

2min
pages 104-105

Sprocket Tooth Wear and Track Life

2min
pages 101-103

Parking the Machine

8min
pages 95-100

Warm Up

1min
page 94

After Starting

1min
page 93

Starting the Engine

2min
pages 91-92

Table 12: Pre-Start Checks

1min
pages 88-90

Auxiliary Hydraulic System

2min
pages 84-87

Attachment Mounting

2min
pages 81-83

Beacon/Position/Work Lights

3min
pages 78-80

Hydraglide™ Ride Control System (Option)

1min
page 77

Lift Arm Float

1min
pages 75-76

Table 10: Hand and Foot Controls

2min
pages 72-74

Table 7: Status, Maintenance and Error Code Screens

5min
pages 63-71

Table 7: Status, Maintenance and Error Code Screens

1min
page 62

Table 7: Status, Maintenance and Error Code Screens

1min
page 61

Information Center Electronic Display Screens

1min
page 60

Information Center Electronic Display

1min
pages 57-58

Optional Lights/Lockout Keypad Indicators/Buttons

1min
page 56

Table 2: Control Keypad Indicators

1min
page 53

Safety Interlock System (Hydraloc™)

4min
pages 46-51

SAFETY EQUIPMENT

2min
pages 43-45

Indicator and Operation Symbols

23min
pages 15-29

Vibration Information

2min
pages 13-14

Fields of Application

1min
page 12

Proper Machine Use

1min
pages 10-11
Issuu converts static files into: digital portfolios, online yearbooks, online catalogs, digital photo albums and more. Sign up and create your flipbook.