OPTIONAL ATTACHMENTS Installation WARNING: Be sure to complete installation work only d after checking that coupler pins (5) (both right and left) have been installed. WARNING: Apply the parking brake before leaving d the machine. IMPORTANT:
5
5
6
6
Apply grease onto coupler pin (5) to prevent seizing and rust before installing the attachment.
M4EJ-13-004
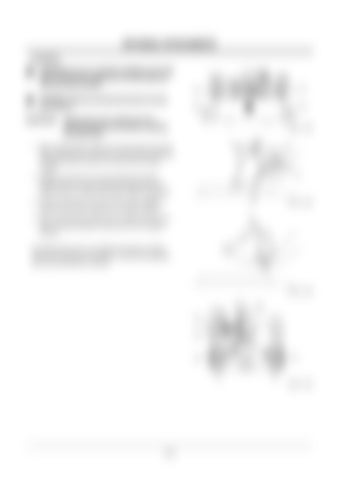
1. After checking that coupler pins (5) have been removed. Slowly approach the machine to the bucket (attachment) hooks (6) until the hooks are inserted into the quick coupler. 7
2. Slightly raise lift arm (7) to slowly allow the bucket (attachment) to tilt backward until stopper (8) on the bucket comes in contact with quick coupler stopper (9). 8
3. Remove lock pin (9). Turn lever (10) to the installation position and install coupler pins (5) (right and left).
M4EK-13-004
4. After checking that coupler pins (5) (right and left) have been securely installed, set lock pin (9) in the original position. If installed attachment uses additional hydraulic cylinder other than the bucket or the lift arm, connect the hydraulic hoses to the attachment cylinder.
M4EK-13-005 Install Remove
10
9 6
5
5
M4EK-13-002
13-2


