REMOVE AND INSTALL SUPPLY PUMP ASSEMBLY
50 DISASSEMBLY AND ASSEMBLY
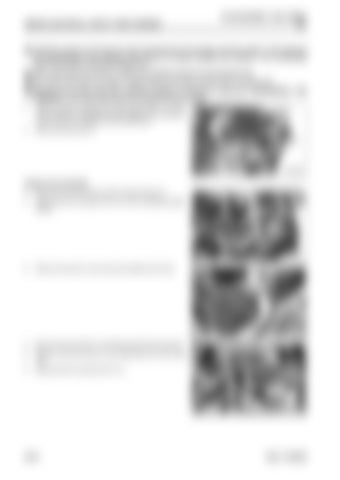
k Install the wrench to the part (a) of the auto-tensioner (2) securely, and then rotate it. (The spring of
the auto-tensioner (2) is strong. If the wrench is loosely installed and rotated, it can accidentally come off and this is extremely dangerous.)
k After removing the fan belt (1), slowly and carefully restore the auto-tensioner (2).
k Be careful not to get your fingers caught between the pulley and fan belt (1) during work.
k Remove the fan belt under the mounting condition if required by referring to DISASSEMBLY AND
ASSEMBLY in the shop manual for the mounted machine model. 2.
Insert a wrench in the part (a) (width across flats: 12.7 mm) of the tensioner assembly (2), and rotate it in the direction of the arrow (b) to weaken the fan belt tension.
3.
Remove the fan belt (1).
Supply pump assembly 4.
Remove the clamp bolt (2) of the wiring harness (1).
5.
Disconnect the connector NE (3) of the crankshaft speed sensor.
6.
Remove the bolt (4), and remove the plates (5) and (6).
7.
Remove the joint bolt (7), and disconnect the fuel hose (8).
8.
Remove the joint bolt (9), and disconnect the fuel hose (10).
9.
Disconnect the connector SCV (11).
50-84
95LE-7 SERIES


