REPAIR INSTRUCTIONS 14. Slide the piston into the tool until it bottoms on the flat surface. 454
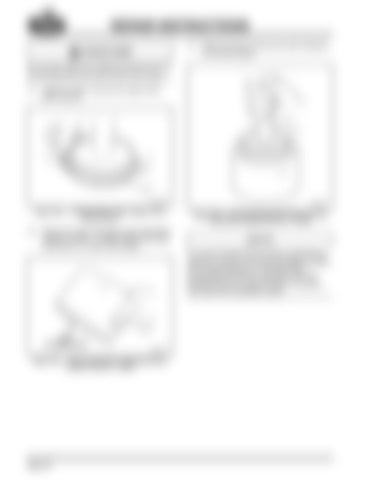
Do not over-stretch the Teflon® seal. Be sure that the seal lips seat over each side of the O-ring. 12. Install the wiper ring into the upper (thin) piston groove. 452
Figure 452 — Installing Wiper Ring in Upper (Thin) Piston Groove
Figure 454 — Inserting Range Shift Piston into Seal Sizer/Piston Installer (Tool No. J 47359)
13. Place the range shift piston seal sizer/piston installer (tool No. J 47359) flange-side (pilot end) down on a clean flat surface. 453
Figure 453 — Piston Assembled in Seal Sizer/Piston Installer (Tool No. J 47359)
Page 176
It is recommended that the piston assembly be allowed to remain in the seal sizer/piston installer tool for approximately 15 minutes before proceeding with the final assembly. This will properly size the O-ring and seal to the piston, and make final installation easier.
