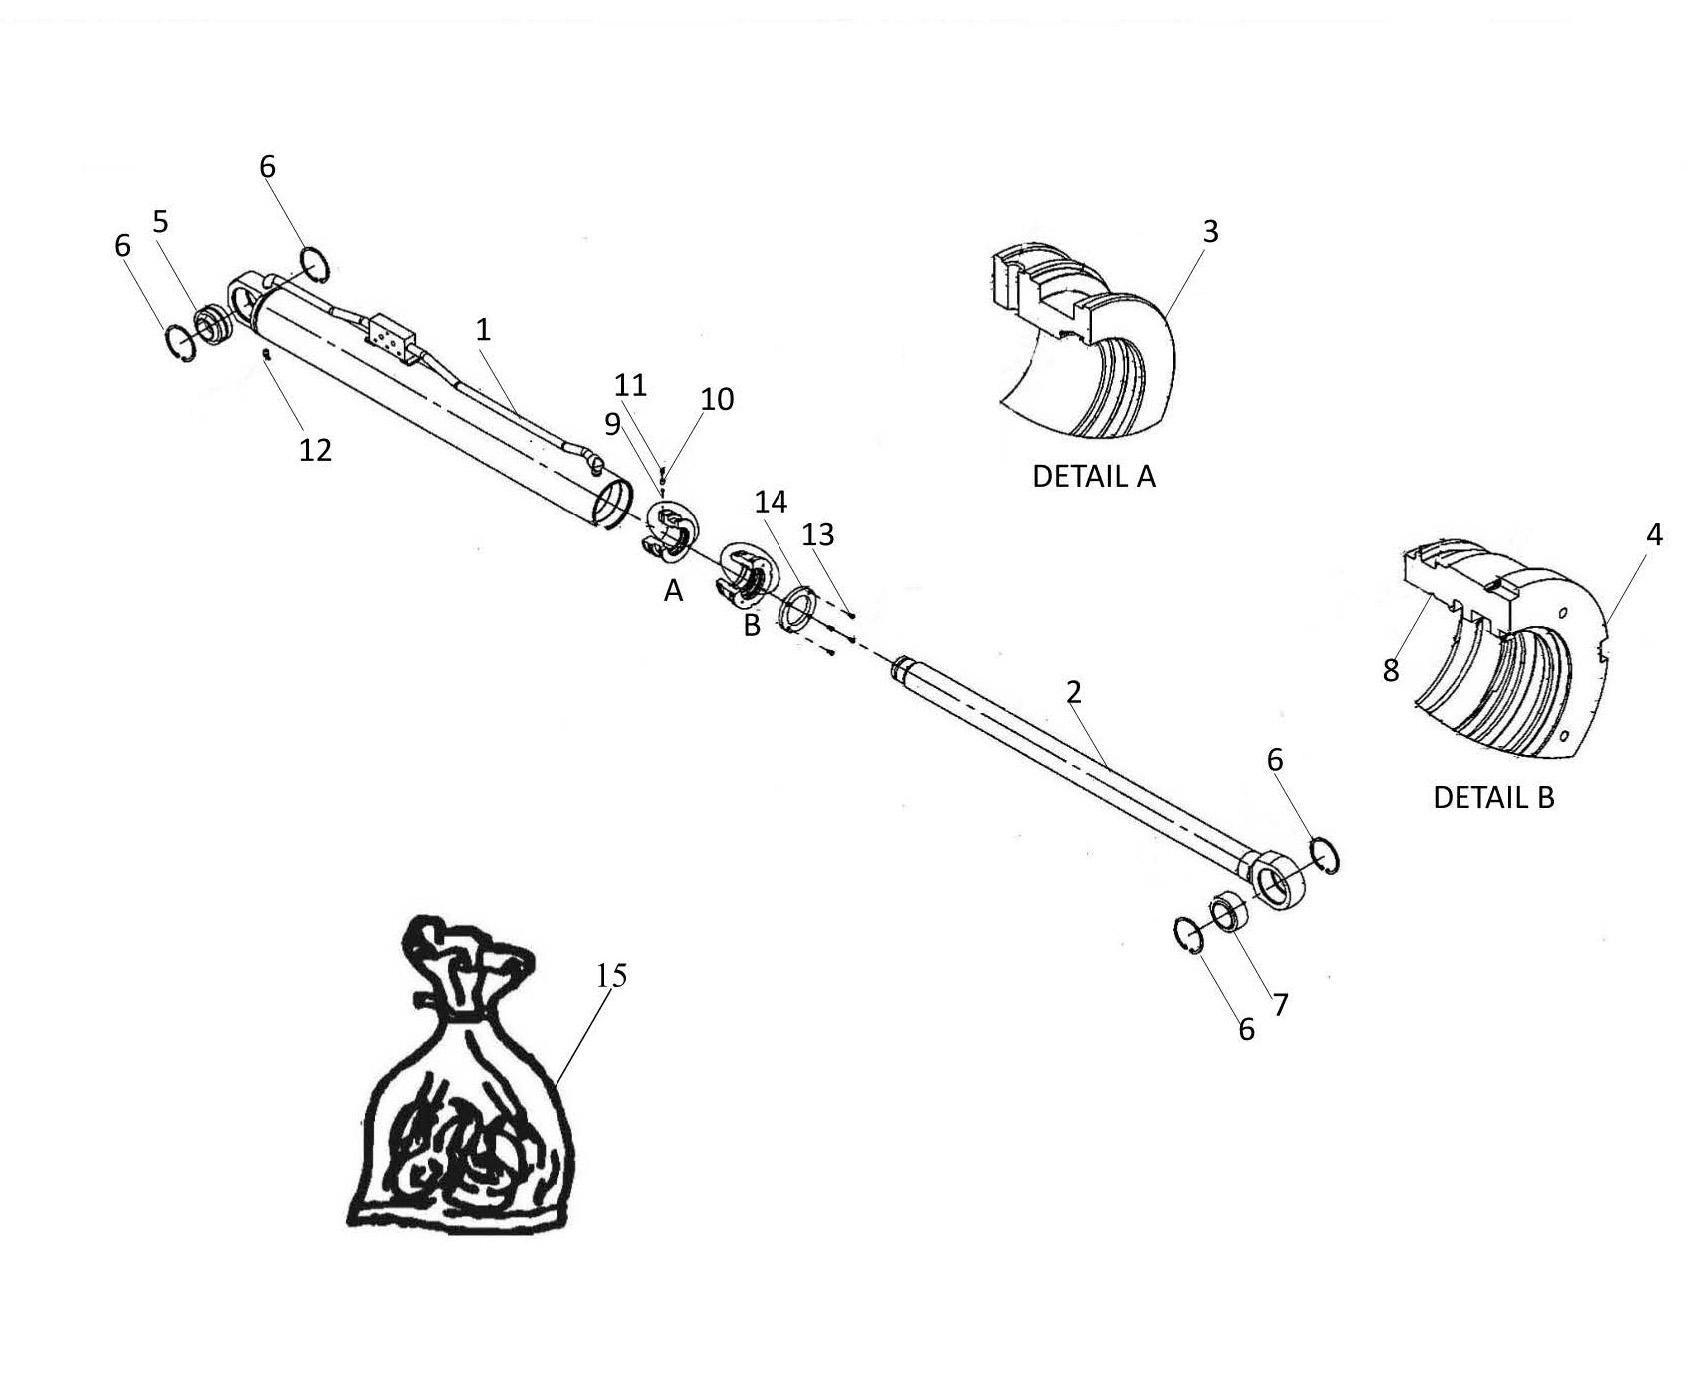
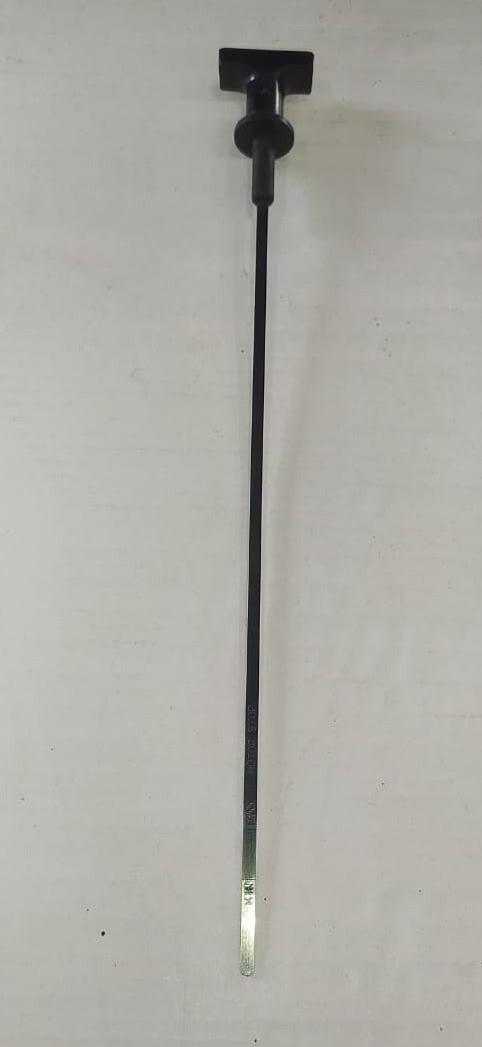
70.1.2 REMOVAL AND REASSEMBLY OF THE PISTON AND LOCKING RING REMOVAL
Locking ring 2 Stem 1
Piston 4 Nut 5
Piston 7 Screw 6
1
-
Place the stem in a vice fitted with false jaws. Tighten so as to stop it turning. Loosen nut 5 (Fig. 1) and unscrew it completely using a box wrench. Or, depending on the version, remove locking screw 6 (Fig. 1) using a hexagonal wrench. NOTE : Locking ring 6 (Fig. 1) is fitted using Loctite, then blocked by striking it with a chisel.
Locking ring 2
Locking ring 2 Stem 1
Piston 4
Stem 1
2
-
3
Remove piston 4 (Fig. 2) by pulling it out manually or, depending on the version, by unscrewing piston 7 (Fig. 1) using a hook wrench. Remove locking ring 2 (Fig. 3) by sliding it along the stem.
INSPECTION
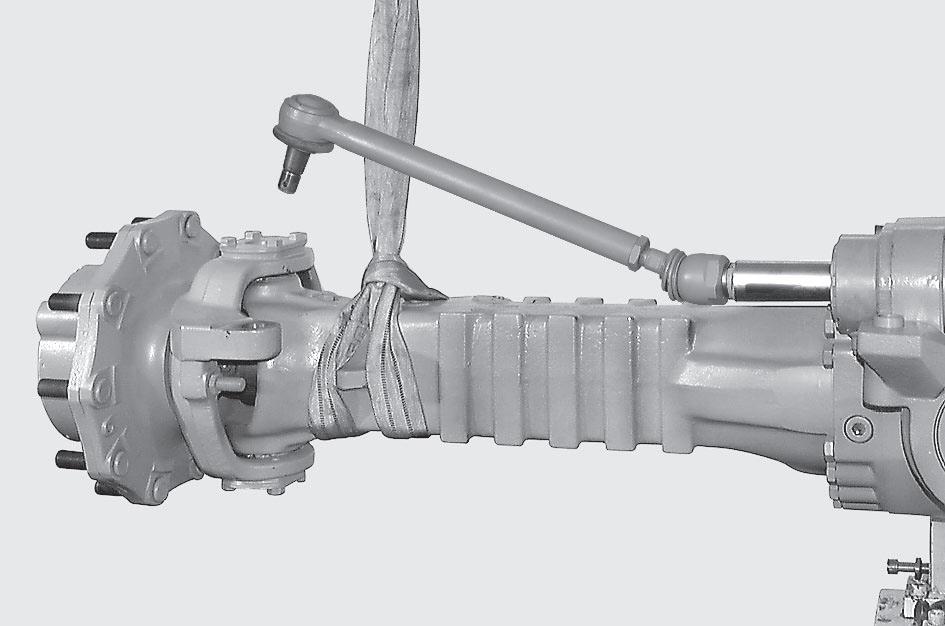
Comparator Stem 1
4
-
Check that the stem is straight over its whole length, using a comparator (Fig. 4). Check that the stem is not scaling, corroded or scratched. 5