REPAIR INSTBUCTIONS, PART 3 4. ll cleaÉnce is nol wlhin spéciñcalion, adiusr
Usins th6 dial indicator wilh ángÉl ere¡s¡on and b6é (9989876,. 851 I 1493 and 999s6s6), p¡acé the iip ollhe dia gauge on the yókó 6 closé as possibls io lhé ro.ker afm yoke pad.
lhe cleaEn@ as lollows, using shims lFigu@ 441) pla@d oñ Iop ol lhe Élve yoké
Adjusl ng Exhaust Focké. Arm CleaEnce
a. Flemove lhe shim relaining screw a¡d @mow l¡e 6him(s).
b, oerermine rhe Ihickness ol the shh(s) requircd ro p@ide lhe specitied
c, ¡¡aké su@ thal lhe valw yoke and shiñ(s) áfe creañ. Pracé thé shim(s) in posn¡on on the va !e yoke and inslall rhe eiaining sre. Tiqhrén lhe scre lo spdilicalion.
NOTE DO NOT úse mofe than hdo shlñs. shlms aé a€ilable in 0,05 ñm (0.002 inch) inc@menls wllh lh6 lhicknss már*6d on th€ sulác6. lf lwo shims ae requircd lo iake up the cleaÉ.@, the shlms should bé ol nea y équallhic¡<nes.
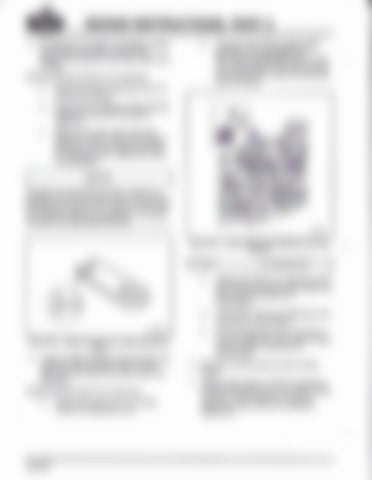
Fisure 446
- Bhke R.cbr h
adtBrñod Inh Diar
lBAdusrinqscrew
c. fghlen lhe tuckér am adjusiinq scr4
S-
B unlil lhe dial shows that the yoke has beon pushed d@nward lo
d, Loosen lhe rockér arm adjusling sre accord¡nq to sp6cilicalion.
e Hold ihe adjusting scrs lo prevent il
rrom lurn¡n! lurherand, using aloque
wrench, 1¡ghlen the locknul to
5. Leave ihé lééler gauge i¡ pla@ belrveen the exhaust rockor am pislon and lhe Elre yoke shim and adjusl the b¡ake rccker arm
Adjusling B€ke Bocker Ah clearánce
a. Loosen lhe iocknLn A on the bBke fooker arm adiusiihq srew
6.
Femove thé dial indicator and the teeter Usinq a leeler Oaugé, checklhe clearance belwéen lhe brake rocker árm rcller and the cam lobe. ¡llhe cléafance ¡s ¡ncórect, repeal the bako rockér arm clearancé
