REPAIR INSTBUCTIONS, PART 2 Prelim¡nary Steps fhé fo ow¡ng @po¡ent nee.r b be túóvéd fú ae*s to thé váIvé sléñ $áIs (* EN6lt'lE D¡SASSEúBLV lú pro@.¡urcs):
. .
cyliñdérHéadc@r Focke. Am Shaft Assembly
Seal Removal
NOTE When eplaciñq lhé vd€ sléñ sals, lhe p¡slons musl bé al fDc when the are fele4ed so thal the ulves do nol dop inlo lhe cvlind€r.
vd6
1, Usinglhelywh€ellurninglool,43400014,
rclale the cÉ.kshafl so lhal the p¡slons are al TDC ior lhe app¡opr álé pan ol cylind6B wh6€ stom *ds are belno épla@d.
3. Beóore and dl*ad lhe valve steñ seals. 4. Uslng a dean clo1h, thoouqhly clea¡ all
eñgine oi¡ of lhe €lve slem and valve qulde.
Seal lnstallation
L Applyálhinllmolcleanéngi¡eoi lolhe
outsidé d¡aneter ol thé Él@ seal guid€ lool and ro the sealing ¡ips oa rhe n4 var@ stem soal lo ávoid damaqe lo lhe séal as it is
NOTE Do NoT apply o¡t 10 the ¡ñner suda@s ot thó s6a thal conlacl rhe valve guide. These suriaces ñust
2. Place th6 s€a! qDidé lml¡ 8890001 1 , in posilion onlhe valve stém.
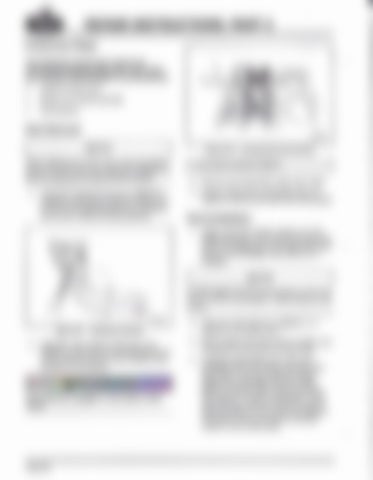
2, Usinq lhe valve spr¡¡g @mpressor l@1,
9090210, prcss down on l,te springs (one al a liúe) and .emove rhe valw r€rainérs and spfinqs fo f lhe cylinder
Use prored¡ve gogglés or éye in¡ury could
n*
3. Place a útue sr€m s6al in posilion over lhe guide lool a¡d onlo ihe válve st6m. Using lhe appoprialé eñd ol lh€ seal inslsllalion lool, 851 12460i seal the vatve slem seal o. lho vd€ guide by genlly lapping lhe ¡nstallation lml wirh a ljghl plaslicor rubber mallel. when ihe séális tullyseat6d, a nomd"sp ng-bacL otlhe sealwlll occur, inq a mdmun gap of apprcximately 0.5 mm (0.02 ¡nch) betrveeñ ih6 boltom of lhé séal and lhe shoulder sula@ on theElw 9ud€.
le
