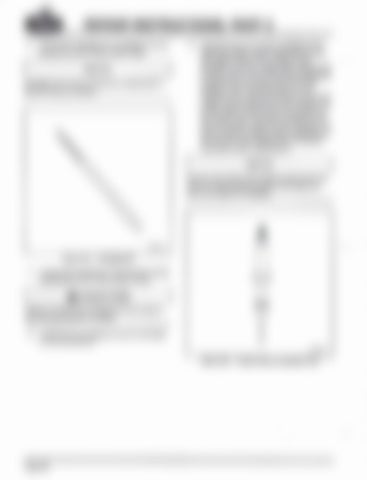
REPAIR INSTRUCTIONS, PART 2 6. Thread th€ sw€dging bll complelely inlo i¡e llaringiool undl lt siops (linaertiqht).
NOTE Swédqinq bil cañ bo ord€réd
s á sparé pad if
s. cafelurry pra€ the slé4 insialláion l@l
(w¡lh new copper deM anachéd) inio the unil injeclor bo¡e ol the eylrnder háad. Carelully moE lhe .opper deae dMwárd irno lhe njector bor€ so lhar lhe $edging bn is guided inlo ihe injector tip boB in rhé cyli¡der h@d. Push downwárd on lhe iñslallalion lool using hand torce io move lhe coppei sledé downwad until it bonoms óL¡ on lhe injeclor seal ¡n the bottom ol lhs ini€clor bor6. Usé lhé unil ini4lor hold dow¡ and bolt to hold ihe lool in pc lion. To énsuré thal lhe @ppef sleere ¡s bollomed iñ lh€ cy ind6r h€ád,lighlén lhá unil inietor hold down bolt io speilication.
sle*
NOTE ñemo@ any oll lom lhe iñiector hold down bo l holes 1o a@id trydraulic l@k lor lhis slep and whon tho inieclof is lnsla led.
7. Loosenlhe s€dq ng b 1a0deqrcésbéiórc installing the tool n lhe cytinder héád.
^caurroN re in
Failure to l@en the s@dg¡ng bit ún lhe bit bekg twE¡ed ot bfaken.
a. Lublcale the swedginq
¡¡
