REPAIR INSTRUCTIONS, PART 2 2. BéfoB inslalling the copper steeve, ¡nspect tt fo ensure th6t It is th€ 6r@l pa¡t.
AcauÍroN. Failute lo u@ lhe proper bi¡ can result ¡n the b¡l btffik¡ng of klo the cyt¡nc!ü head.
3.
Lub cale a néw @pper sleqe Ojinq wilh c@lanl. lnslall lhe O ngóñth6mpp€r dee and lub cale again w¡lh coolanl. Always use a nN Oii¡g. Place the
n* @pper s e€v6 on lhé Filure413-sred!¡n!B¡rv¿rl||¿afon
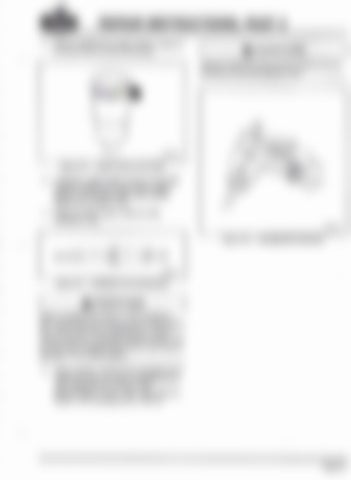
AcauÍtoN qelorc insta ing ¡he slee@ on the ¡ñs¡a at¡ón t@¡, ¡nsp@¡ lhe taol lo ensurc lhat n js he carect l@1. The
úrdt taol ¡s ¡dentil¡ed by a bonM
su¡la@ lhal has a nachked c¡rculat rcces. Use of a ¡@l wnh a penedu flal bonon ñay esult ¡n dafuqé to the úpper s¡eqe.
5. Us¡ng .alip66, measu@ ihe $edoing bil lo make suré lhal lhe pDper swedqing lool ¡s u*d, Measuremenl shou d €ad appmximarely 7 I mm. Also, vefily lhal the ength of lh6 Medgi¡g bil is 10a mm.
