REPAIR INSTRUCTIONS, PART 2 Seal lnslallallon 1. Clean lhe seal sealing surbce ¡ñ the cáñkshalt lrcnl cowr ánd lhe sealing suface ol the cfánkshalt hub.
2. A$emblé thé handl6 (9992000) and lbnl mai¡ seal removerlnslálLer (33300021).
3. Place a ¡ew c€nkshail flonl seal on the cÉnkshatlfbnl seal rémowr¡nslallé.
NOfE The cankshaft lront sۇl
4, Posilion lhe cankshatl fronl seal
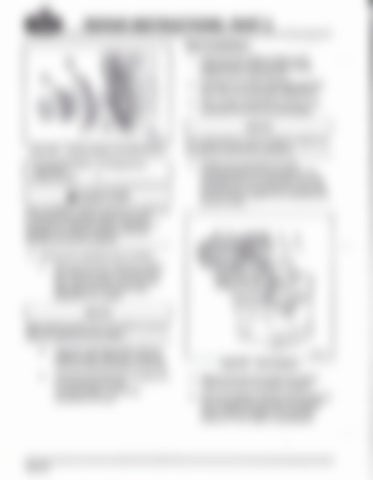
l 3 cEnk hdfi fub
cEnkshalt húb ánd cEnkshaf font cowr Careiully dri@ the seal i¡lo lhe @rer unlil lhé lool bonoms agáinsl thé cankshaft hub
/AcaurroN When handlkg a v¡bñnú danper be @@tut not
ro damgÉ tha housing. Dals k lhe óútd
hoB¡ñg ún rcndet the danpet ireíect¡@. t¡ dafuged, the viúa¡ion danper @nnat be repaired and ñBl be rcPlá@d.
6. Fem@ lhe 6rank6haft seal as tollowsl
A, D lrl@ 3.5 mm (0.138 inch) holes in lhe ñetal rim ól thé cr¿nkshalt llo¡t s@1.0se lhe holes in the im ol lhe lmnt main s€L rémoEr¡nslaller (33300021)ásaaulde.
NOTE Apply grease on lhe end ol the dnl bil ró chips lom geflinq i¡lo lhe enqi¡e,
pr*nl
Using rwo solhappi¡g M5 screws ol
su¡lable lengt\ anách lhe dánkshan l@nl 6ea¡ removetiñslal er lo lhe seal.
c,
using Nvo M 10 iasleneB ihfeaded lnto
r6mMr¡nsraller, remrye lhe
Femove the looland nspecl th6 seallo maké surá lhai i! is pfopefly i.staLled. Pl@e lhe vibalion damper and lan pulley on the crankshái hub and áiiqn lhe tuslener ho es. lnlalland Íghl€n rtu mounüna lalene6ln fivo sleps lo specf¡cat¡on.
