REPAIR INSTRUCTIONS, PART 1 NOfE i¡áke suÉ lhal rubber isolatoE áre corectty ¡nsialled and thal lh€ grcund sl@p is gounded 10
4. Uslng alorque sr6nch,lighteñ1hé hstenere in séquence adordinq to spéciÍcation.
Fuel L¡nes añd Filter Housing
lnstallation NOTE Thesequencéinwhichthéluélf ltérhous¡¡q, tuet lines and EECU areassembled on lhe enqiné depends on lh€ Vpé ol engine siand ced. For engine slands that lse án adápler plalé ana.hed lo lhe láft side ol lhe engine,lhese componéñ1s cannol bé inst¿l sd uff I altér lhe engine has been removed lom lhe ¡epair sland.
Usi.q a loque wrench, riqhlen rhe fasieners adording to specil ca1 on. Assemblé lhe coo 6ron lh€ EECU. When pcilioning lhe module, ñake sureihallhe snalgmund sl@p al lhe uppef r¡stf oi ihe unil s properly secured ánd prcssád in
NOfE
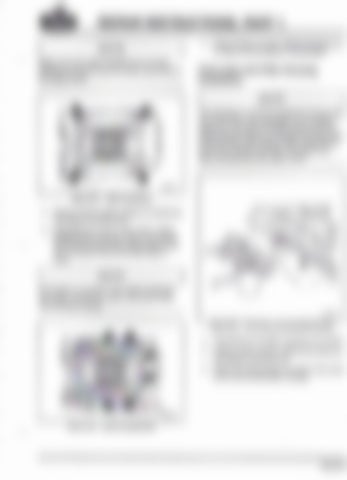
FisuEs Fü.r Firsf ¿nd HoG¡nq asñbt 1, Asemble lh€ tuél finer housing onlh6 btock.
2, Using á lorquo w€nch. t¡ghten the taslénerc acmding lo speciliEi on.
3. Allach lhe p¡pe bellveen the s¡de ot the h€ád al lhe réaf a¡d the lilte.hous ng.
