CHAPTER 5 CONTROLS & SAFETY EQUIPMENT This Harvester is provided with several features for operator safety and convenience.
CAUTION Become familiar with and know how to use ALL Safety Devices and Controls on the Harvester (and tractor) BEFORE attempting to operate this equipment. Know how to stop Harvester operation BEFORE starting it. This Gehl Harvester is designed and intended to be used ONLY with a mounted Gehl Company Attachment. The Gehl Company will NOT be responsible for operator safety if used without a completing Attachment.
1
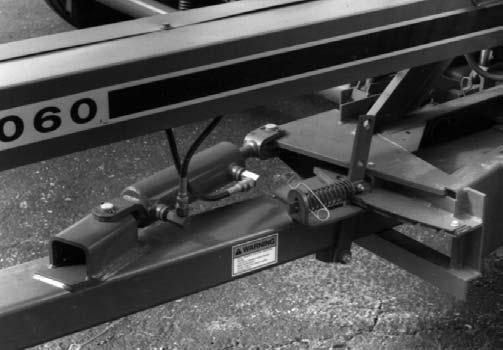
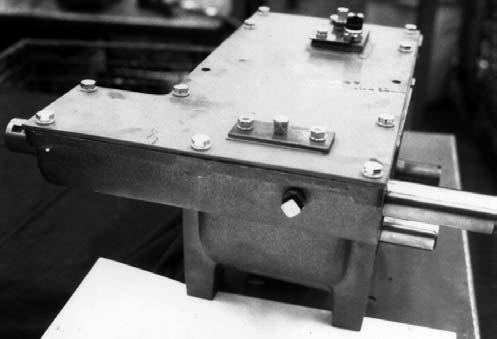
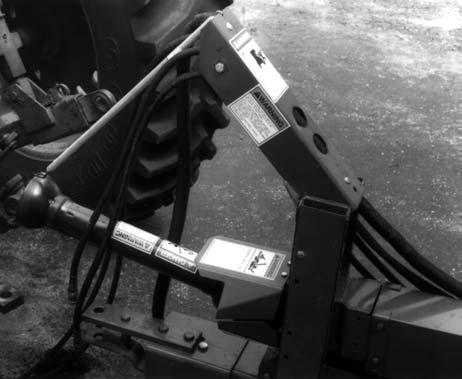
1 – Lift Cylinder/Knife Sharpener Selector Valve
Fig. 2
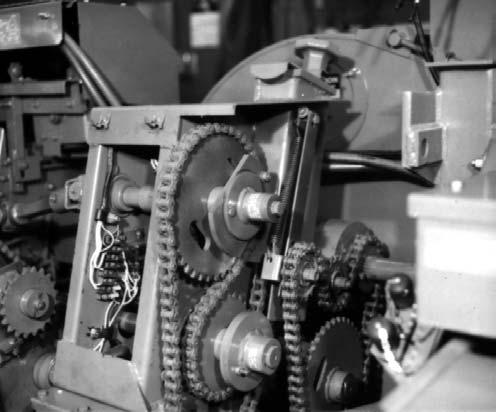
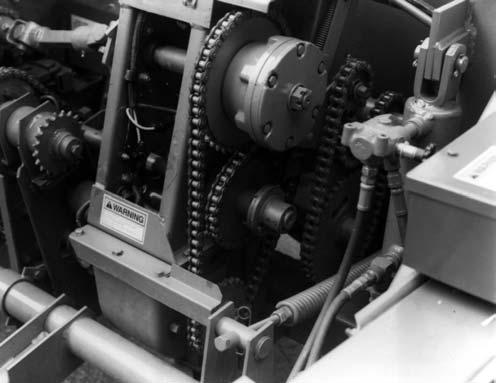
CAP CONTROL (Fig. 3) The Spout Cap is spring-returned to the raised (up) position. Lowering the Cap (to distribute the forage from the back to the front of the forage box) is accomplished by activating the appropriate tractormounted Control Box Switch which operates the Cap Control Gearmotor.
1
2
3
SPOUT CONTROL (Fig. 3) The Spout can be rotated (to distribute the forage across the width of the forage box) by activating the appropriate tractor-mounted Control Box Switch which operates the Spout Control Gearmotor. 1
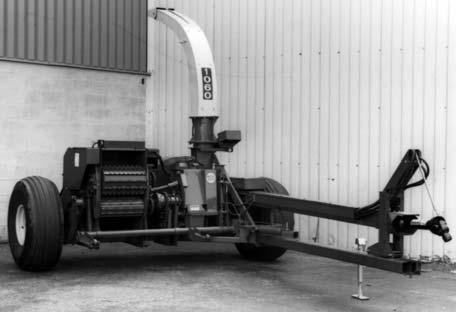
1 – Lift Cylinder Fully Extended 2 – Down Stop Bolt 3 – Down Stop Pin Locked in Highest Hole Position
Fig. 1
2
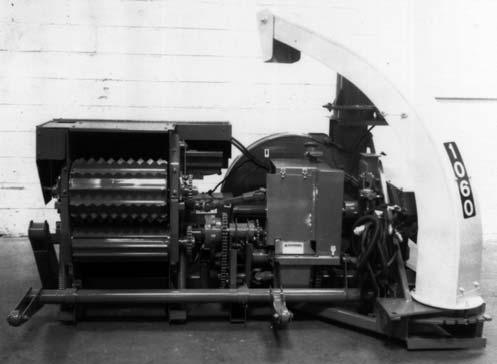
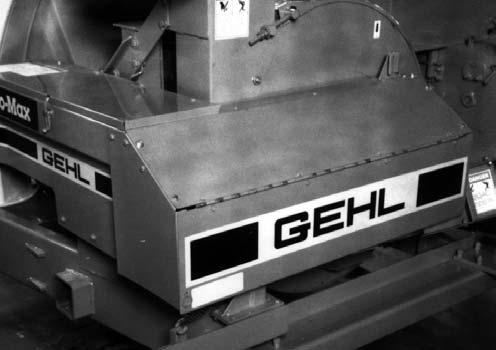
ATTACHMENT POSITIONING (Figs. 1 & 2) Mounted Attachment positioning is accomplished by the standard 8” stroke, 3” bore, double-acting hydraulic cylinder provided. A Lift Cylinder/Knife Sharpener Selector Valve enables convenient switching between the Attachment Lift and Knife Sharpener systems.
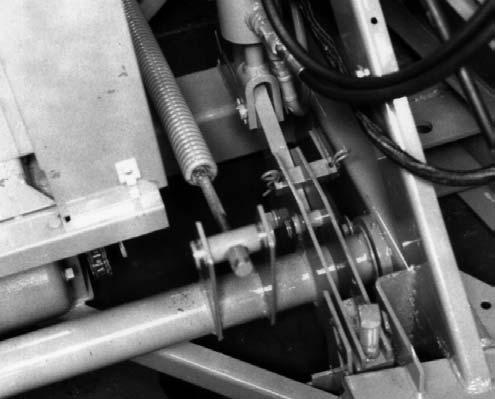
1 – Capmotor 2 – Spout Control Gearmotor
Fig. 3
17