2 minute read
CHAPTER 11 TRANSPORTING

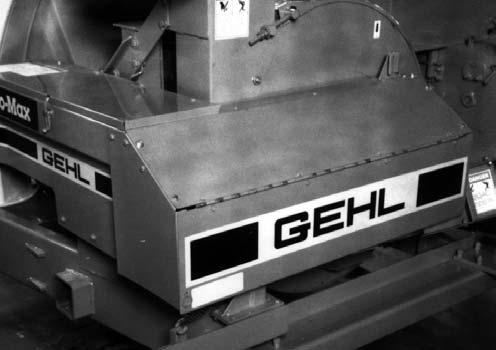
TONGUE (Fig. 88)
The Harvester is provided with a locking Tongue Latch Mechanism which MUST be securely locked for transporting the Harvester on a public highway. After the Tongue is relocated in the ’’transport’’ position, BE SURE to install the Lock Pin ahead of the Latching handle, to prevent the Latch from disengaging the Notch in the Frame.
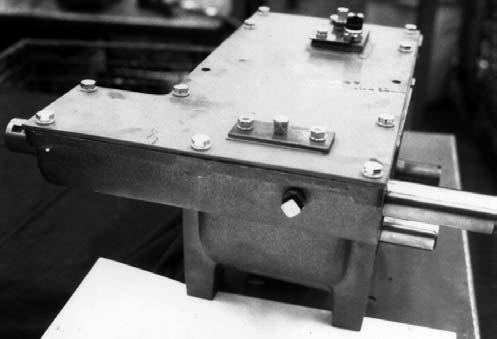
LIFT SYSTEM LOCK (Fig. 89)
Caution
The Attachment Lift system should be locked–up, in the following manner, anytime it is necessary to work under a mounted Attachment.
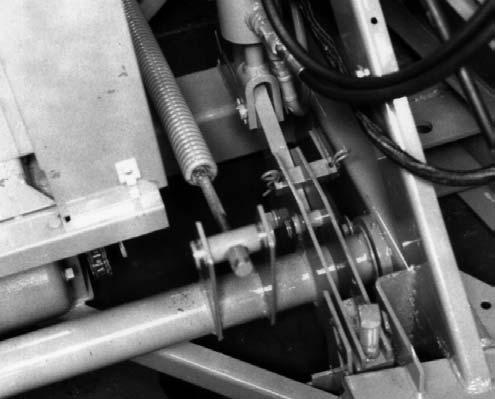
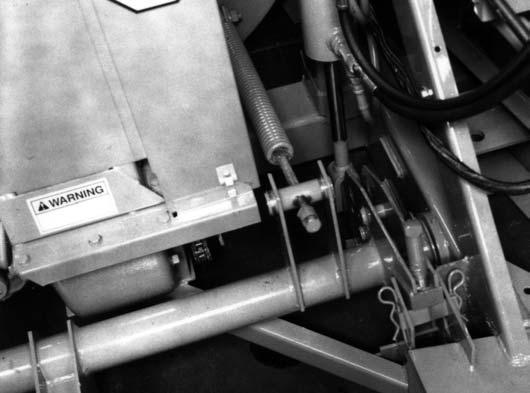
The hydraulically operated Lift System can be locked–up in order to maintain the Attachment in the ”raised” position during transporting. To place the Lift System into the ”Locked–up” position, first fully extend the Lift Cylinder and completely raise the Attachment. Exercise the MANDATORY SAFETY SHUTDOWN PROCEDURE (page 8) and install the Down Stop Pin into the ”highest” possible (1 of 3) holes in the Lift Mechanism. BE SURE to lock the Pin in this position with the Cotter
Pins provided. Then, turn the Down–Stop Bolt fully downward into contact with the Down Stop Pin.
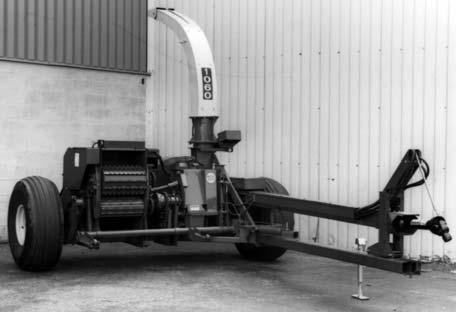
SAFETY CHAIN (Fig. 90)
As required or when desired, the Harvester can be equipped with a safety chain for operation on public highways. Refer to the Optional Features & Accessories chapter for ordering information. The safety chain should be attached to the tractor and Harvester as shown. When attached in this manner, the safety chain should have the following characteristics:
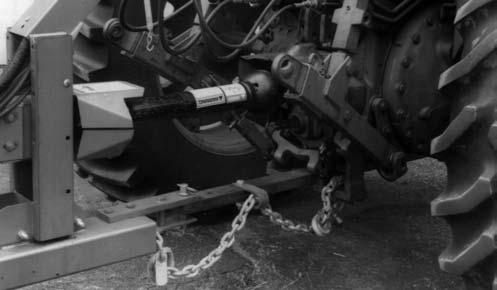
1.Chain is sufficiently slack to allow turns and movements of either the tractor or the farm implement, without placing tension on chain.
2.Chain is of sufficient strength to hold the decoupled implement (and its load) and tow it to the shoulder.
Caution
ALWAYS follow state and local regulation regarding use of a safety chain and transport lighting when towing farm equipment on public highways. ONLY a safety chain (NOT an elastic or nylon/plastic tow strap) should be used to retain the connection between the towing and towed machines, in the event of separation of the primary attaching system. BE SURE to check with local law enforcement agencies for your own particular regulations. Unless otherwise prohibited, use a Slow–moving Vehicle Emblem.
Smv
The Harvester is equipped with a Bracket for mounting a Slow–moving Vehicle Emblem (SMV) on the Rear Left Guard. Red Reflector Strips are also provided on the rear corners of the Harvester.
NOTE: Slow–moving Vehicle Emblem MUST be purchased locally.
Because of the variations in the Safety Laws for different states and localities, it may be necessary to change the Emblem Bracket mounting location. Your GEHL dealer can assist you in relocating the Bracket, if necessary.
TOWING ON HIGHWAY(Fig. 91) WARNING
Good safety practice dictates that you NEVER tow an implement (without brakes) unless the towing vehicle weighs at least one-and-one half (1-1/2) times the weight of the towed implement and its load. For any public highway travel and to be in compliance with this rule, BE SURE that your tractor is heavy enough to counterbalance the weight of the Harvester and loaded wagon. Do NOT tow a loaded wagon behind the Harvester on a highway unless the wagon has operational brakes.
An additional Transport Hitch Plate, at the right end of the Hitch Channel, is also provided for long distance transporting. This Hitch Plate will position the Wagon all the way to the right, locating it more directly behind the Harvester, to reduce the overall width and making it easier for the tractor operator to view the rear.

Transport Lighting
NOTE: If the Harvester is going to be transported on a public highway, a Transport Lighting Kit should be obtained and installed per details provided with the Kit.
An accessory Highway Transport Lighting Kit is available for all Harvester models. The Kit includes Lights, Wiring Harnesses, an Outlet, and installation instructions. The Outlet allows connecting the Transport Lights of a wagon towed behind the Harvester.