E - EVERY 1000 HOURS OF SERVICE
E2 - SAFETY DRY AIR FILTER CARTRIDGE CHANGE
Perform the operations described previously as well as the following operations:
- For the disassembly and reassembly of the cartridge, see chapter: 6 - MAINTENANCE: D3 - AIR FILTER CARTRIDGE. • Gently remove the air filter safety cartridge (1) (fig. E2), taking care to avoid spilling the dust.
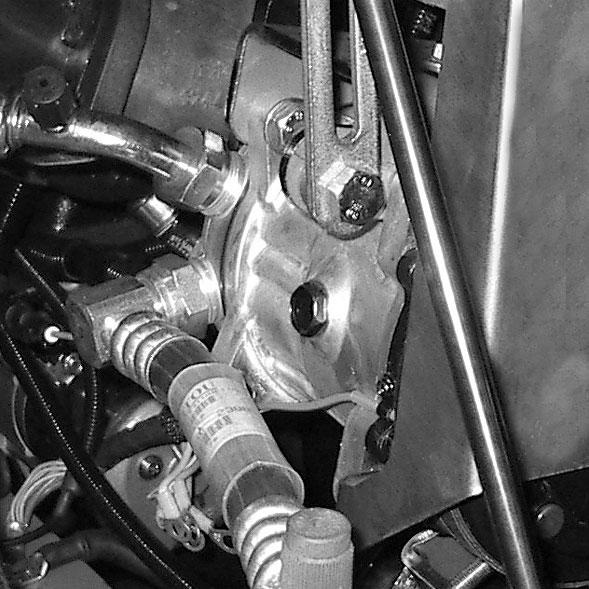
E1 - FUEL TANK CLEAN
E2
WARNING While carrying out these operations, do not smoke or work near an open flame. Park the telescopic handler on level ground with the engine stopped. - Inspect the fuel system and tank for leaks. - In the event of a leak, contact your dealer.
1
• •
WARNING Never weld while alone, because welding can cause an explosion or a fire.
•
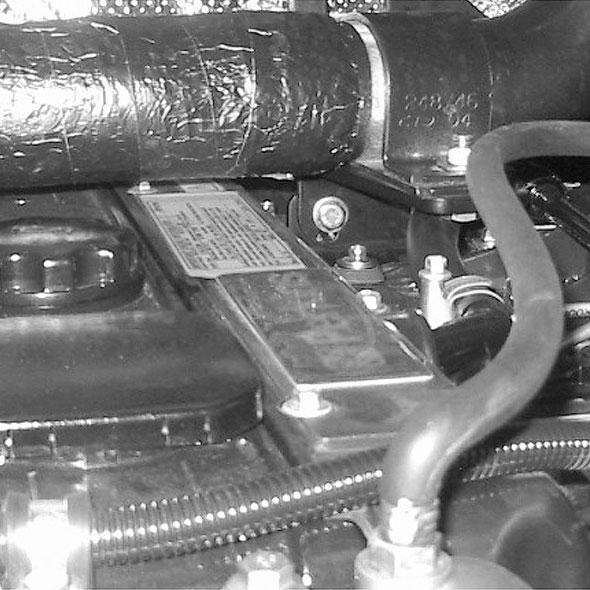
- Place a container under drain plug (1) (fig. E1/1) and unscrew the plug. - Open the right side cover. - Remove cap (2) (fig. E1/2). - When fuel tank is drained, rinse with 2-1/2 gallons (10 litres) of clean fuel at filler port (3) (fig. E1/2). - Replace and tighten drain plug 1 (fig. E1/1) [tightening torque: 21 to 29 ft.-lbs. (29 to 39 Nm)]. - Fill the fuel tank with clean fuel (see chapter: 6 MAINTENANCE: LUBRICANTS AND FUEL) filtered through a strainer or a clean, lint-free cloth and replace the filler plug (2) (fig. E1/2). E1/1
NOTE: The period for changing the safety cartridge is given for information only. The safety cartridge must be changed after every two changes of the air filter cartridge.
E3 - TRANSMISSION OIL DRAIN Park the telescopic handler on level ground with the engine stopped and the transmission oil still warm. DRAINING THE OIL - Place a container under drain plug (1) (fig. E3/1) and under cover (2) (fig. E3/2) and unscrew the drain plug. - Open the right side cover. - Take drain hose (3) (fig. E3/3) and screw to the union on drain port (4) (fig. E3/4). - Remove cover plate (5) (fig. E3/5). - Remove dipstick (6) (fig. E3/6) and unscrew filling plug (7) (fig. E3/6) to ensure that the oil is drains properly. IMPORTANT: Dispose of the drain oil in an ecological manner.
E1/2 2 3 1
PRINTED IN U.S.A.
Clean the gasket surface on the filter with a damp, clean lint-free cloth. Before mounting, check the condition of the new safety cartridge (see chapter: 6 - MAIN TENANCE: FILTERS CARTRIDGES AND BELTS). Install the cartridge onto the filter axis and push it in, pressing the edges and not the mid dle.
73
913223/BP0206