2 minute read
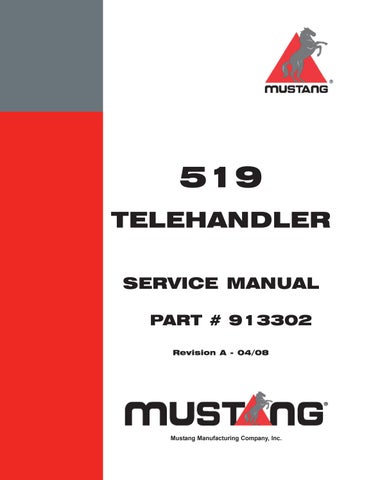
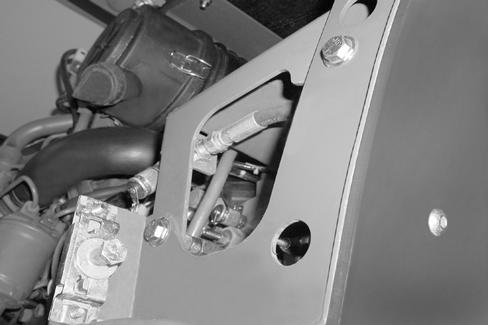
519 Telehandler HYDRAULIC PUMP


STEP 16
Step 19
STEP
STEP 20
Re-install the battery. Complete Steps 6 through 9 of Section 302 for the correct procedure.
Step 21
Refill the hydraulic reservoir.
Step 22
Start the engine and check for leaks. If no leaks appear, continue to run the engine and test the steering and hydraulic functions for operation. Shut off the engine and check the hydraulic reservoir level. Add fluid if necessary.
STEP
Template Name: OML_2_colRac 0-00000
Template Date: 1997_02_12
Alt= to hide template information
Alt+ to display template information GENERAL TABLE OF
Contents
Template Name: OML_2_col907872
Template Date: 1994_04_22
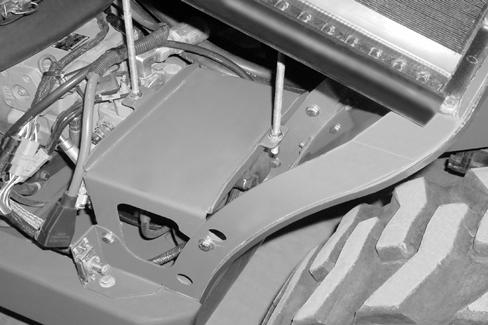
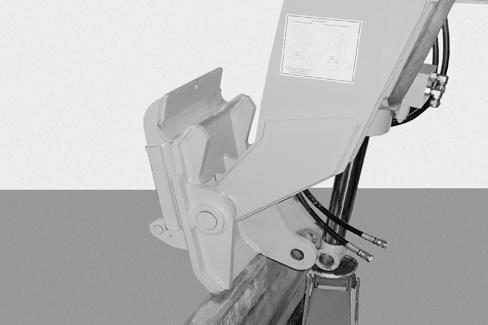
519 Telehandler TILT CYLINDER
Tilt Cylinder Removal
BEFORE cleaning, lubricating, or servicing this equipment, refer to the MANDATORY SAFETY SHUTDOWN PROCEDURE in Section 100 (Personal Safety Information And Decal Locations).
STEP 1
Support the attachment bracket.
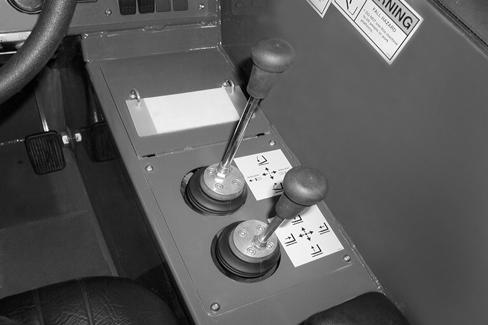
STEP 2
Move the attachment tilt joystick in all directions several times to relieve pressure from the hydraulic system.
NOTE: See Section 605 of this Service Manual for the repair of this cylinder.
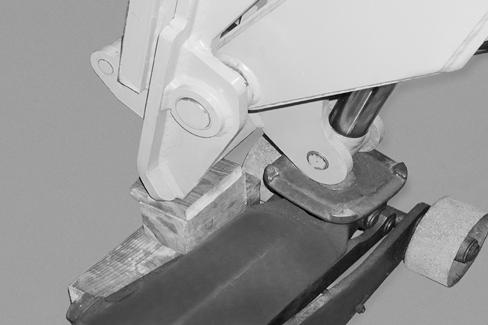
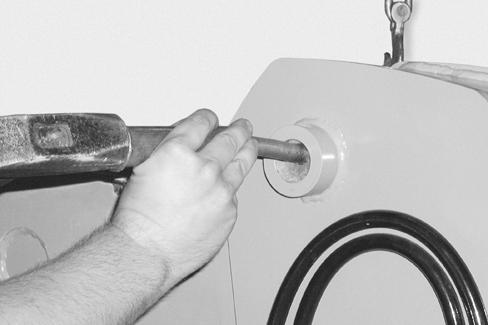
Step 3
G1007005
Loosen and remove the retaining bolt and nut. Remove the pivot pin from the cylinder. Take care to avoid damaging the grease fitting when removing the pin.

NOTE: Thread lock is used on the bolts. Heat may be required for removal.
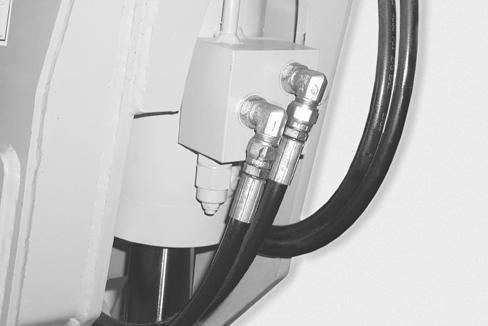
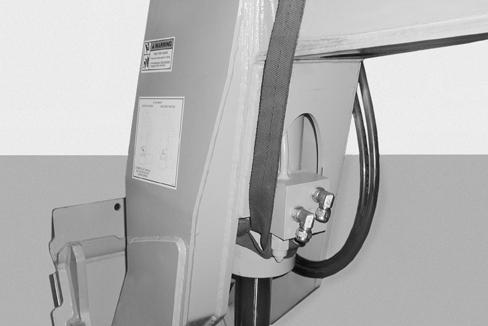
STEP 4
G1007004
Mark the hydraulic hoses for correct assembly. Disconnect the two hydrau lic hoses from the tilt cylinder valve block.
STEP 5
Install caps and plugs on all hydraulic fittings to prevent contaminating the hydraulic system.
Template Name: OML_2_col
Step 6
Step 8
Using a chain hoist and lifting strap, position the lifting strap around the tilt cylinder and apply upward force.
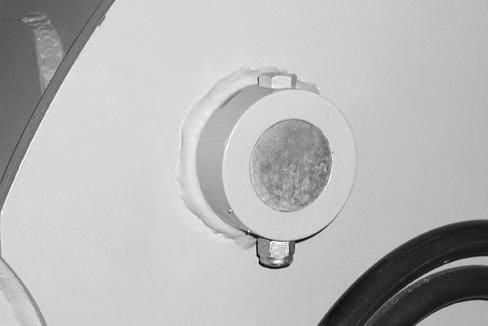
Step 7
Remove the retainer bolt and nut from the base pivot pin.
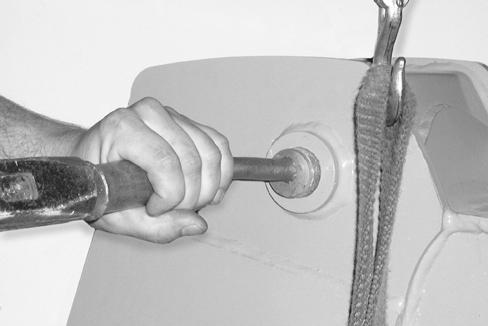
Remove the upper pivot pin from the tilt cylinder. Use care not to damage the grease fitting while removing the pivot pin.
IMPORTANT: Protect the chrome finish on the cylinder rod at all times. Damage to the surface of the rod can cause premature seal failure.
Step 9
Remove the rod end of the cylinder from the bracket first, then lower the c hain hoist and floor jack. Remove the base end of the cylinder.
Tilt Cylinder Installation
Step 1
Using a chain hoist and lifting strap, put the rod end of the cylinder in the bracket first, and then position the base end of the cylinder in the mounting bracket and use a floor jack to apply upward force on the cylinder.
Step 2
Align the pivot pin retainer bolt hole, with the holes in the cylinder mount. Reinstall the upper pivot pin using care not to damage the grease fitting while installing the pin.
Step 3
G1007008
Install the retainer bolt and nut in the pivot pin and tighten.
Step 4
Remove the caps and plugs from the valve block fittings and hydraulic hoses.
Step 5
Reconnect the two hydraulic hoses to the valve block fittings and tighten.
Template Name: OML_2_col