1 minute read
519 Telehandler TILT CYLINDER


STEP 6
Step 9
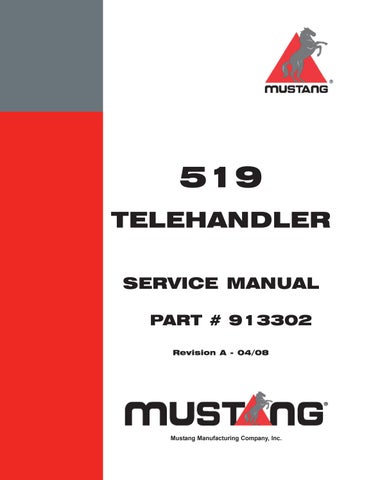
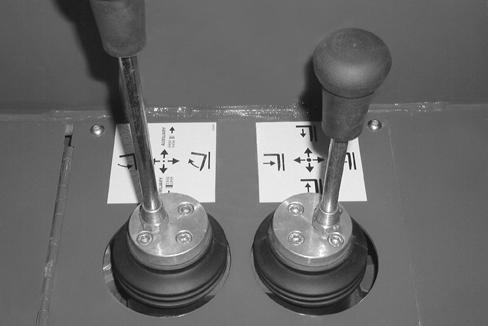
Start the engine. The parking brake must be ON. Pull back on the joystick and raise the boom approximately 2 feet. Shut off the engine.
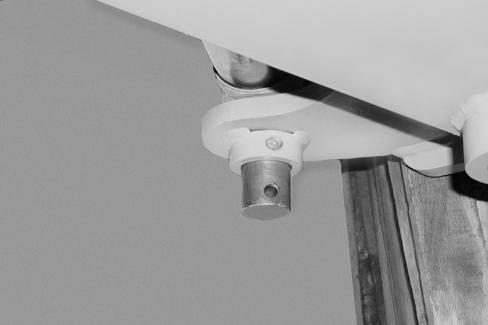
Step 7
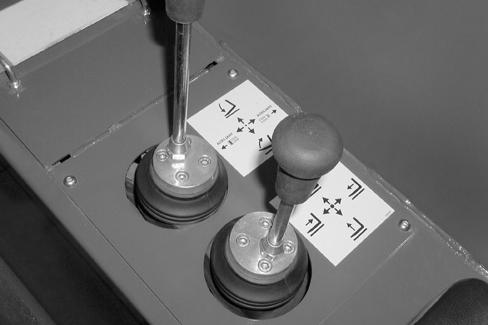
Rotate the bracket and align the rod end of the cylinder with the bracket cylinder mount.

STEP 8
Install the lower pivot pin.
Install
Step 10
With the parking brake on and engine running, fully retract the tilt cylinder by moving the joystick forward. Then move the joystick back to fully extend. Repeat this procedure several times to remove air from the hydraulic system, and to check for any hydraulic oil leaks.
Template Name: OML_2_colRac 0-00000
Template Date: 1997_02_12 Alt= to hide template information Alt+ to display template information
Template Name: OML_2_colRac 0-00000
Template Date: 1997_02_12
General Information
Except for some configuration differences, hydraulic cylinder disassembly, repair and assembly procedures will be basically the same for the tilt cylinder, boom lift cylinder, boom slave cylinder and boom extend cylinder. Except where noted differences or procedures are required for special application cylinders, use the following repair procedures for hydraulic cylinders.
When backup rings are used with O-ring seals, always note the position of the backup ring (above or below the O-ring) when removing the seals for reassembly reference.
One-piece Nylatron® type piston seals can be difficult to install on the piston. Soaking these seals in hot water for a short time prior to installation will make the seals more resilient and easier to install on the piston.
Before installing the piston and rod assembly into the barrel, lubricate the piston seals and wear rings liberally with clean operat ing fluid. Using an engine piston ring compressor to compress the piston seals tightly for a short period of time will often aid in the assembly procedure.
Cylinder Disassembly
BEFORE cleaning, lubricating or servicing this equipment, refer to the MANDATORY SAFETY SHUTDOWN PROCEDURE in Section 100 (Personal Safety Information And Decal Locations).
Warning
When disassembling hydraulic cylinders, NEVER use pneumatic or hydraulic pressure to aid in removing the piston and rod assembly from the cylinder barrel. To ignore this warning may result in severe injury or death.
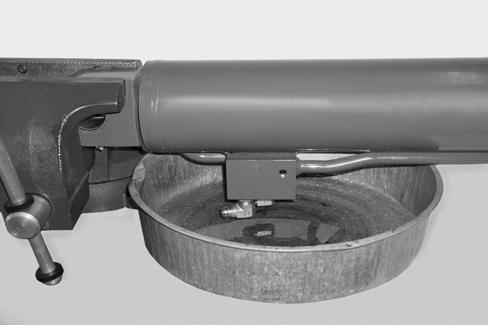
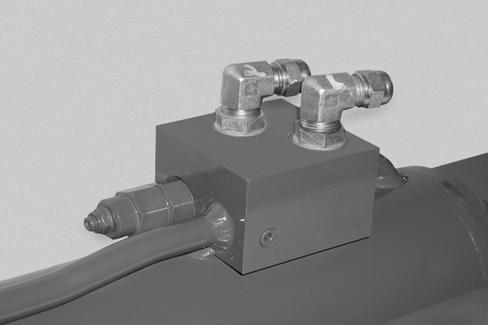
Step 1
G0907024
Select a clean environment. Remove the load check valve (1) slowly to relieve any residual pressure. Remove the plug (2) from the valve block and caps (3) from the fittings.
Step 2
G0907025
Put the base end of the cylinder in a vise. With a drain pan positioned under the cylinder, move the rod in and out slowly to remove the fluid.
Template Name: OML_2_colRac 0-00000 Template Date: 1997_02_12