Assembly process No.
Installation of high-mount head lamp (if equipped)
A-6
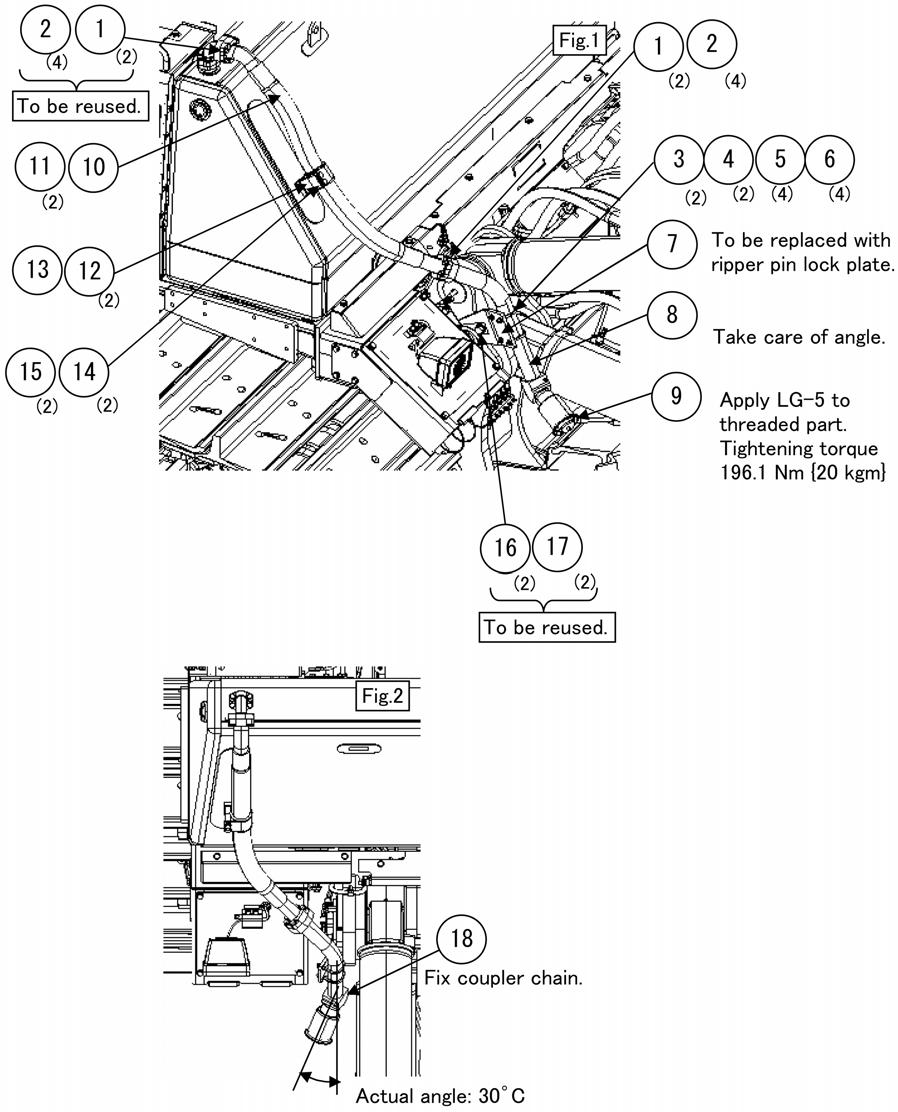
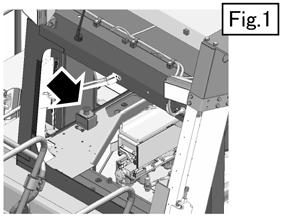
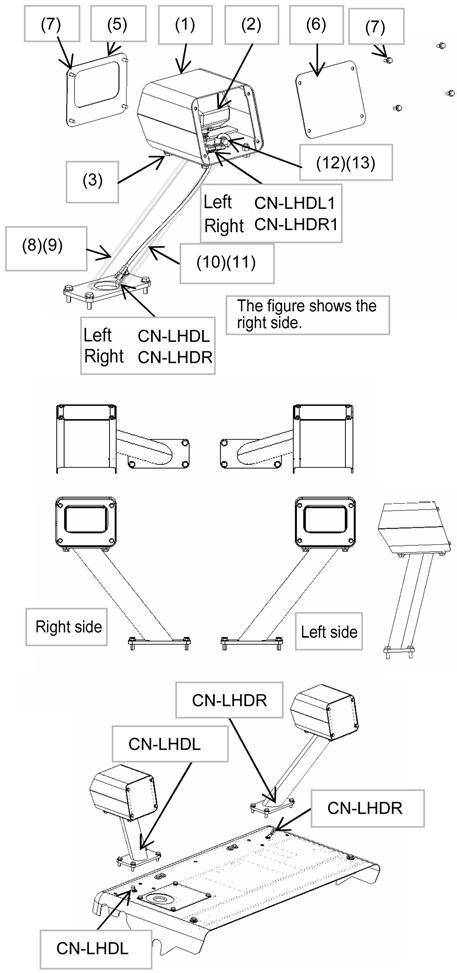
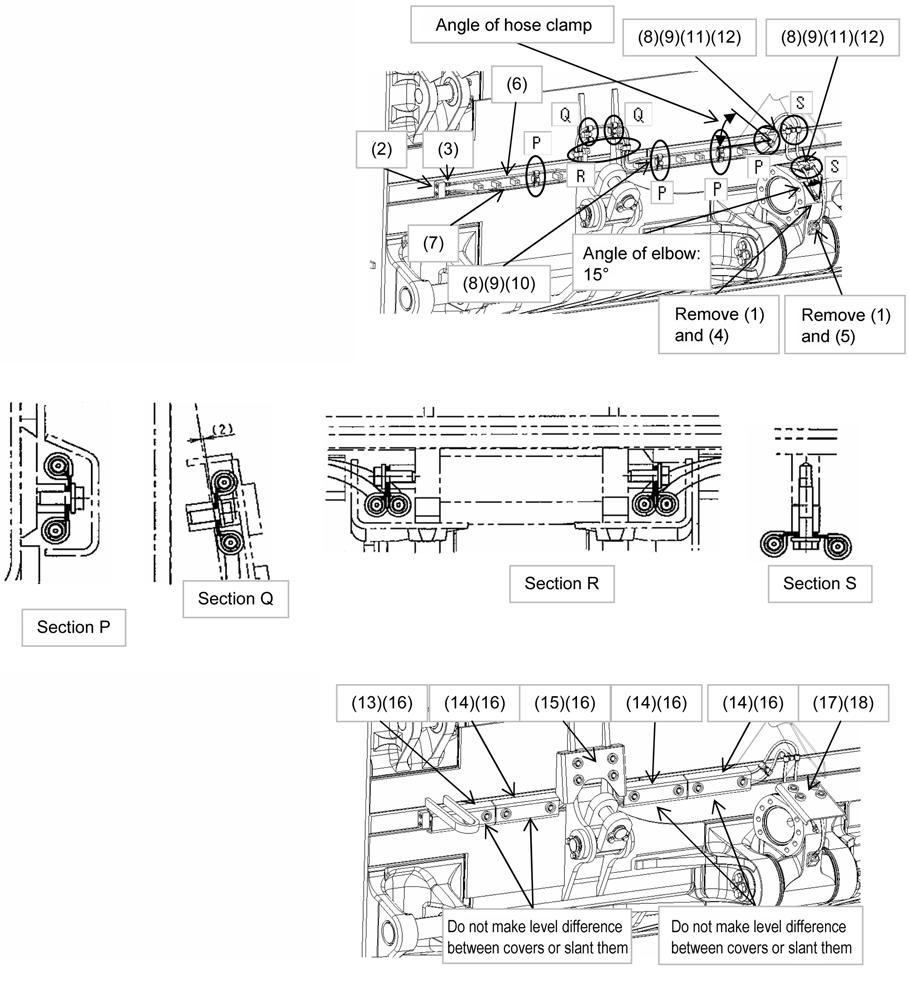
1. Head lamp sub-assembly (1) Install covers (1) to left (8) and right (9) supports by using bolts (3). (Perform this work on both sides.) Take care of the installed directions. (2) Install lamp (2) to cover (1). Fix lamp wiring connectors (CN-LHDL1 and CN-LHDR1) by using the clips inside covers (1). (Perform this work on both sides.) (3) Insert left (10) and right (11) wirings into left (8) and right (9) supports respectively and fix connectors (CNLHDL and CNLHDR) by using the clips inside left (8) and right (9) supports. (Perform this work on both sides.) (4) Install left (10) and right (11) wirings in covers (1) by using clamps (12) and (13). (Perform this work on both sides.) (5) Connect connectors (CN-LHDL1 and CNLHDR1) of left (10) and right (11) wirings to the lamp wiring connectors. (Perform this work on both sides.) (6) Install front (5) and rear (6) covers to covers (1) by using bolts (7). (Perform this work on both sides.)
No.
Part name
Part No.
Q’ty
1 Cover
195-54-83511
1
2 Lamp
17A-06-17931
2
9
21T-06-33980 01024-D1230
3 Bolt
Remarks
No.
Part name
Part No.
Q’ty
8 Support (LH)
195-54-83481
1
Support (RH)
195-54-83491
1
2
10 Wiring harness (LH) 195-54-54471
1
8
11 Wiring harness (RH) 195-54-54481
1
5 Cover (Front) 195-54-83461
4
12 Clamp
04434-51412
2
6 Cover (Rear) 195-54-83471
4
13 Bolt
01024-81220
2
7 Bolt
8
14 Bolt
01024-D1240
8
01024-D0820
66
Remarks