2 minute read
1.2 Removing and installing ignition coils with output stage


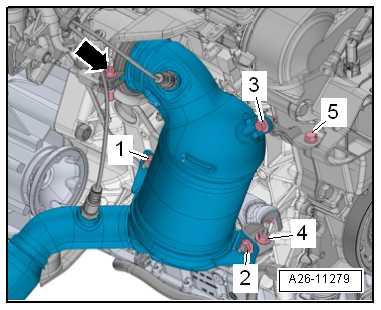
❑ Tighten threaded connections evenly ⇒ “1.6 Installation position of clamp”, page 453 13 - Nut ❑ 23 Nm
Installing catalytic converter - specified torque and tightening se‐quence
1. – Fit catalytic converter to tur‐bocharger, attach screw-type clip -arrow- without tightening 2. – Screw in bolts -1, 2, 3- loosely by hand • It should still be possible to move catalytic converter and bracket.
3. – Tighten screw-type clip -arrow-.
4. – Tighten bolts and nuts in the sequence -1 to 3-. 15 Nm
20 Nm
2.2 Removing and installing catalytic con‐verter
⇒ “2.2.1 Catalytic converter - removing and installing, Leon 2013, Ibiza 2018, Arona”, page 459 ⇒ “2.2.2 Catalytic converter - removing and installing, Toledo 2013, Ibiza 2016”, page 461
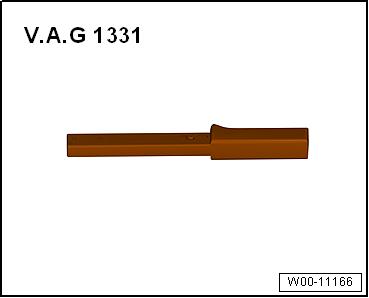
Special tools and workshop equipment required ♦ Torque wrench - V.A.G 1331-
♦ High-temperature paste ⇒ Electronic parts catalogue (ETKA) .
Note
Protected by copyright. Copying for private or commercial purposes, in part or in whole, is not permitted unless authorised by SEAT S.A. SEAT S.A does not guarantee or accept any liability with respect to the correctness of information in this document. Copyright by SEAT S.A.
The catalytic converter is removed together with the front exhaust pipe.

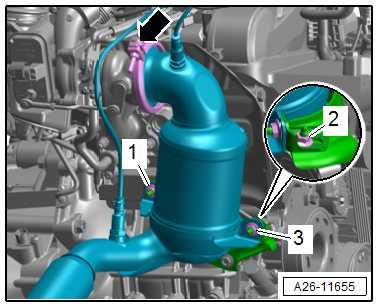
Removing – Disconnect connectors -1- and -2-, and unclip wiring harness from retainer.
Note
Attach cable ties in all the same places when installing.
Only when the catalytic converter is used – Remove Lambda probes ⇒ “8.2.1 Lambda probe- removing and installing, Leon 2013, Ibiza 2018, Arona”, page 431 .
Continuation for removal
– Open screw-type clip -arrow- and position it on intake funnel of catalytic converter. – Remove bolt -3-.
– Unscrew nuts -1- and -2-.
Note
-Items 4 and 5- can be disregarded.
– Remove nose insulation ⇒ General body repairs, exterior; Rep. gr. 66 ; Noise insulation; Assembly overview - noise in‐sulation .
– If fitted, remove underbody cladding ⇒ General body repairs, exterior; Rep. gr. 66 ; Underbody cladding; Overview of fitting locations - underbody trim panels . – Remove drive shaft heat shield ⇒ Running gear, axles, steer‐ing; Rep. gr. 40 ; Drive shaft; Removing and installing drive shaft heat shield .

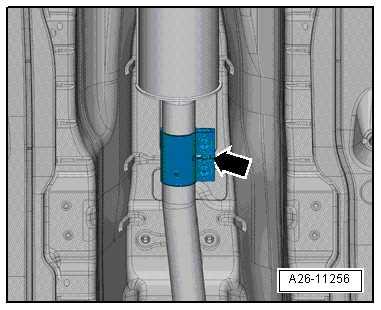
– Loosen the clamp -arrow-, and push it forwards.
Protected by copyright. Copying for private or commercial purposes, in part or in whole, is not permitted unless authorised by SEAT S.A. SEAT S.A does not guarantee or accept any liability with respect to the correctness of information in this document. Copyright by SEAT S.A.


