Engine in-car repair procedures 2A•13
13.5 Using a 5⁄16 in UNF bolt to remove the distributor driveshaft
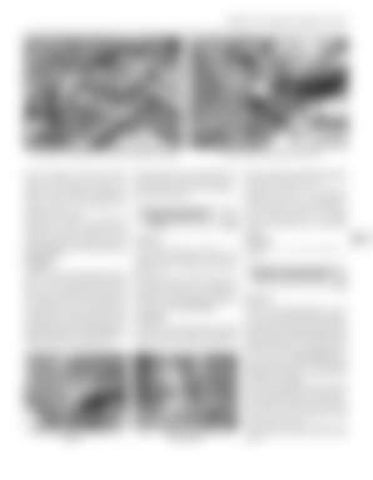
There is a degree of conflicting information from the manufacturer as to the correct position of this slot on later engines. As a general rule, when refitting the driveshaft, set the slot in the same position it was in prior to removal. If there is any doubt about the original position, set it as shown in the illustrations when refitting. 5 Screw into the end of the distributor driveshaft a 5⁄16 in UNF bolt. A tappet cover bolt (where fitted) is ideal for this purpose. The driveshaft can then be lifted out, the shaft being turned slightly in the process to free the shaft skew gear from the camshaft skew gear (see illustration).
Refitting 6 With the engine still positioned with No1 piston at TDC, hold the driveshaft so that its slot is in the correct position for refitting as shown in the accompanying illustrations, ie so that its larger segment is uppermost (offset slot towards the bottom). Engage the driveshaft gear with the camshaft skew gear, and push the drive fully into position. As the gear engages, the driveshaft will rotate anticlockwise to the final, correct fitted position. If necessary, withdraw the driveshaft again and adjust its position as necessary until this is so. 7 Remove the bolt from the driveshaft.
15.2a Oil feed pipe banjo union at the engine . . .
14.2 Removing the oil pressure relief valve
8 Where applicable, refit the distributor base housing using a new O-ring and lock it in position with the single bolt and lockwasher. 9 The distributor can now be refitted as described in Chapter 5B.
14 Oil pressure relief valve removal, inspection and refitting
1
pressure exceeds the specified pressure the cup is forced off its seat and the oil returns, via a drilling, directly to the sump. 4 Check the tension of the spring by measuring its free length. If it is shorter than the length shown in the Specifications it should be renewed. Check the condition of the cup checking carefully for wear ridges which would prevent the cup seating effectively. Renew the cup if its condition is suspect.
2A
Removal
Refitting
1 To prevent excessive oil pressure - for example when the engine is cold - an oil pressure relief valve is built into the right-hand side of the engine just below the oil delivery pipe union. 2 The relief valve is identified externally by a large domed hexagon nut. To remove the unit unscrew the nut and remove it, complete with the two fibre or copper sealing washers. The relief spring and the relief spring cup can then be easily extracted (see illustration).
5 Refitting is the reverse sequence to removal.
Inspection 3 In position, the metal cup fits over the opposite end of the relief valve spring resting in the dome of the hexagon nut, and bears against a machining in the block. When the oil
15.2b . . . and pipe nut attachment at the filter housing
15 Oil filter housing and delivery pipe - removal and refitting
1
Removal 1 Drain the engine/transmission oil and remove the oil filter as described in Chapter 1. 2 On manual transmission models, Unscrew the banjo union bolt securing the delivery pipe to the cylinder block. Note that on later 1275 cc engines a tube nut and olive type fitting is used instead of the banjo union. At the other end of the pipe unscrew the nut securing the pipe to the oil filter housing (see illustrations). Lift away the pipe and collect the two copper washers at the banjo union, or the rubber seals at the tube nut connections, according to type. be prepared for oil spillage. 3 On manual transmission models, unscrew the two nuts and slide the oil filter housing off the cylinder block studs. Recover the gasket. 4 On automatic transmission models, undo the two bolts and remove the filter housing from the top of the transmission casing flange. Recover the gasket. 5 Thoroughly clean the components and remove all traces of gasket from the mating surfaces.


