
SOMETHING IN THE AIR
Optimizing Air Gap Size in Living Walls
Melanie Guyer
SOMETHING IN THE AIR
OPTIMIZING ROOT AERATION IN LIVING WALL SYSTEMS
This research project investigates the creation and maintenance of living walls with a focus on improving overall plant health and longevity through root air flow. Many existing green walls utilize undersized plant containers with limited aeration, resulting in high levels of plant mortality. Potted plants have been shown to develop healthier root systems through air pruning, a
process where roots exposed to air retreat, stimulating the plant to produce a denser root system which capitalizes on the entirety of the growing medium provided. I tested different size air gaps surrounding chia root systems to see the effects on overall plant health and soil water retention. I filled plastic pots of varying porosities with soil and placed them inside impermeable
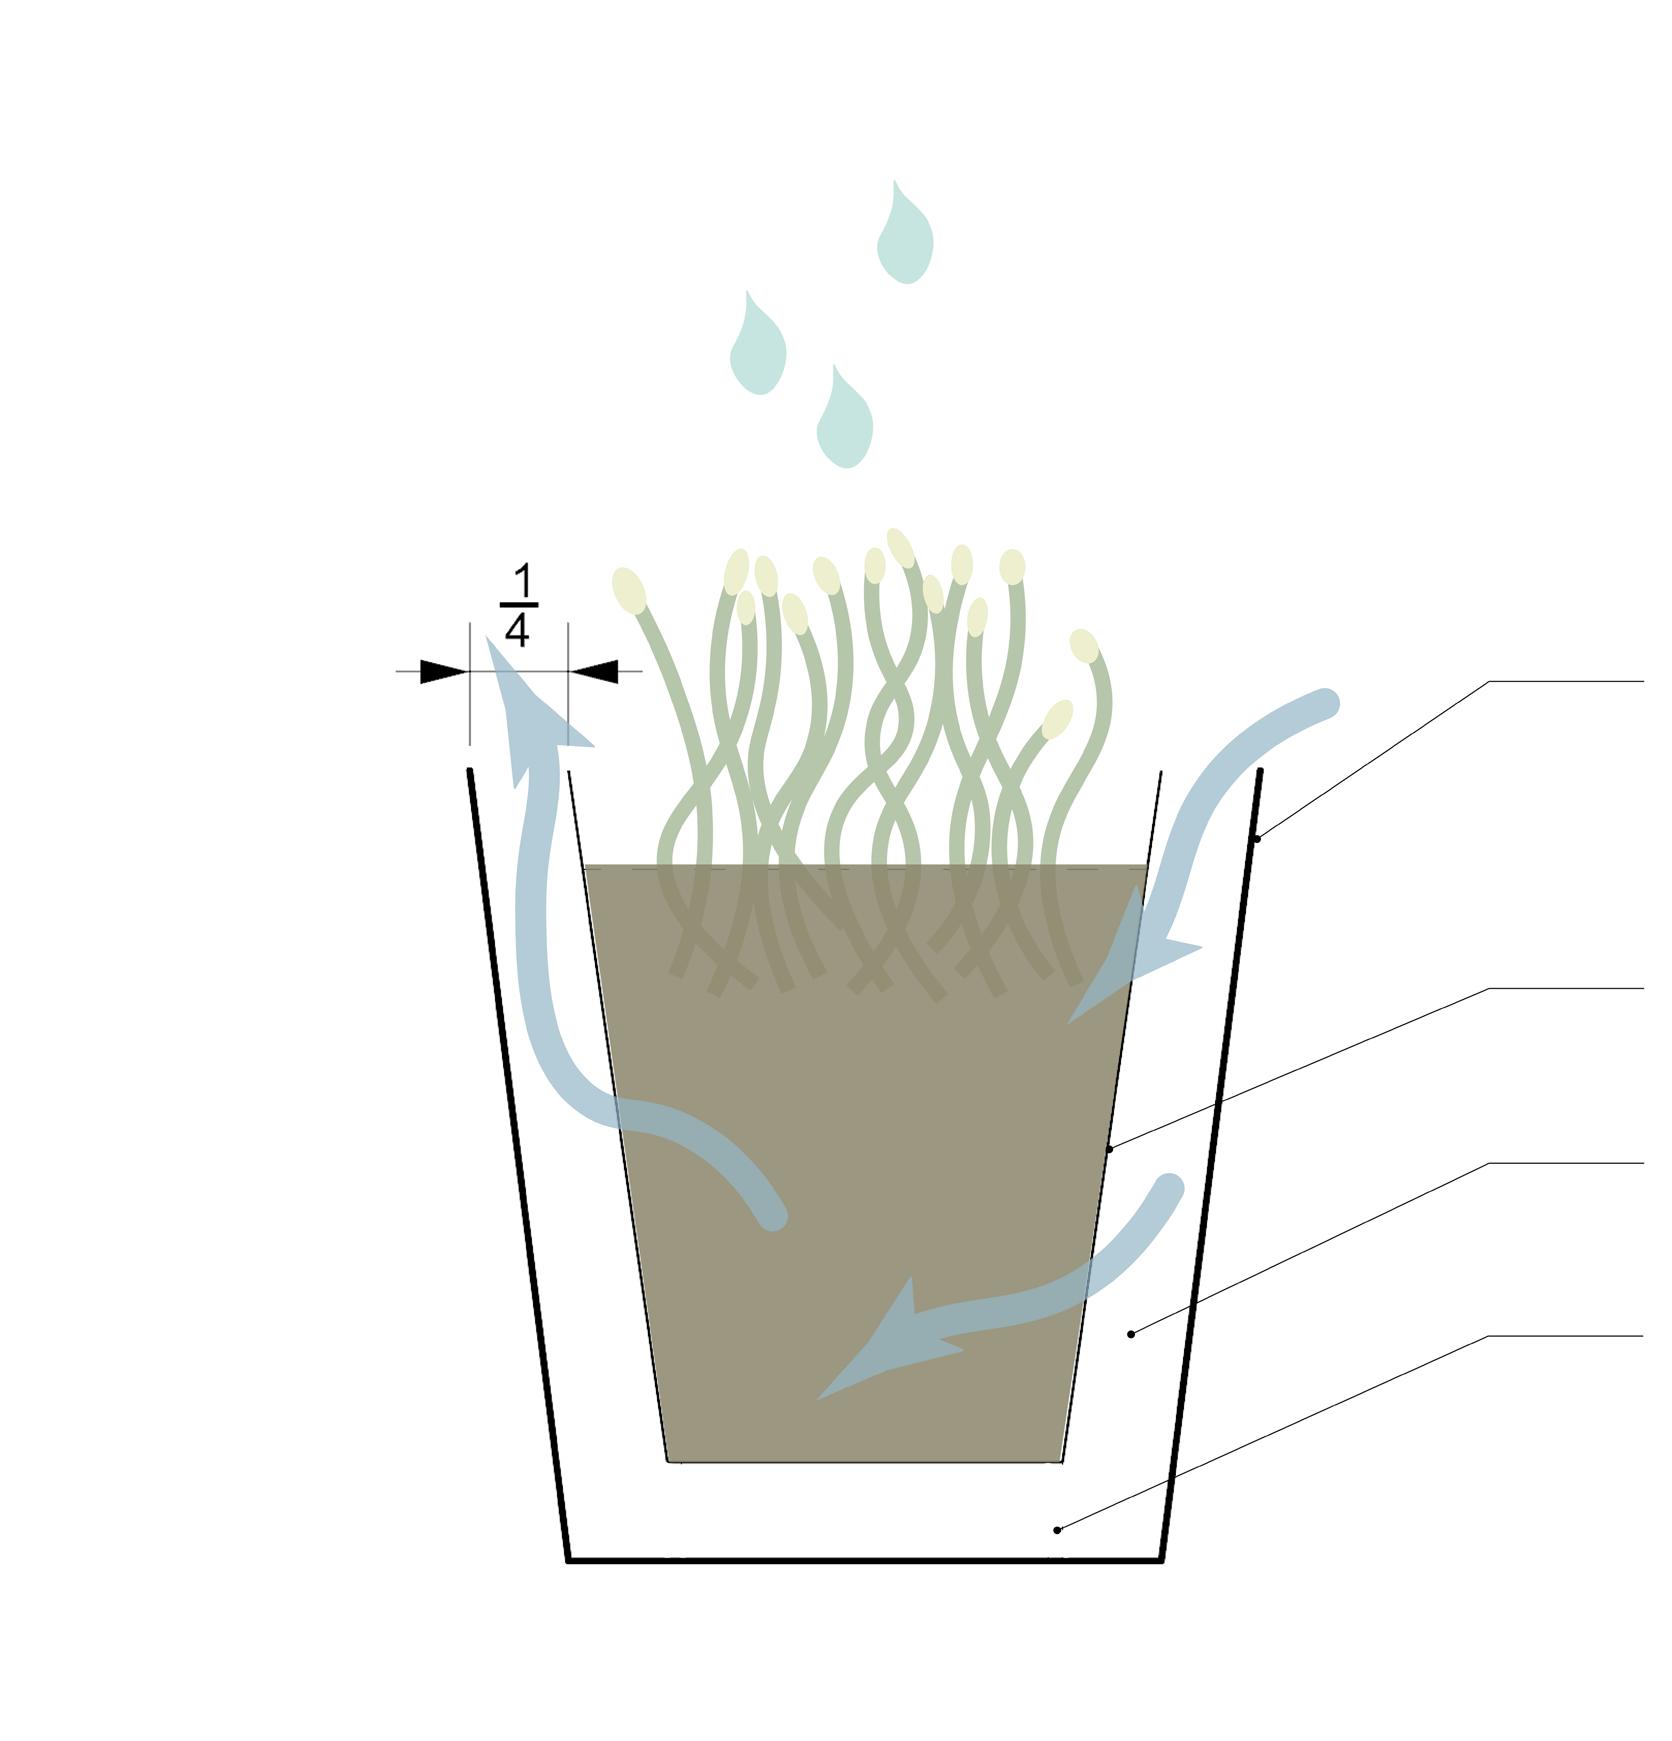
pots of larger diameters to alter the air gap size surrounding the soilfilled pot. I found that a small air gap of 1/4” allows for optimal growth and minimizes water leakage. This study shows how crucial each detail becomes when designing a green wall. Living walls that incorporate air space between roots and planter will grow healthier plants, thus decreasing maintenance costs.
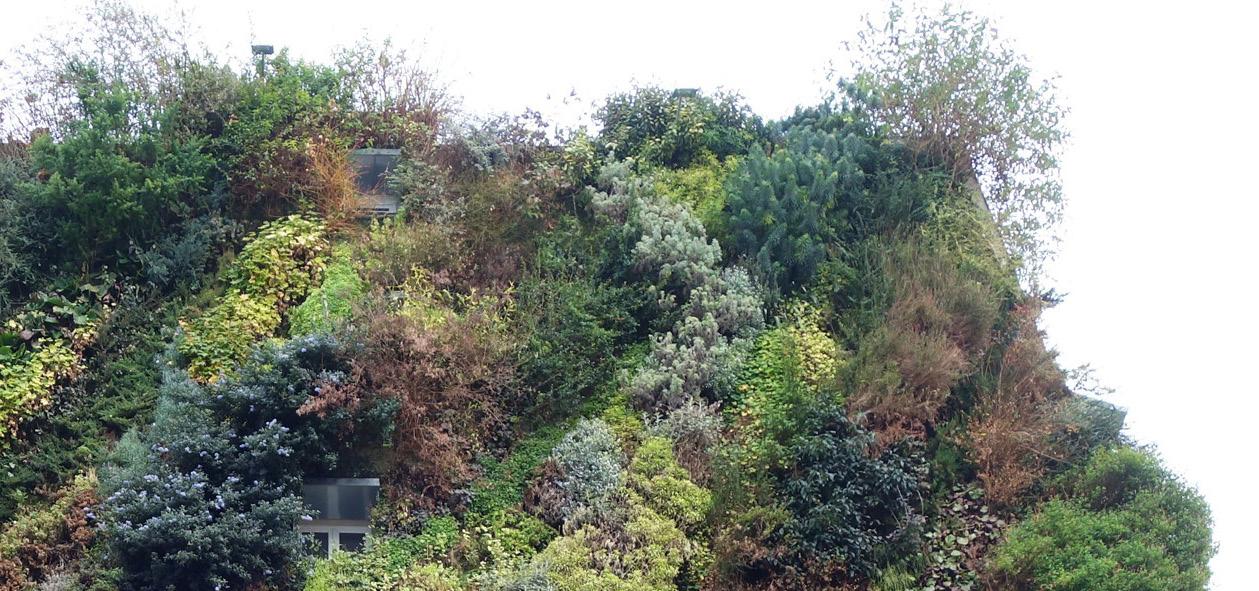
1- Patrick Blanc
Oasis d’Aboukir, Paris 2-Geopot
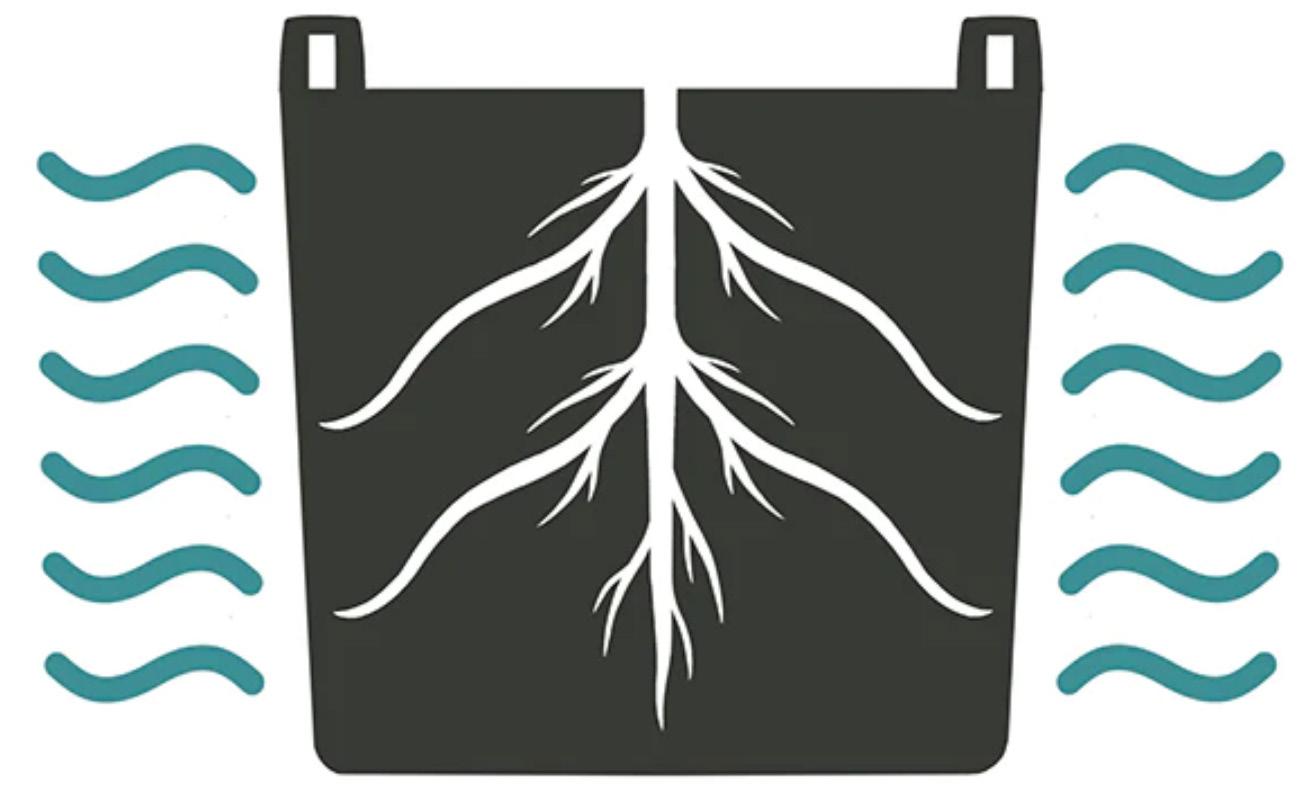
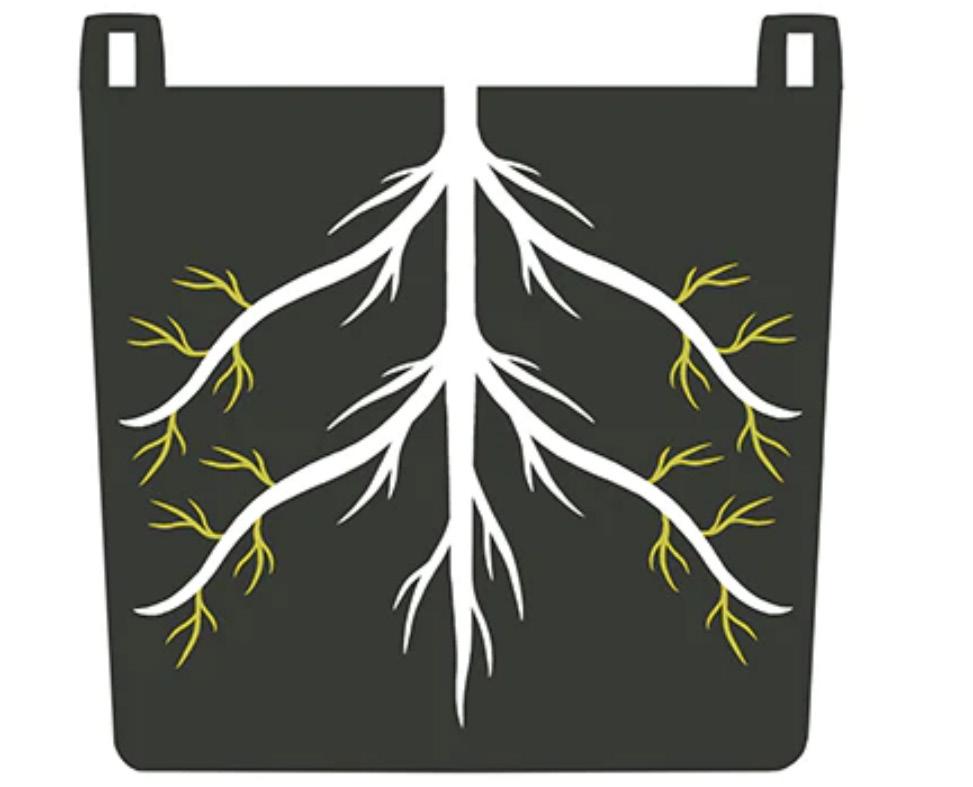
Air pruning benefits

METHODOLOGY AIM
VARYING AIR GAP SIZE TO IMPROVE ROOT HEALTH IN GREEN WALLS
When researching air pruning methods, I found that there was little research on the specifics of optimizing air flow for root growth, let alone with regards to living walls. Some research has been done on reduced soil moisture in air pruning pots. This project aims to narrow down the specific amount of air needed to strike a healthy balance between air pruning and soil moisture content.
I tested three air gap sizes: 0”, 1/4”, and 1/2”. Each air gap size was tested with three different pot porosities: 0%, 2%, and 4%.
There were 18 samples overall, with two of each control type and three each of the small and medium air gap samples. The small and medium air gap samples did not have a control pot without holes.
1 | ROOTS GROW OUTWARD
2 | SELF-PRUNE VIA DEHYDRATION
3 | ROBUST ROOT SYSTEM EXPANDS
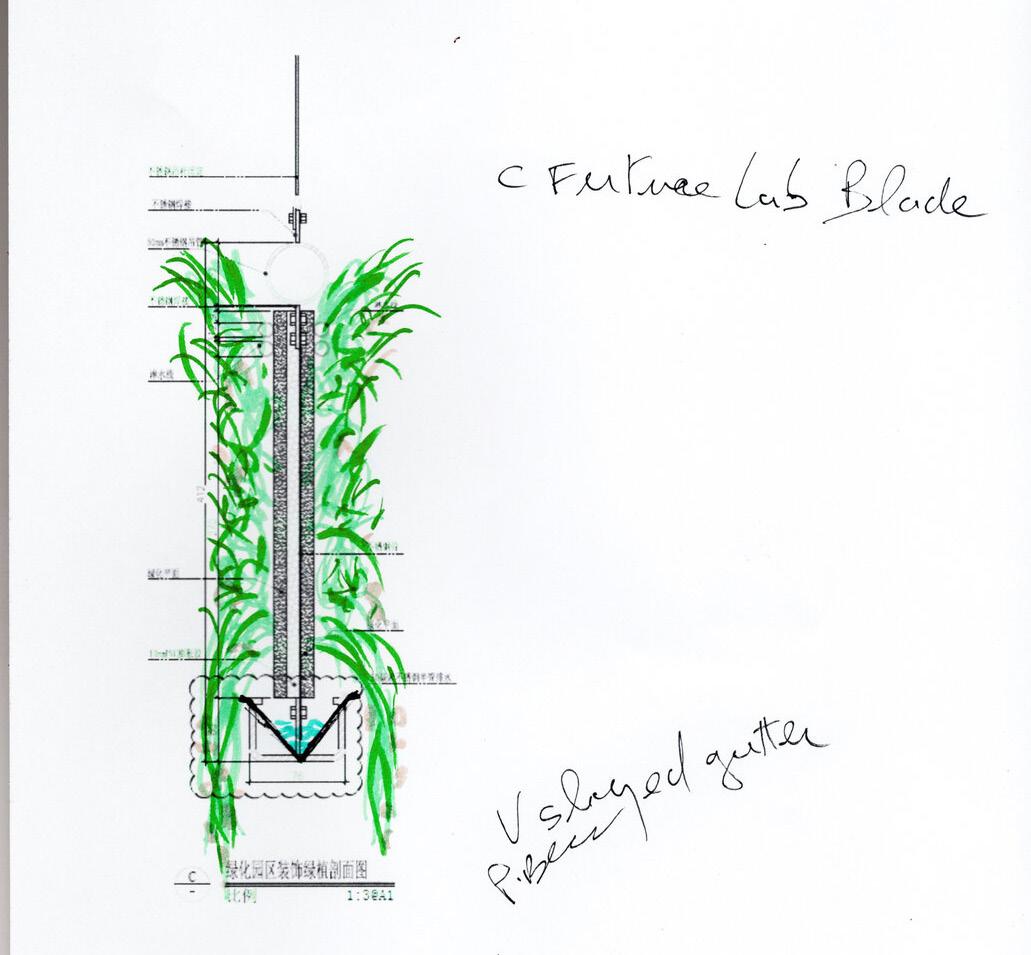
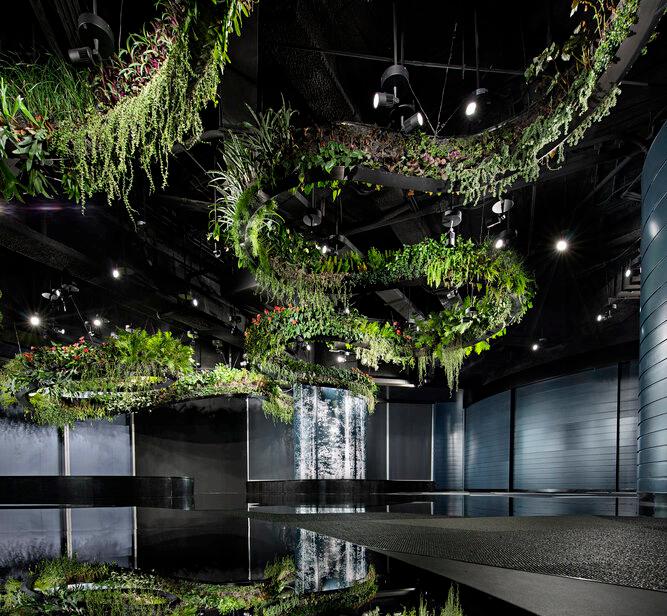
THE JUNGLE DRAGON DANCE
PATRICK BLANC | SHENZHEN, CHINA 2018
Structure: Felt on steel
Water: Drip irrigation
This project is unique in that the planting structure and framework is hung from the ceiling. The plants have excellent root air flow as they are packed loosely in thin bands and the felt bags are porous themselves. The lowered gutter system allows for an air gap to avoid root rot in the felt.
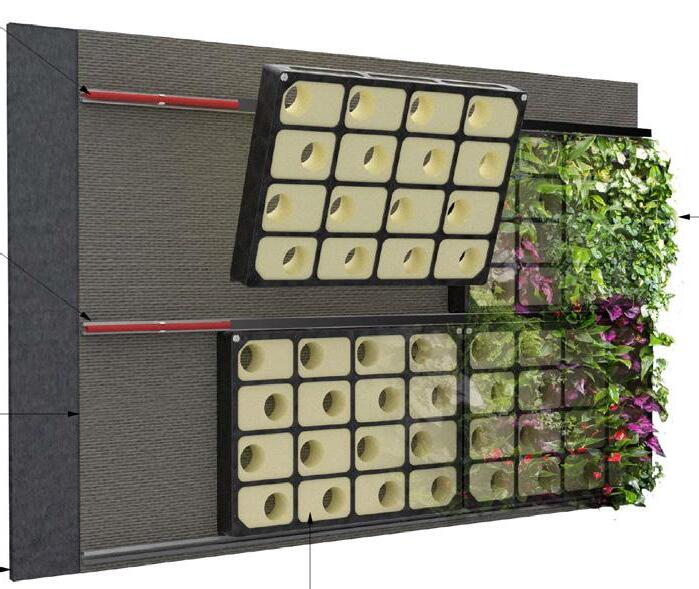

ASHFORD DESIGNER OUTLET
BIOTECTURE | ASHFORD, UK 2019
Structure: Biopanel on steel
Water: Hydroponics
I found this project relevant to mine because of the attention given to spreading out the plants and giving the roots space to breathe. The planting holes are offset to maximize space in between and the biopanel is held off the rear wall to give space for irrigation and
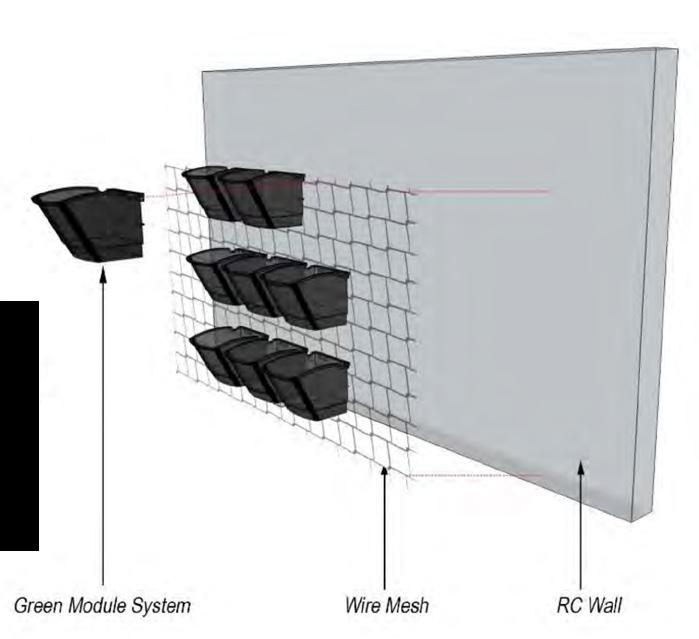

CHANGI AIRPORT T3
TIERRA DESIGN | SINGAPORE 2008
Structure: GFRC on steel
Water: Aeroponics
This project showcases the need for the original design to make plant health the top priority when constructing a living wall. The new system is much more successful, using an impermeable pot system to reduce rot and increase air flow between plant root systems.
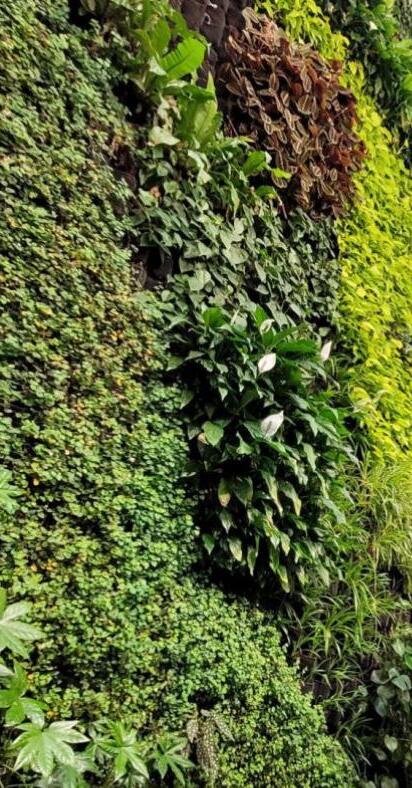
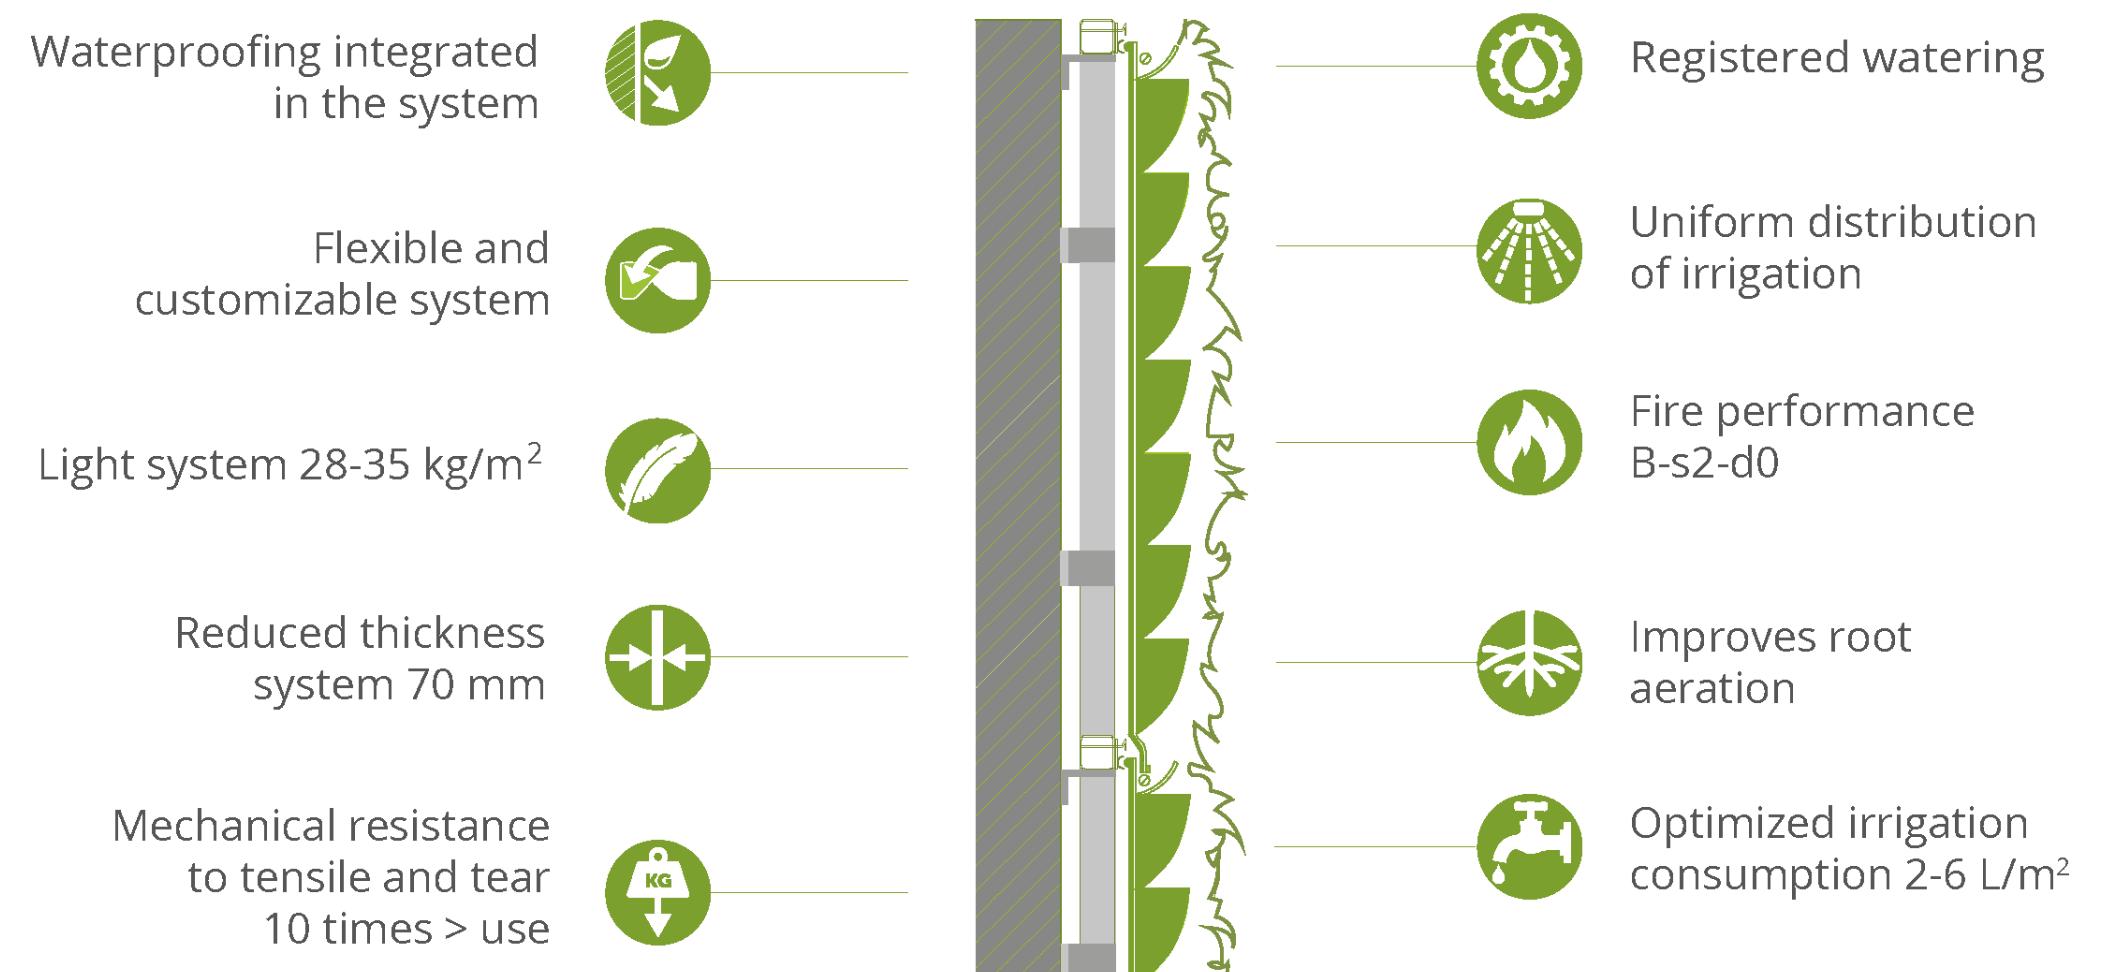
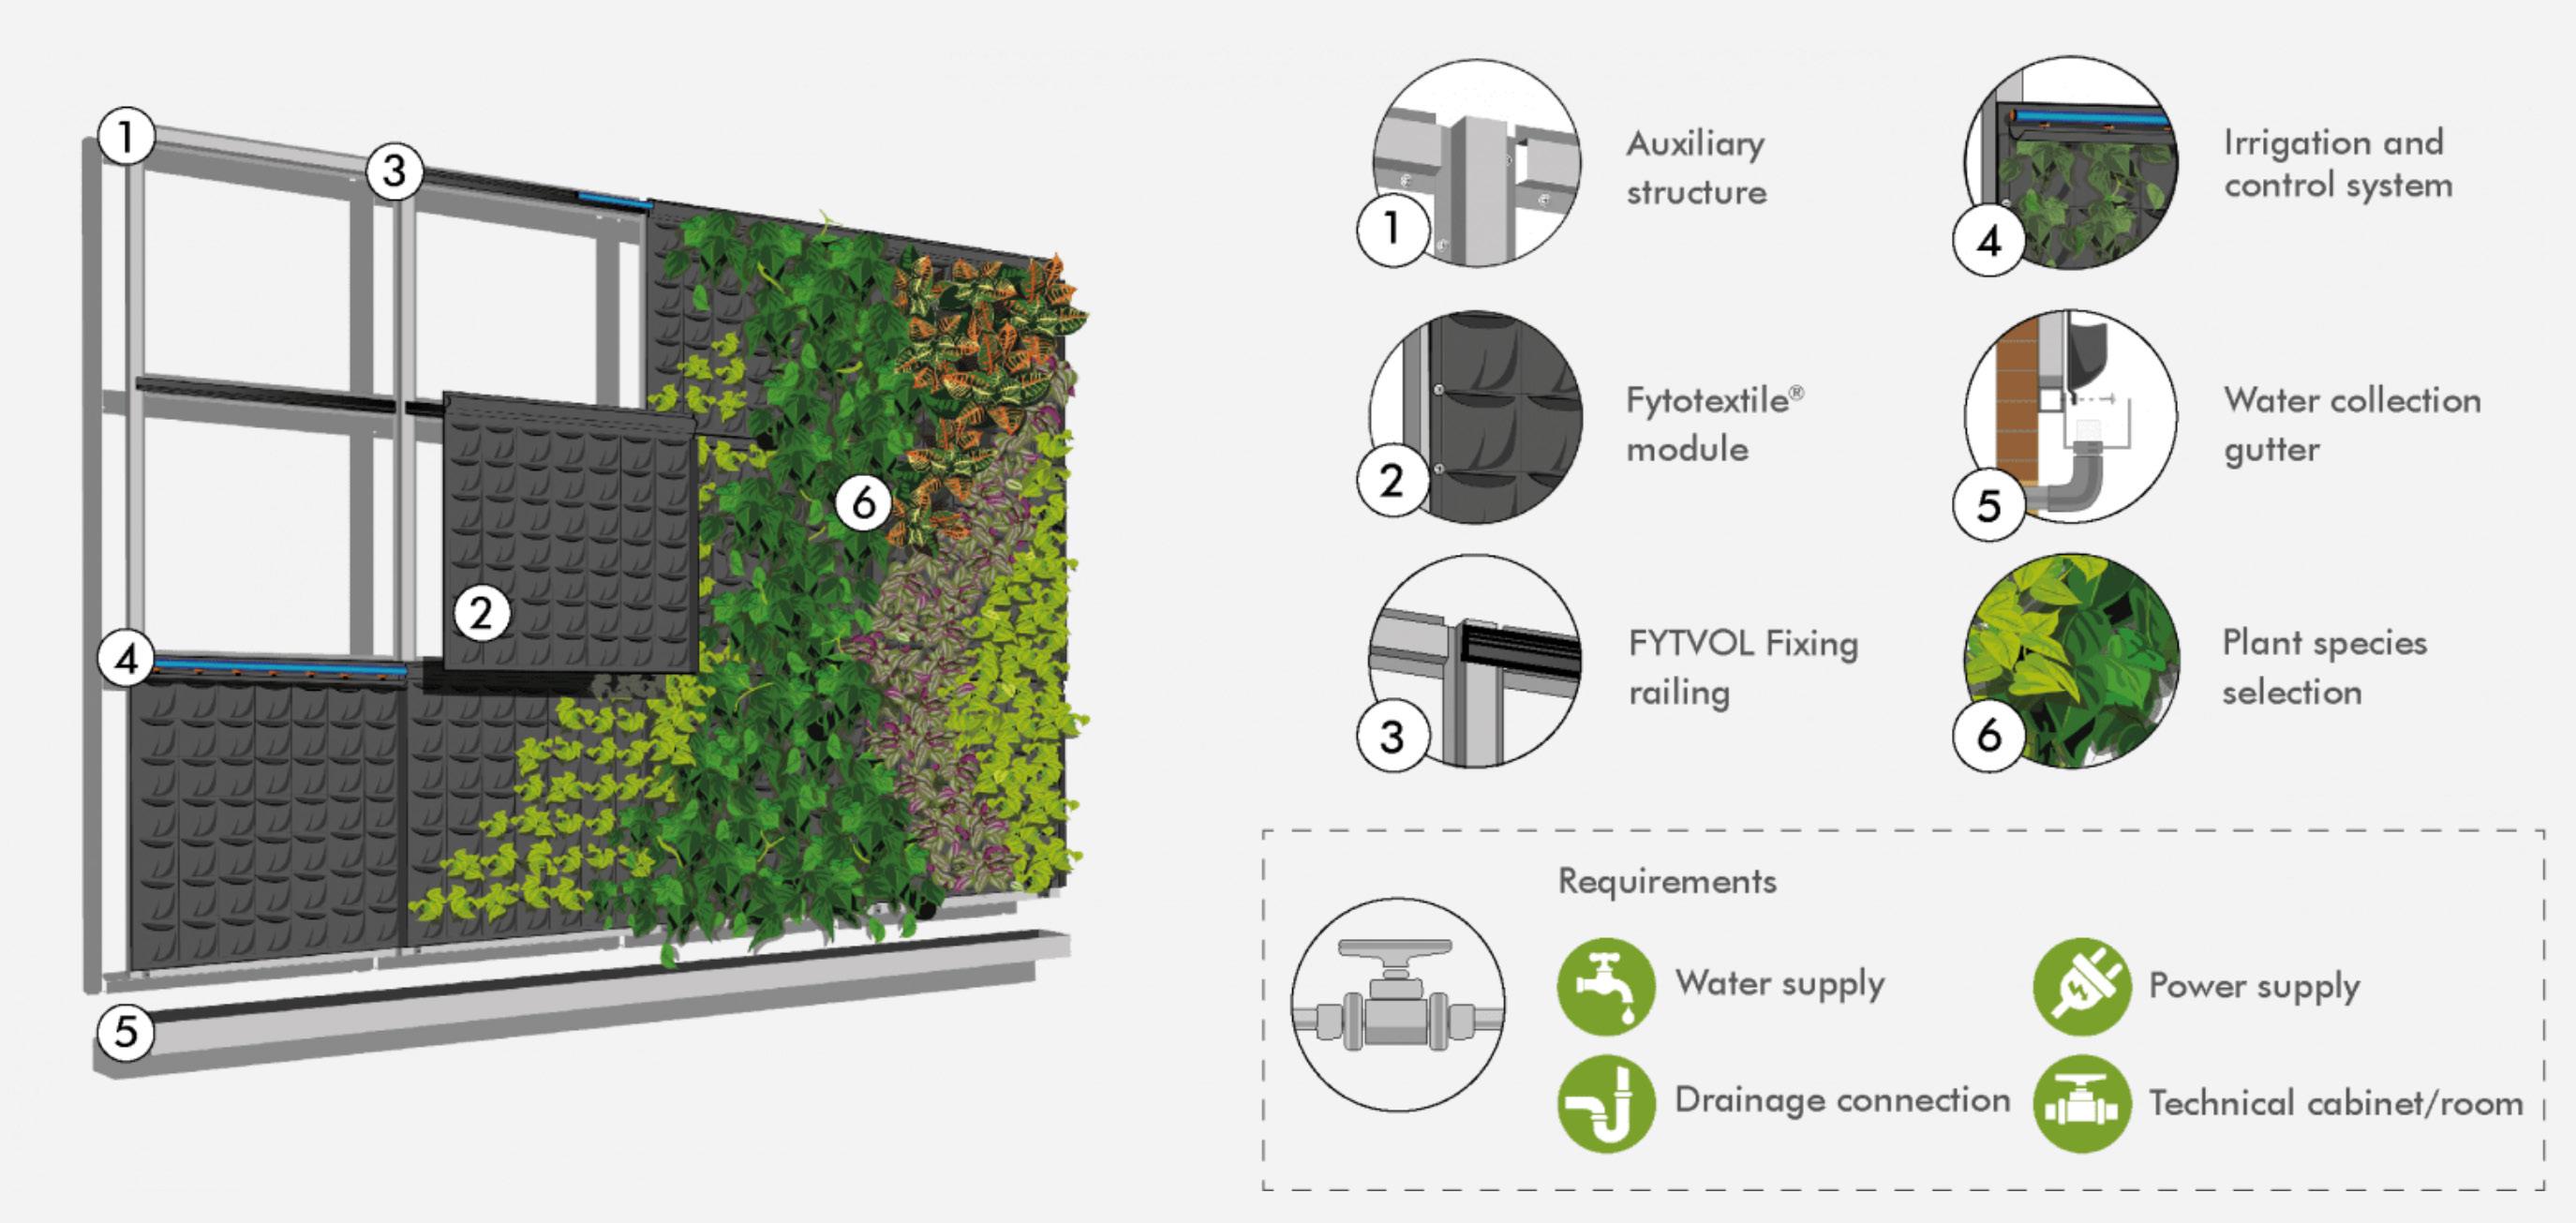
Structure: Fabric on steel
Water: Aeroponics
This living wall uses a fabric planting system mounted on steel. The fabric works well to aerate the plant roots, increasing air pruning and reducing root rot. This project highlights the importance of selecting the right pot material and shape to ensure optimal plant health for any given wall.
TERAPIA URBANA | SANTANDER, SPAIN 2020
EDIFICIO TABACALERA
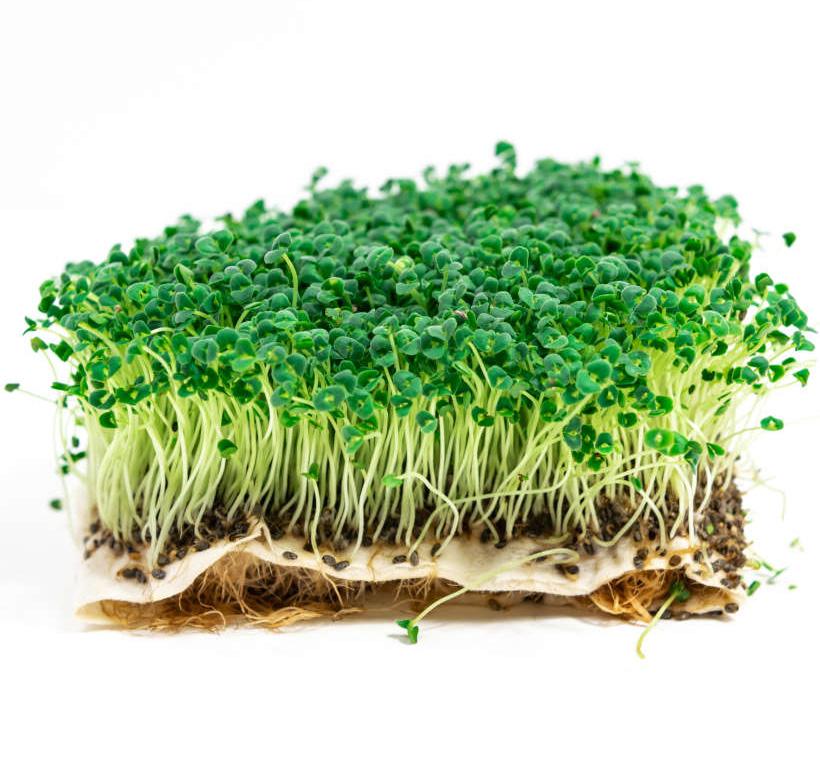
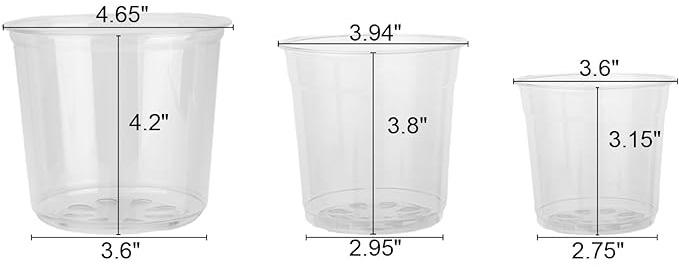

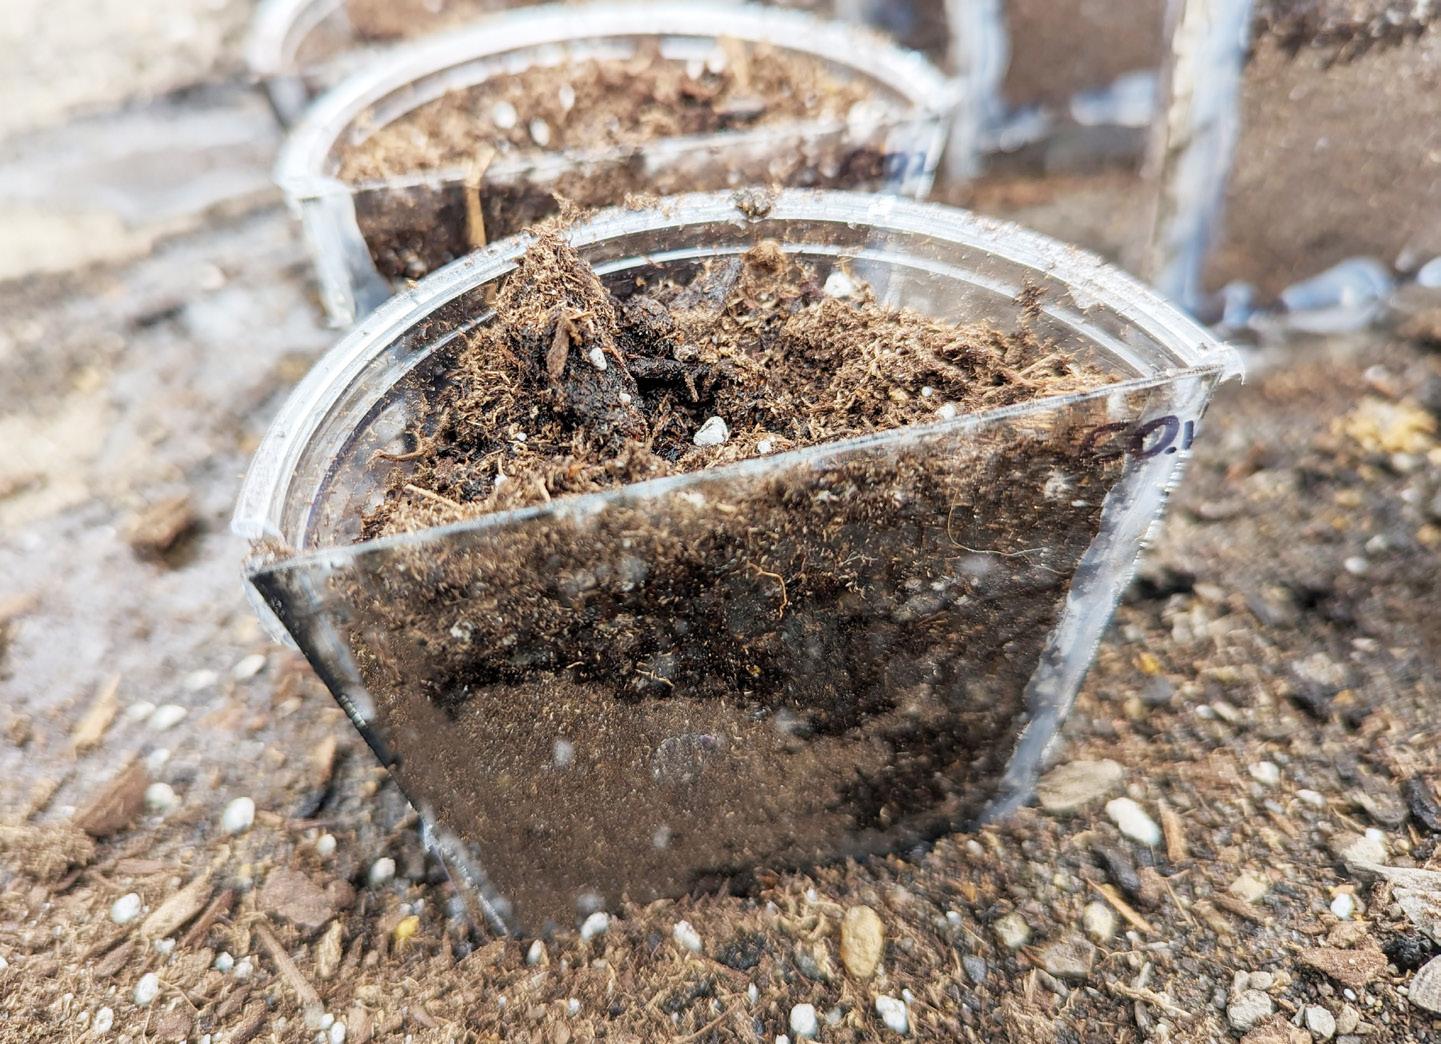
I grew sprouting chia seeds in perforated plastic nursery pots nested within larger impermeable nursery pots. I used silicone to attach pieces of acrylic to the pots after they were cut in half.
Soil mix - $10
Chia seeds - $7
Nursery pots - $19
Silicone - $9
Total: $45
3-
4-
Photo: Potting mix, MiracleGro.com
Photo: Sprouted chia, Gardenful.ca
Photo: Azimoth Pots, amazon.com
6- Photo: Silicone adhesive, HomeDepot.com
Scale
Ruler
Camera
Moisture sensor
Acrylic panel
TOOLS
METHODOLOGY
1- Cut outer and inner pots in half.
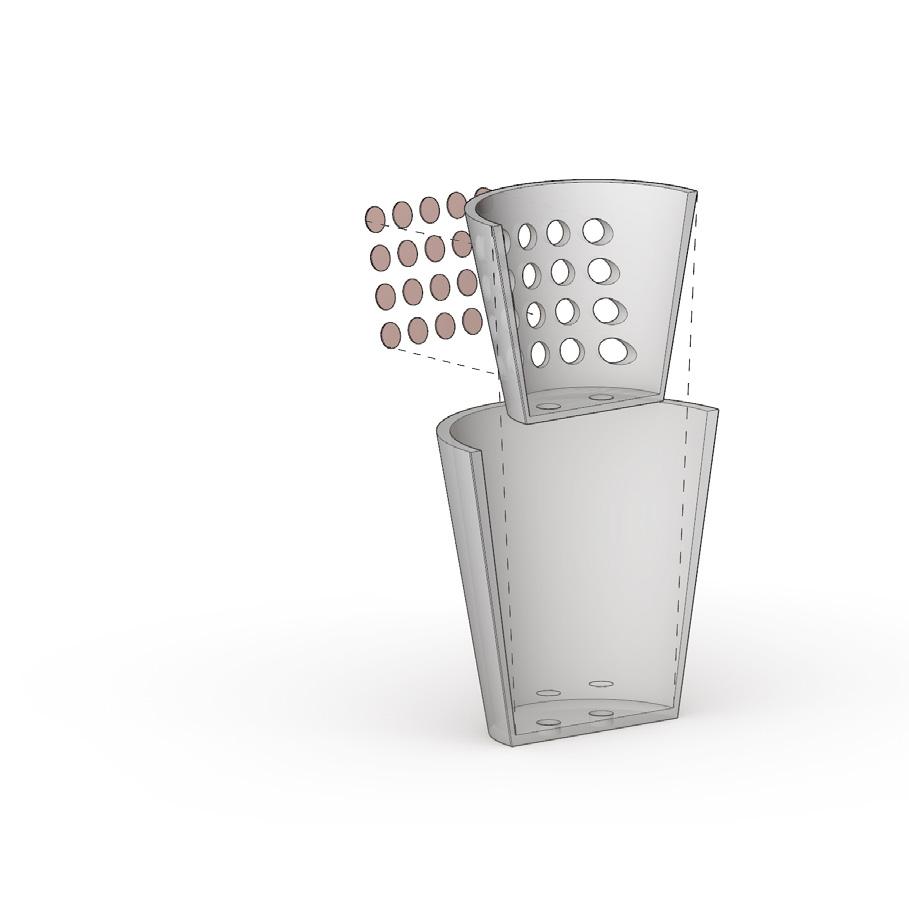
2- Melt holes into inner pots using sharp tip on soldering iron.
3- Trace outer pot section and cut from 1/16” clear acrylic.
4- Adhere inner pot cut edge to acrylic panel (centered width-wise, aligned to top) using 100% silicone adhesive. Adhere outer pot edge to acrylic edge using 100% silicone adhesive.
5- Fill inner pots with soil. Plant chia seeds (pre-soaked) and water.
6- Measure soil moisture retention every two days with moisture sensor, document root ball growth, and measure sprout height and appearance. Continue collecting data for 2 weeks.
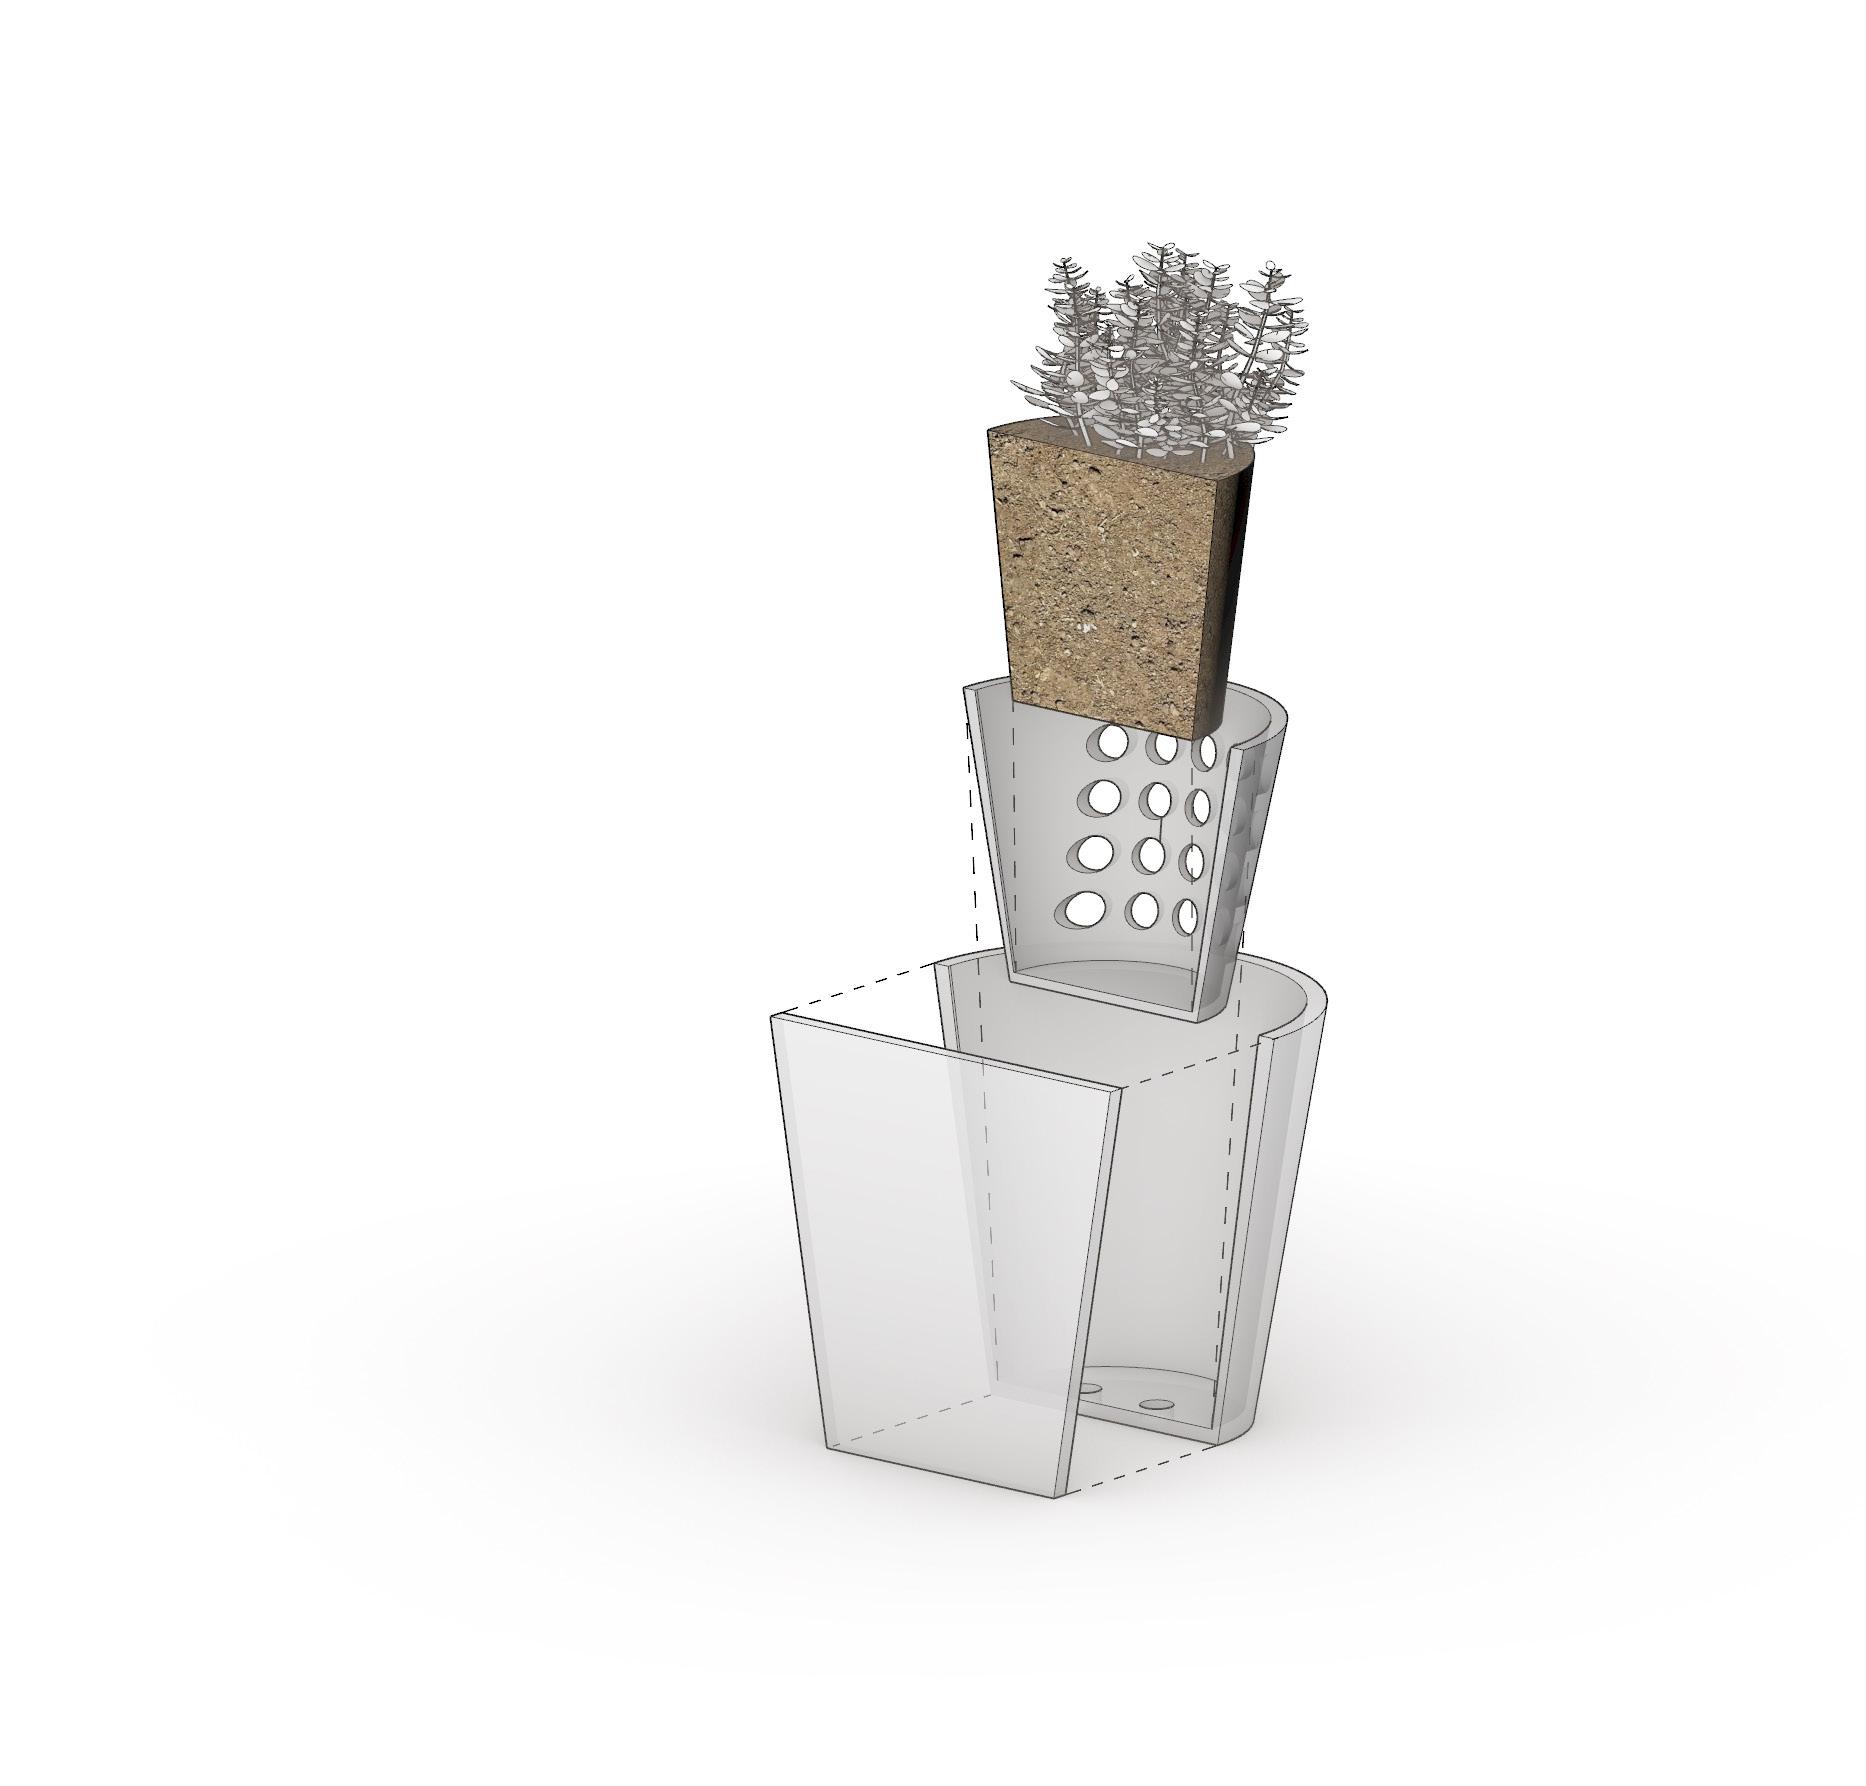
ASSEMBLY
1- Chia Sprouts
2- Soil mix
3- Perforated pot
4-Impermeable pot
5- Acrylic screen glued to pot halves
RESEARCH TIMELINE
GOAL
TOPIC INTROS AND SELECTION GRADIENT DENSITY/AIR PRUNING
PROJECT REVIEW RESEARCH PRECEDENTS FOR METHODOLOGY PRESENTATION COMPILATION RESEARCH COMPLETE INVESTIGATION AND PLANNING DIAGRAM LOGISTICS OFEXPERIMENT CONSTRUCTION AND BETA TESTING
DATA COLLECTION PRESENT METHODOLOGY
DATA COLLECTION SOIL MOISTURE AND ROOT GROWTH
DATA COLLECTION PRESENT INITIAL FINDINGS
DATA COLLECTION SOIL MOISTURE AND SPROUT HEALTH
DATA COLLECTION PRESENT FINDINGS AND CHALLENGES
DATA COLLECTION SOIL MOISTURE AND SPROUT HEALTH
DATA COLLECTION SOIL MOISTURE PHASE
My goal for initial documentation was to complete a thorough literature review of current air pruning techniques and research, particularly as pertaining to living walls.
I was unable to find many articles or formal experiments on the topic of air pruning in general, let alone specifically regarding living systems.
My goal for experimentation was to design and build a series of pots with variable air gap sizes and porosities, plant and grow chia seeds within the pots, and measure the health of the plants as well as the moisture content of the soil.
I was able to succesfully complete each step of the experiment.
My goal for final documentation was to photograph each step of the fabrication and growing process, track growth and soil moisture data, and provide data visualization graphics to explain any trends that might emerge.
I was successful in experiment documentation and graphic display, but wish I had more data to analyze.
NURSERY POT; PERFORATED
AIR GAP; VARIABLE
AIR GAP; VARIABLE
LIP CAP (SUSPENSION)
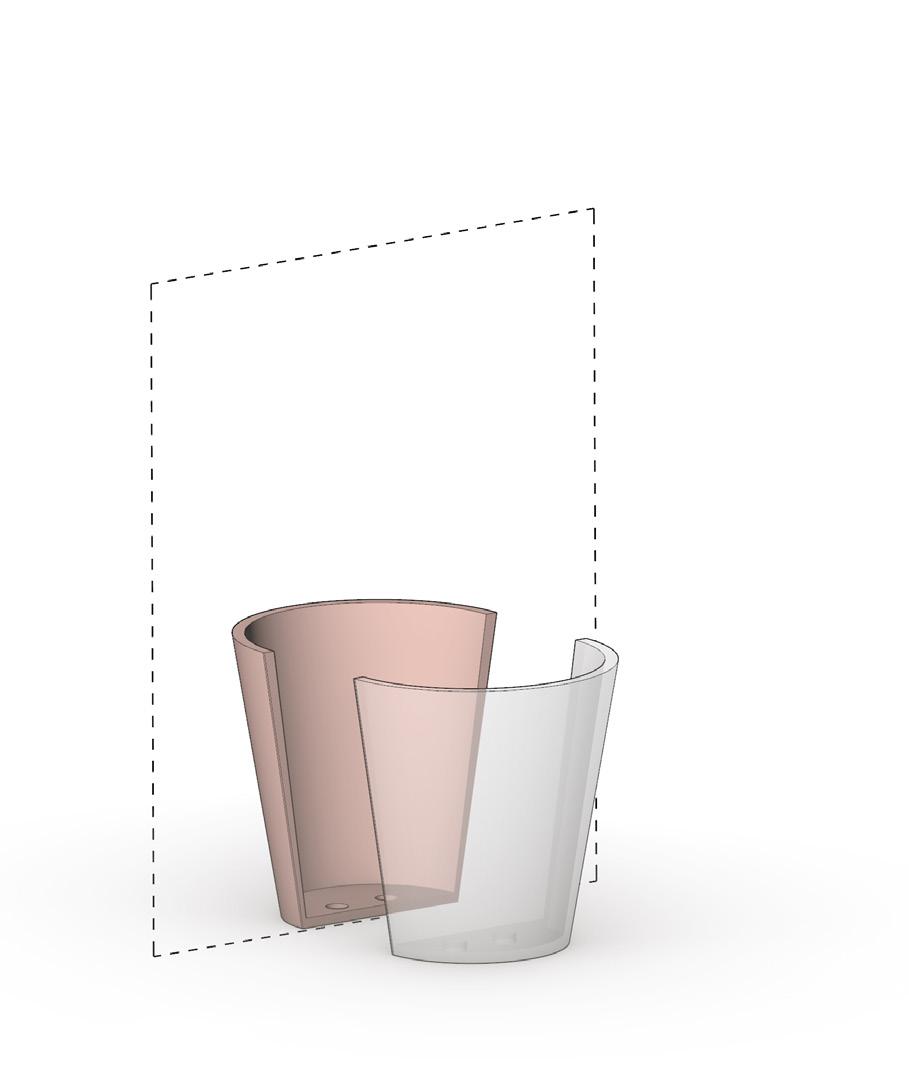
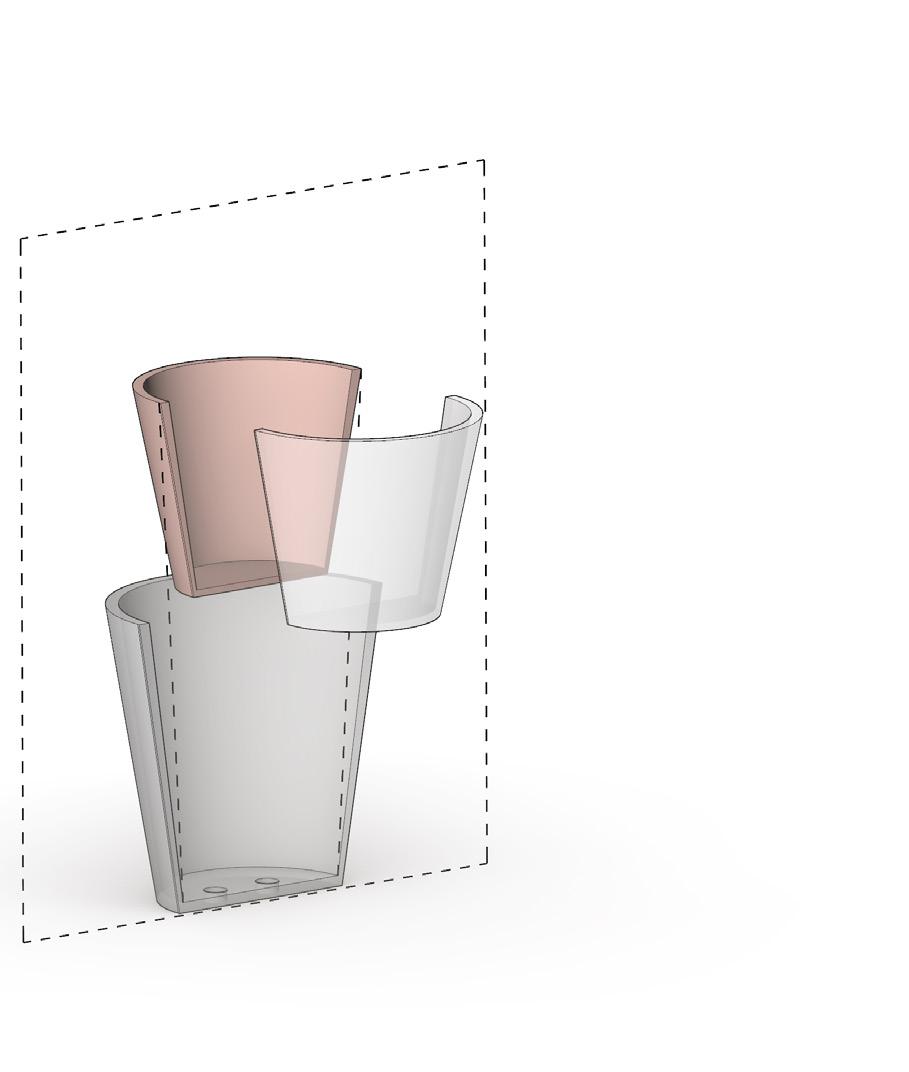
1. CUT OUTER POTS IN HALF
2. CUT INNER POTS IN HALF
3. PERFORATE INNER POT
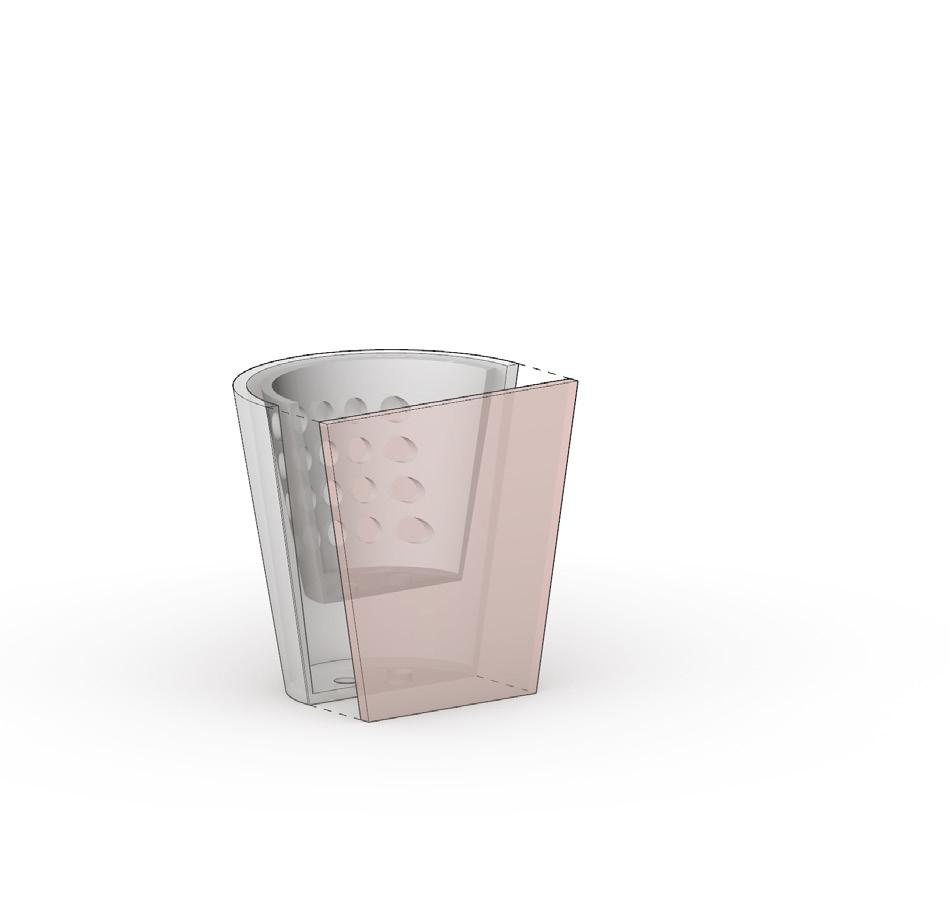
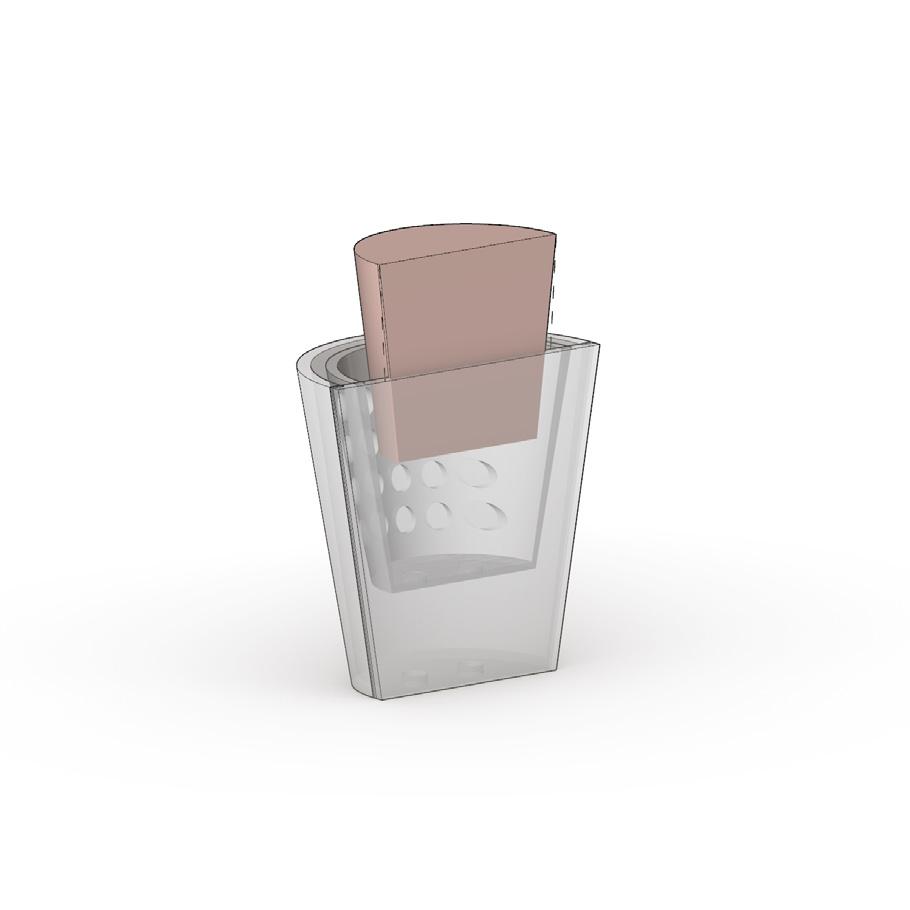
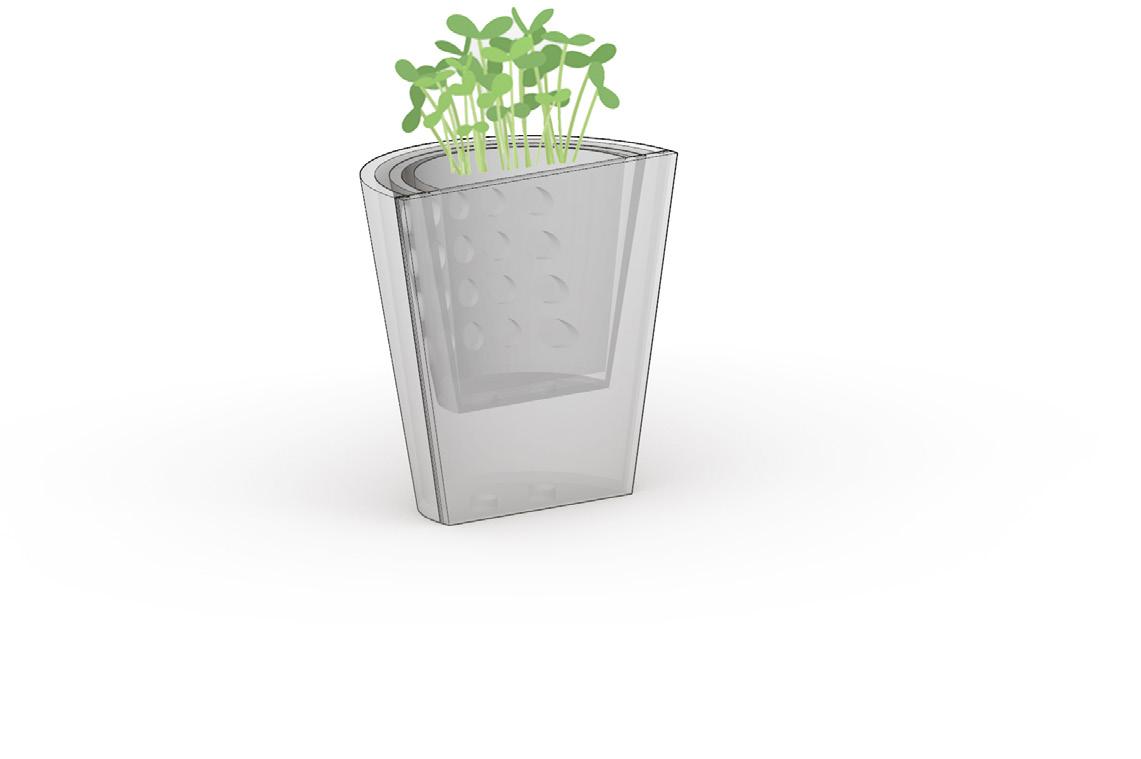
4. ATTACH ACRYLIC PANEL
5. FILL AND PLANT
6. GROW AND MEASURE
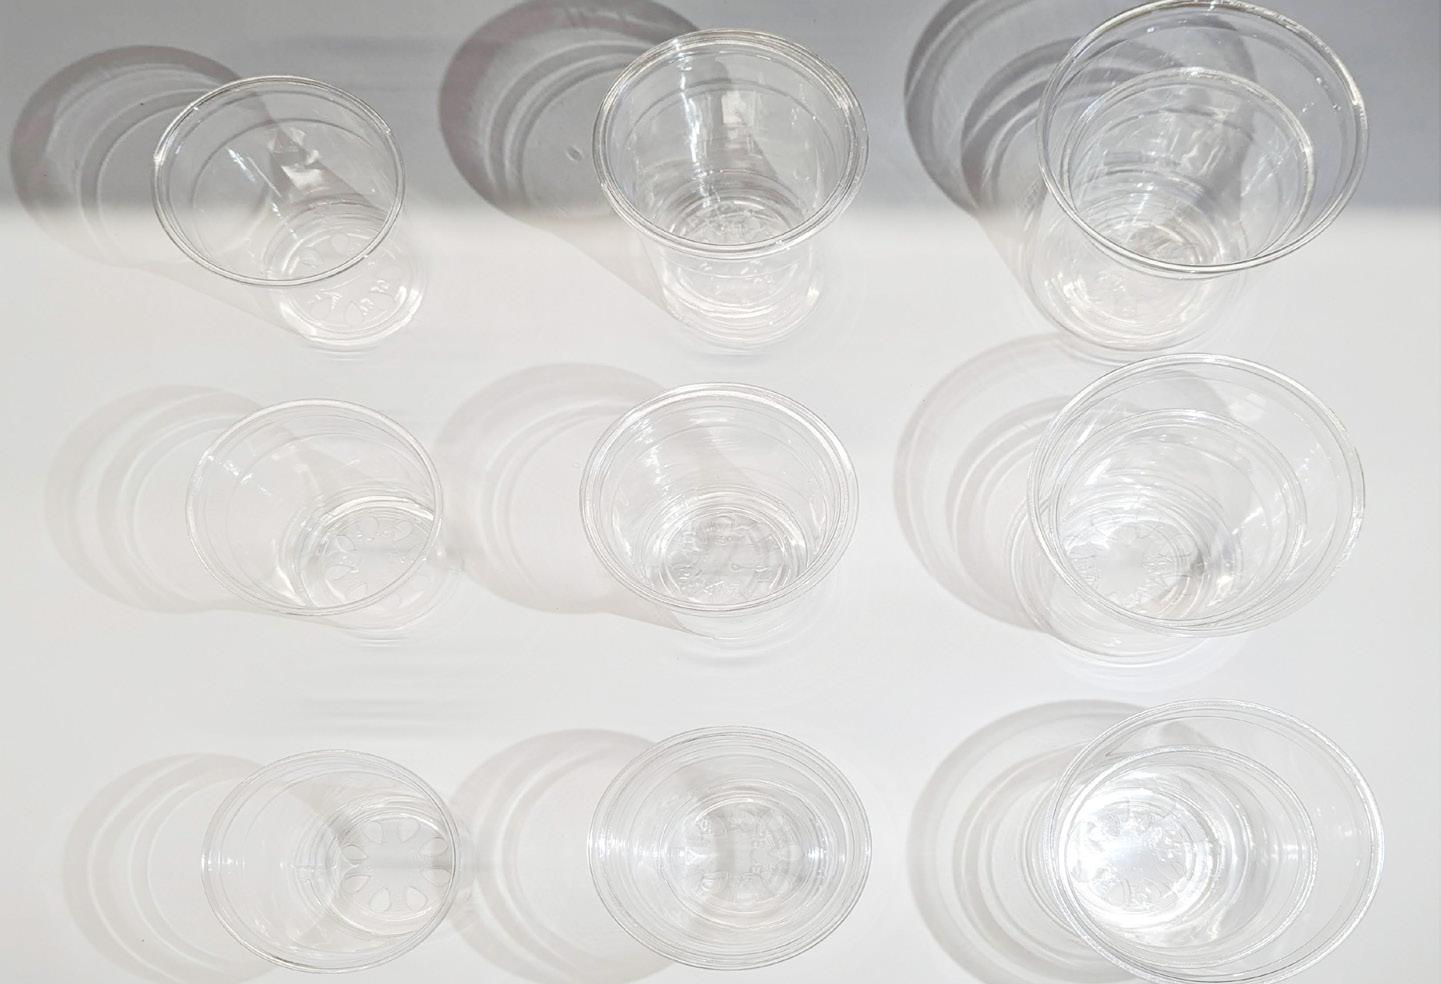
NESTED POTS BEFORE CUTTING
SMALL; SMALL IN MEDIUM; SMALL IN LARGE
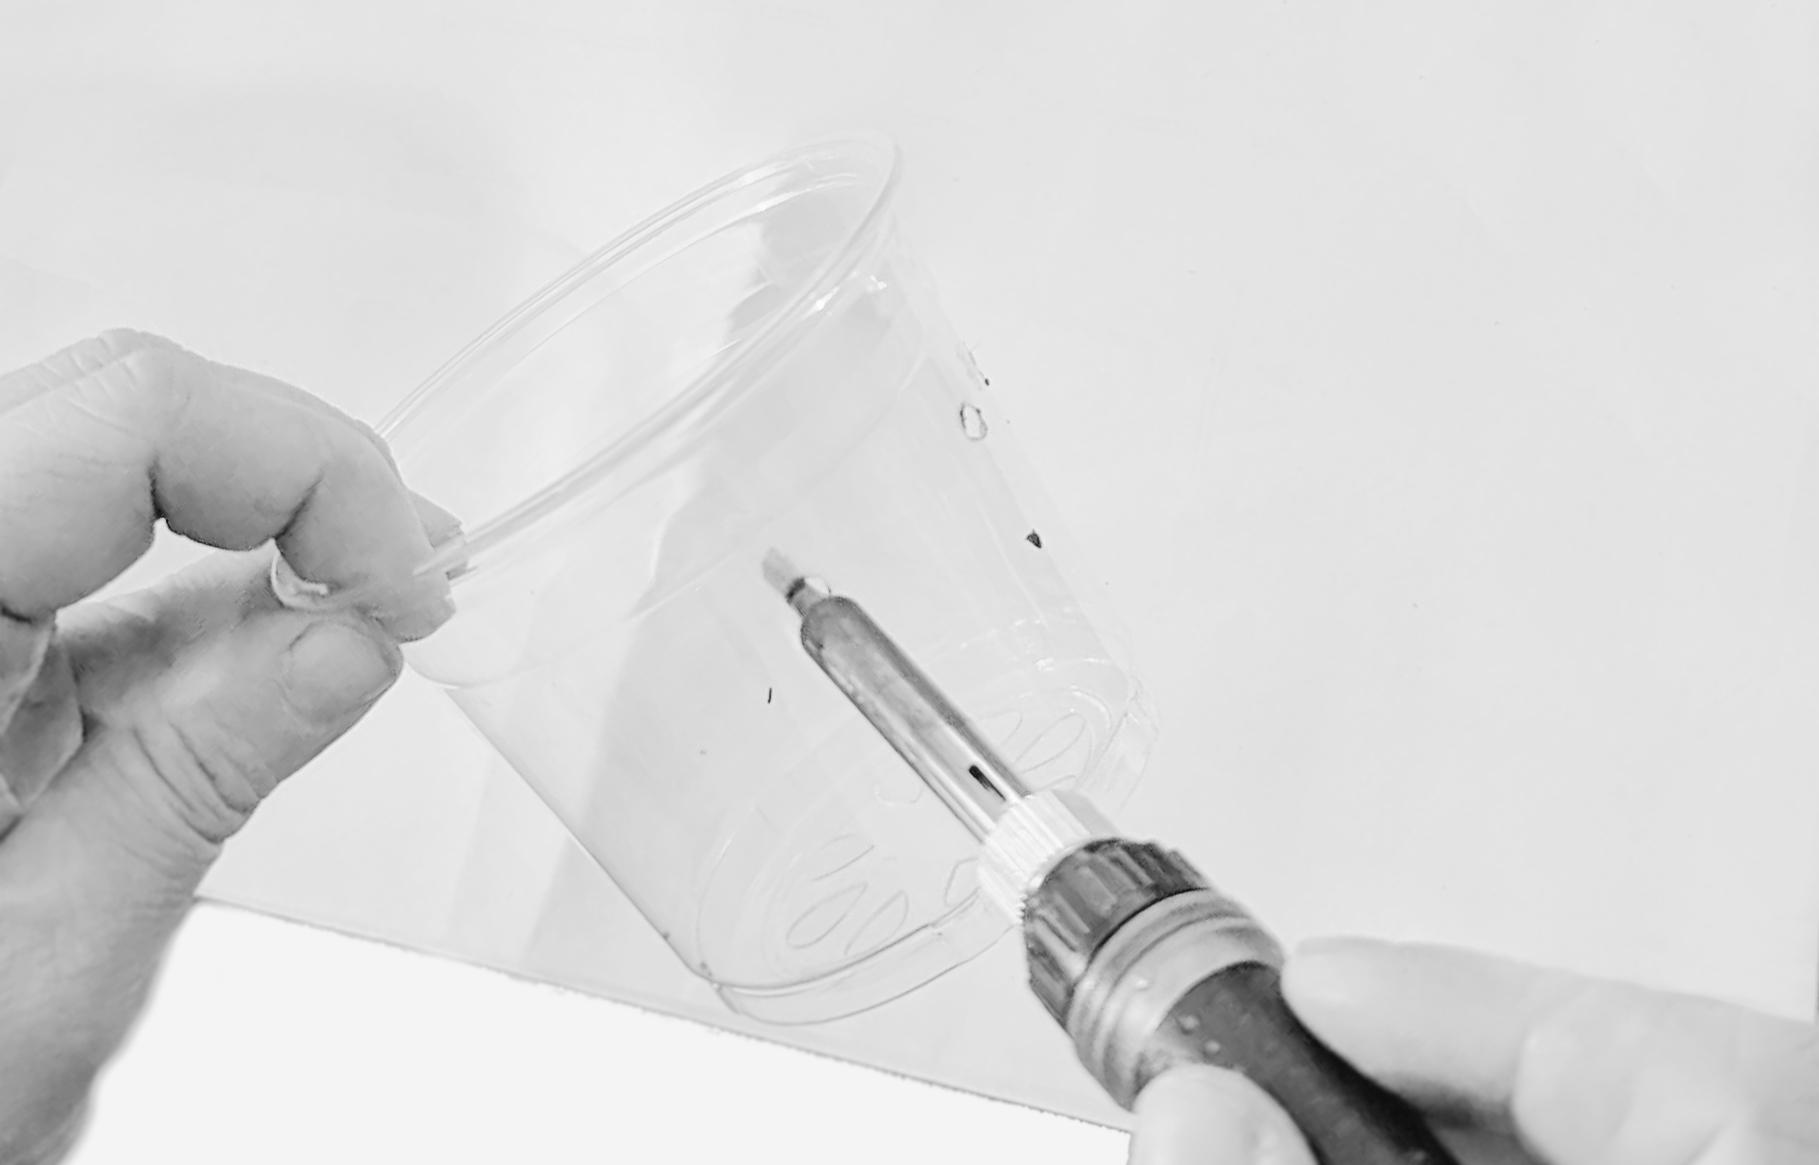
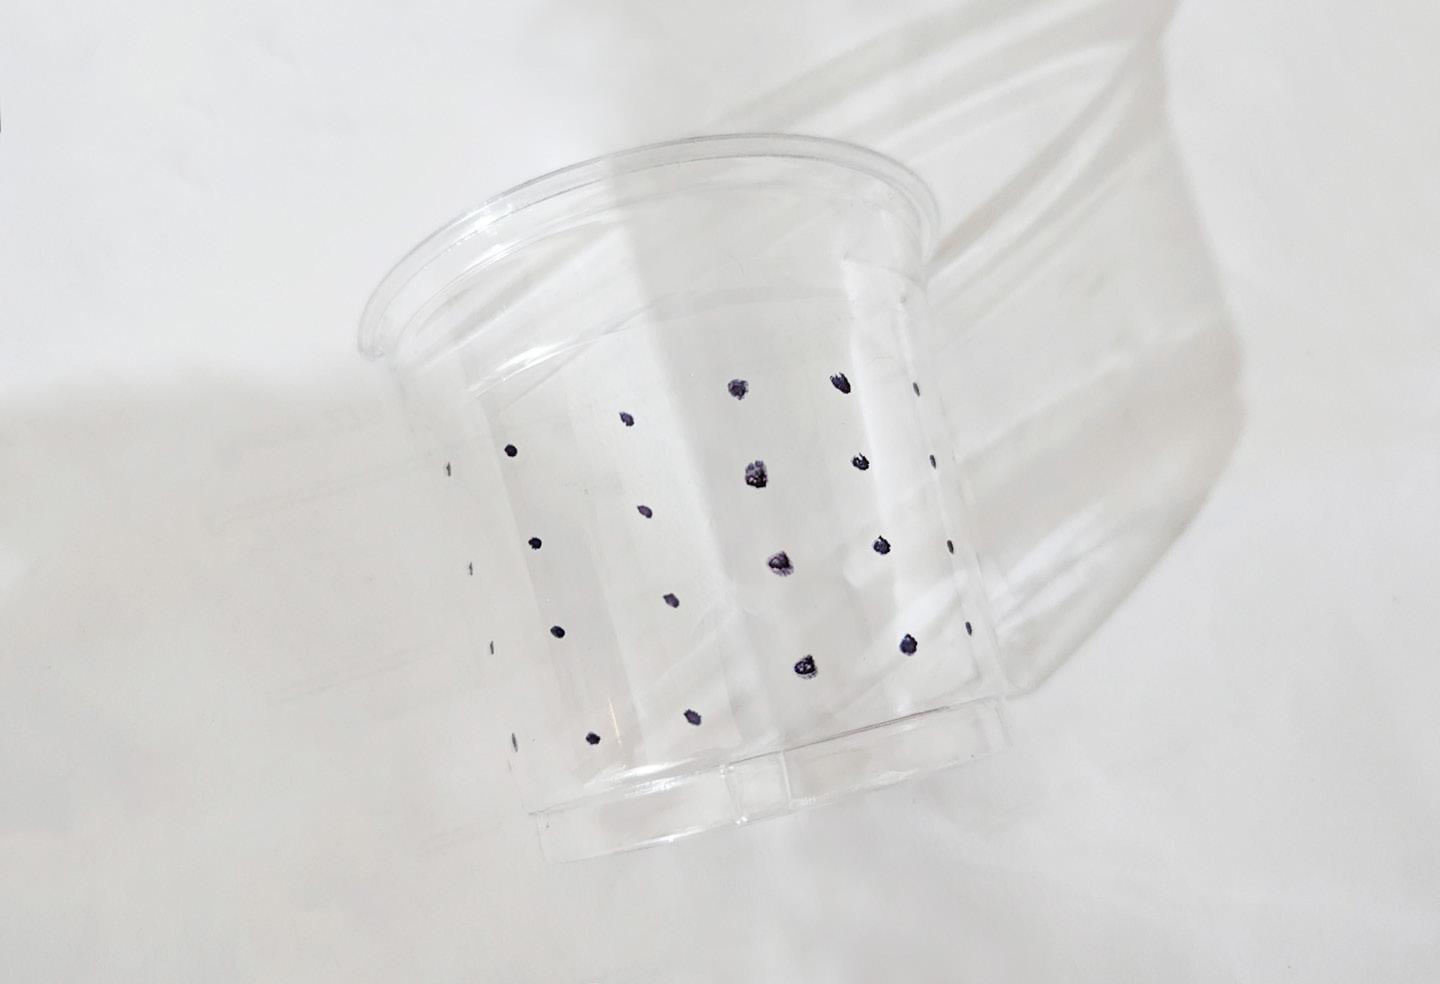
MARKED TEMPLATE FOR HOLE CUTTING
7X4 GRID FOR MOST POROUS; 7X2 GRID FOR LESS POROUS

HOLE MELTING PROCESS
ACRYLIC ADHESION PROCESS
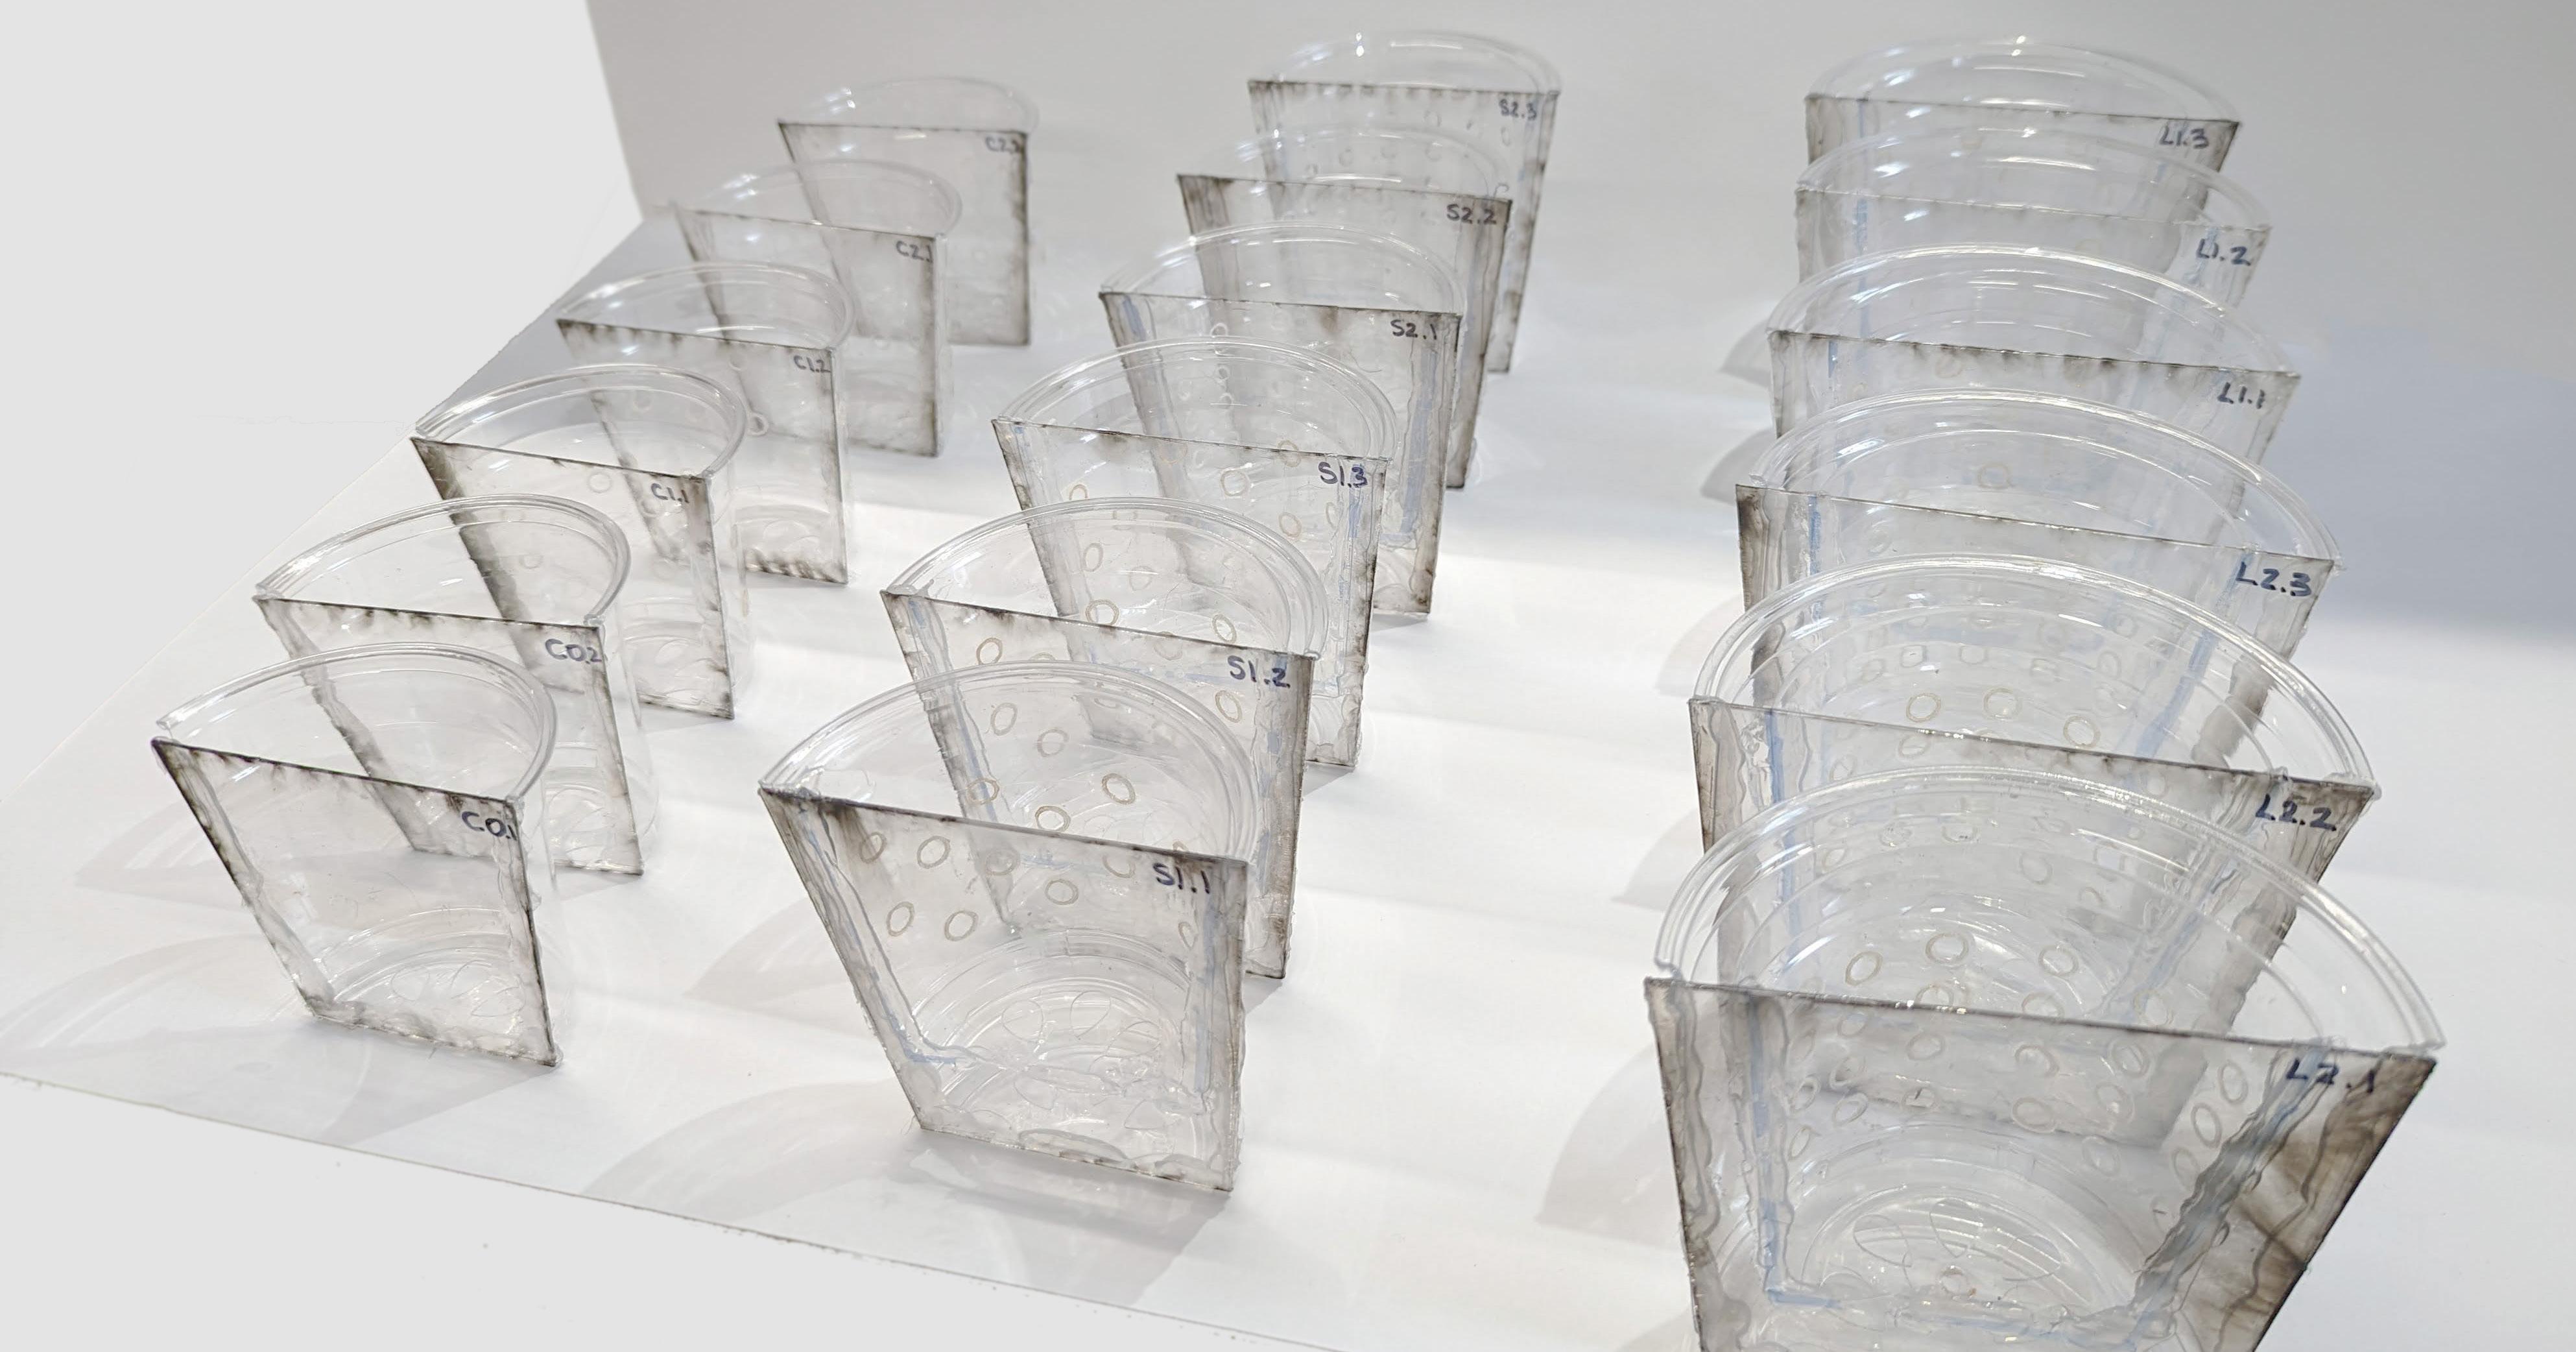
FABRICATION AND ASSEMBLY
I created 7 different test conditions across 18 total samples. I varied the air gap outside the inner, soil-filled pot as well as the porosity of the inner pot.
Tests C0.1 and C0.2 act as the baseline using only the small inner pot with no porosity or layering. Holes in the bottom allow for drainage.
Tests C1.2 and C1.2 are single-layered using only the smaller inner pot with 14 holes melted into the curved side, evenly distributed across the surface.
Tests C2.1 and C2.2 are single-layered using only the small inner pot with 28 holes melted into the curved side, evenly distributed across the surface.
Tests S1.1, S1.2, and S1.3 are doublelayered with an impermeable outer pot and a perforated inner pot with 14 holes. The air gap between pots is 1/4”.
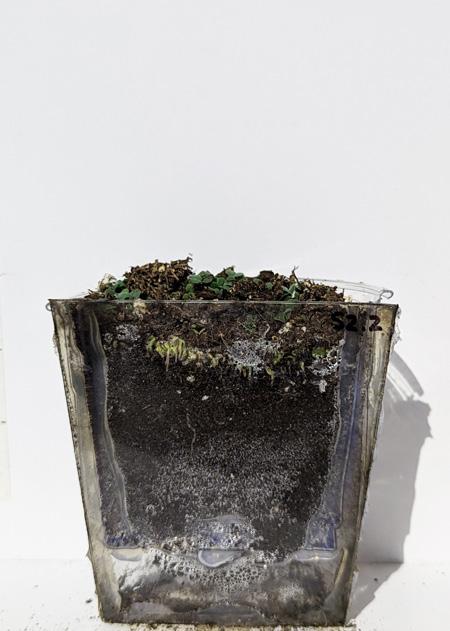
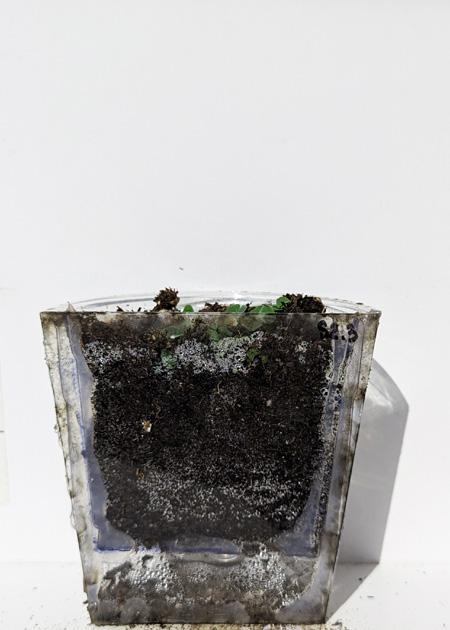
Tests S2.1, S2.2, and S2.3 are doublelayered with an impermeable outer pot and a perforated inner pot with 28 holes. The air gap between pots is 1/4”.
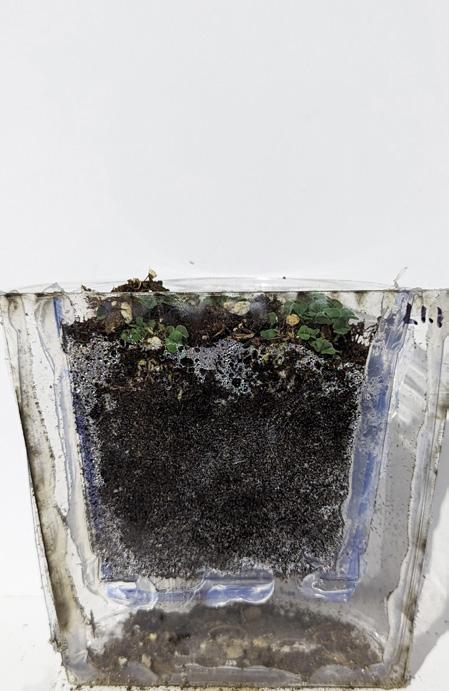
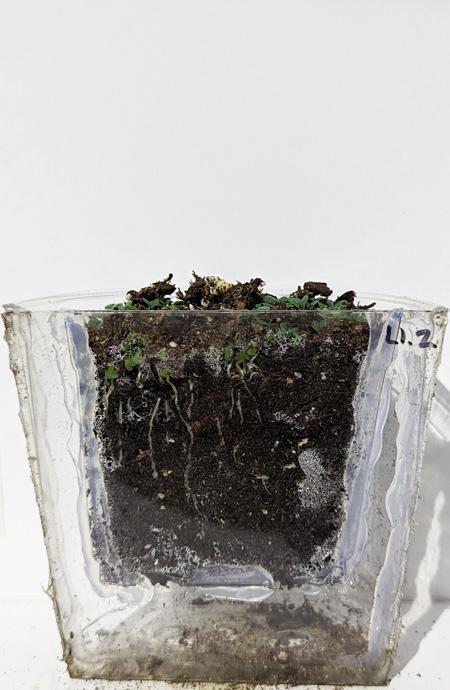
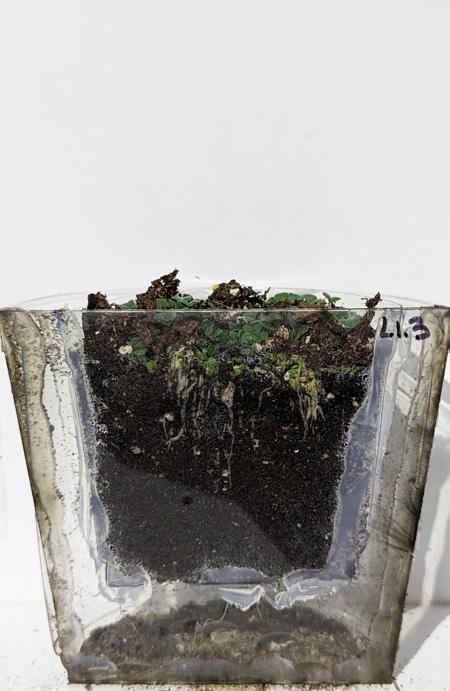
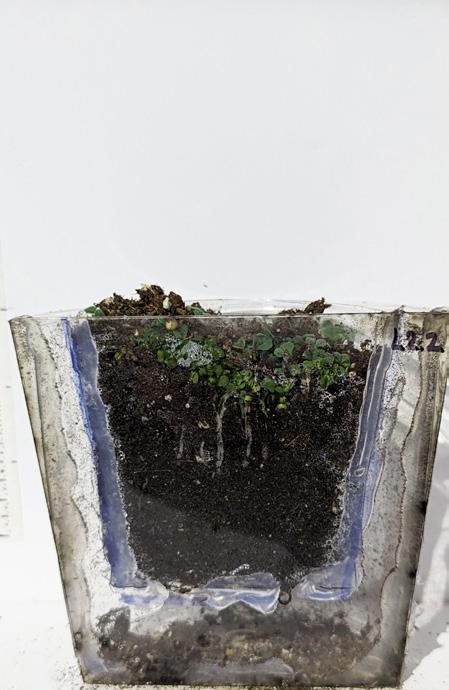
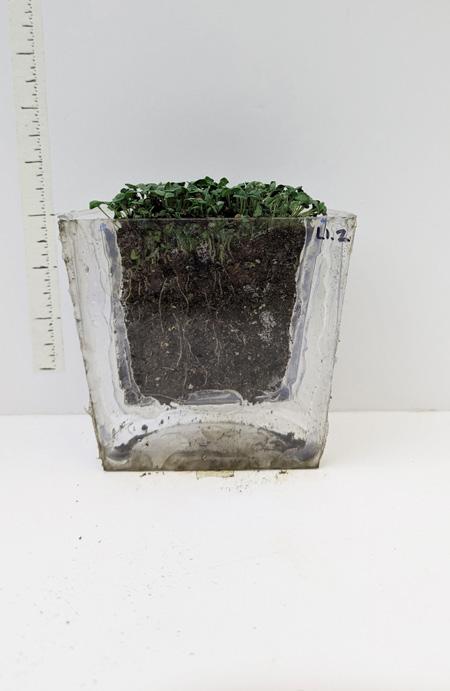
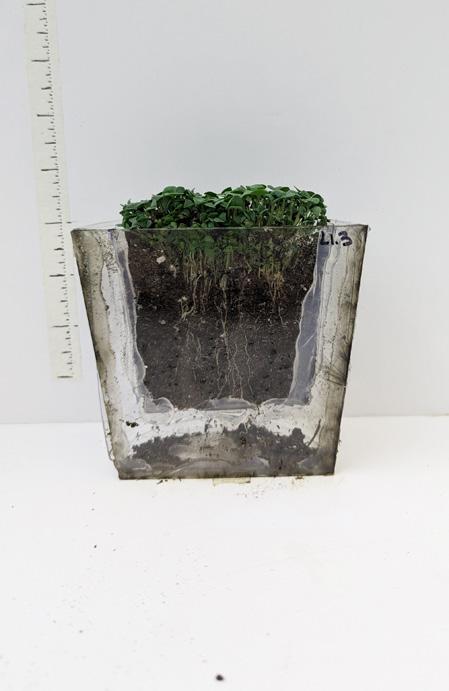
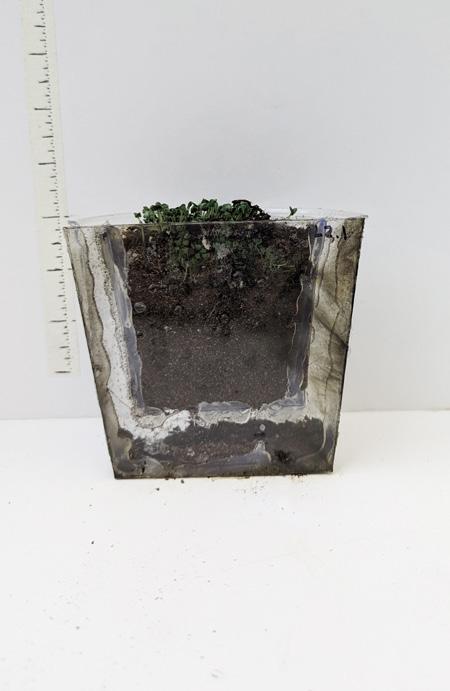
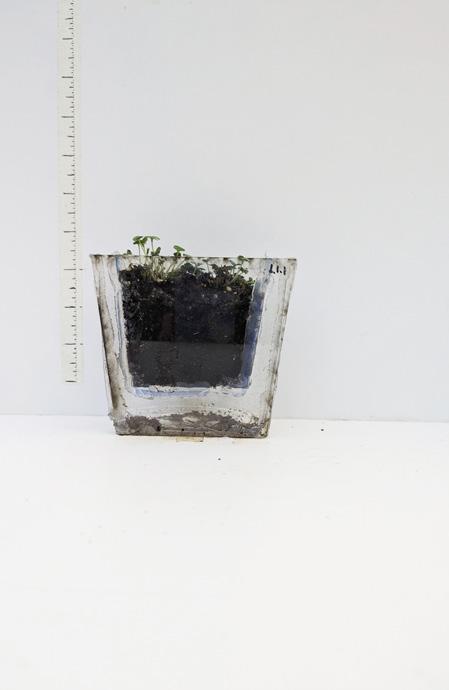
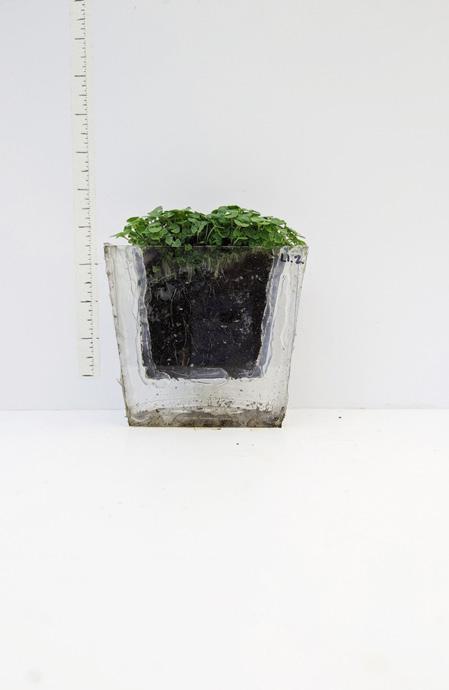
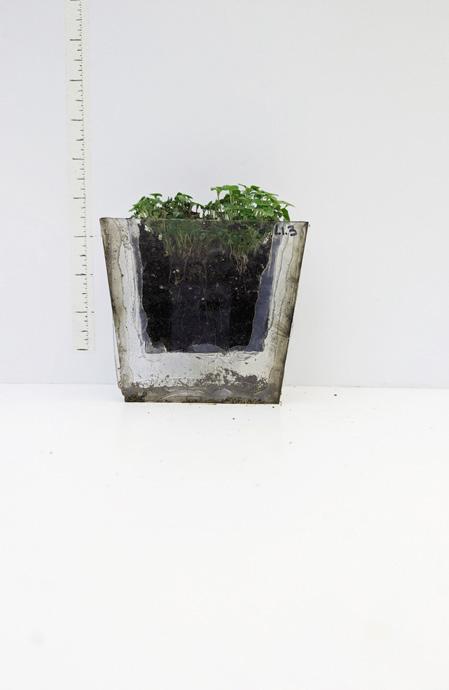
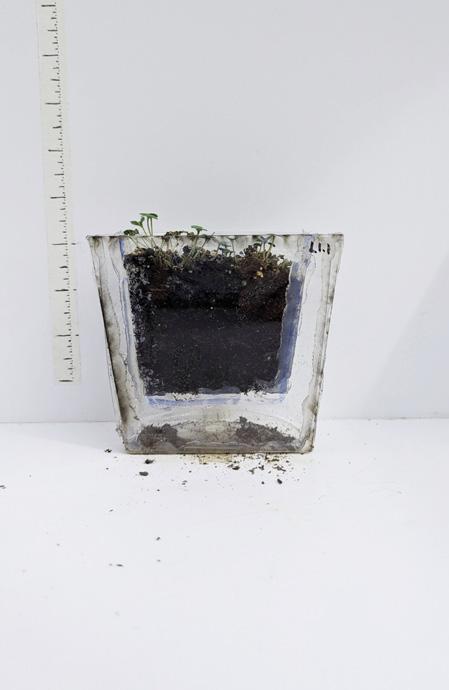
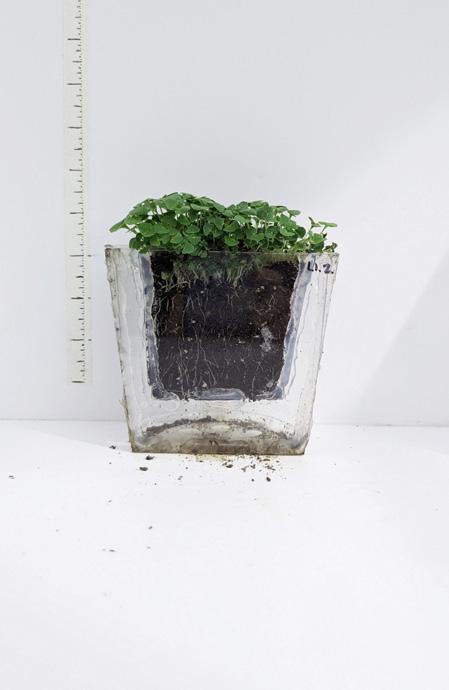
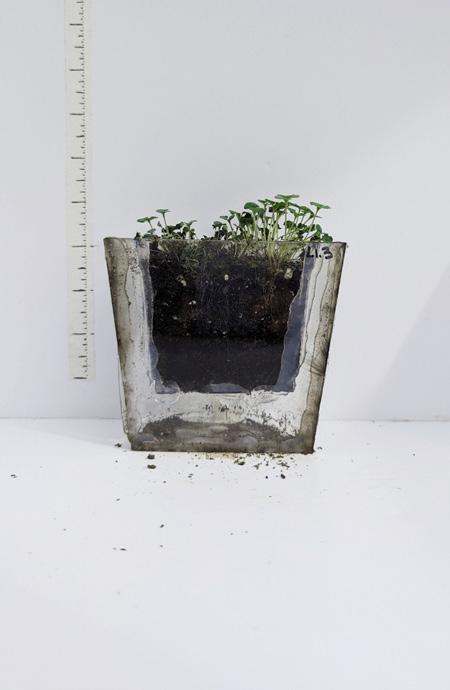
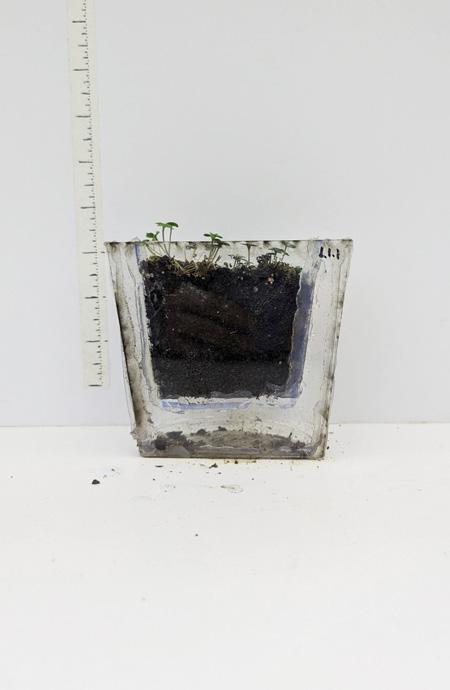
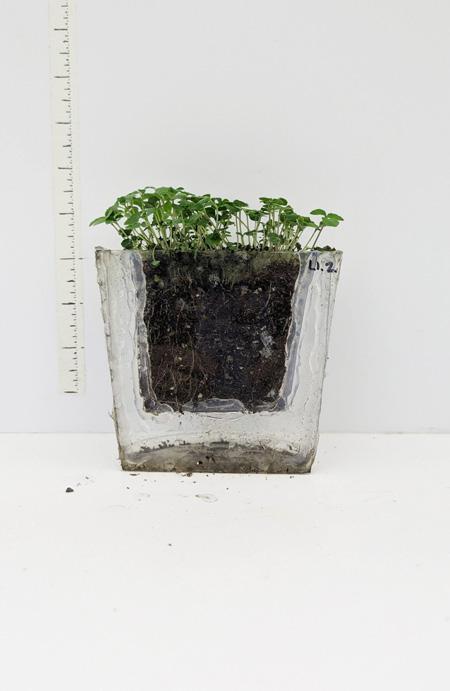
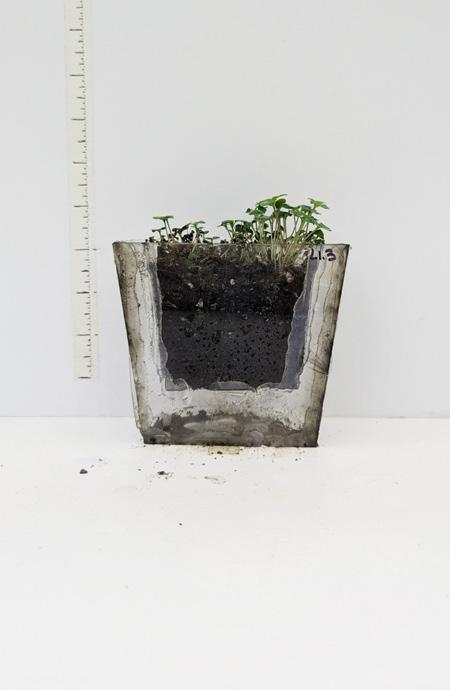
Tests L1.1, L1.2, and L1.3 are doublelayered with an impermeable outer pot and a perforated inner pot with 14 holes. The air gap between pots is 1/2”.
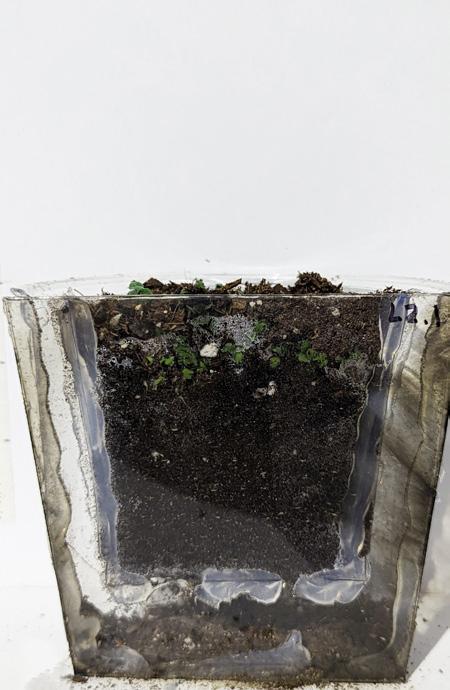
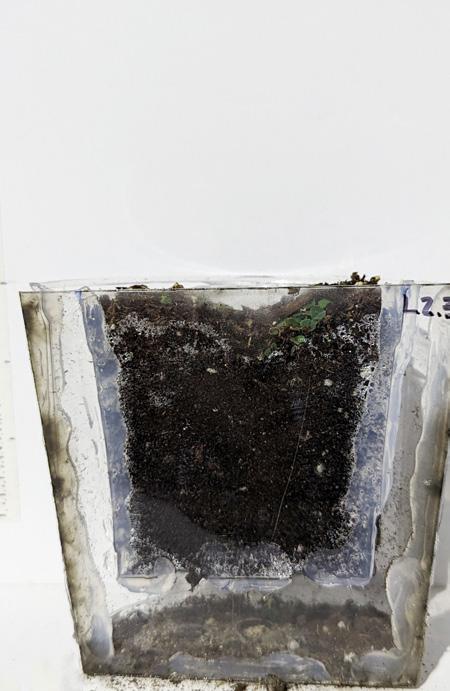
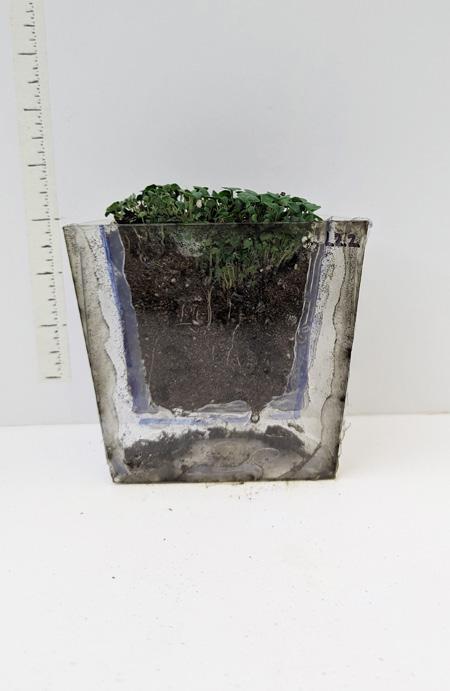
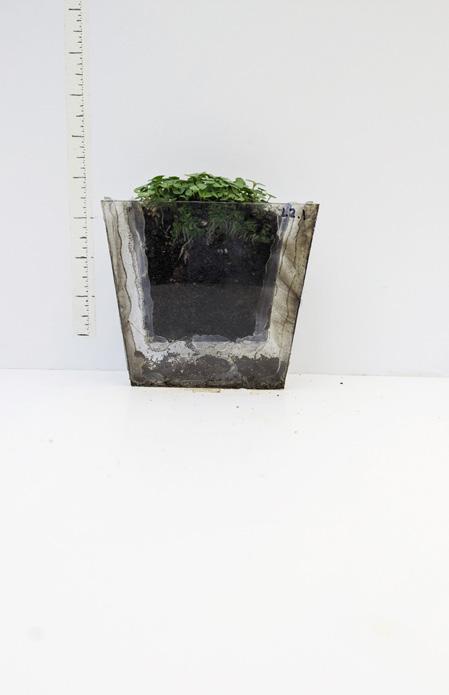
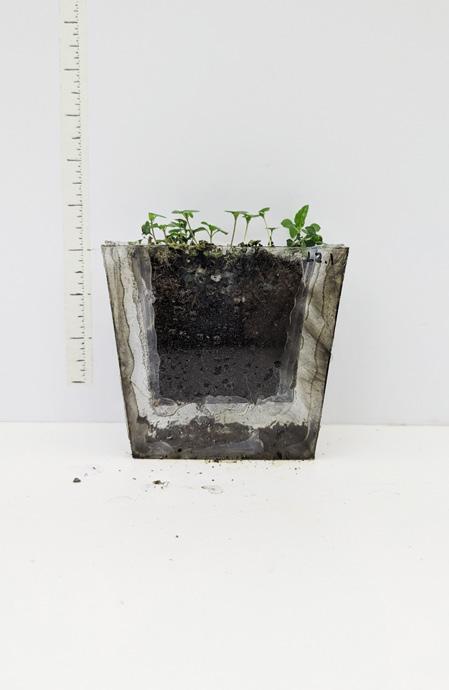
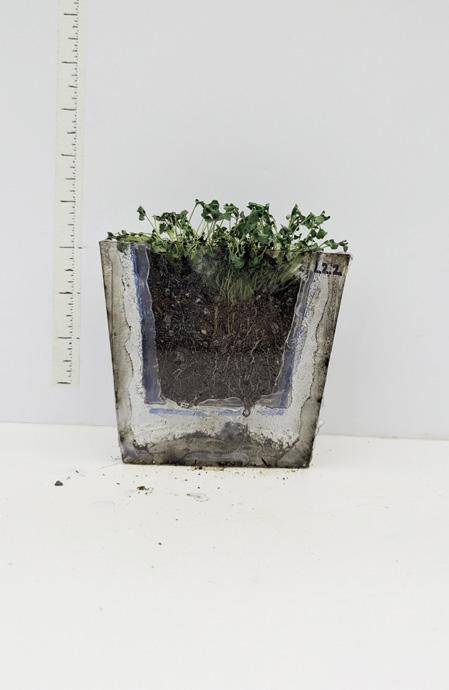
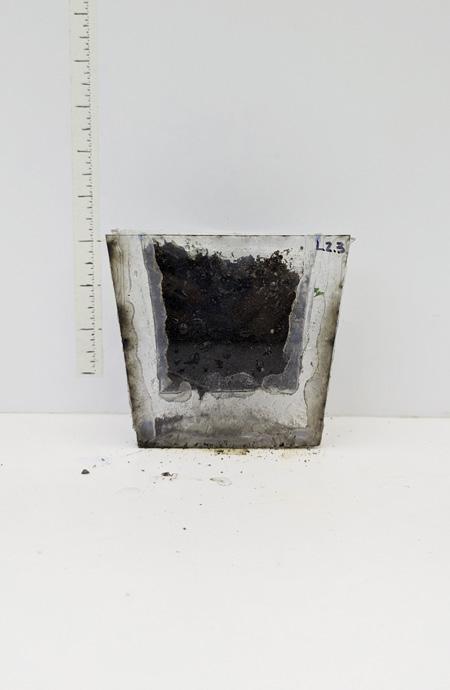
Tests L2.1, L2.2, and L2.3 are doublelayered with an impermeable outer pot and a perforated inner pot with 28 holes. The air gap between pots is 1/2”.
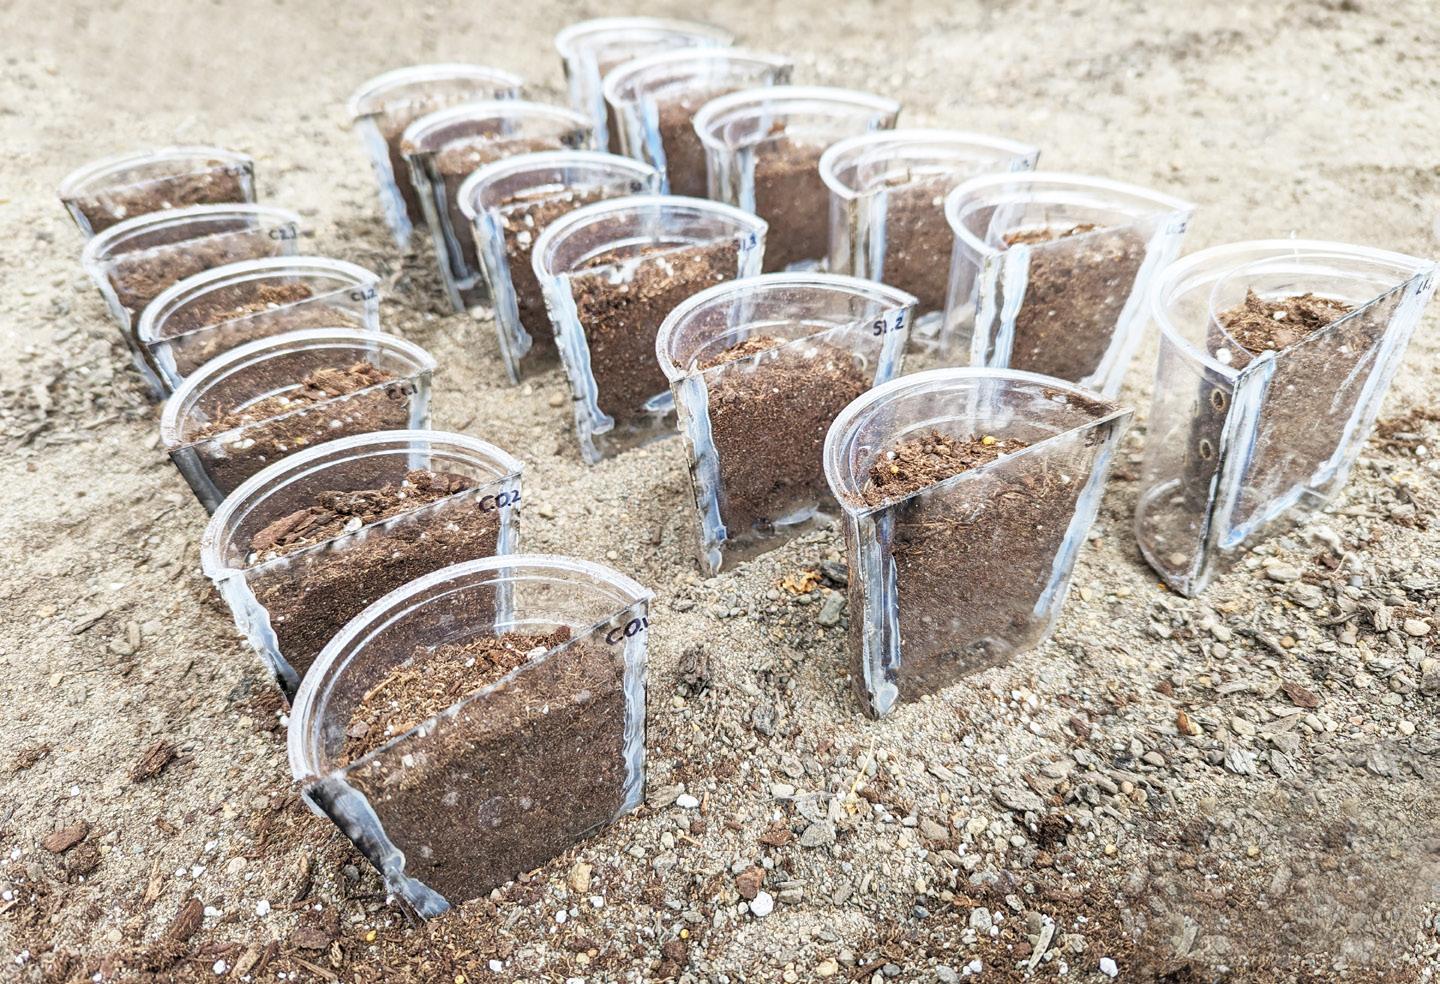
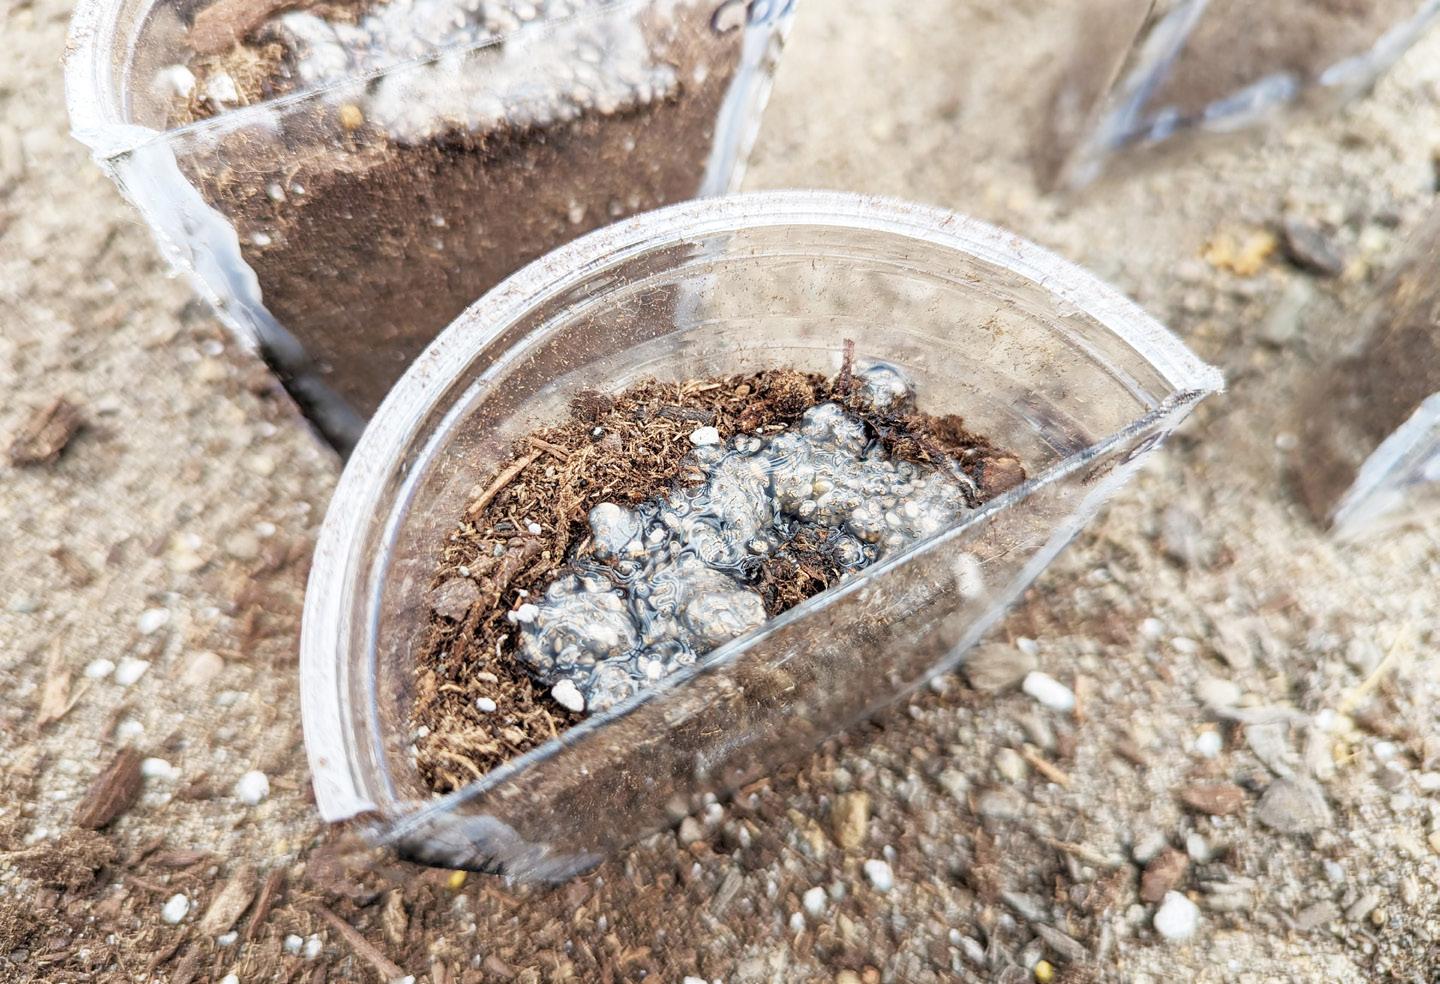
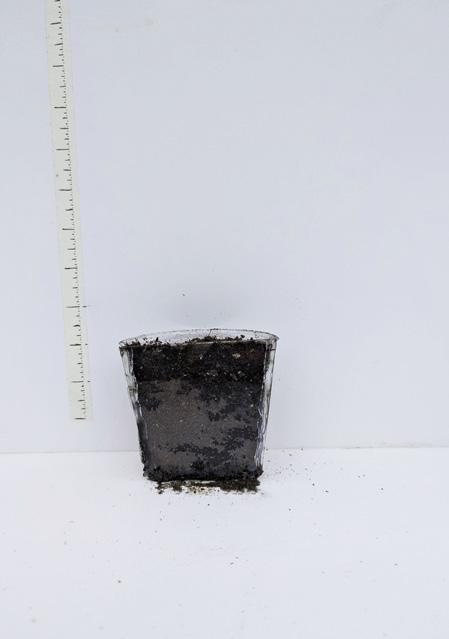
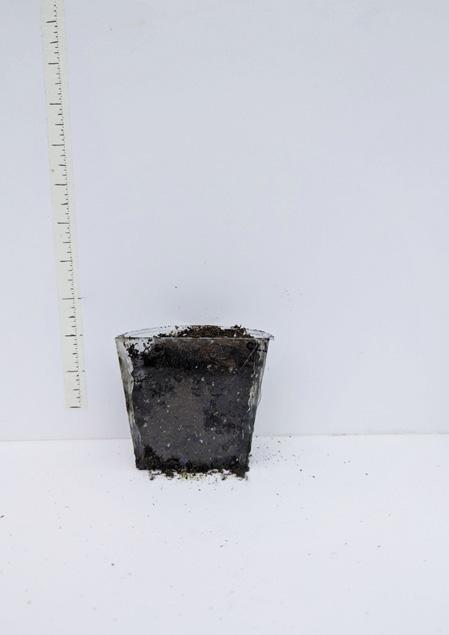
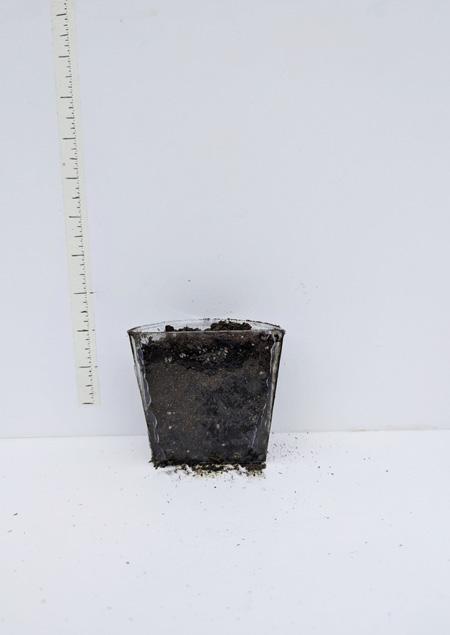
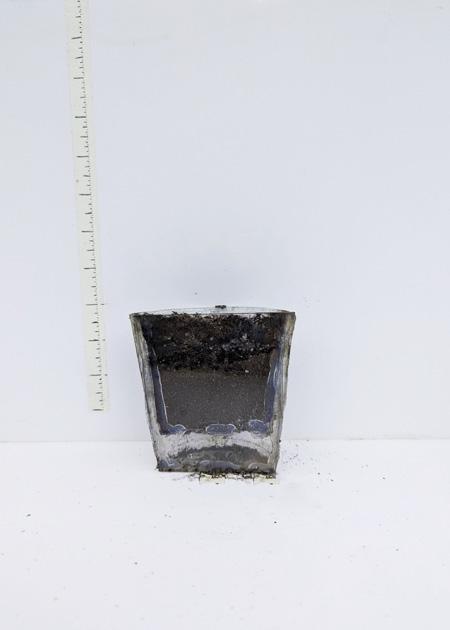
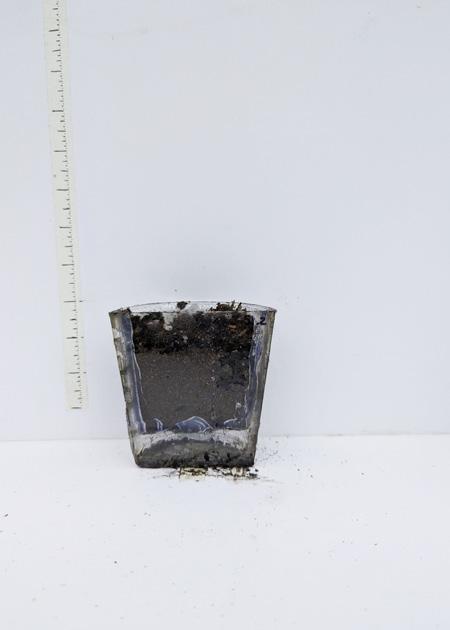
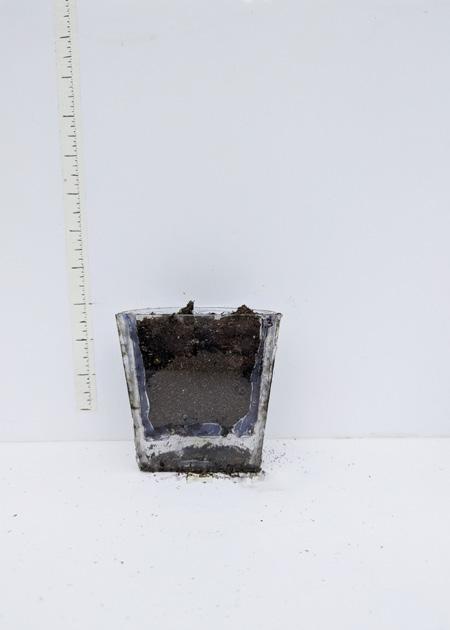
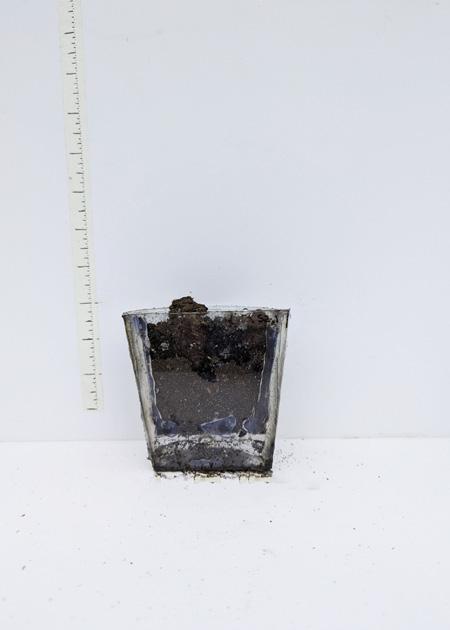
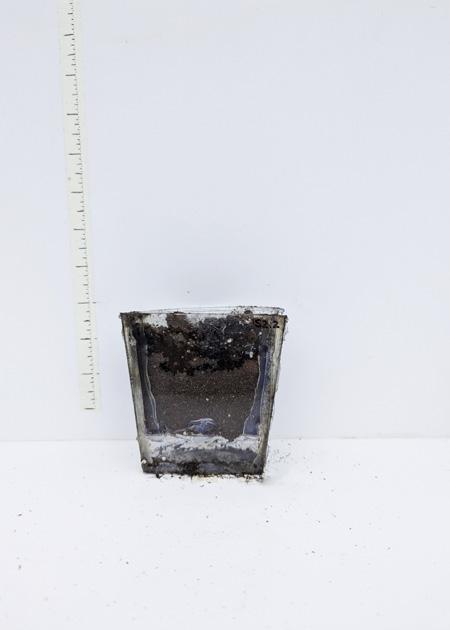
I labeled and arranged the completed pots into rows by category in three rows of six pots. The pots are grouped by size of air gap, from 0” to 1/4” to 1/2”.
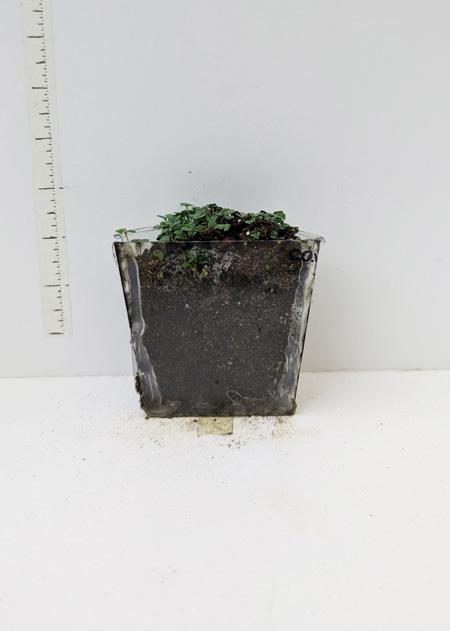
I then filled each with 1/2 cup of potting soil. I placed 1 TBSP of presoaked chia seeds on top of the soil and sprinked soil on top to cover the seeds from view.
I watered each pot with 1/2 cup water and documented Day 0 conditions with a photograph of each pot (page 17).
I was initially concerned that the pots might fall over, being cut in half, but they seemed to be very stable and became more so with the addition of the dirt inside.
After watering the soil, I was able to see some trickling down and penetrating the majority of the soil, but many of the pots still appeared dry.
The water may be exiting too quickly through the porous holes instead of dripping down; I might need to try an alternate watering method.
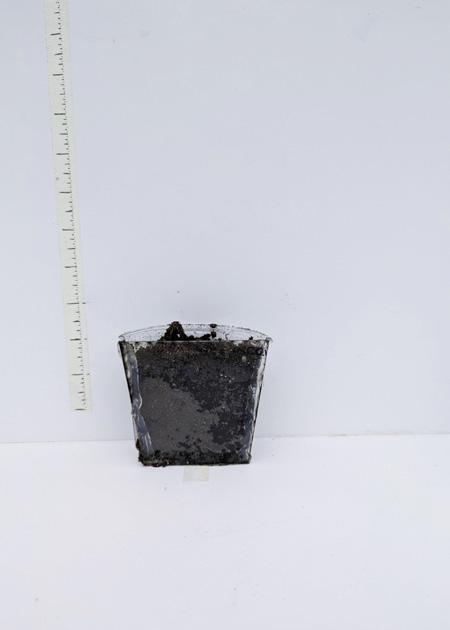
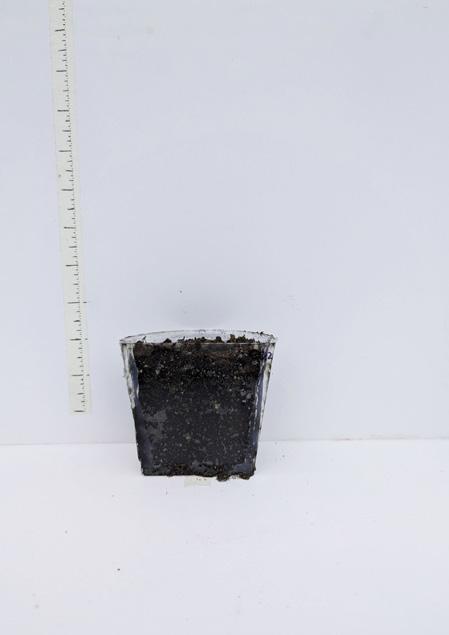
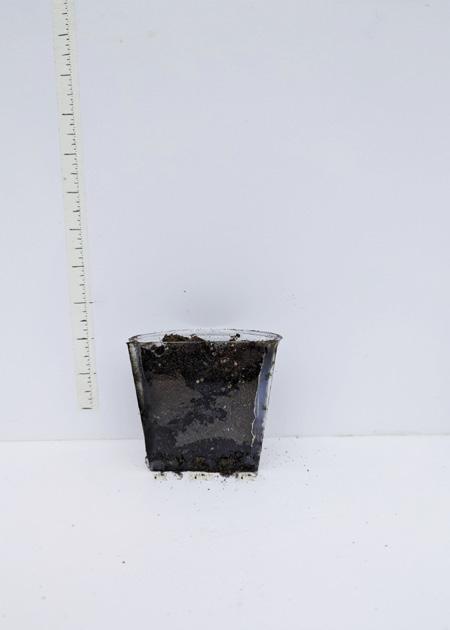
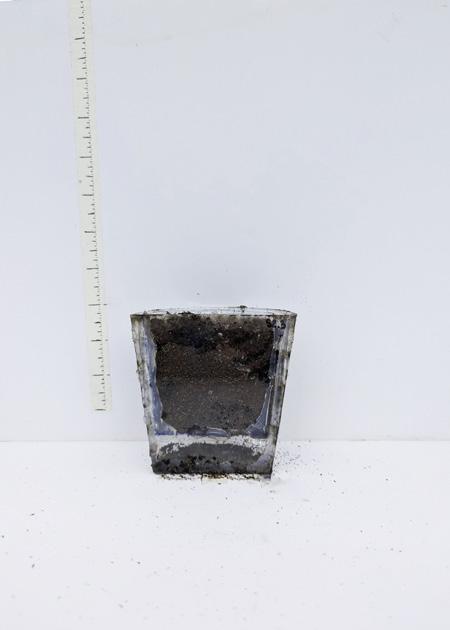
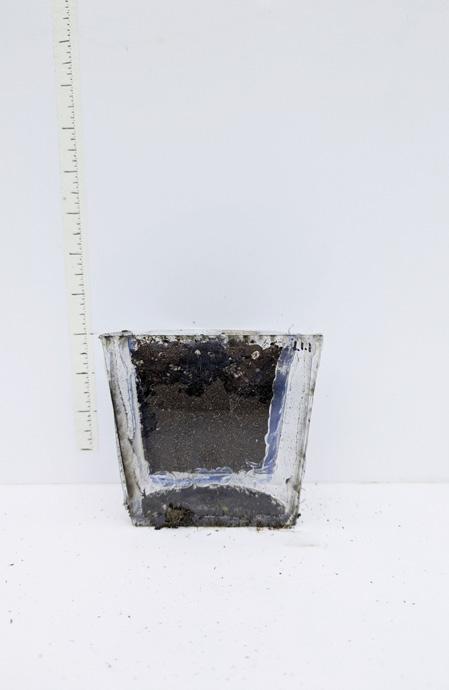
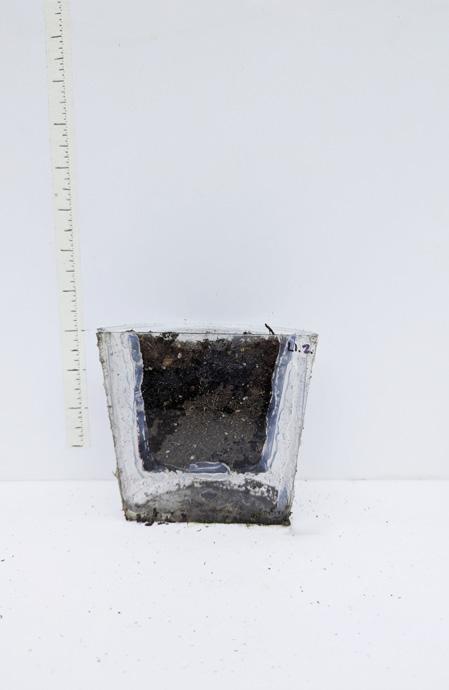
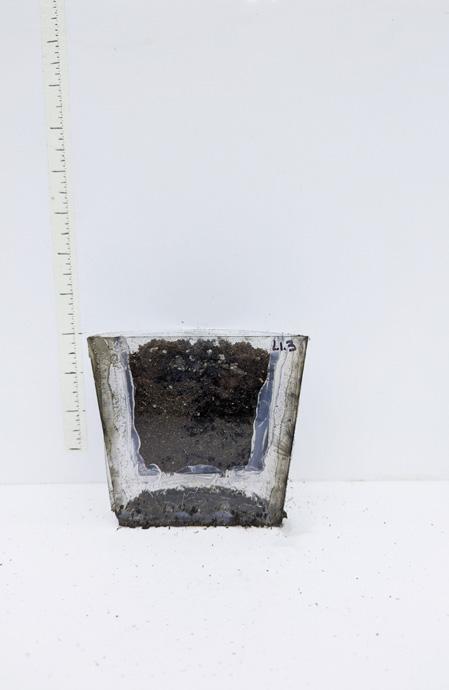
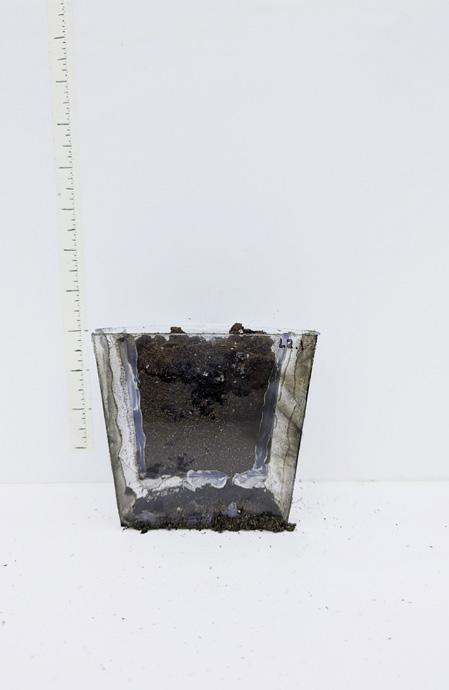
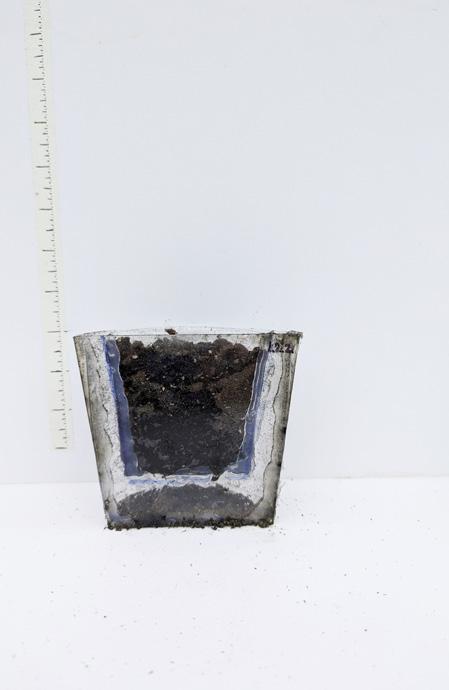
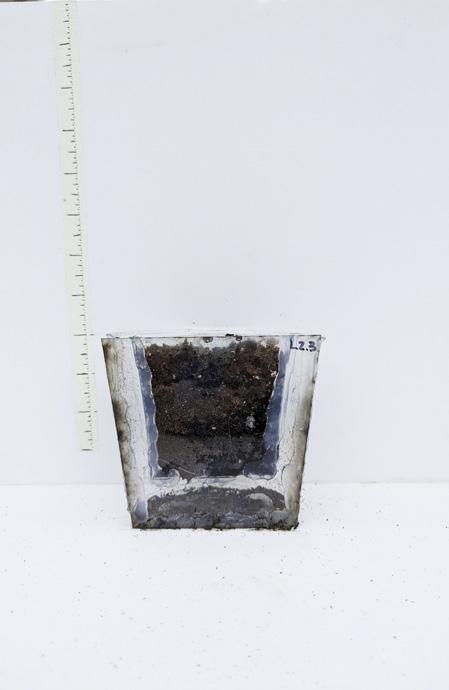
C2.1
C2.2
INITIAL EXPERIMENT SET-UP
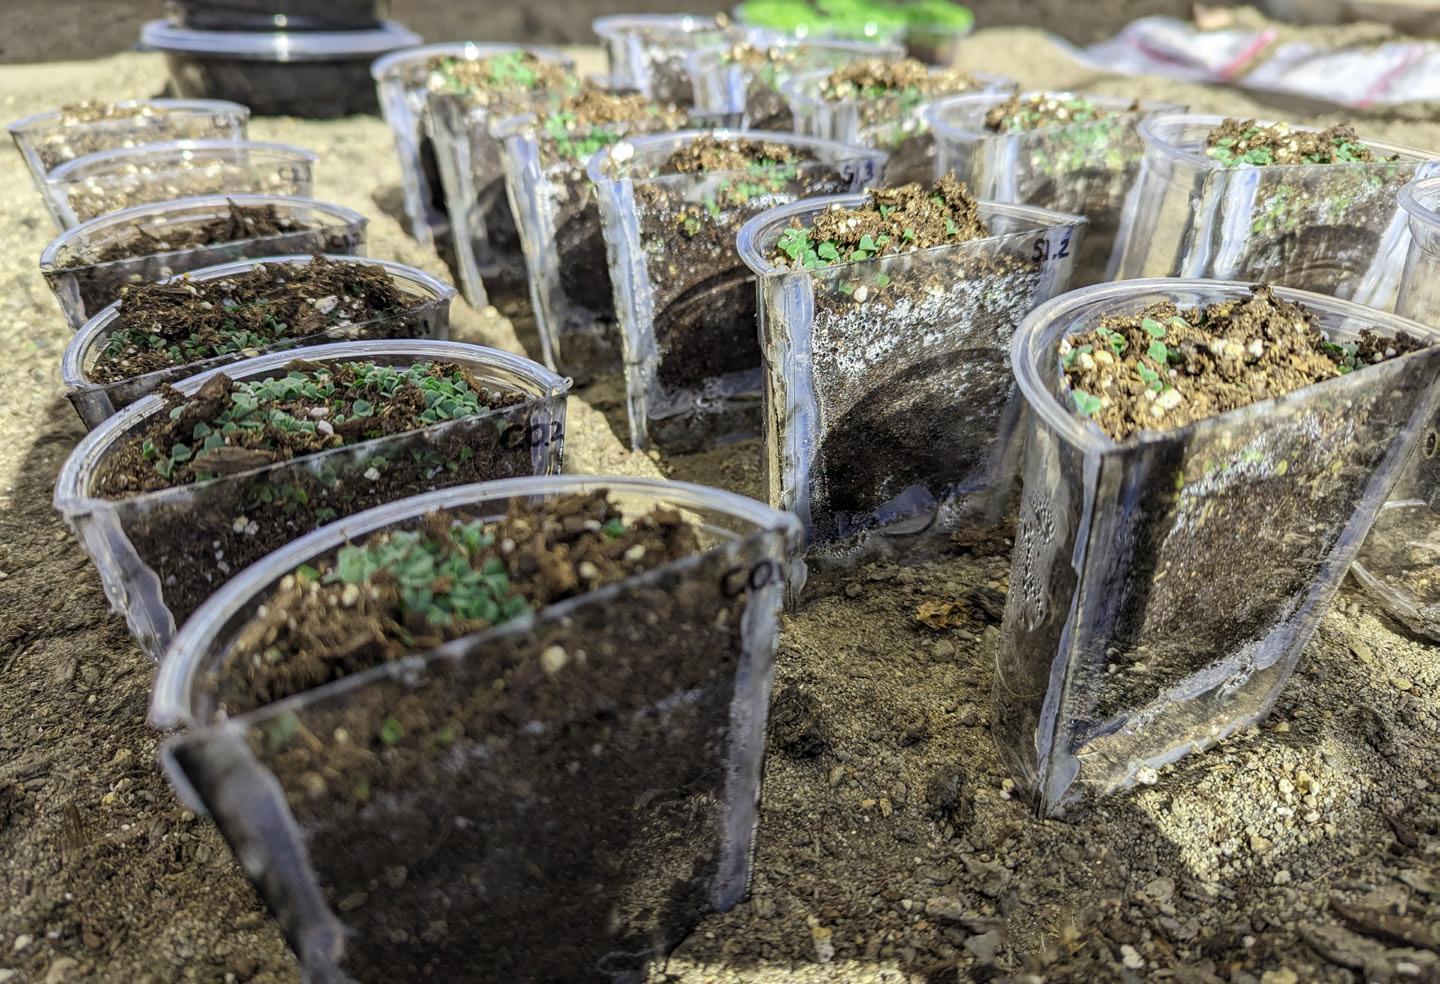
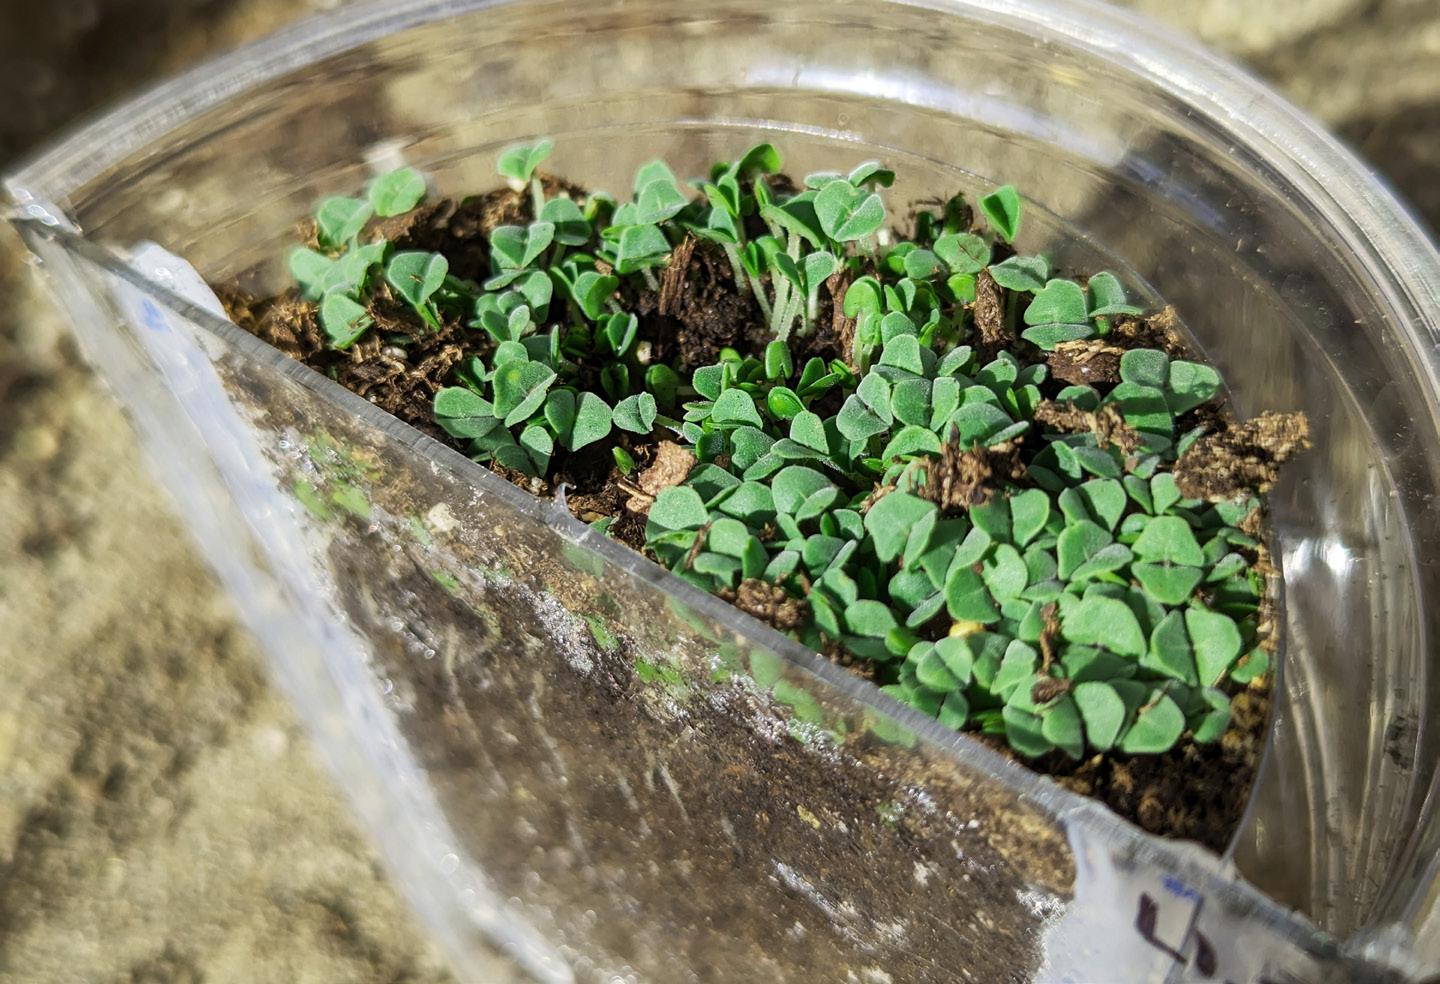
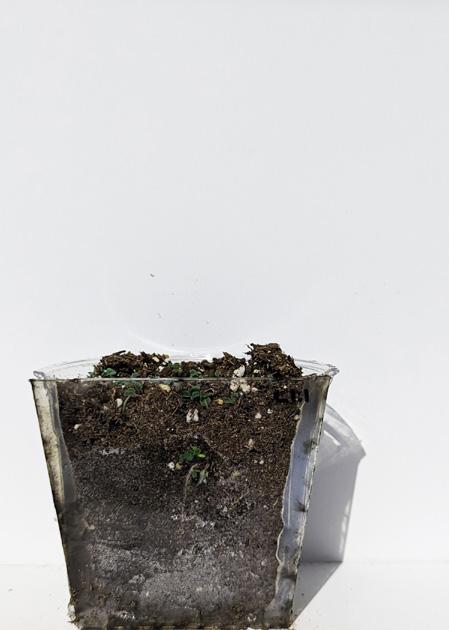
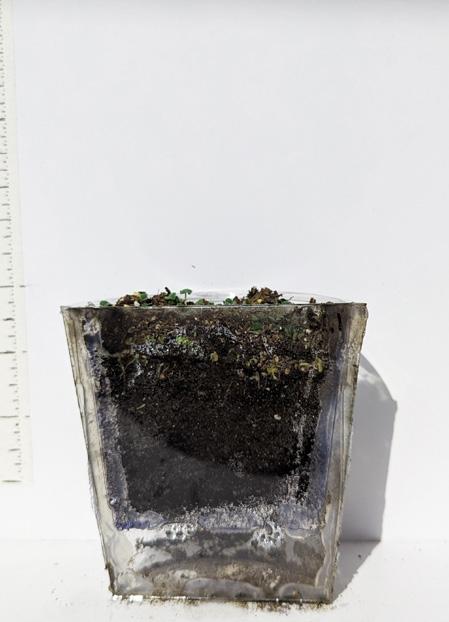
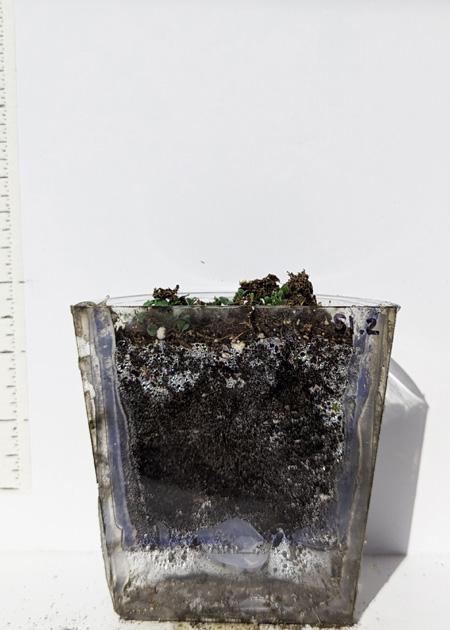
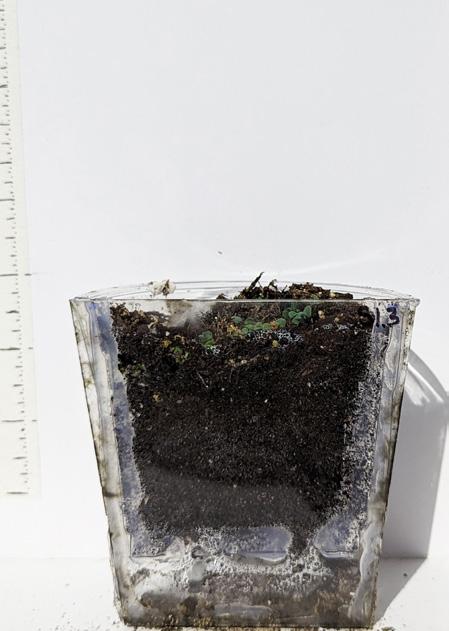
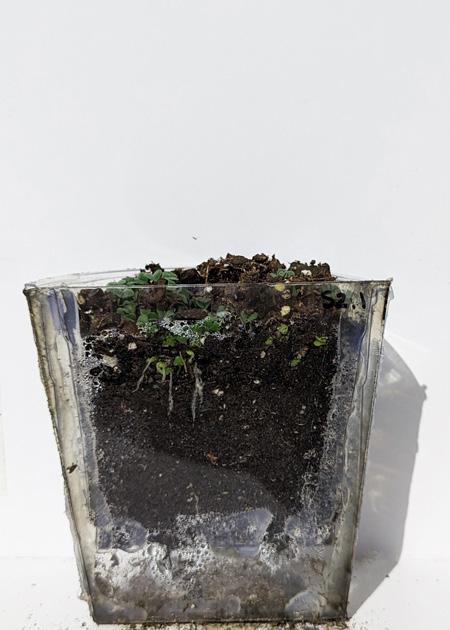
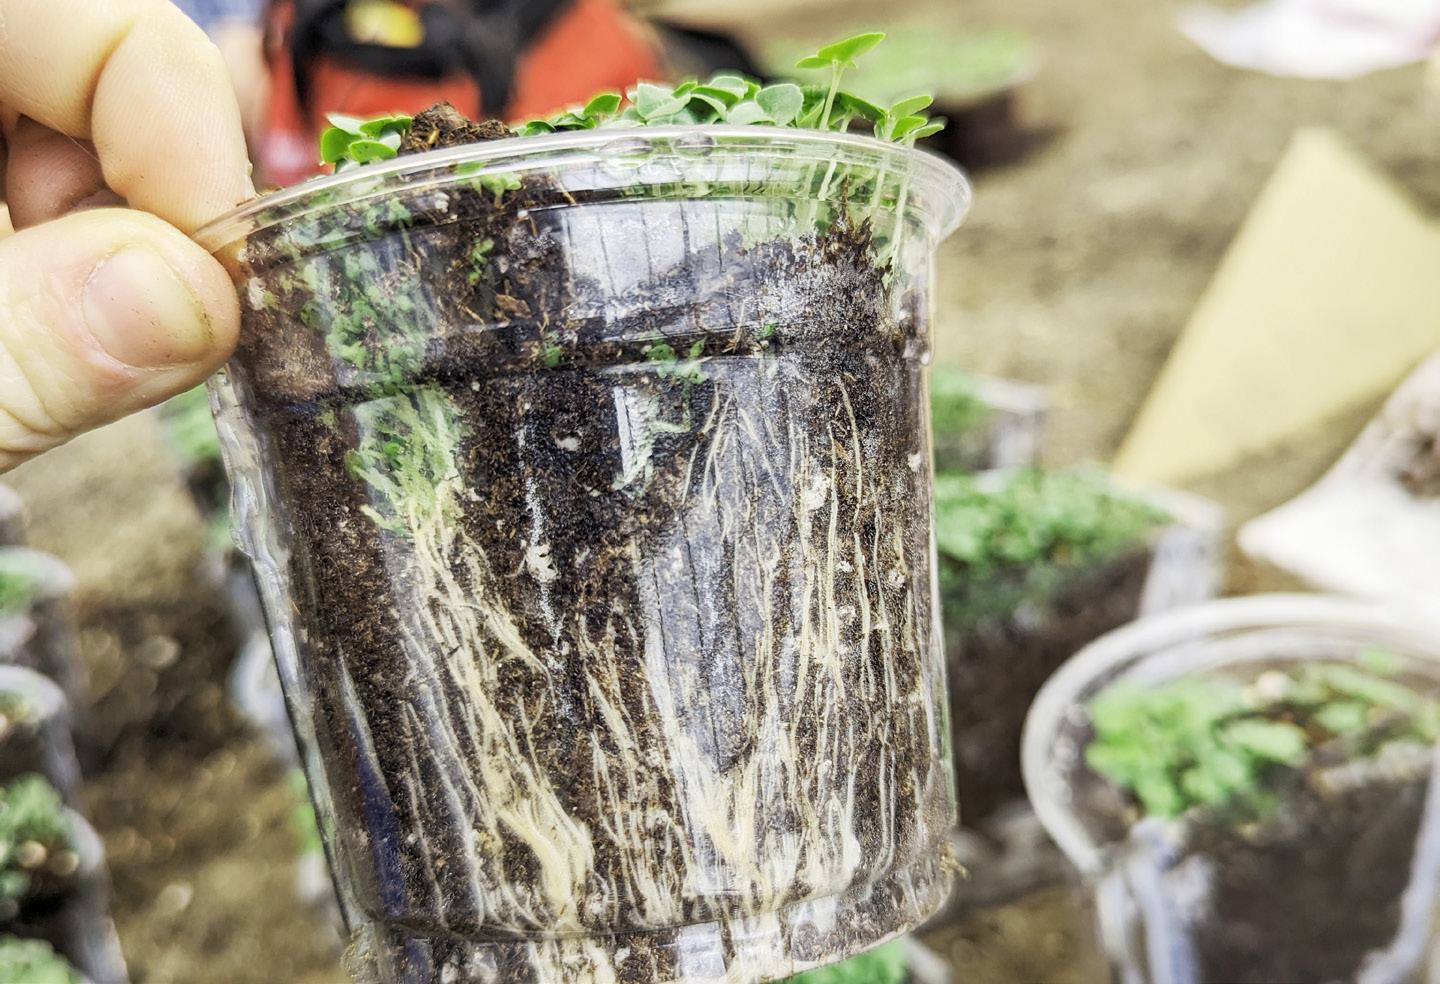
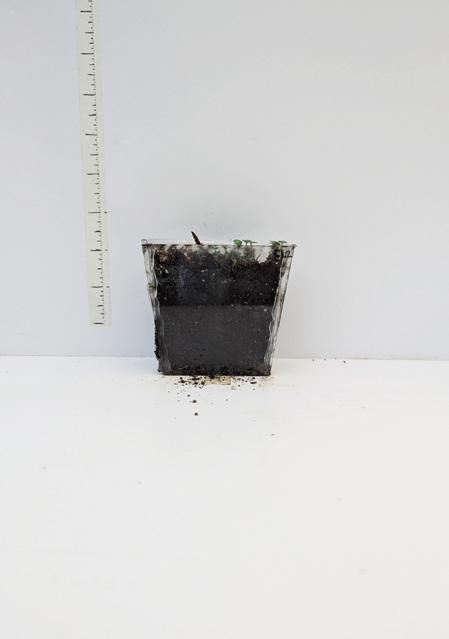
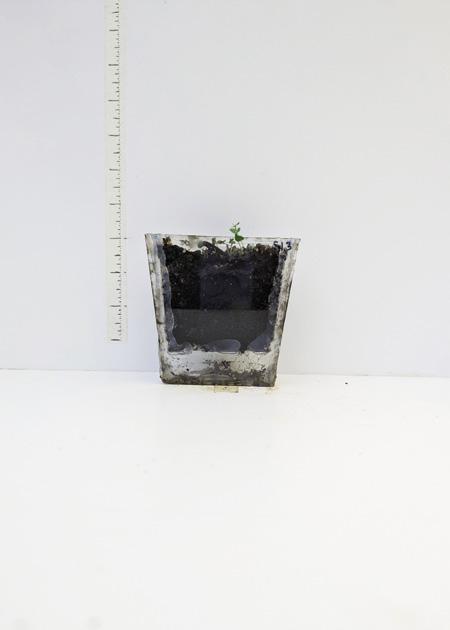
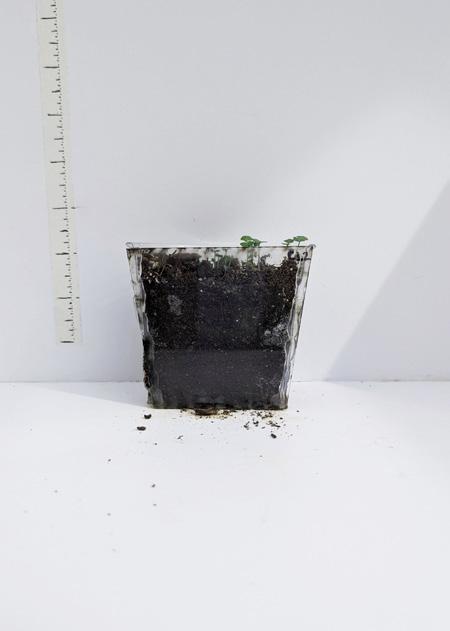
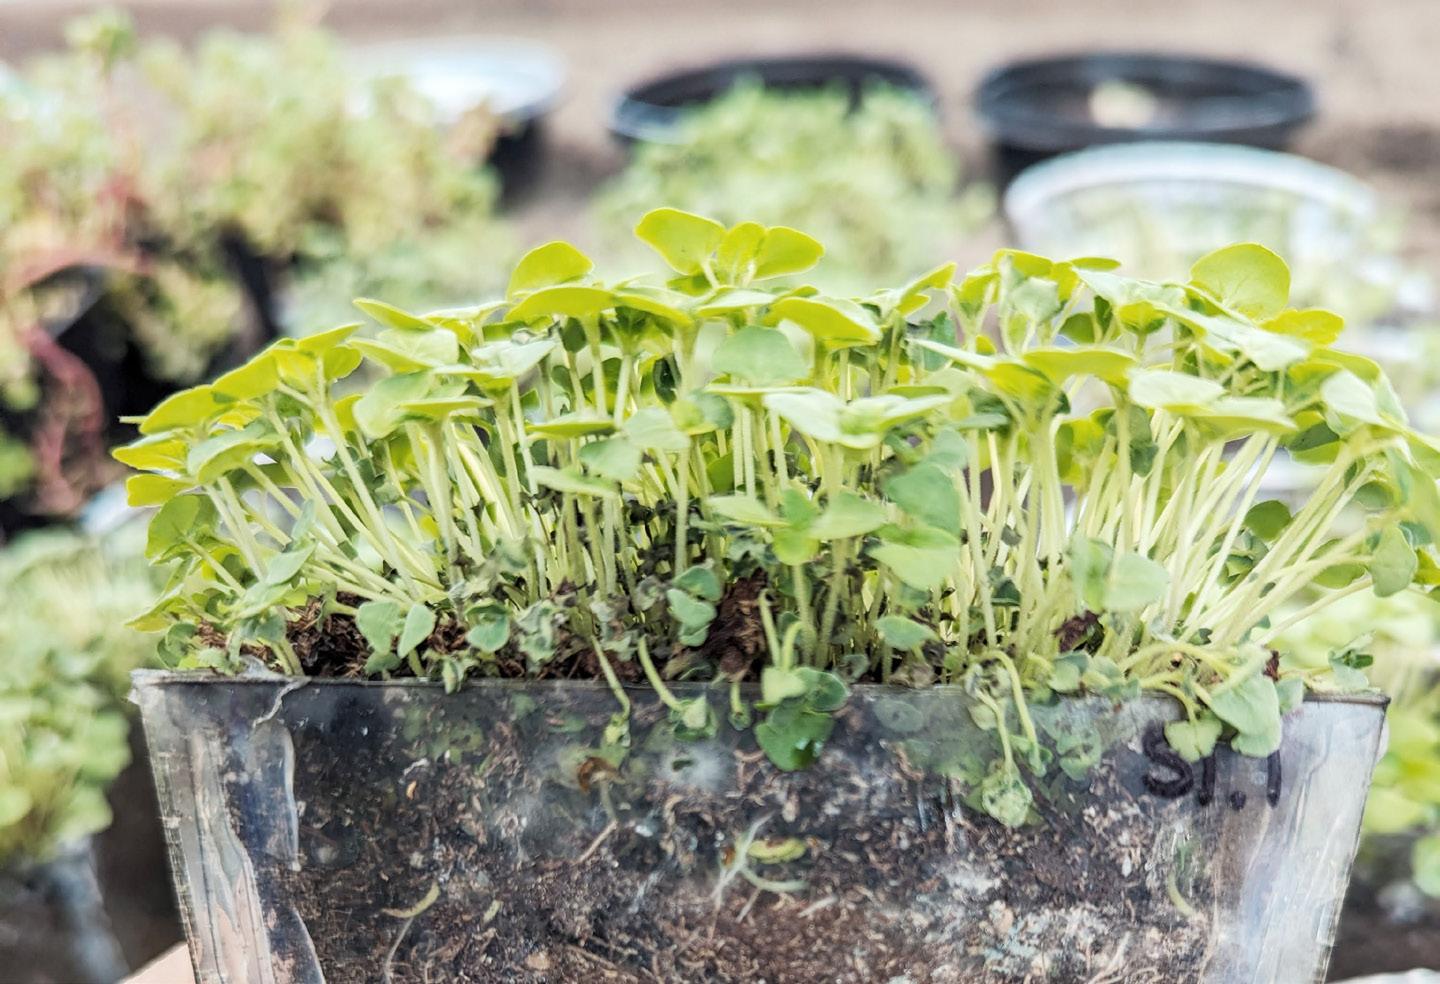
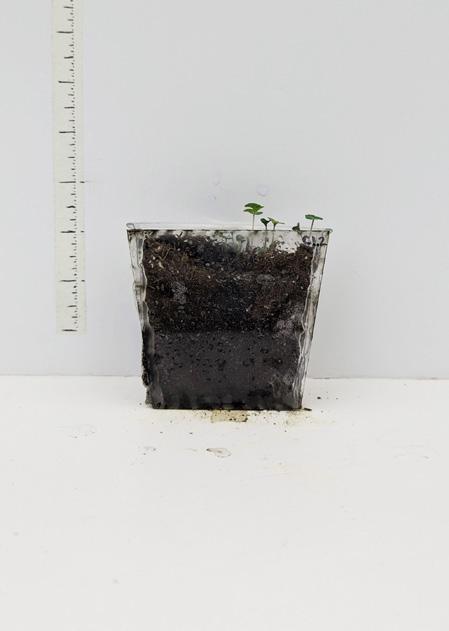
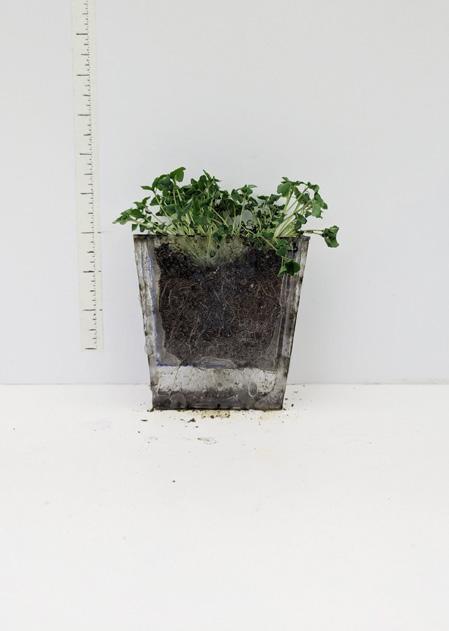
After only four days, the sprouts took off and began growing in each of the 18 pots. The acrylic faces allowed me to clearly see the root growth as they wove through the soil.
Each pot seemed to have similar growth patterns; all the sprouts seemed healthy and strong with bright green leaves.
Moisture content varied between samples, but the controls (no air gap) measured the lowest moisture levels overall.
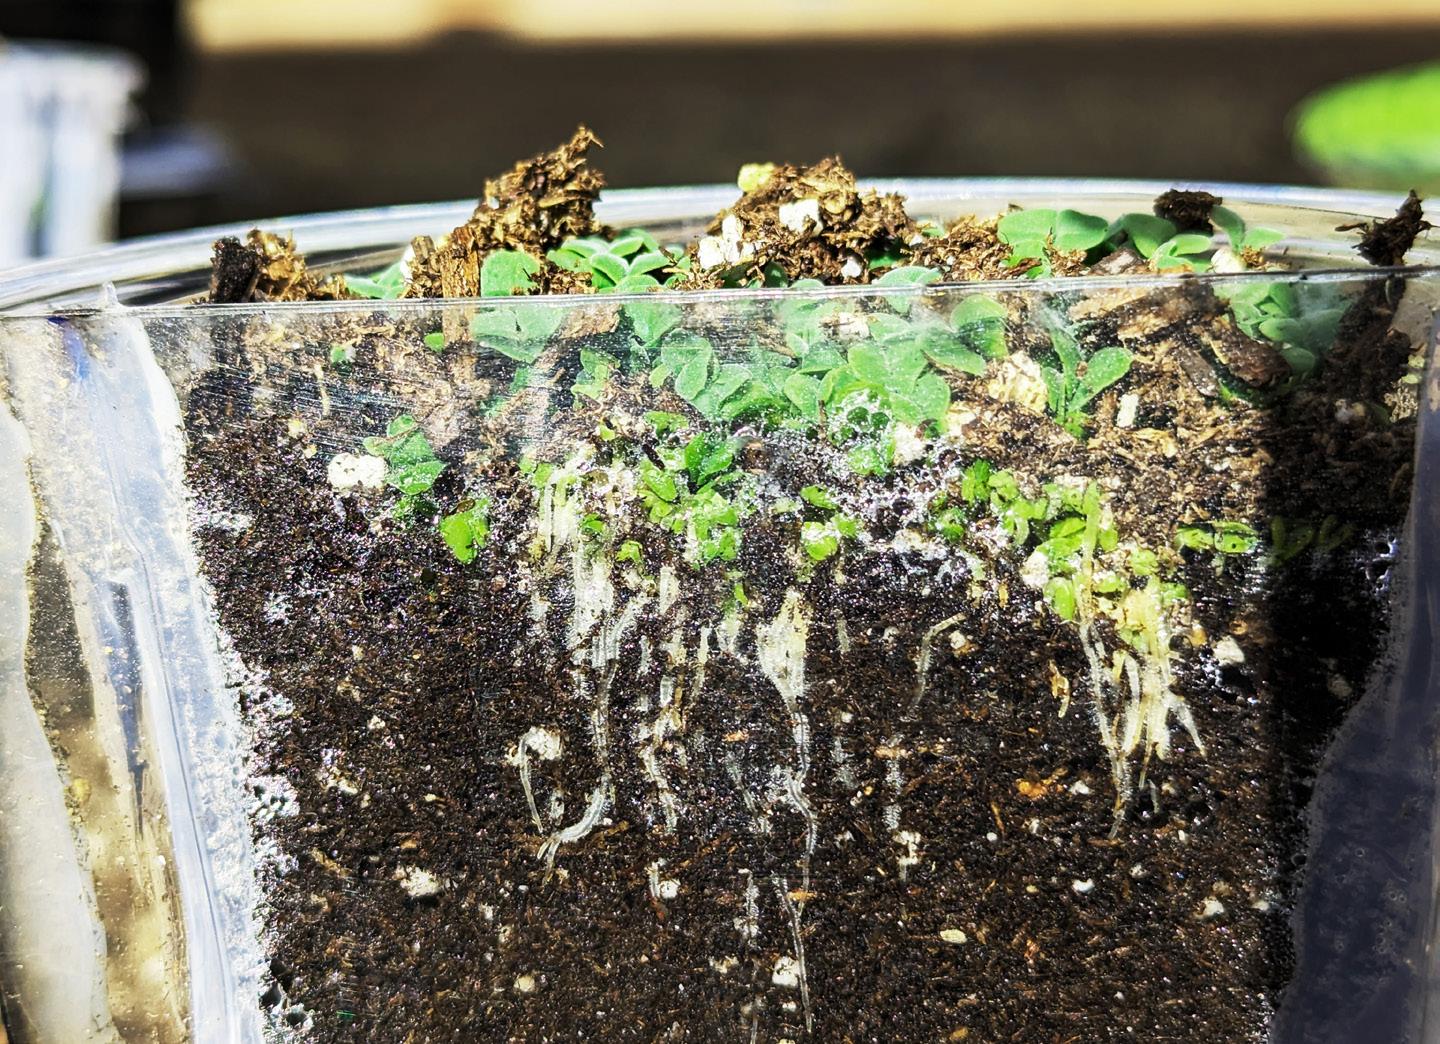
SPROUTING THE SEEDS
GROW, BABY, GROW
DAY 4
C1.2
C2.1
C2.2
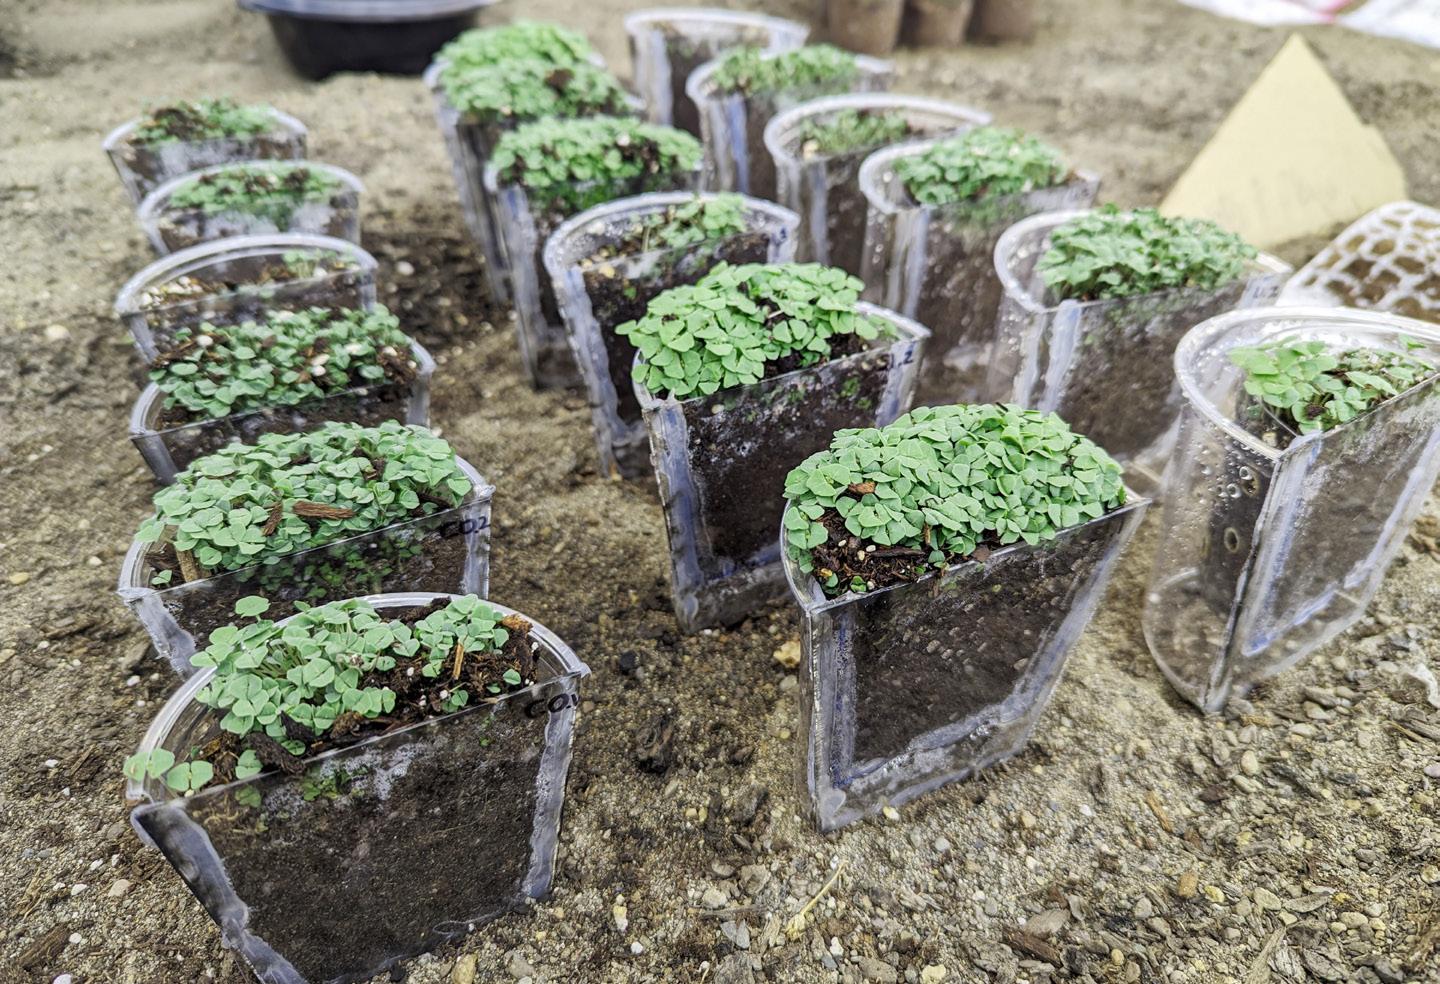
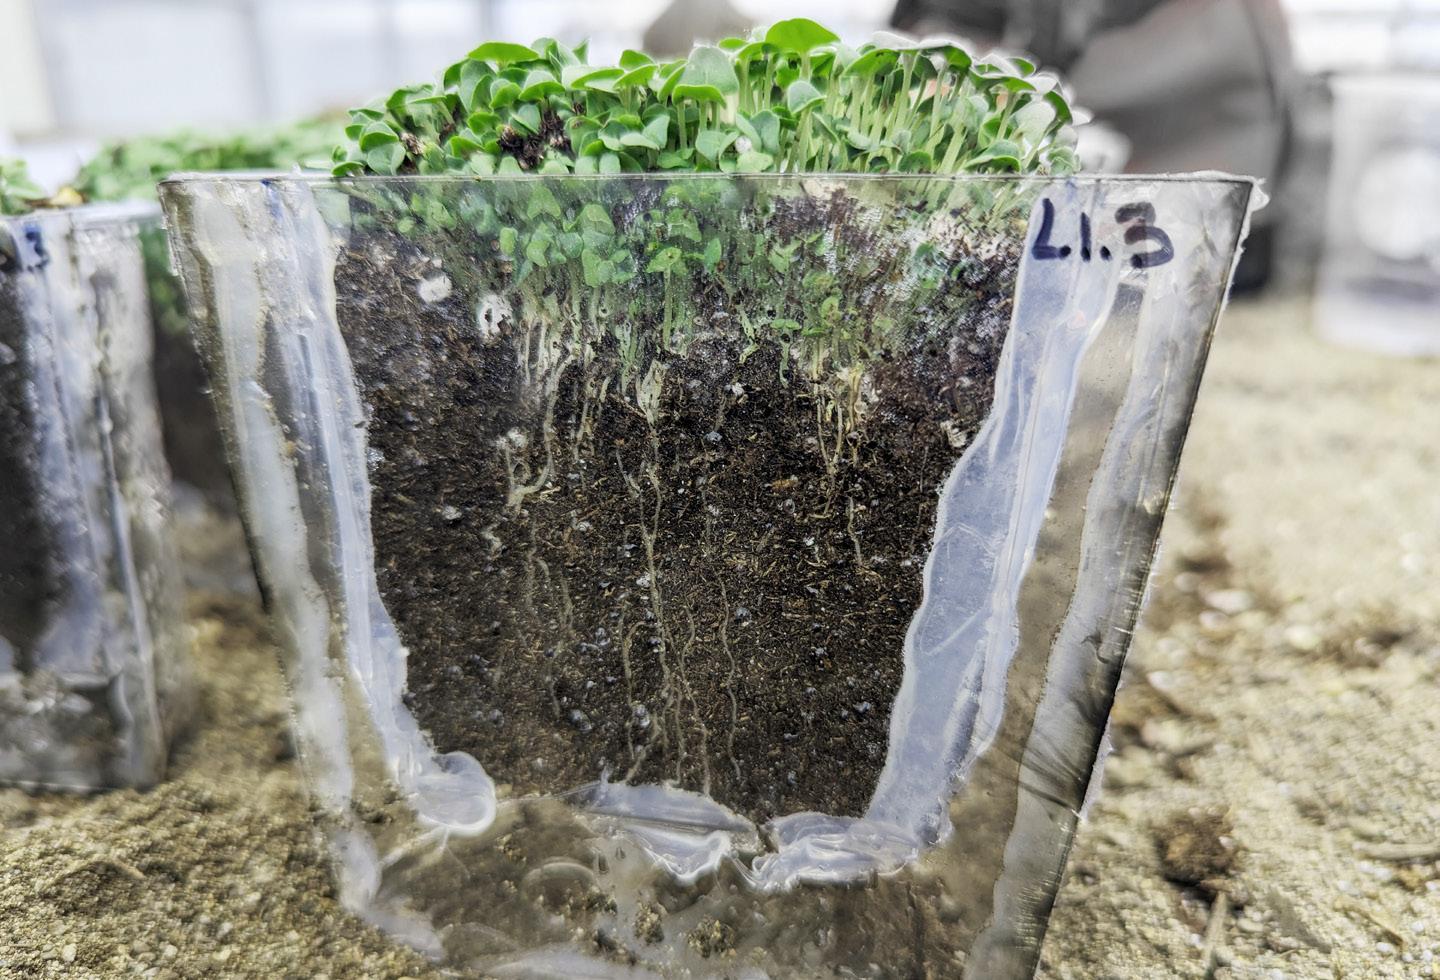
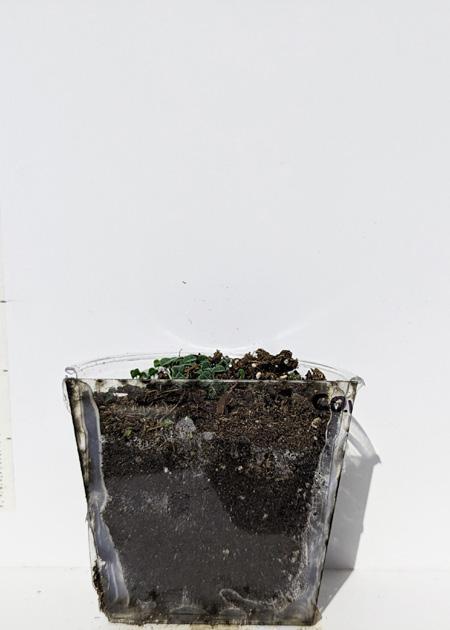
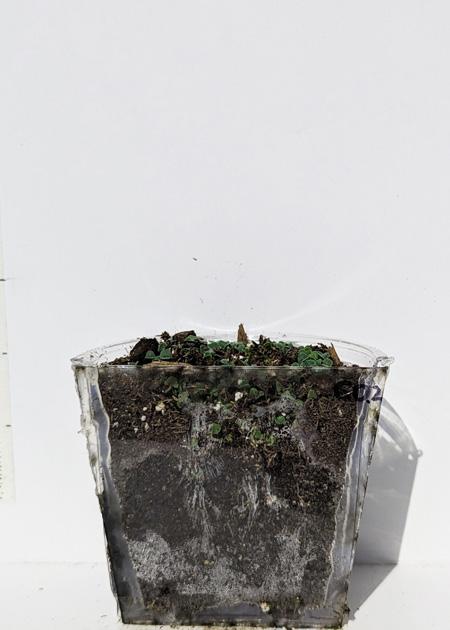
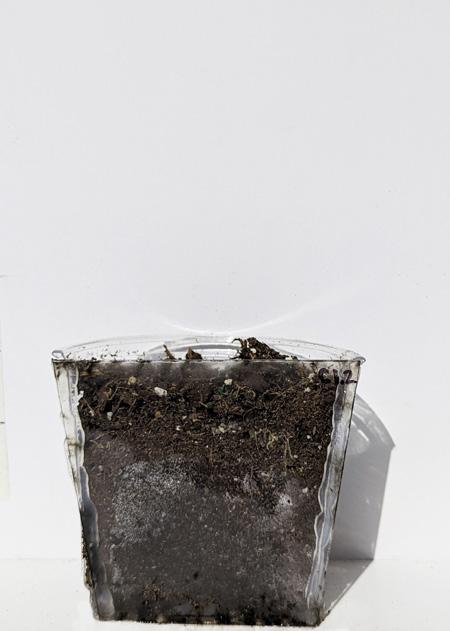
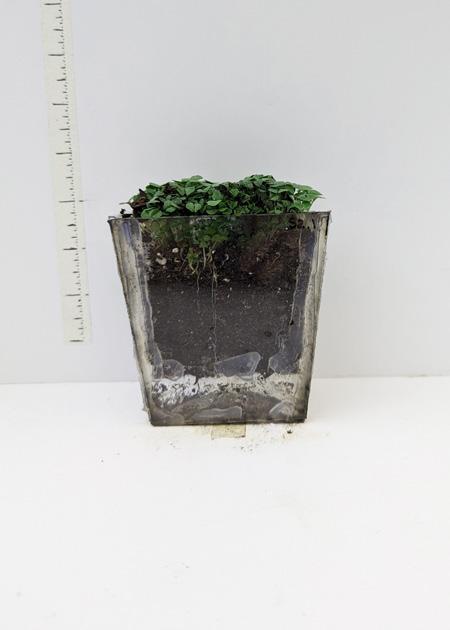
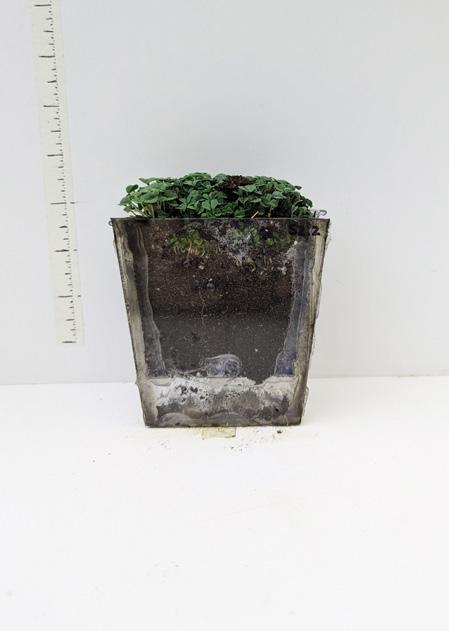
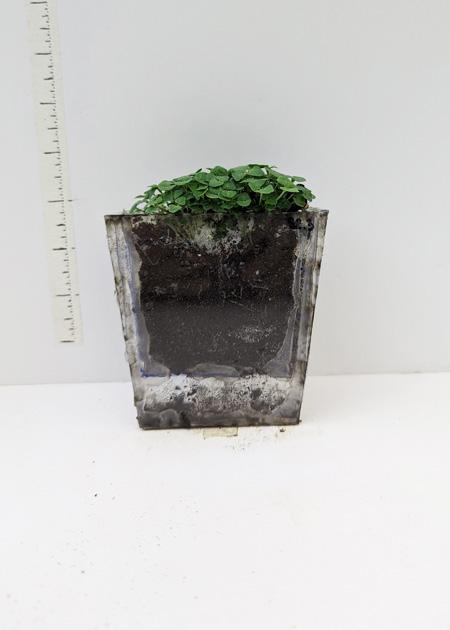
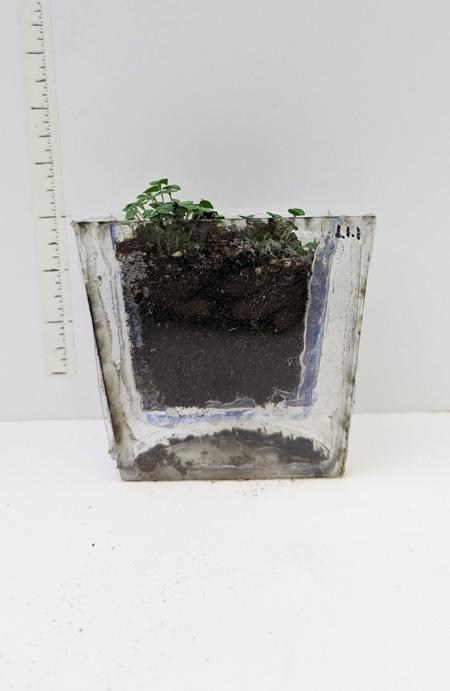
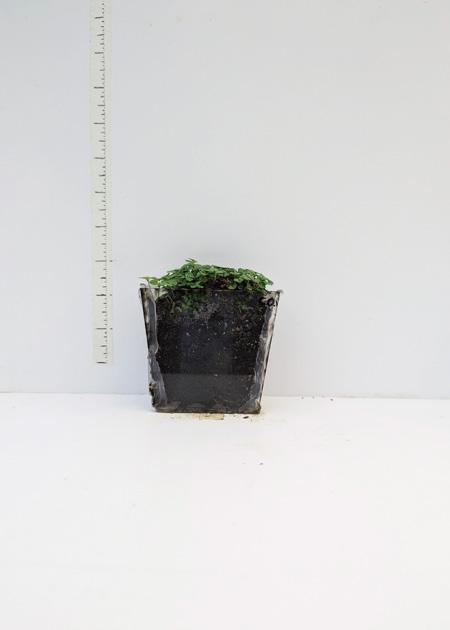
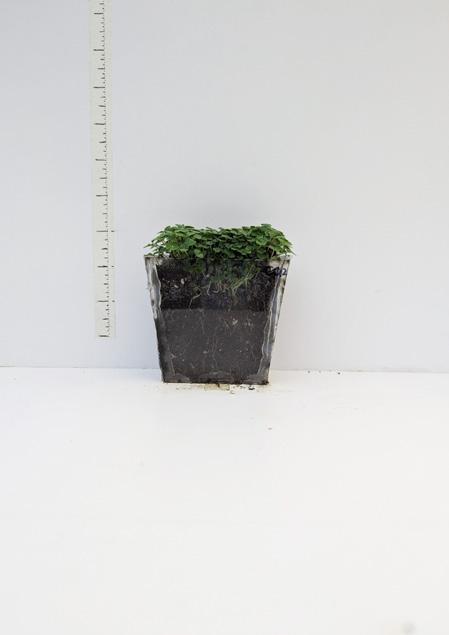
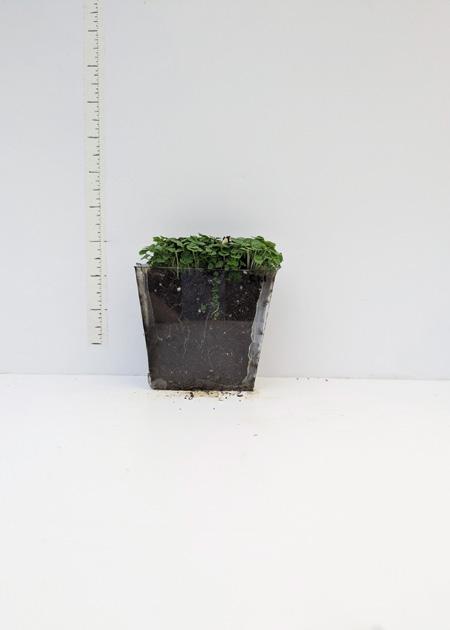
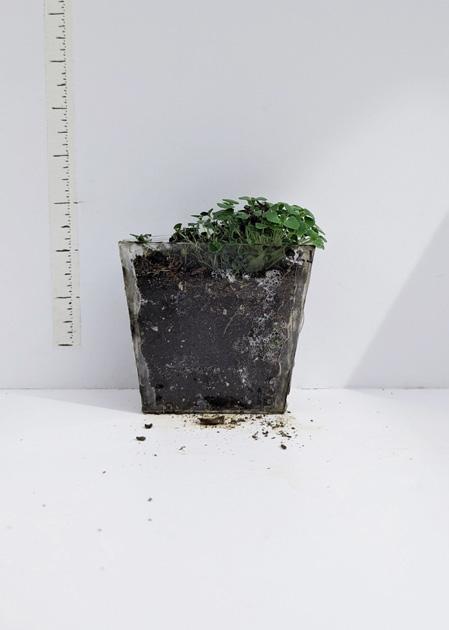
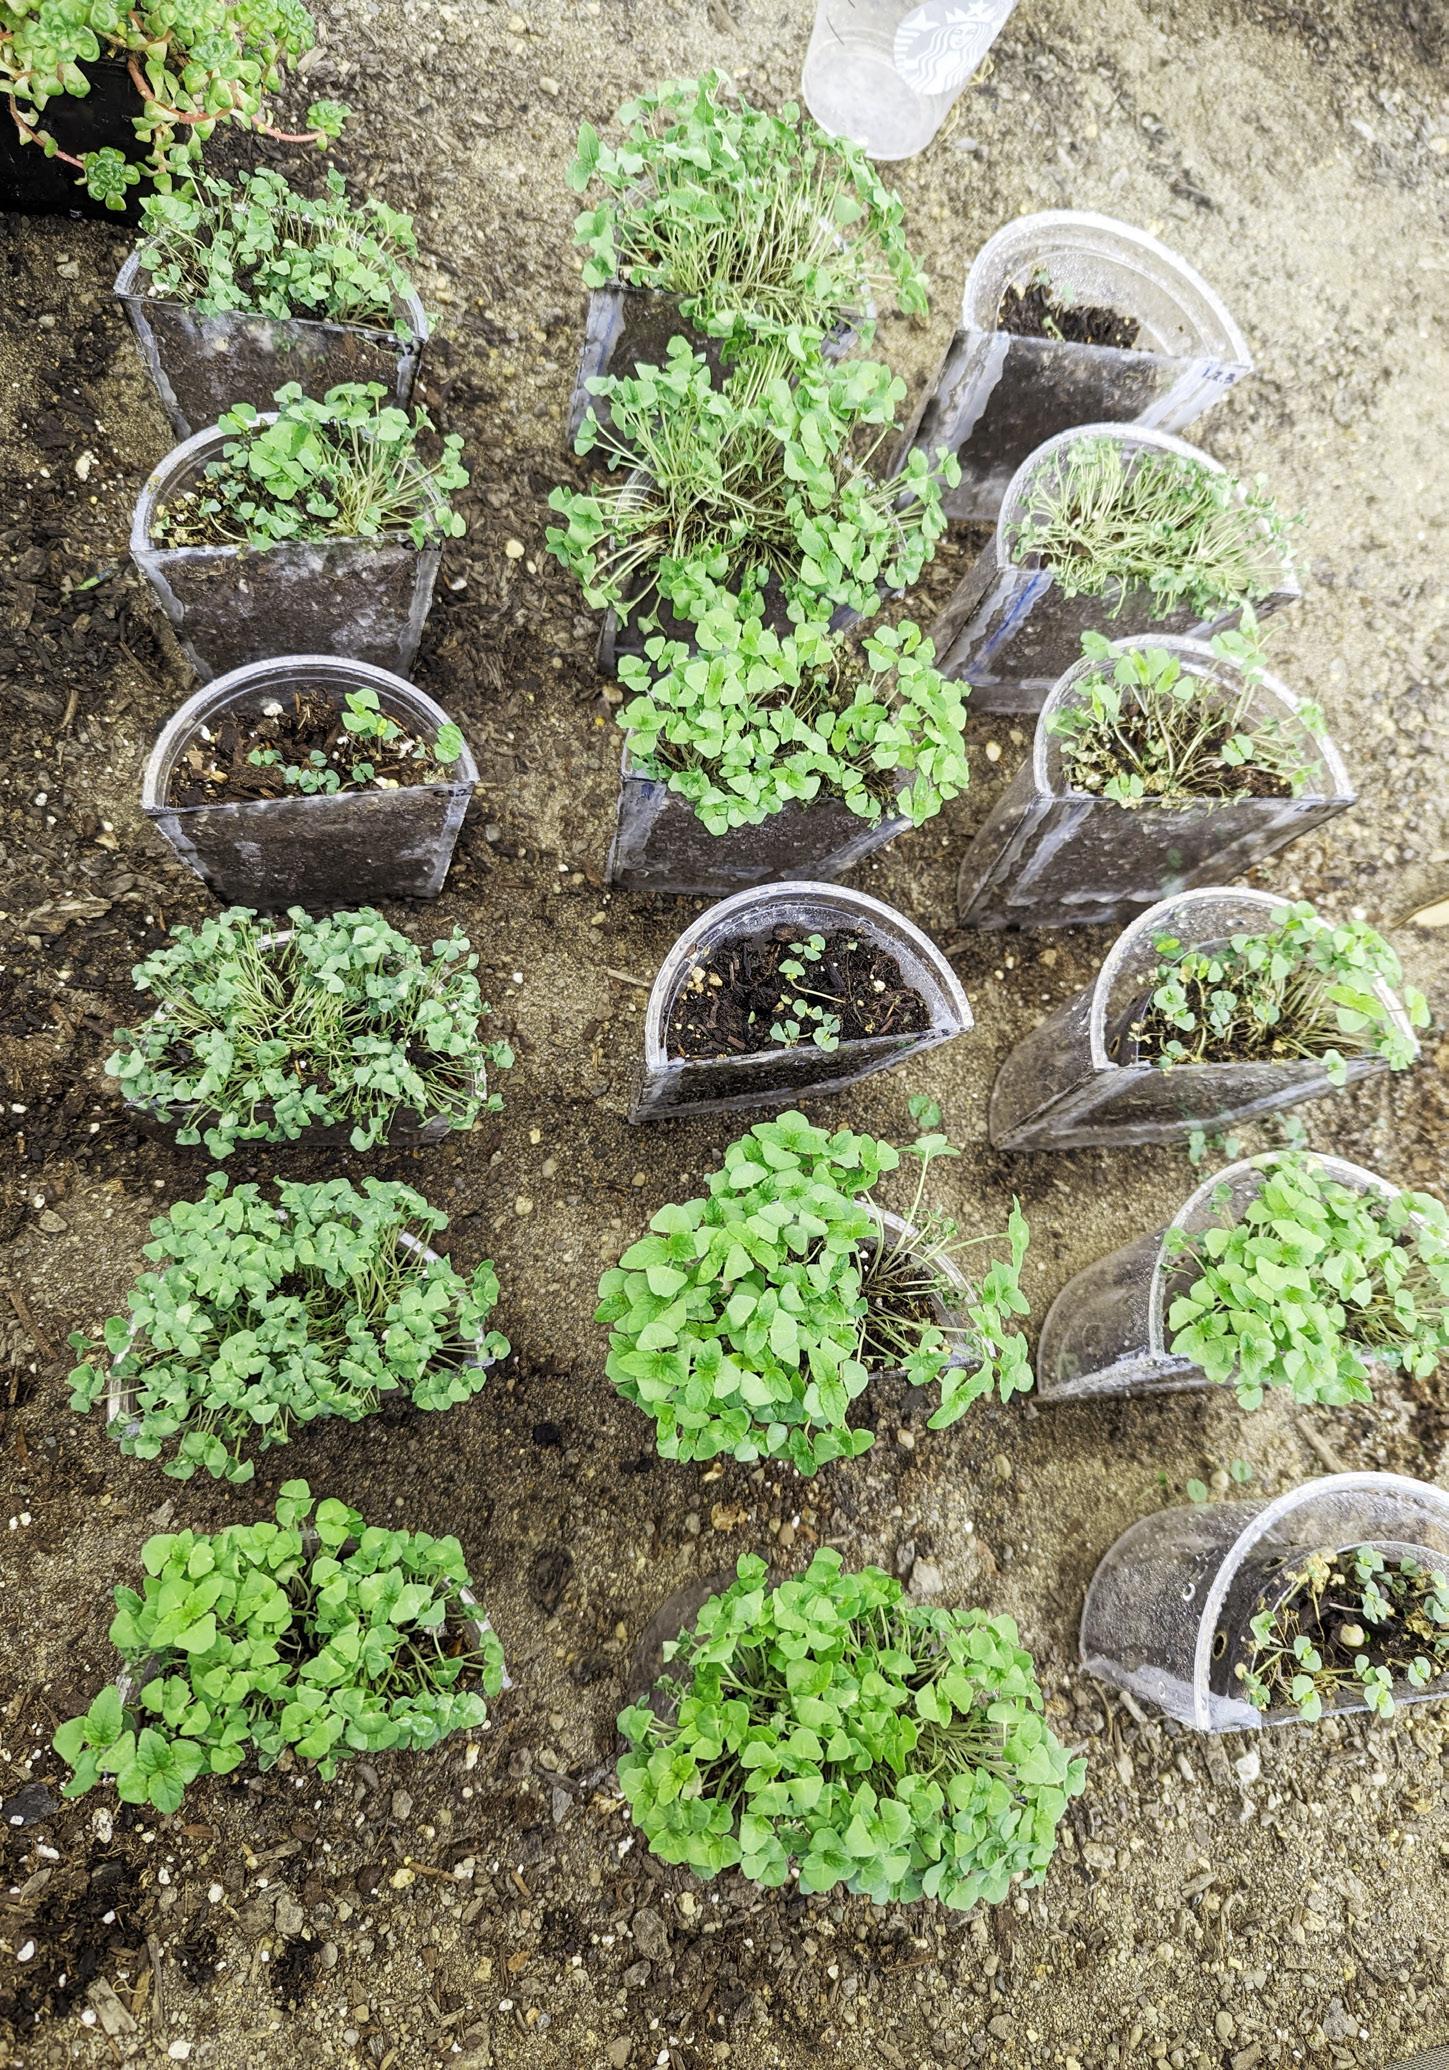
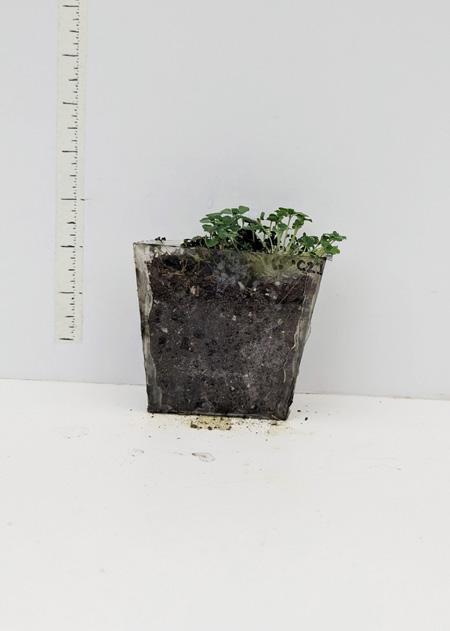
By day 7, the sprouts were beginning to differentiate heights between rows and columns of samples. Roots in many of the pots had grown to reach the bottom and seemed to be naturally air pruning at the tips.
The row with 1/4” gap (shown above, center) had sprouts that were the fullest and tallest.
The control row (shown above, left) were much sparser while the 1/2” air gap (show above, right) also seemed very healthy but weren’t quite as full.
FILLING THE POT
SPROUTS TAKE OFF
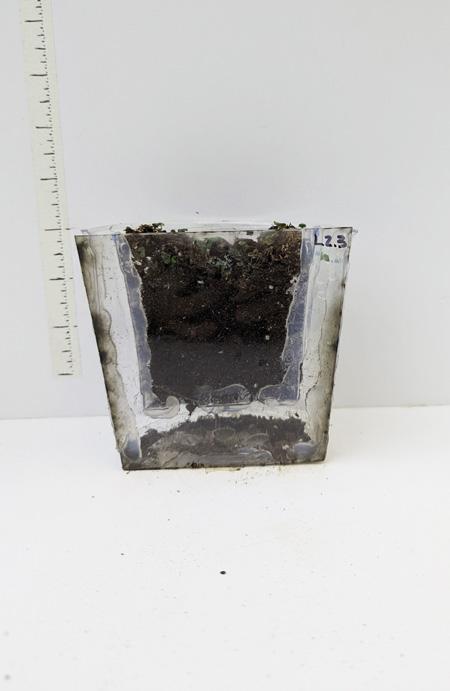
C1.2
C2.1
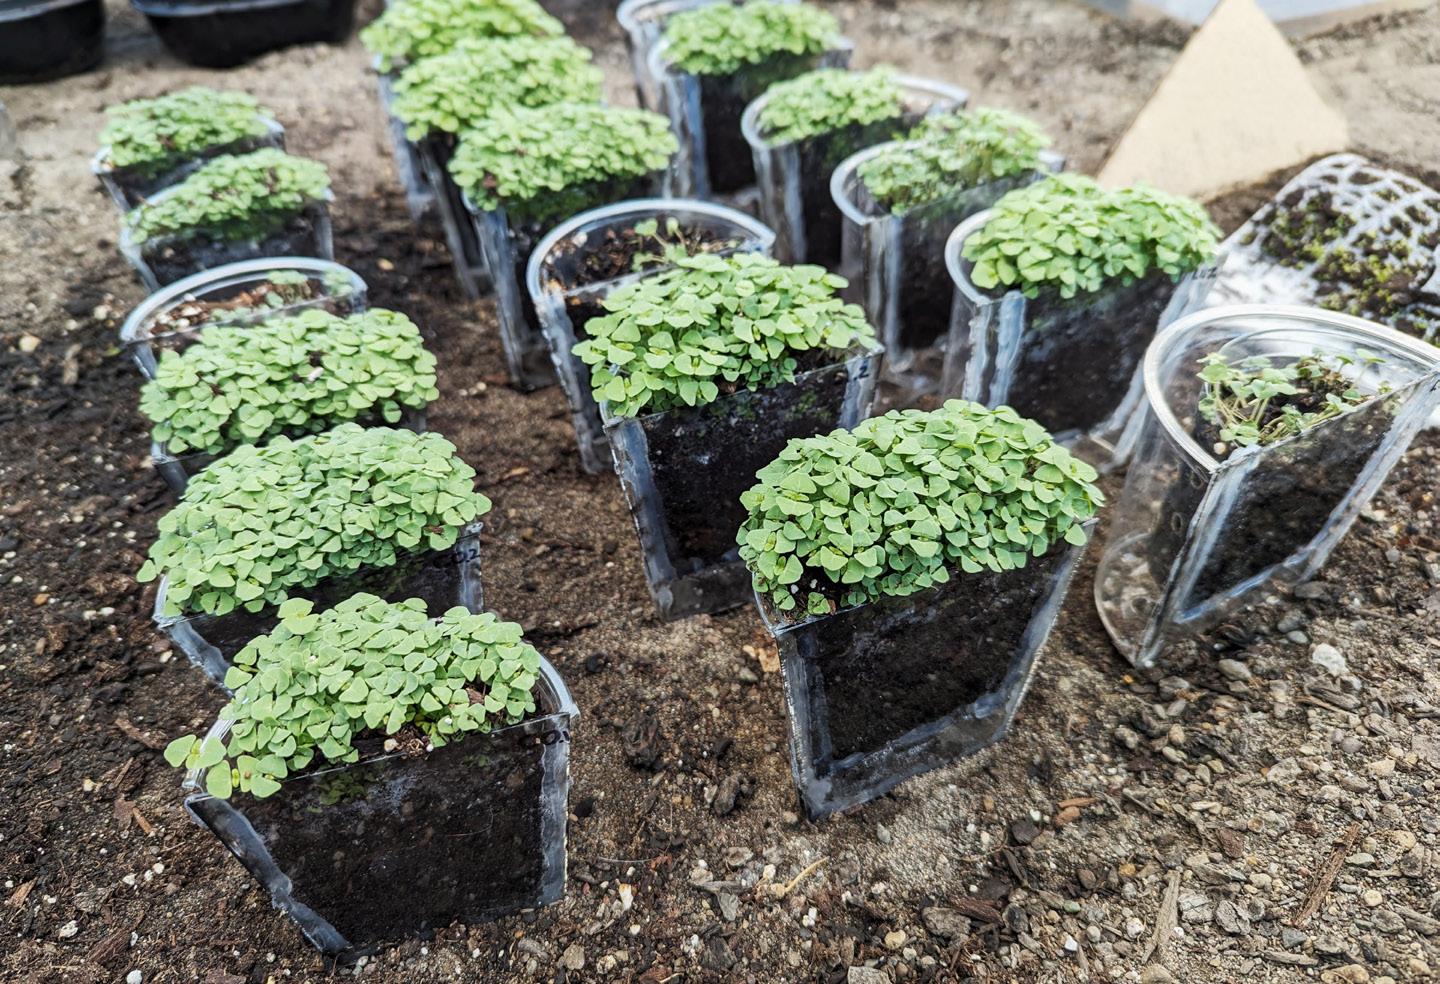
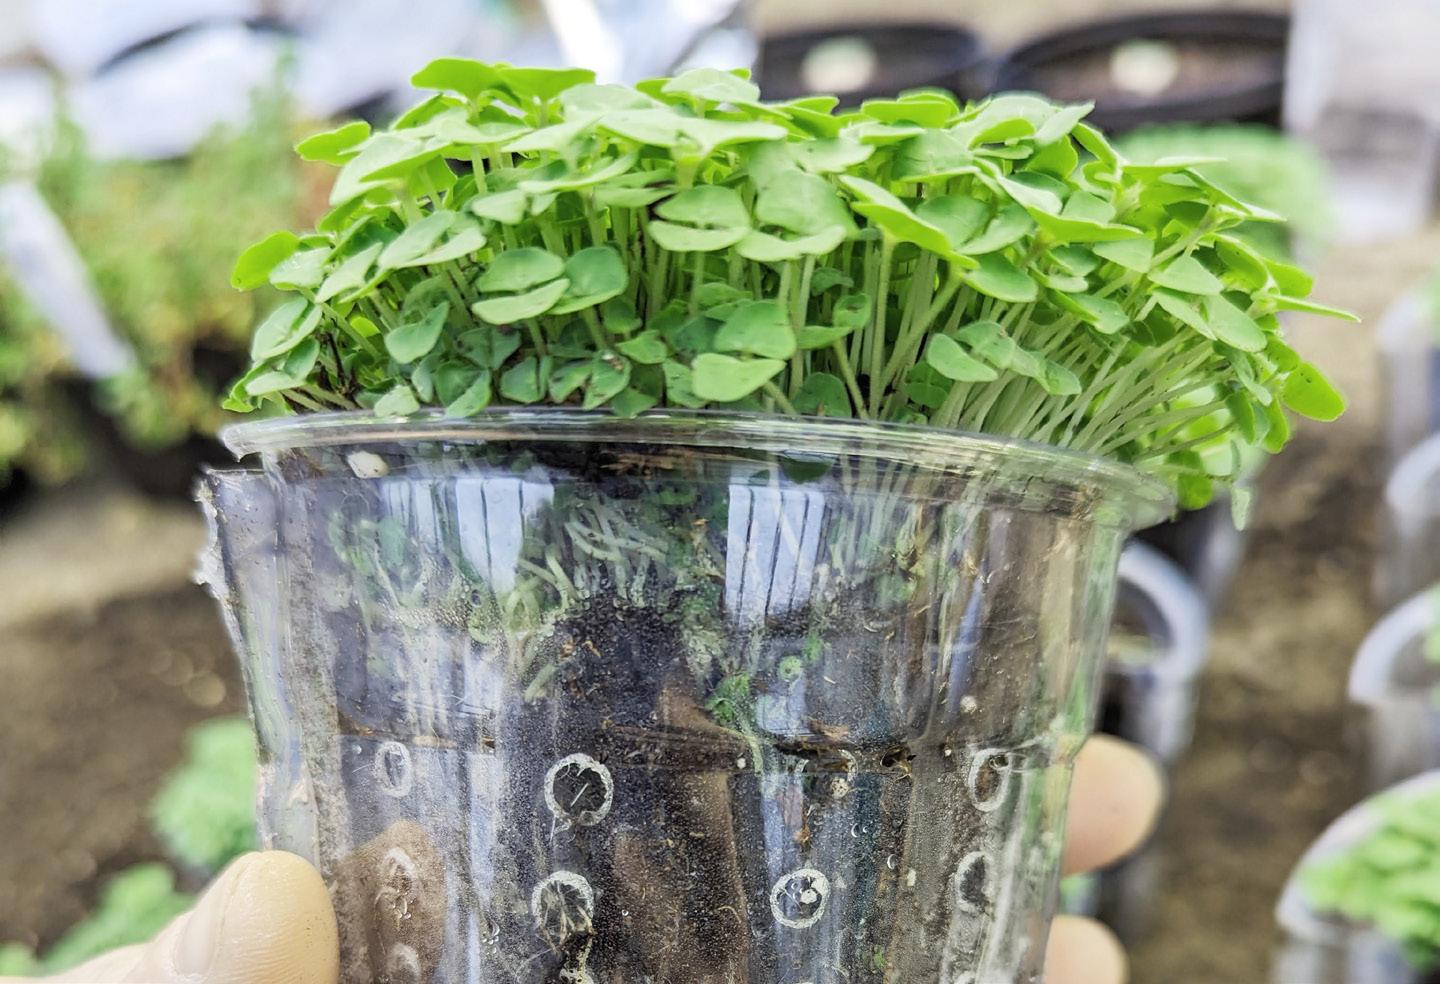
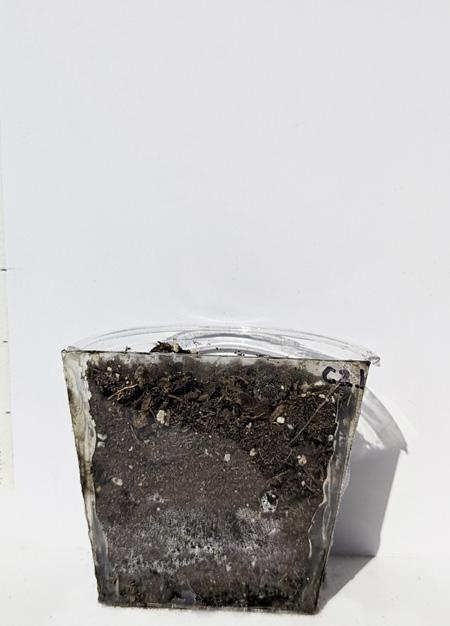
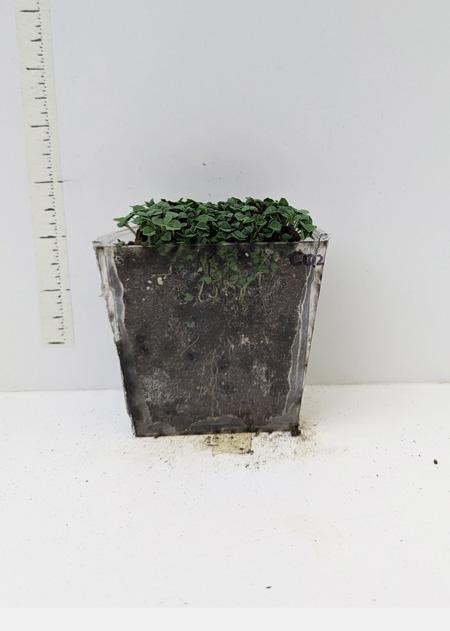
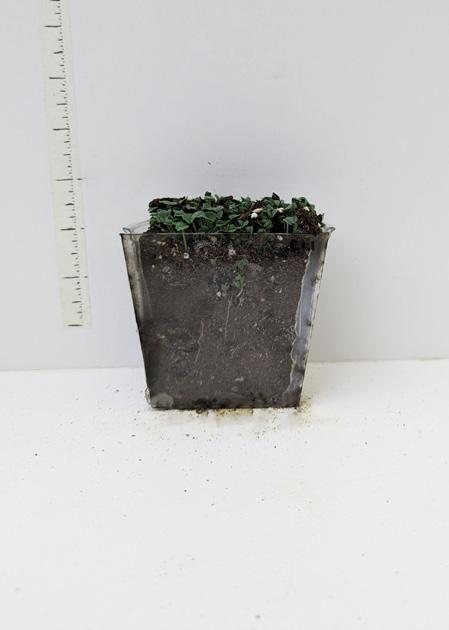
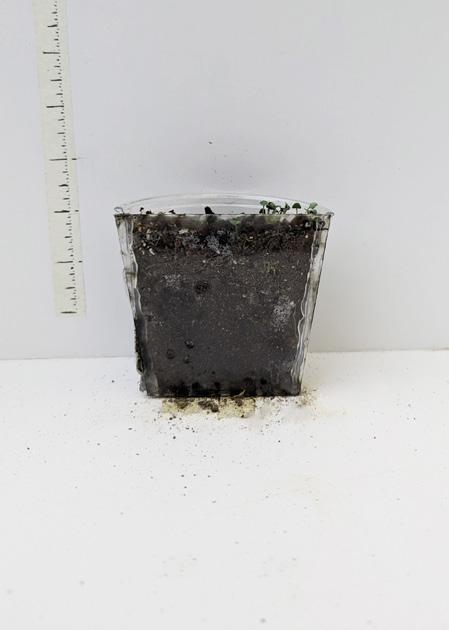
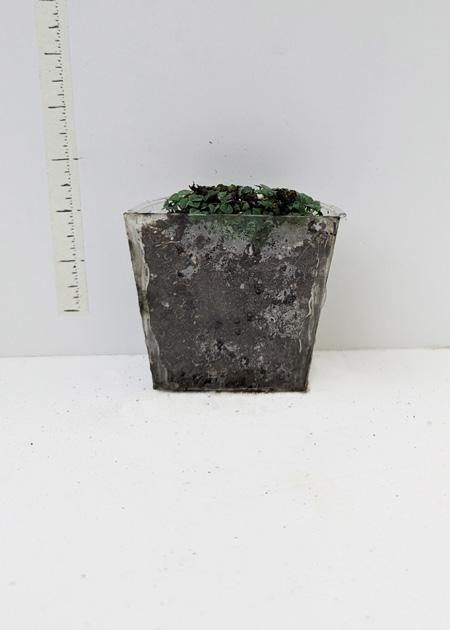
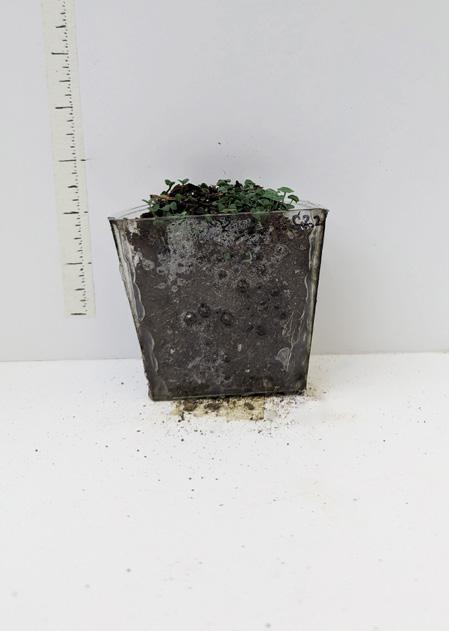
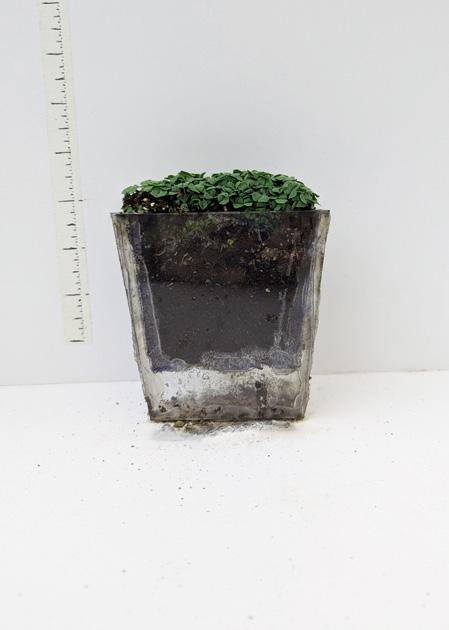
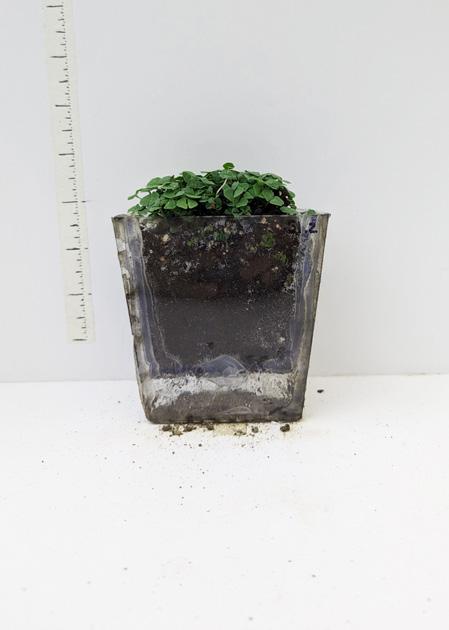
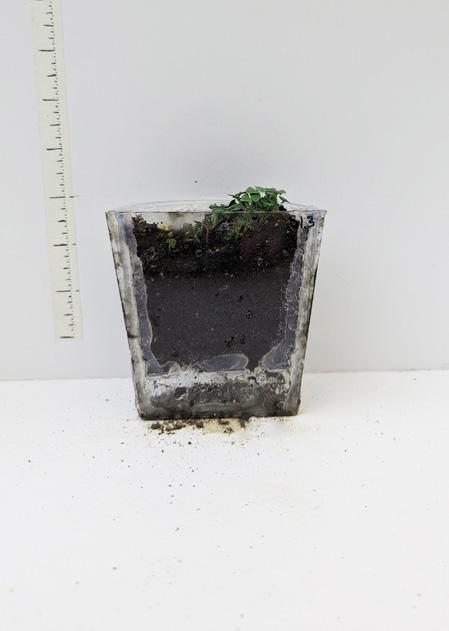
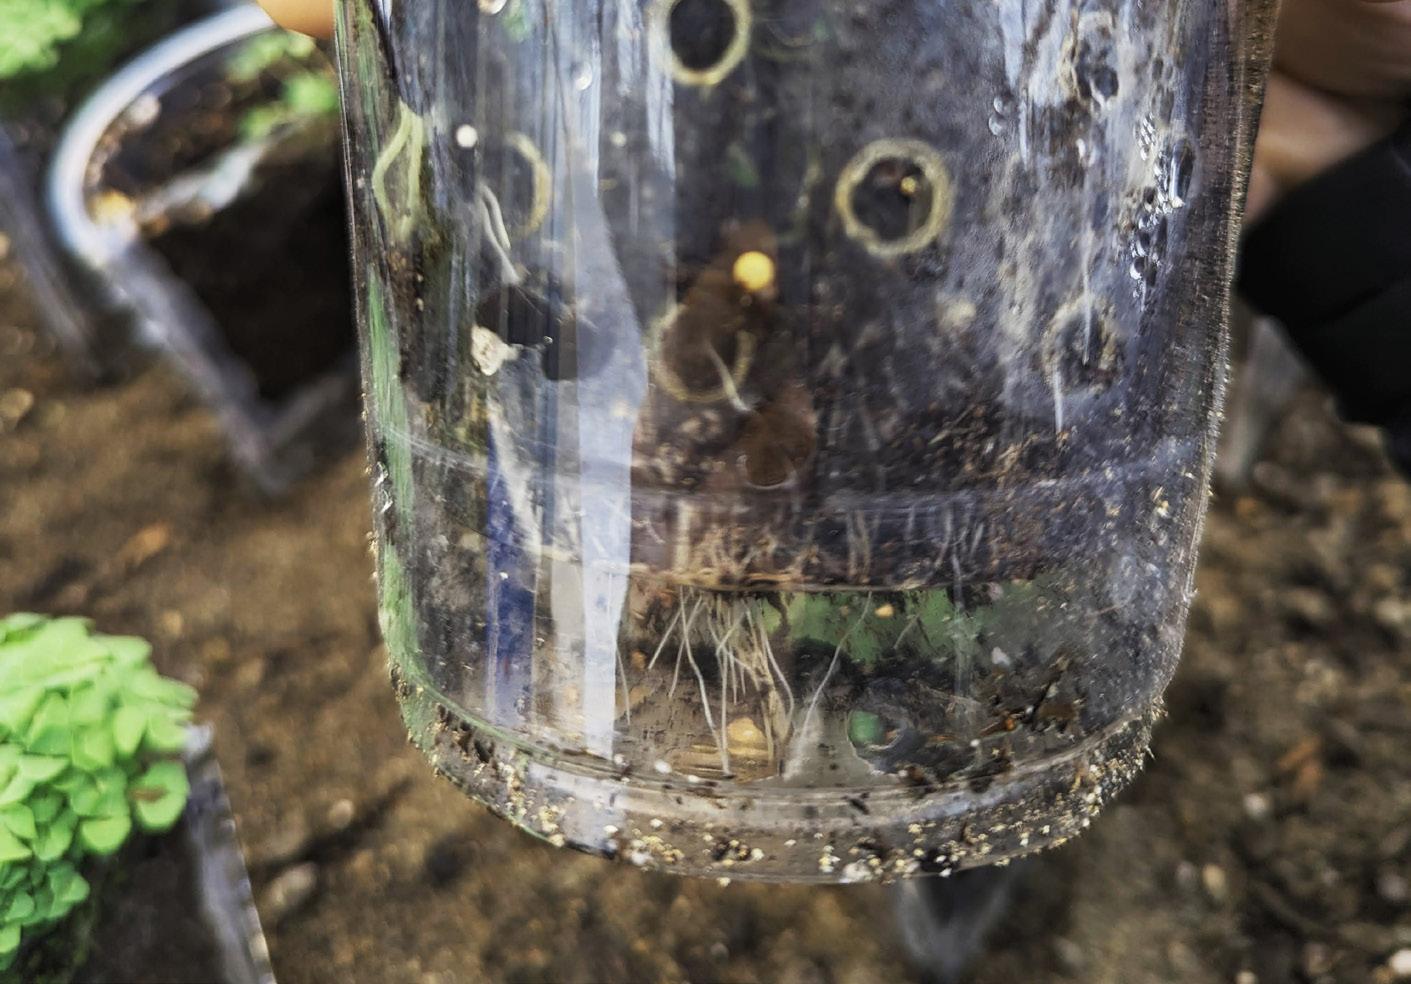
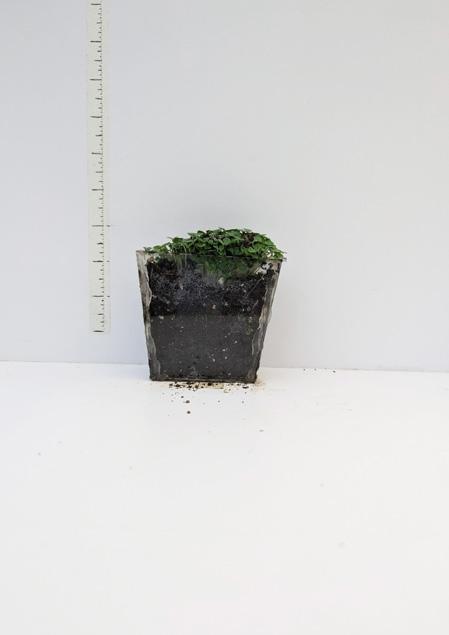
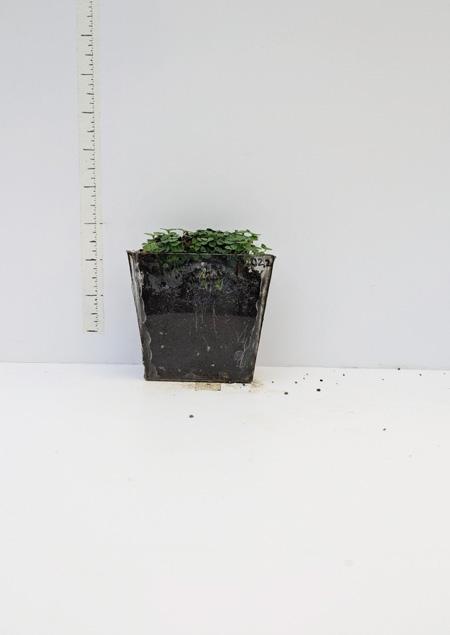
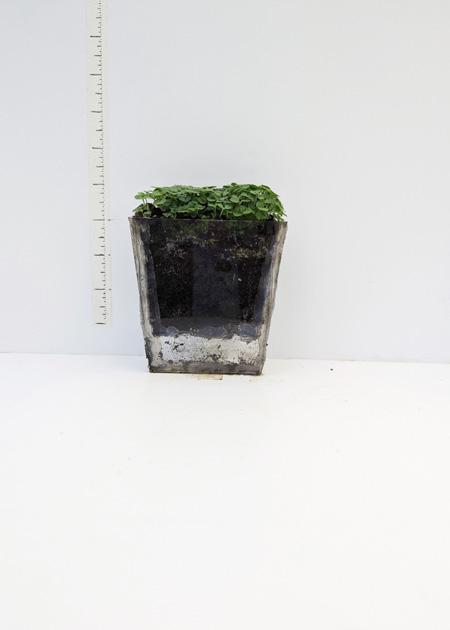
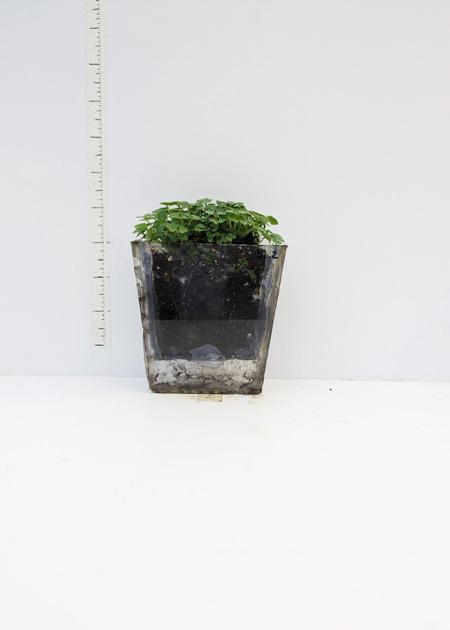
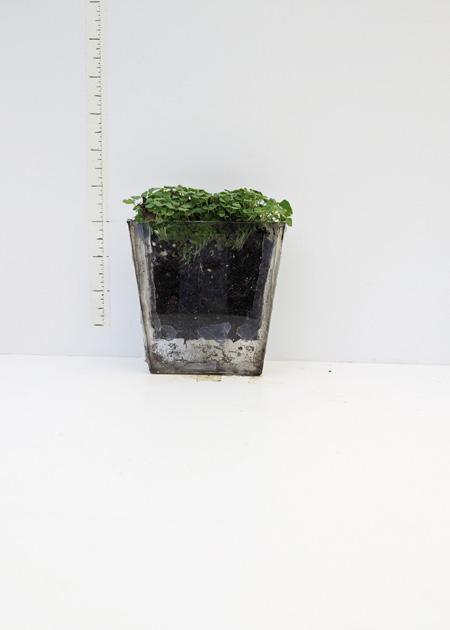
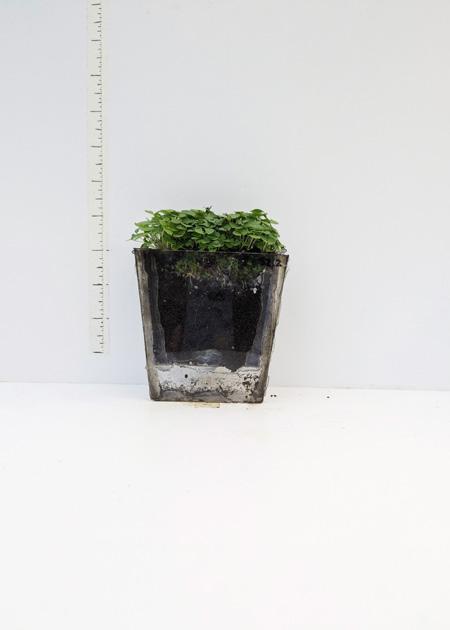
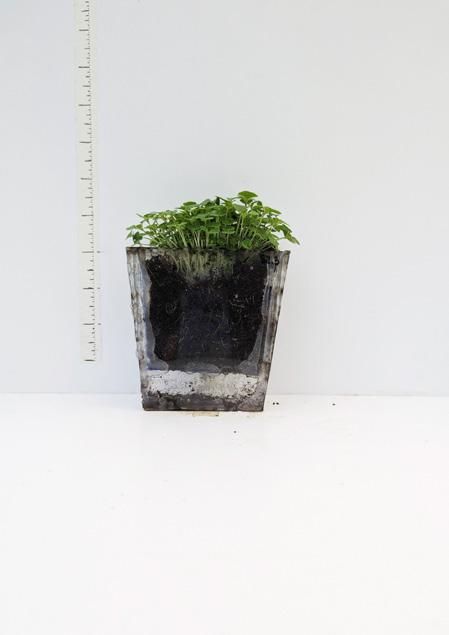
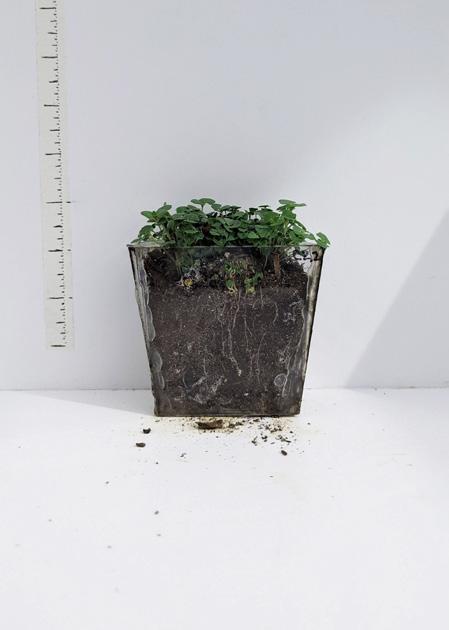
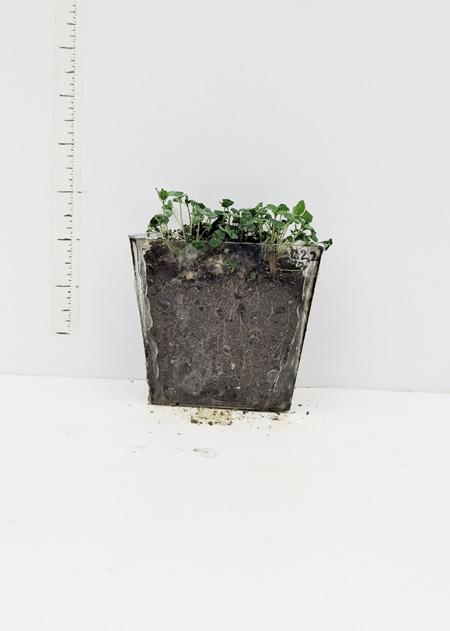
On day 9, the rows had distinct differences, although the porosity of each pot didn’t seem to make as much difference as the size of the air gap (grouped by row).
The two control samples with no porosity seemed to be thriving (shown above, lower left), but the rest of the row was turning darker green with wilted leaves.
The large air gap row (shown above, right) also had thinned out and appeared scraggly compared to the 1/4” gap row (shown above, center).
SOME THRIVE, SOME FAIL
SPROUTS GROWING HIGHER
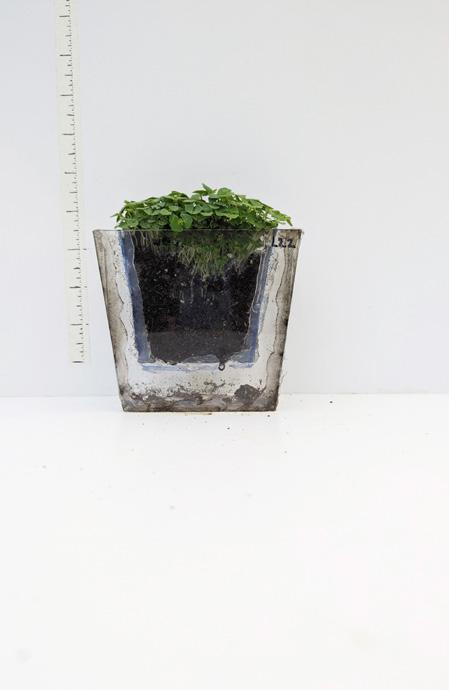
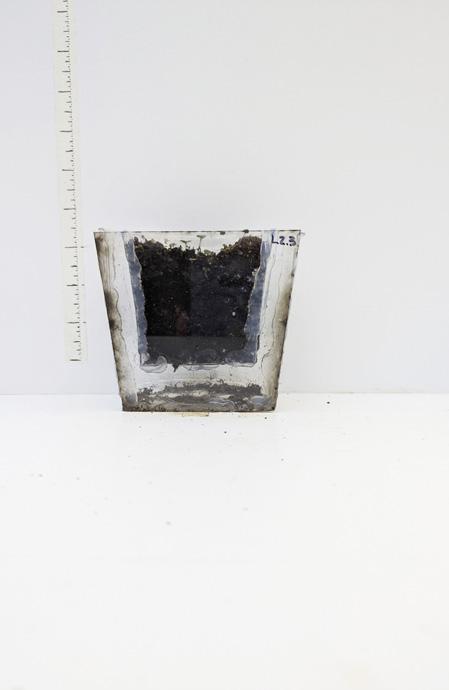
C2.1
C2.2
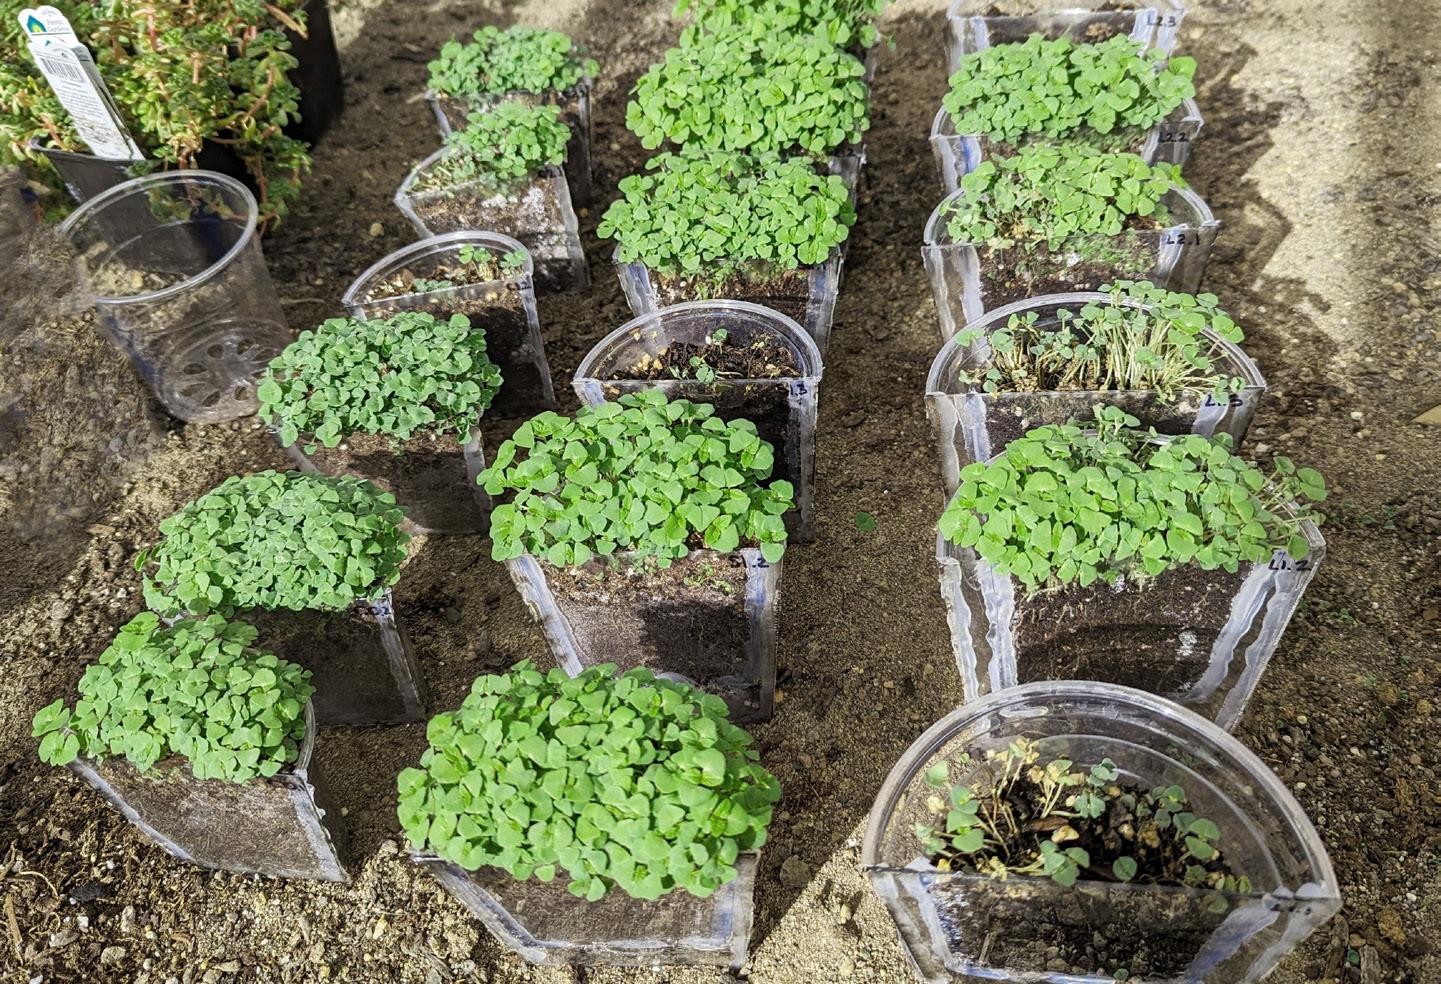
DIFFERENTIATION BETWEEN ROWS
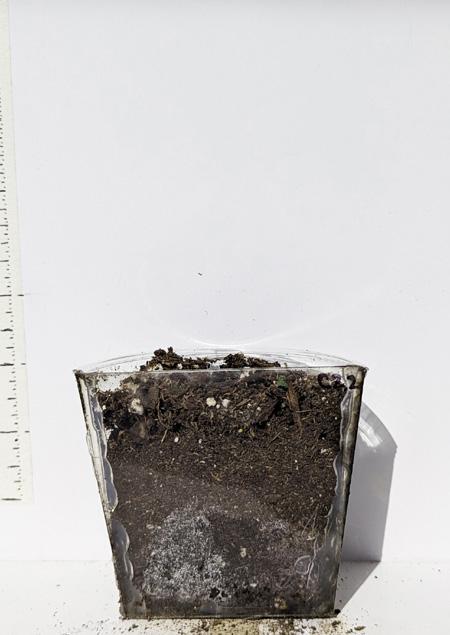
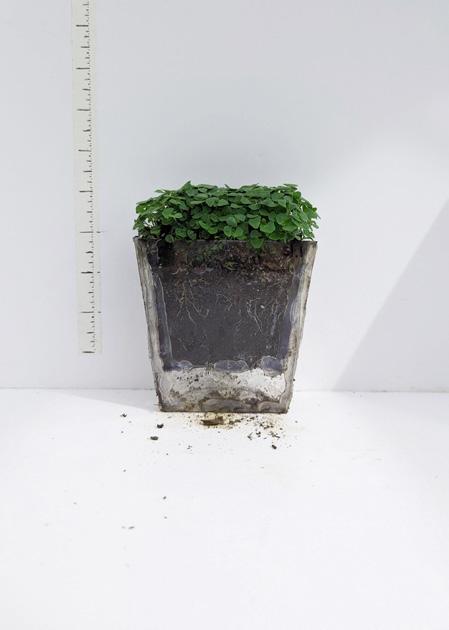
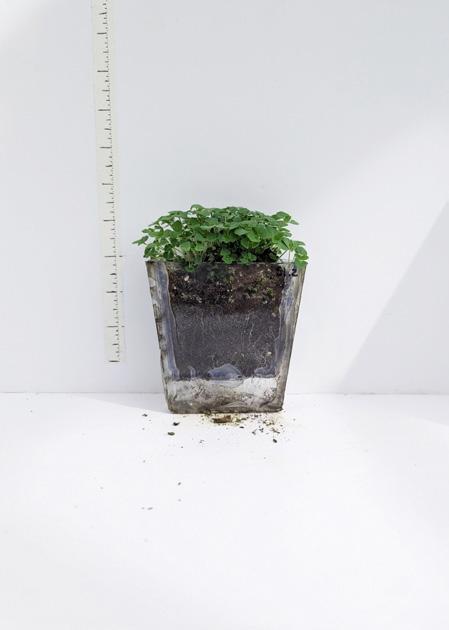
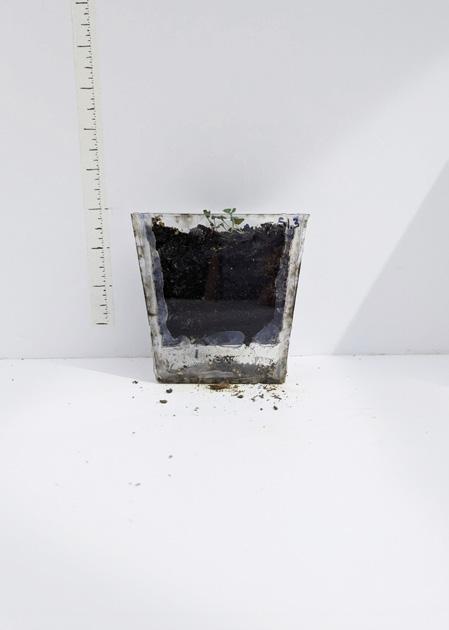
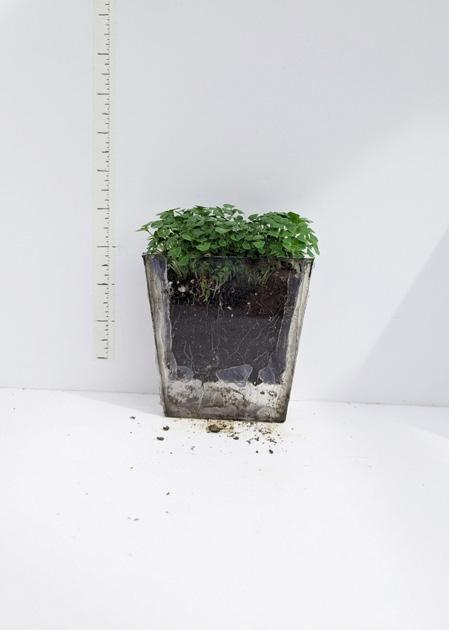
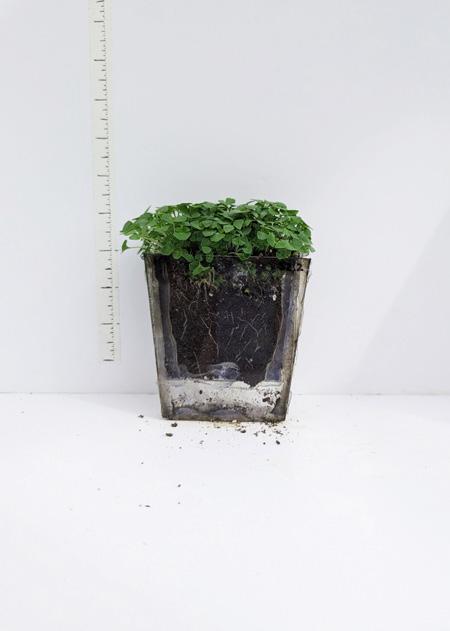
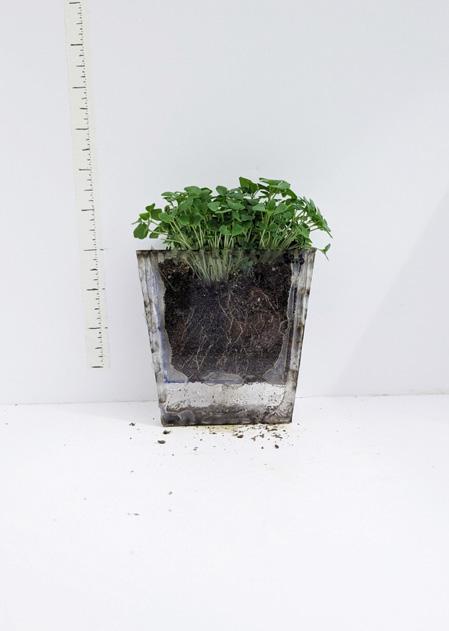
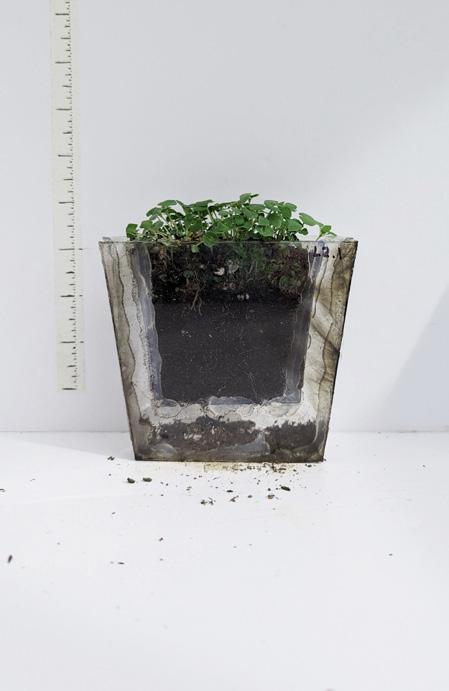
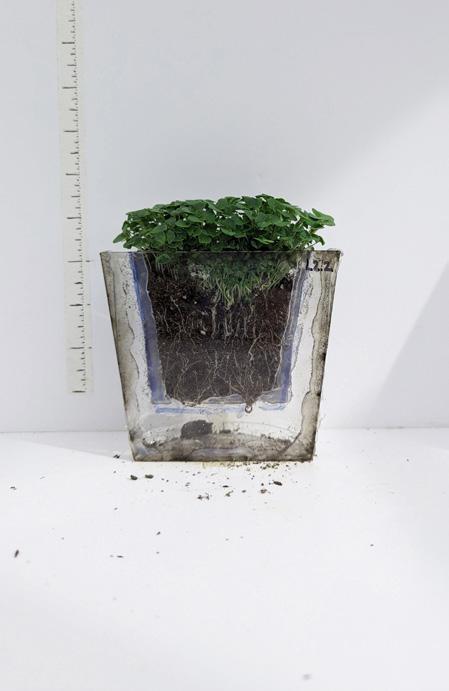
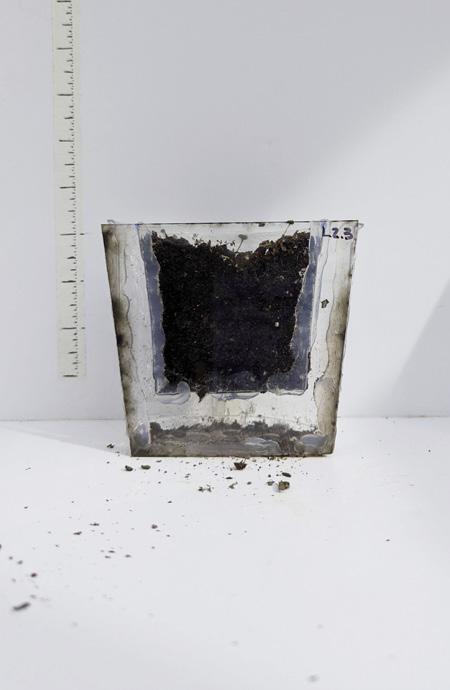
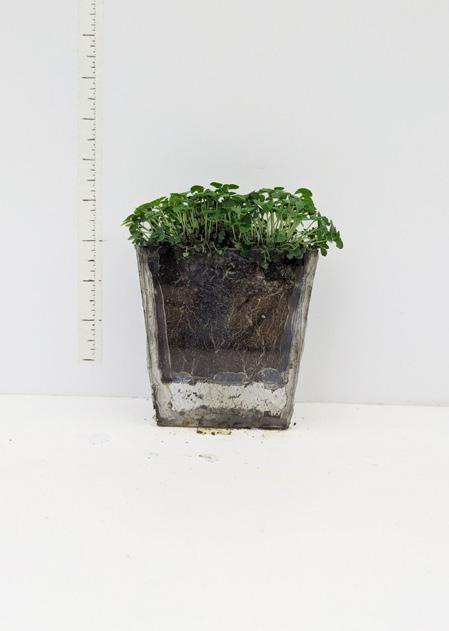
Day 11 brought continued growth from the row of samples with 1/4” air gaps (shown above, center). The control samples with porosity (shown above, top left) continued to wilt, as did the right row of samples with the larger air gap.
The moisture content in the pots with wilting sprouts tended to measure much higher, possibly because there were fewer healthy plants filtering and using the water.
Many samples also had roots poking out of the bottom holes in the pot.
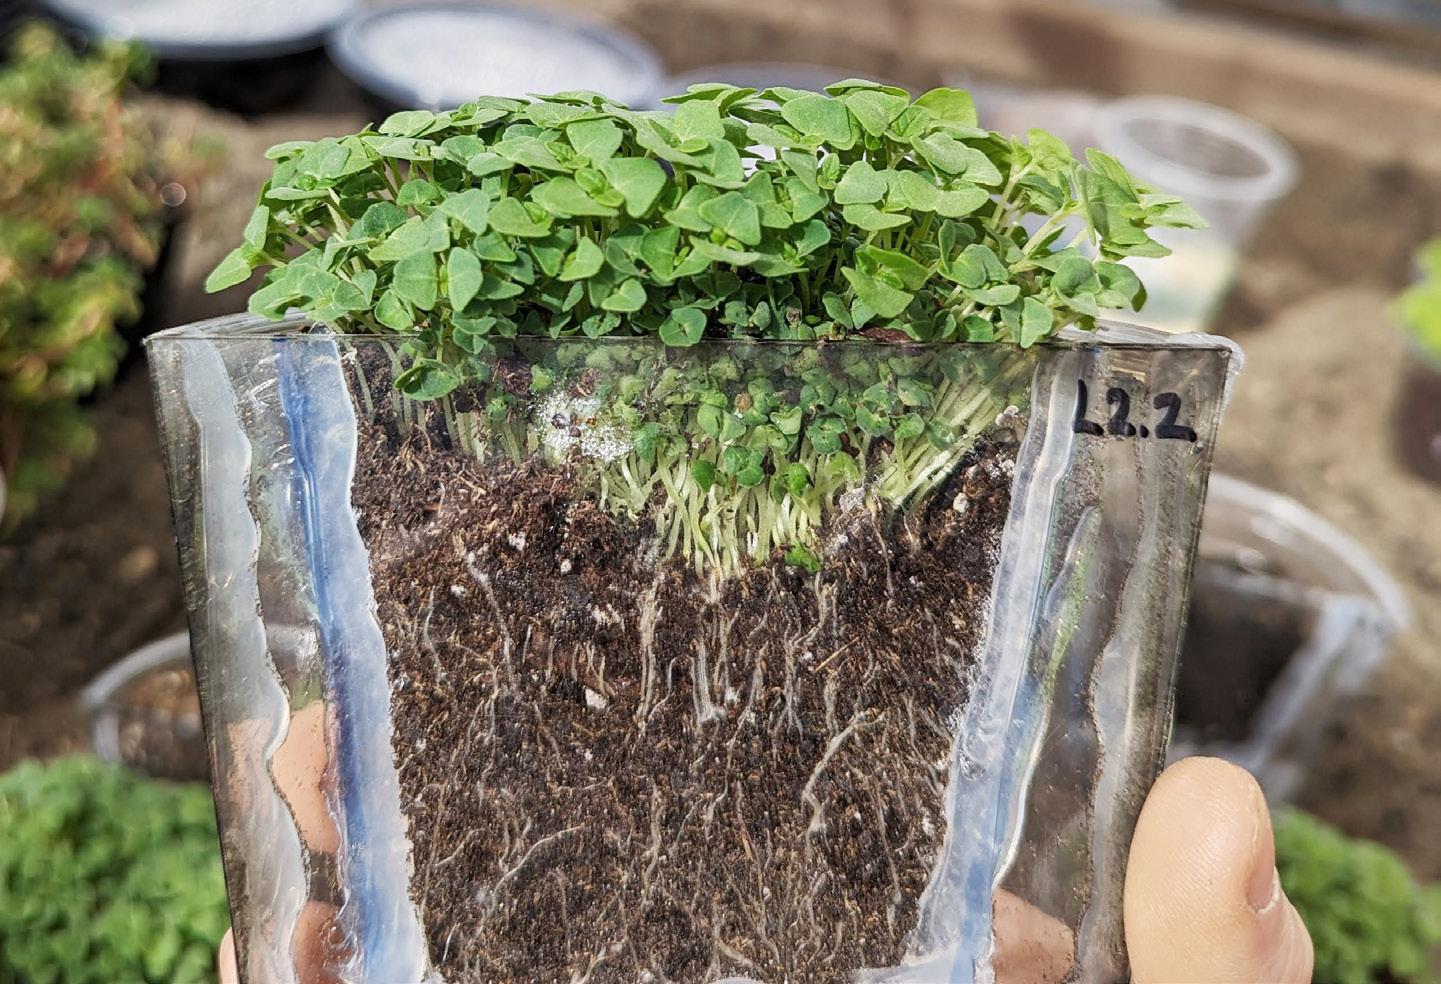
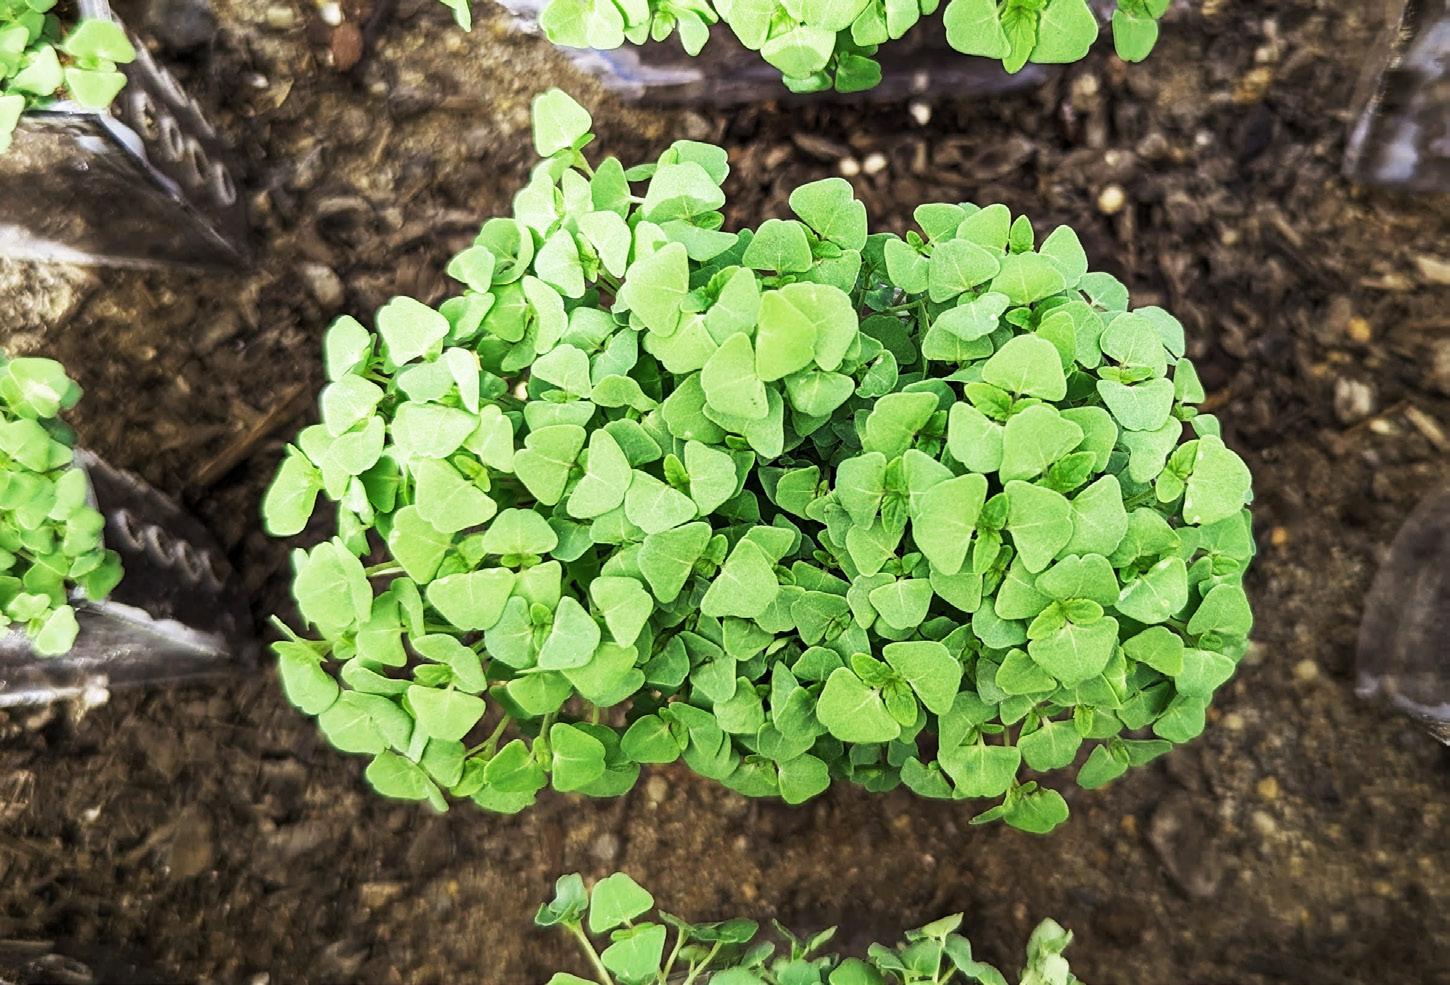
1/4” AIR GAP SEEMS TO GROW BEST
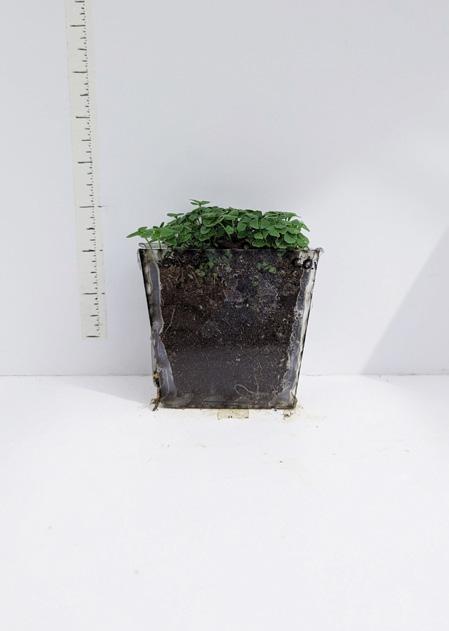
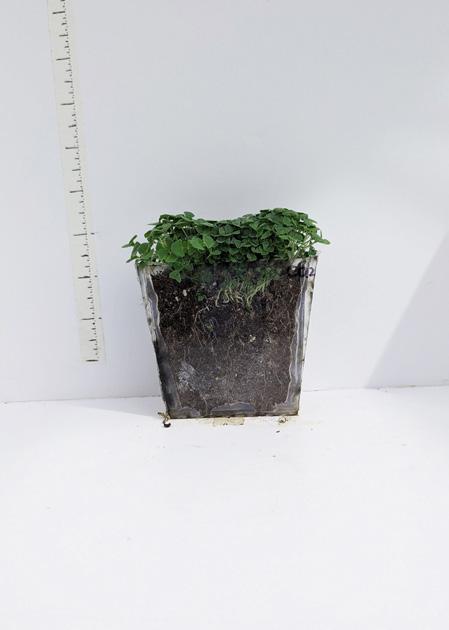
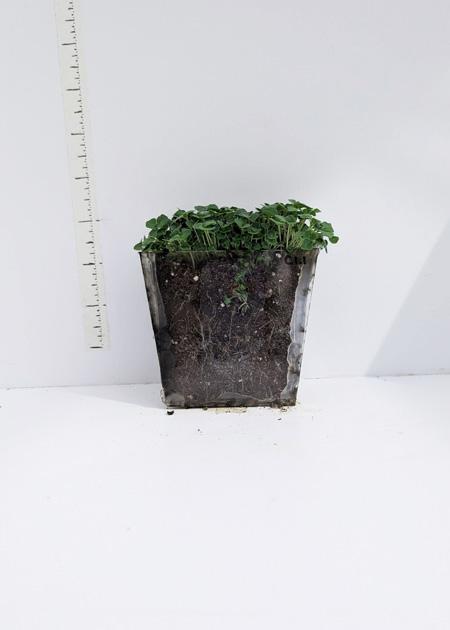
C1.2
C2.1
C2.2
Day 11 brought continued growth from the row of samples with 1/4” air gaps (shown above, center). The control samples with porosity (shown above, top left) continued to wilt, as did the right row of samples with the larger air gap.
The moisture content in the pots with wilting sprouts tended to measure much higher, possibly because there were fewer healthy plants filtering and using the water.
Many samples also had roots poking out of the bottom holes in the pot.
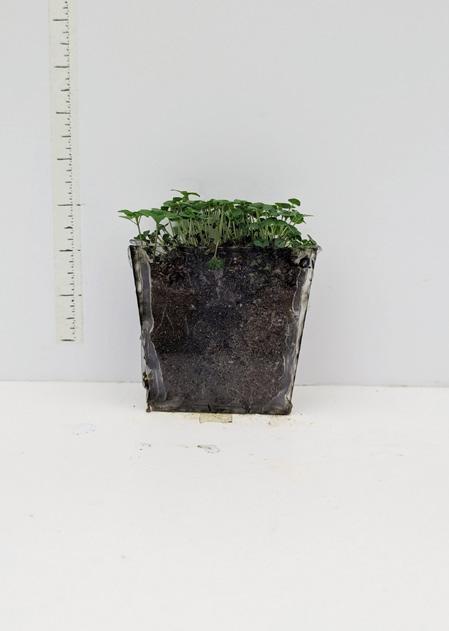
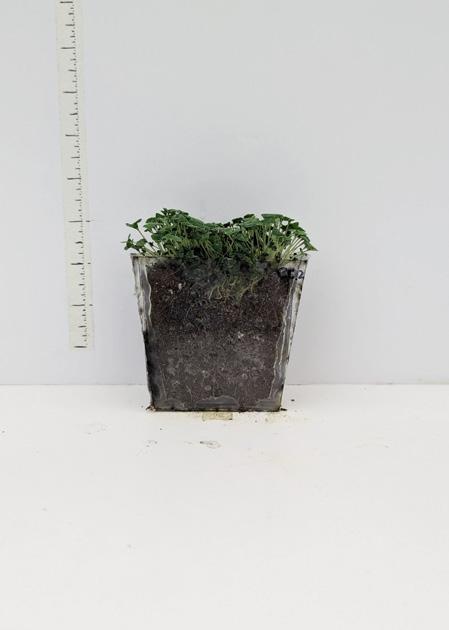
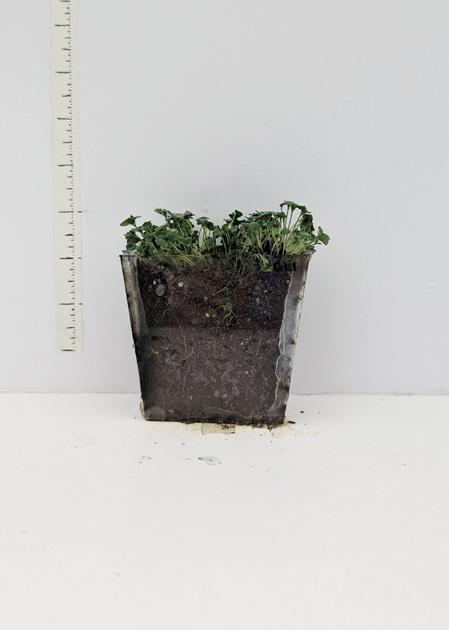
1- Sprouts; side view
Sample array; complete
LOOKING FOR PATTERNS IN GROWTH
SPROUTS BEGIN TO THIN OUT
C1.2
C2.1
RESULTS
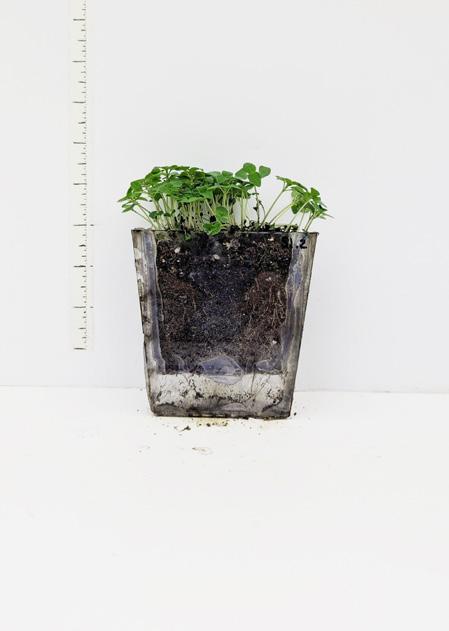
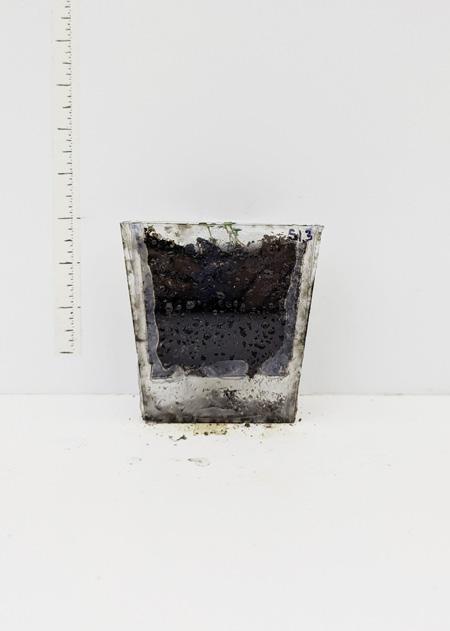
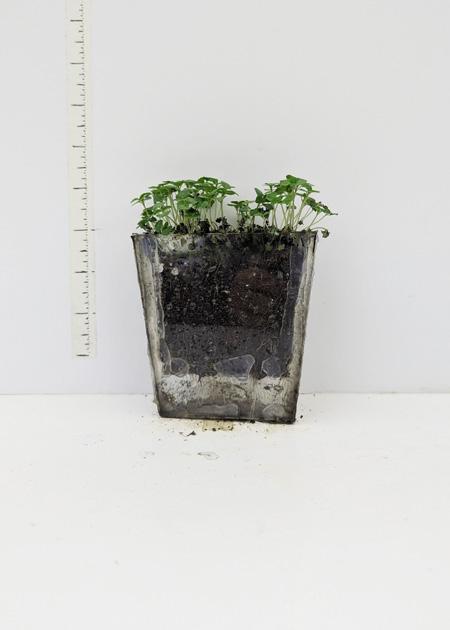
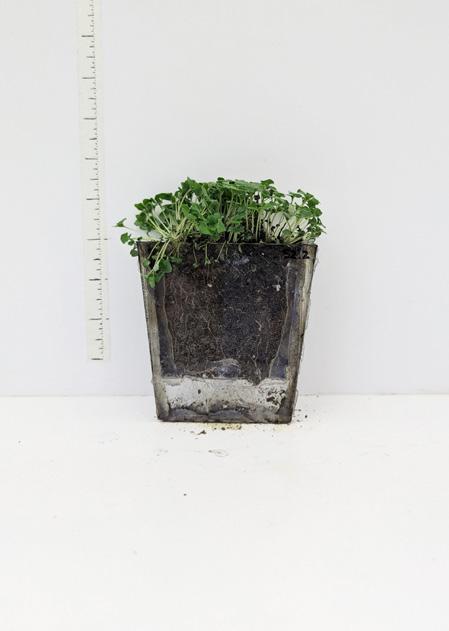
The data shows a strong correlation between plant health (analyzed visually and measured with vertical growth) and a small air gap between the perforated pot and the impermeable surface. In practice, this amounts to a double pot system with space between the two pots.
Plants with the 1/4” air gap grew thicker, taller, and greener compared to the other samples. Pots with the 1/2” air gap produced healthy
sprouts initially but they quickly wilted. The soil did not seem to dry out more quickly than that in the other pots as stated in my hypothesis. It’s not clear what the plant’s poor health is attributed to in pots with a large air gap. The soil may have been moist overall but unevenly distributed, or there may be another factor I didn’t account for.
Interestingly, the pot’s porosity
percentage had no correlation to soil moisture levels or plant health across all samples. Perhaps I needed to perforate more of the surface area; 2% and 4% porosity is low and could easily be increased.
Future explorations could explore a wider range of air gaps, different pot materials (such as felt or mesh fabric), higher levels of pot porosity, steeper pot angles, various soiless planting media, different pot
shapes, and testing the viability of a variety of species, especially those commonly used in living systems.
Little research has been done on living wall pot fabrication to optimize air flow and this experiment shows the potential benefit that even a small change, such as growing or shrinking the air gap between pots, can have on the hardiness and robustness of the plants in the system.
0” AIR GAP
1/4” AIR GAP
1/2” AIR GAP
2% POROSITY
4% POROSITY
