
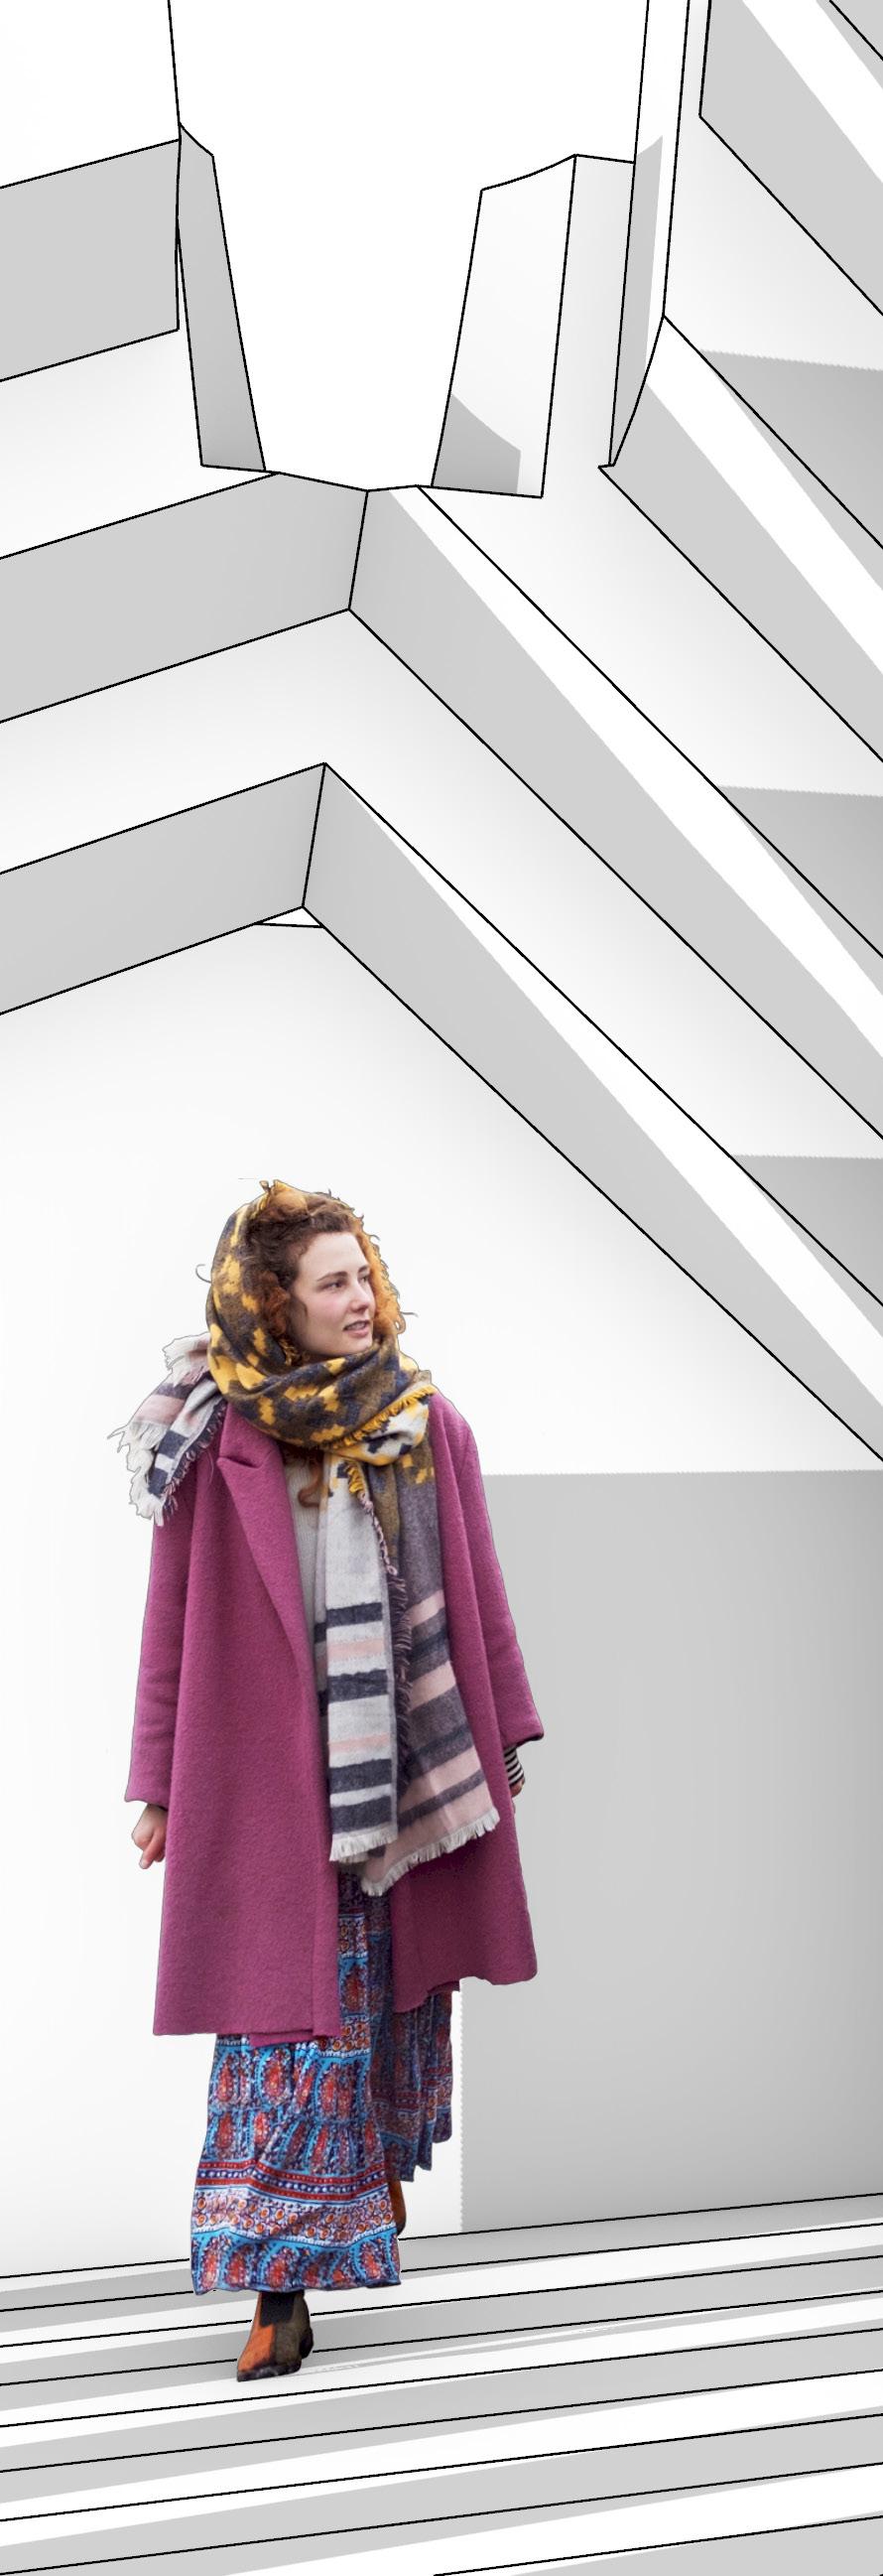



“There are no straight lines or sharp corners in nature. Therefore, buildings must have no straight lines or sharp corners.”
-Antonio Gaoudi
I am a first year architecture major. I am a long distance running and hurdler, artist and dog lover. I view myself as a creative person and practice my drawing skills as much as I can. I am very interested in the math and physics behind design, and interested in flowing, free form, natural architecture. Architecture heavily inspired by Gaudi and people alike. I enjoy curved walls, high ceilings, and apple light. I try to stay away from boring, dull designs, so people have something that makes them happy and makes them excited to be in that space. A I also try to incorporate nature and environmentally friendly designs.
I hope to work at a firm that designs residential buildings, single family and multi family. It is important for me to design for the future, to design for room to grow, and for all types of people. I am also interested in business buildings, trying to bring life and beauty into the normal mundane designs. Gideon Batya
1
Laser Cut Model of Primitive Soid
8 Module 1
Laser Cut File Page 6 - 7
MoveEdge(x,yPlane)
MoveEdge(x,zPlane)
Page 12 - 13
2
MoveEdge(x,yPlane) select two
MoveEdge(x,zPlane) select two
MoveFace(x,yPlane)
MoveFace(x,zPlane)
Page 14 - 19
2
Movepoint(x,yPlane)
Movepoint(x,zPlane)
Page 30 - 33
Module 3
Topography
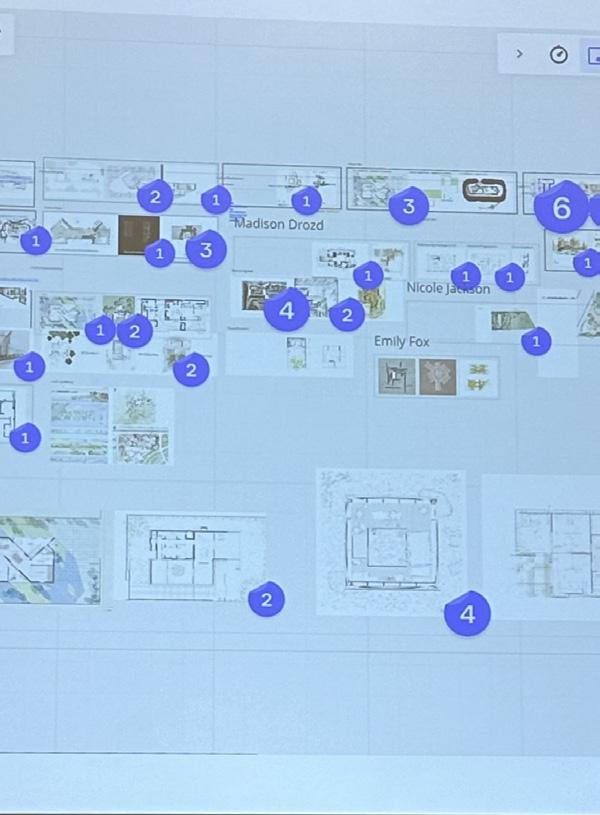
Page 52 - 65 Guest Lectures
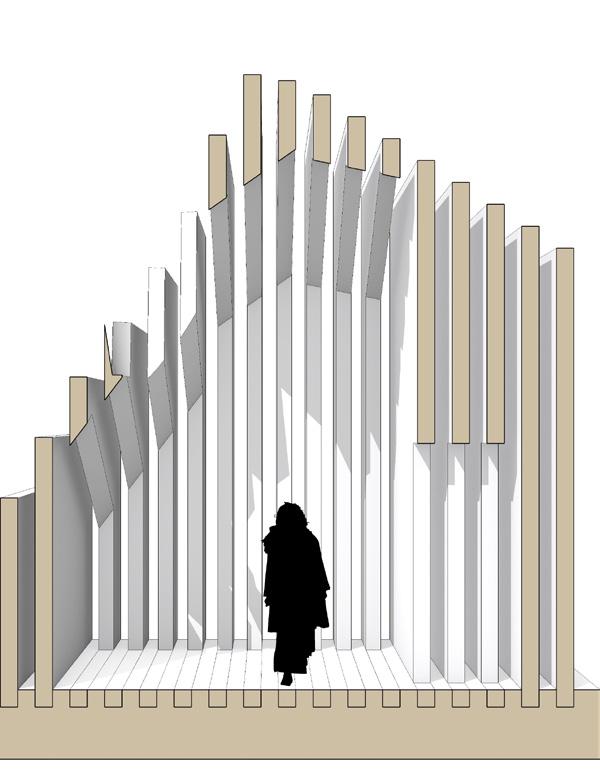
Page 34 - 41
Module 3
Digital Frames
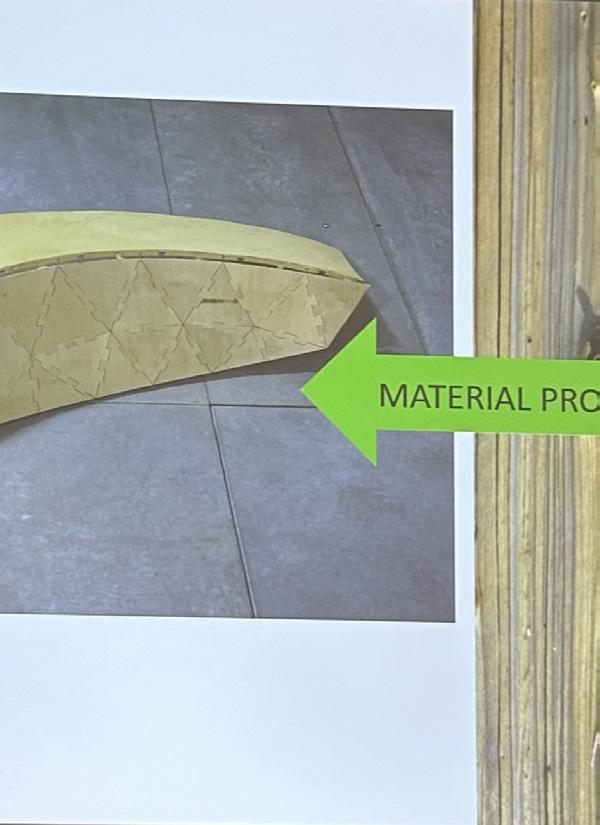
Page 56 - 59 Guest Lectures

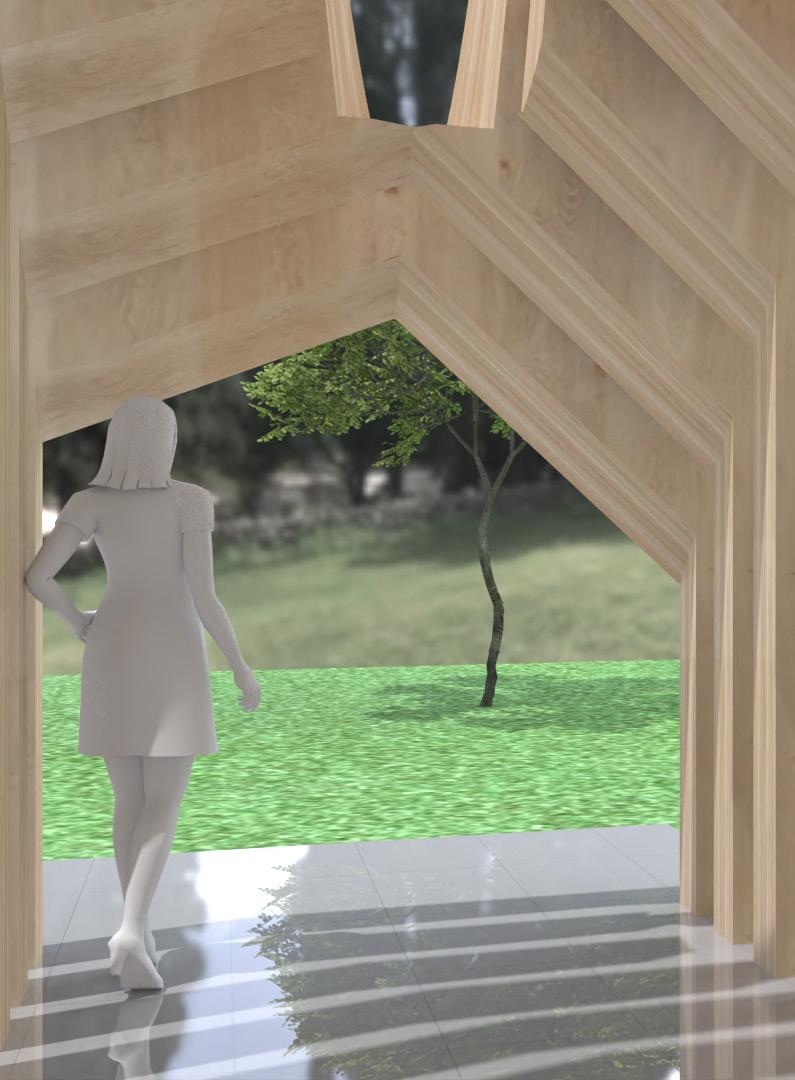
SOFTWEAR USED Rhino
FABRICATION TIME
30 min. Laser Cutting
1 Hour Assembly
4 Hours Digitally Modeling
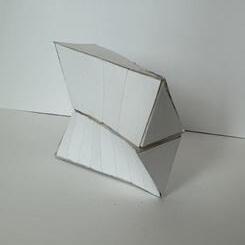
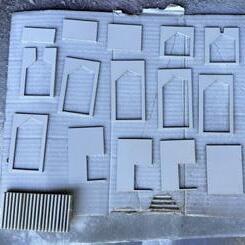
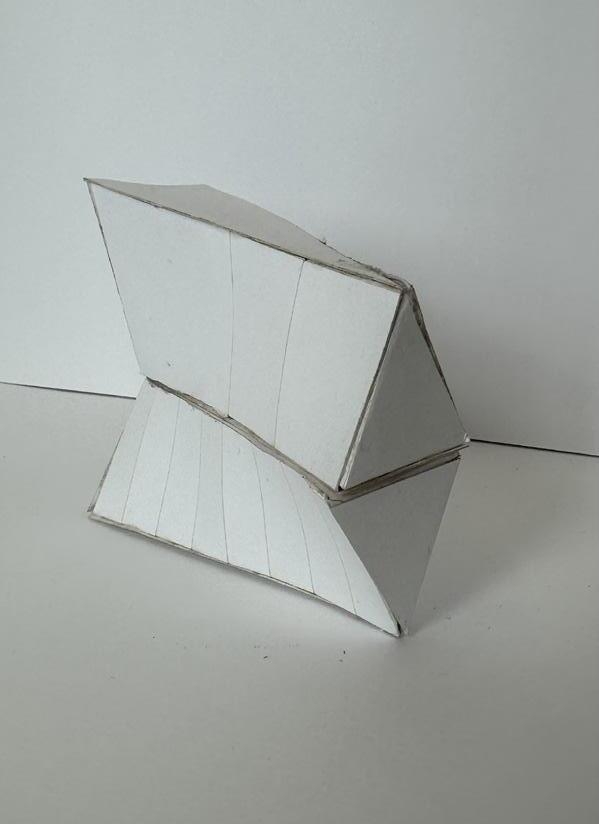
Begin to understand Rhino by dreating a laser cut file of two primitives that join together. Then create the projects that those two shapes create. This project is also created a starting point in using the laser cutter, amd how to make a Rhino file that works with a laser cutter.
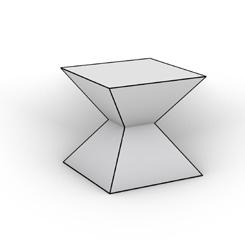
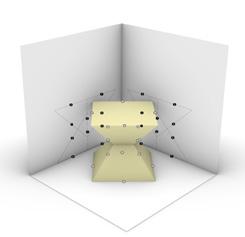
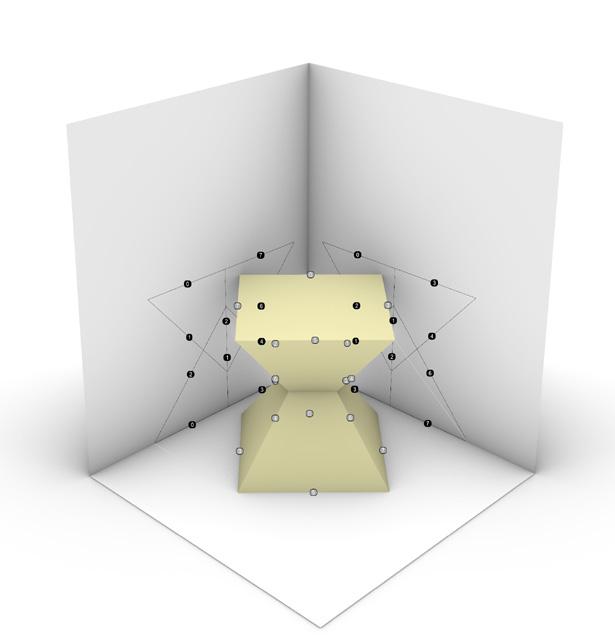
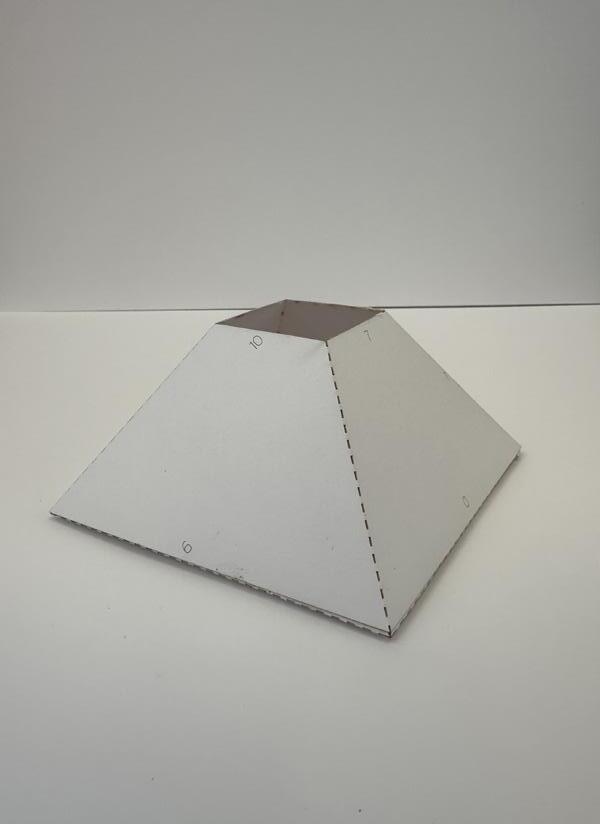
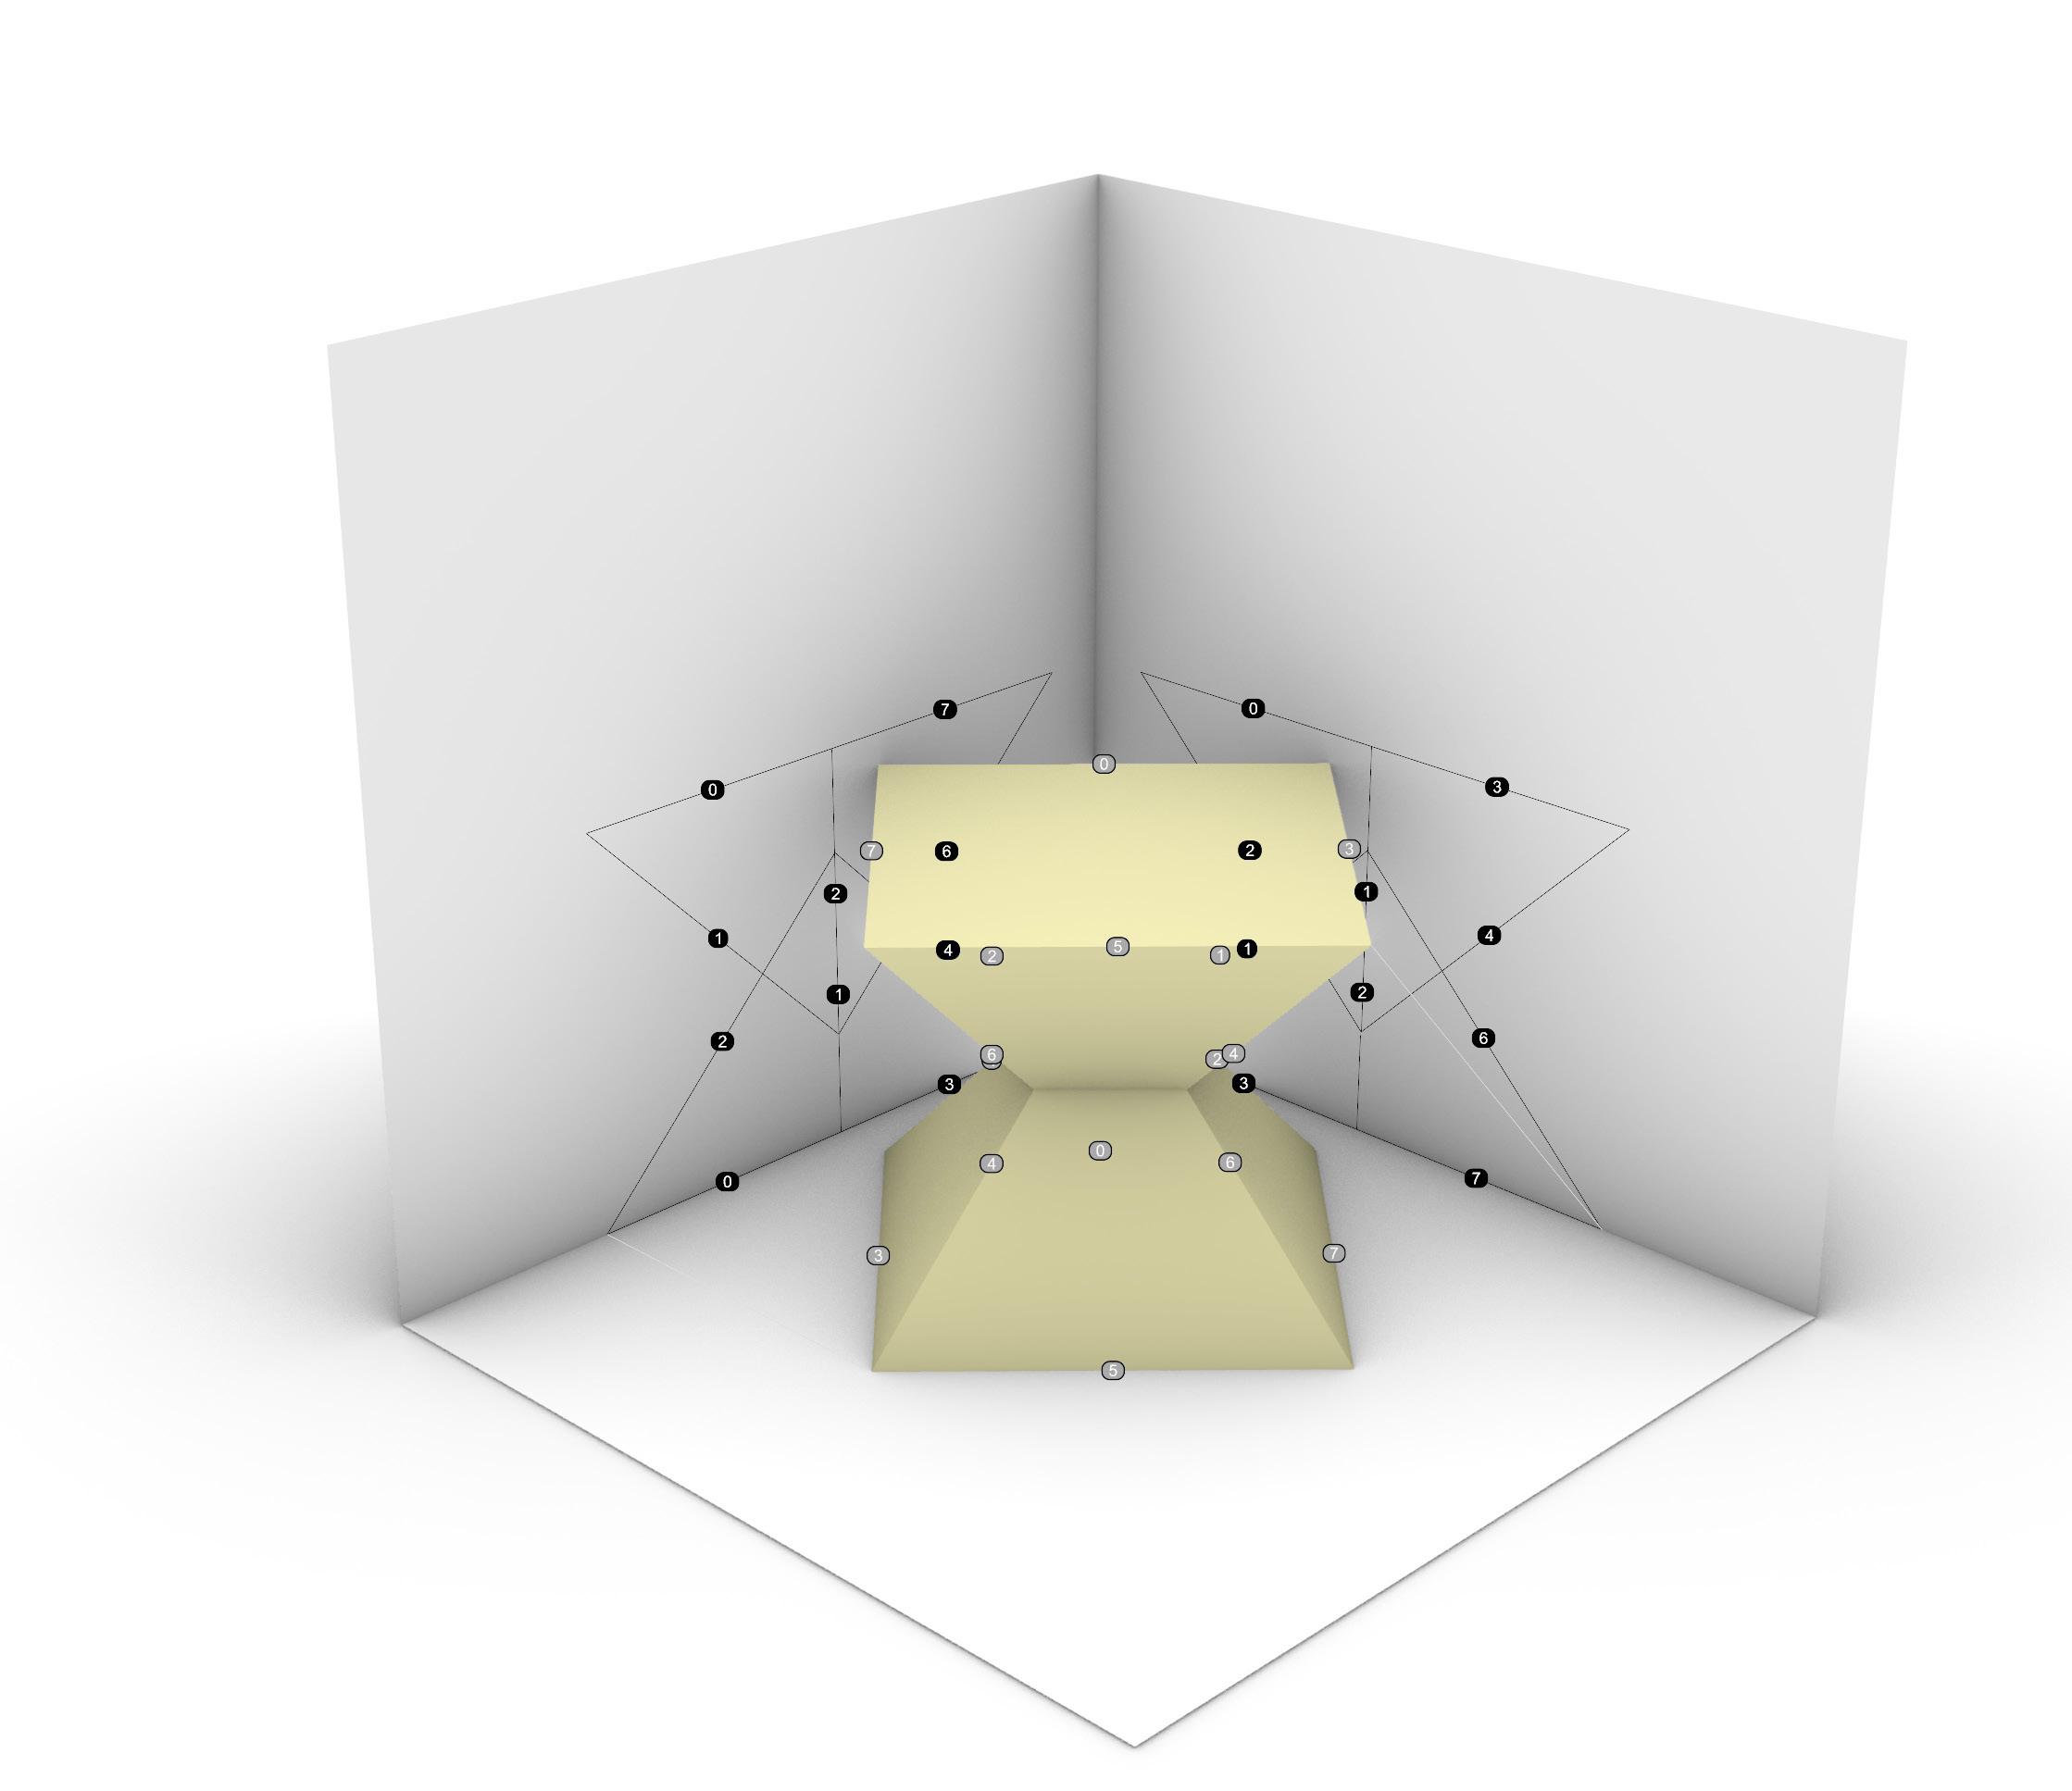
To create my form using two simple pyrimid, flipping one of them upsidedown, and pushing them into eachother.
MODELING MATERIALS
Bristal paper
Xacto Blade
Cutting Mat
Tacky Glue
Usig the same shape allowed me to play with how they worked together, and allowed further development of this shape.
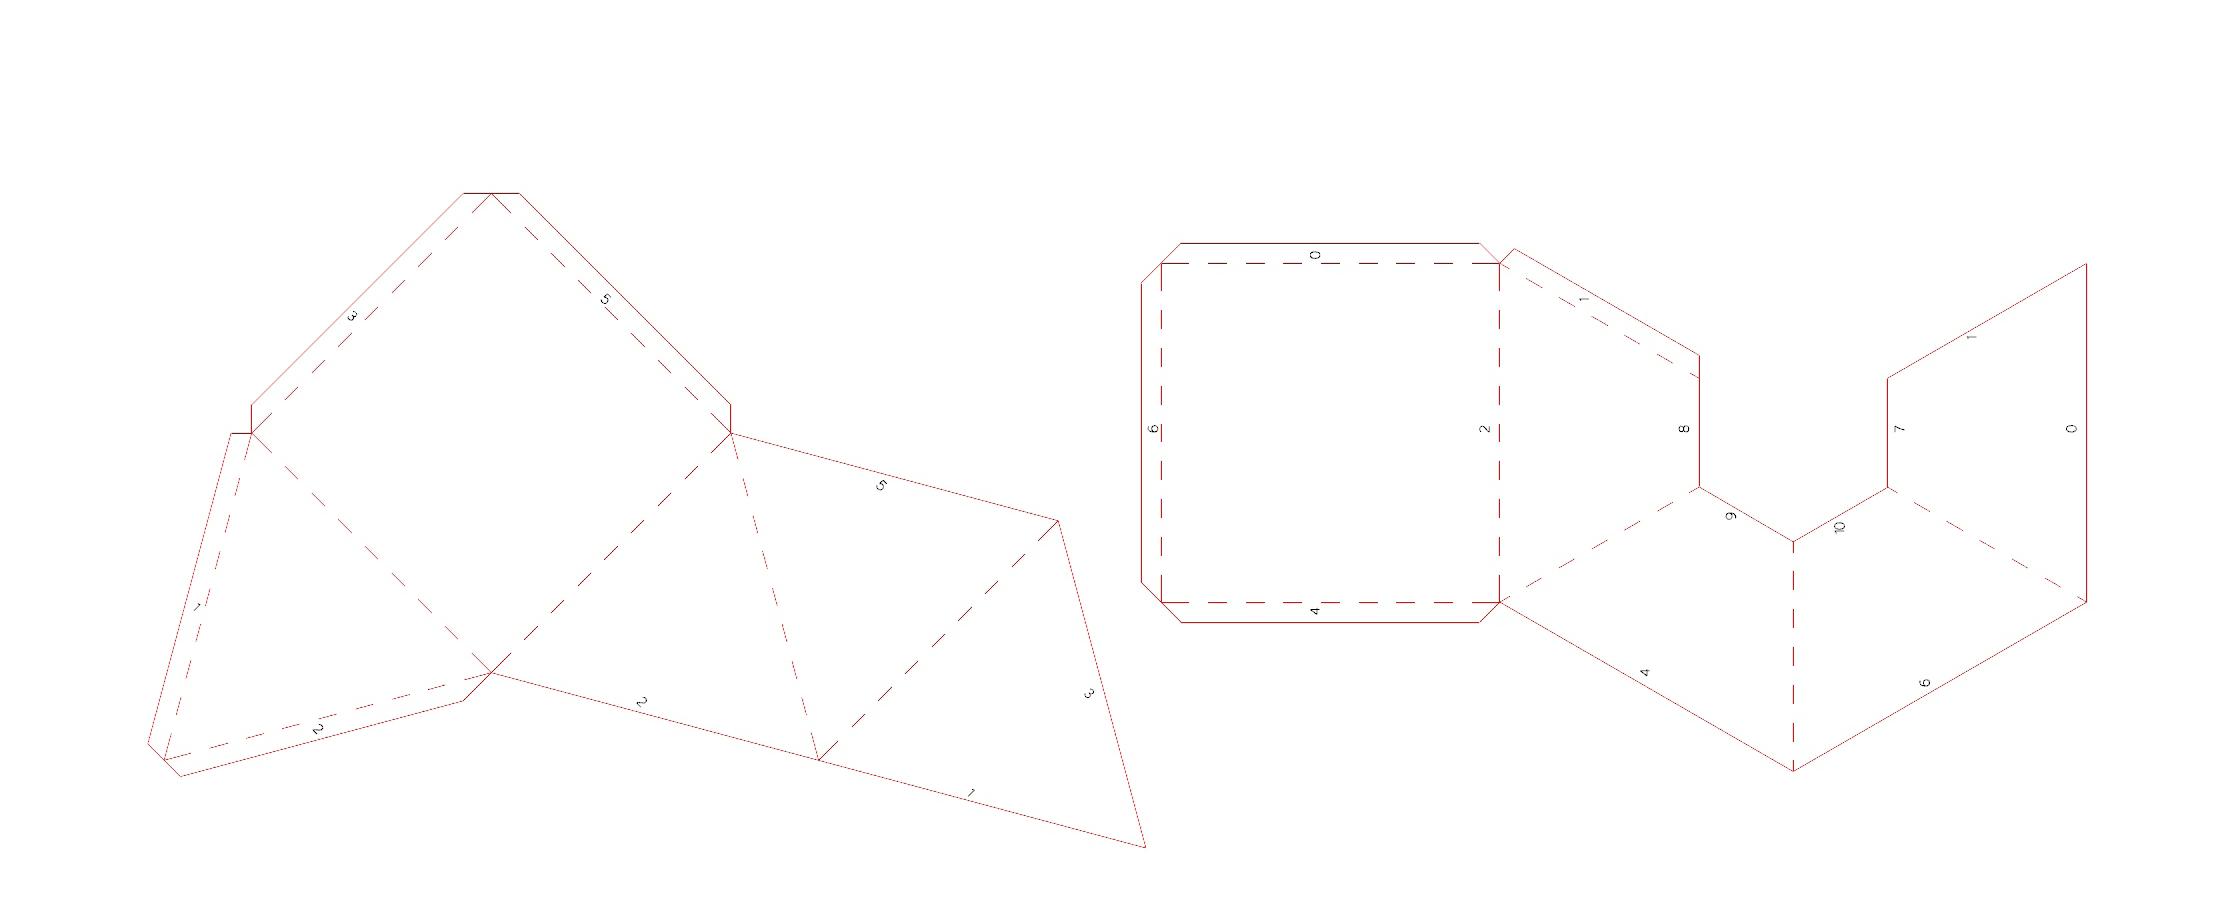
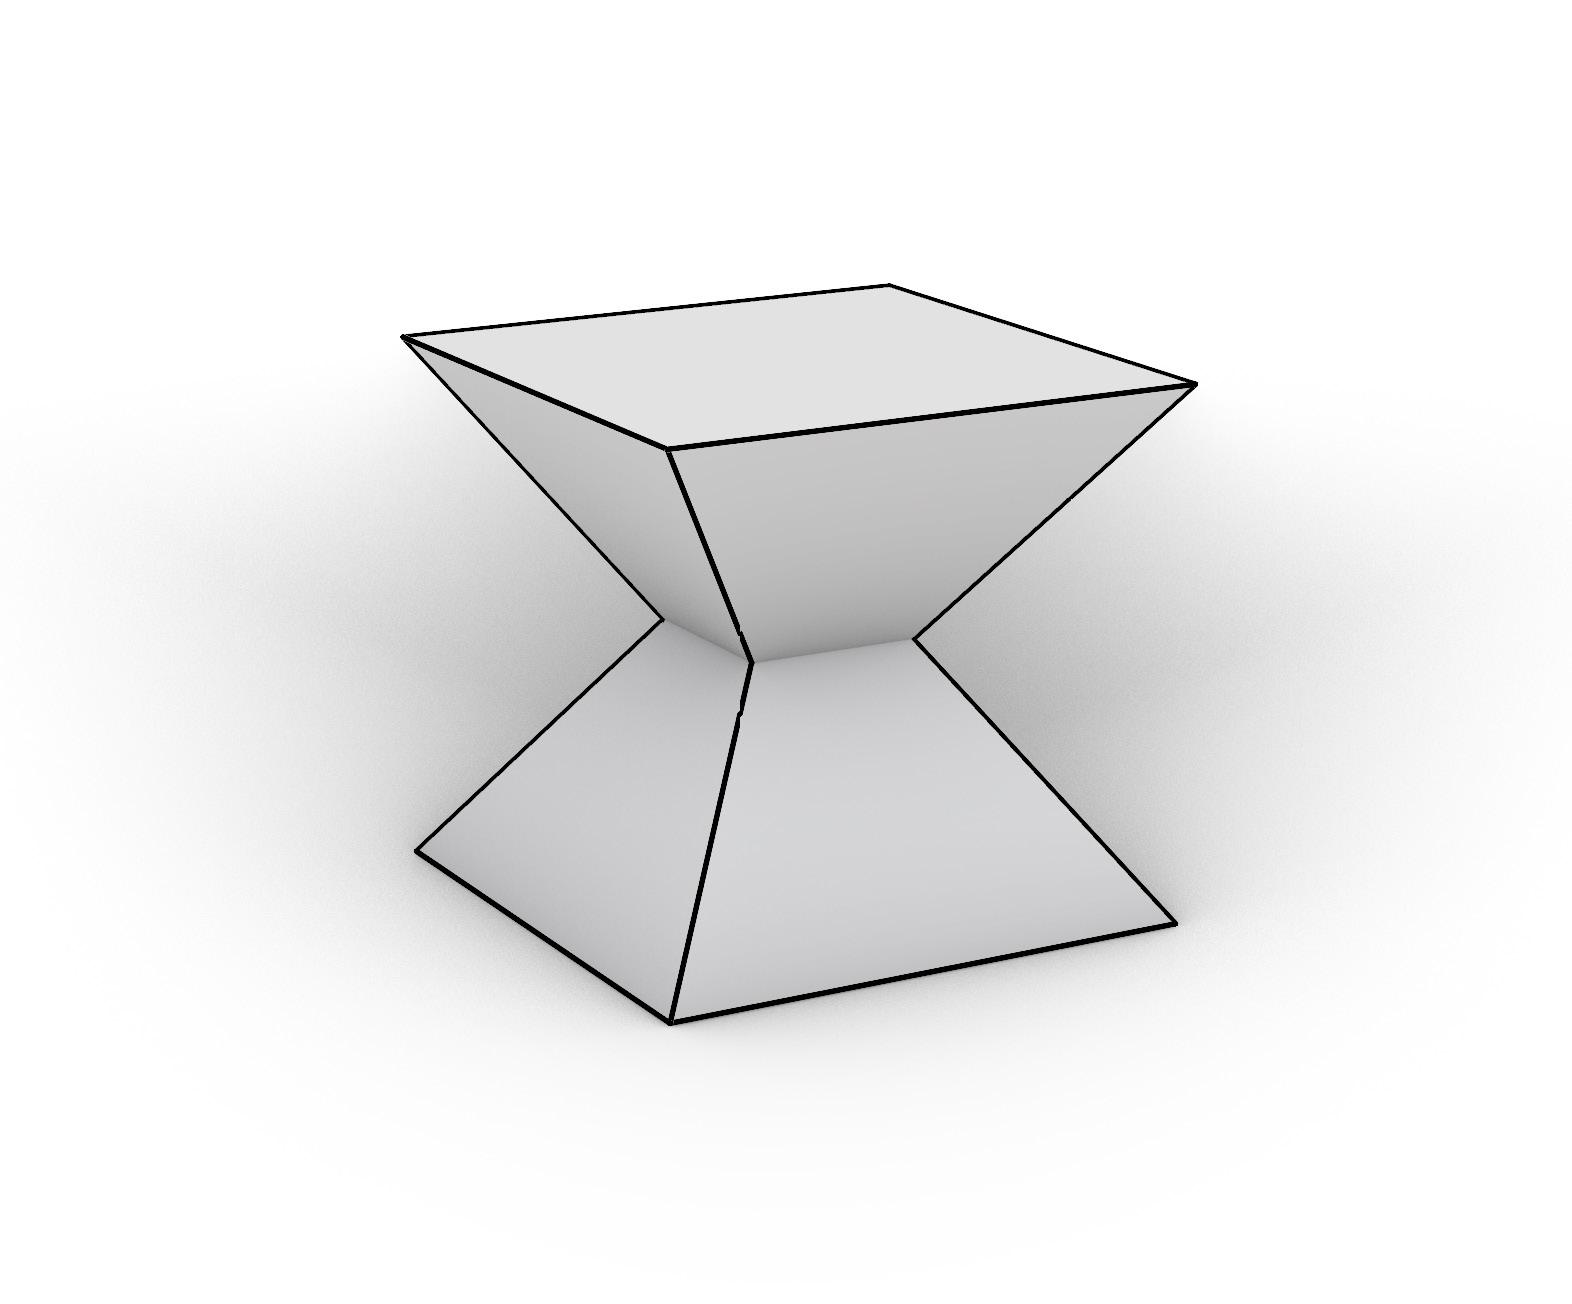
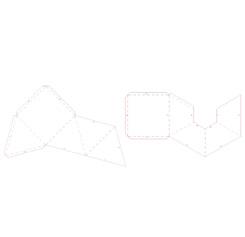
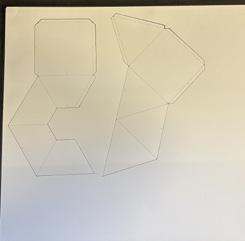
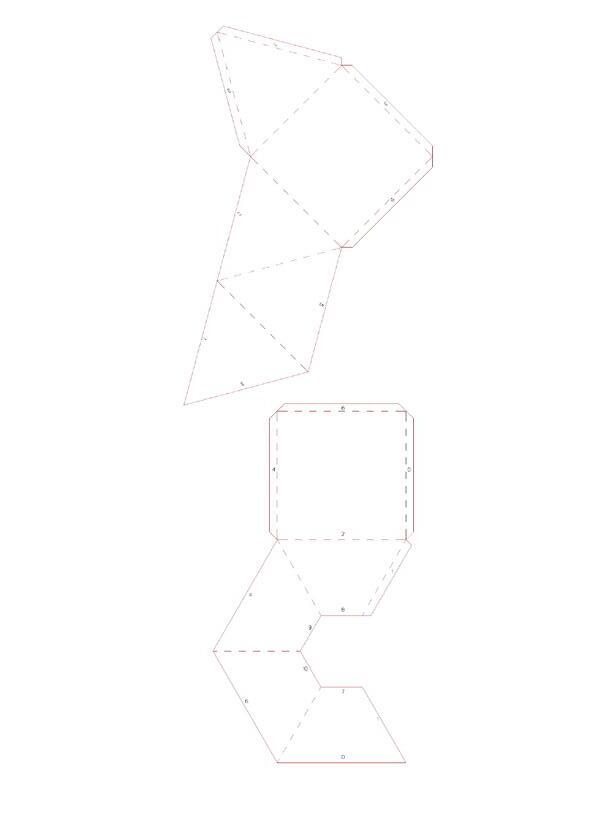
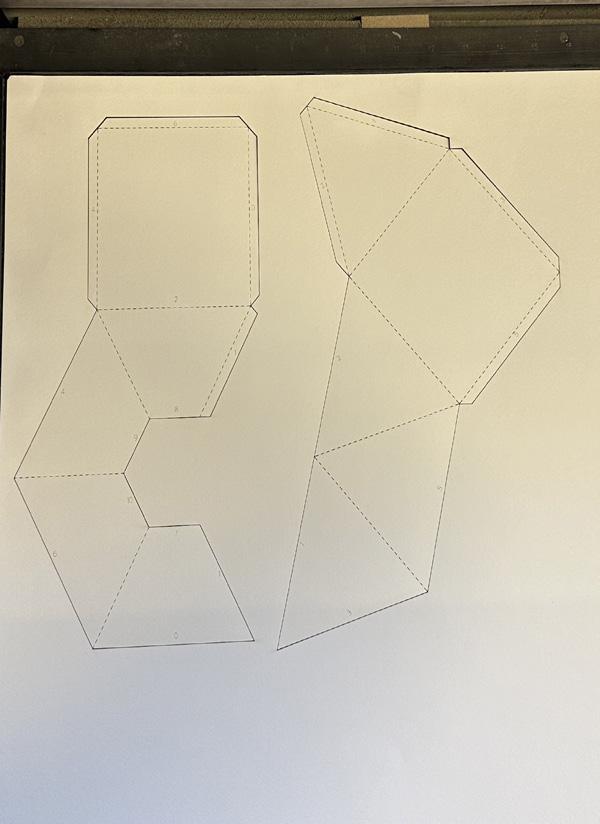
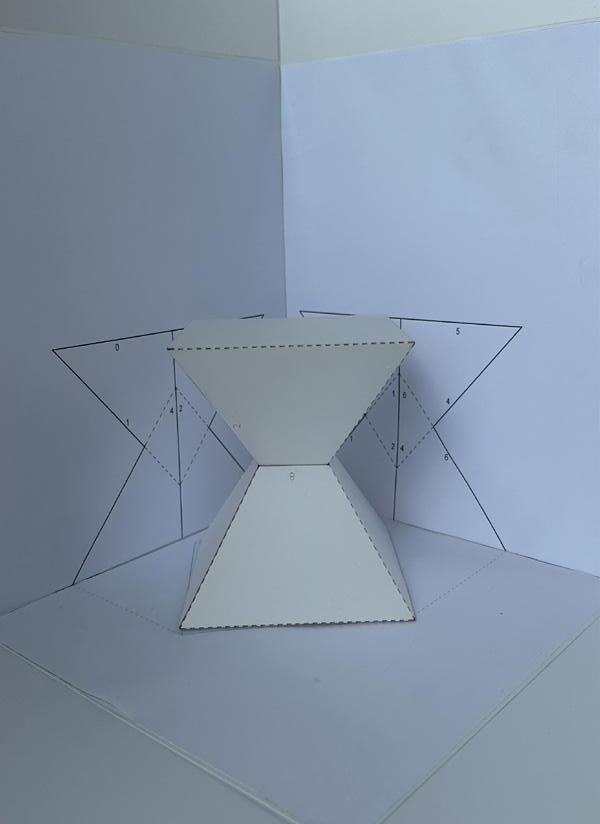
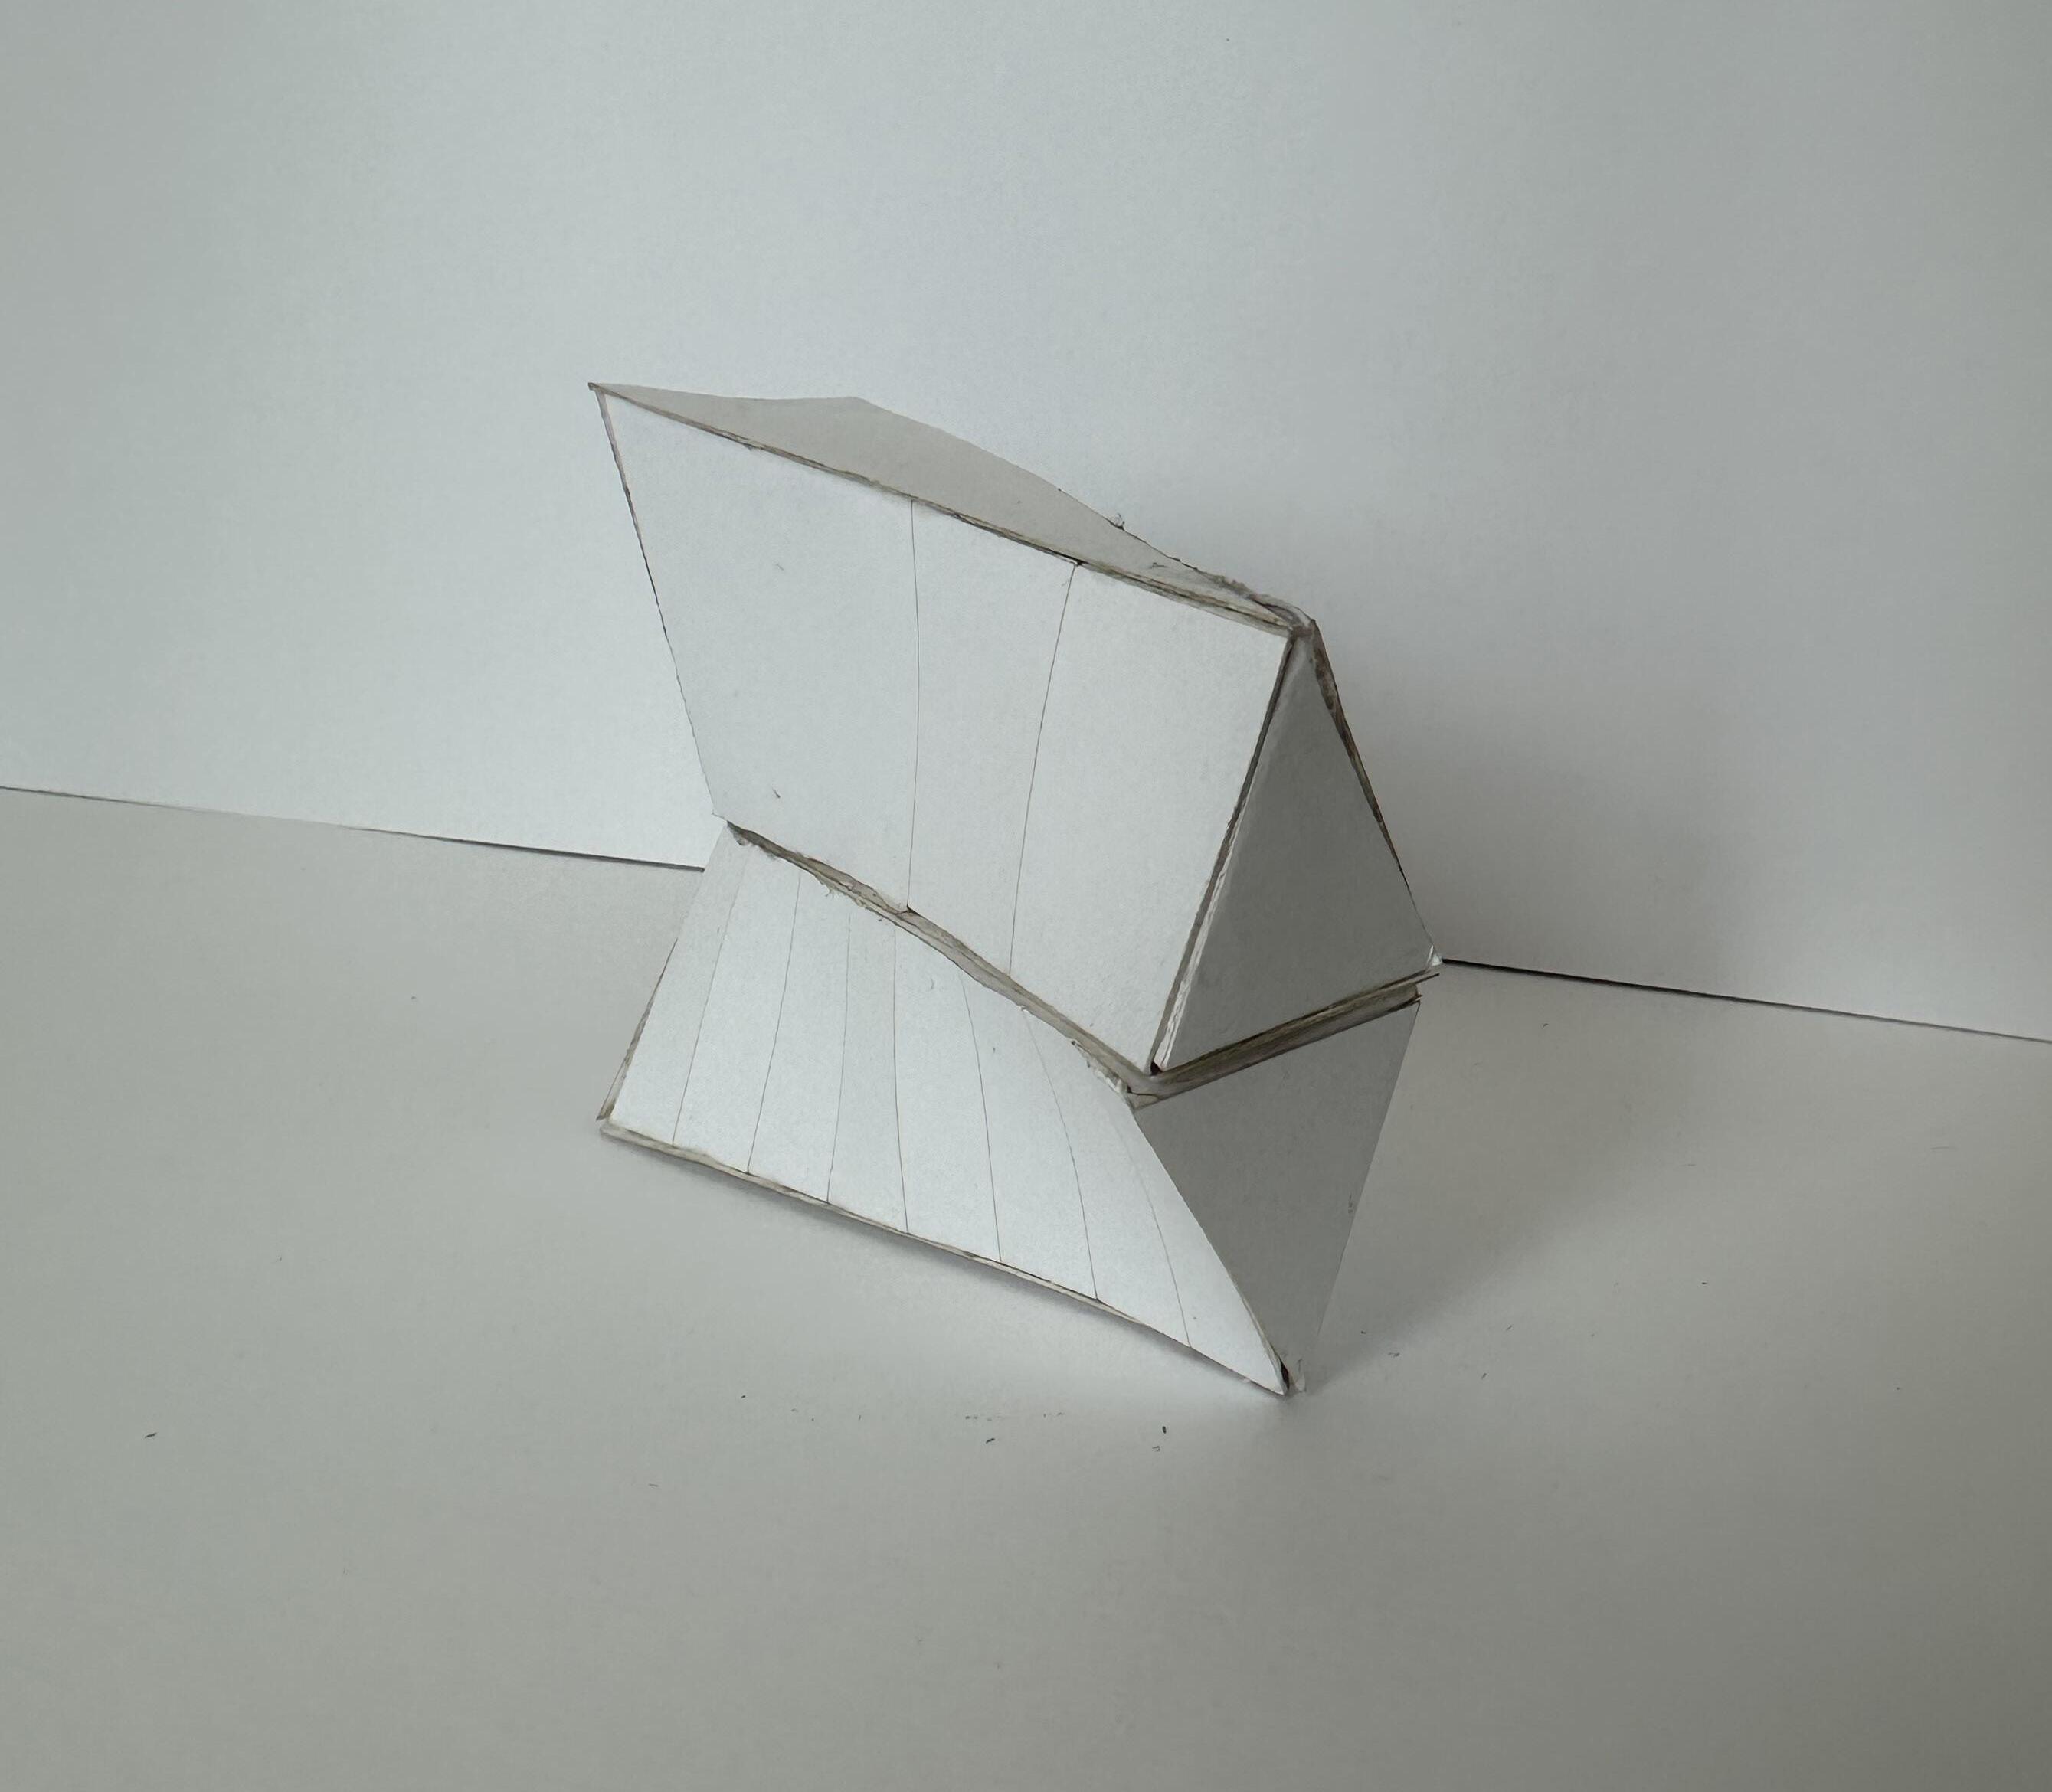
Starting with a basic pyramid, rottating one, and imbedding it within the other. This became the main structire of the two primitives (shown to the left). I then cut out a notch on the bottom pyrmid (shown bottom left) where the top pyrimid could slide in (shown bottom right). Unfolding these shaes and making them 2D allowed me to have the template (shown to the left) for each of the primidives.
Adding tabs, numbers, and learning the color codded system that laser cut printers use finalized my templates. Using dashed red lines where you want to fold instead of cut, allows for a smoother and easier product.
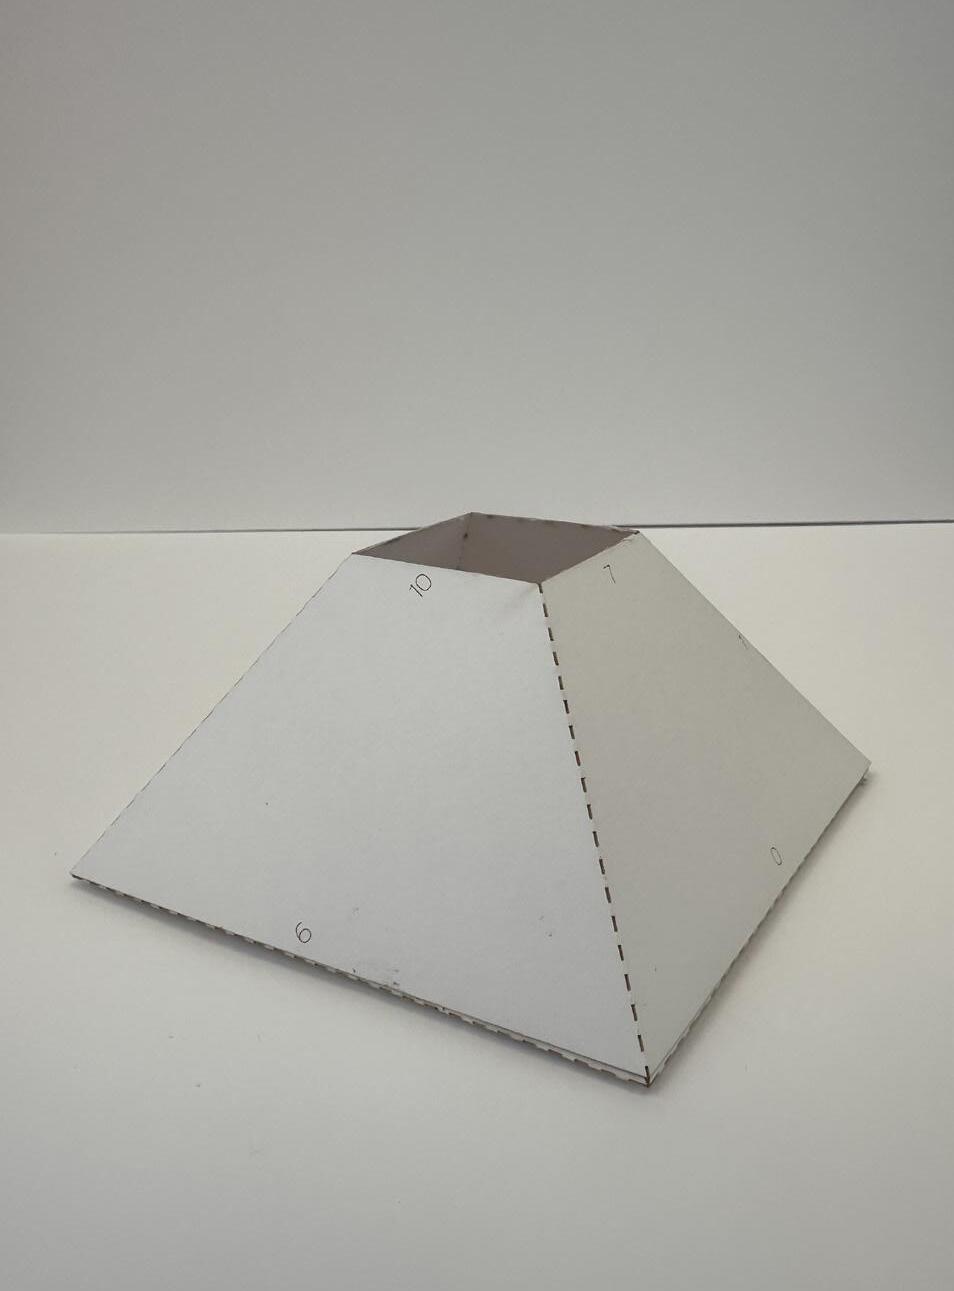
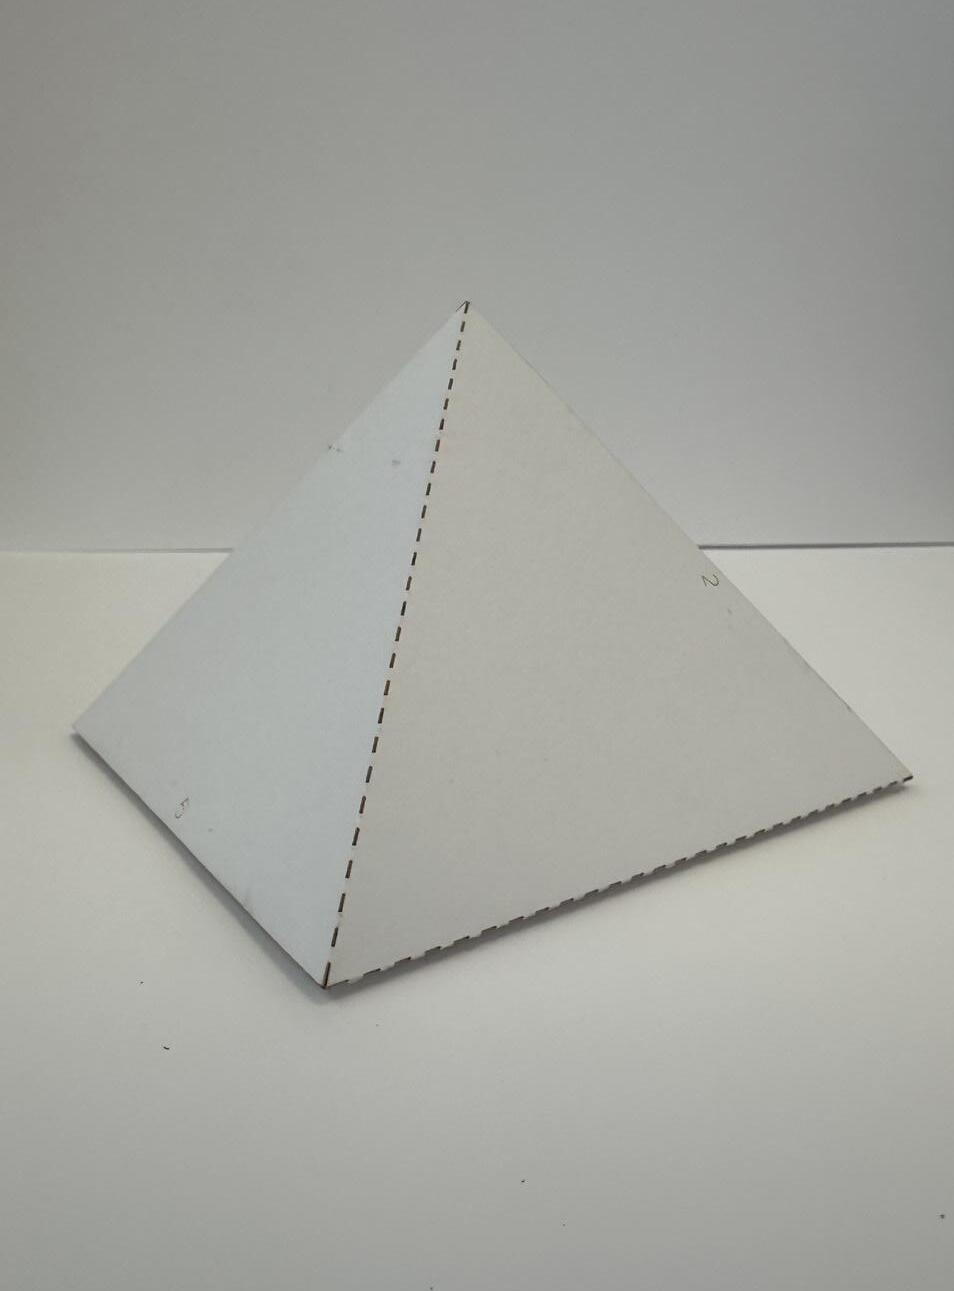
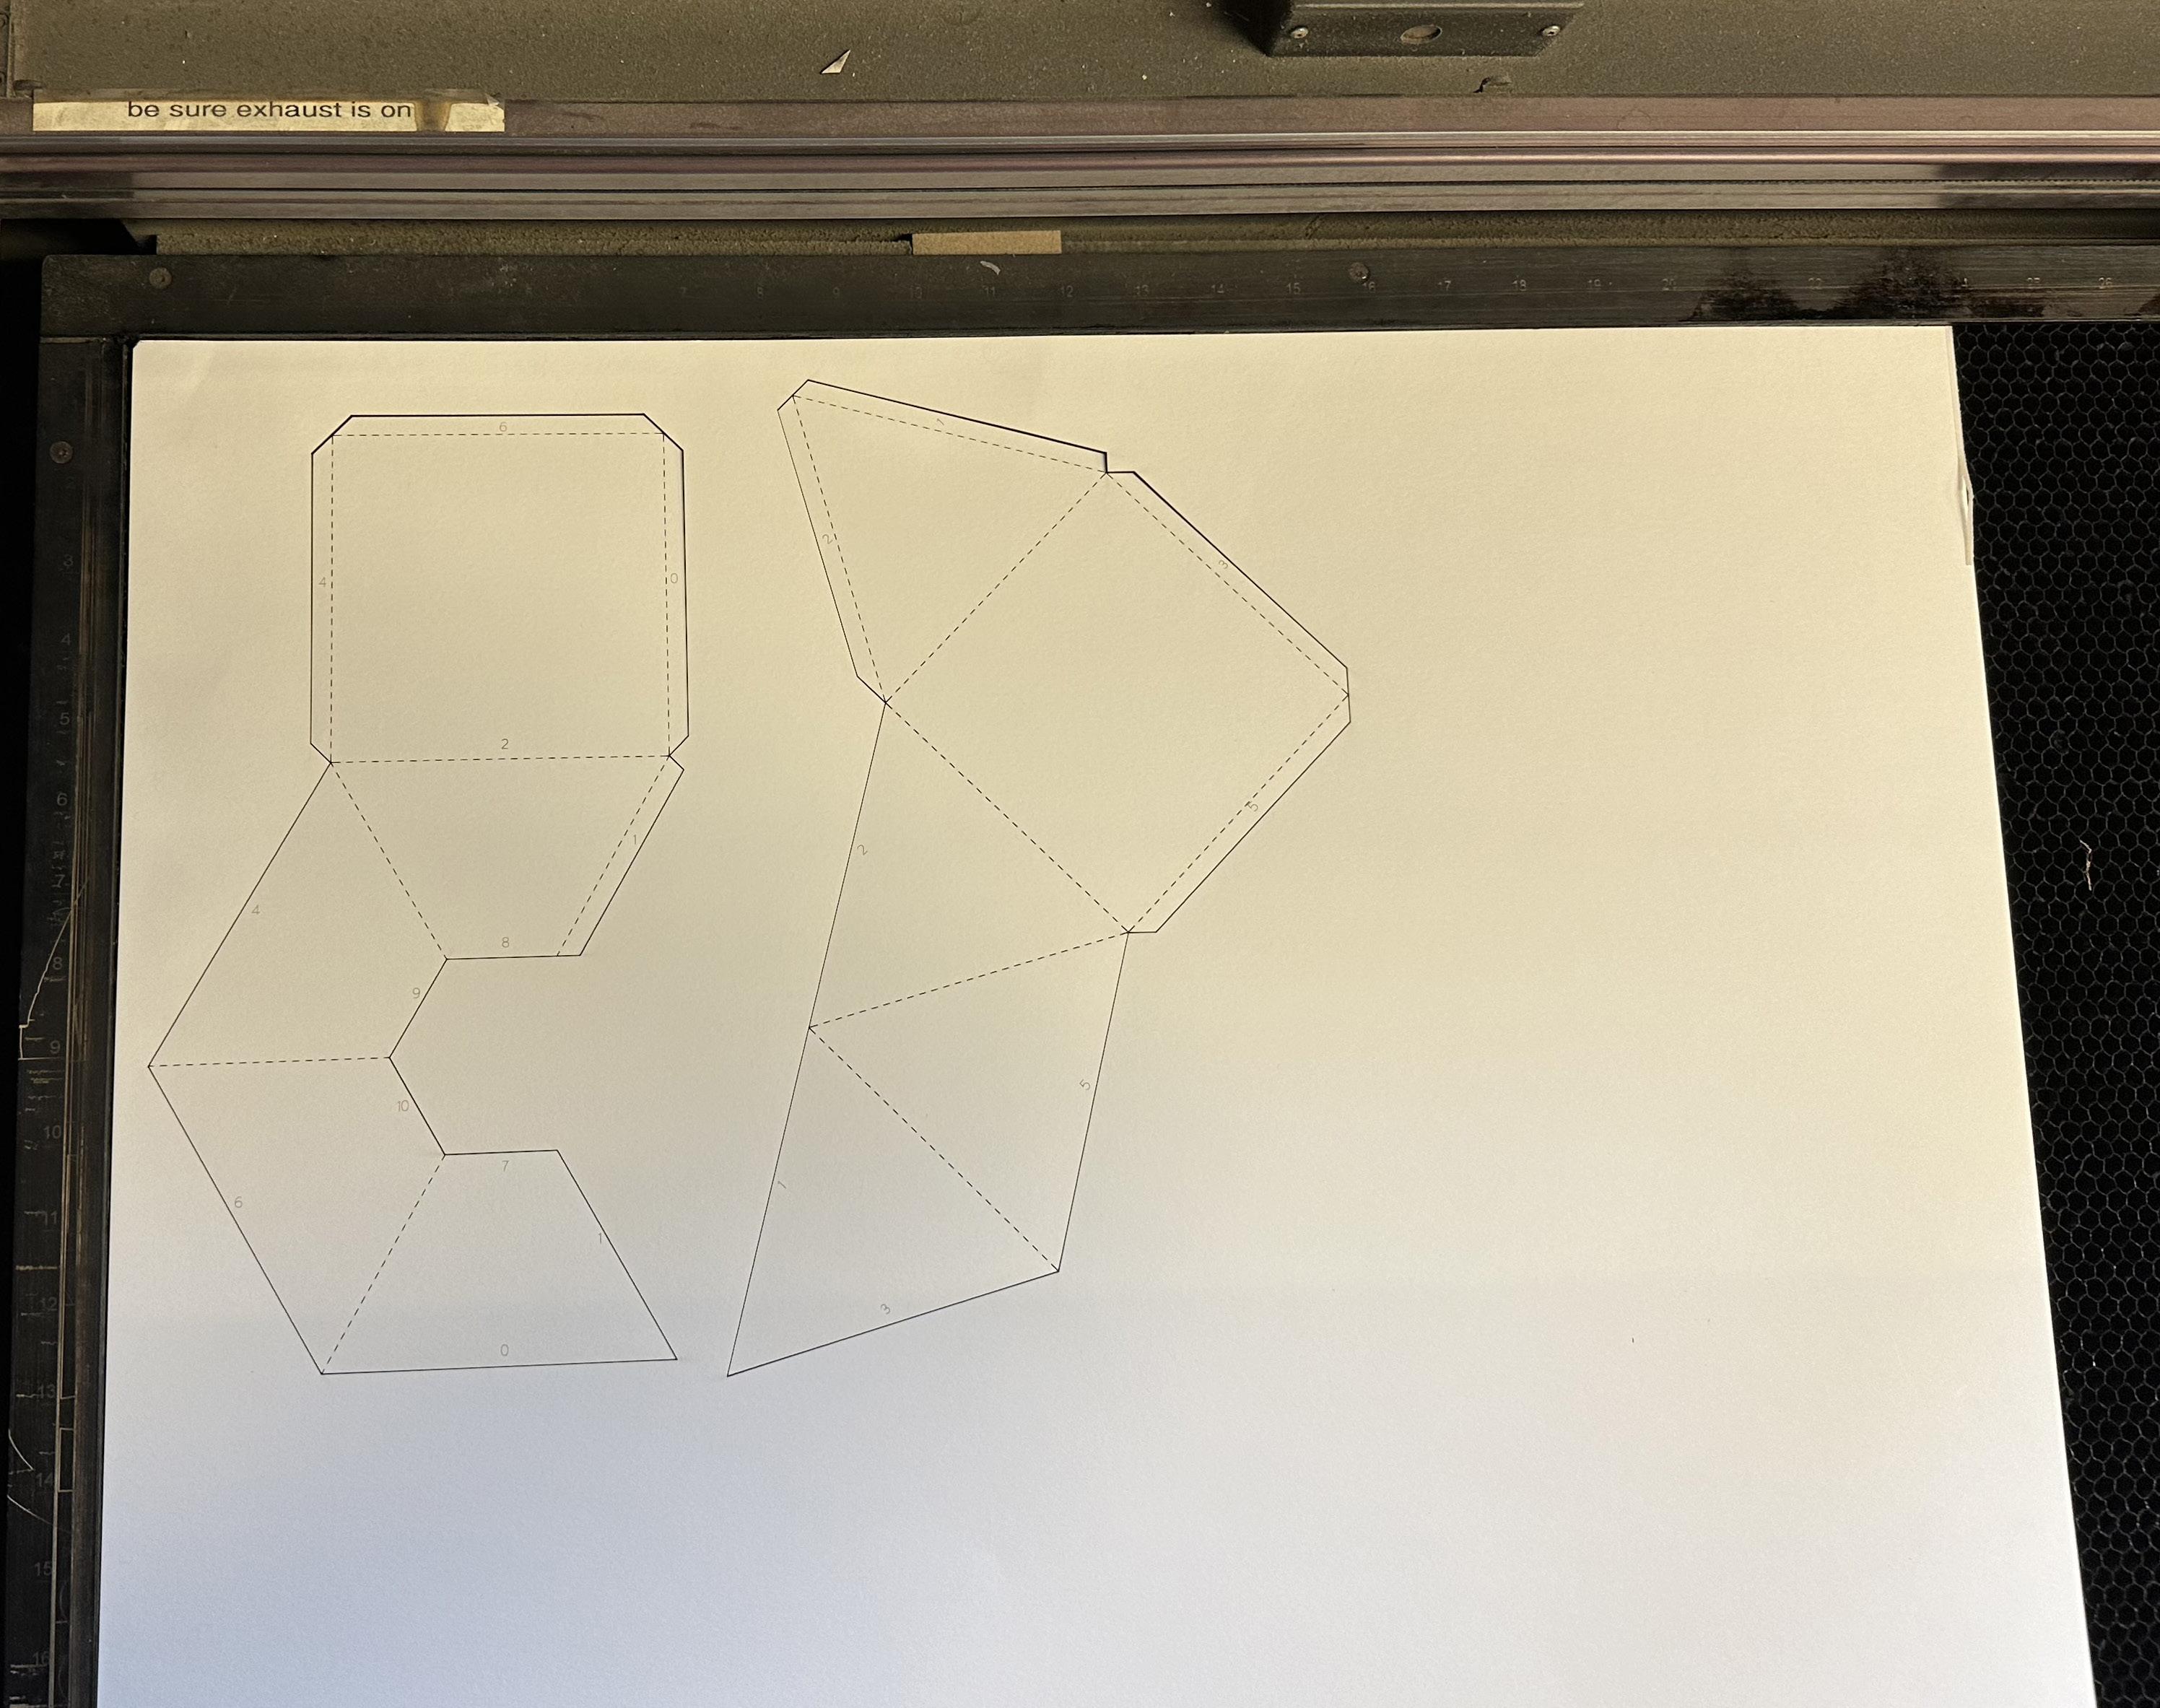
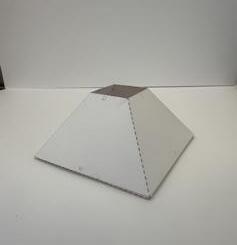
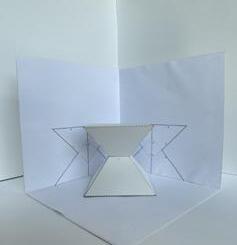
After laser cutting, using a toothpick and tacky glue, I folded the templated to create the two individualm primitives. The two them came together, the upper slidding into the lower, and they were glued aswell.
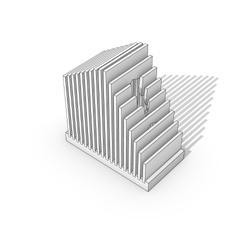
Back within Rhino, I projected the side views of the two primitives onto a wall, shown right. This became the fram of the enclsure.

SOFTWEAR USED Rhino
Illustrator Indesign
DIGITAL FABRICATION TIME
7 Hours Digitally Modeling
2 Hours Physical Modeling
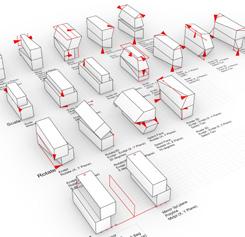
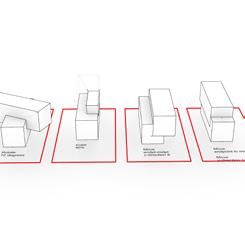
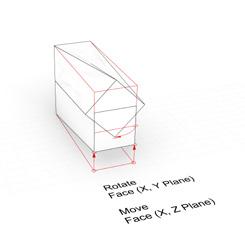
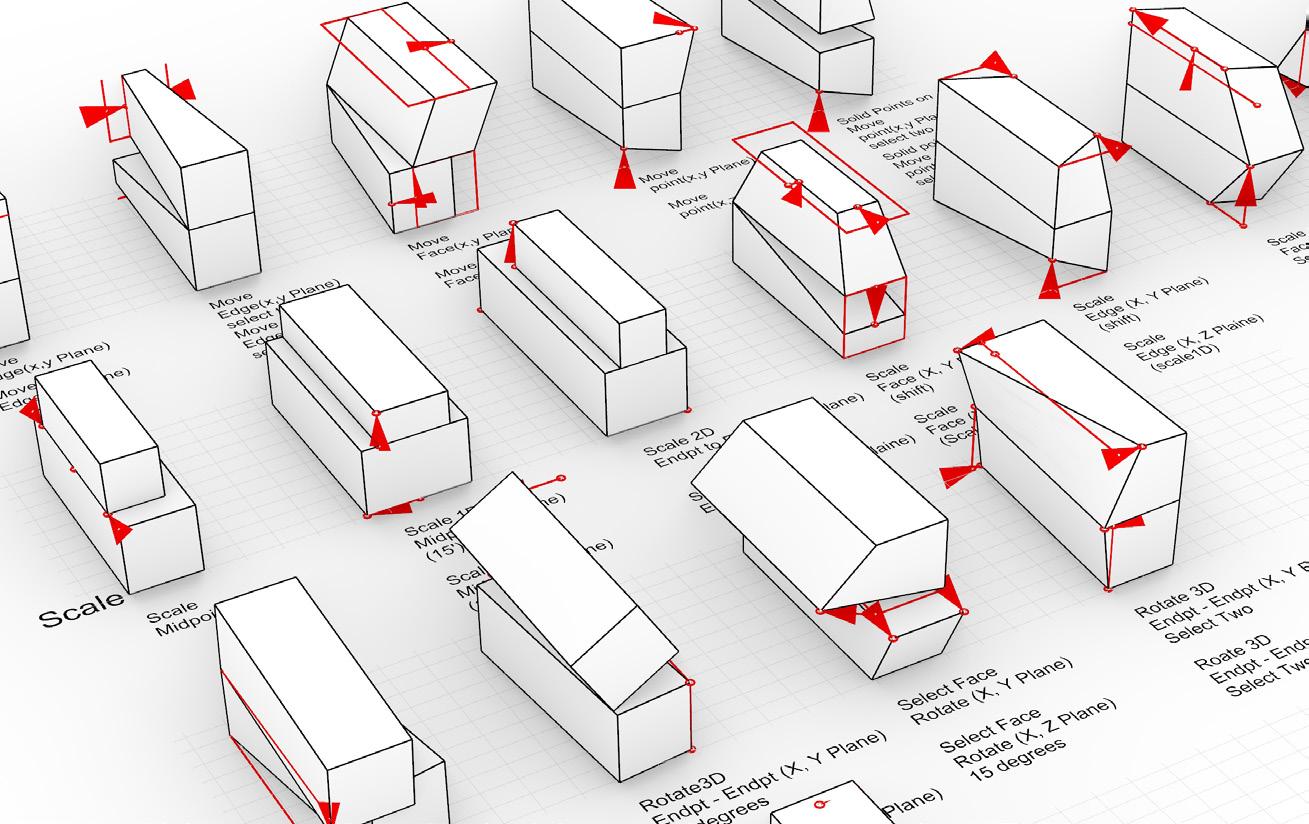
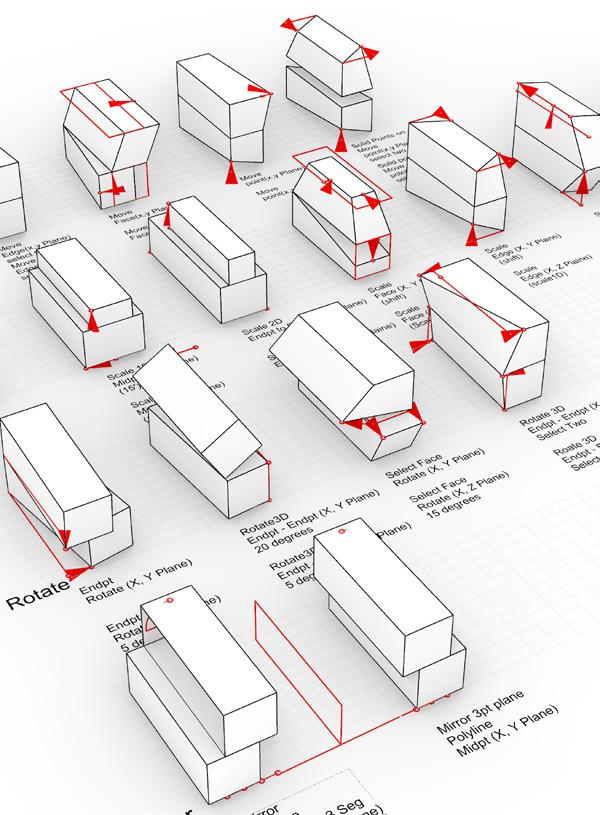
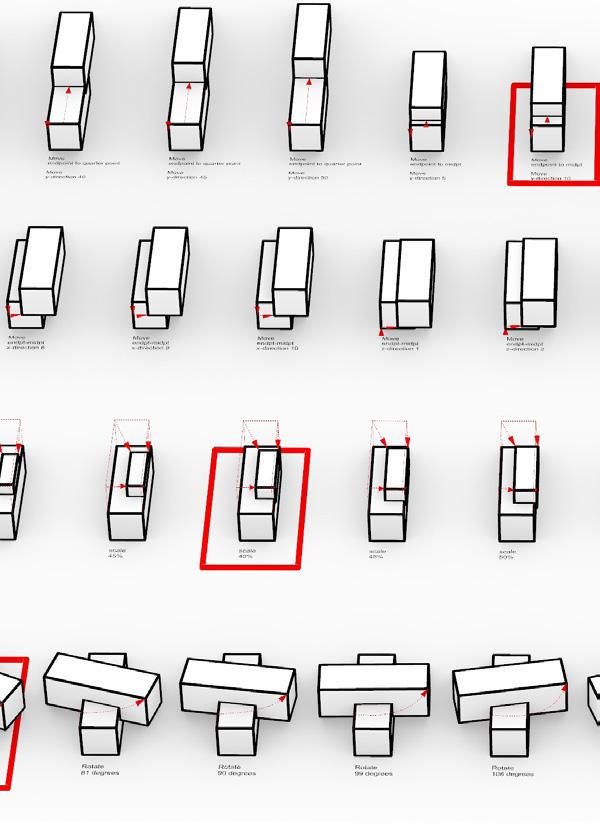
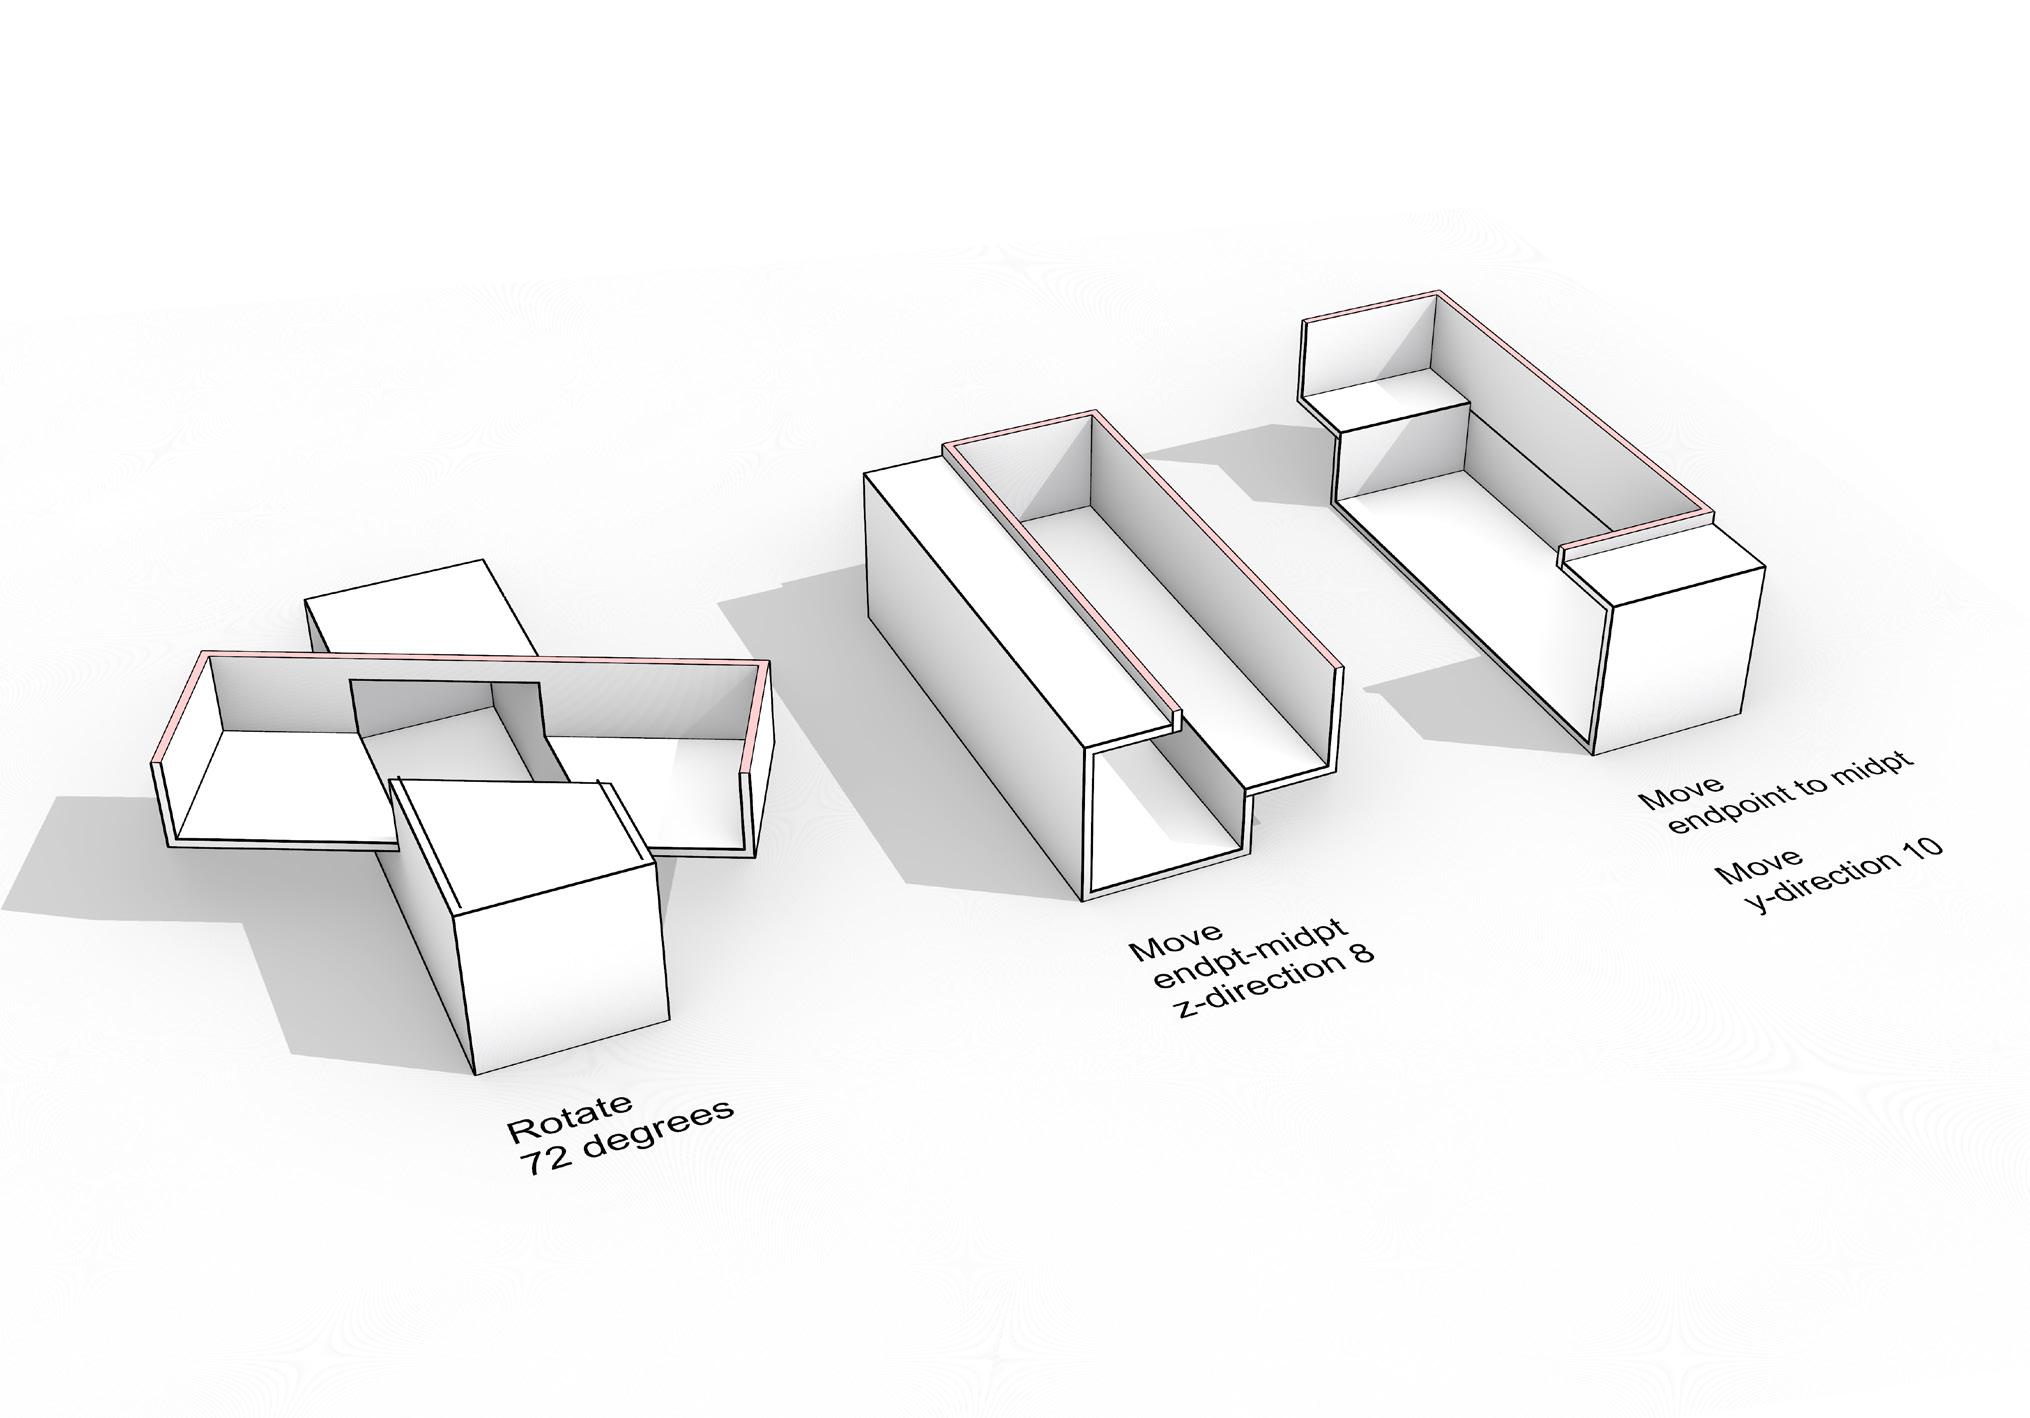
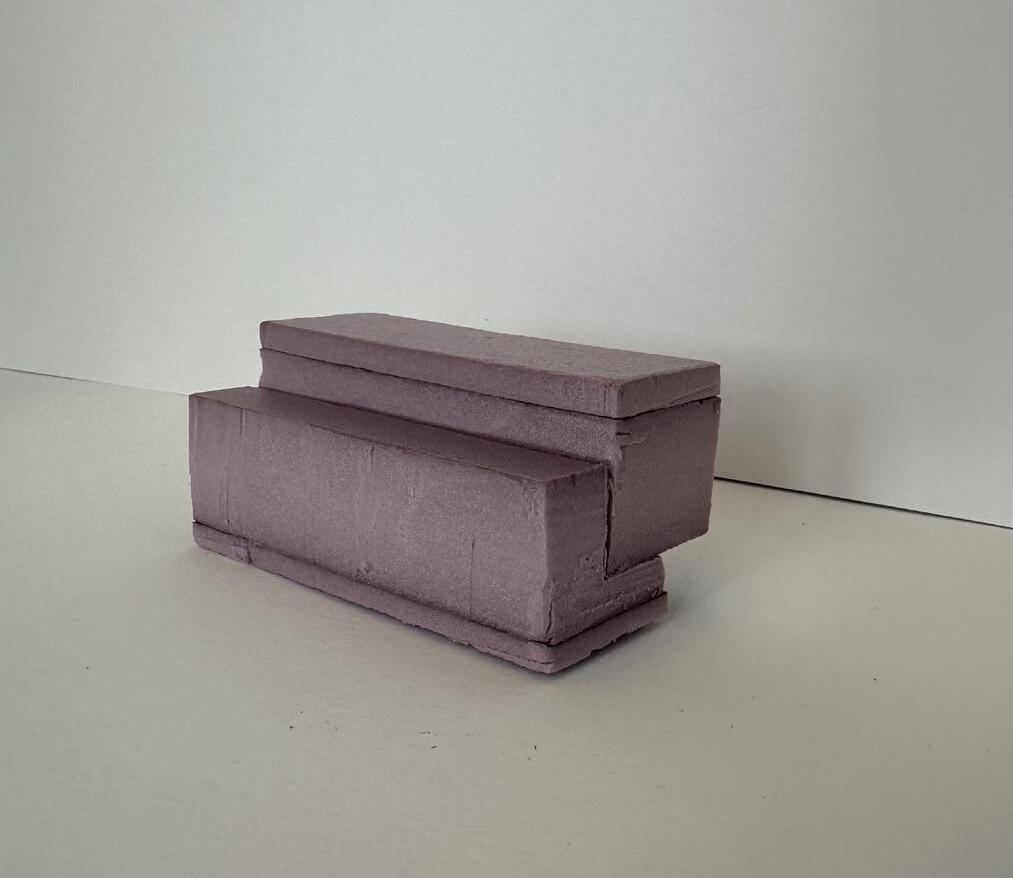
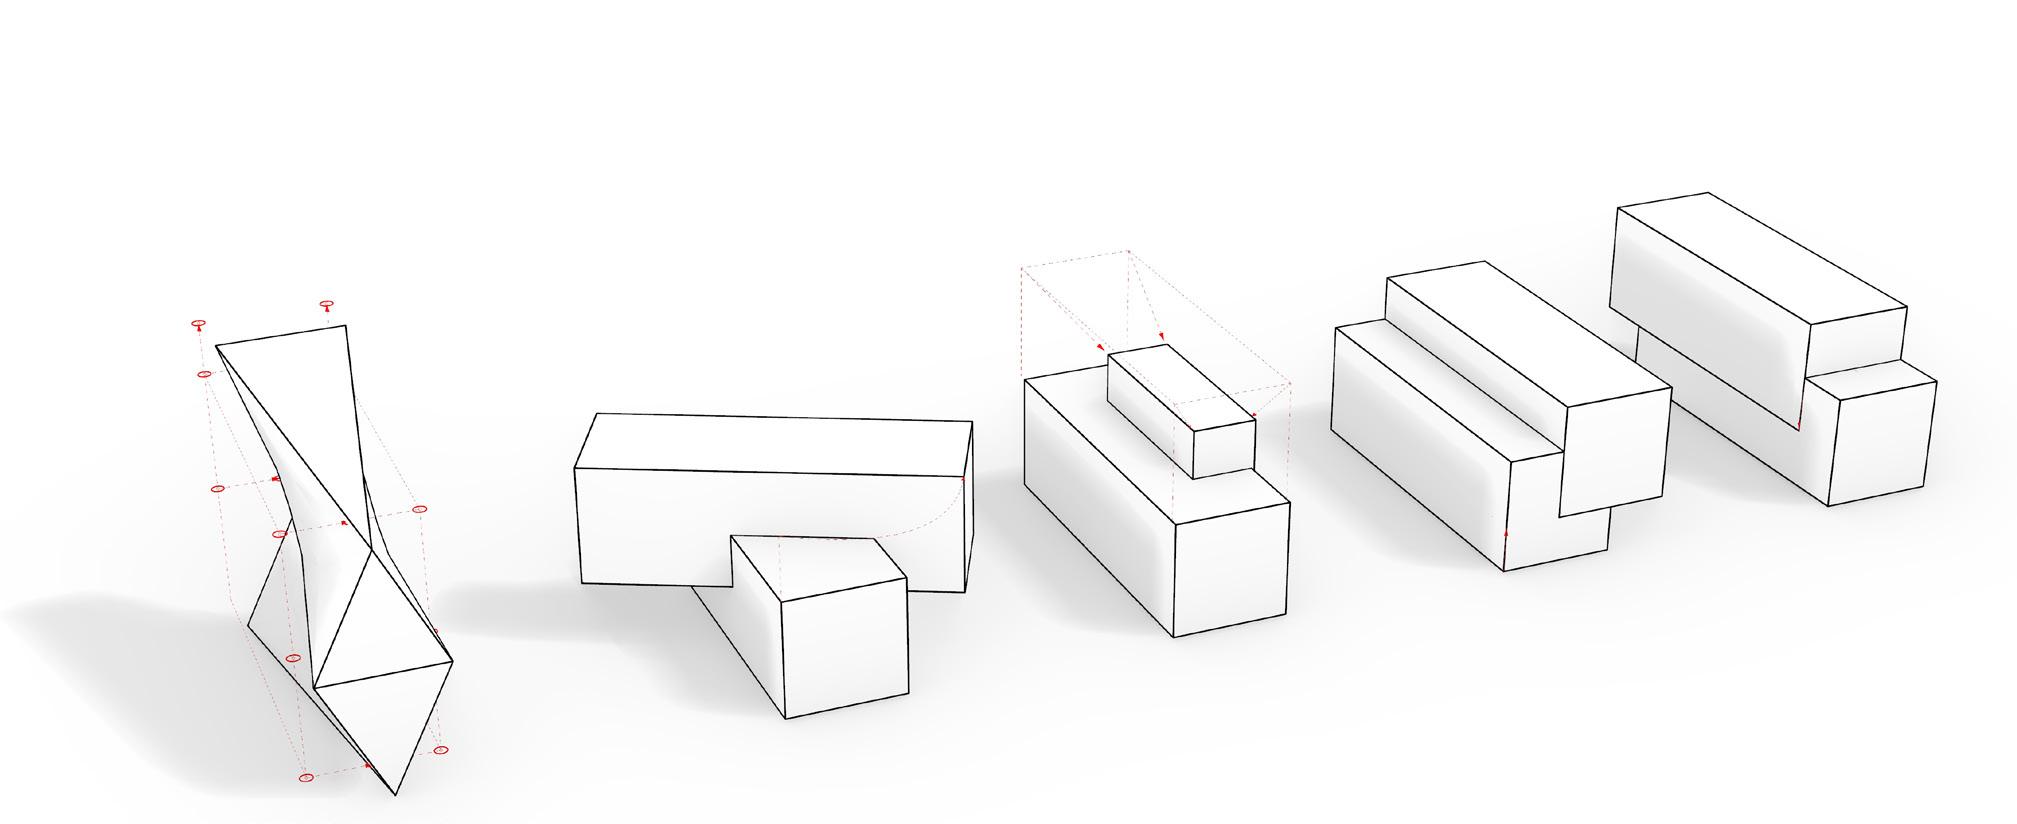
This module is an intro into manipulating objects in the X, Y Plane and the X, Z Plane in Rhino. Using a few simple comands; Move, Rotate, Scale, and Mirror, we were able to manipulate two simple rectangles into architectural shapes. Drawing movement lines of the destortion makes it clear how the movement effects each shape.
The commmand iterations give masic knowlagde of how Rhino works. Mainly working perspectice created some challanged how to manupulate the area around smoothly. Understanding
MATERIALS
Insulation foam board Tacky Glue Bristal paper
how to navigate perspective view and the command menu allows for a better, cleaner look to thw project.
Writting sudo code for the commands used allows for easy lookback and understanding of what certain commands look like. Writting the code while doing it allows it to stay in your memory better.
We also learned how to make a new background, and play with shadows and how it enhances a model.
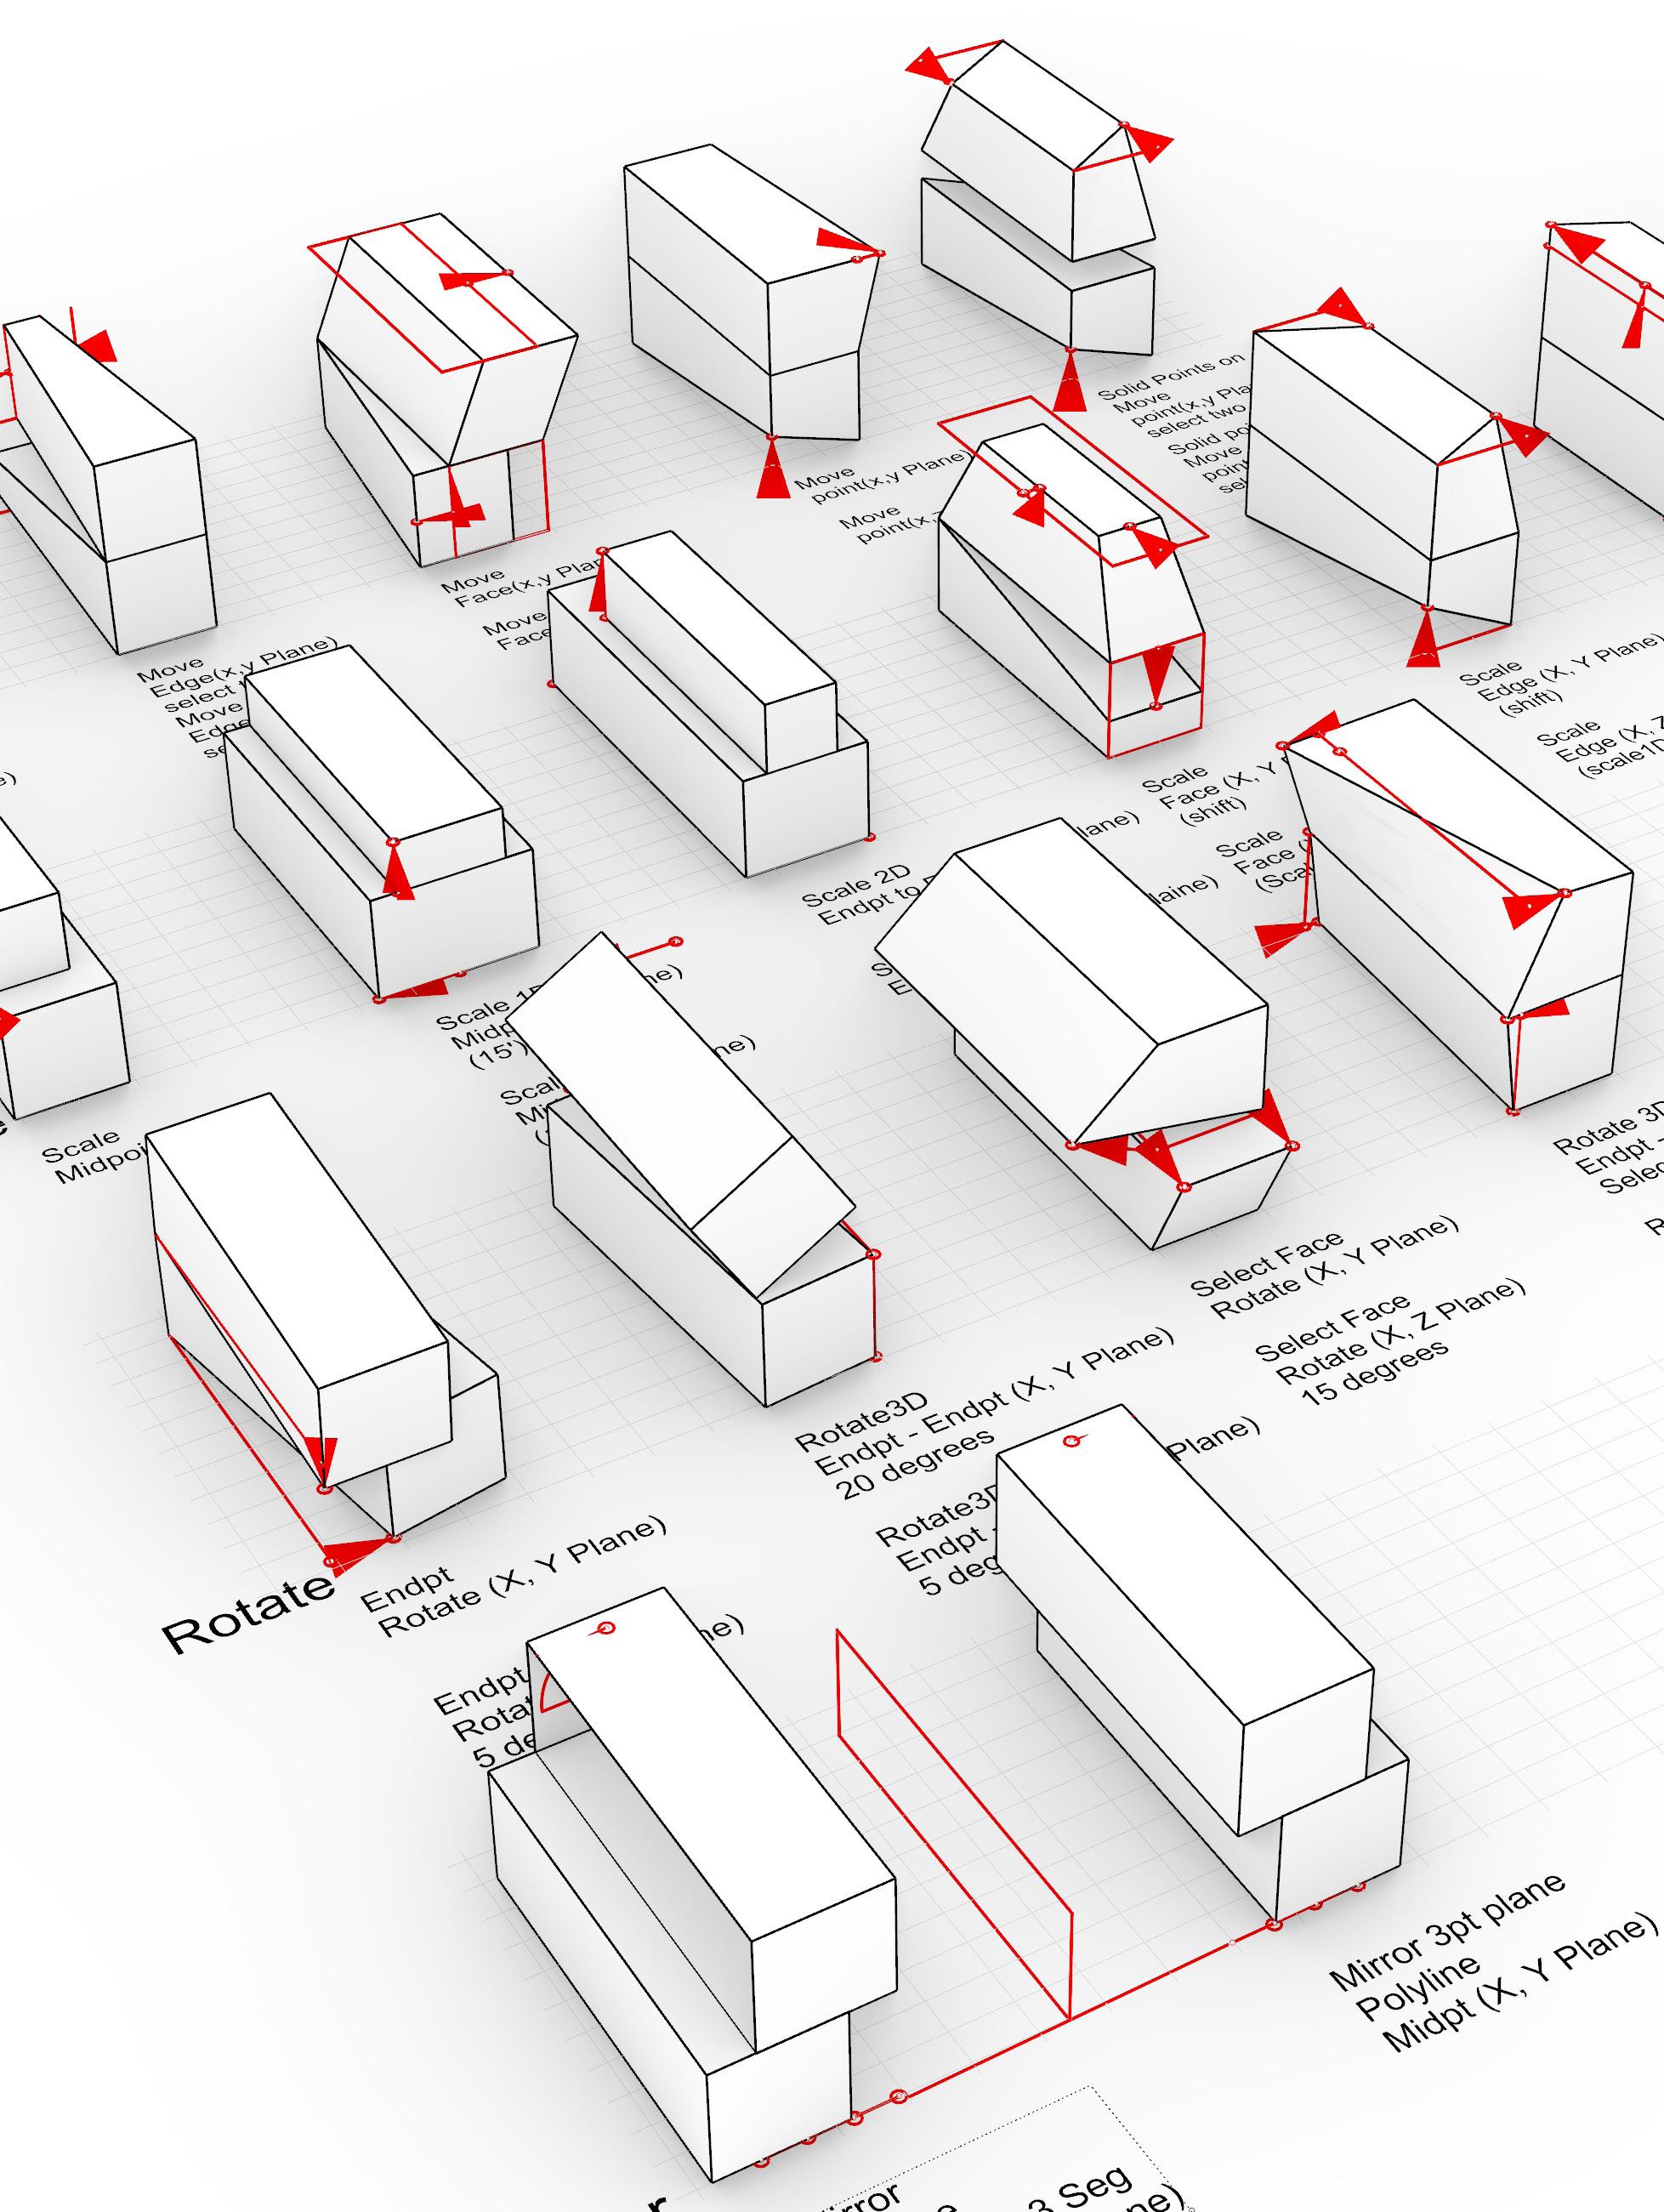
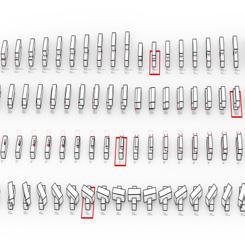
MoveEdge(x,y Plane)
MoveEdge(x,z Plane)
MoveEdge(x,y Plane) select two
MoveEdge(x,z Plane) select two
MoveFace(x,y Plane)
MoveFace(x,z Plane)
Movepoint(x,y Plane)
Movepoint(x,z Plane)
Solid Points on Movepoint(x,y Plane) select two
Solid points on
Movepoint(x,z Plane) select two
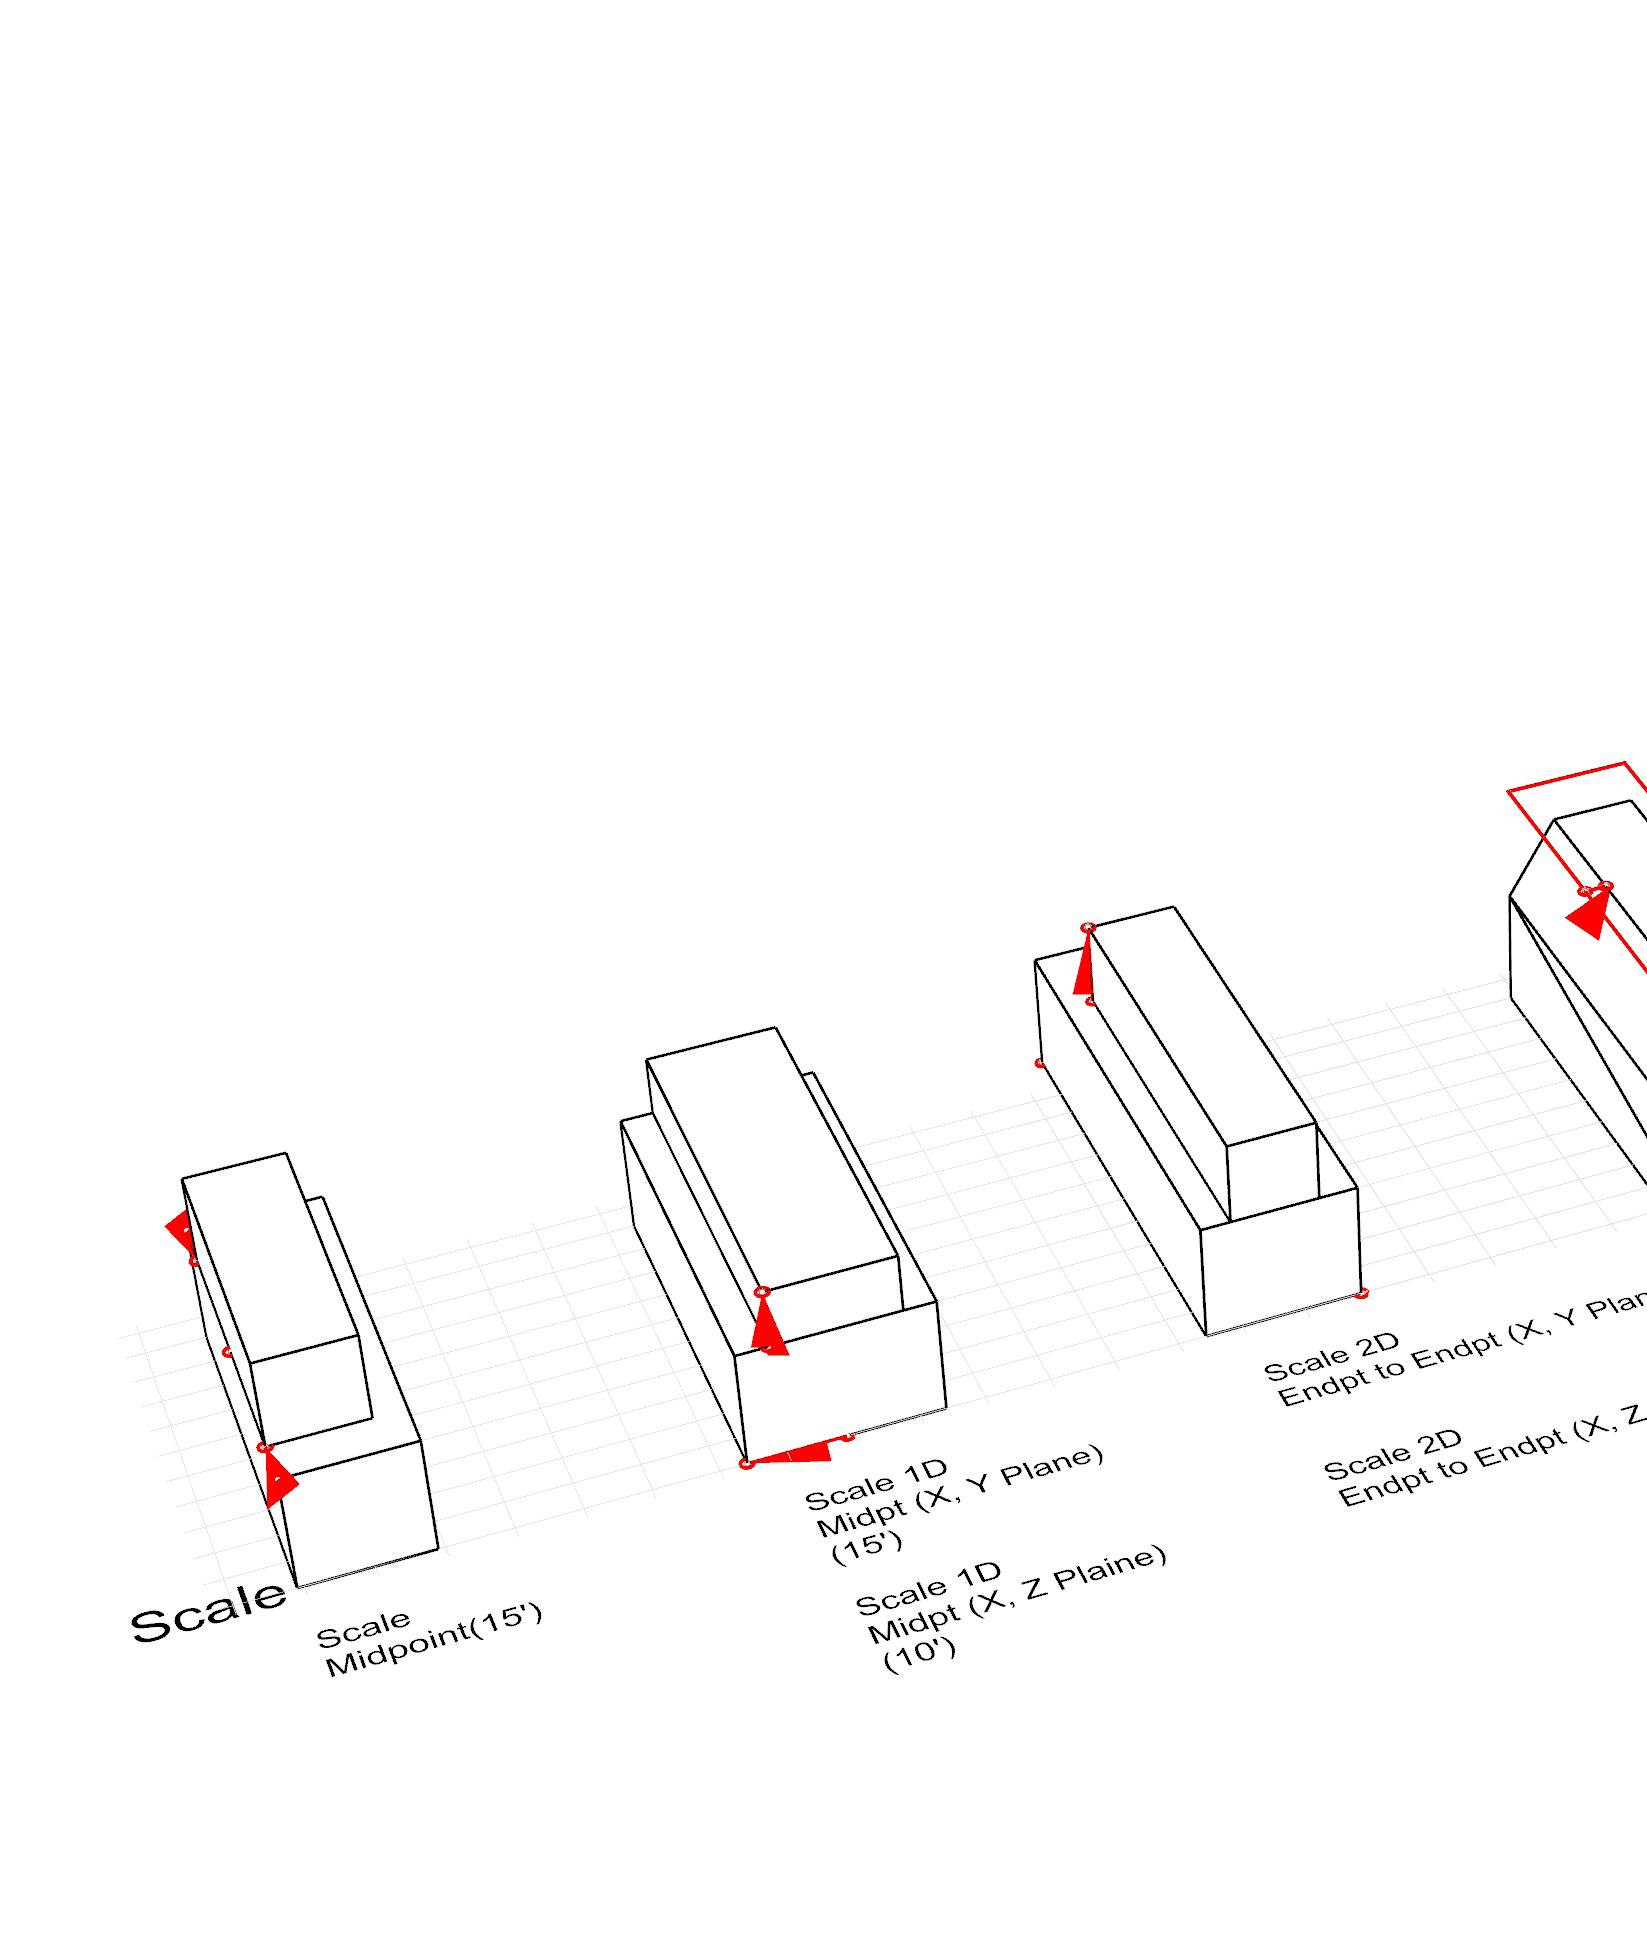
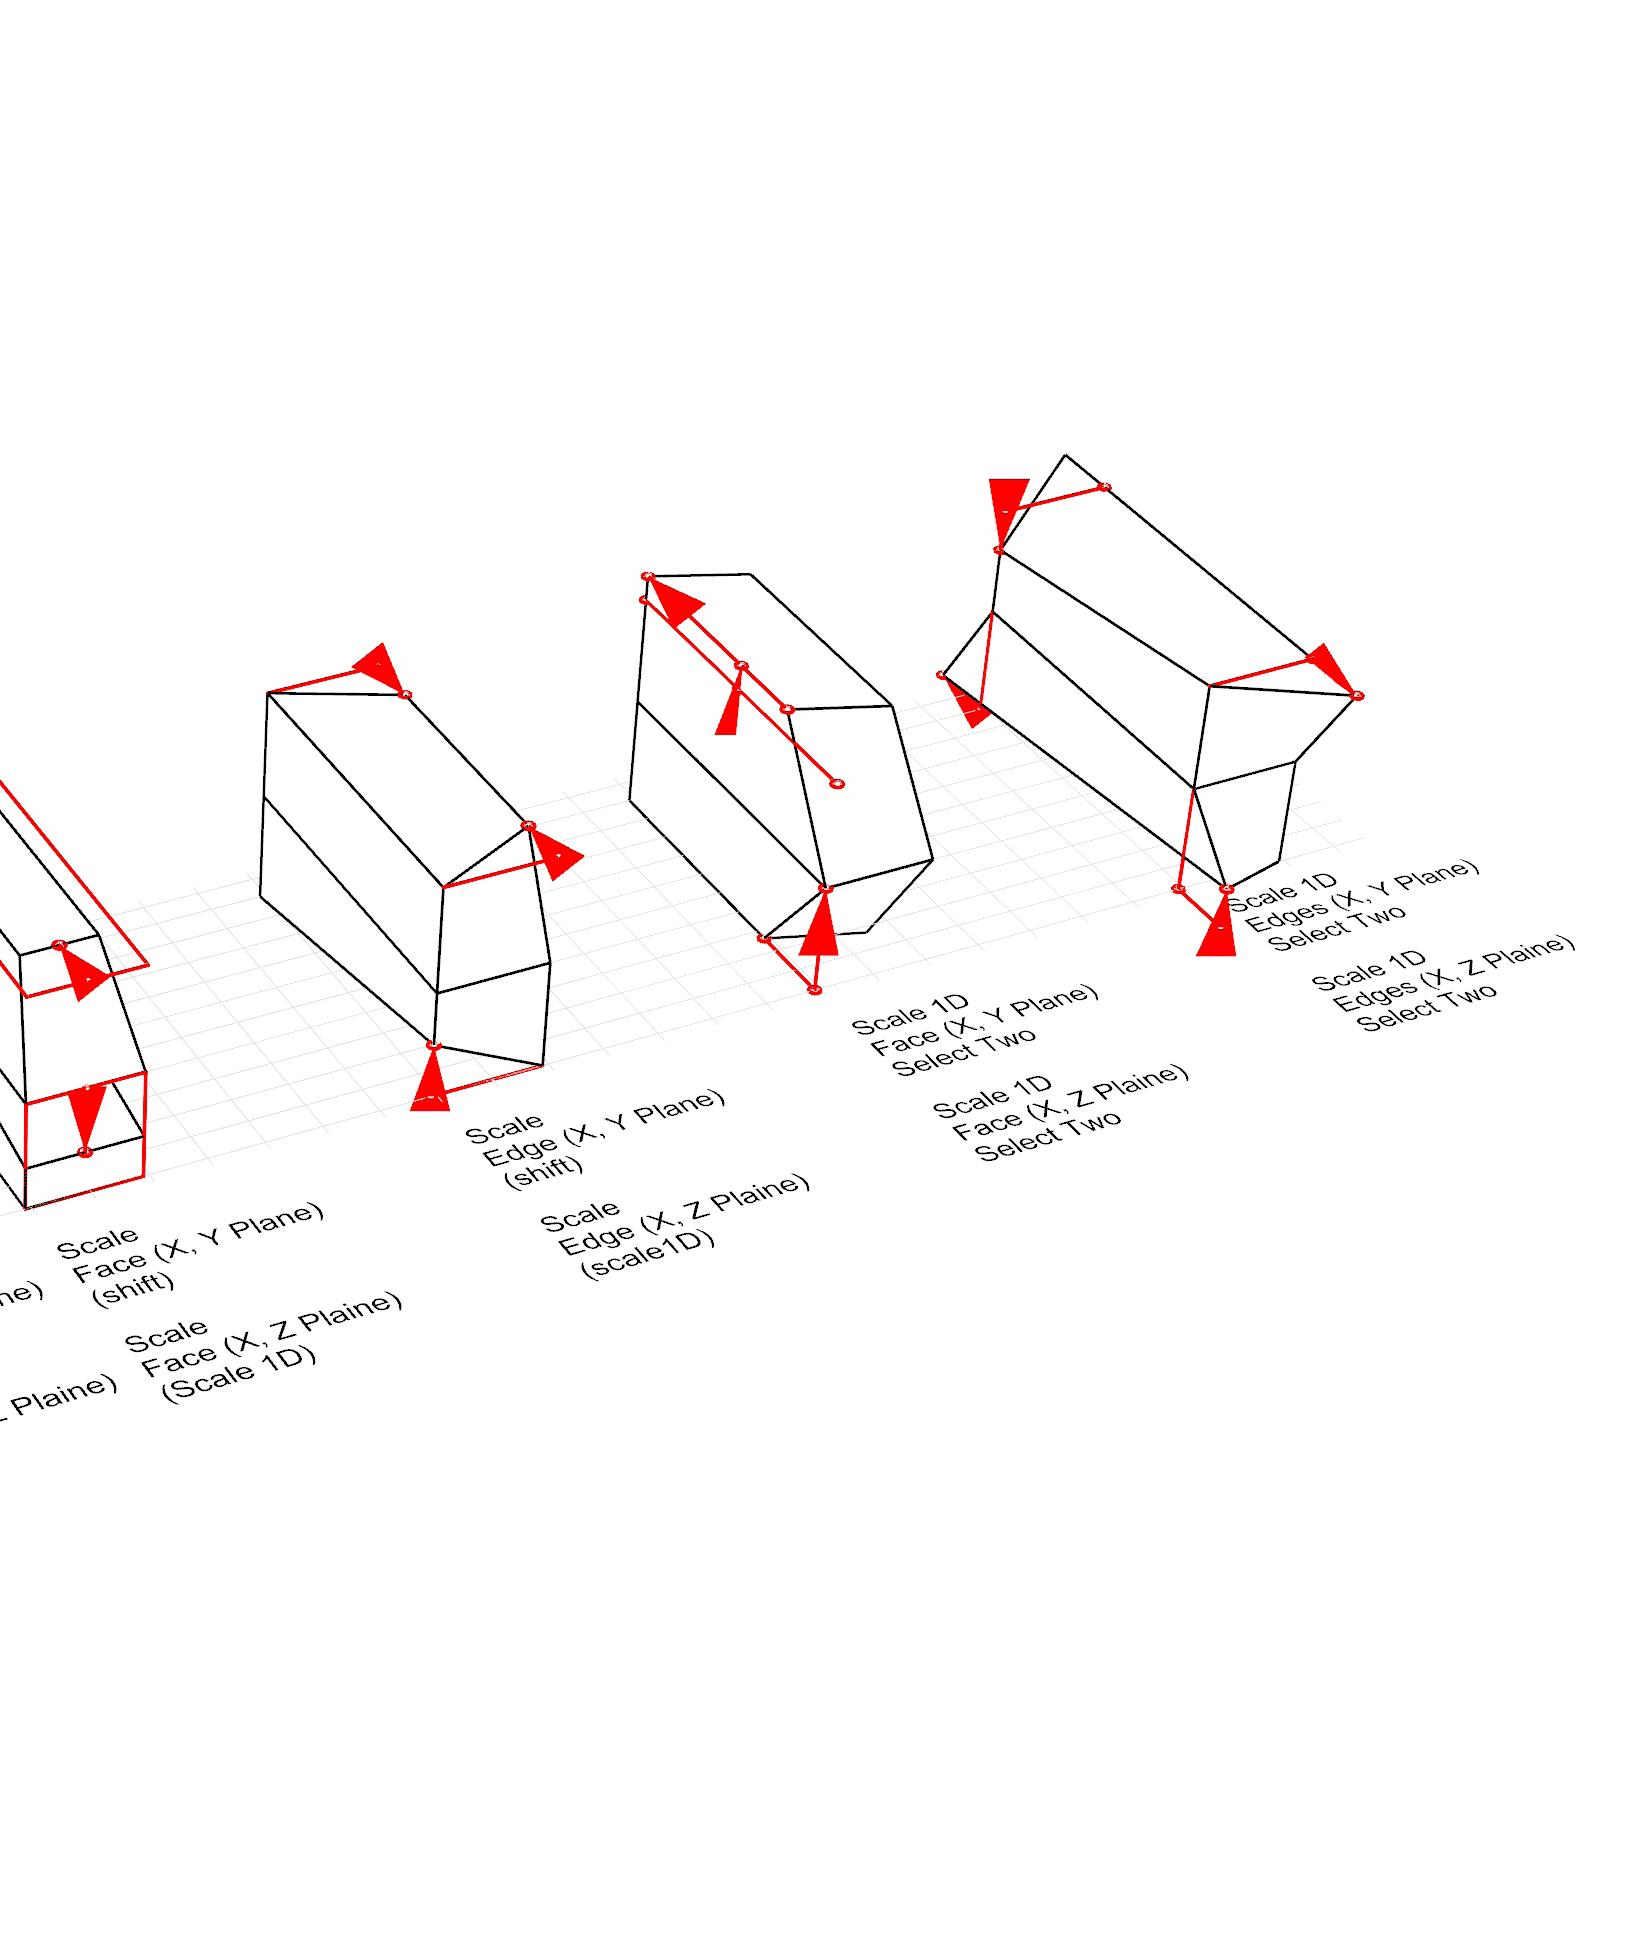
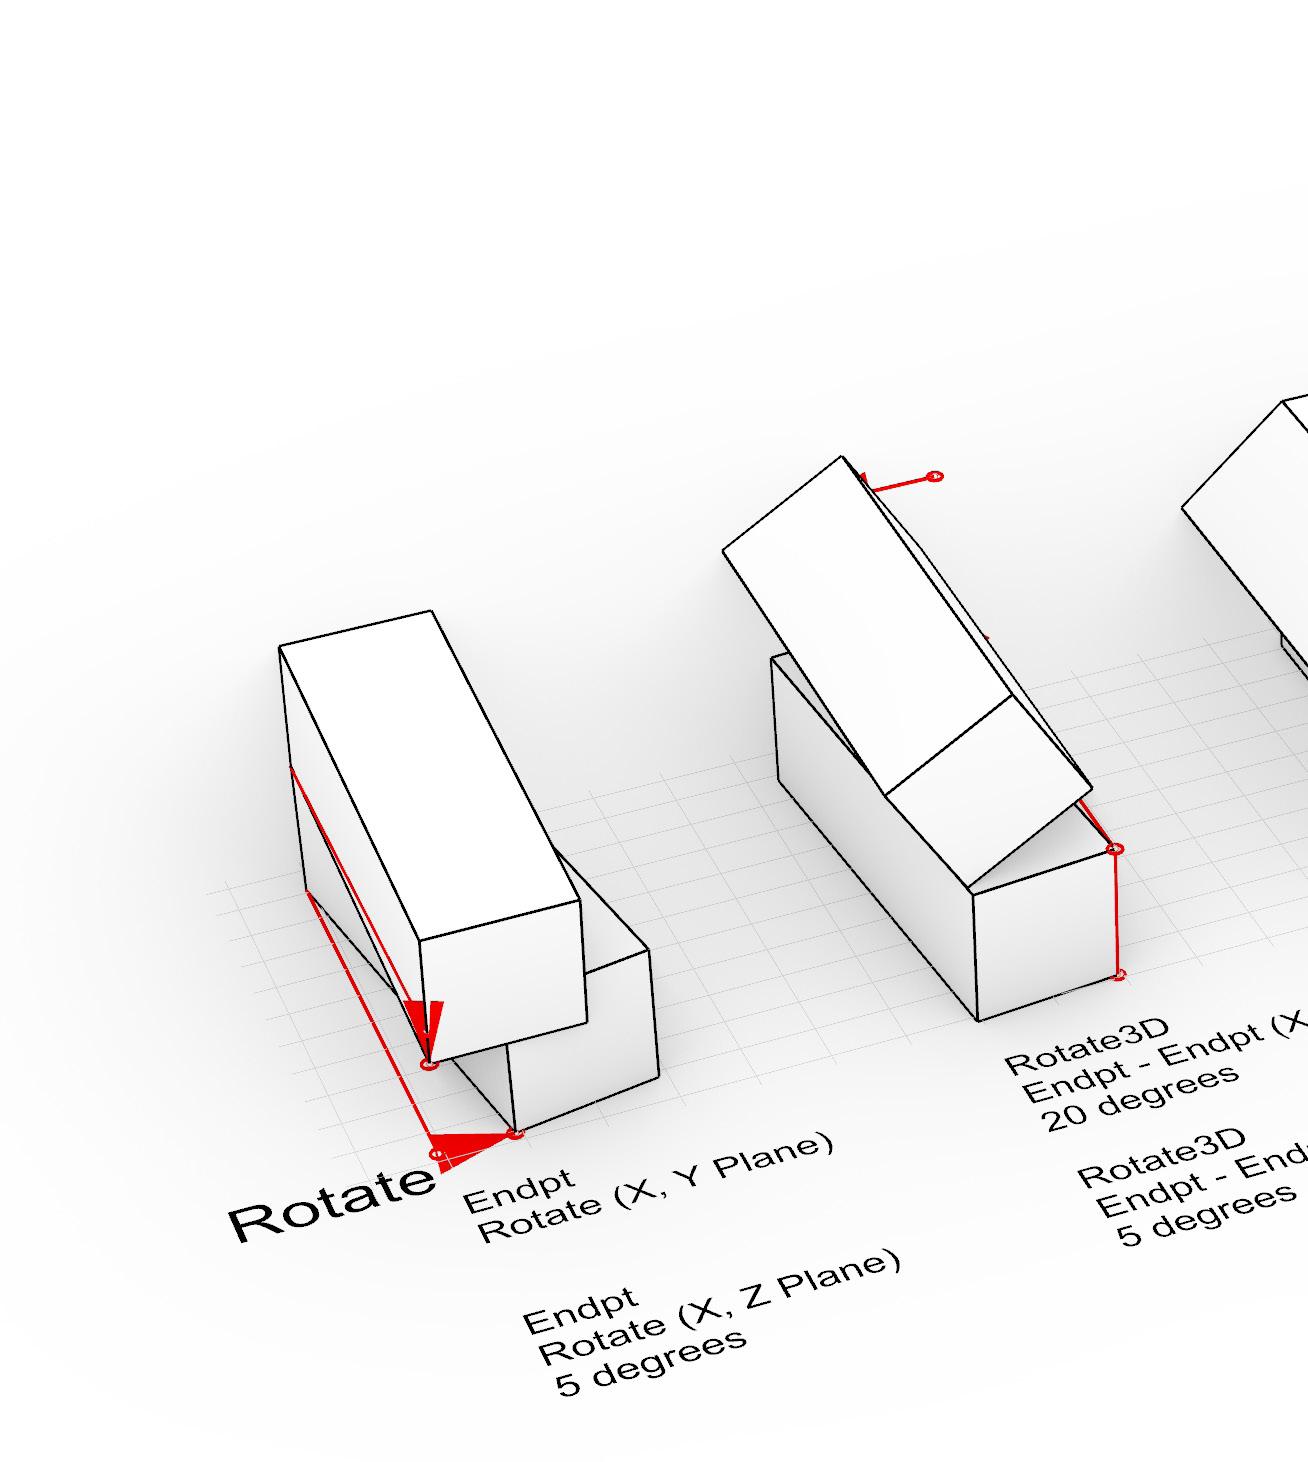
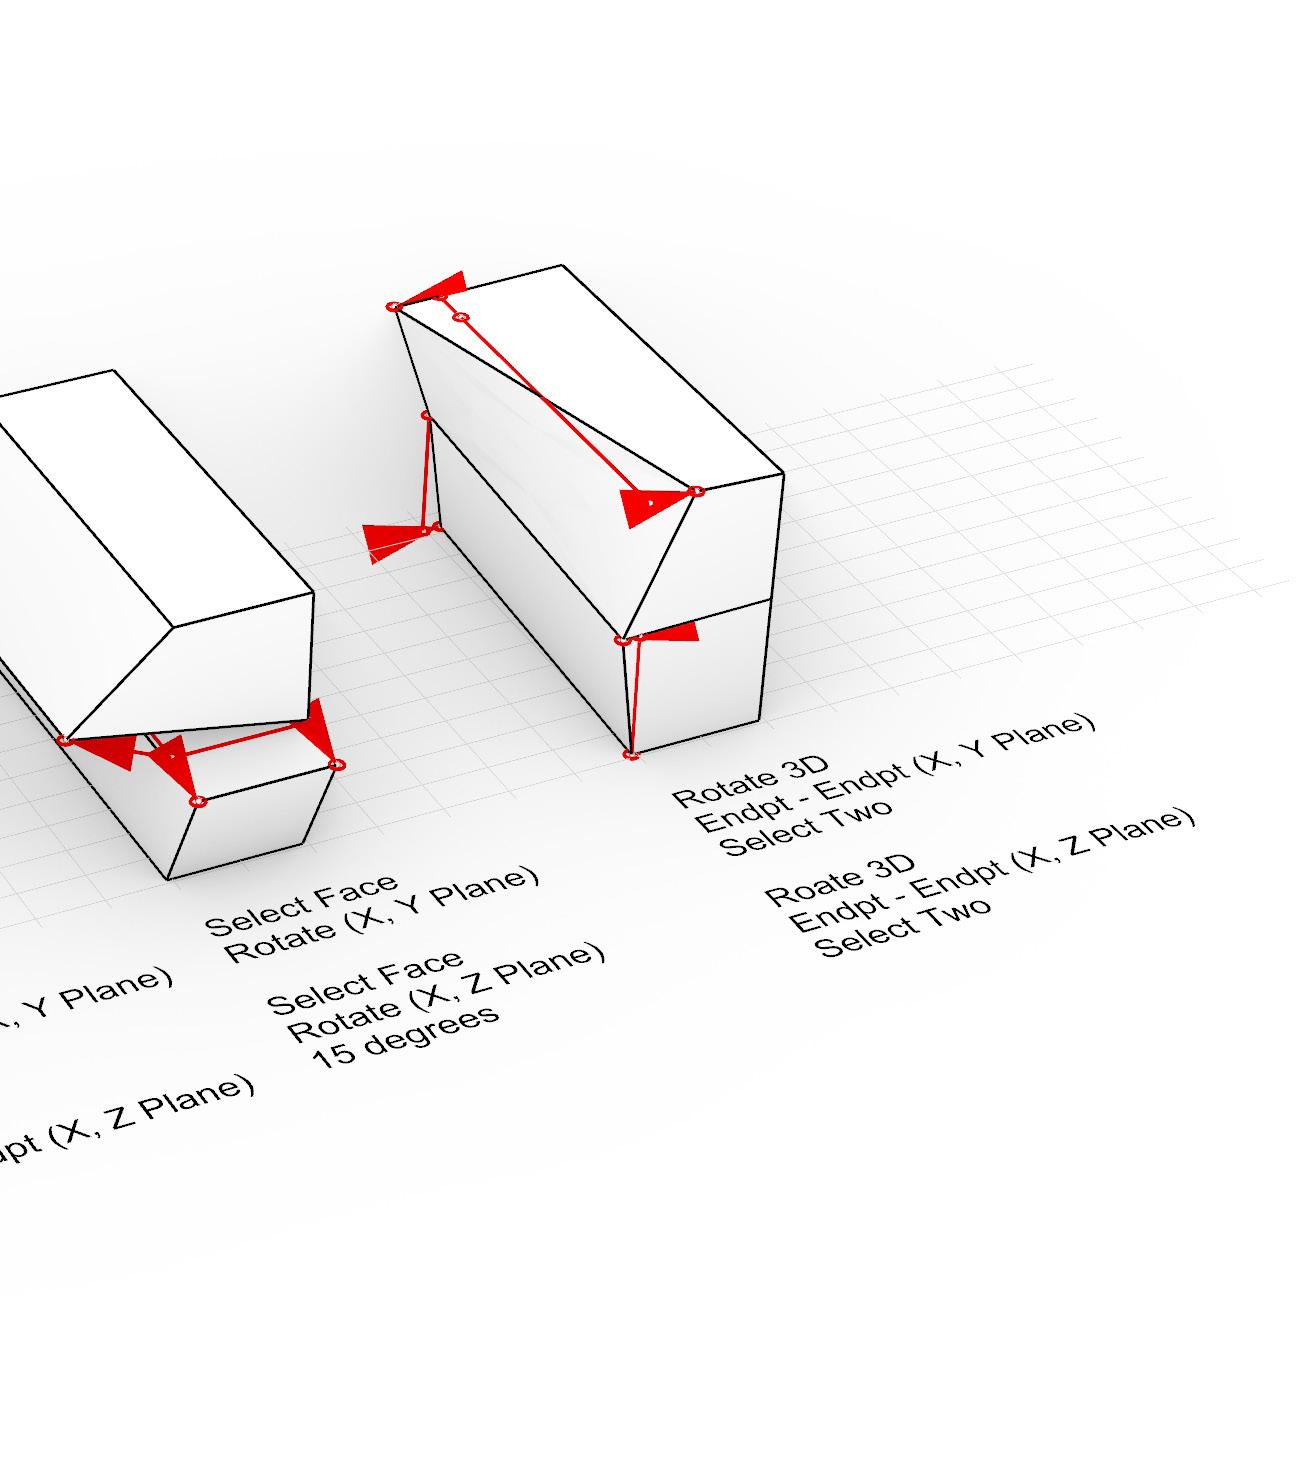
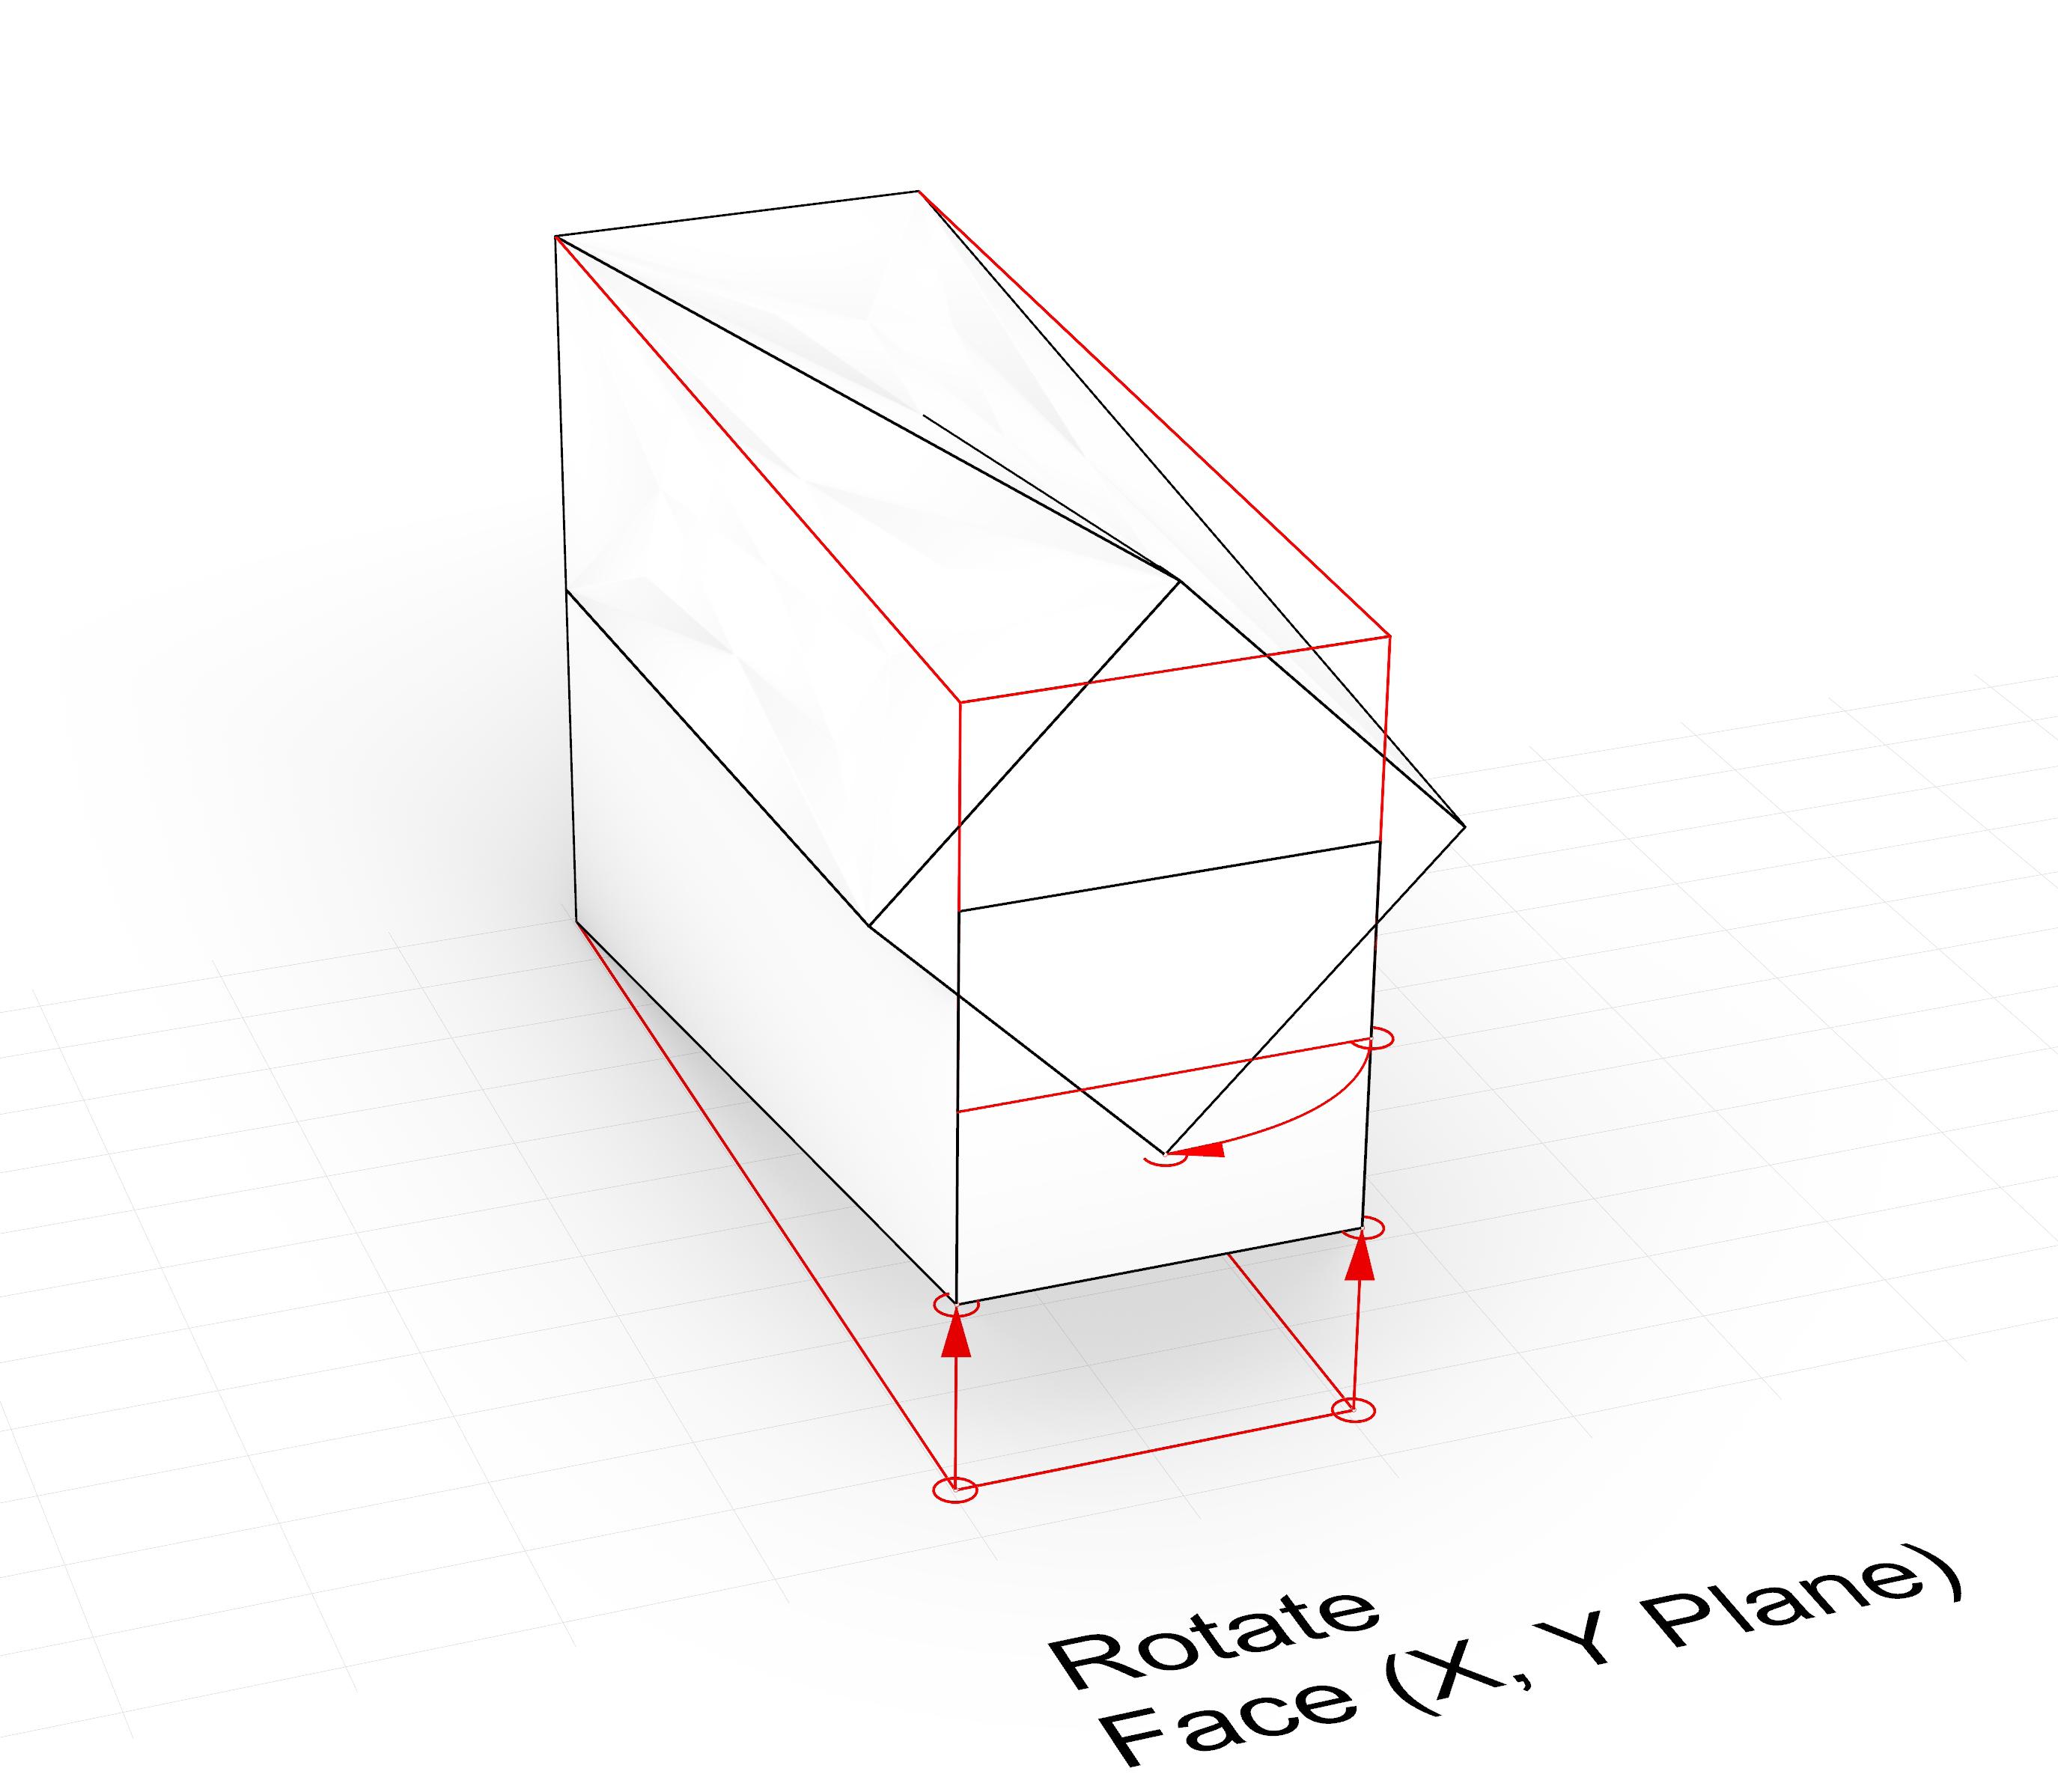
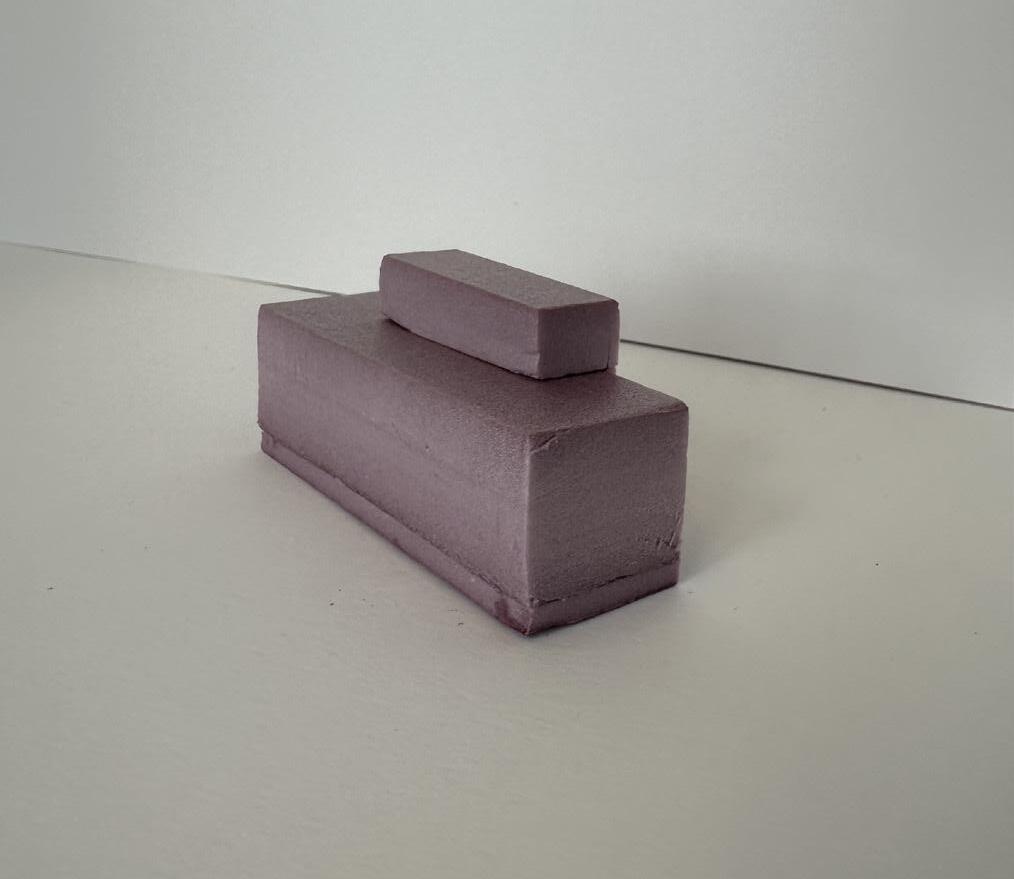
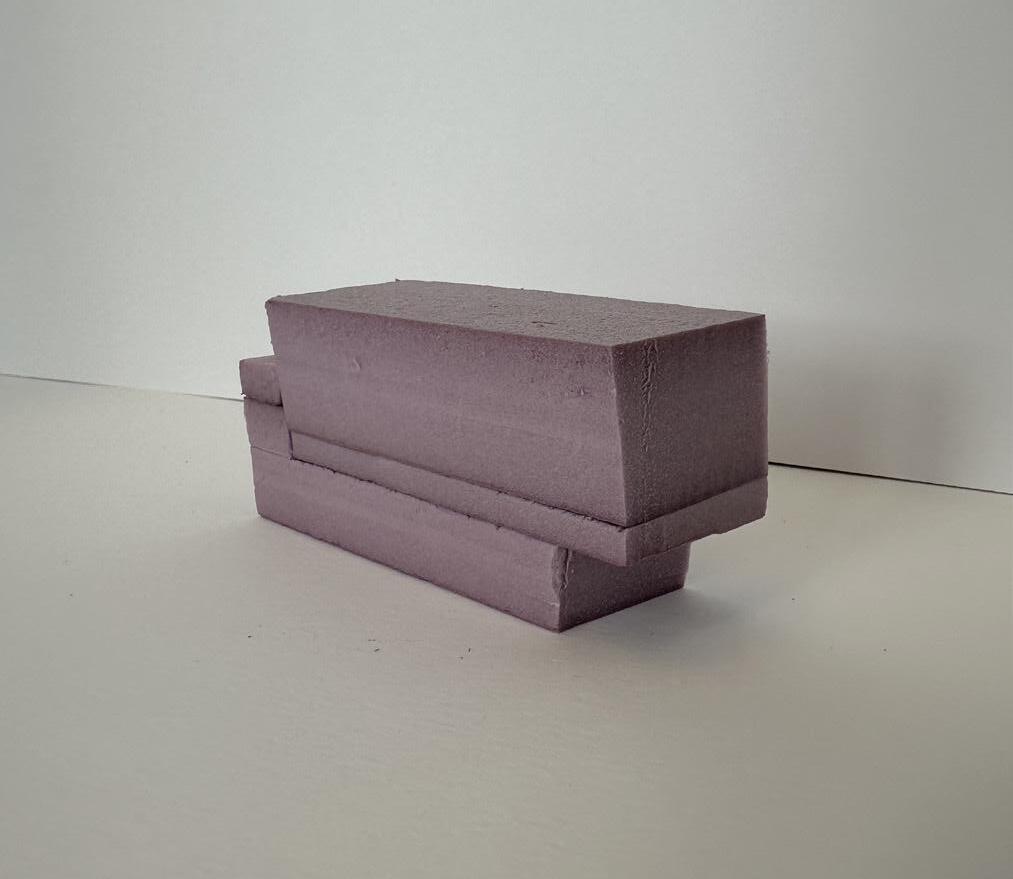
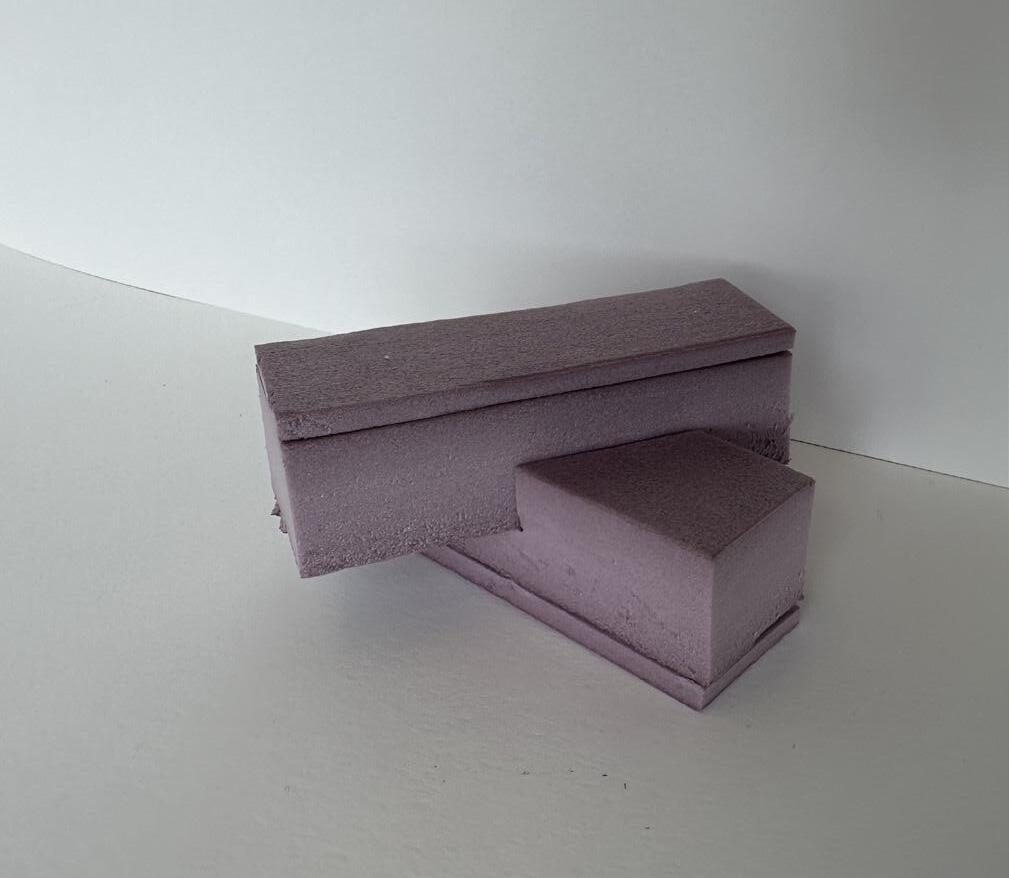
After learned the tools, we did 20 iterations of varous degrees of modeling. Using the foutr modeling tools, playing with how they work together to make intersting forms. This envoked creativity and design skills.
We were allowed to focus on all of them, or a few of them. The mixture allows for you to focus on them all at the same time.
Move is a very usefull command that allows you to change a face, edge, point, or the whole shape in one fluid movement.
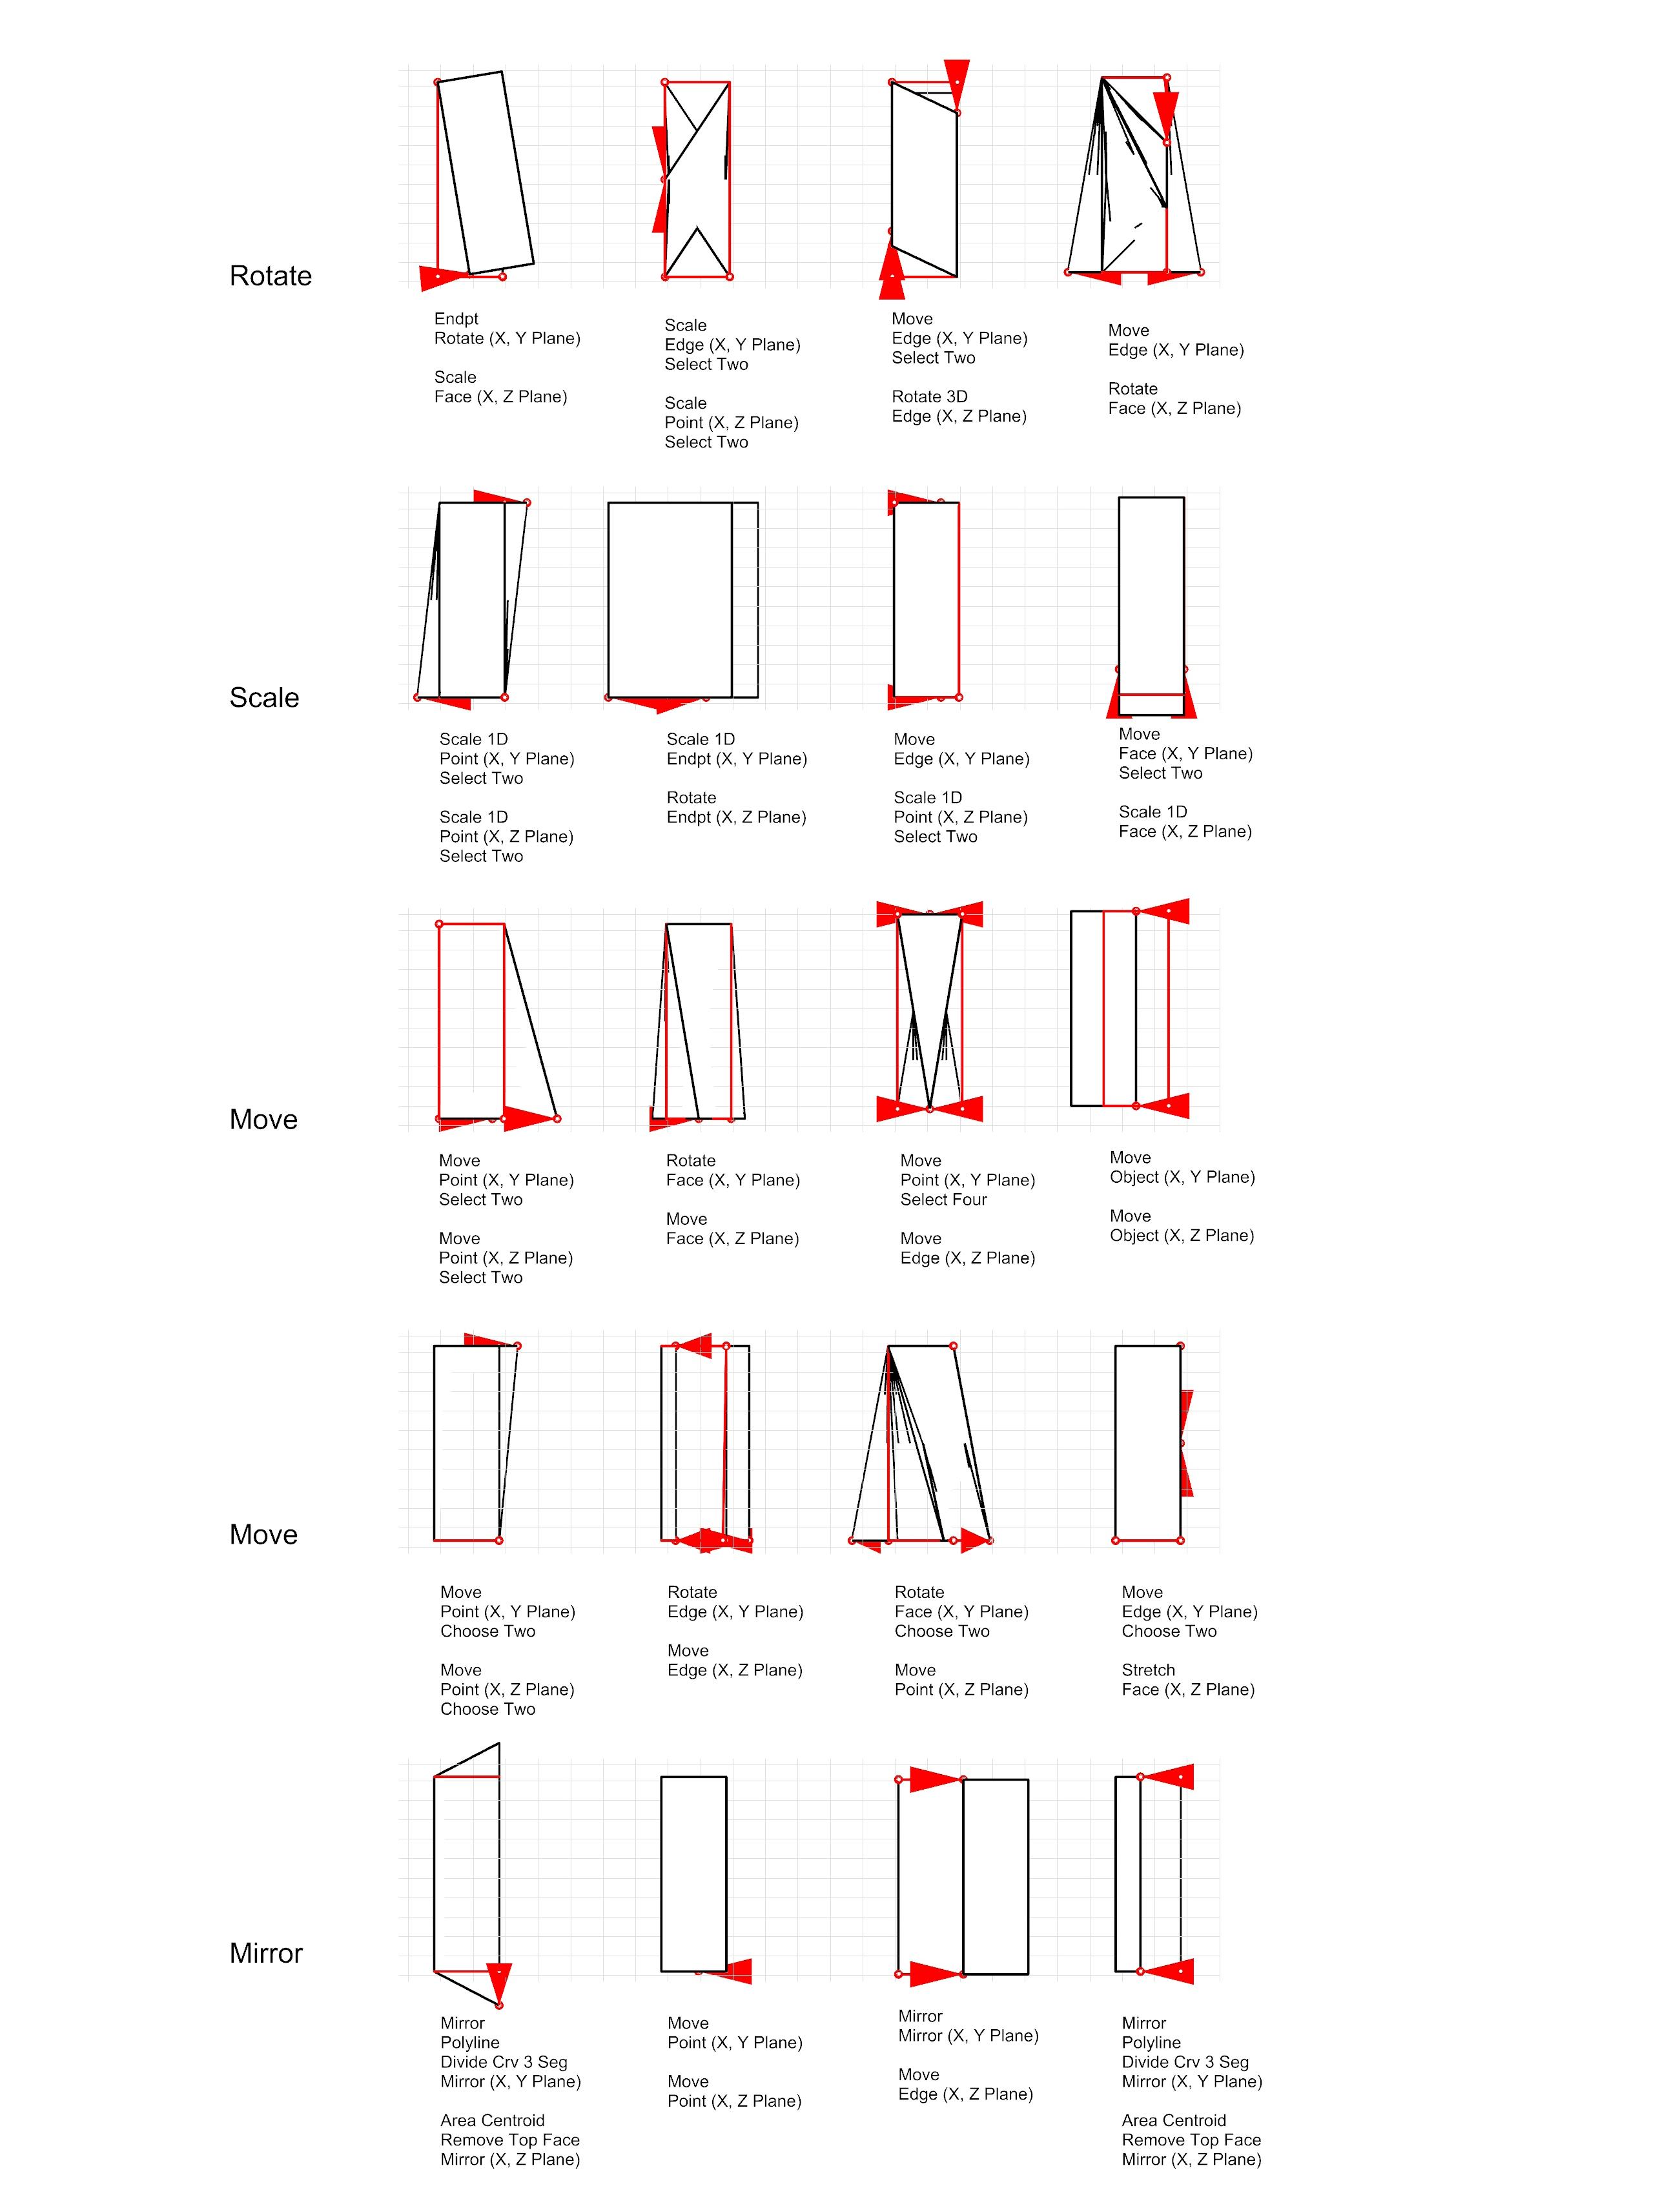
Rule x100
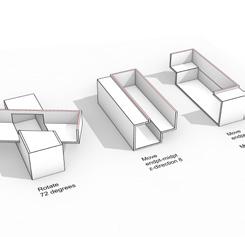
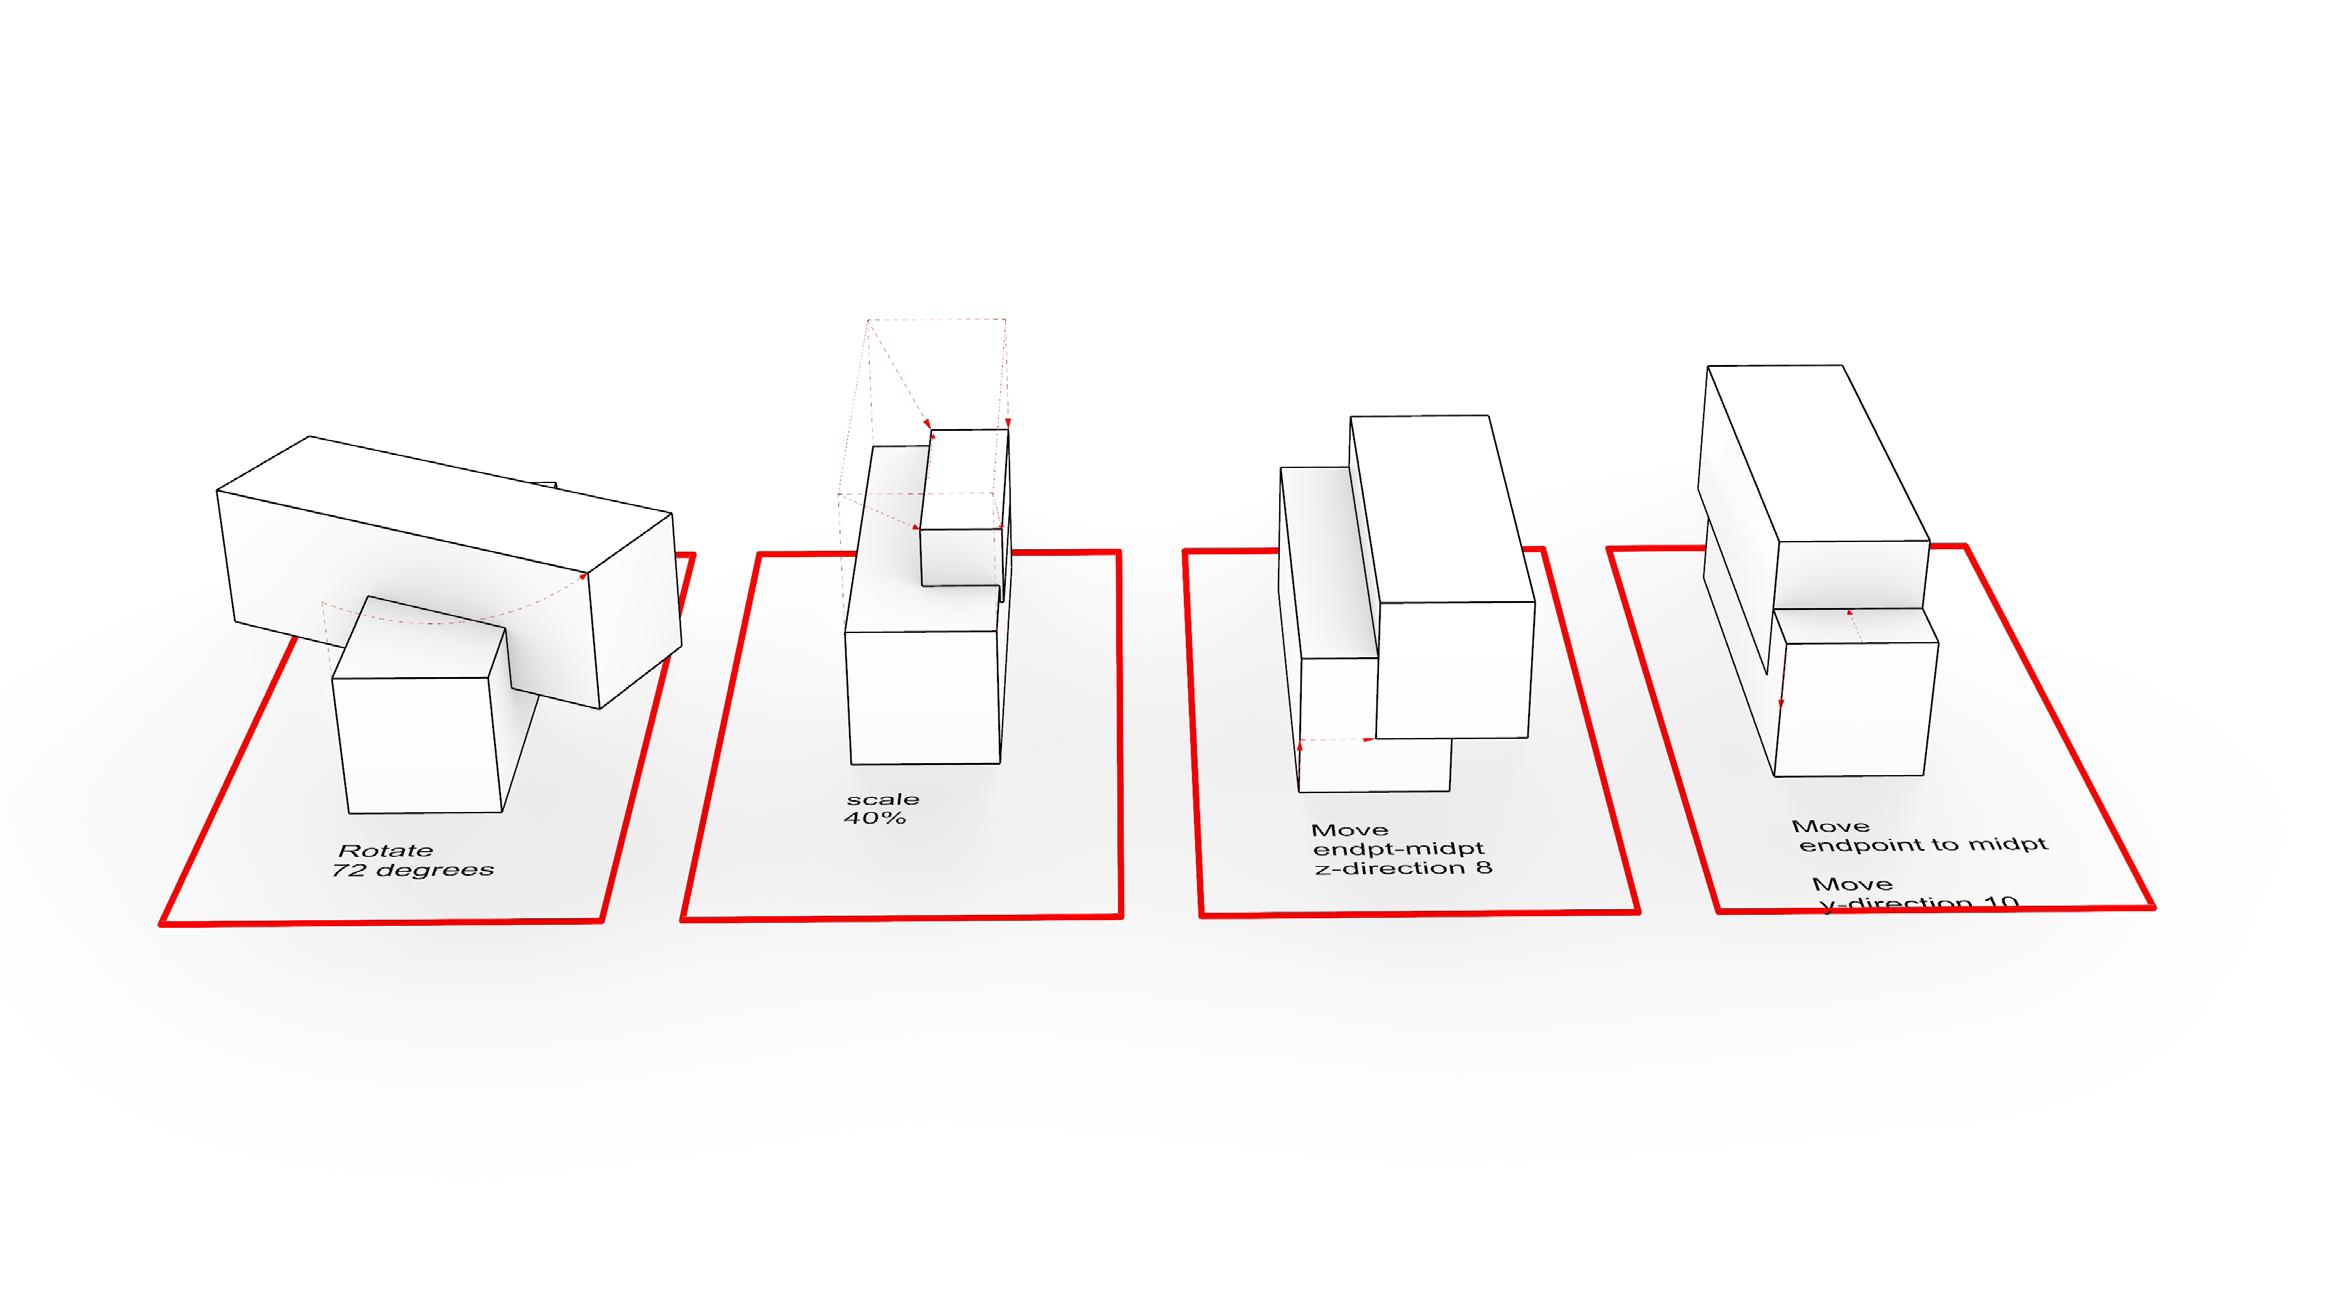
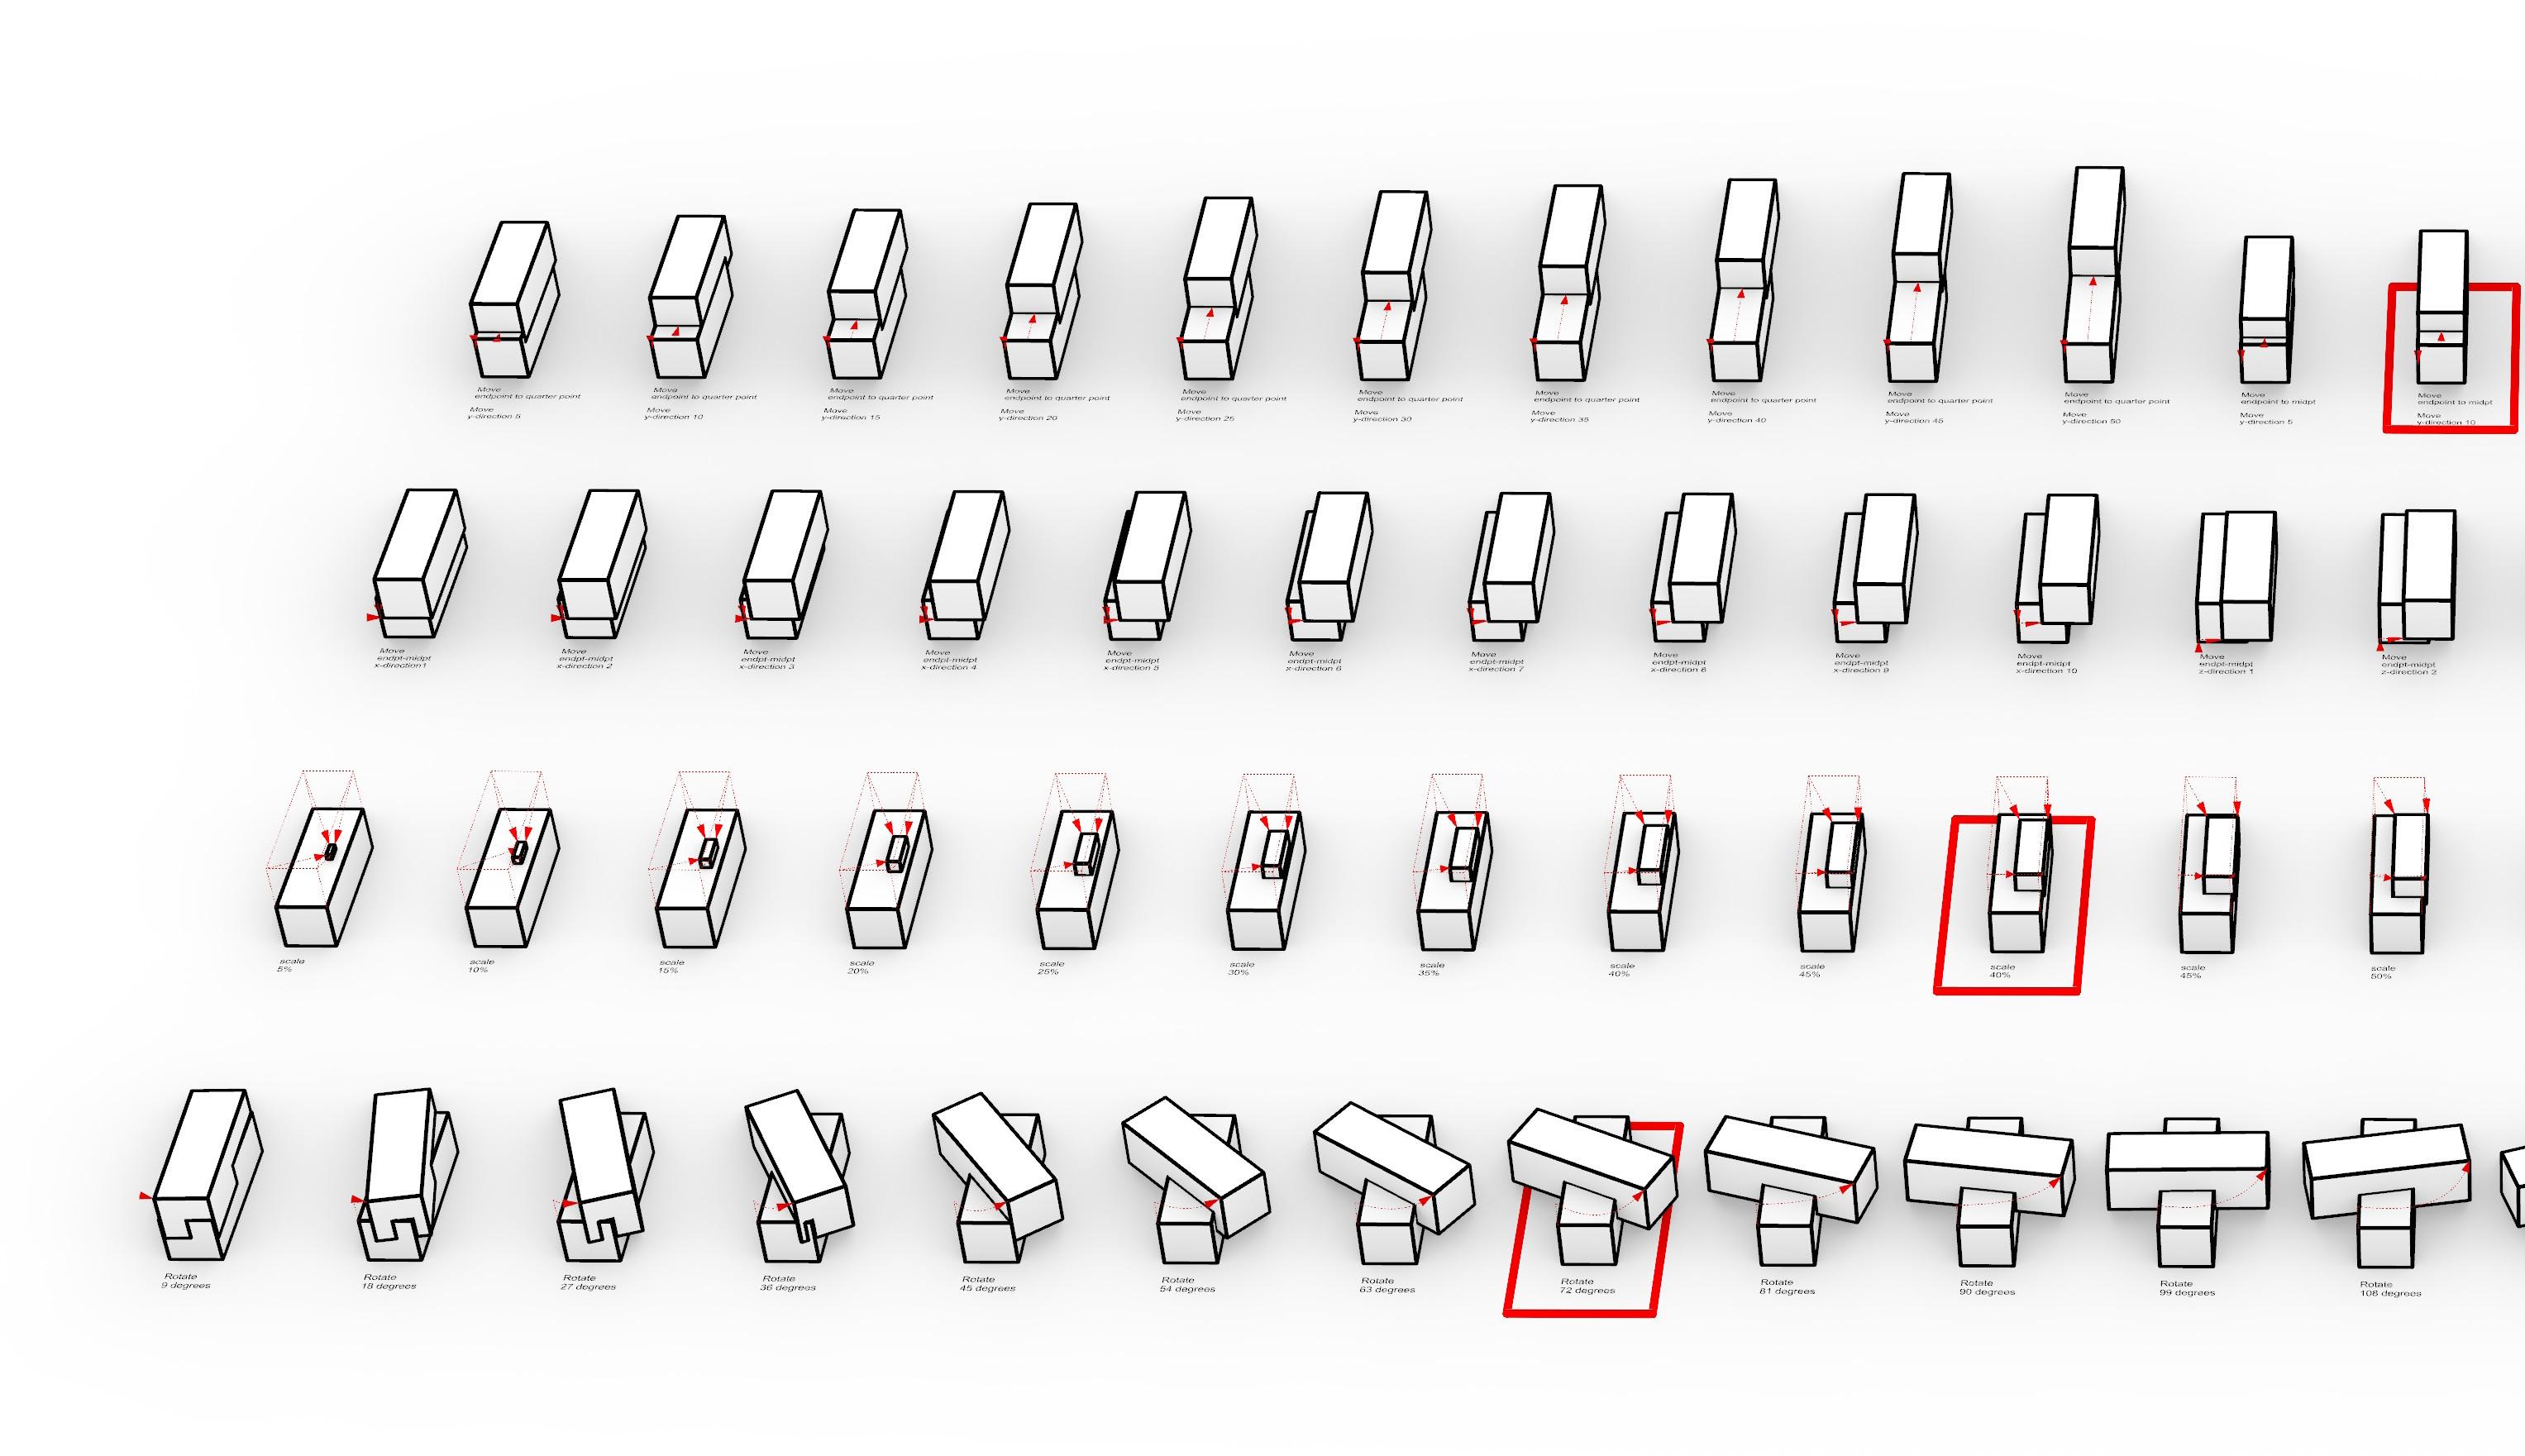
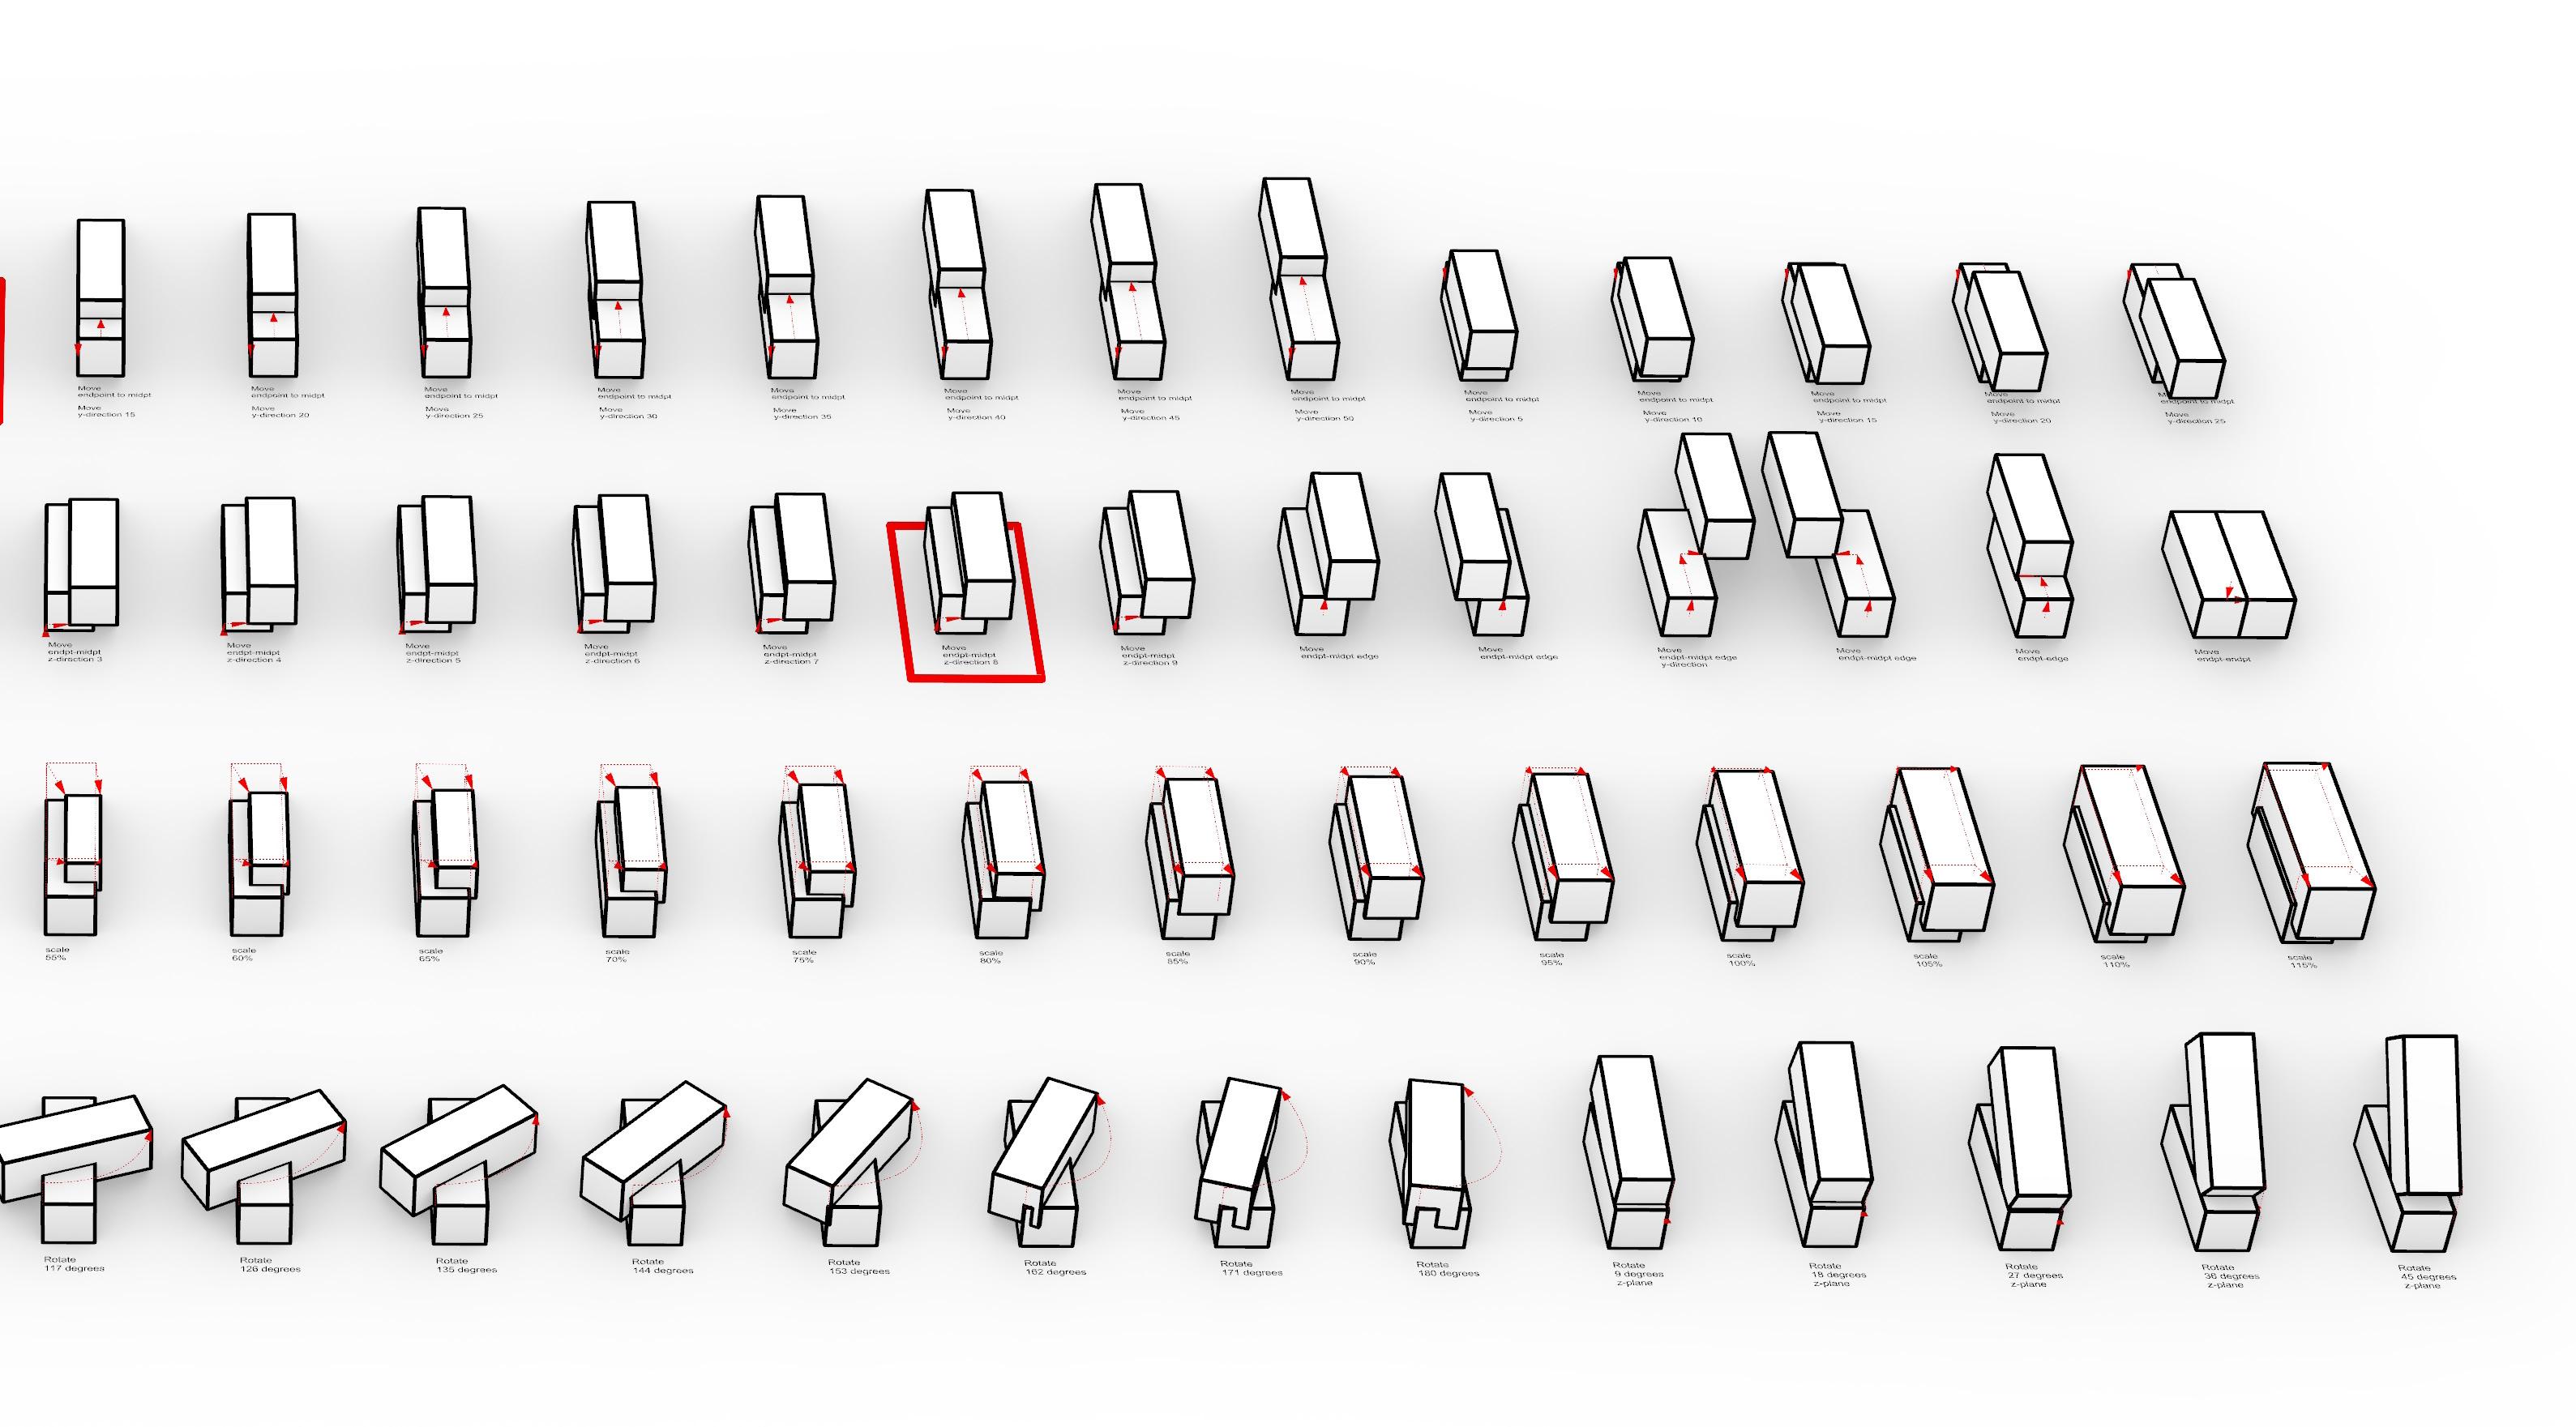
This assignmennt used 25 different iterations of four simple commands to learn how patterns can look with slight difference. My chosen commands are Move(Y plane), Move (X plane), Scale, and Rotate. Adusting the top block by a set interval alows for a set of repeating patterns.
For Move ( X plane), Scale and Rotate I used the Grasshopper add on in Rhino to evenly create the pattern.
I chose these four cause they are the middle ground of each of the patterns. They all are the closest to being aligned with the center of the bottom object.
(X, Y Plane) Select Four
Point (X, Y Plane) Select Four
Point (X, Y Plane) Select
8
8
8 Move Point (X, Y Plane) Select Four
(X, Z Plane)
Z Plane)
Z Plane)
(X, Z Plane)
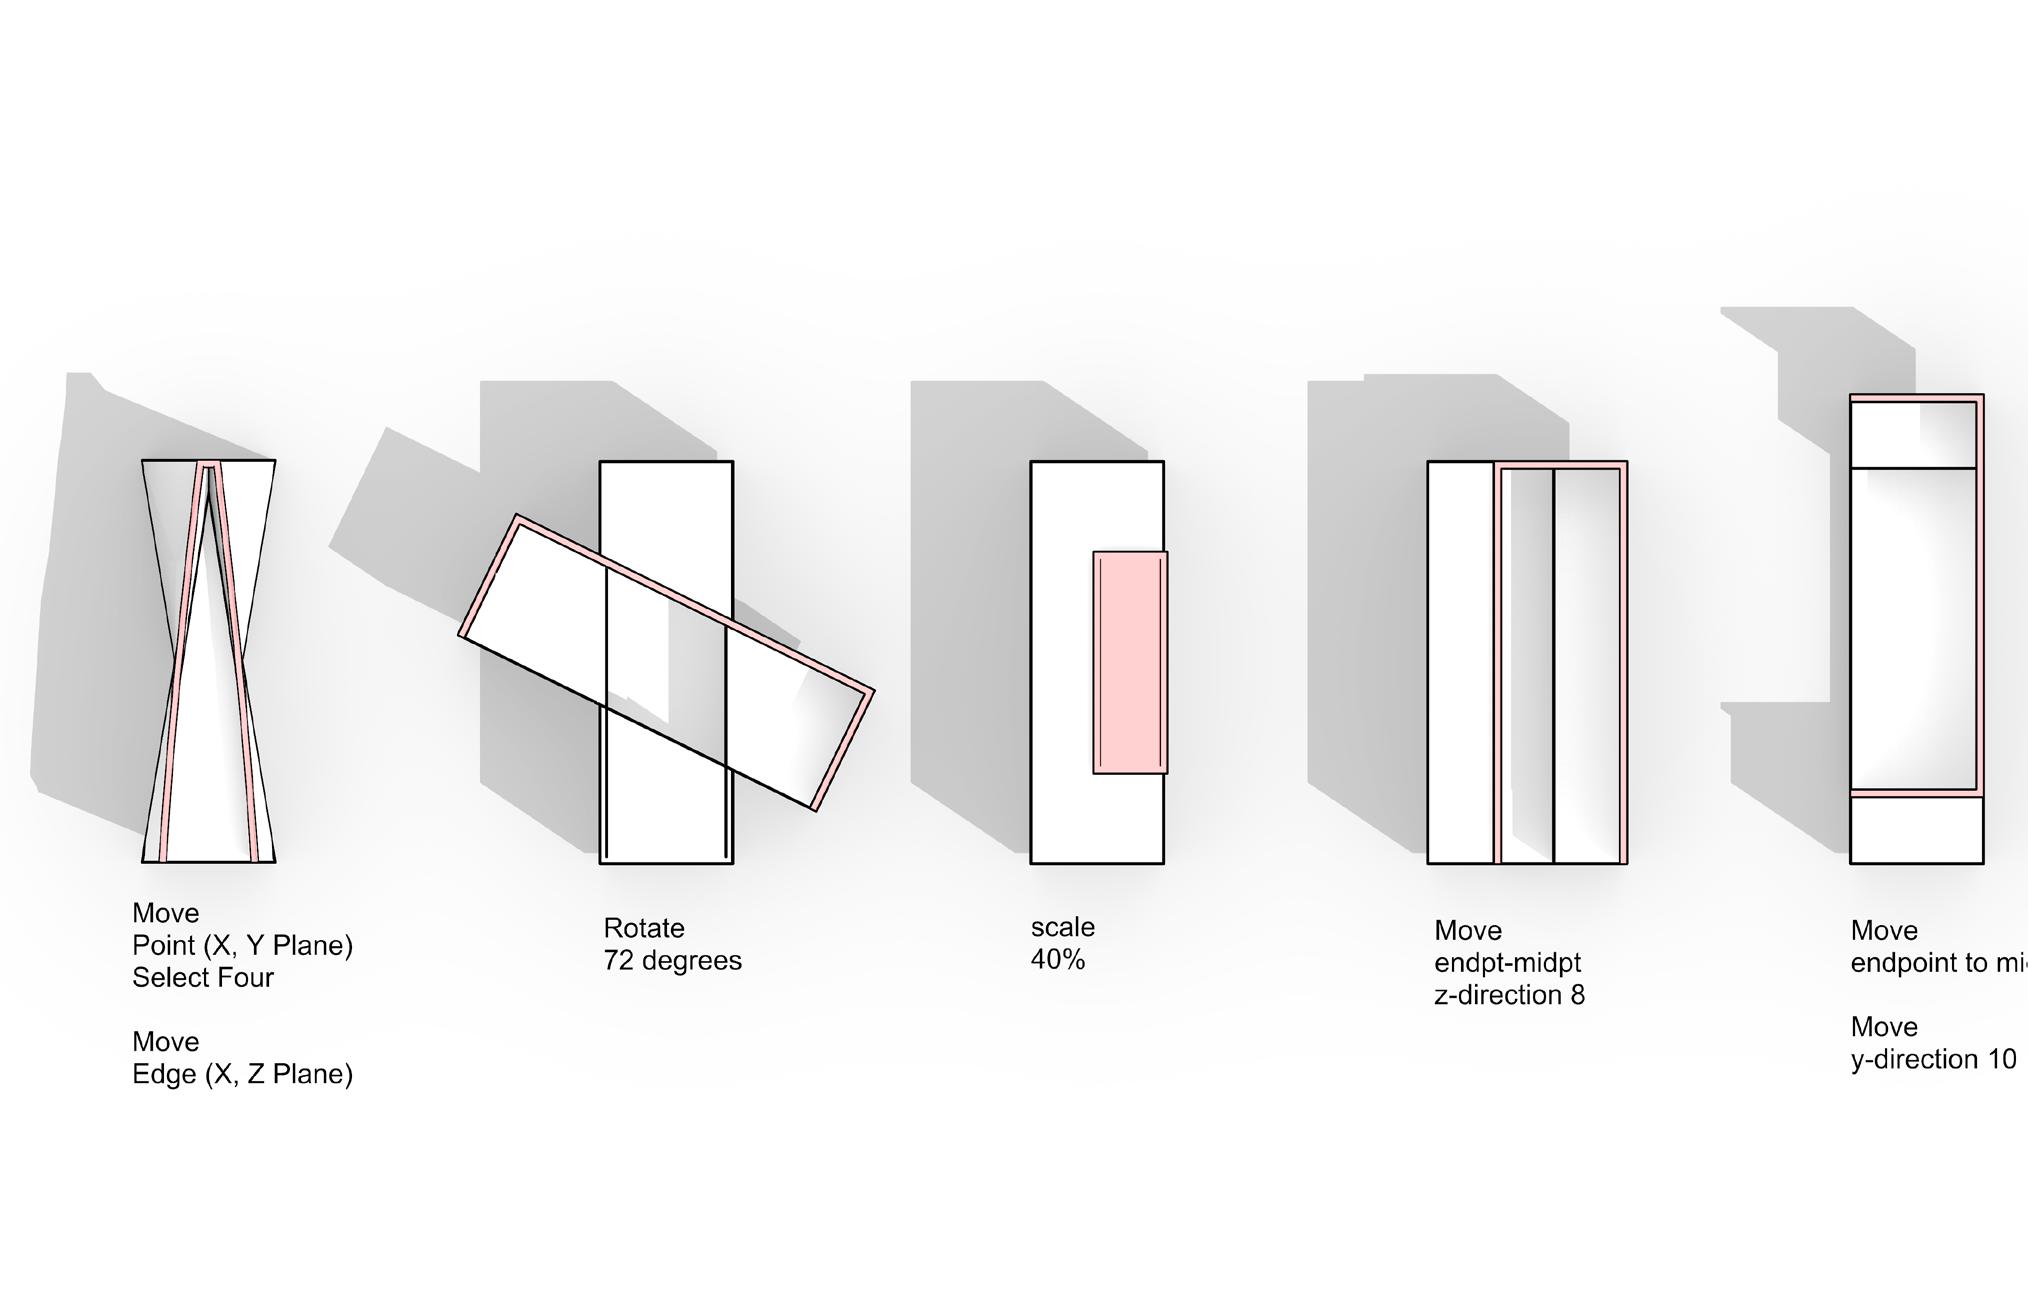
This part of the assignment introduced the sun and the clipping plane. The Sun element in Rhino was set to April for a shadow in a North West direction.
The clipping plane was pulled up to a hight that looked best on all the shapes allowing you to see the poshayed
lines within. Exporting the bottom left image into illistrater to get sharper lines.
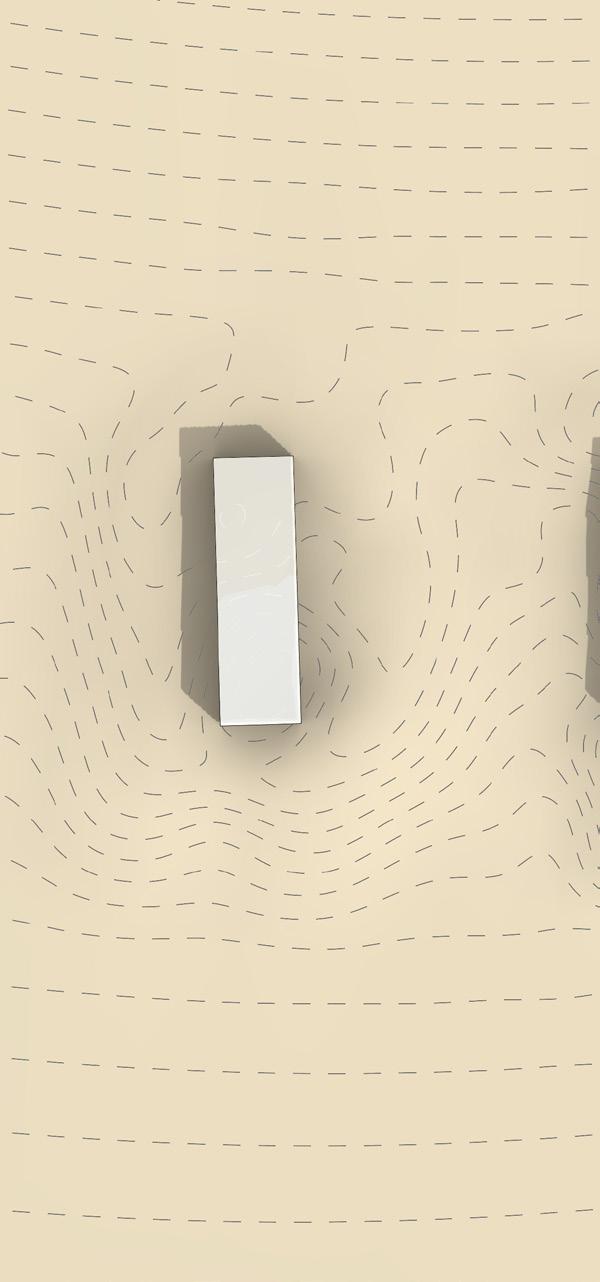
The construction of the models were done in XPS phome to a scale relative to an 11 x 17 paper.
FABRICATION TIME
8 Hours Digitally Modeling
4 Hours Physical Modeling
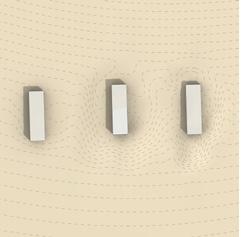
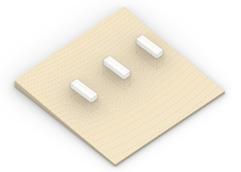
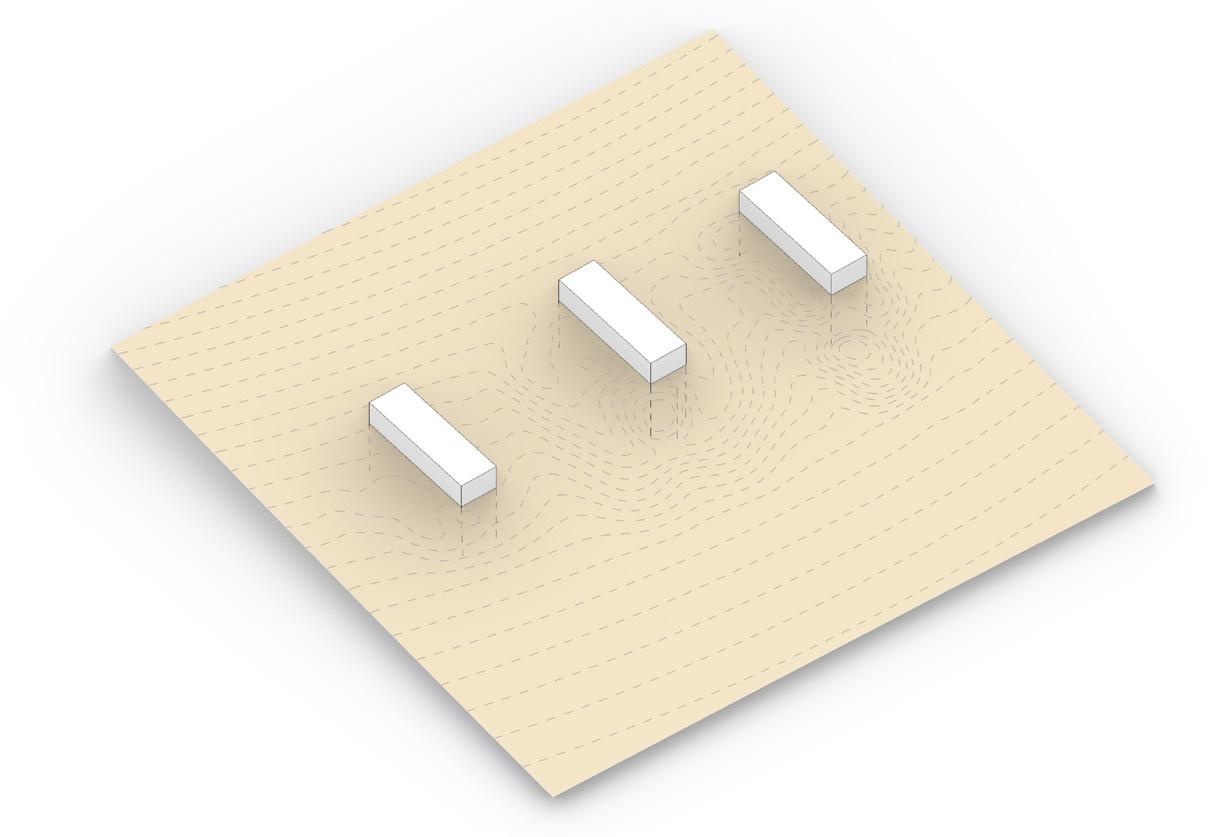
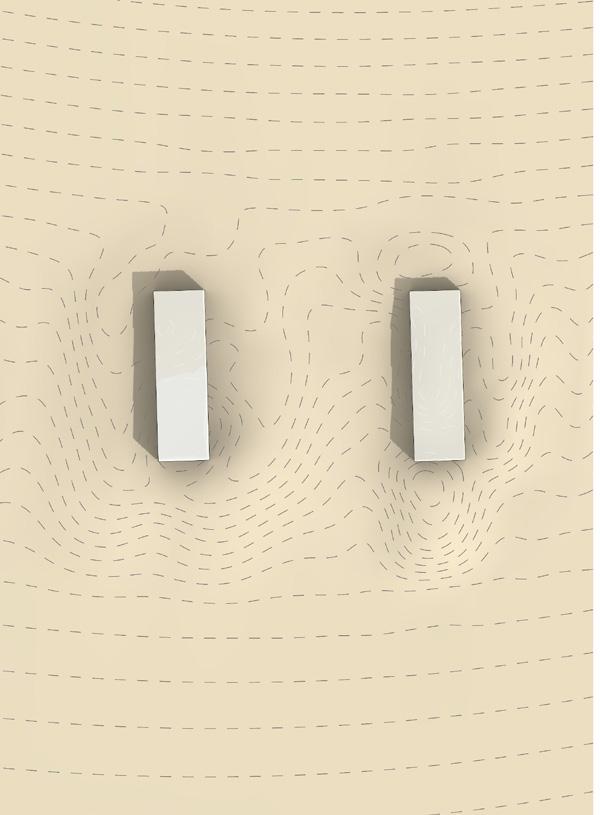
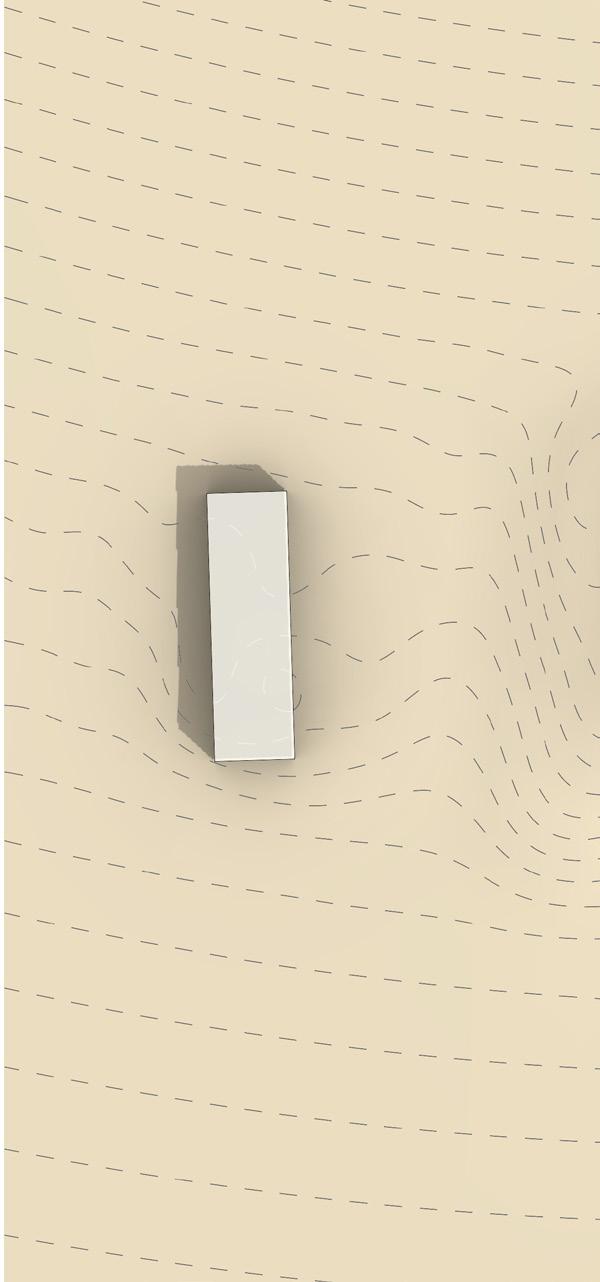
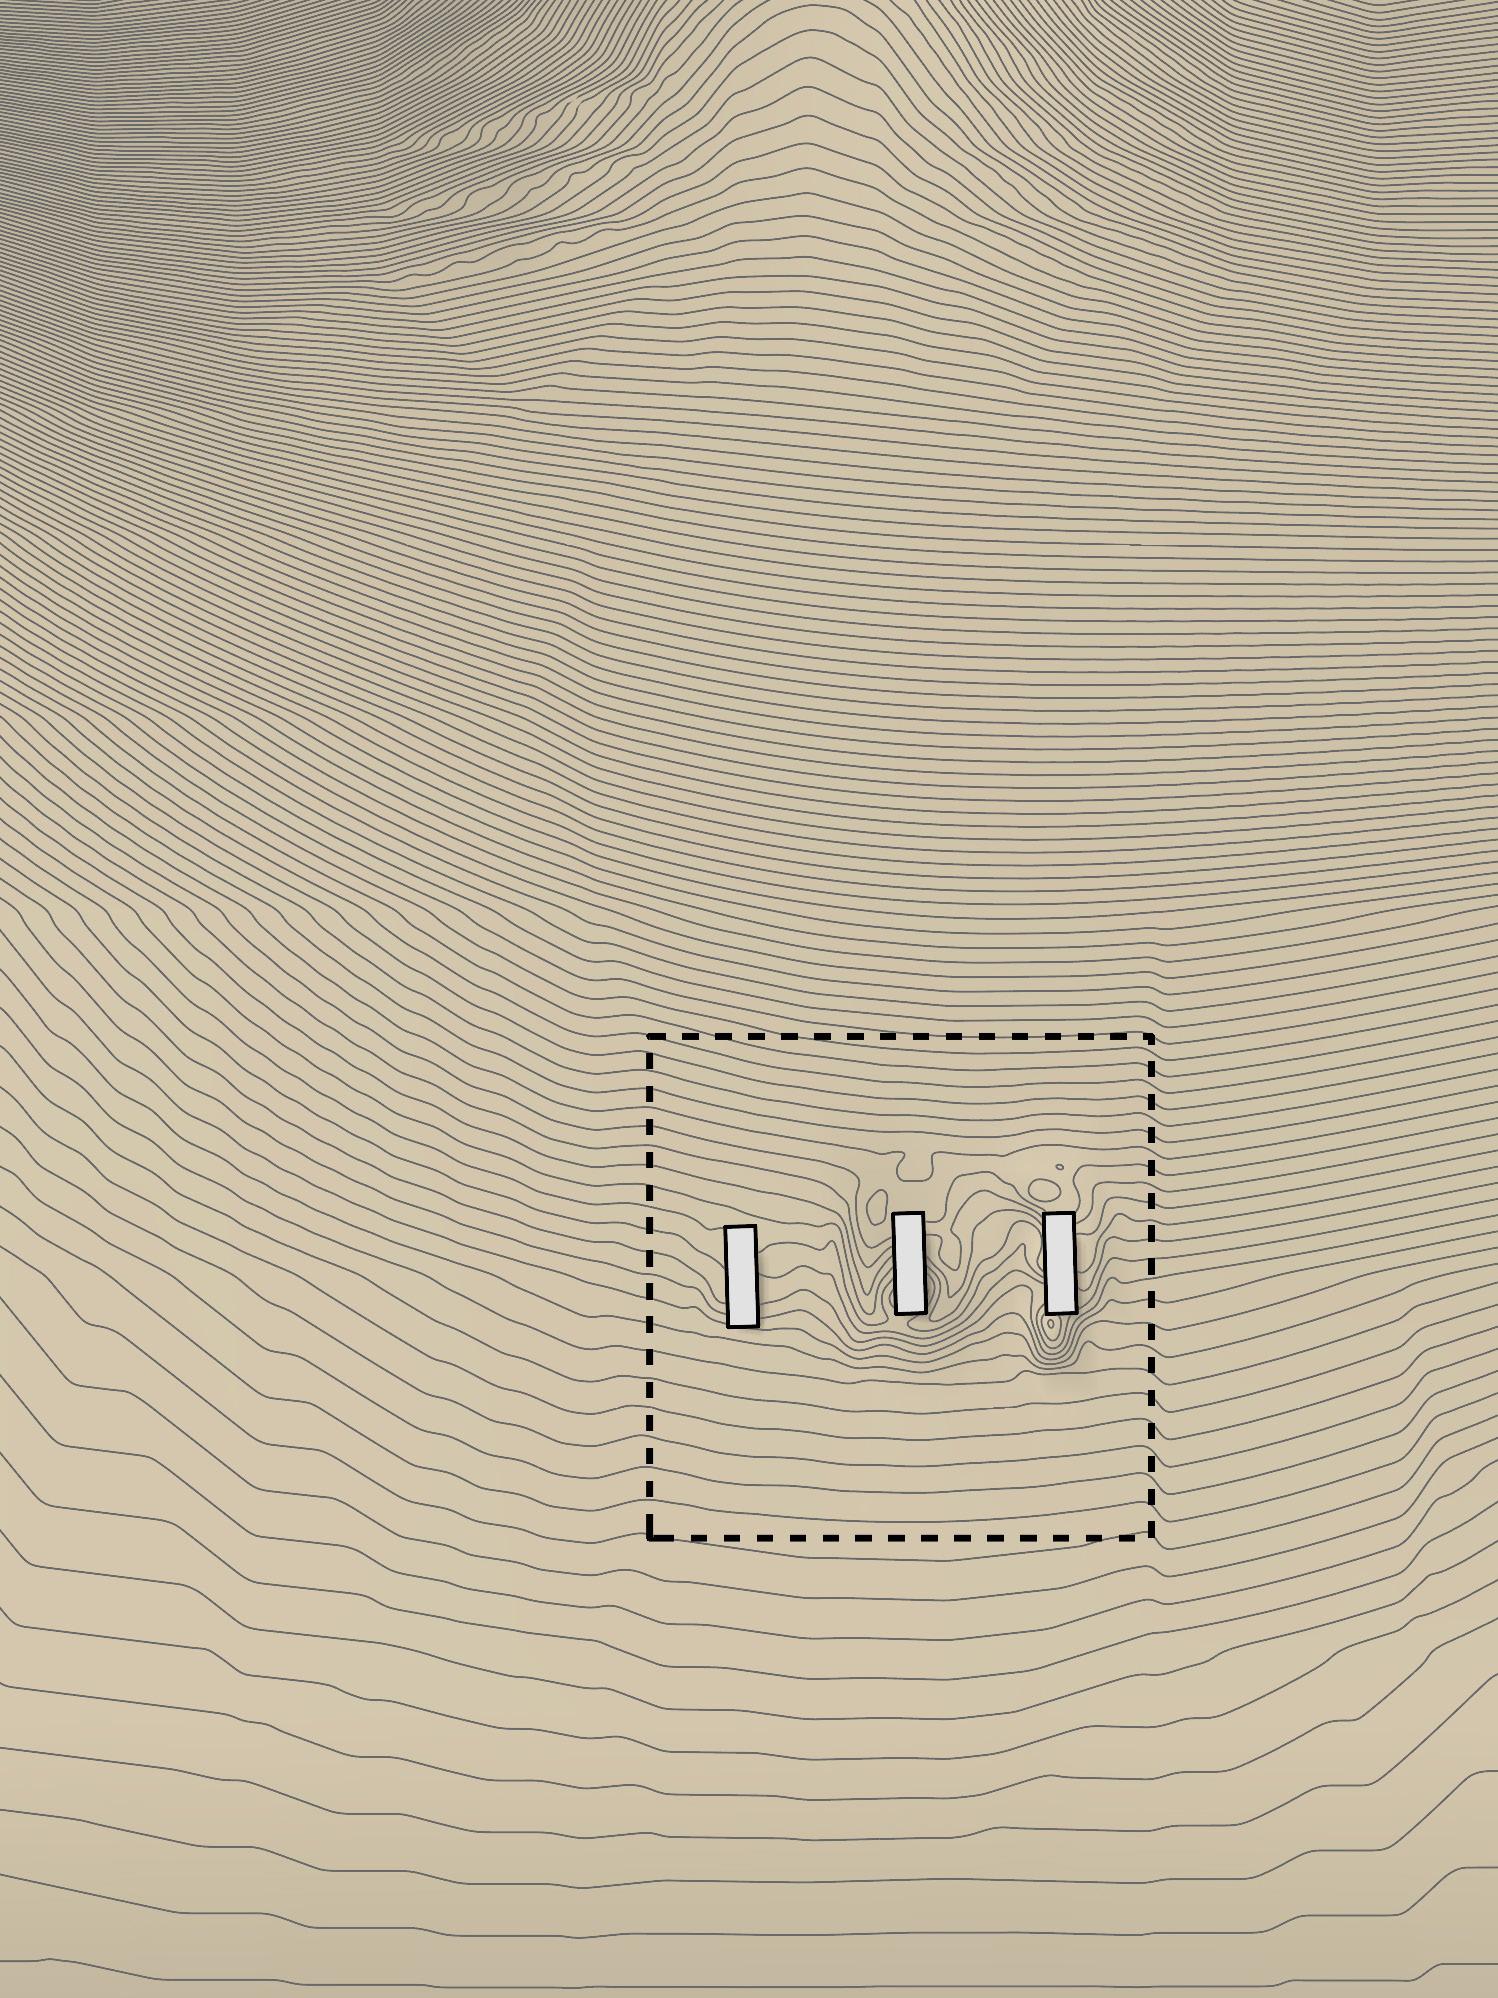
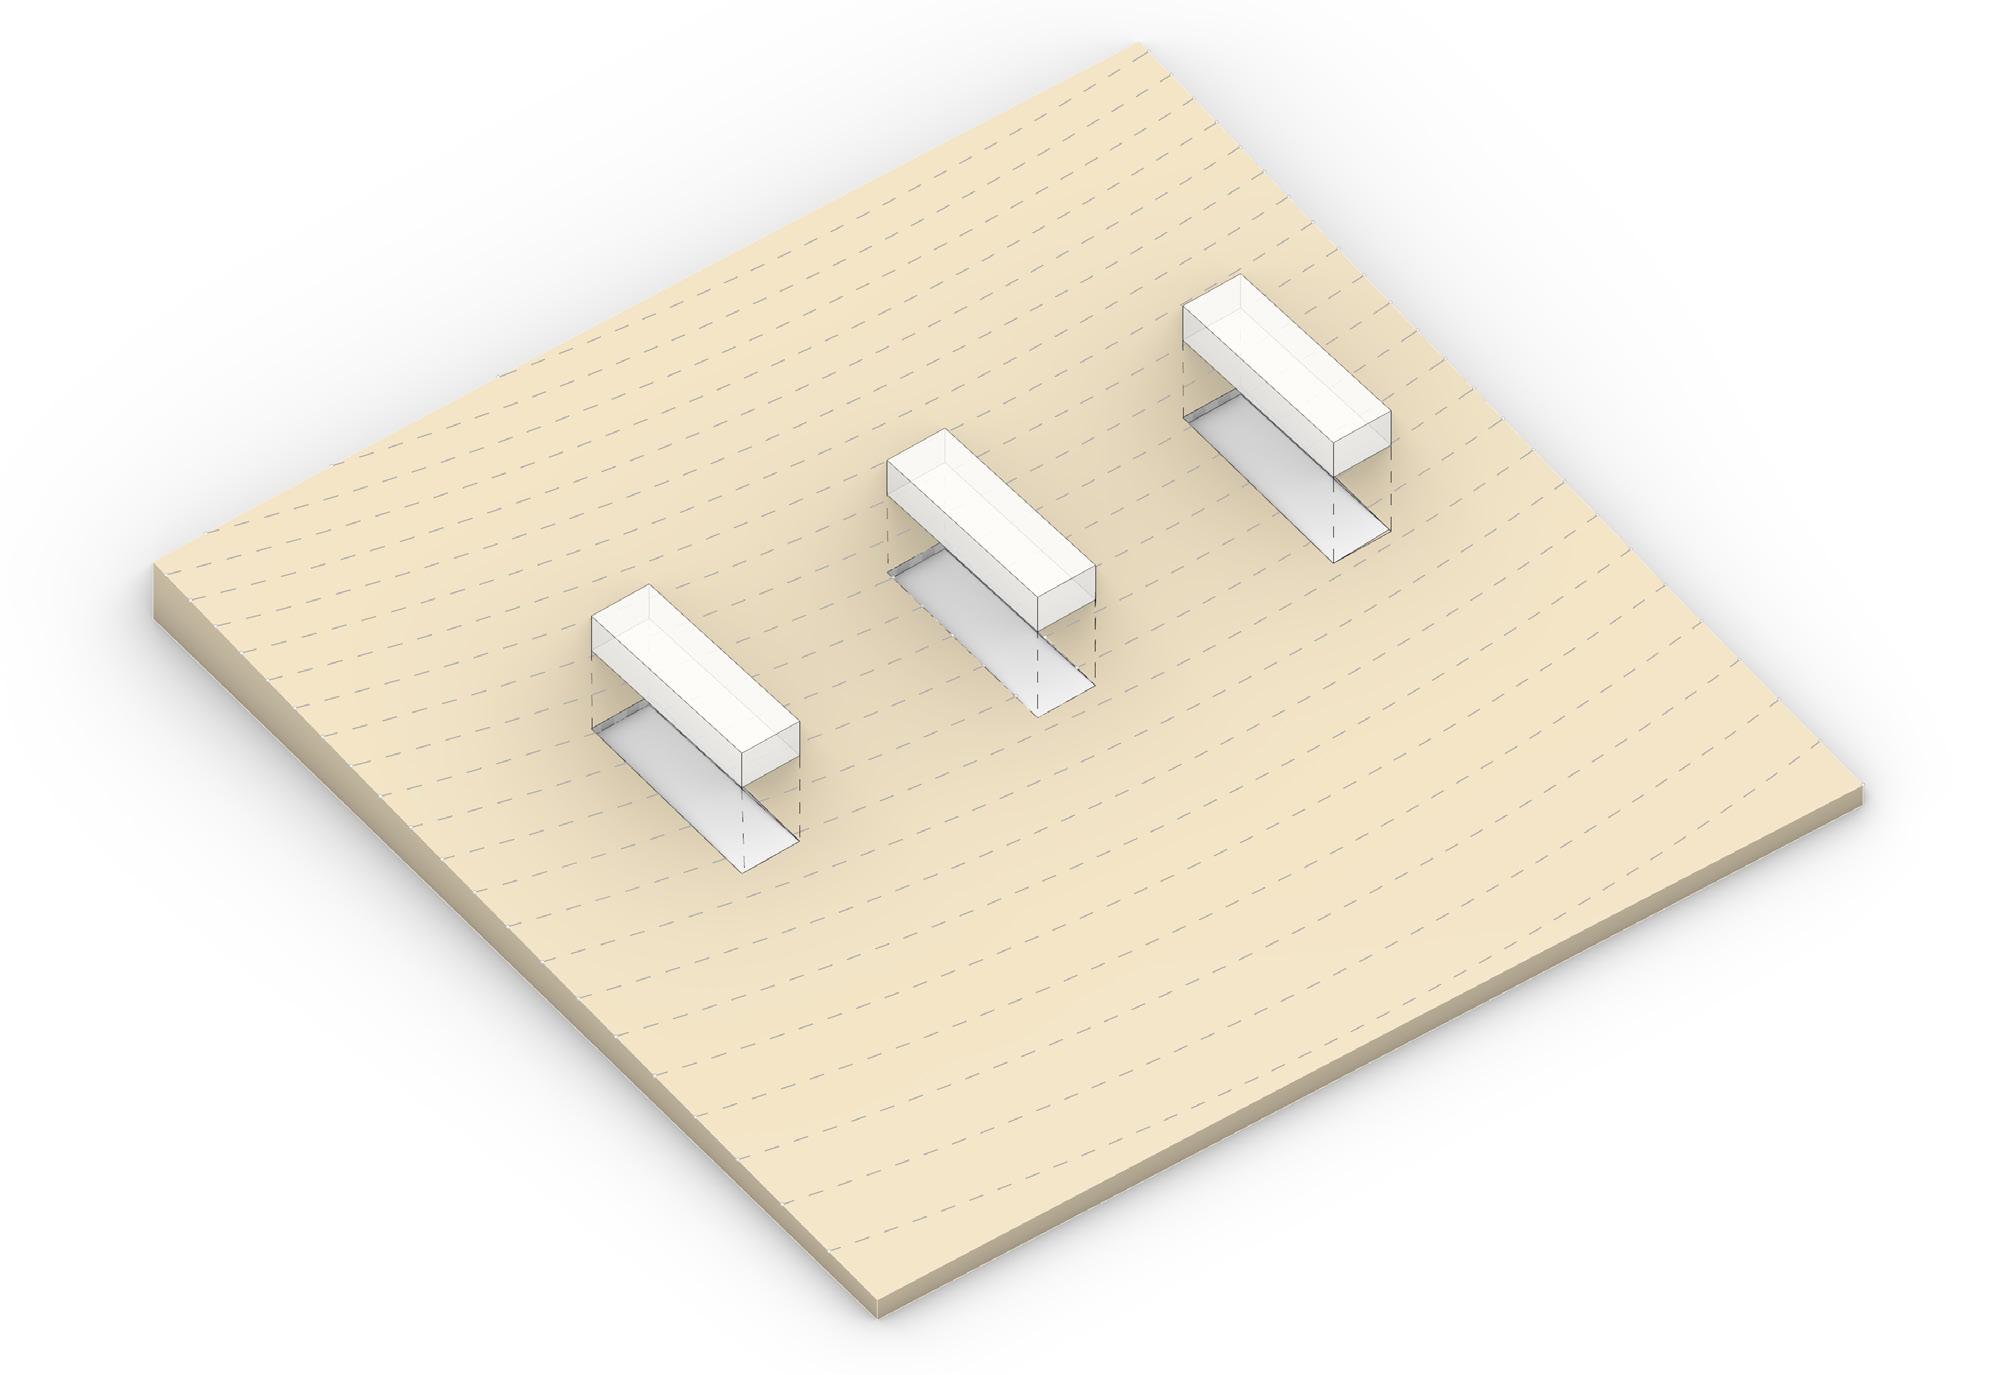
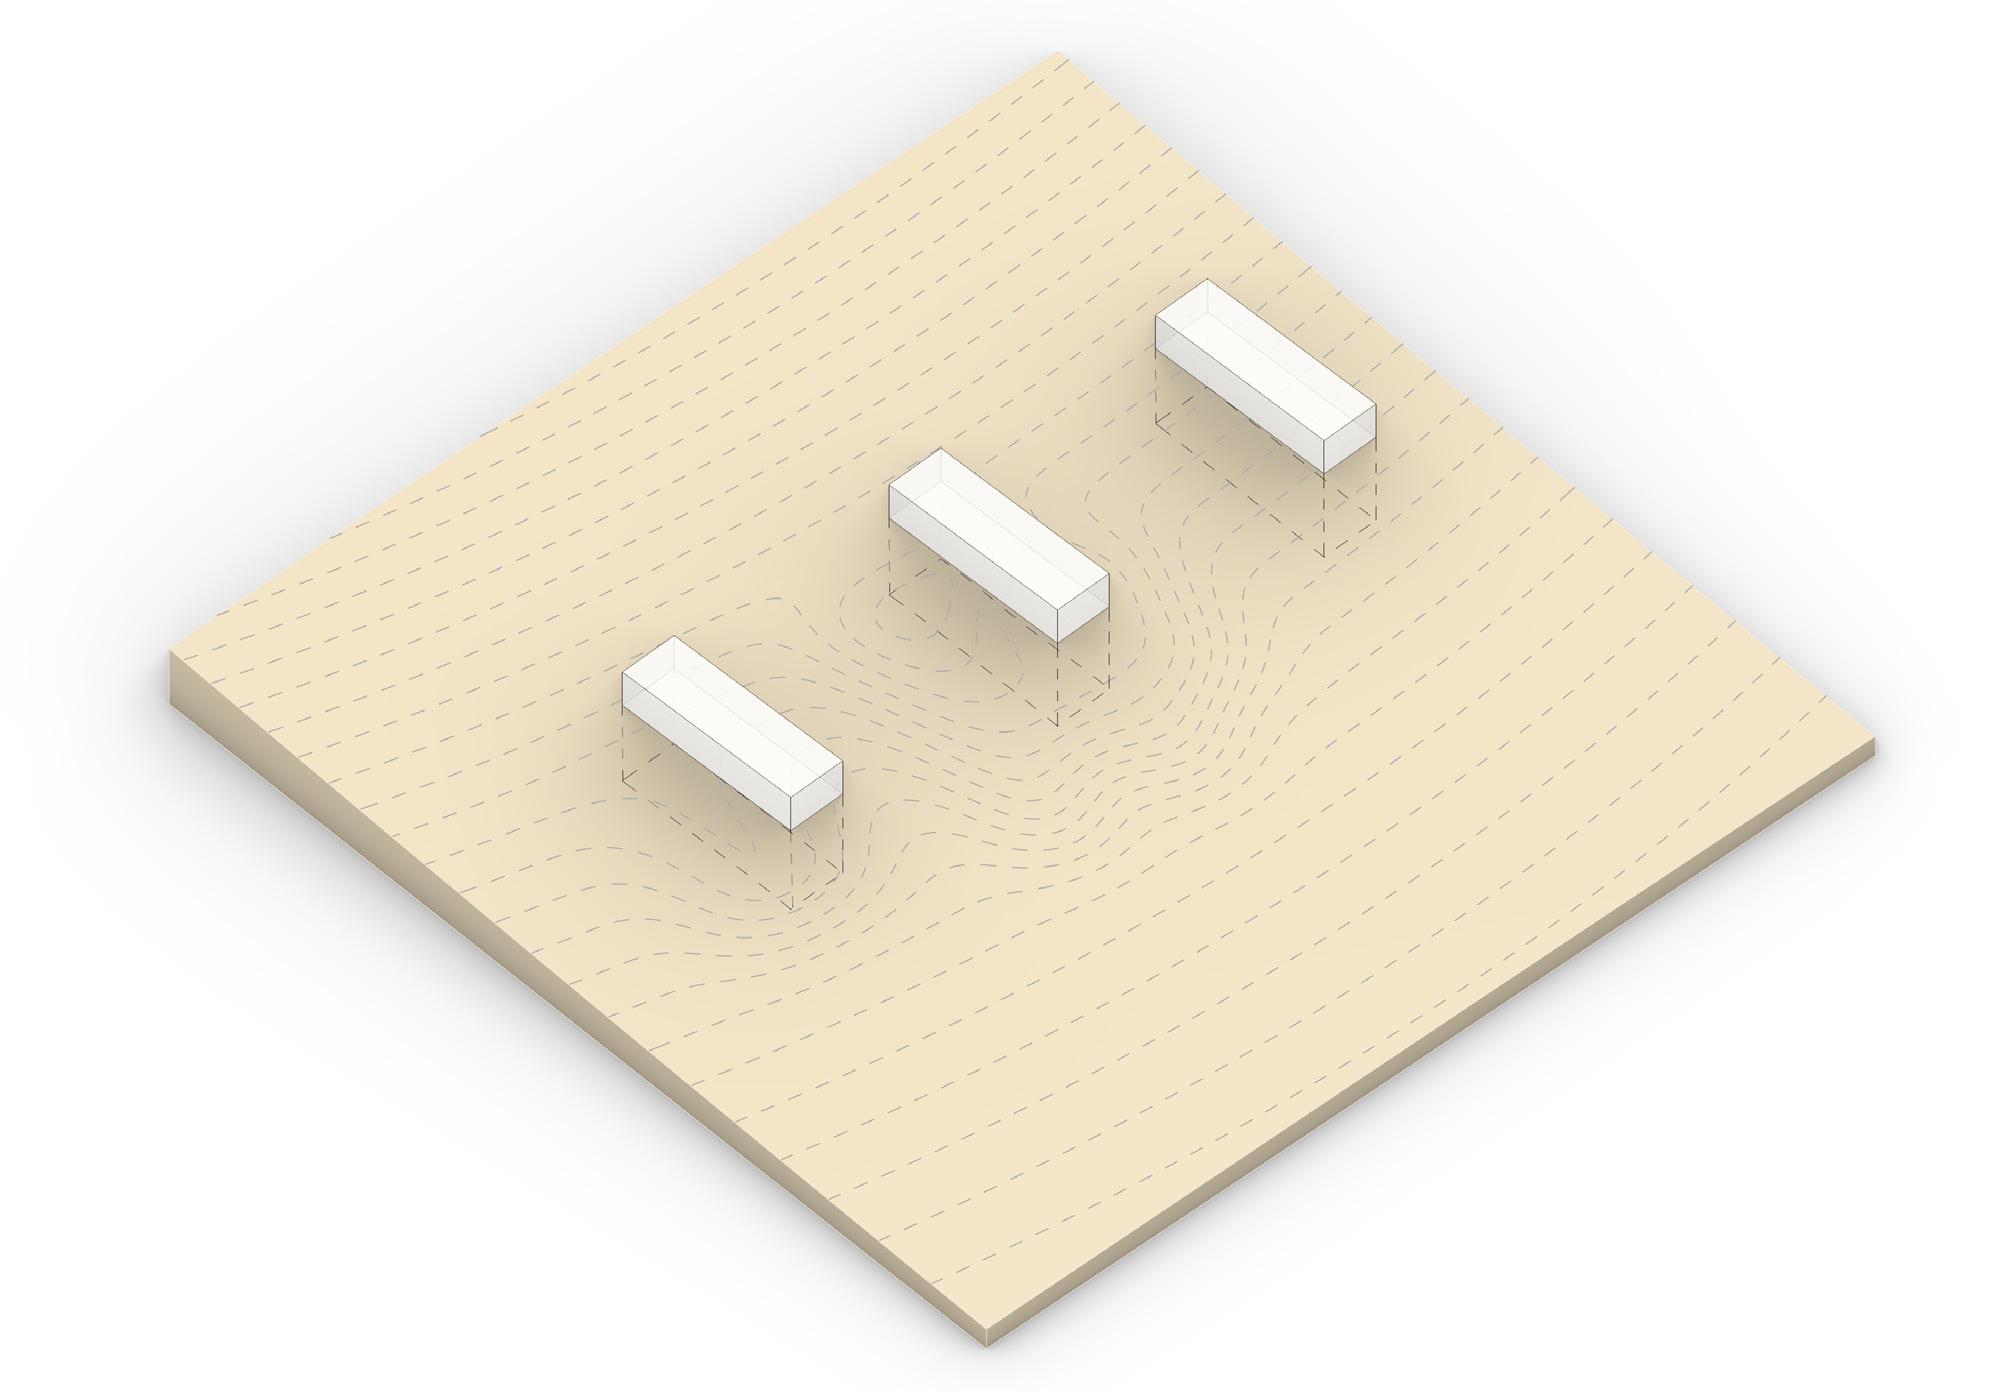
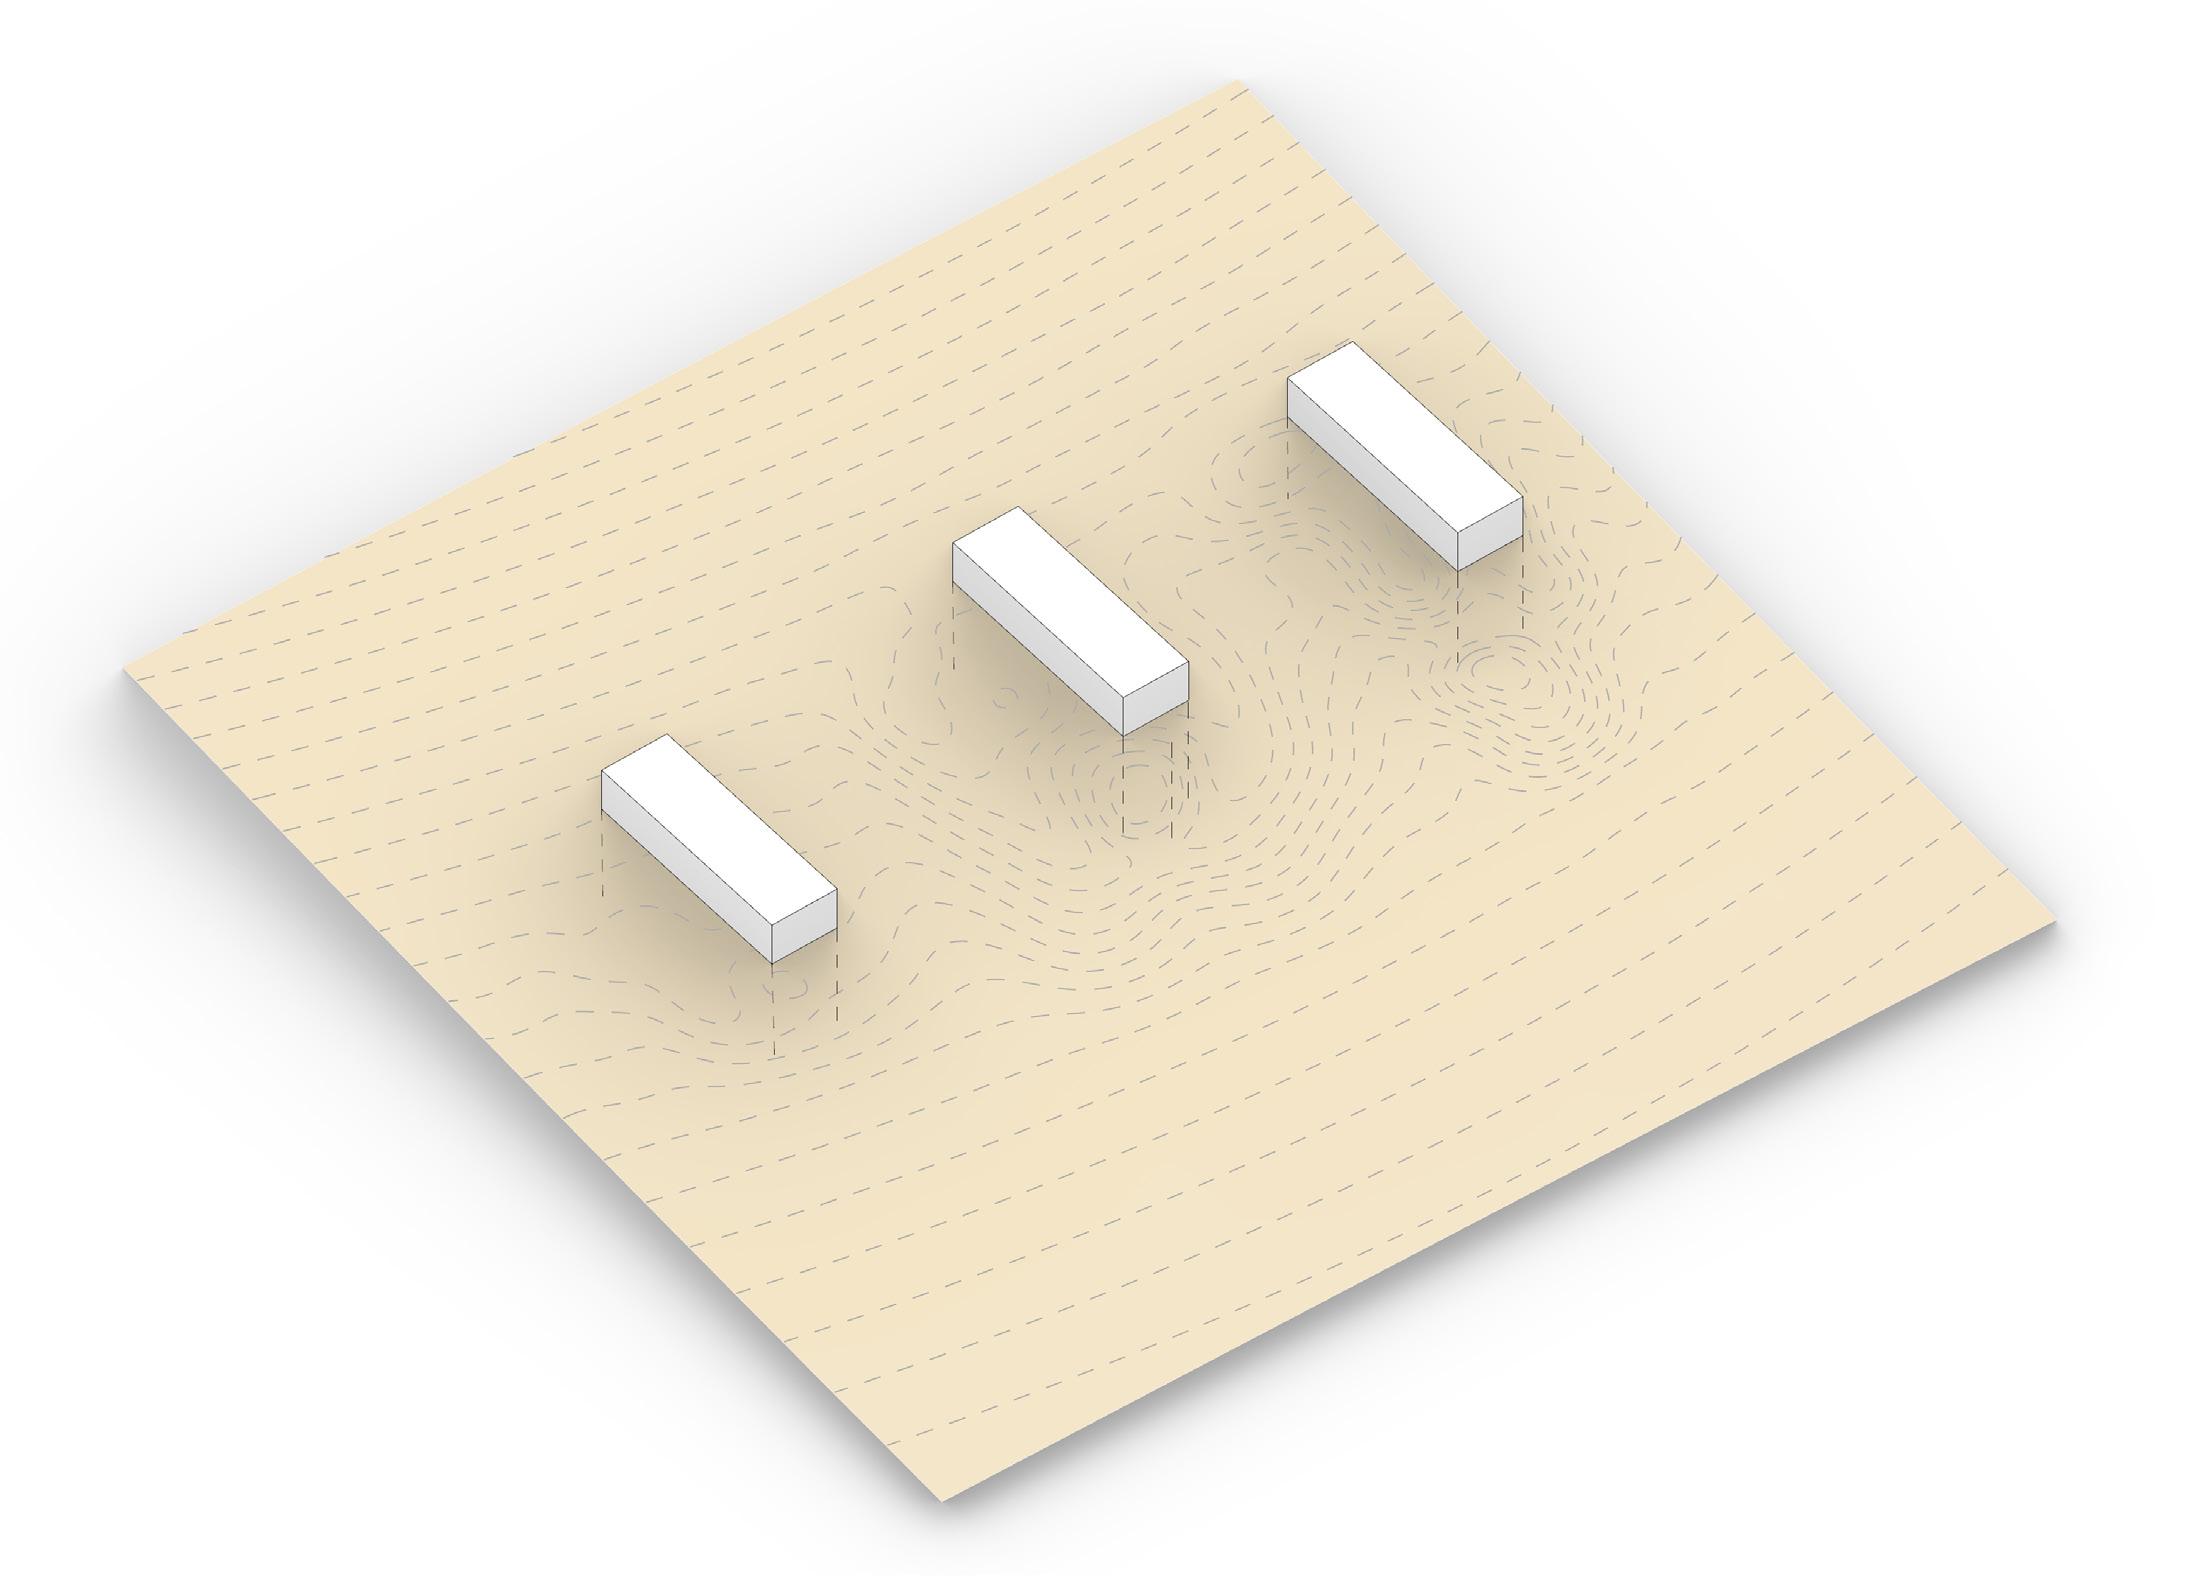
I created the topography using Caddmapper and exporting it into Rhino. From there I used dupboarder, Patch and Contour to create a smoother version of the importated one. Then adding cubes to the land in the way that water would run along them and not oush againsed them on a 500 by 500 foot square.
From there I tried
1/8” Birch wood
2” birch wood
Paint
1/4” scale figure
three different wats of moving the topography to better fit the cube. The first method was subtractive, where we cut into the land. The second was addative, moving the land up to fit the sitting cubes. Lastly was an addition to additive by shapping the land dot by dot.
This allowed for a better understanding on how topography worlks.
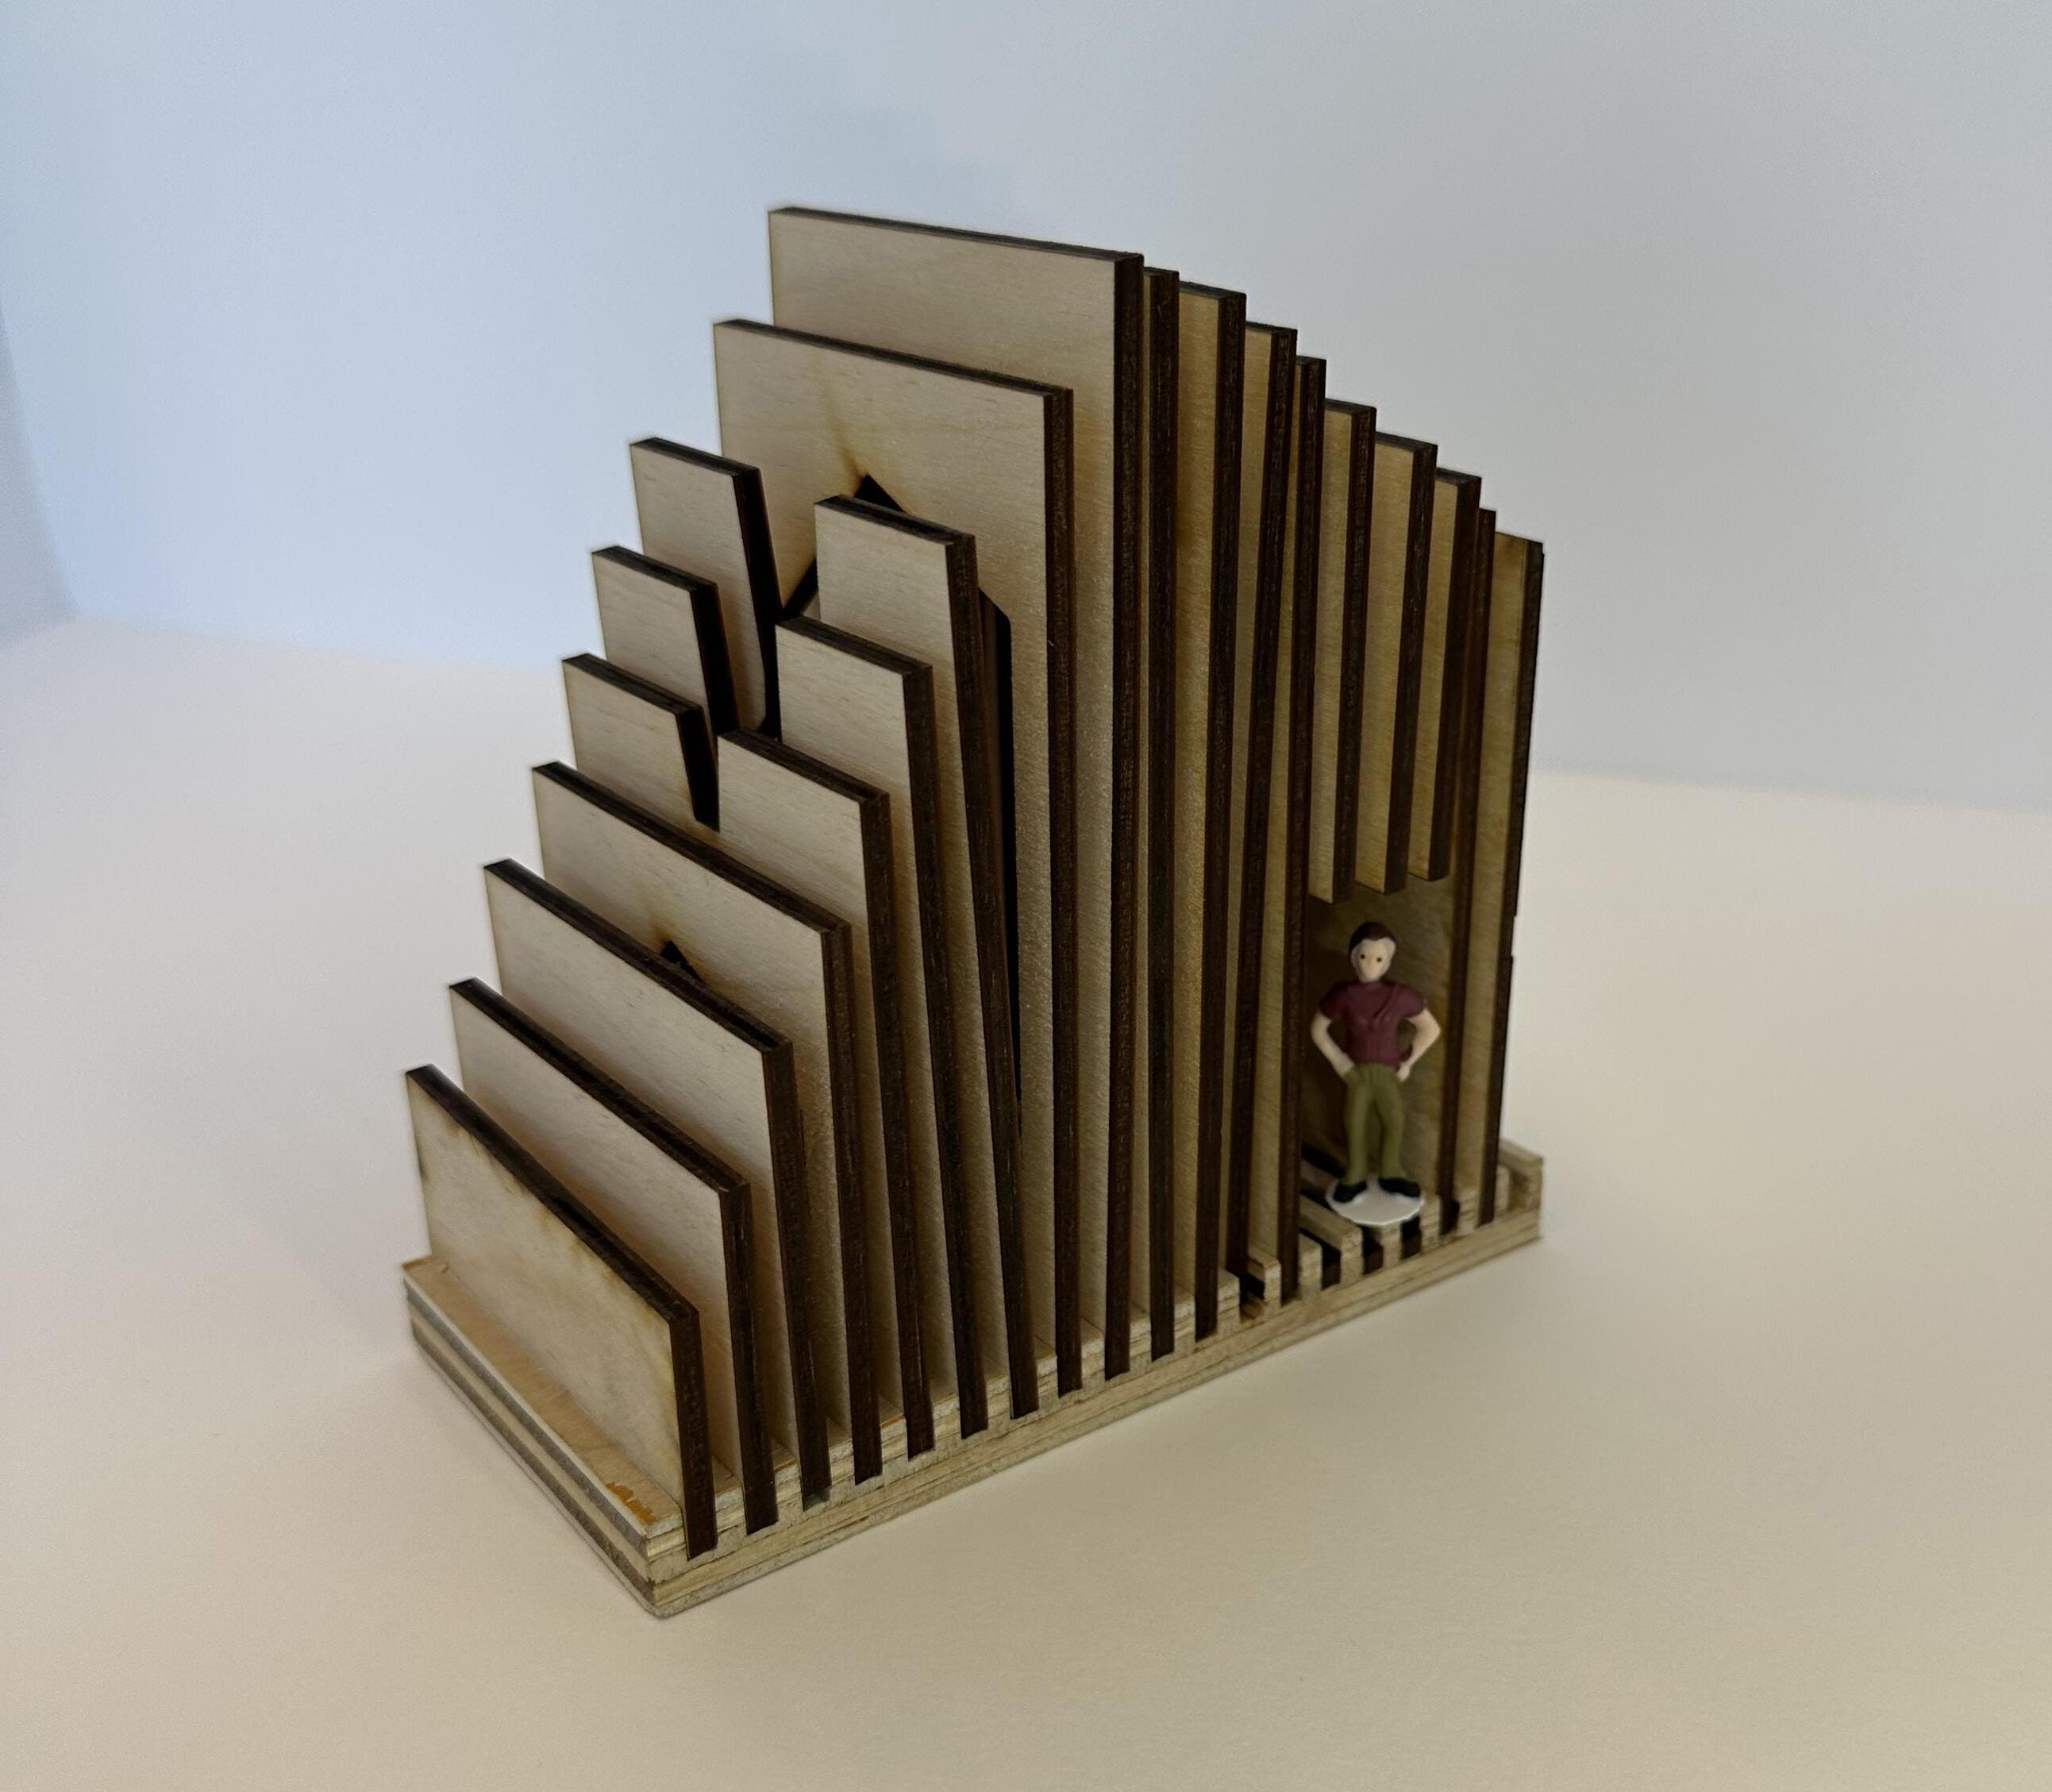
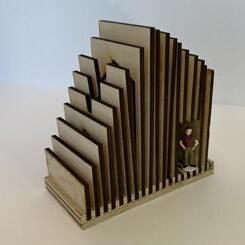
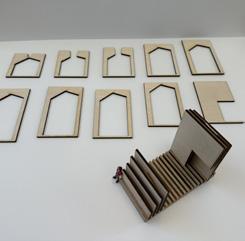
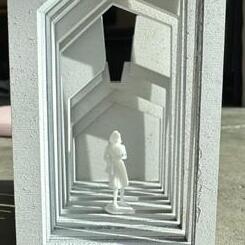
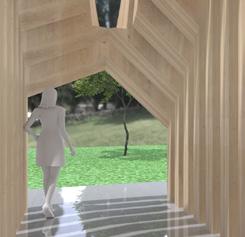
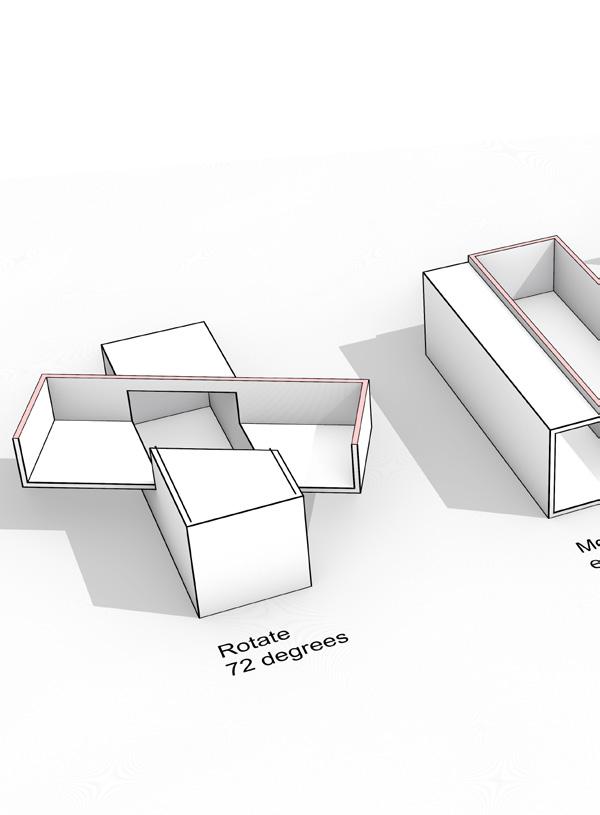
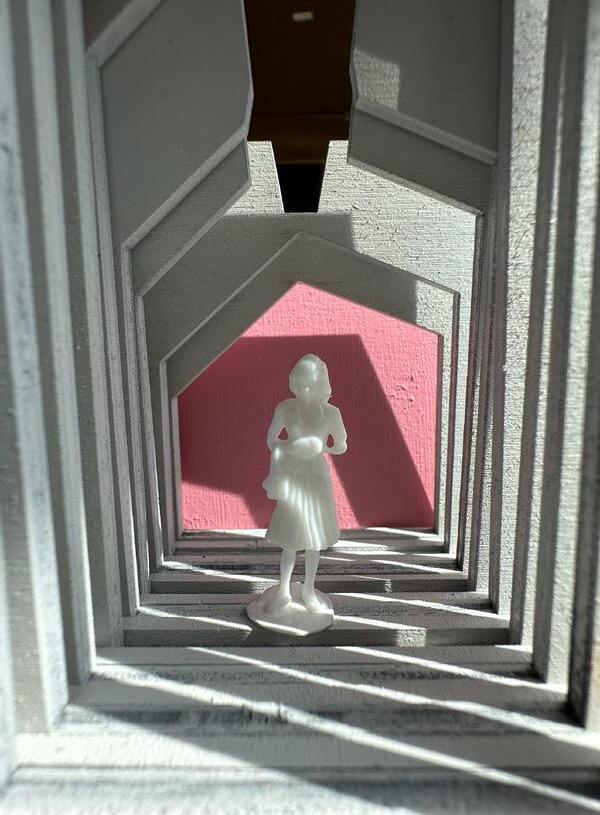
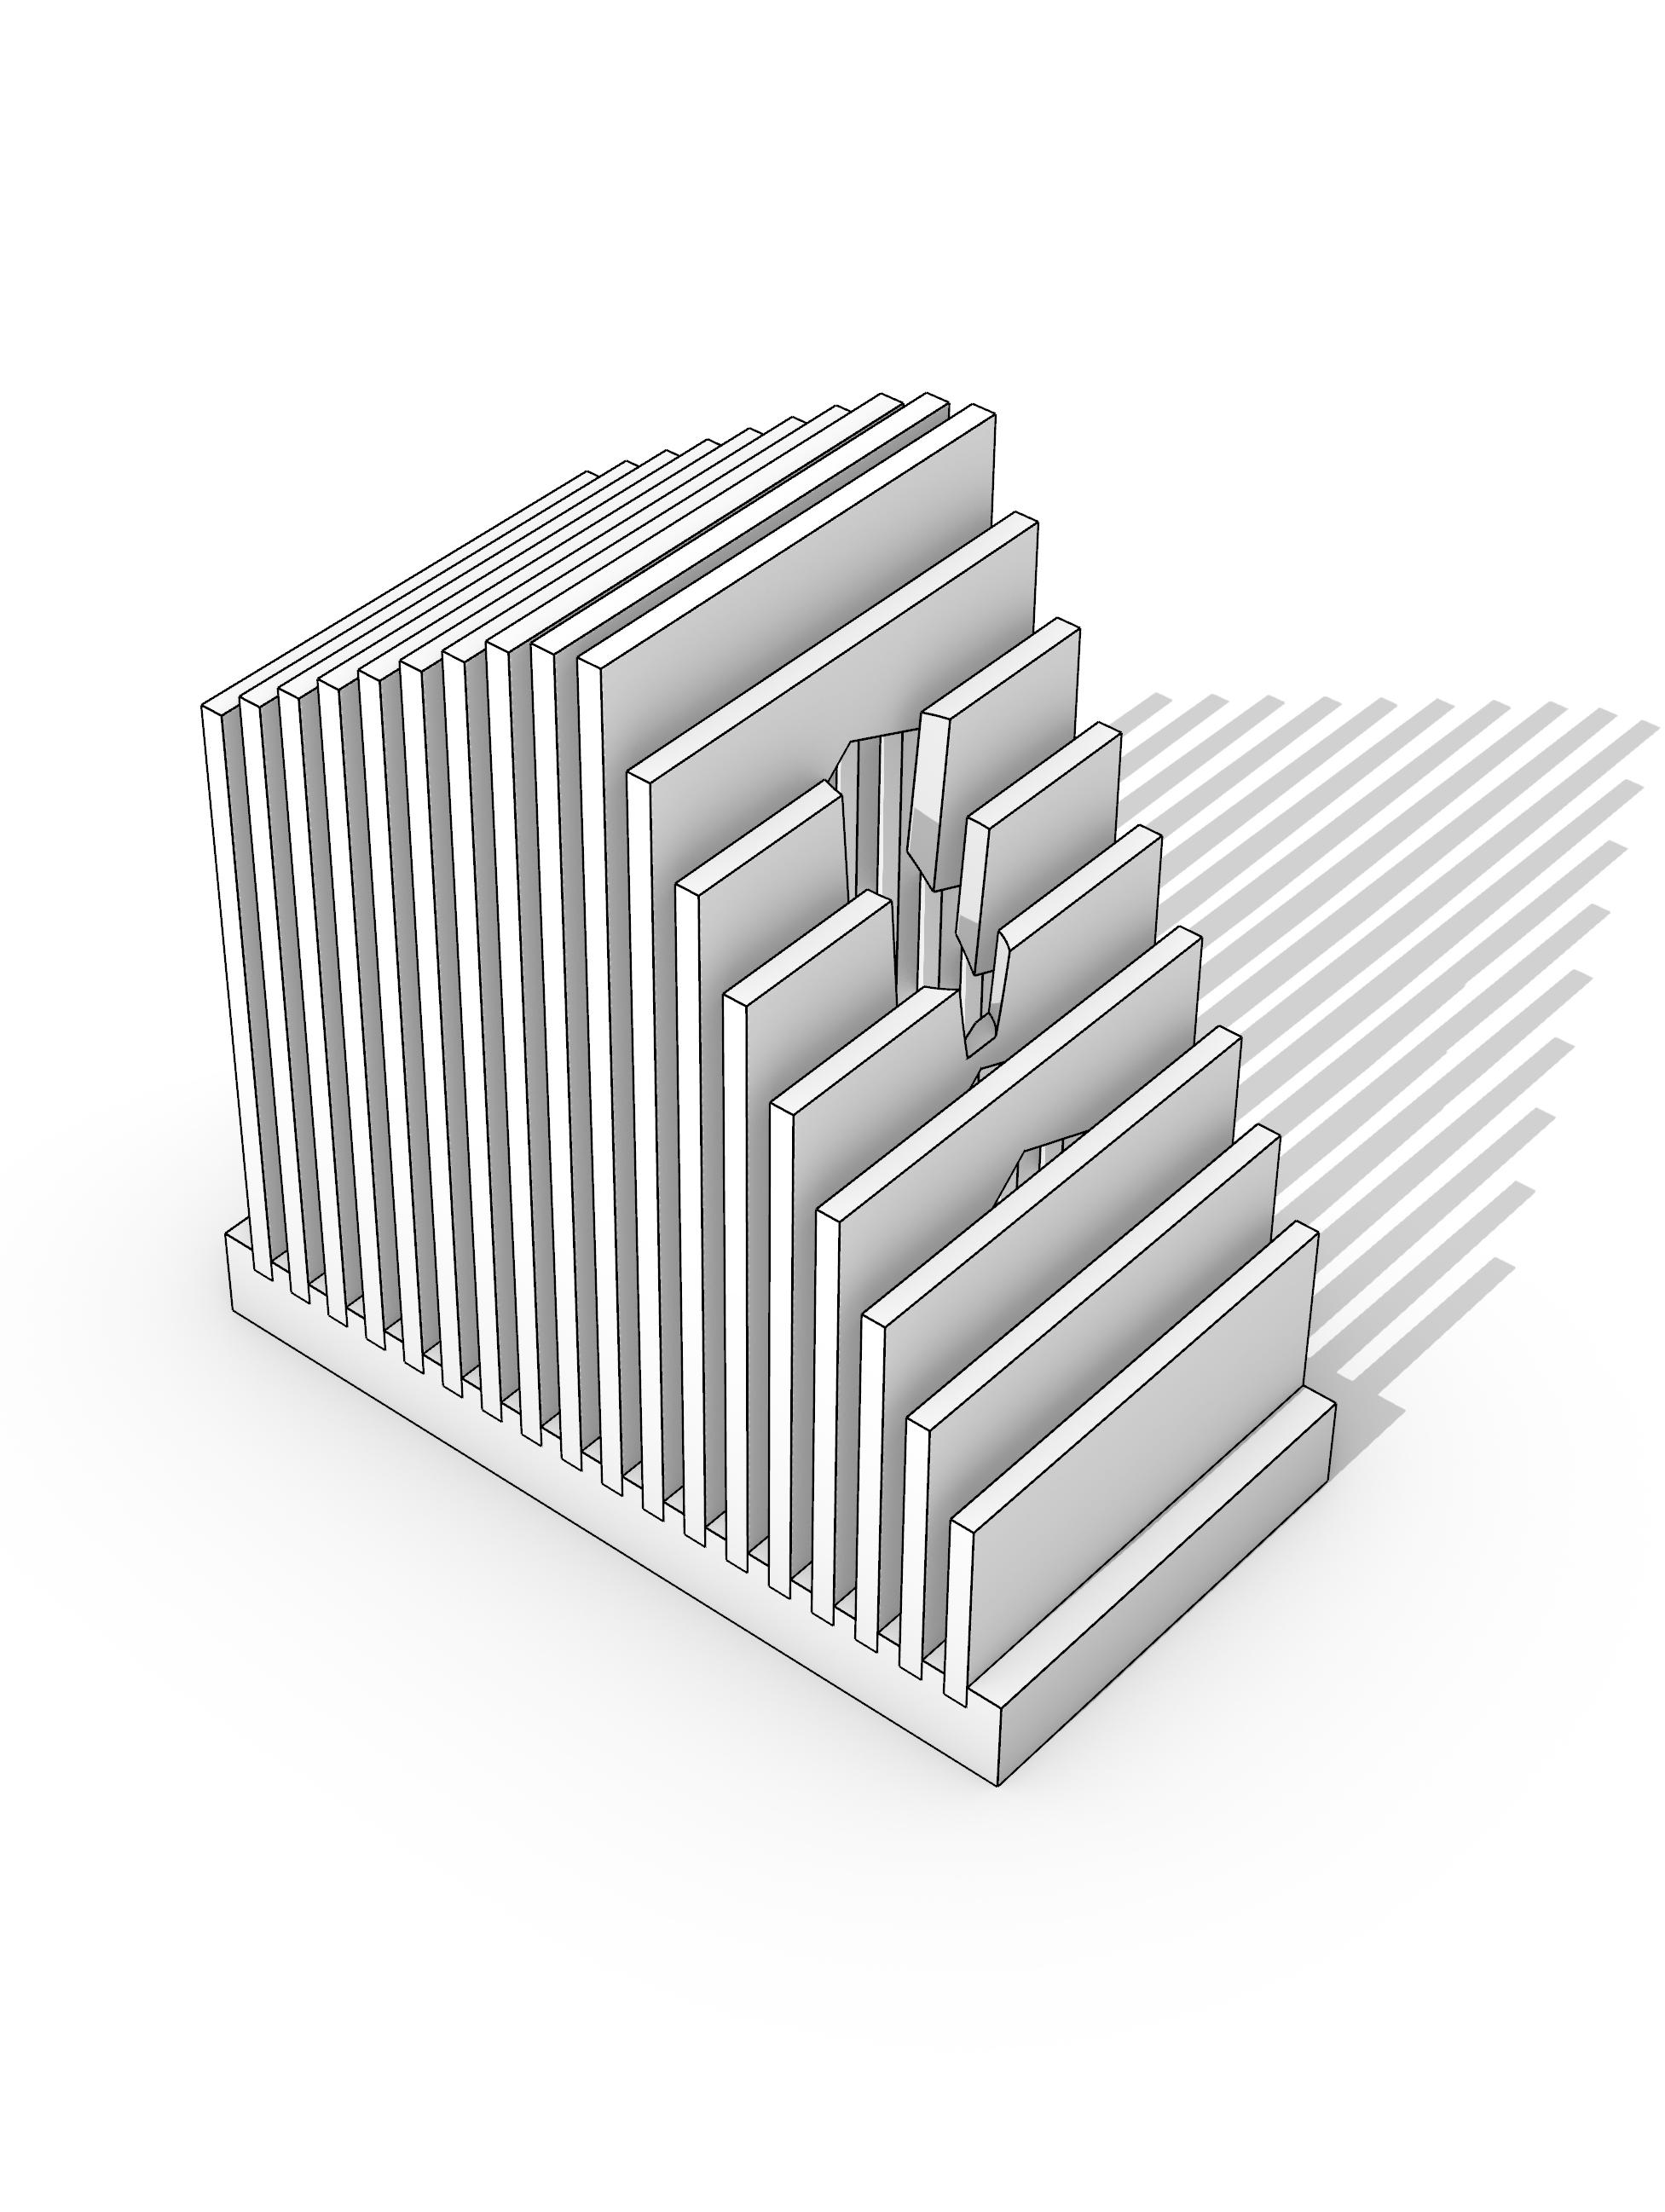
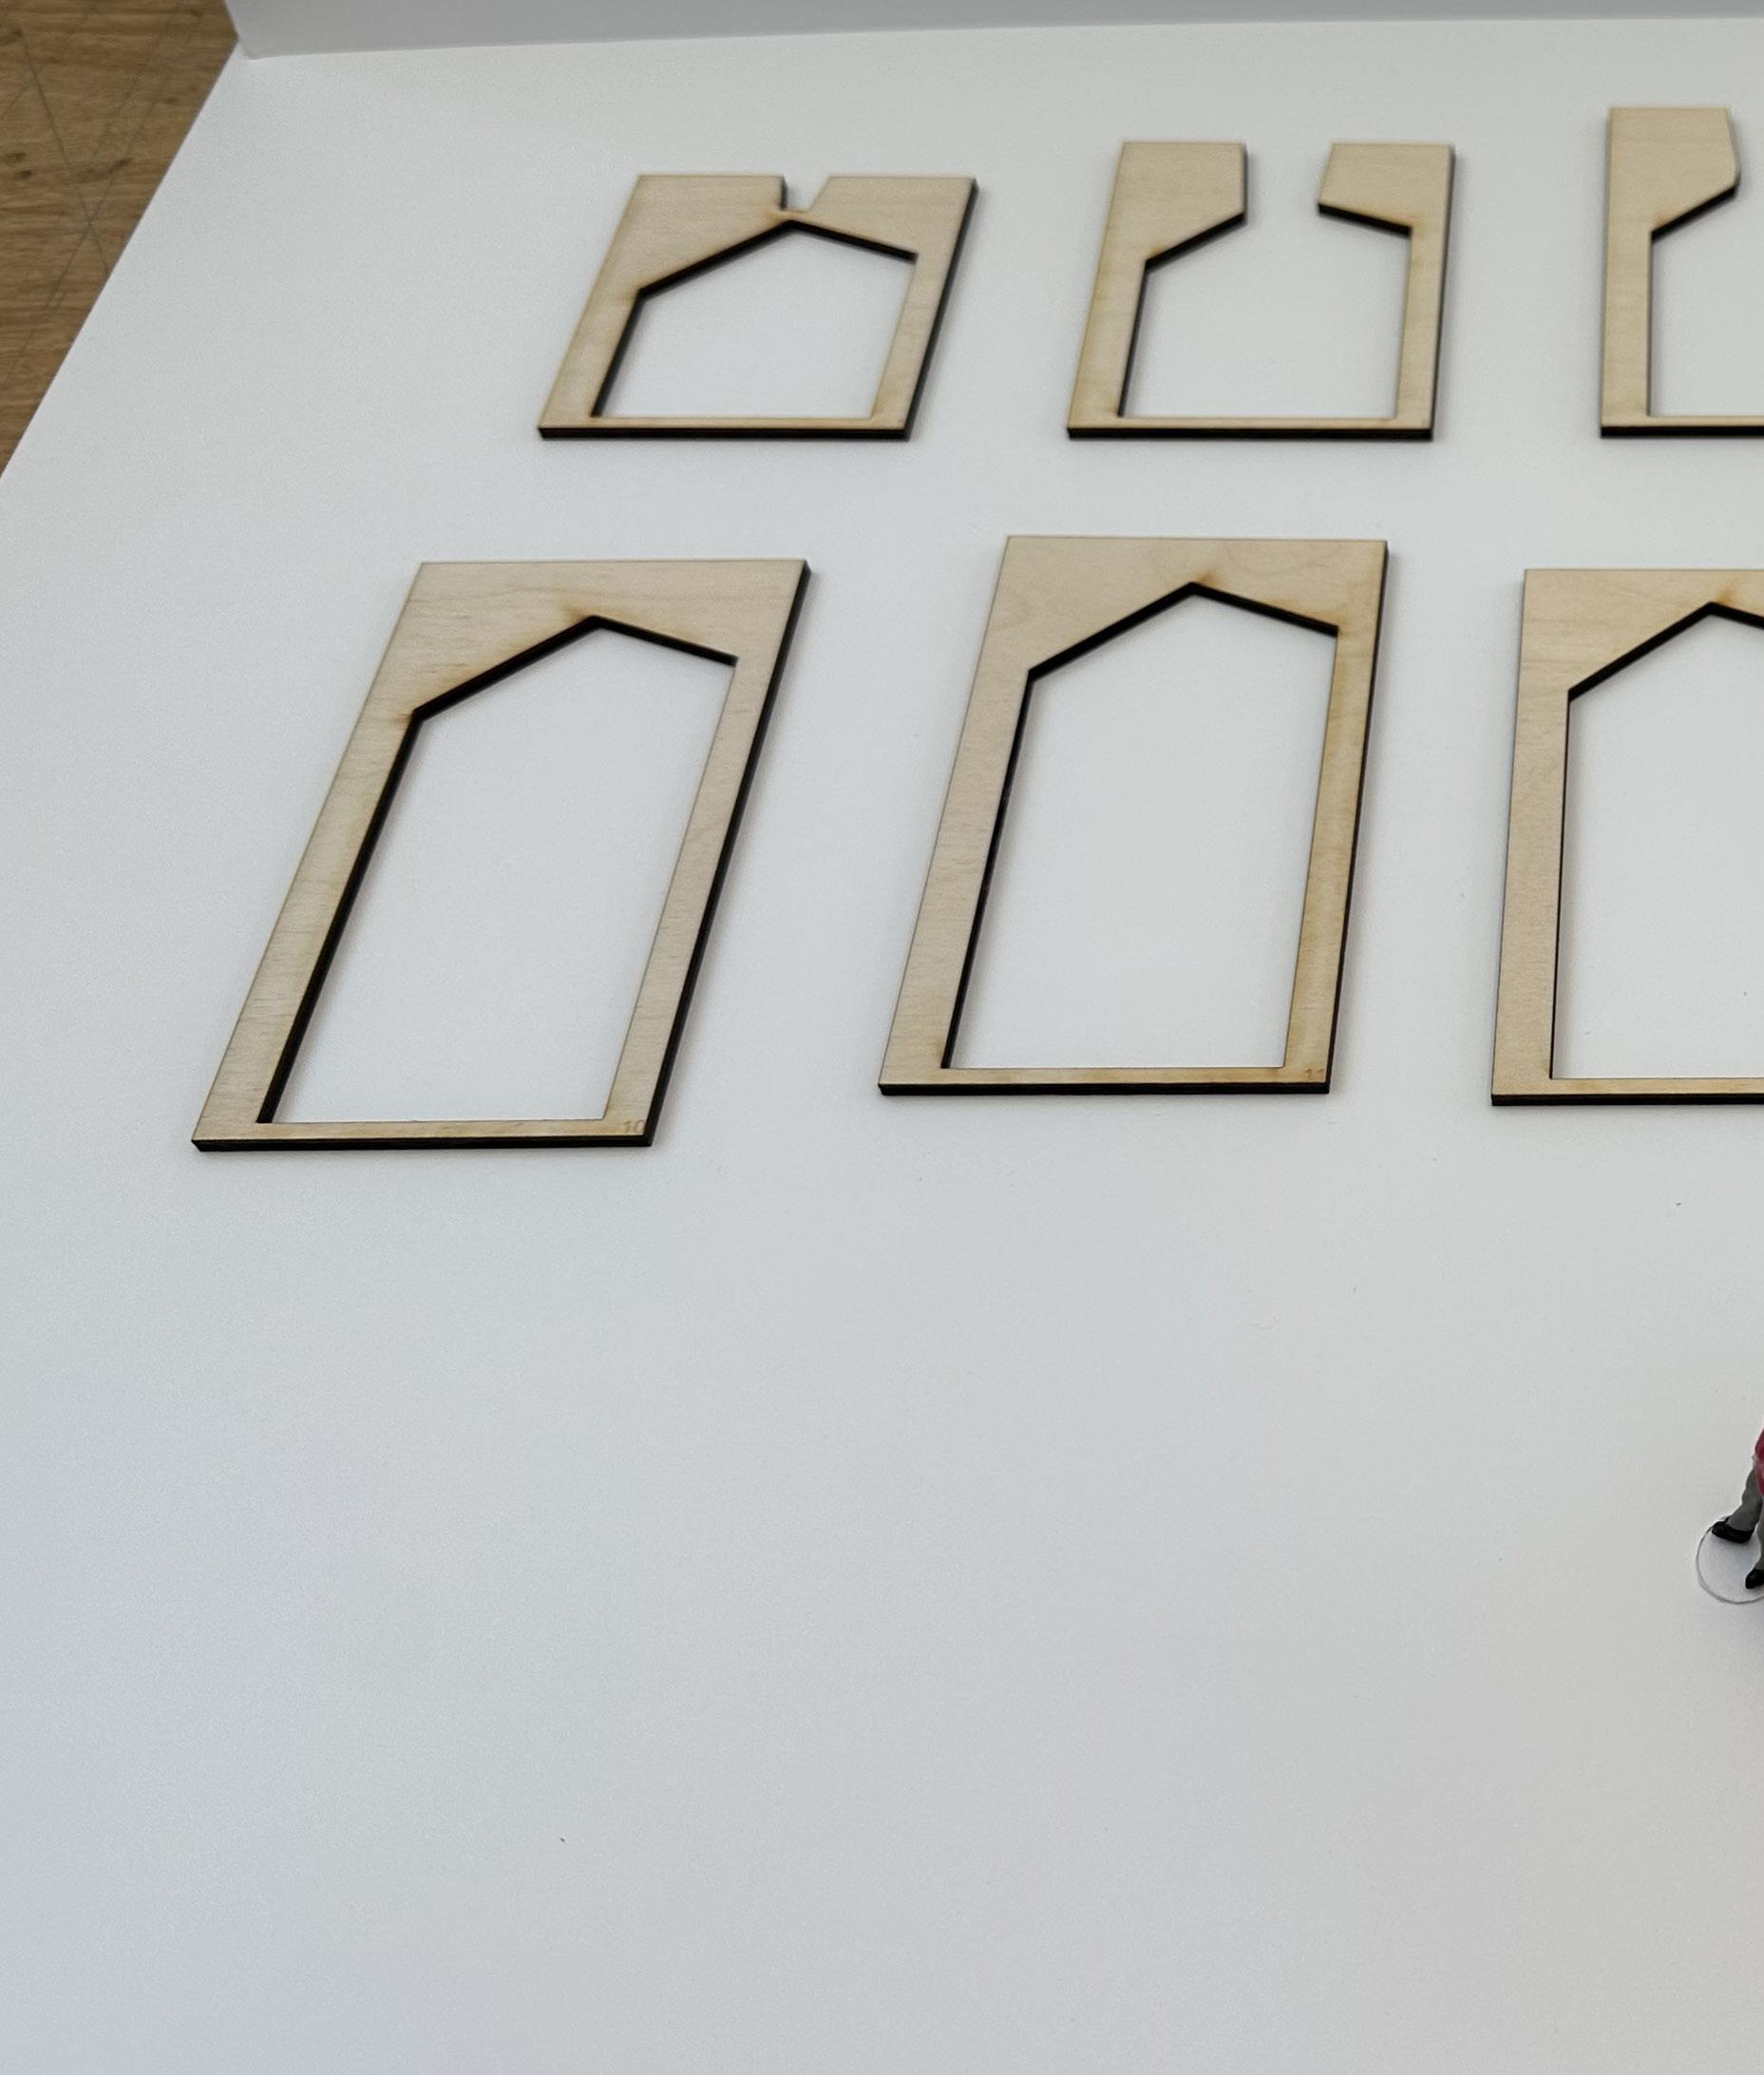
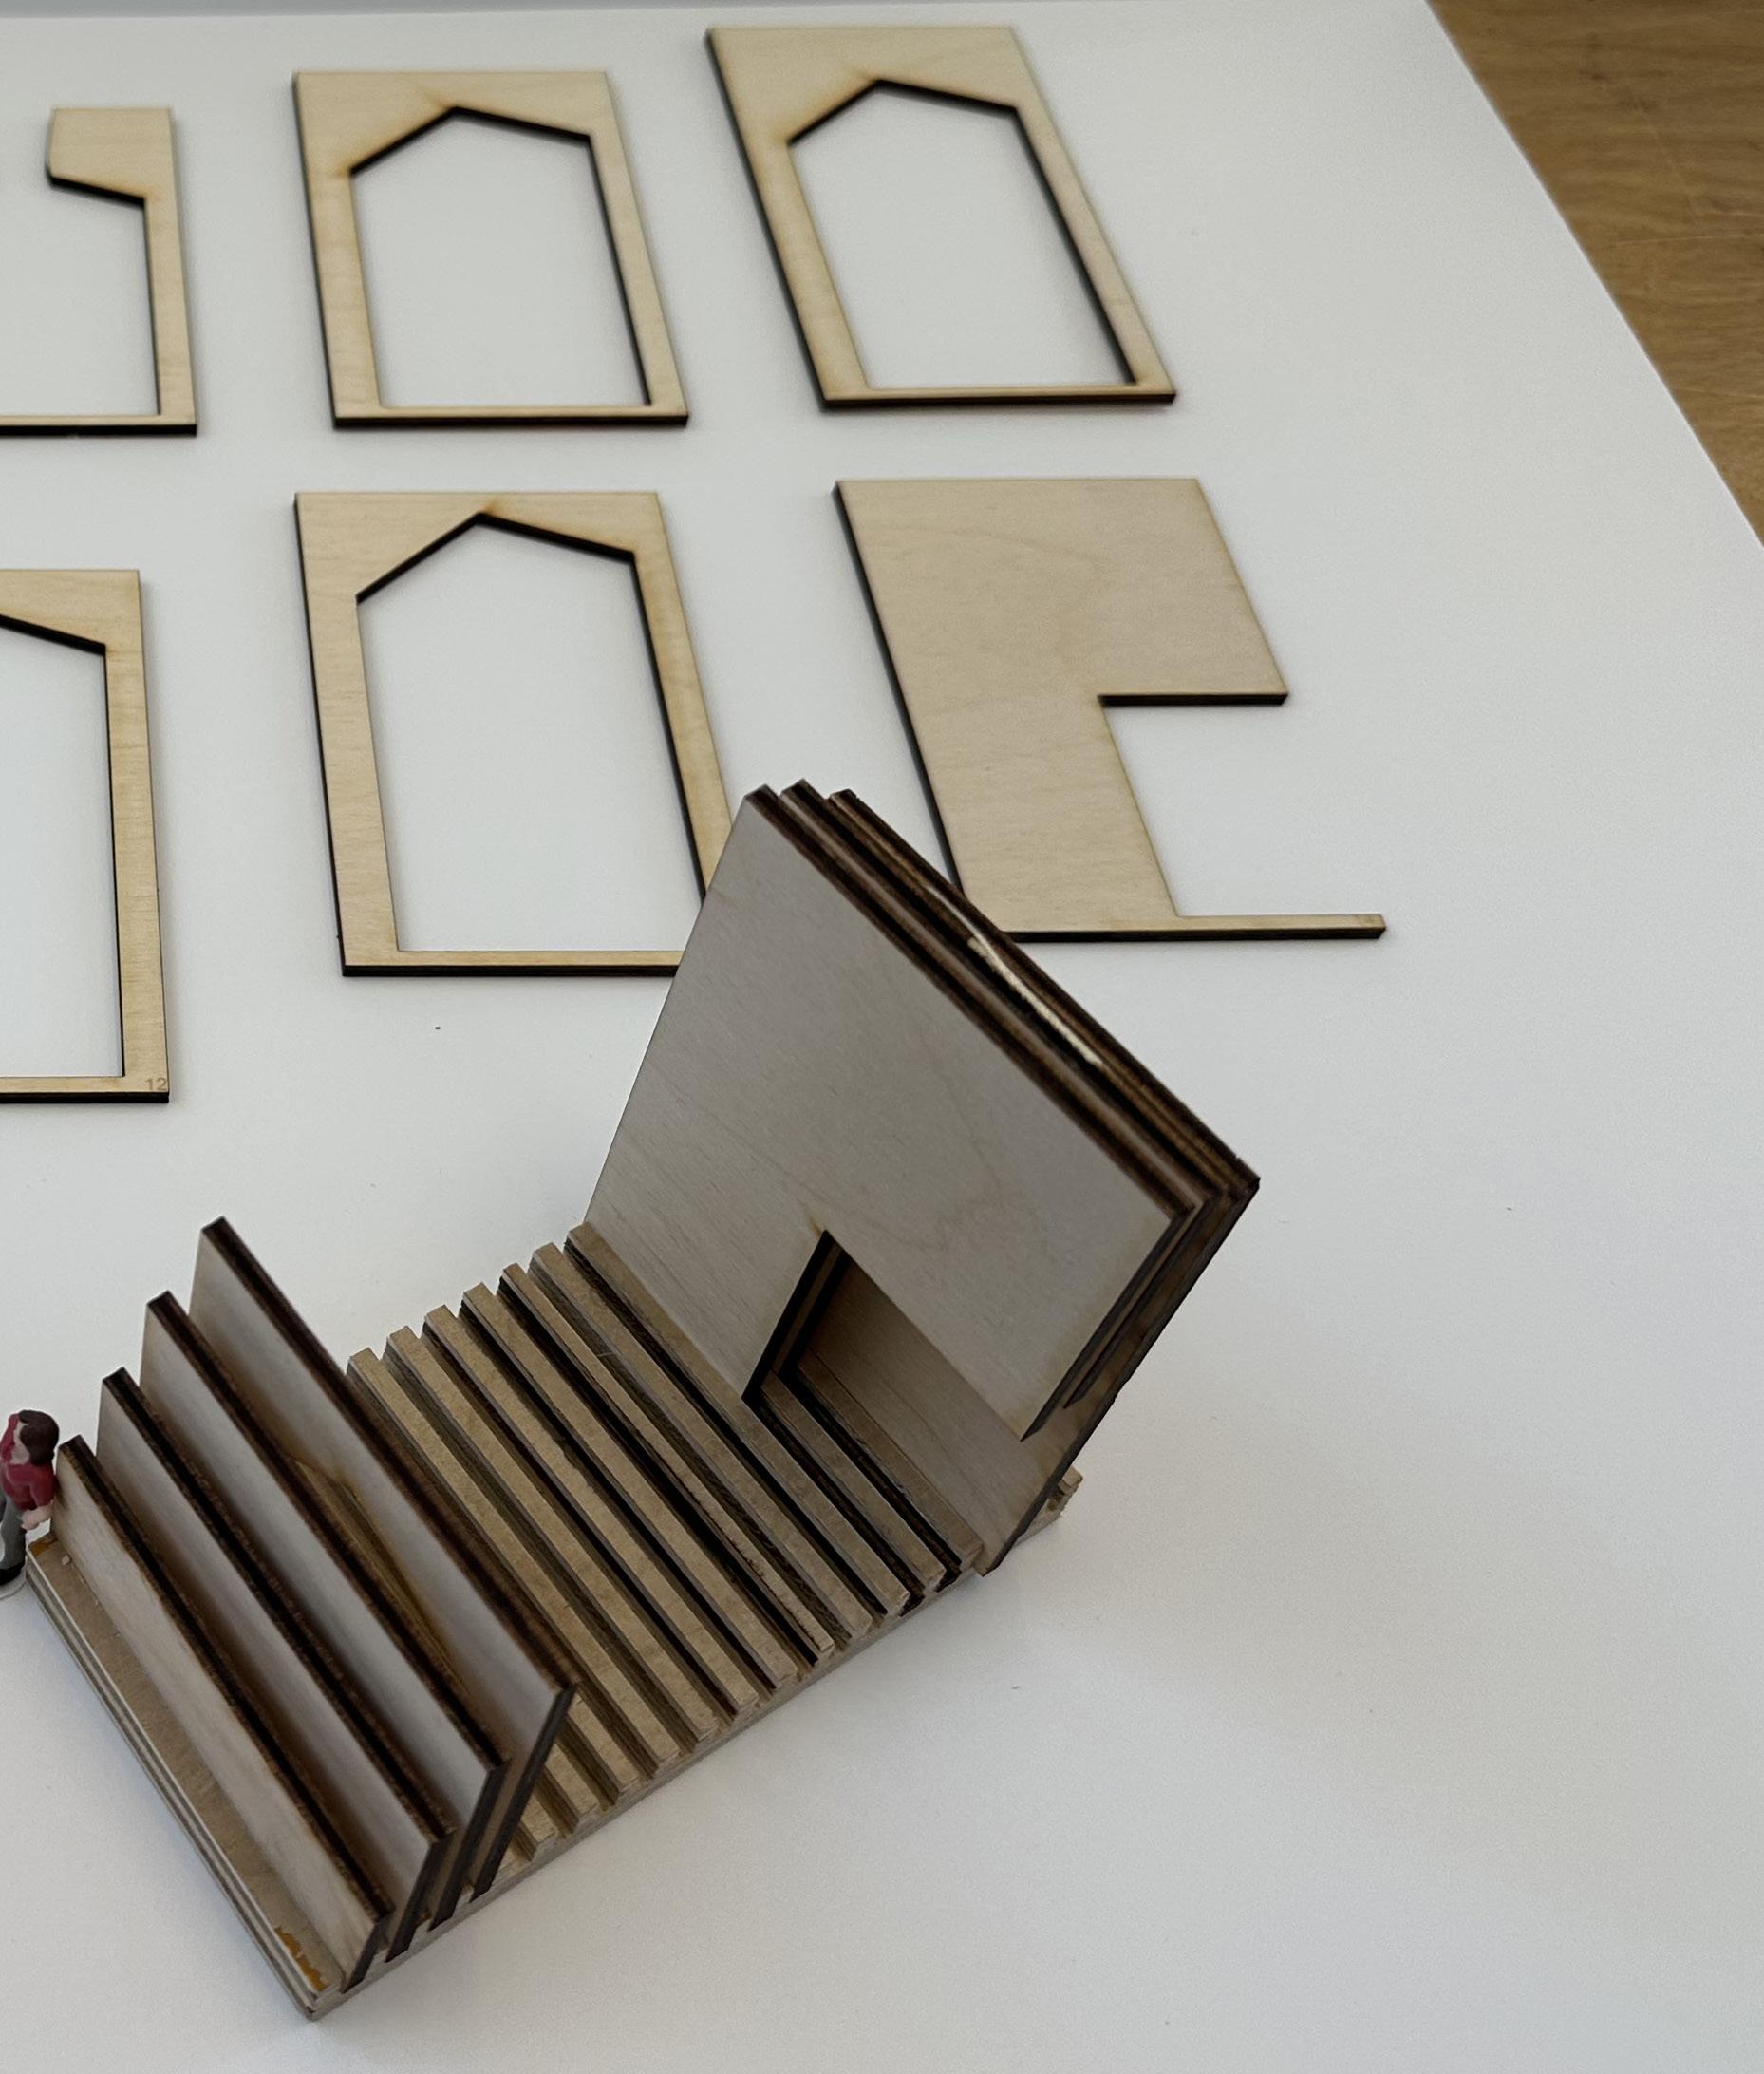
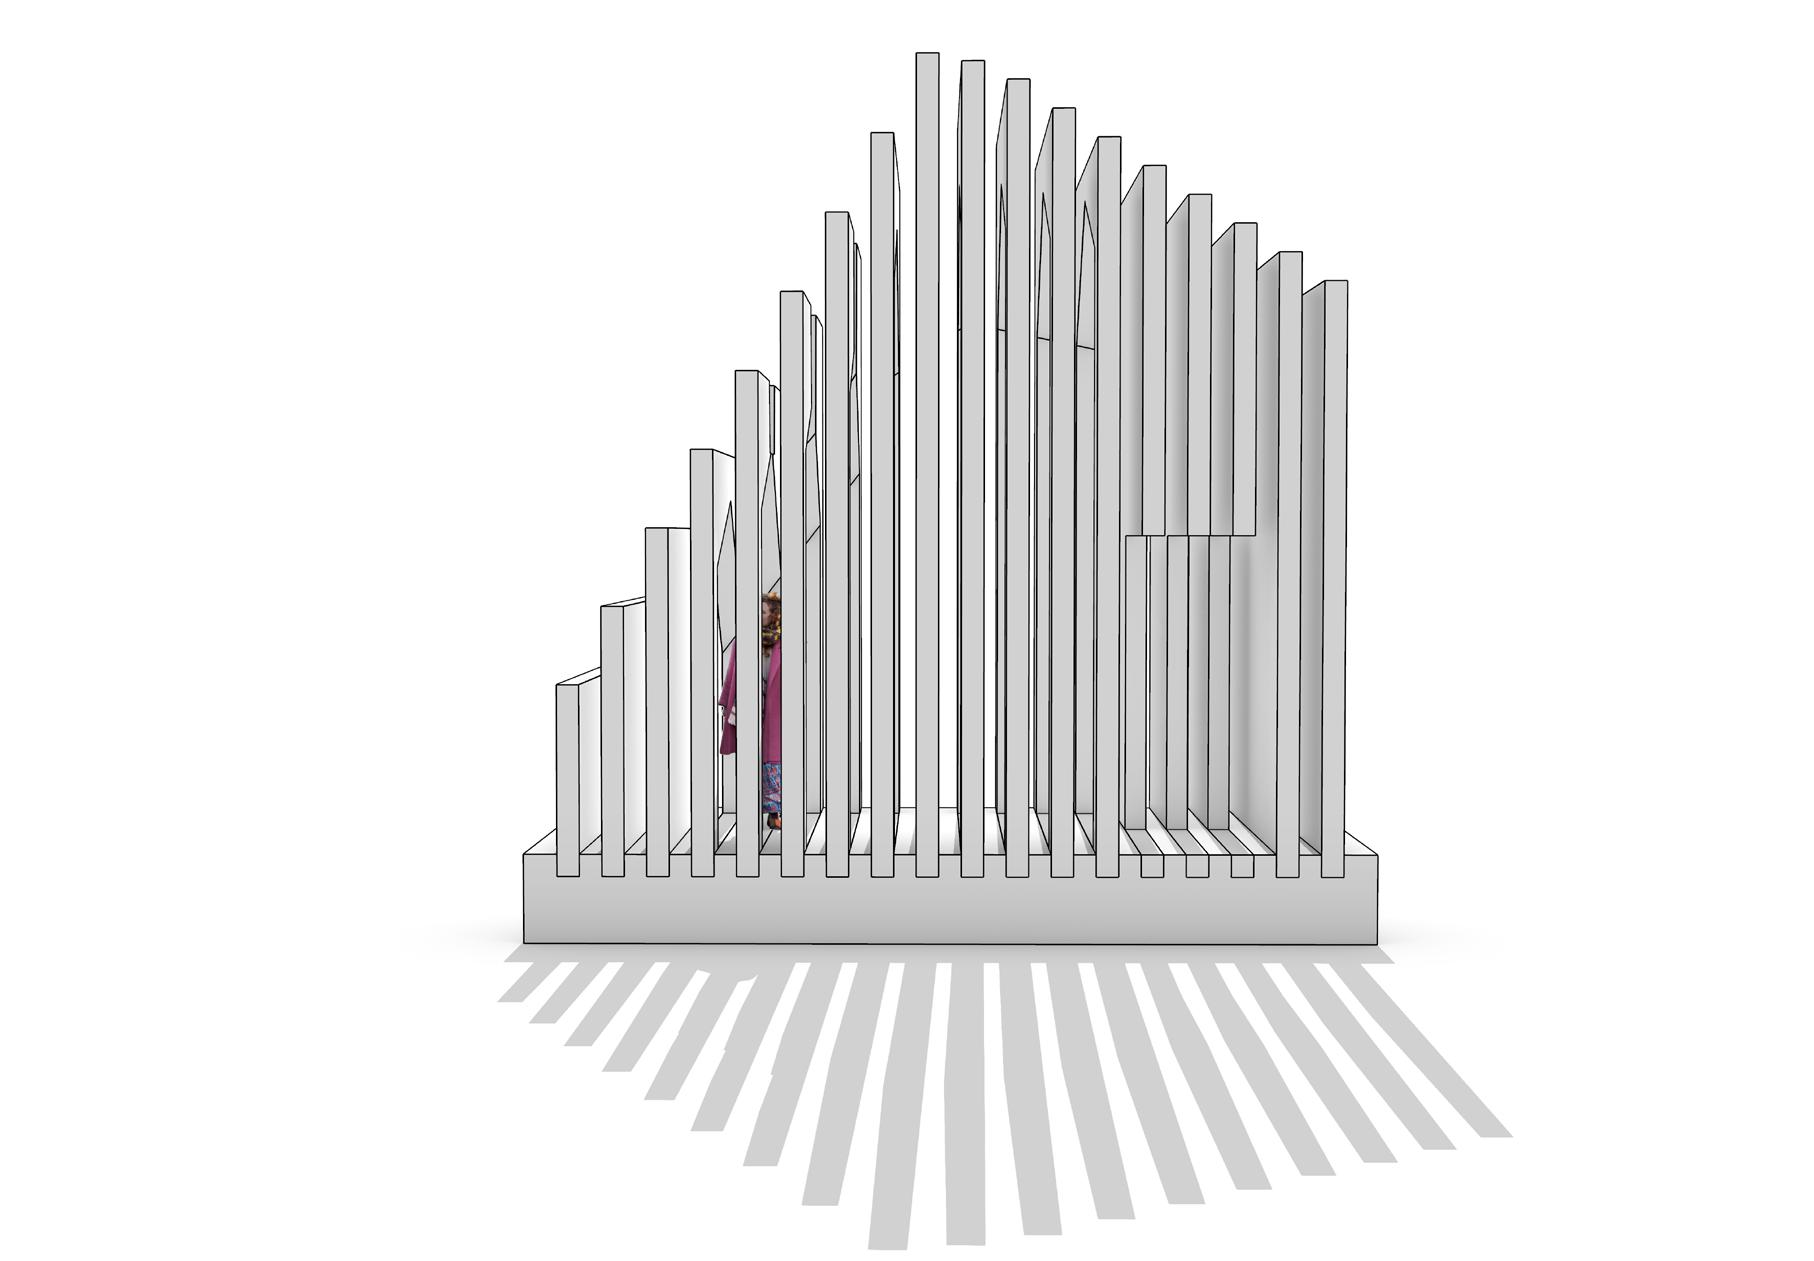
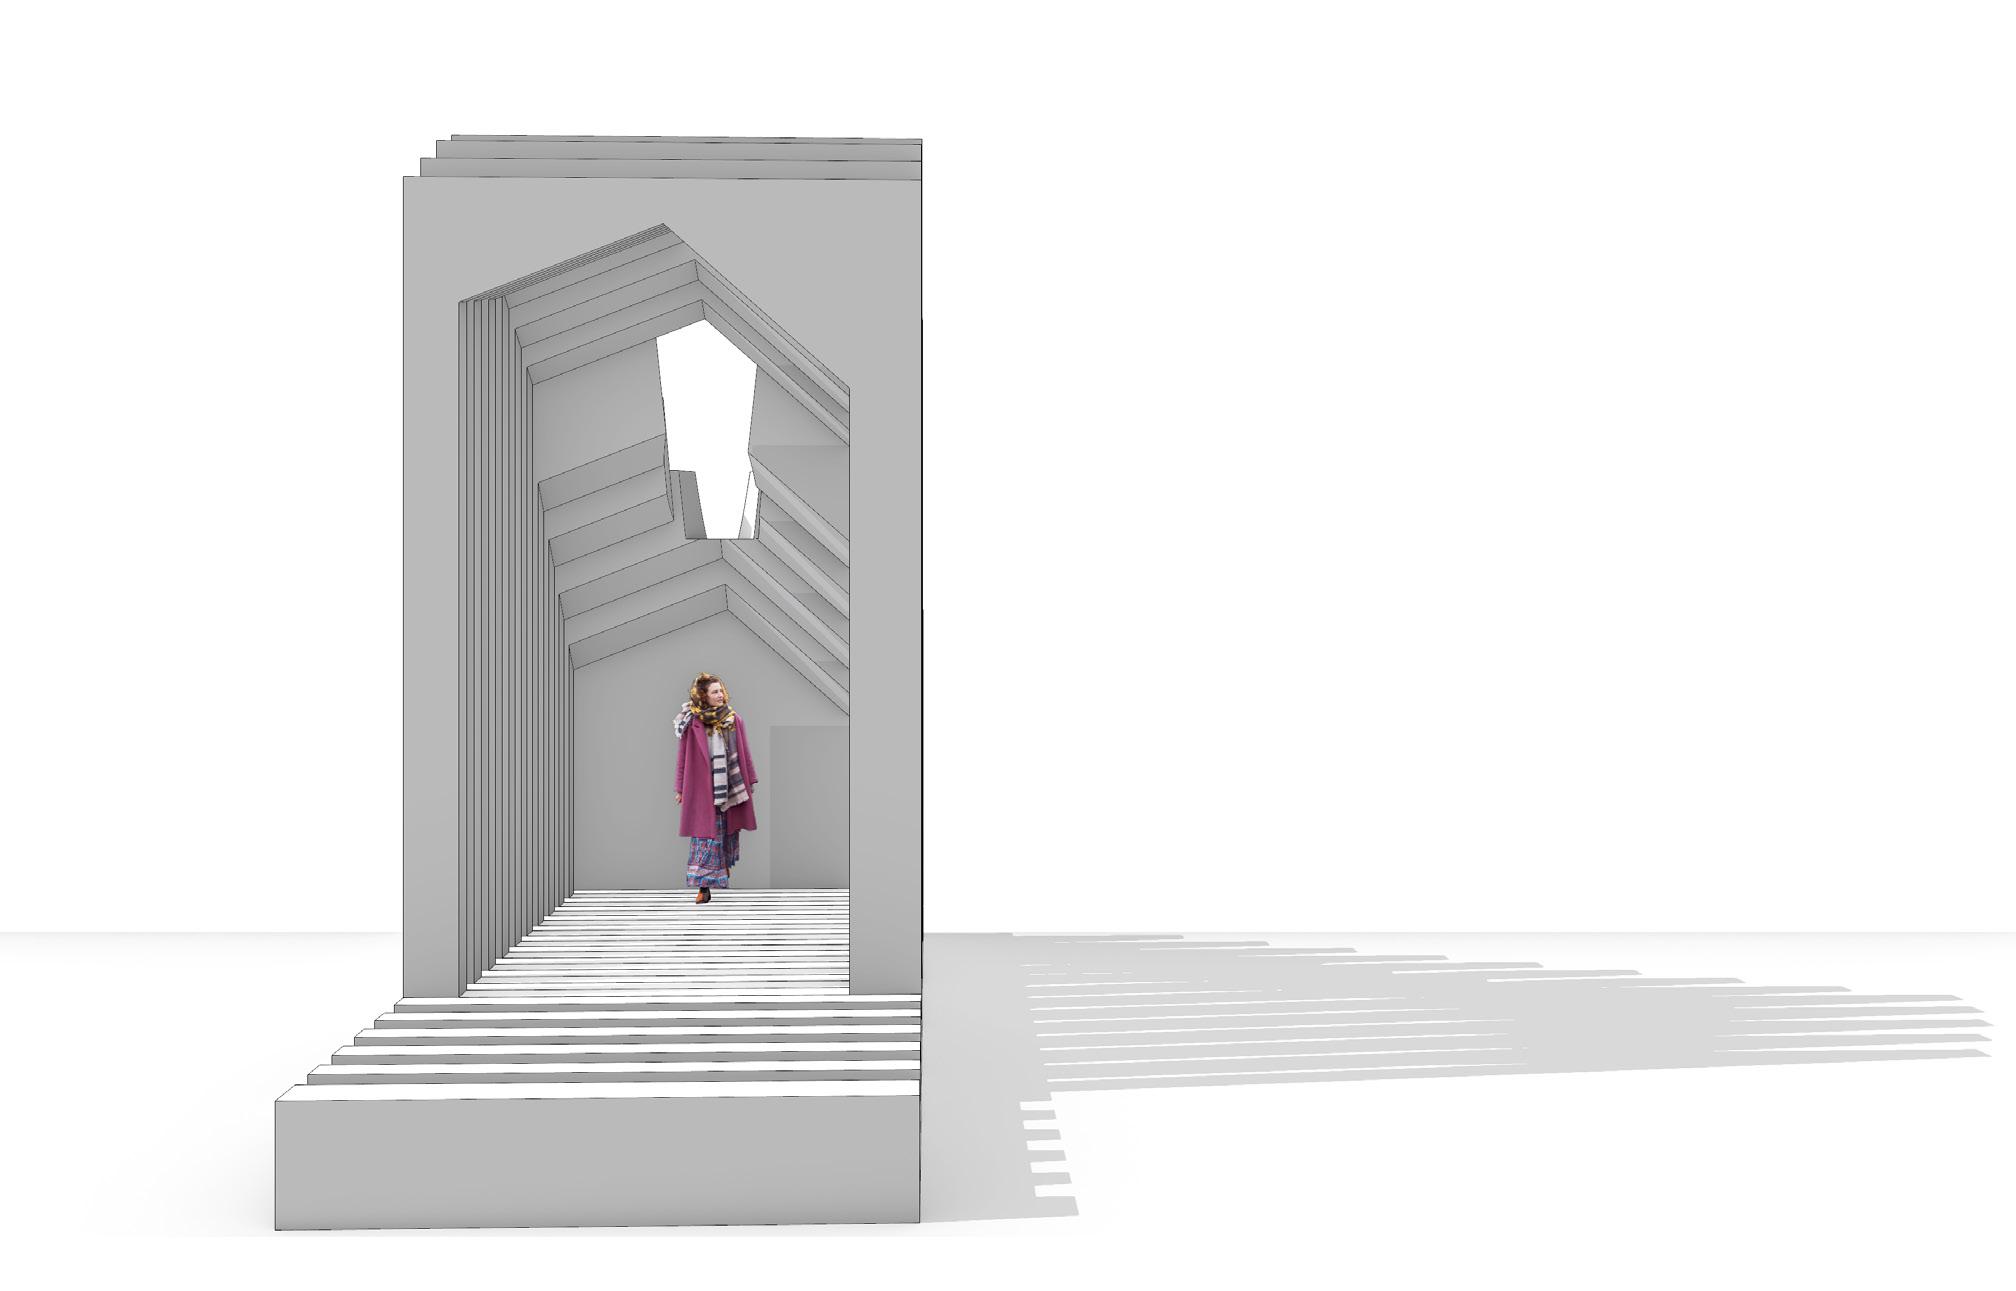
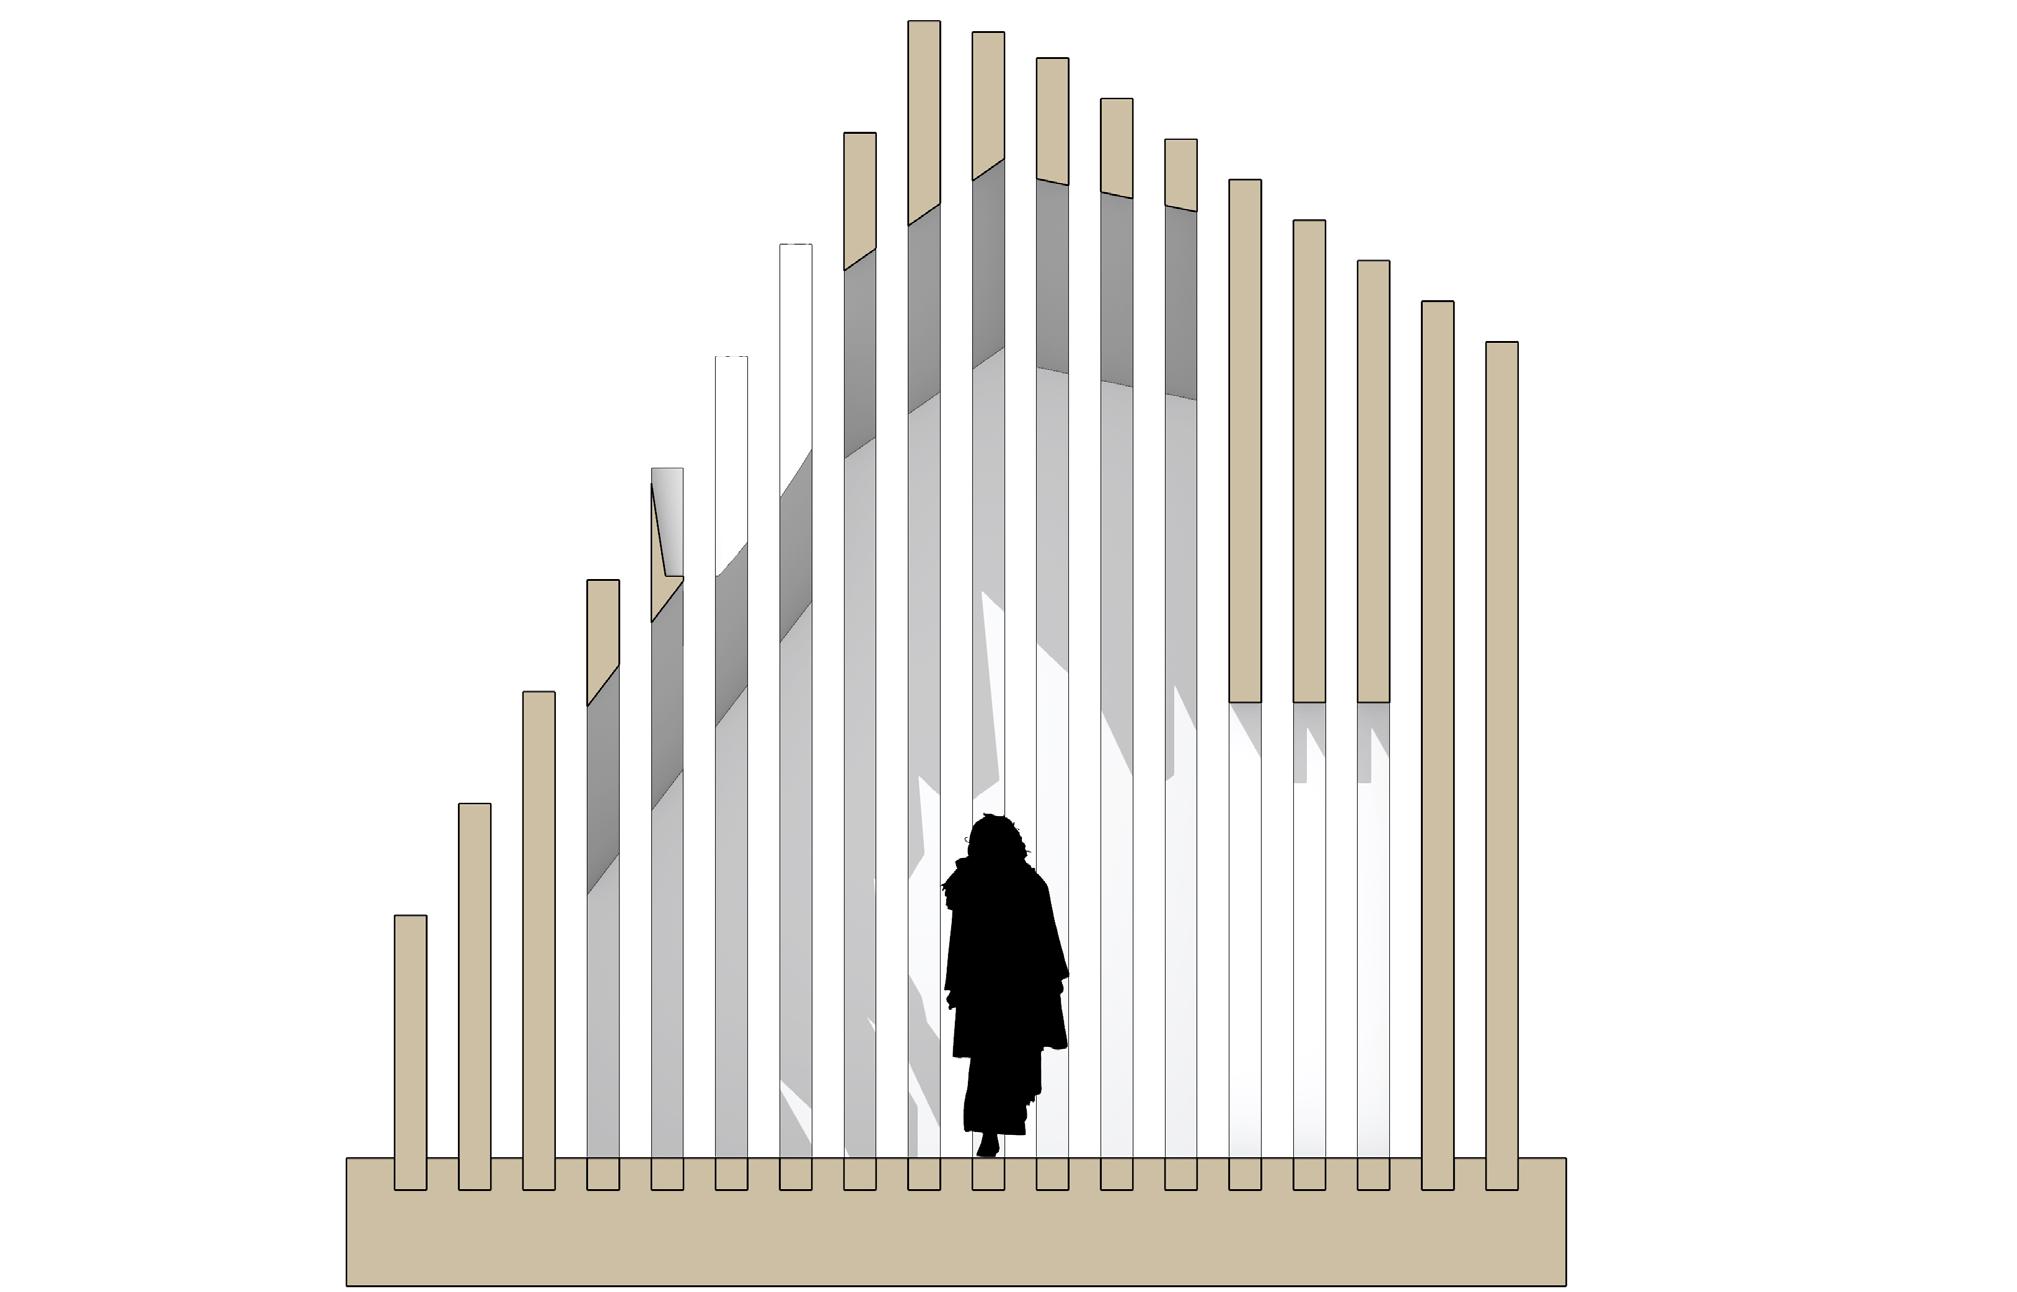
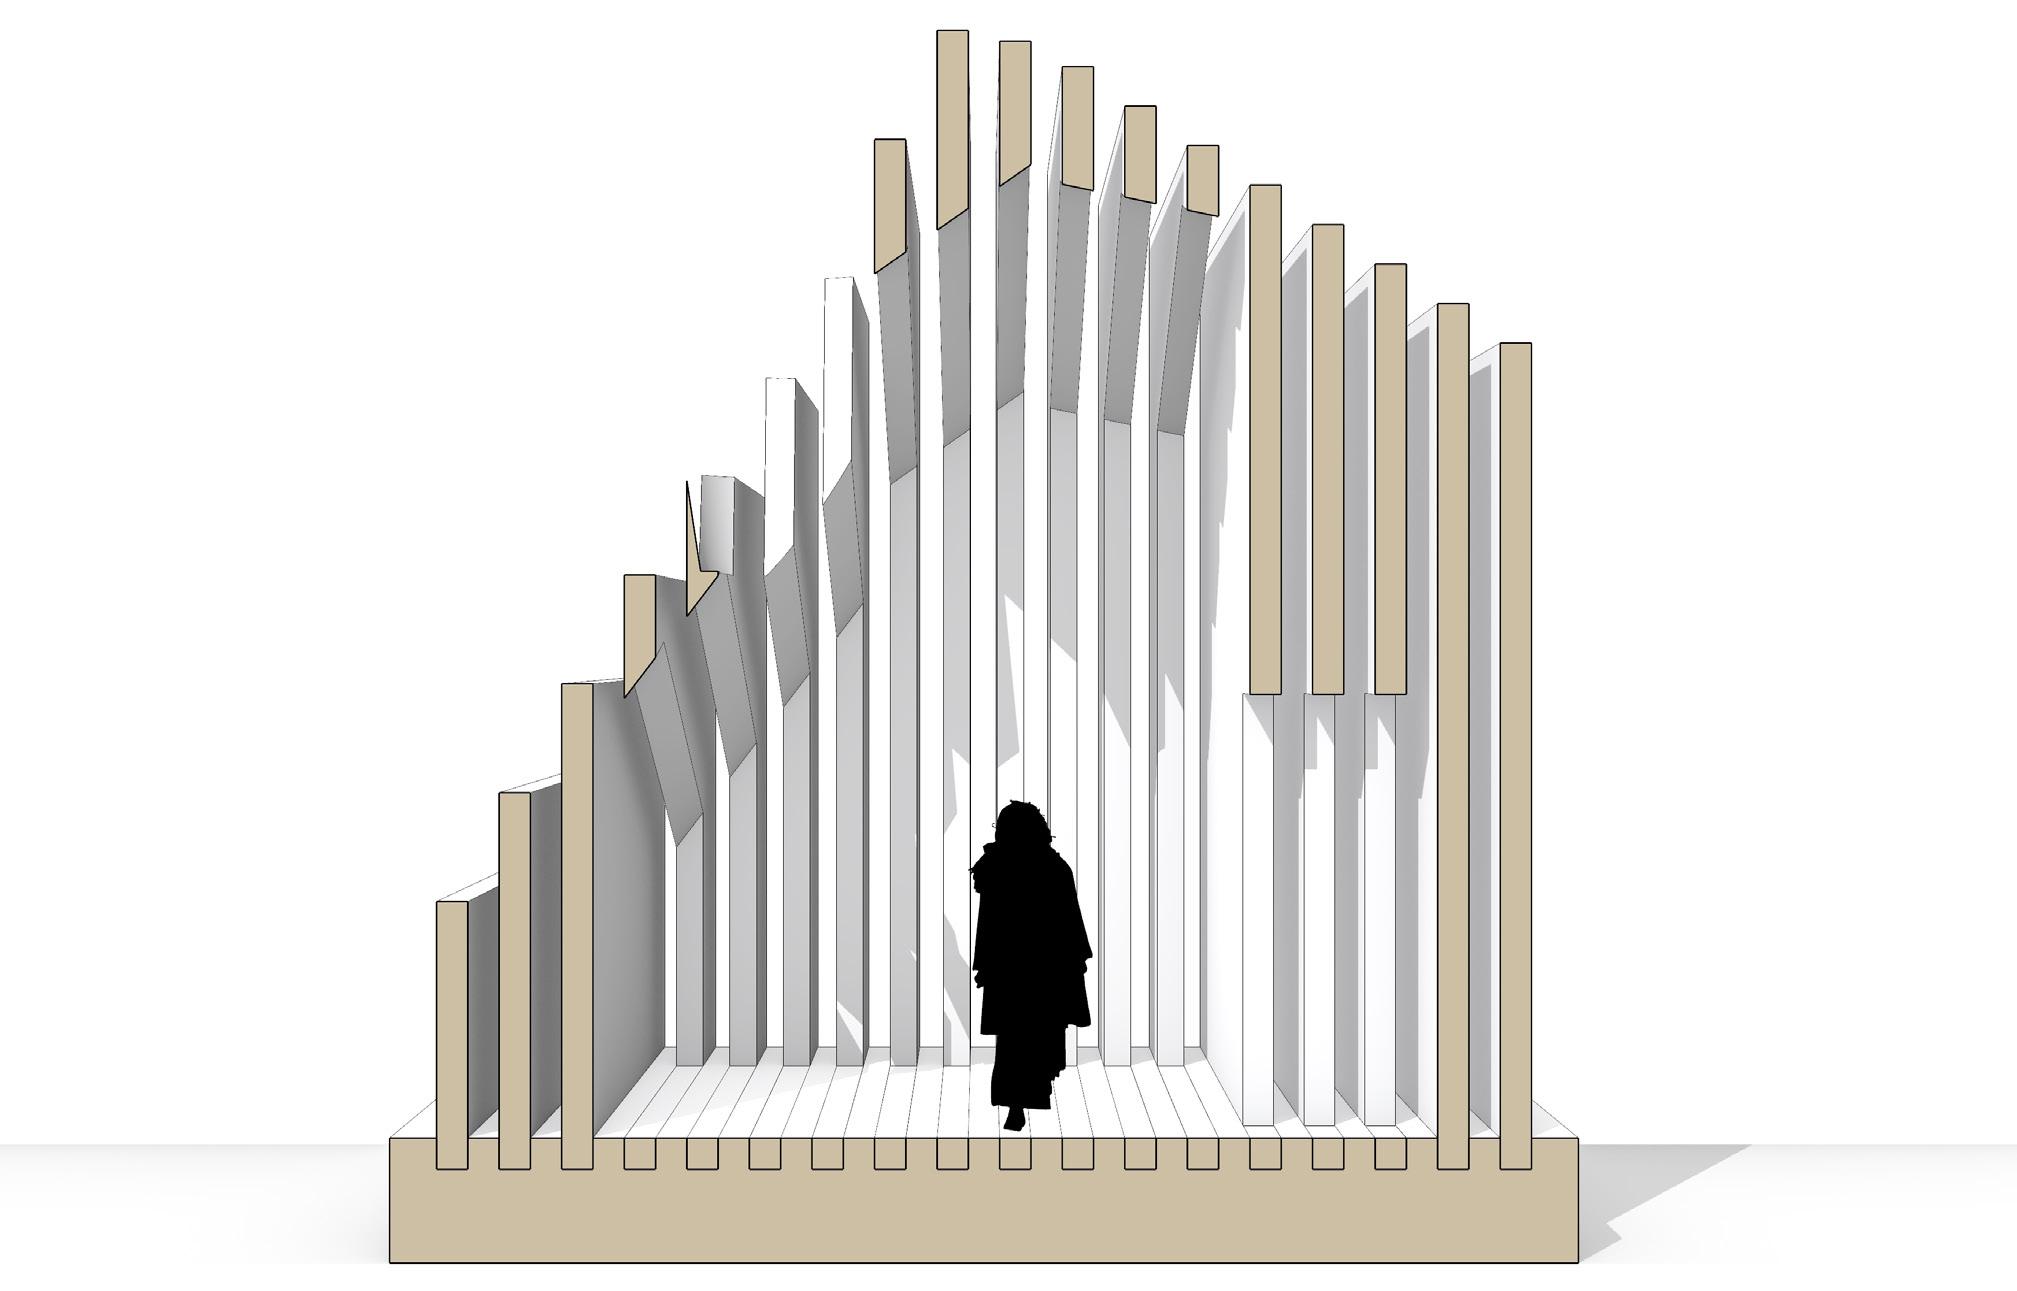
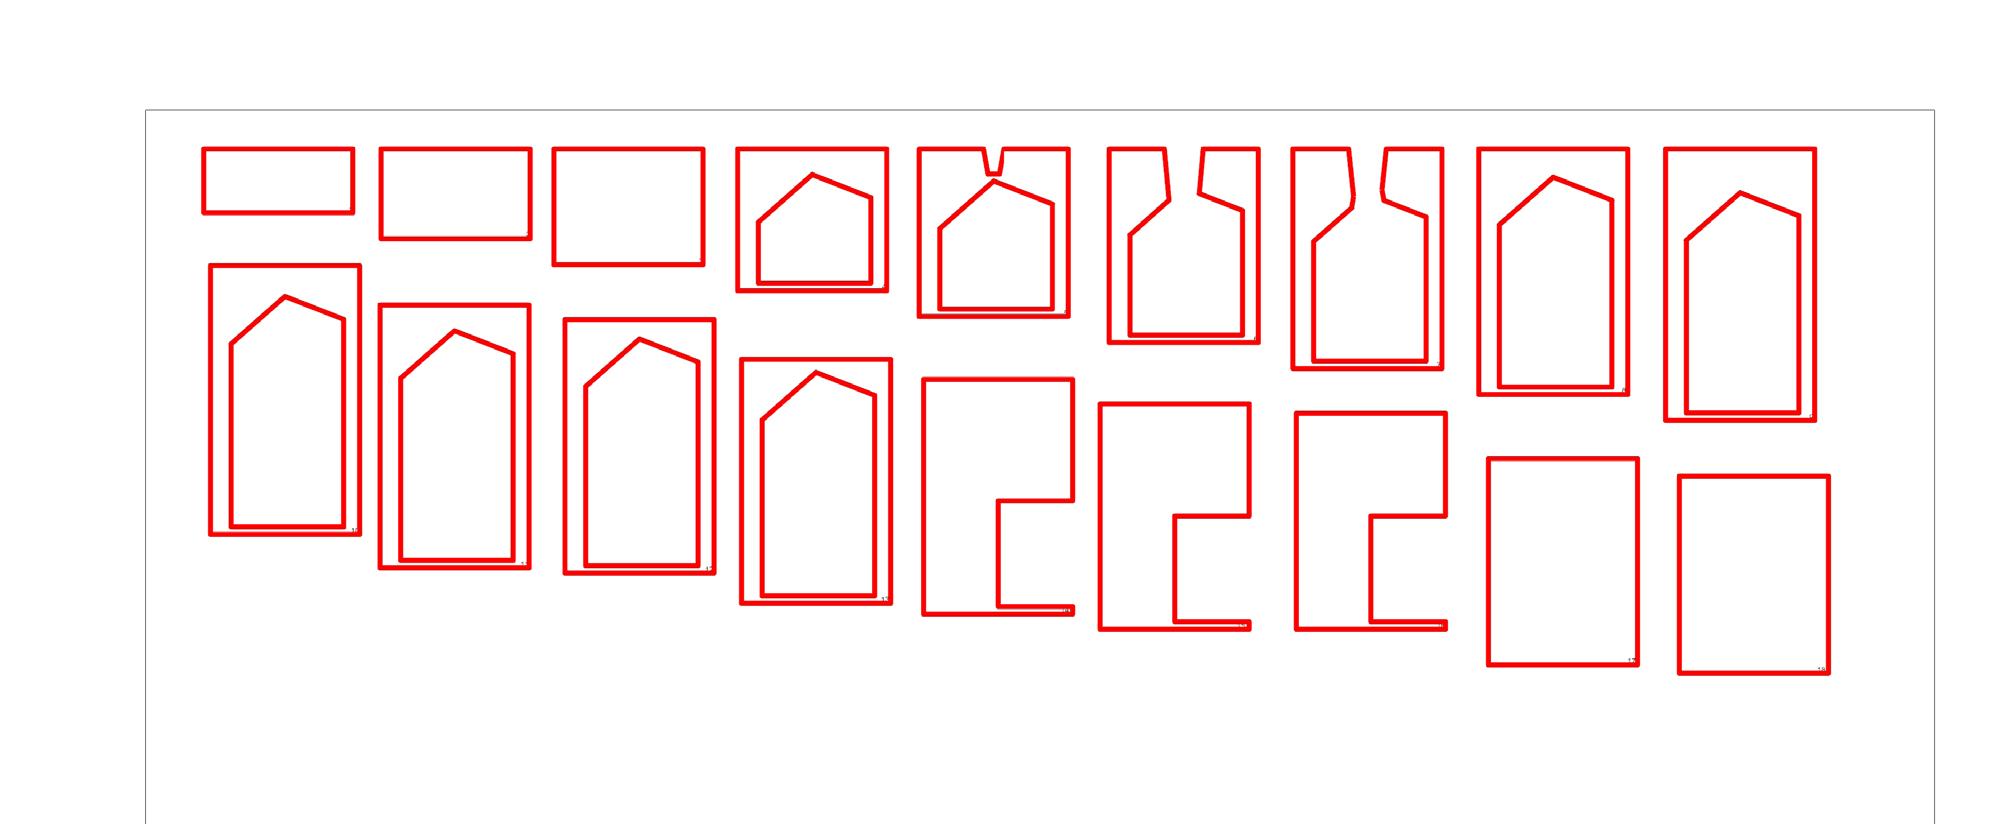
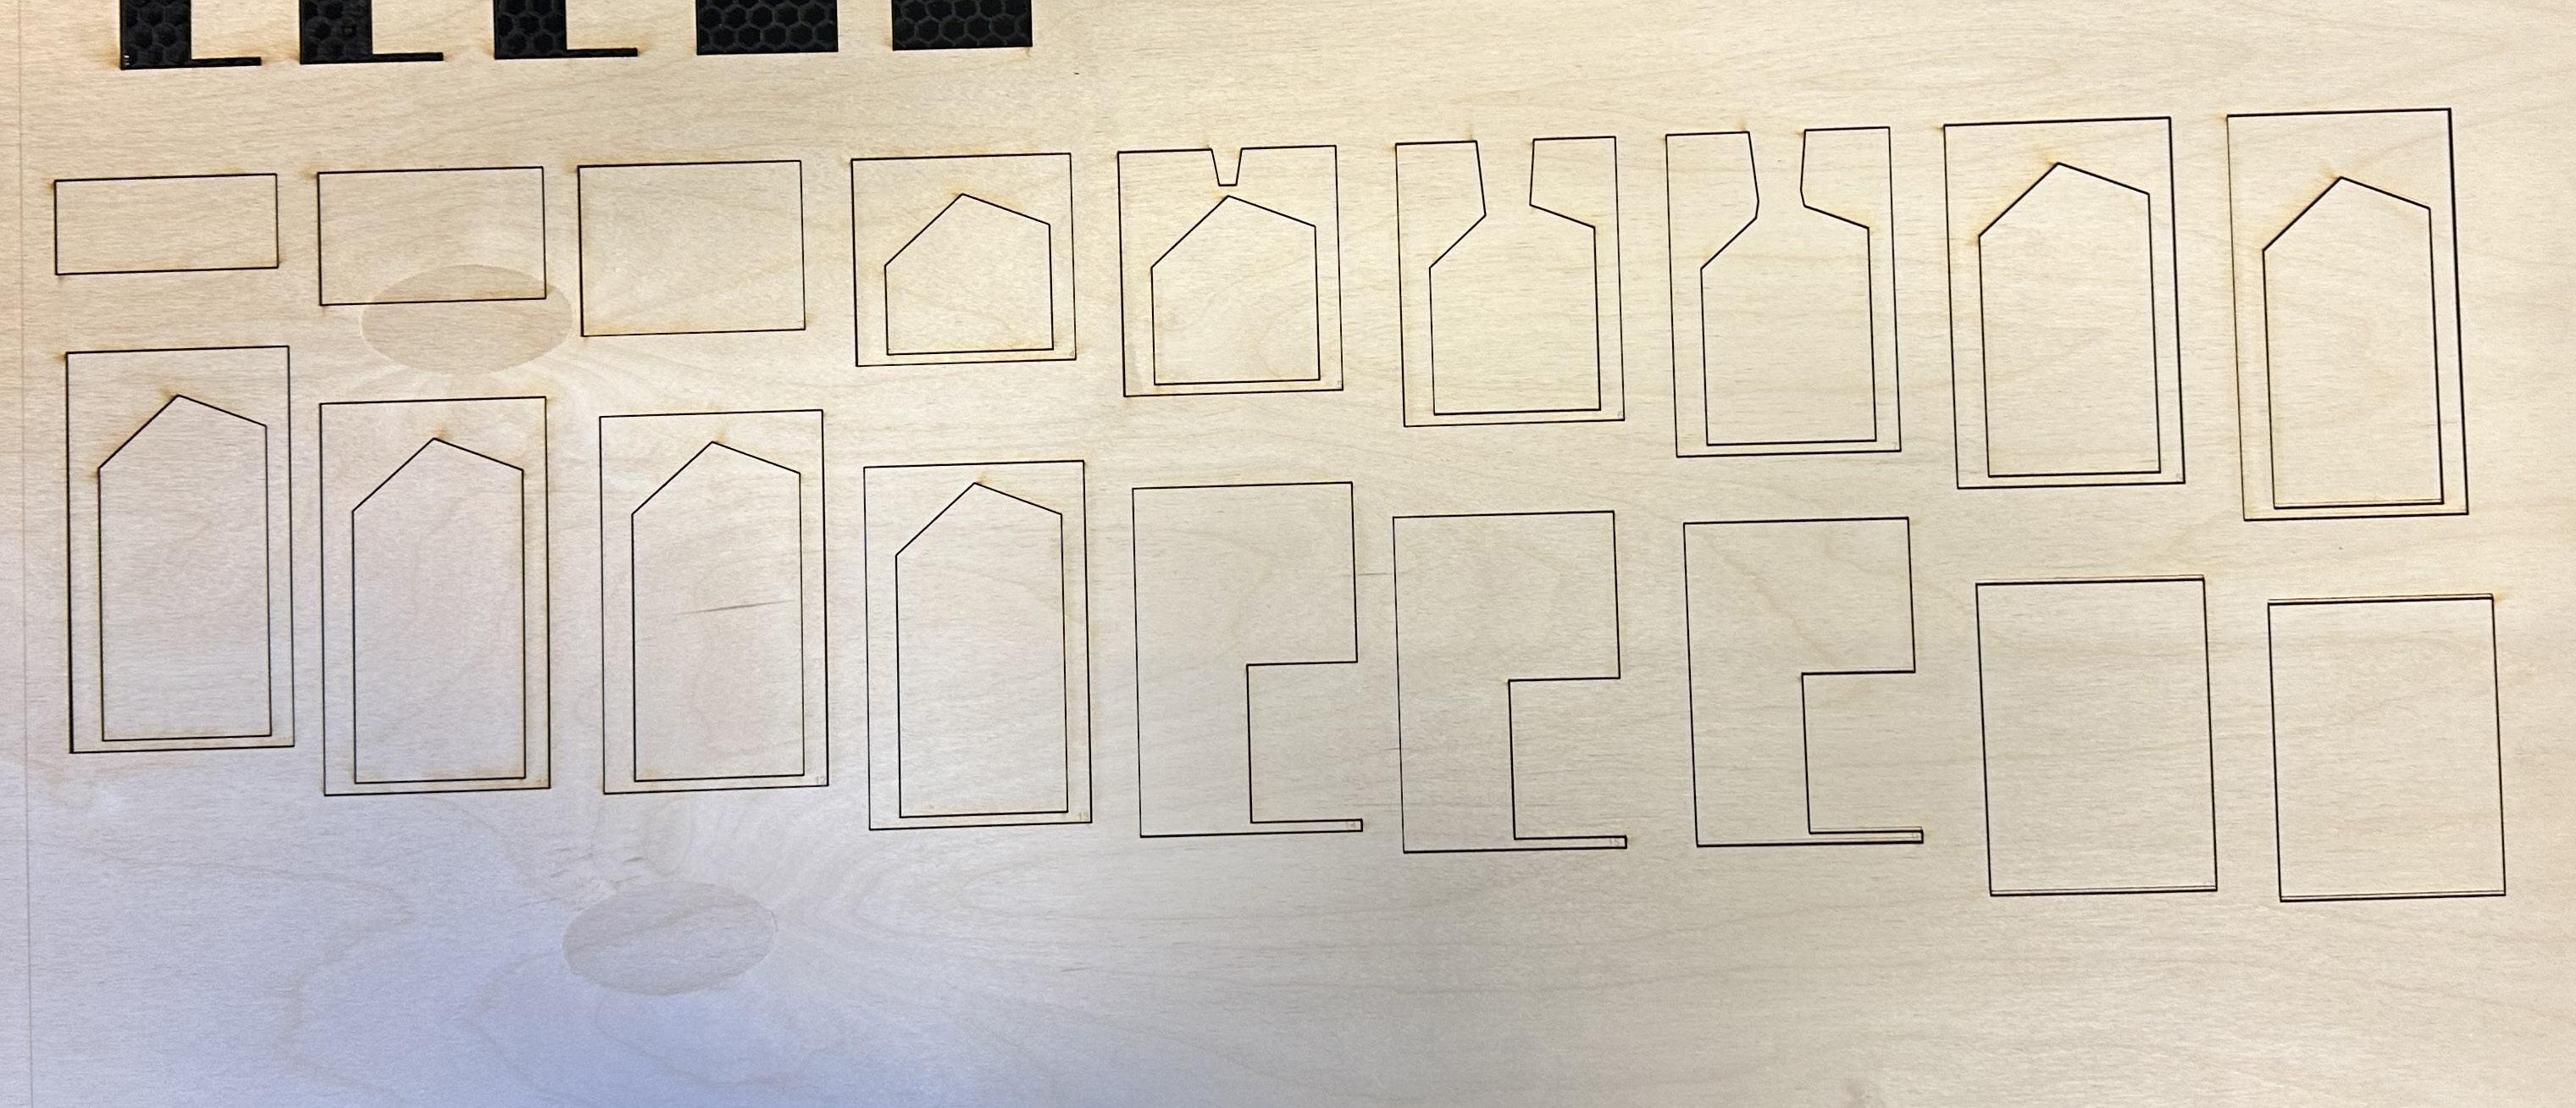
This project allowed us to created a silouette of a building and build it into panels. working in Rhino with panels allows us to create unique interiors using booleandifference.
Learning new ways to take renders in Rhino, like perallel and two point perspective. Thid allows getting better angles and views of the model.
We also learned how to add a pdf figure into Rhino for scale using import comands.
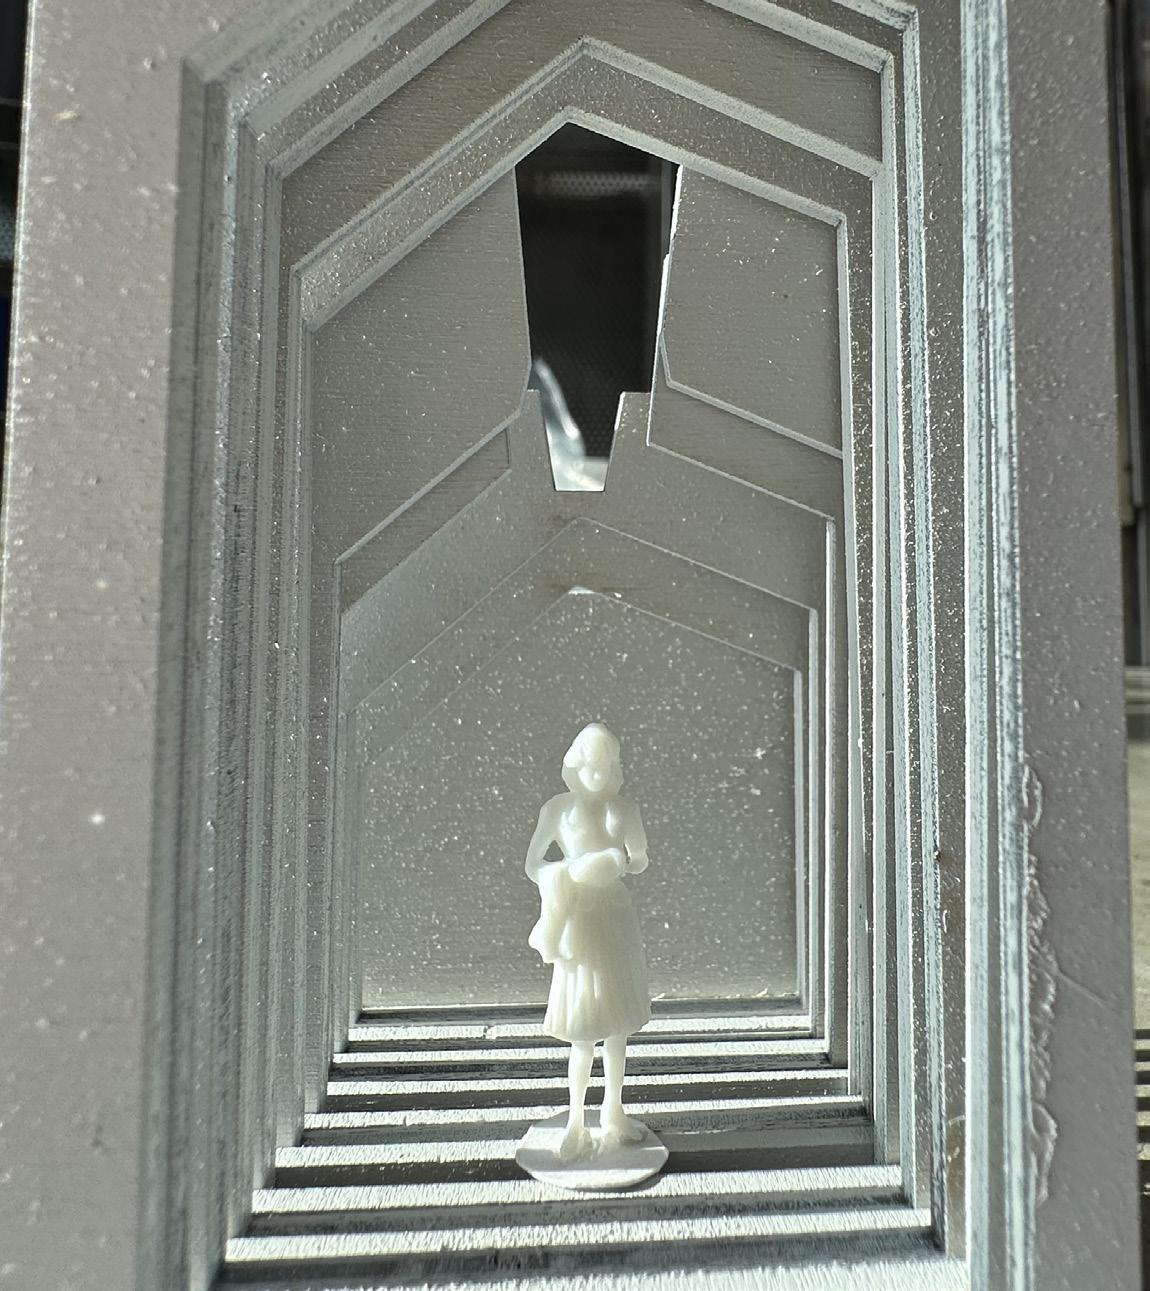
Modeling was similar to module 1 with the laser cut file, but using wood come up with unique challanges. The laser cutter didn’t fully cut through the wood on the first pass. Over laying the design again allows for a full cut through the wood.
The bottom plate was my made through the cutsaw and a spetial jig allowing us to cut small divites for the panels to fit in.
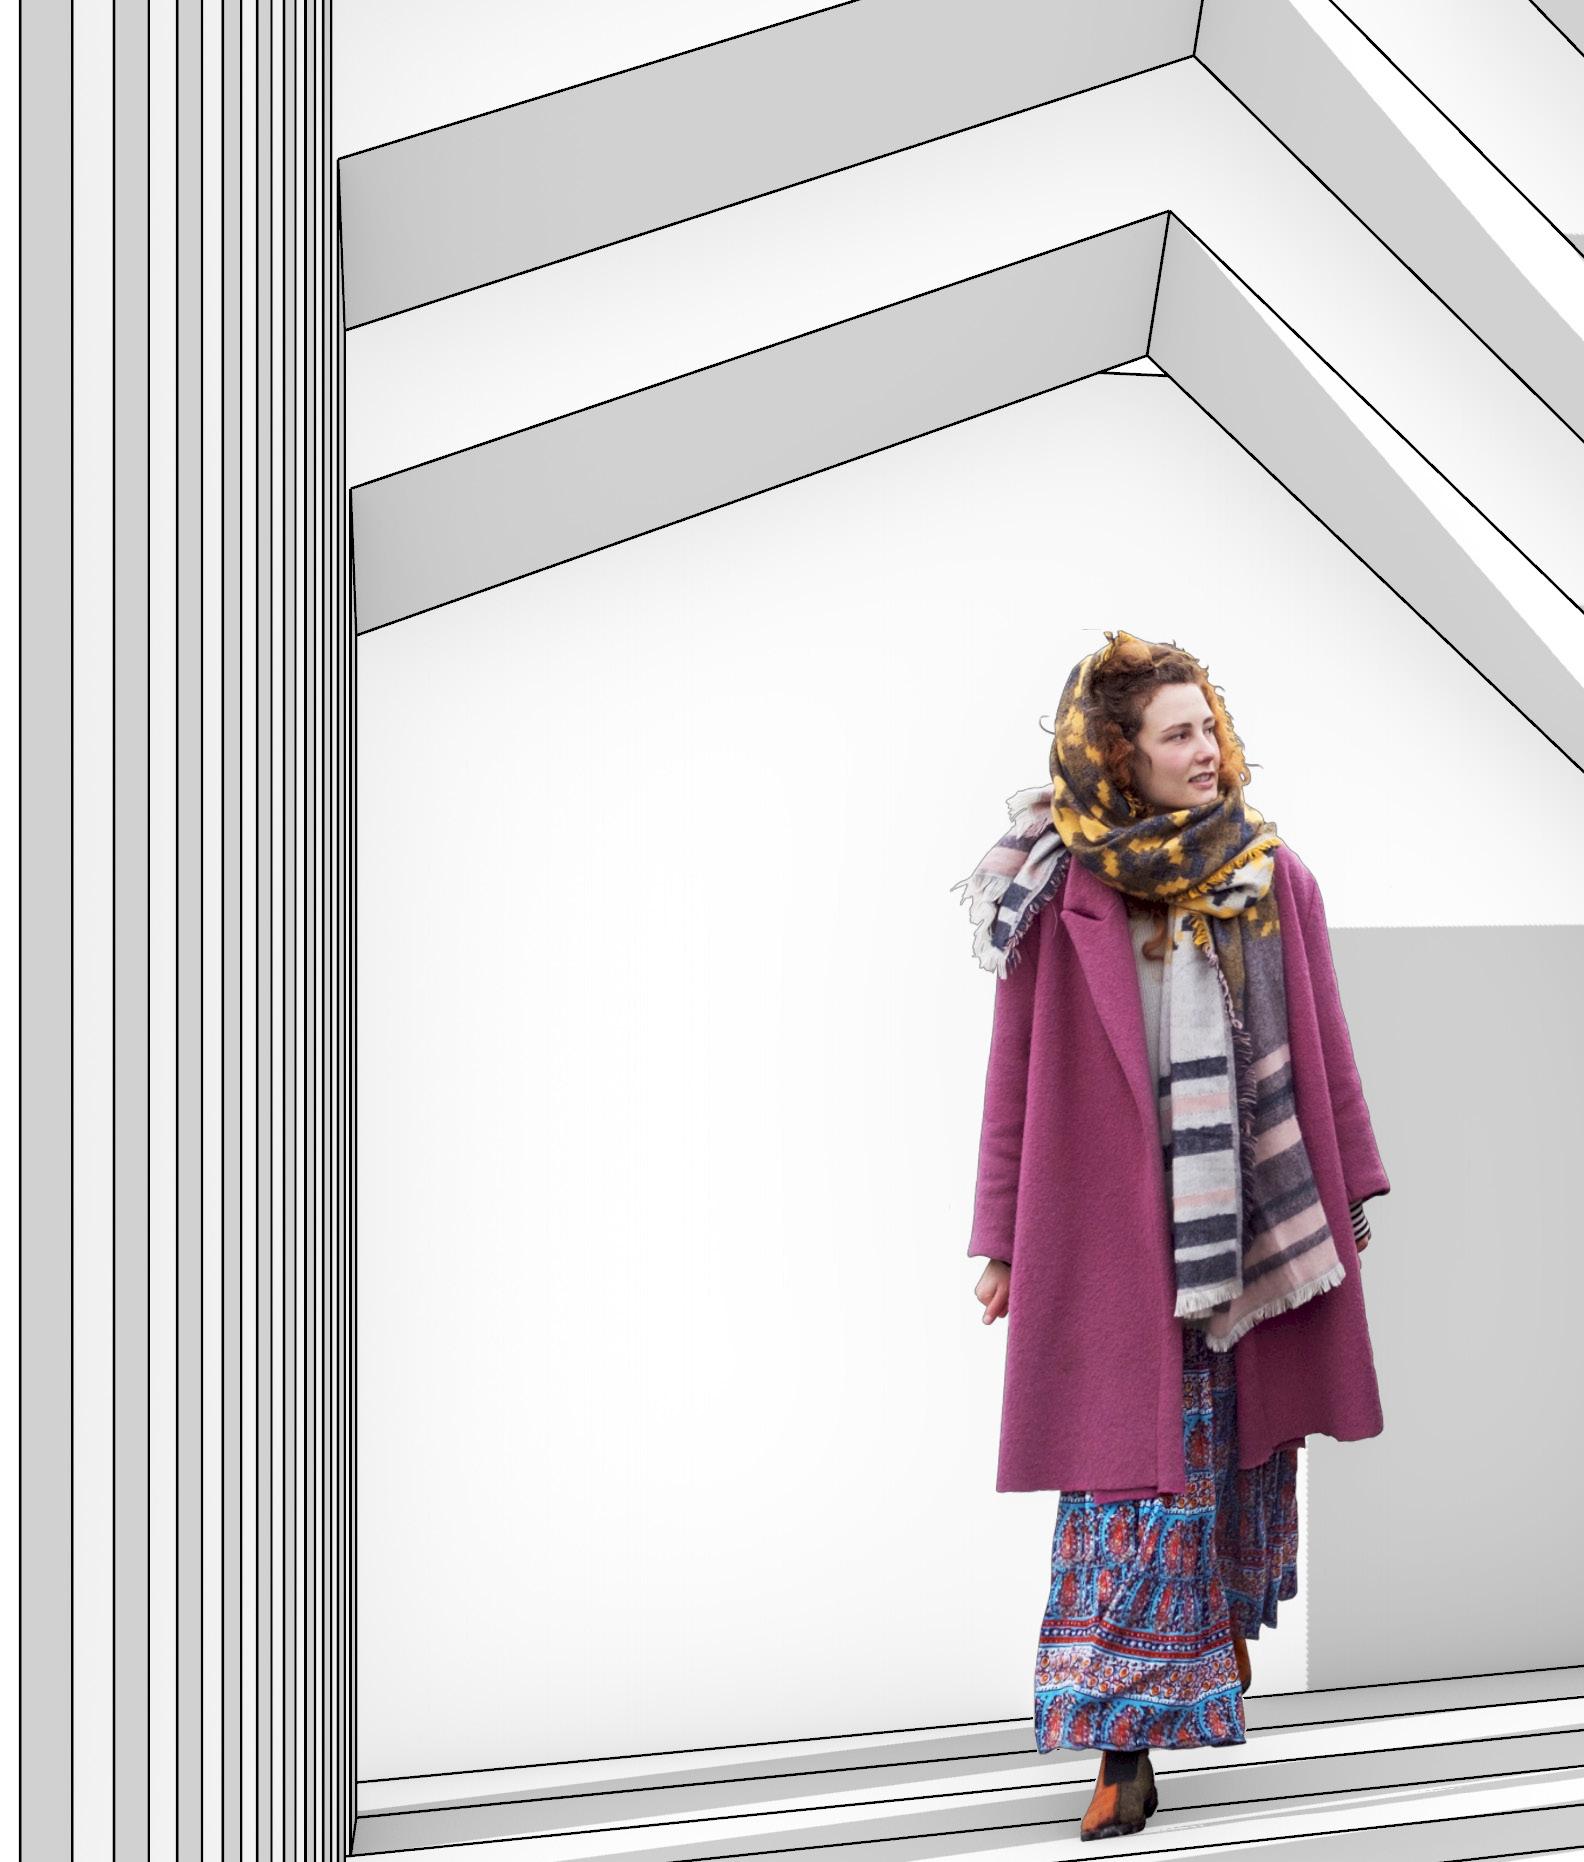
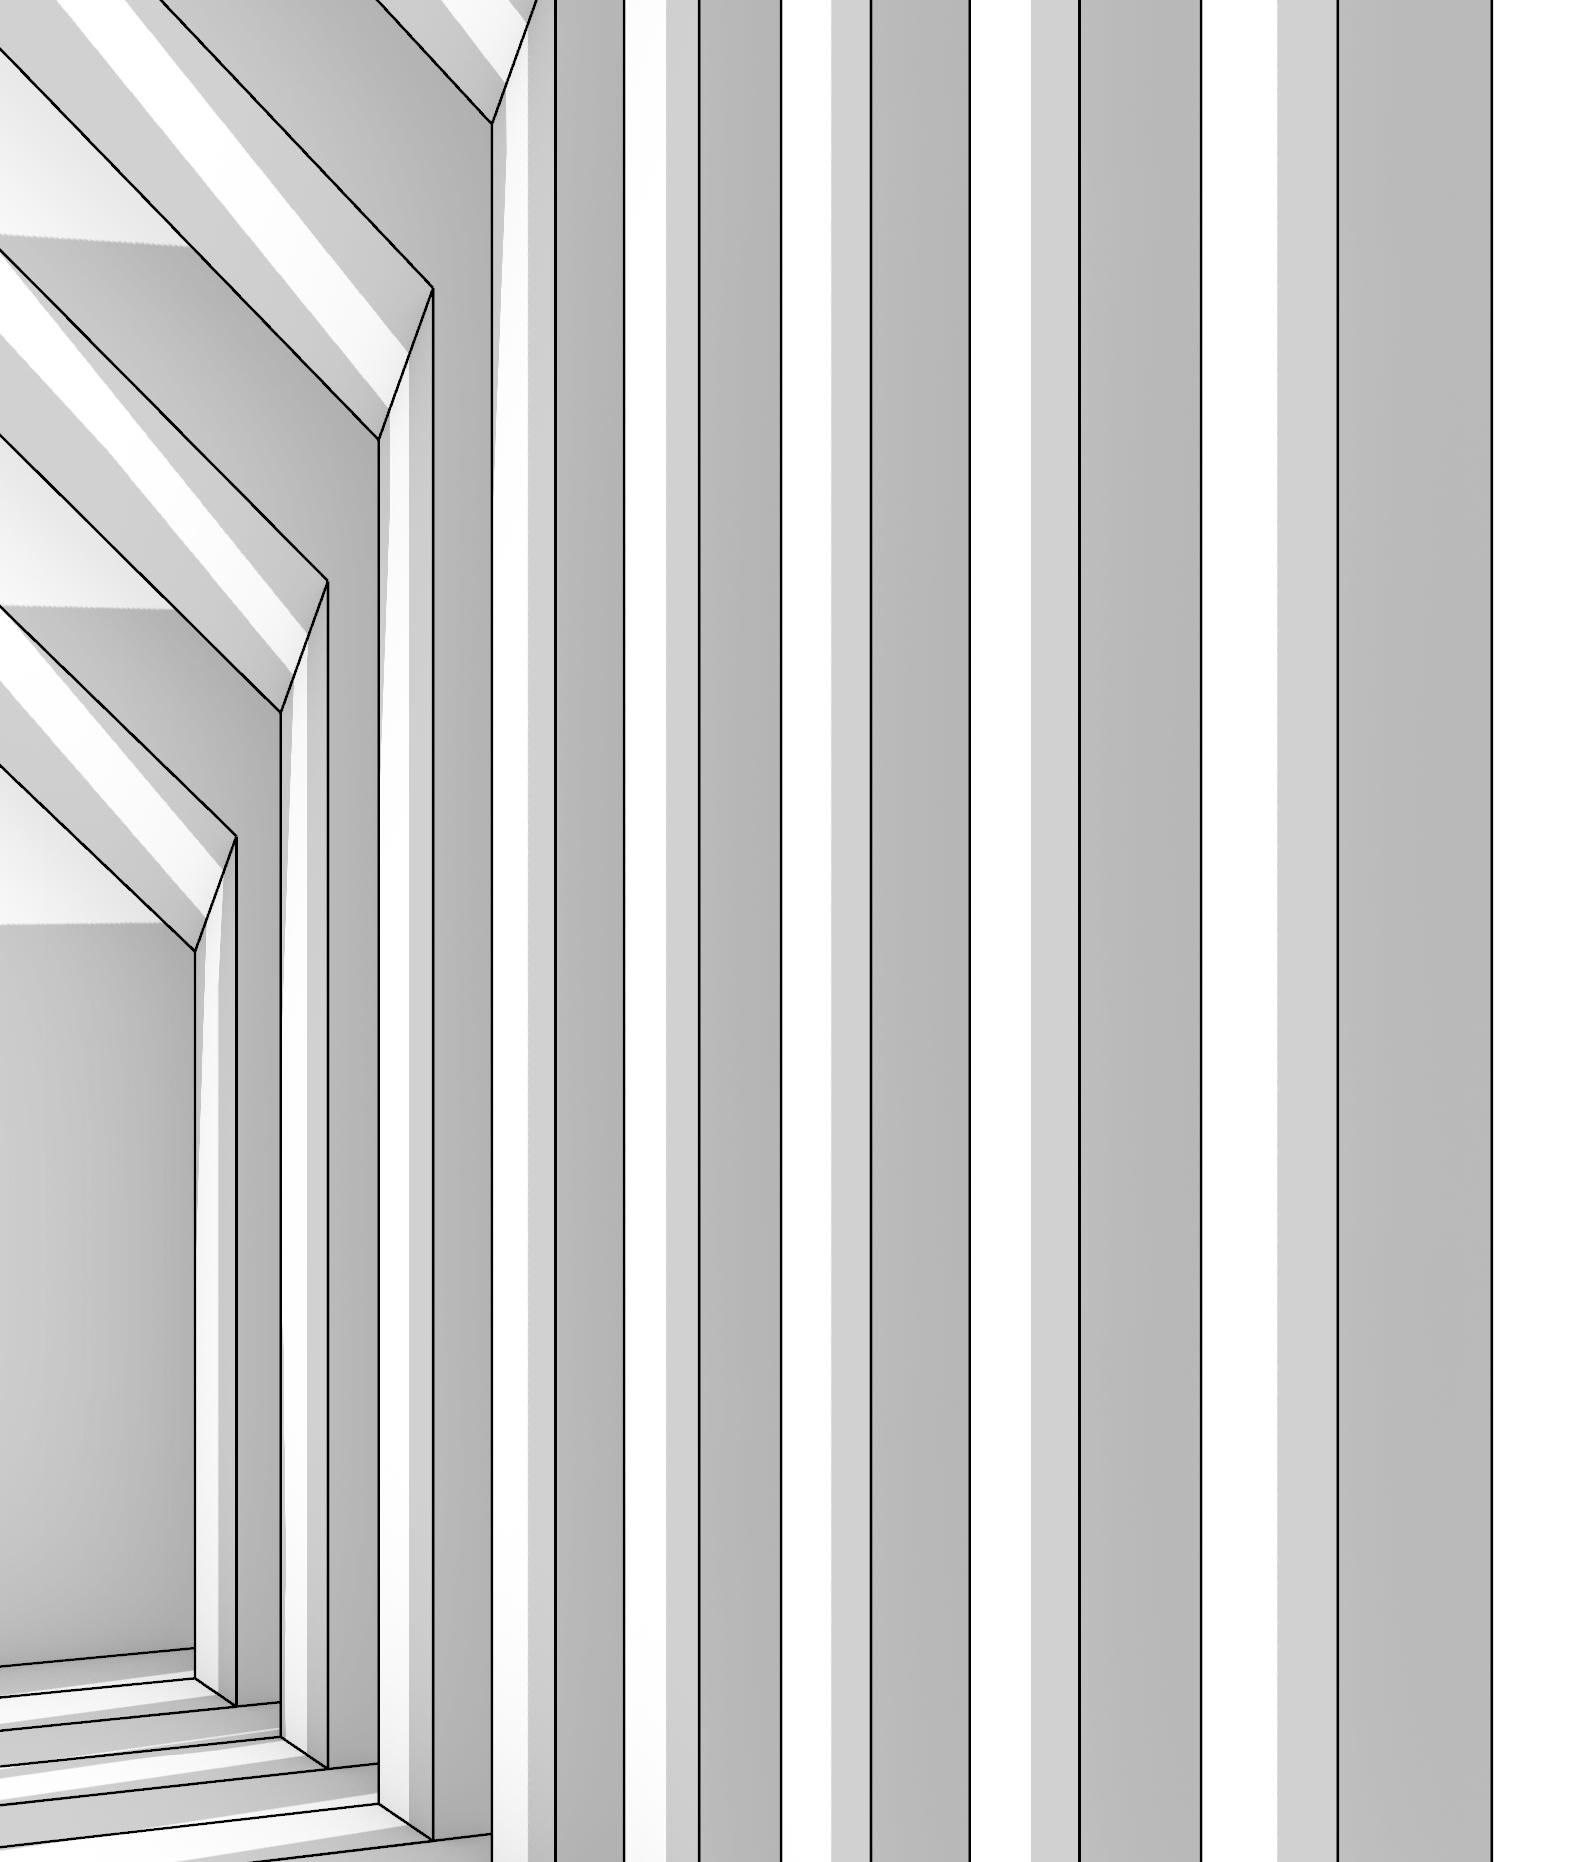
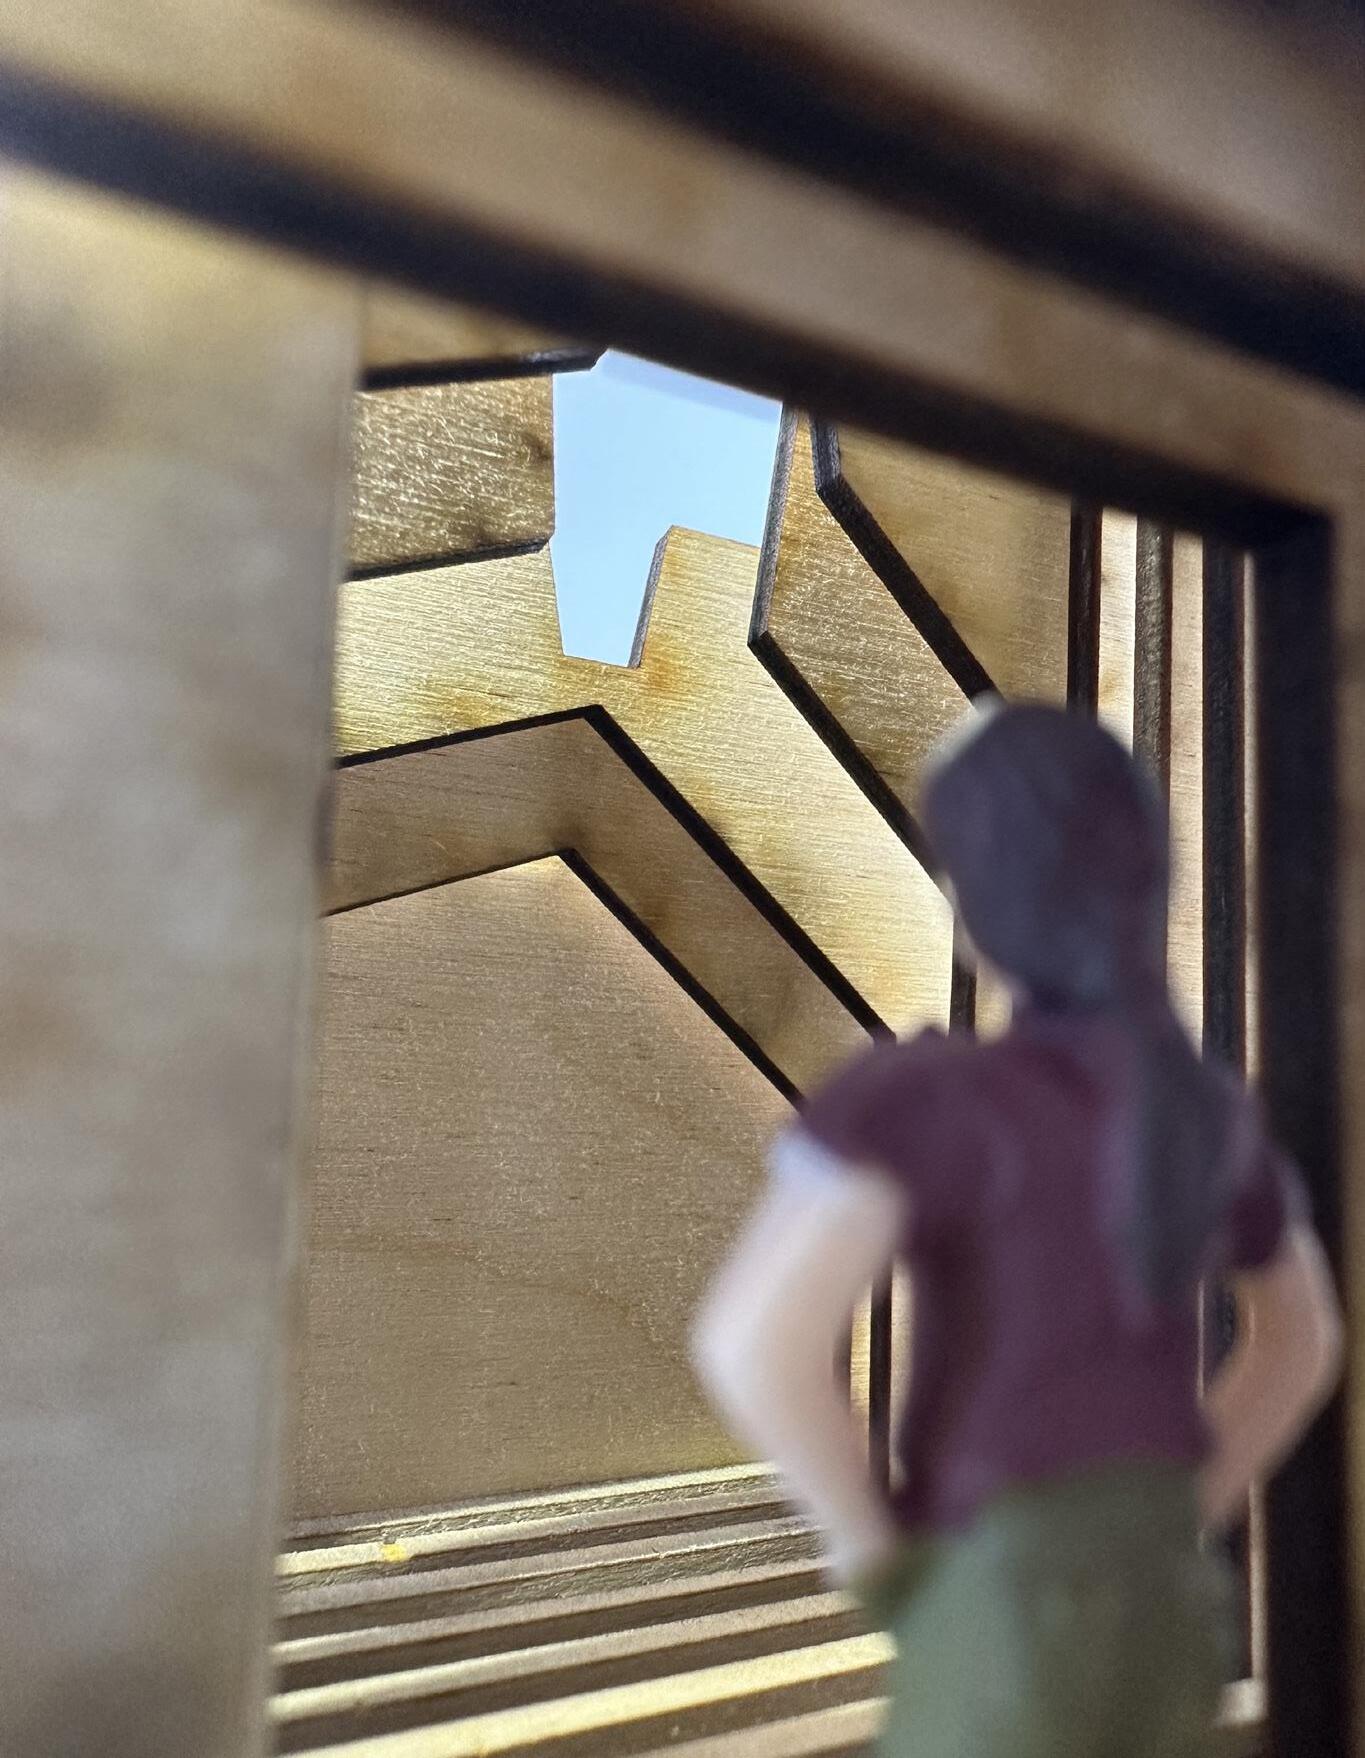
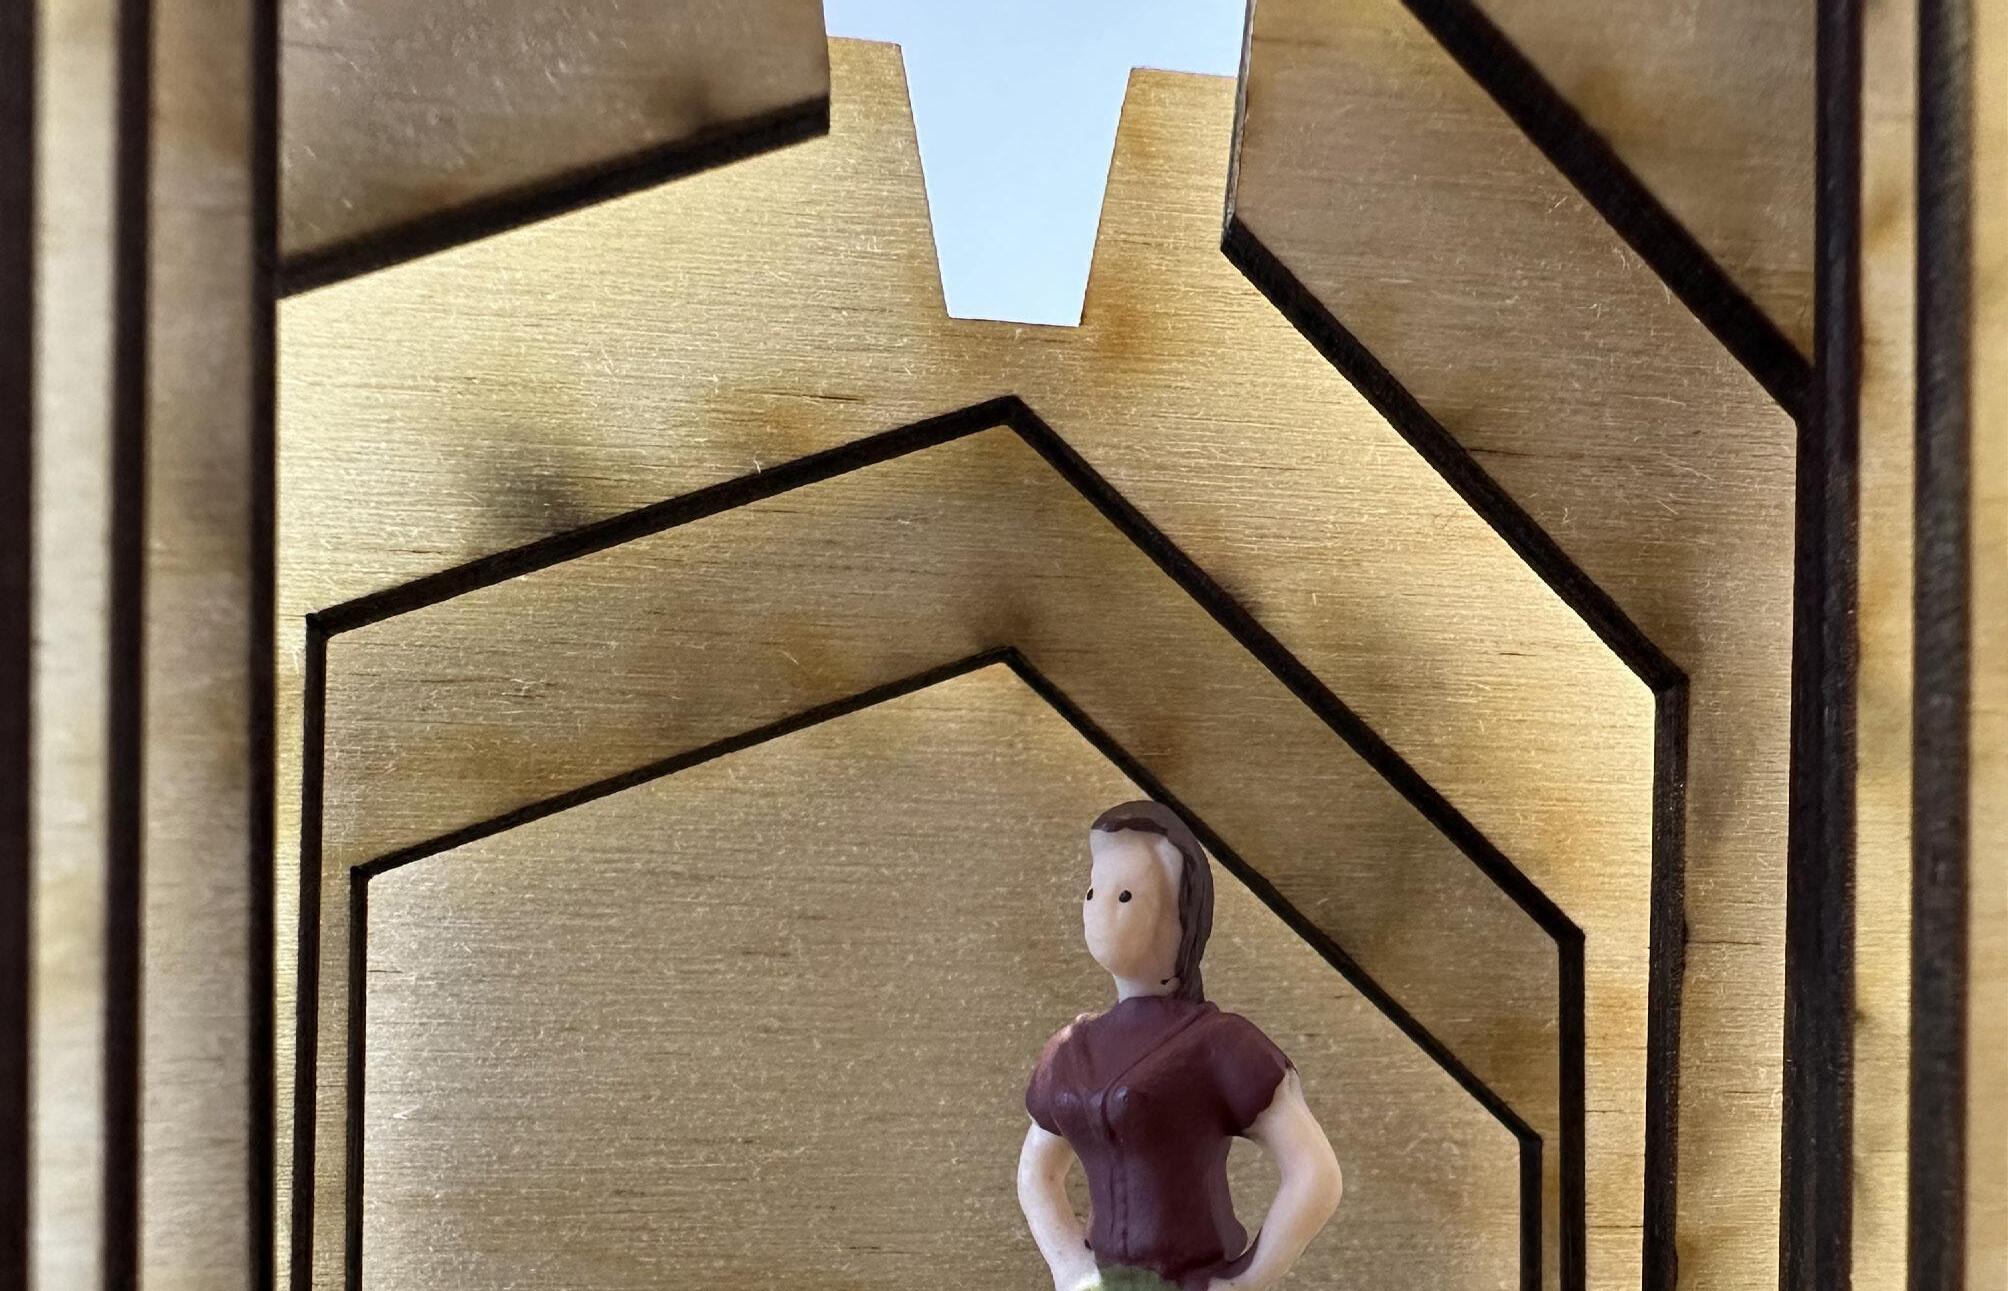
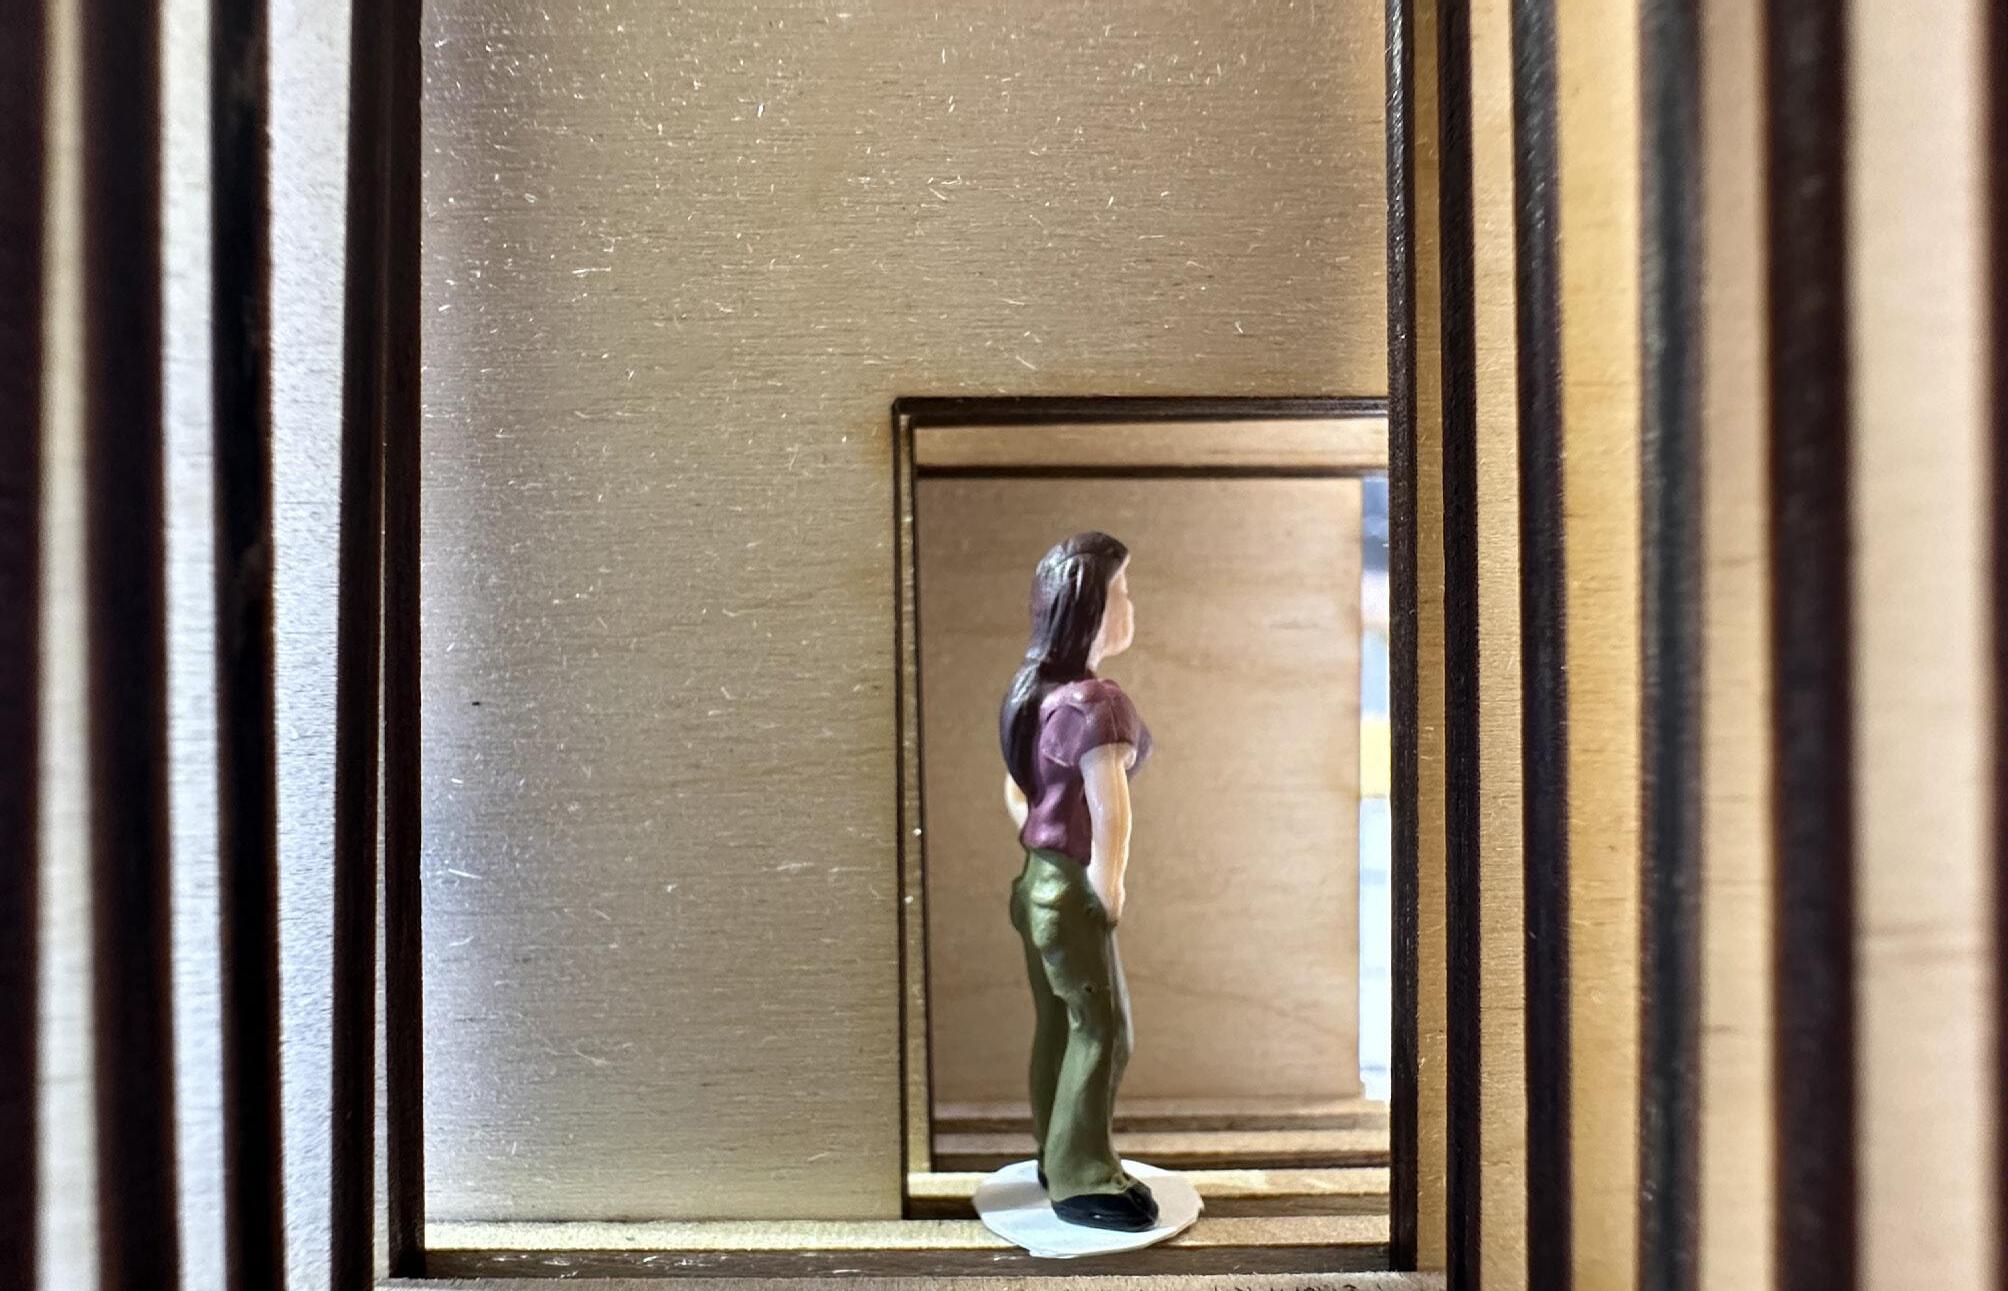

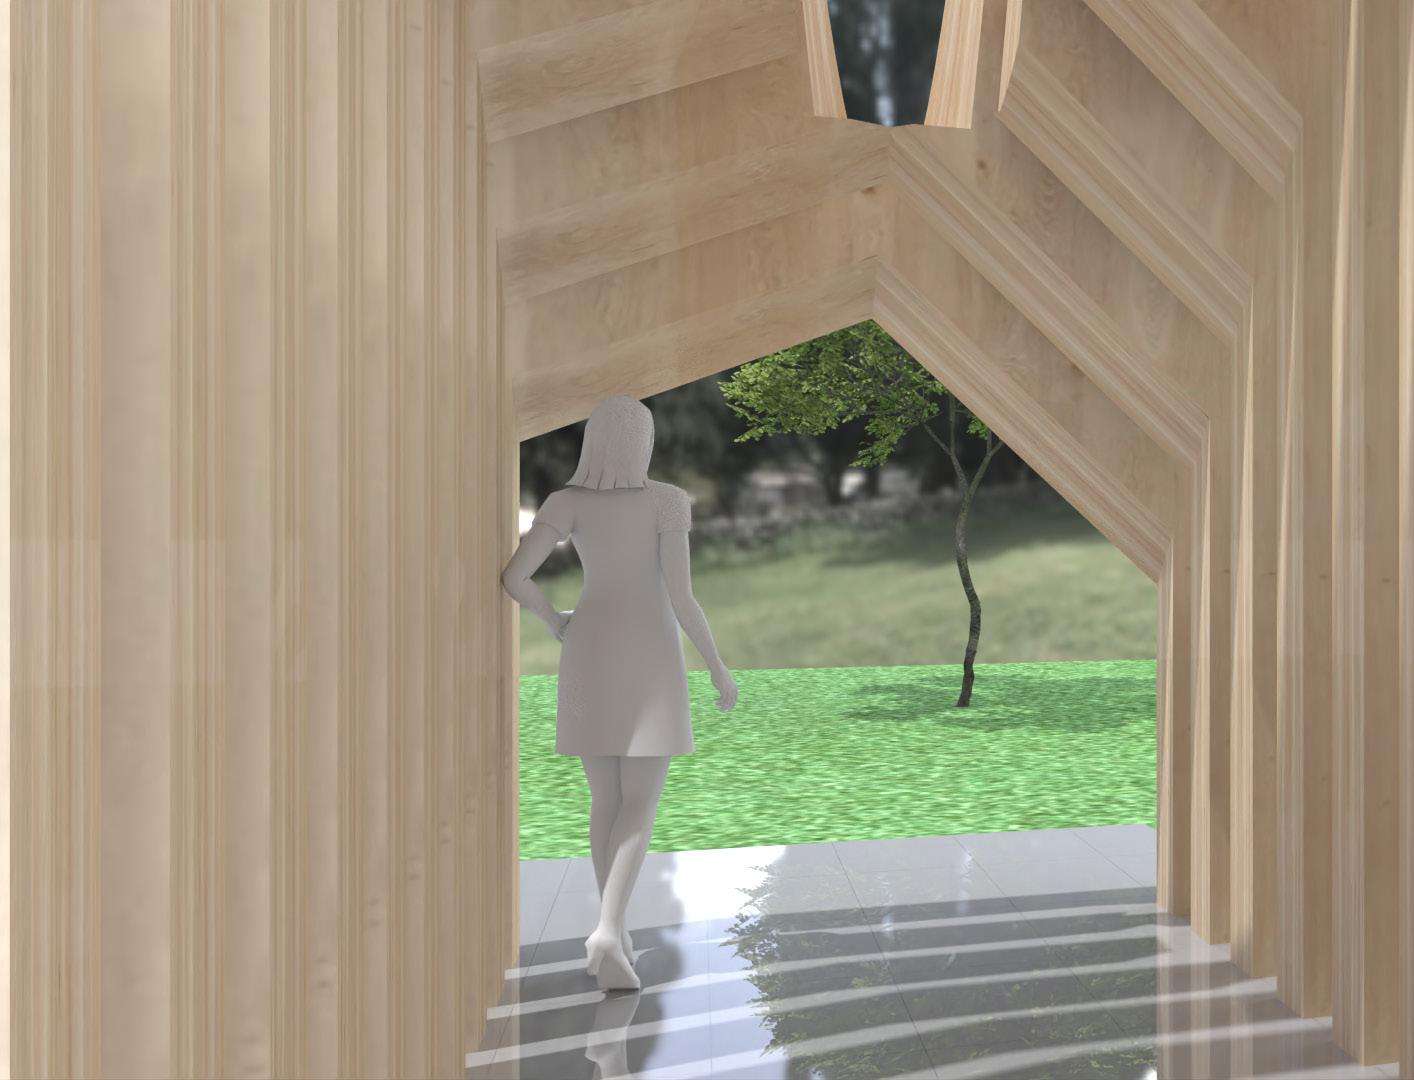
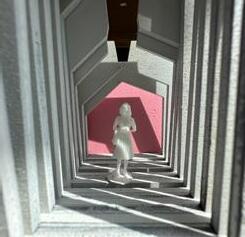
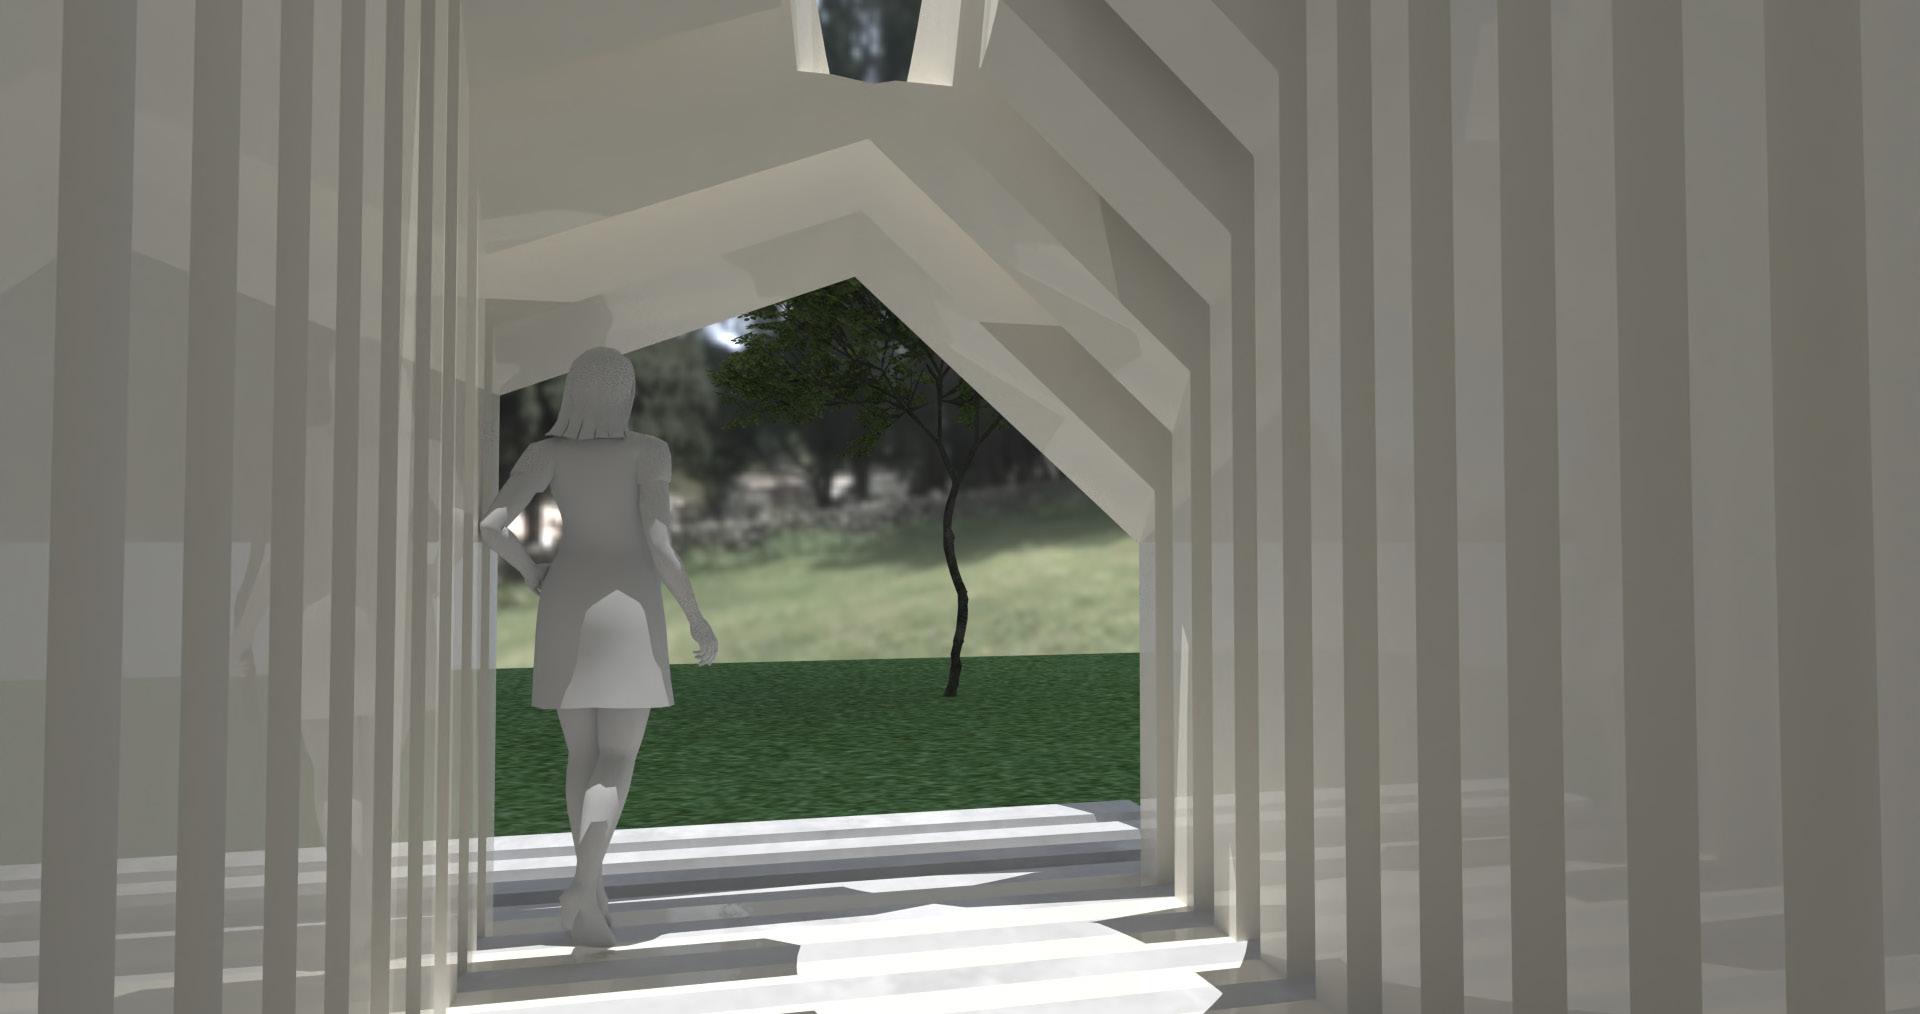
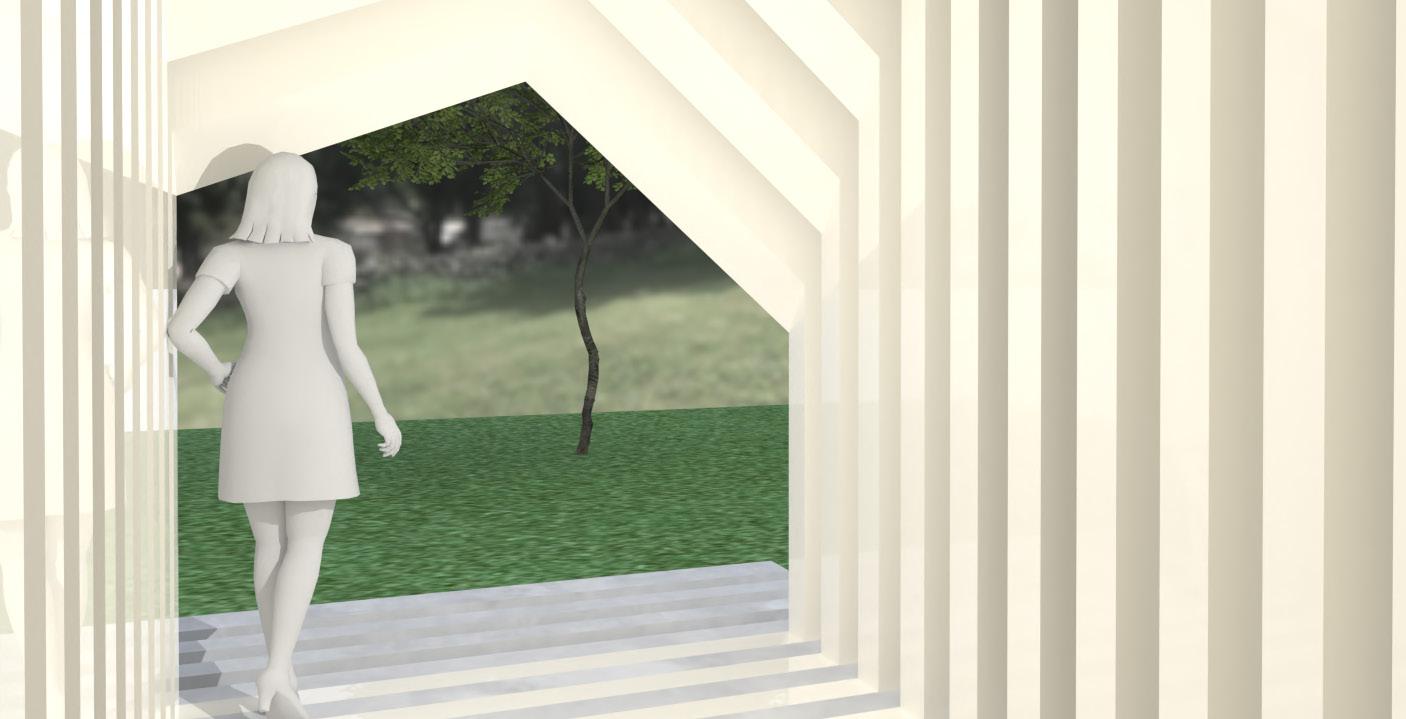
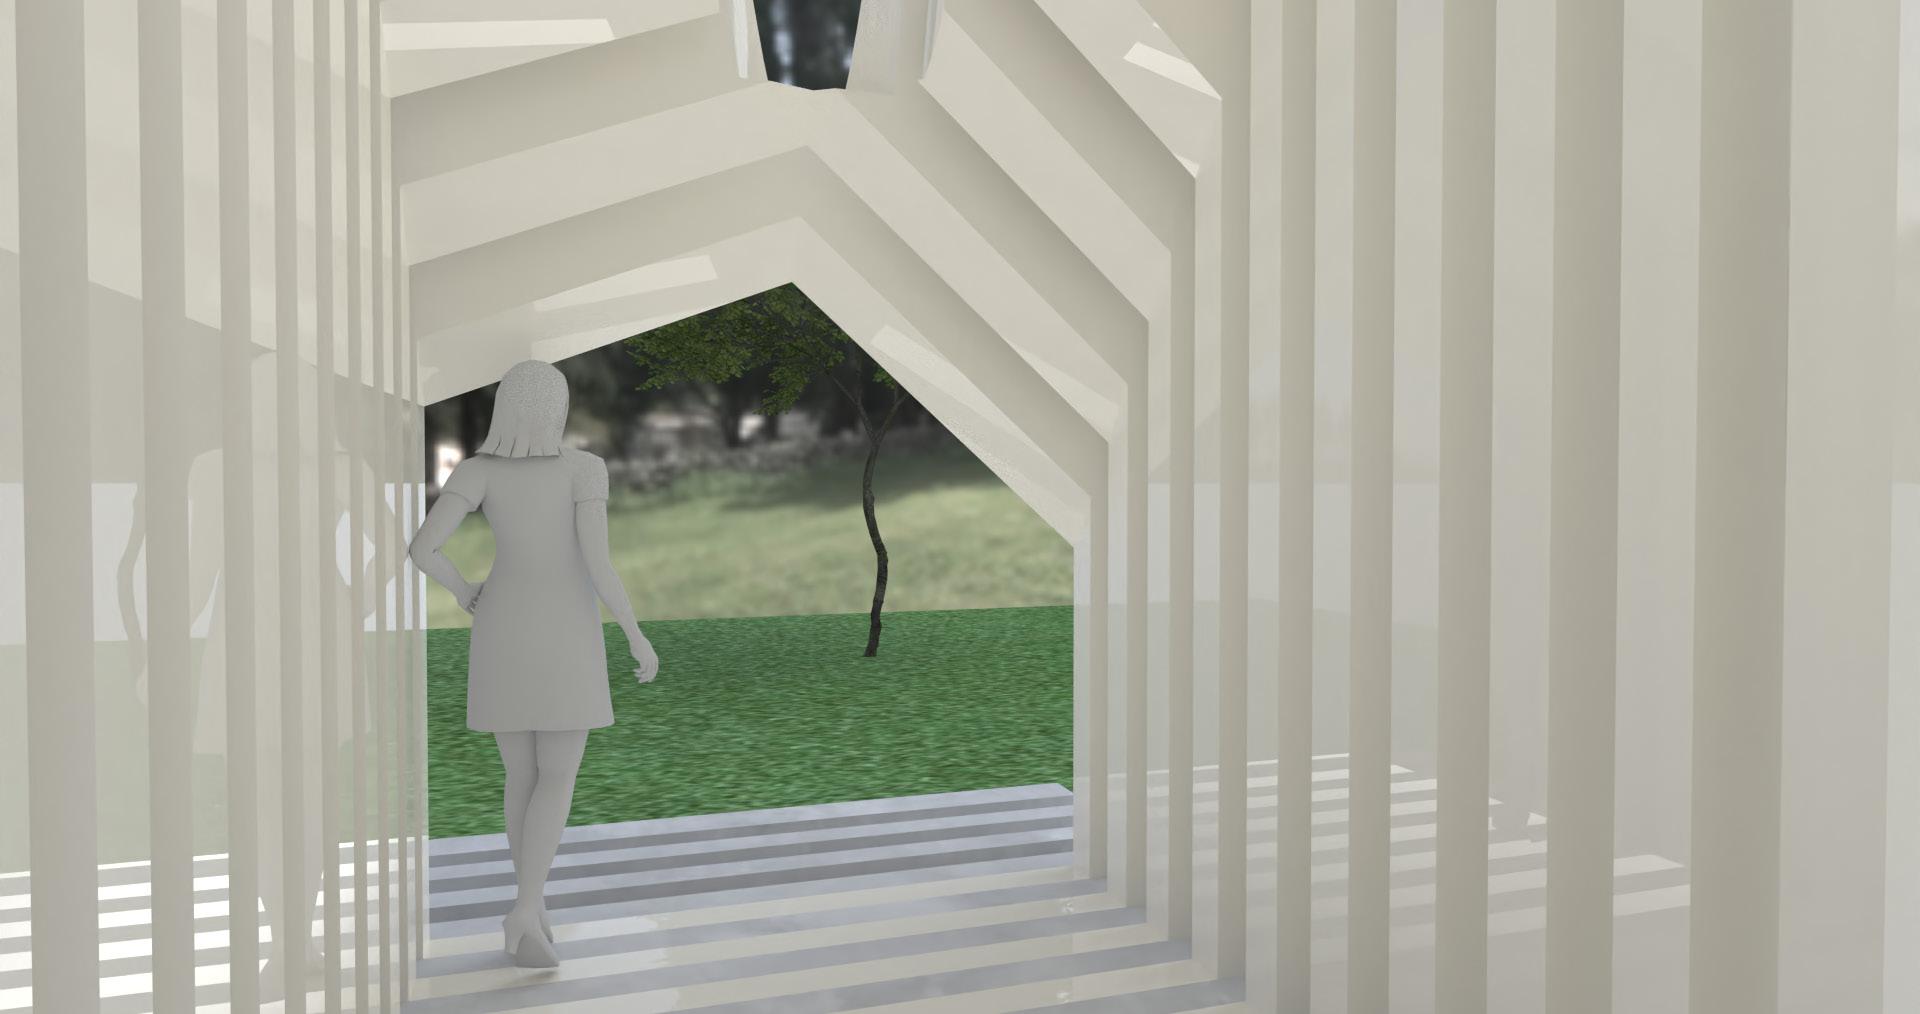
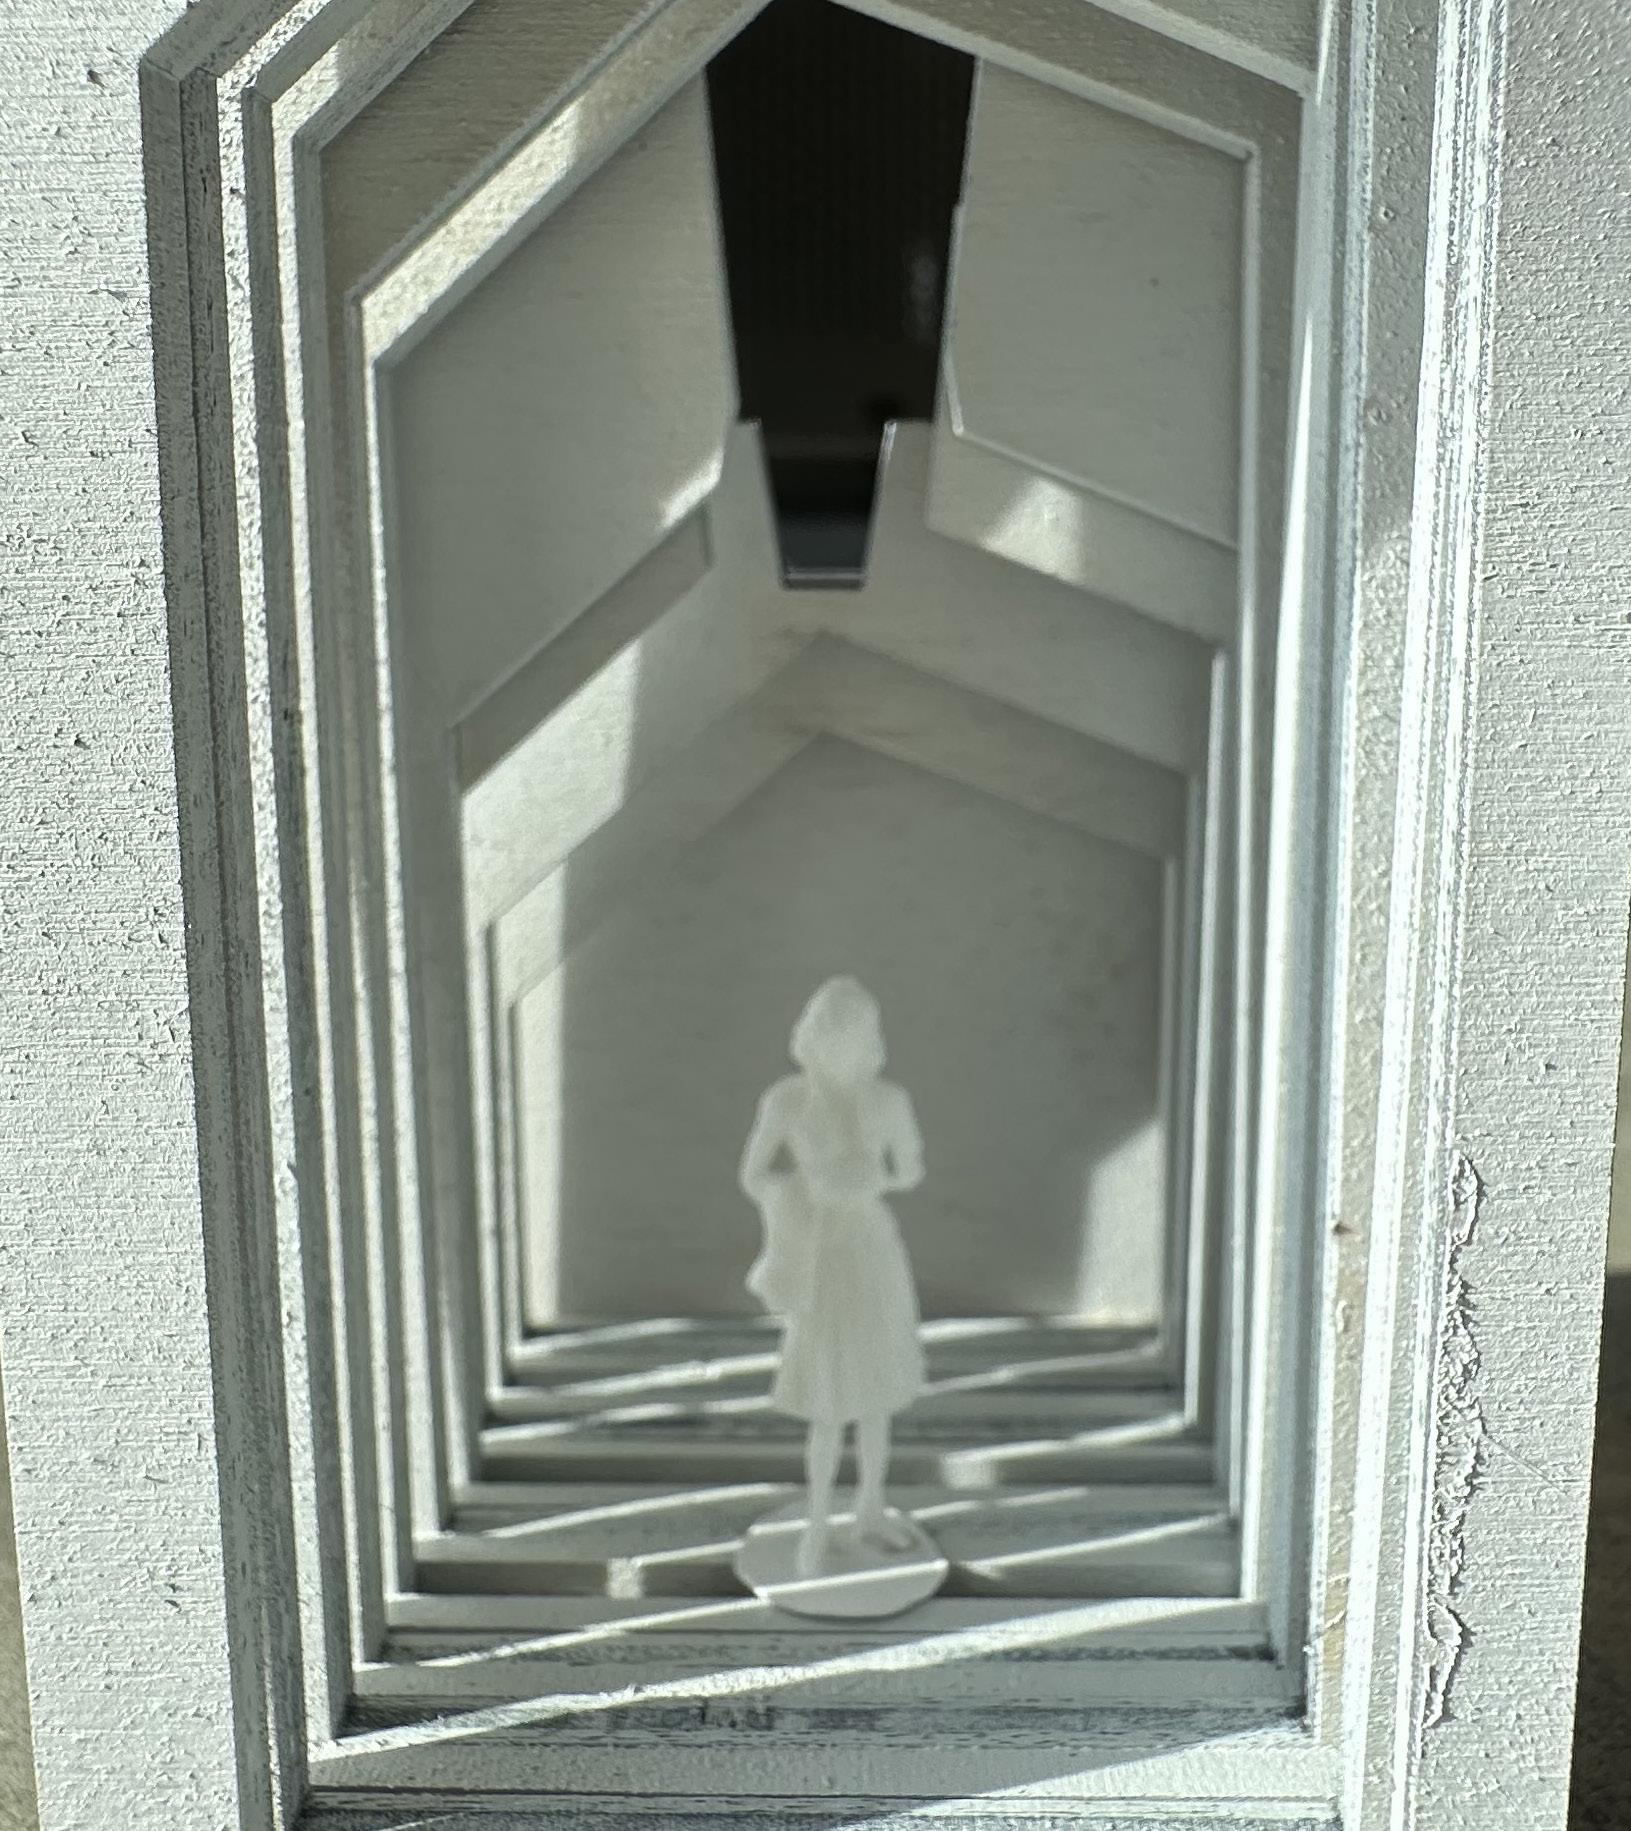
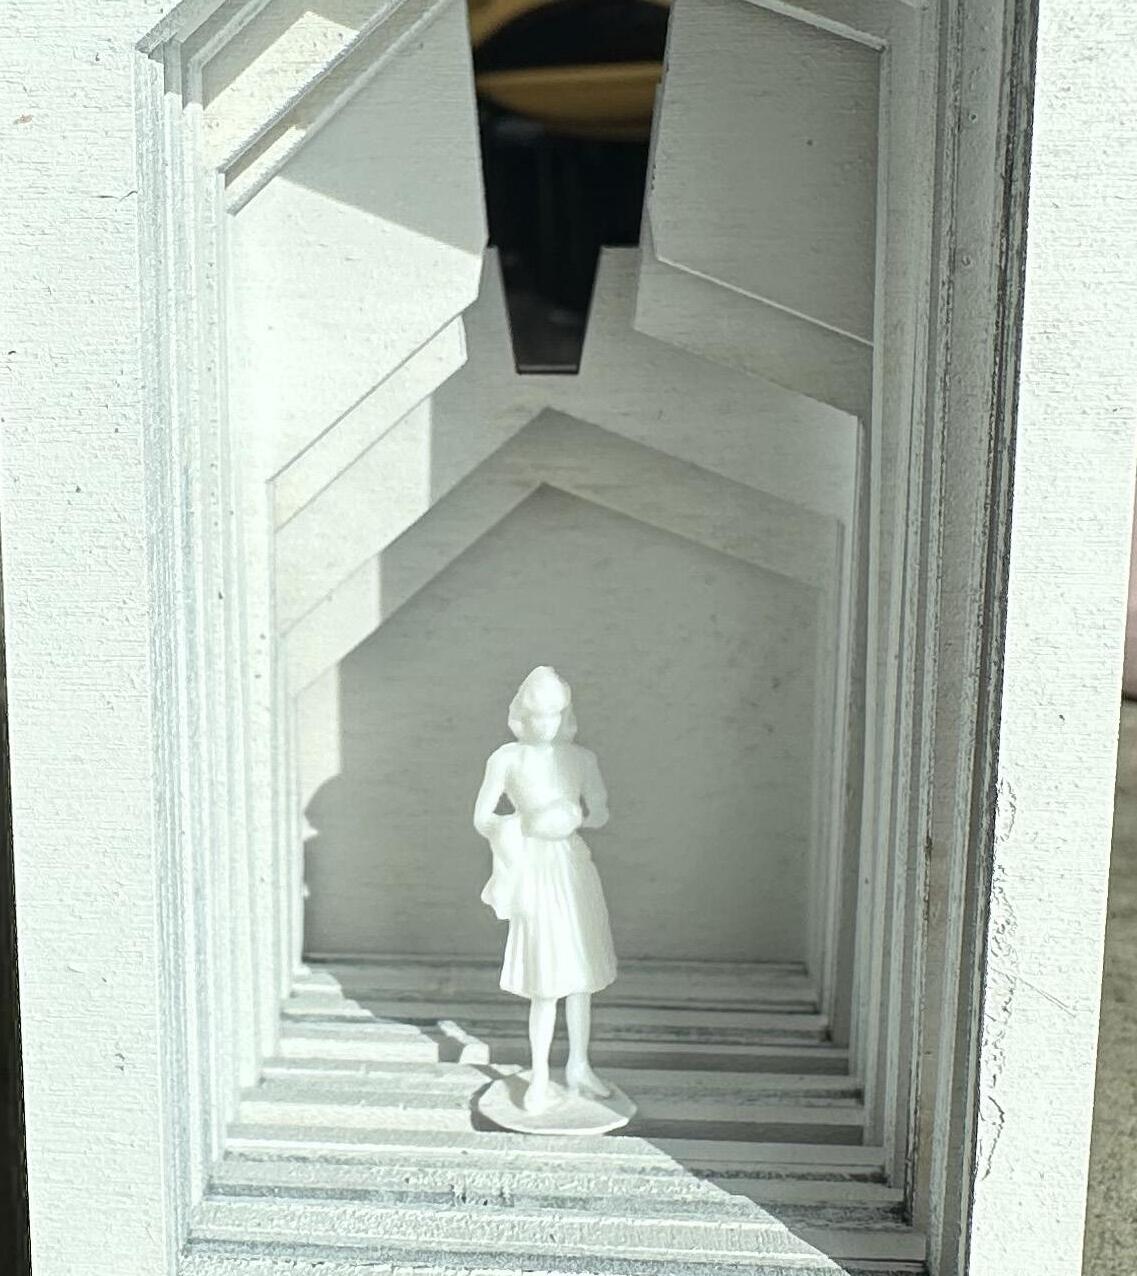
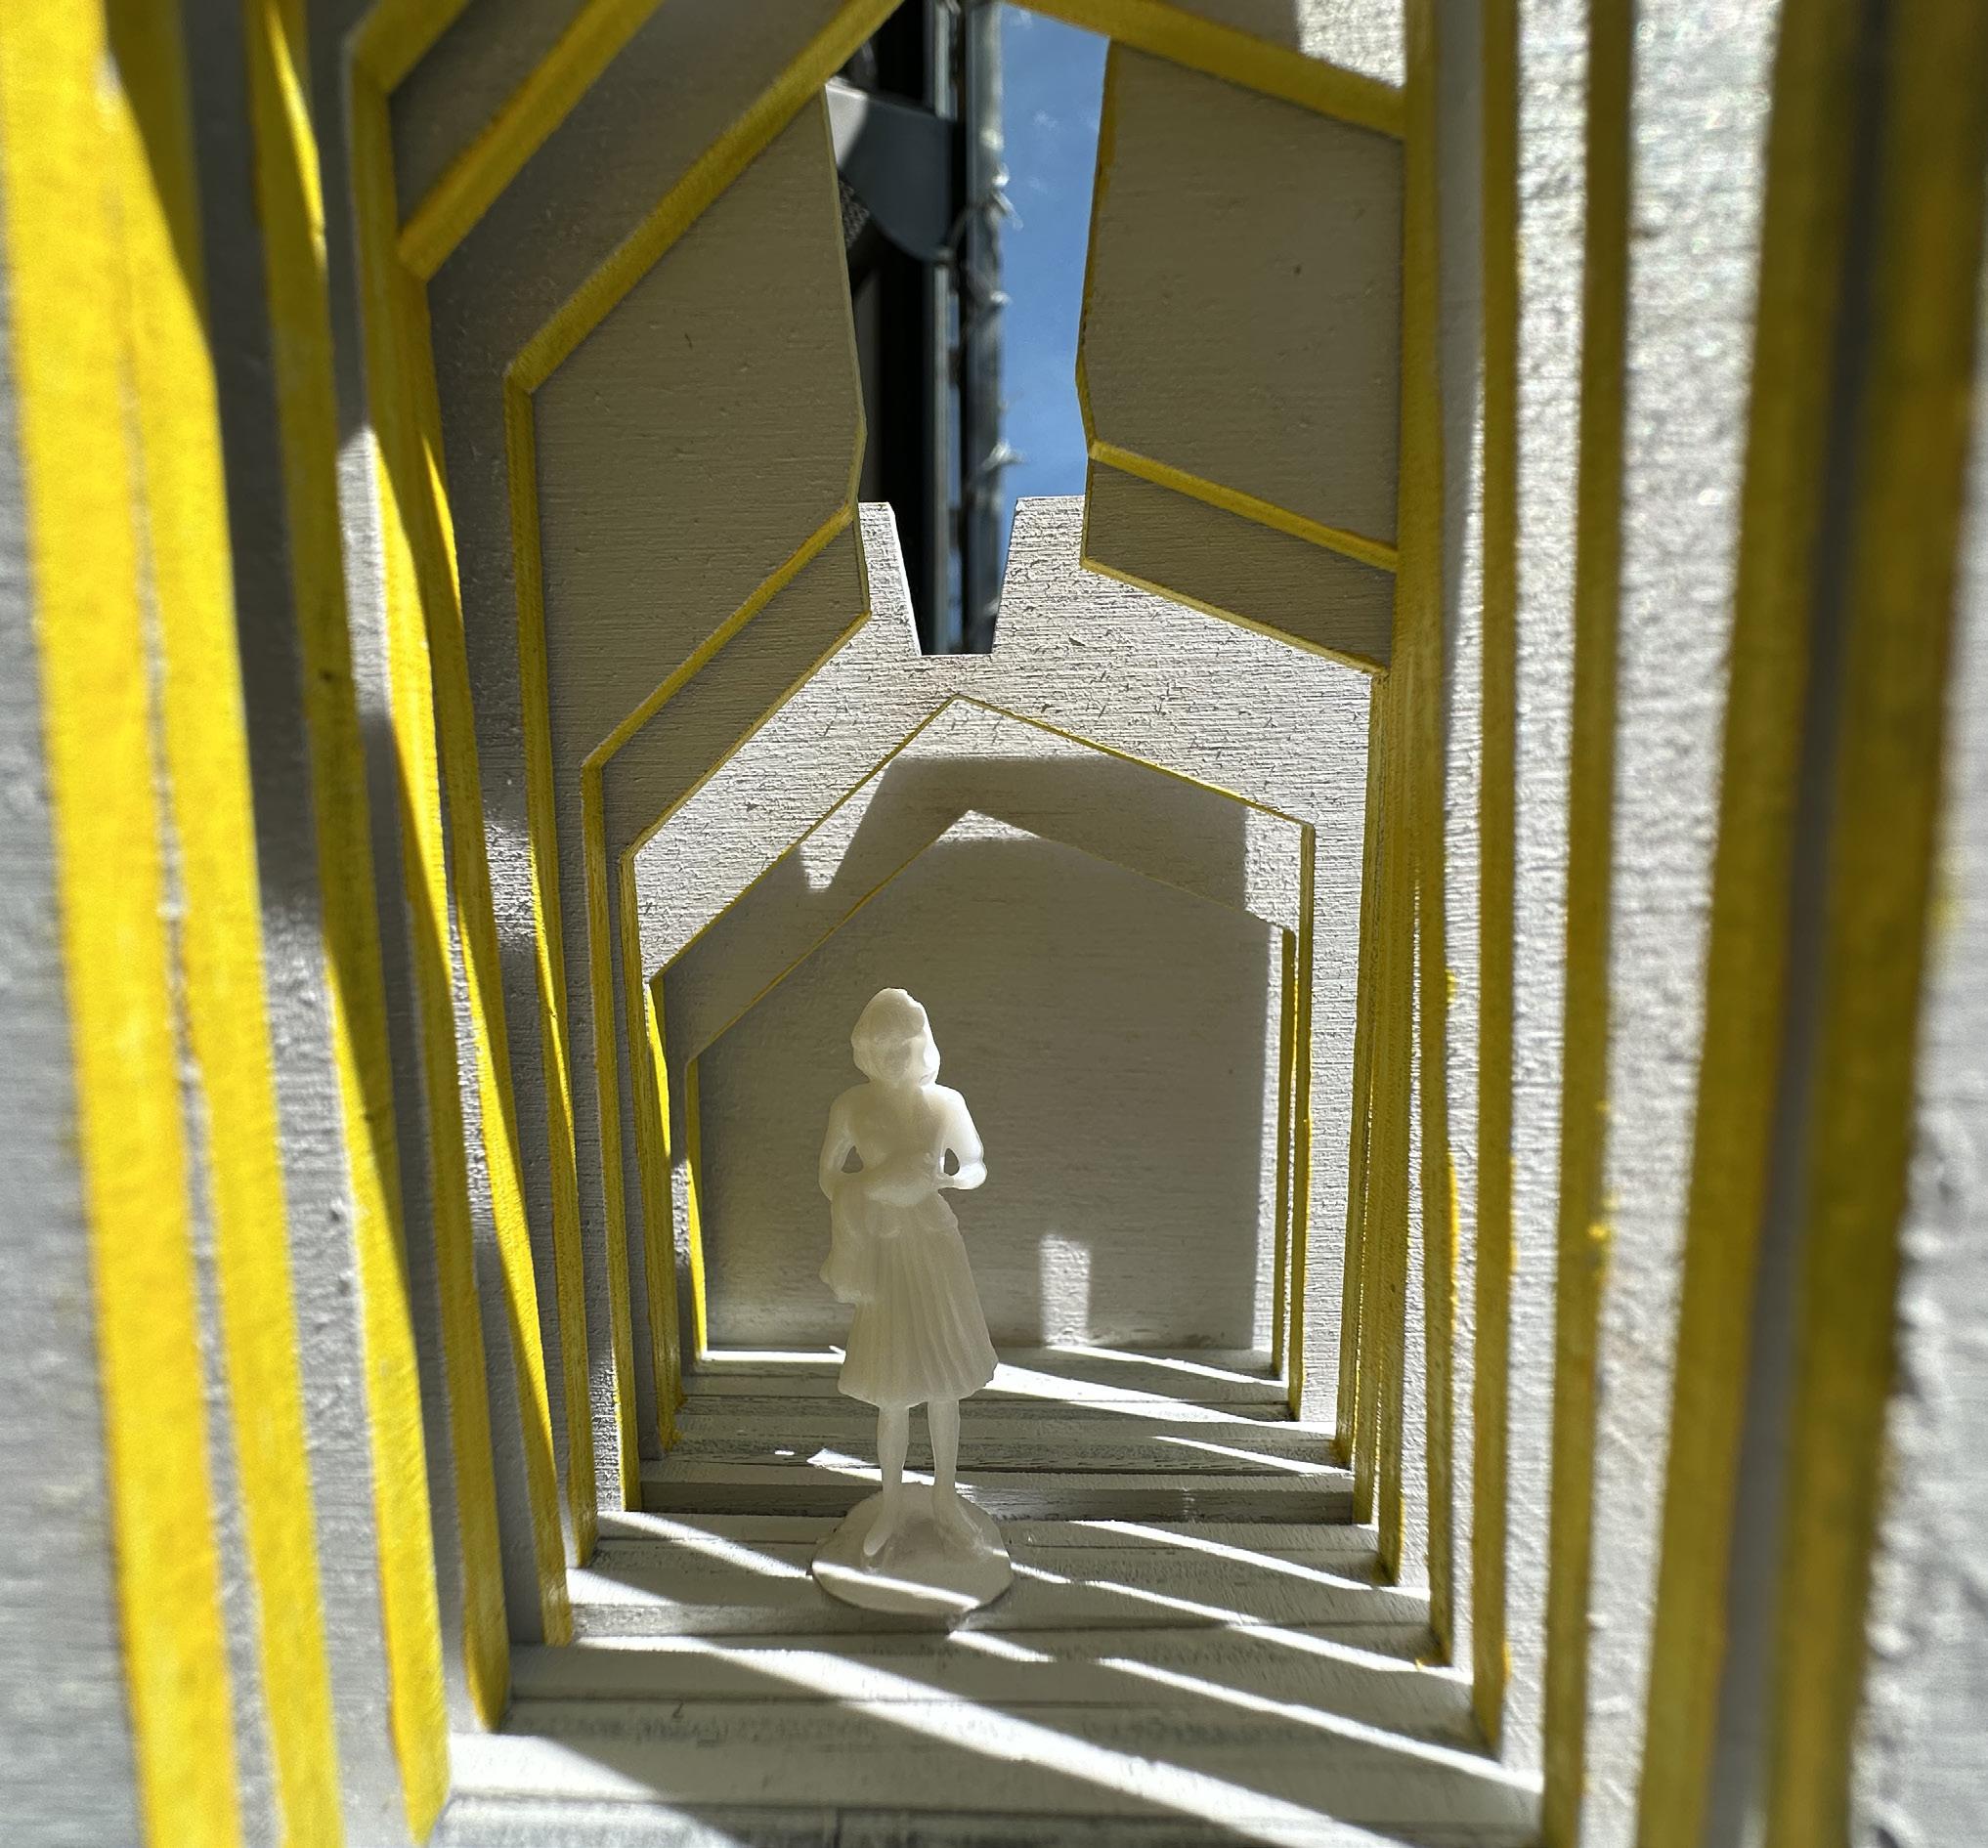
This week we worked on modeling with light the model we built in the previous week. Modeling using different types of lighting in Rhino. Learning the difference can allow us to model and render our buildings in the best way possible.
From just the sun rendering, that can predict the most natural lighting, to Point light which can give a nice spotlight on model.
The physical modeling process was exiting and interesting in seeing how acurate the rendering in Rhino was in real life.
The colors I chose are pink and yellow. I chose these colors so they reflect that light better becaused they are lighter. The pink is supossed to embue bliss, while the yellow envokes joy. The light reflected on the yellow paint and brightens the whole area more then before.
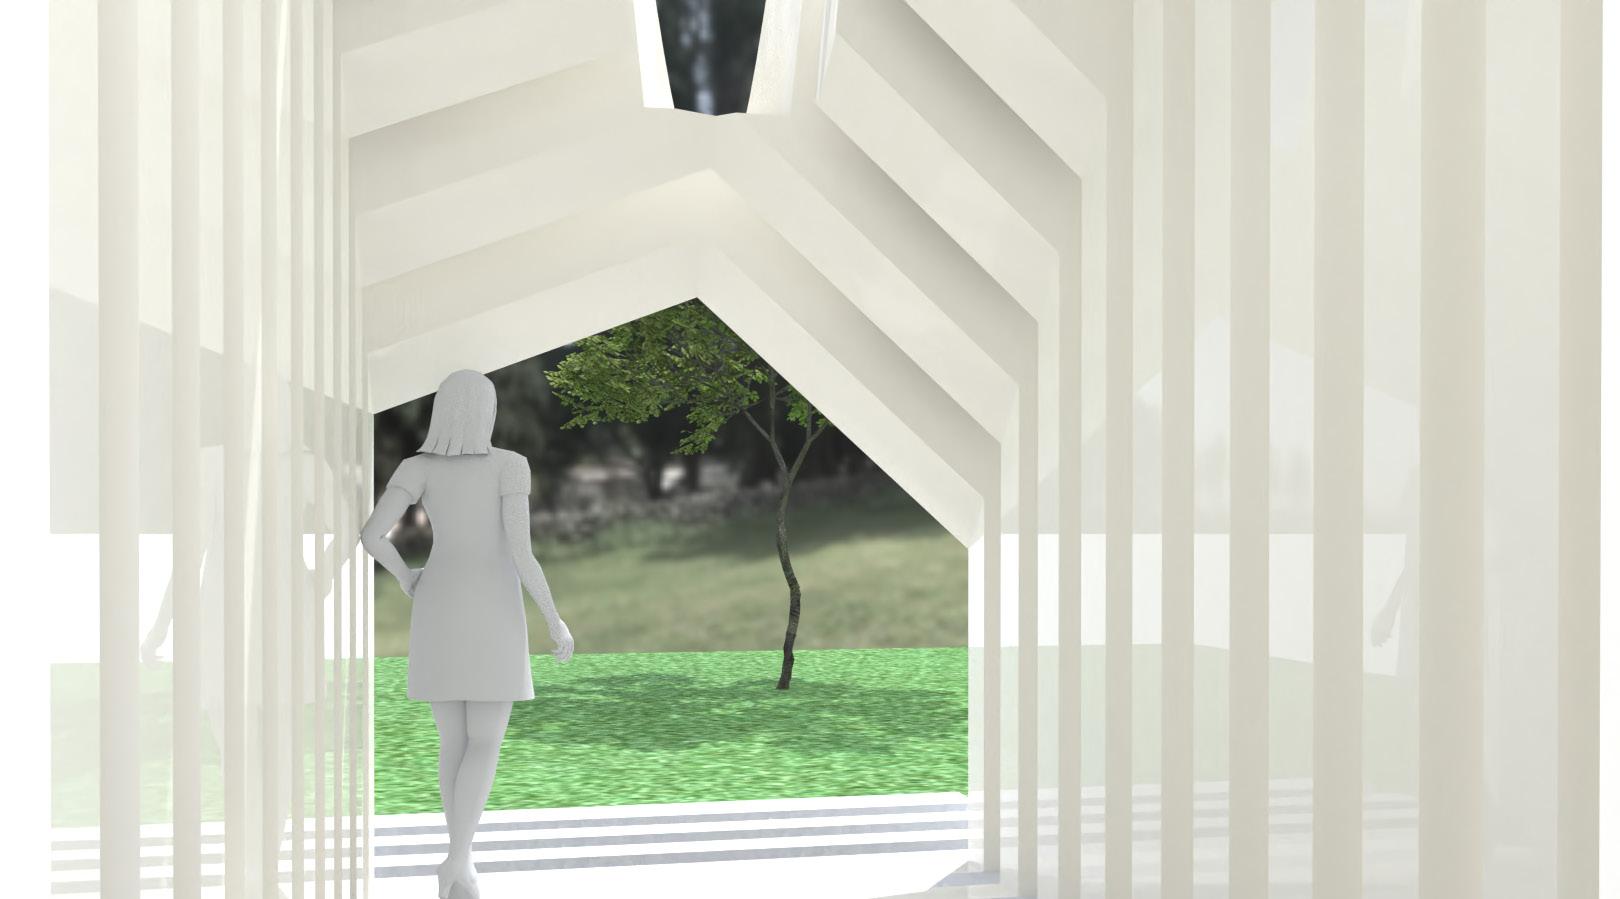
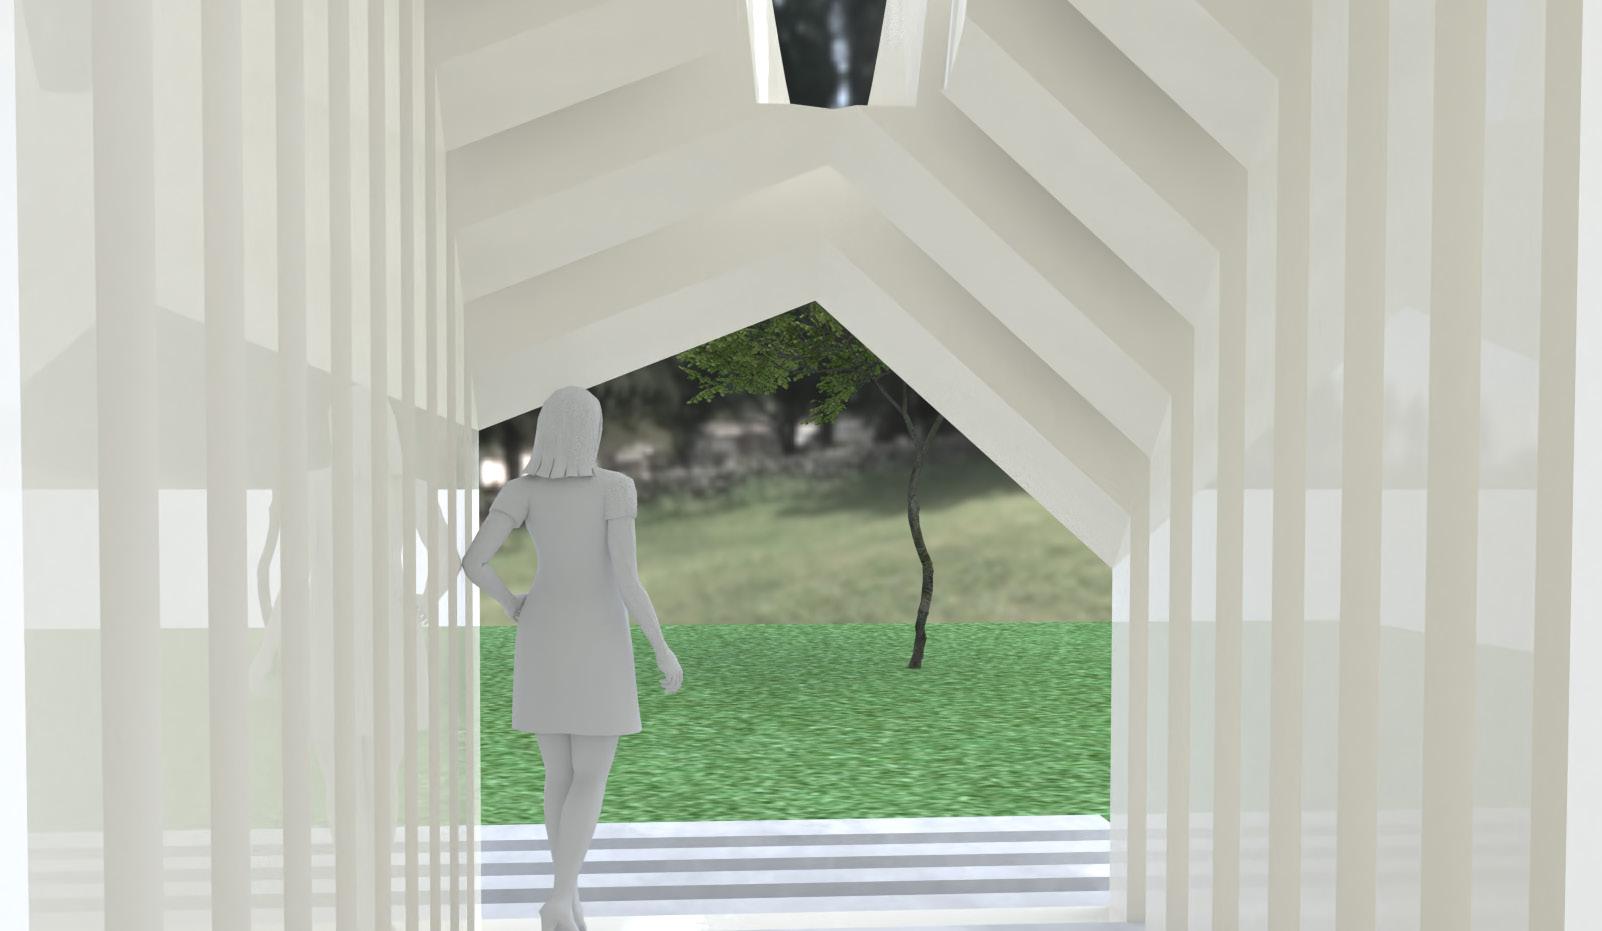
Images:
Top Left: Sun & Material Render
Top Right: Sun Render
Lower Image: Skyl Light Render
Images on Oppesite Page:
Top: Spot Light Render
Middle: Point Light Render
Lower: Rectangular Light Render
NorthEast Light

SouthEast Light

Week 01 - Cory Olsen
Week 02 - Nancy Cheng
Week 03 - Dylan Wood
Week 04 - Ignacio Lopez Buson
Week 05 - Philip Speranza
Week 06 - Siobhan Rockcastle
The Guest Lectures were once a week were a fellow architect teacher would present their findings and passion. It showed many different ways of being an architect and different classes you can take at the school of architecture.
The lectures also tyed into the lessions we were learning in class, giving us a way to do what we just learned. It also showed us different ways of learning based on how the guest speaker pressented.
For example the week we were learning about landscaping, Ignacio
presented and told us about how he analysis a sight and uses drones to scan the tepography.
It also tought me new skills on how to analyze a sight, and be more creative in my designs.
I am very interested in minoring in interior architecture during my time her at U of O. These Guest Lectures showed me how many classes I can fit into my schedule down the line that will help me complete this dream.
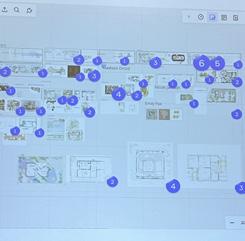
Cory Olson in his guest lecture focused on combining platforms and materials, being Rhino and illustrator, or interpretation and classmates.
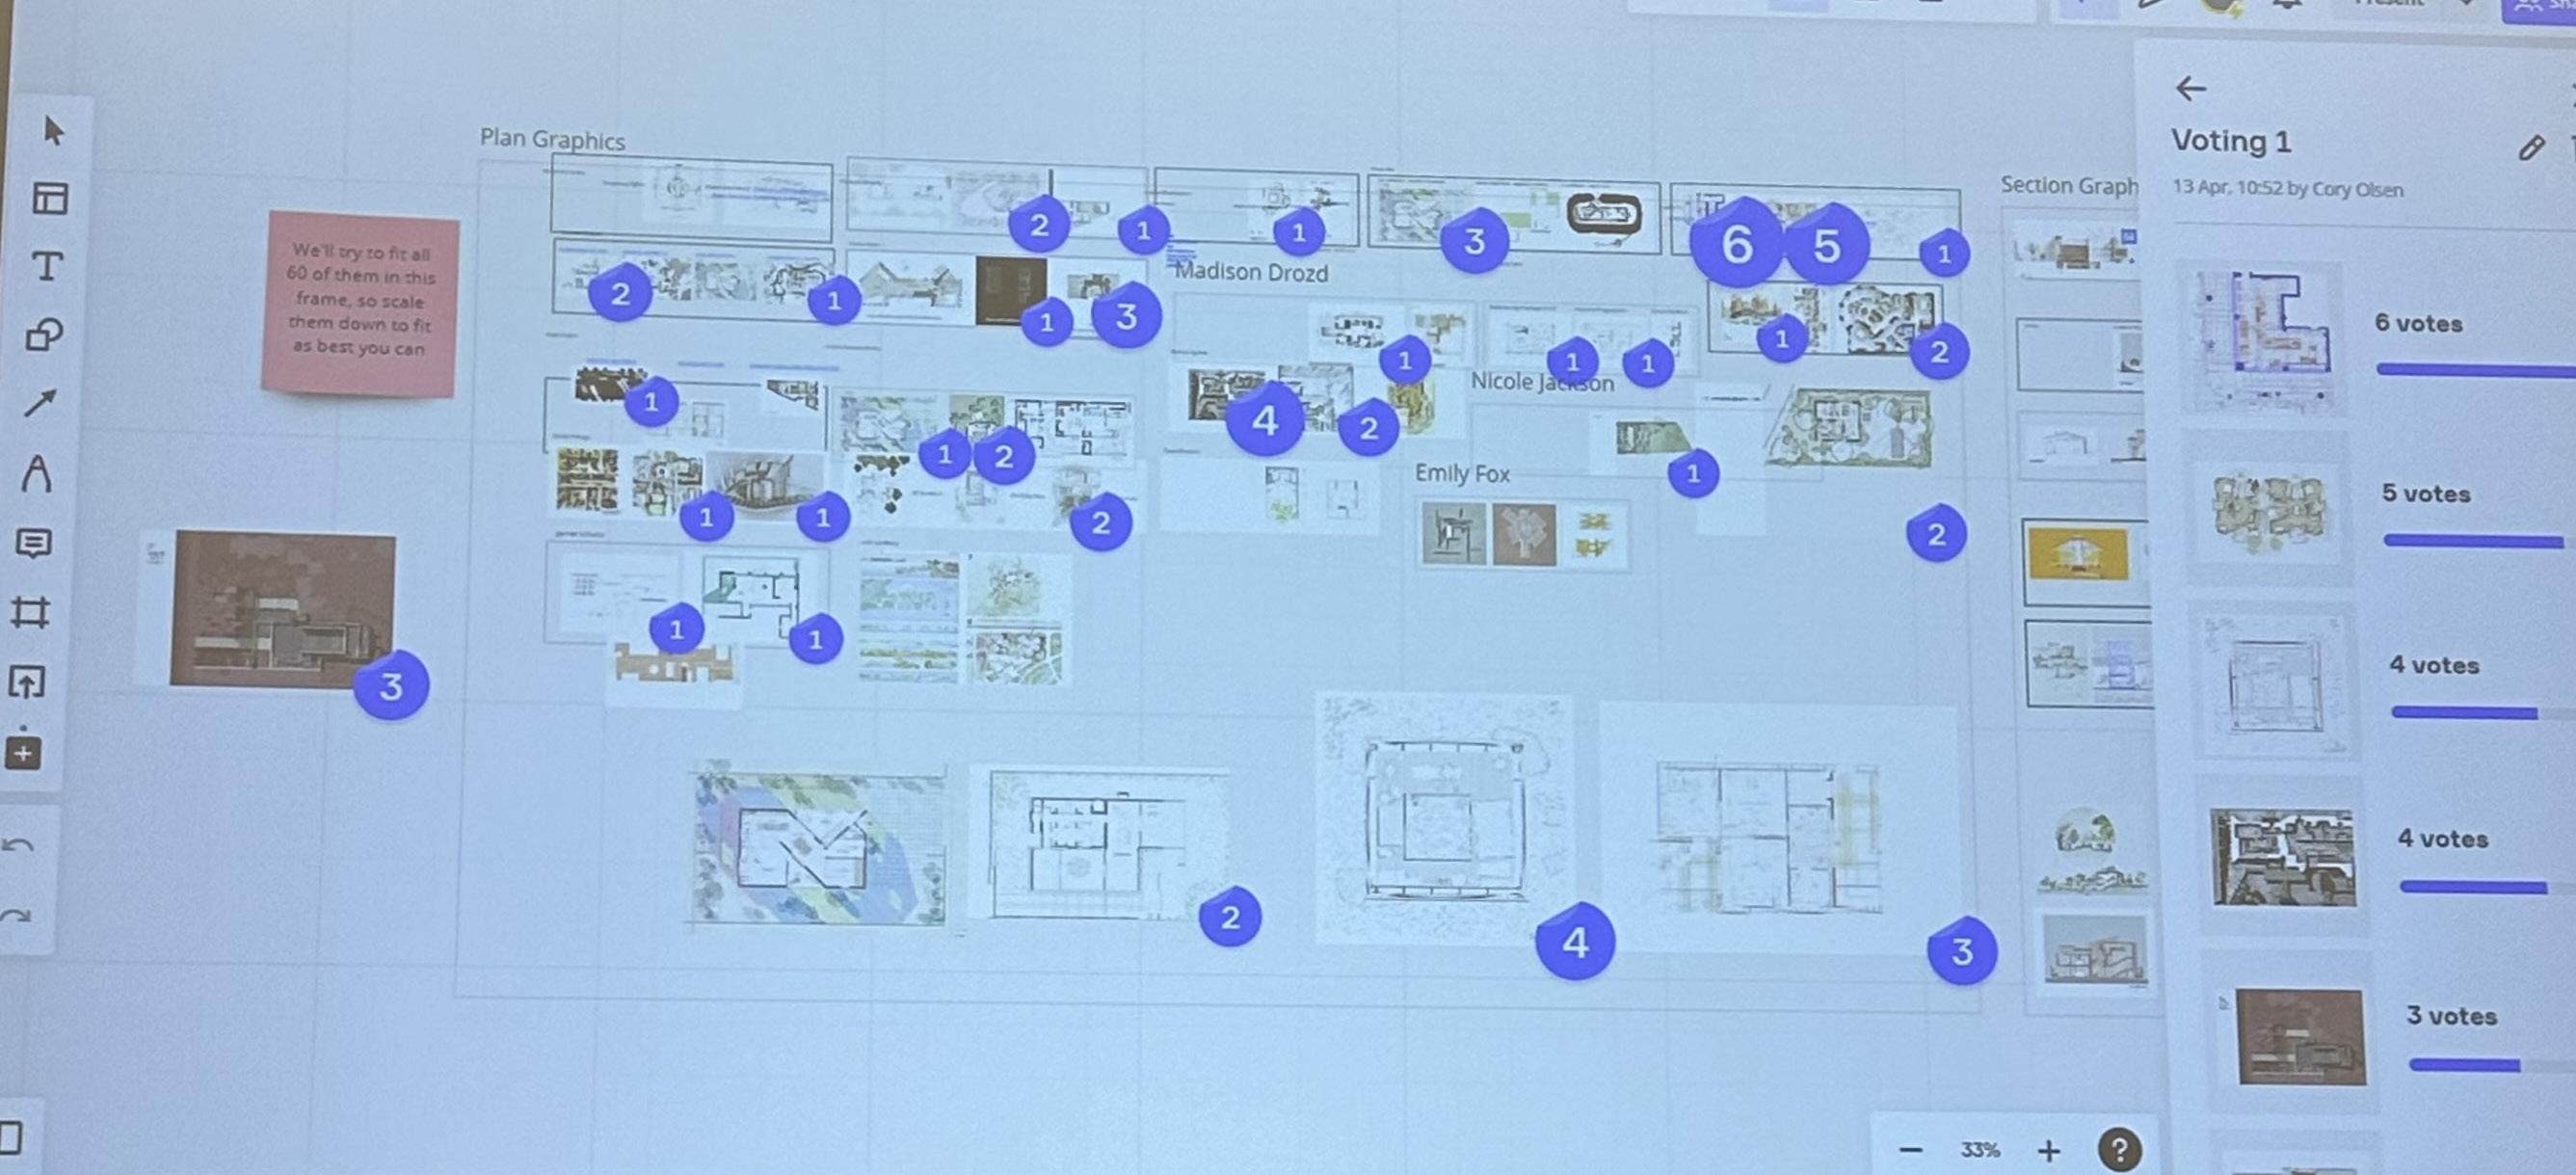
One thing Cory talked about in one of his classes was that he asked his students to find photos and vote on the style that they presented.
The collaboration of students and outsourcing referencing is a key point to the design process. I was excited to see it in a class setting
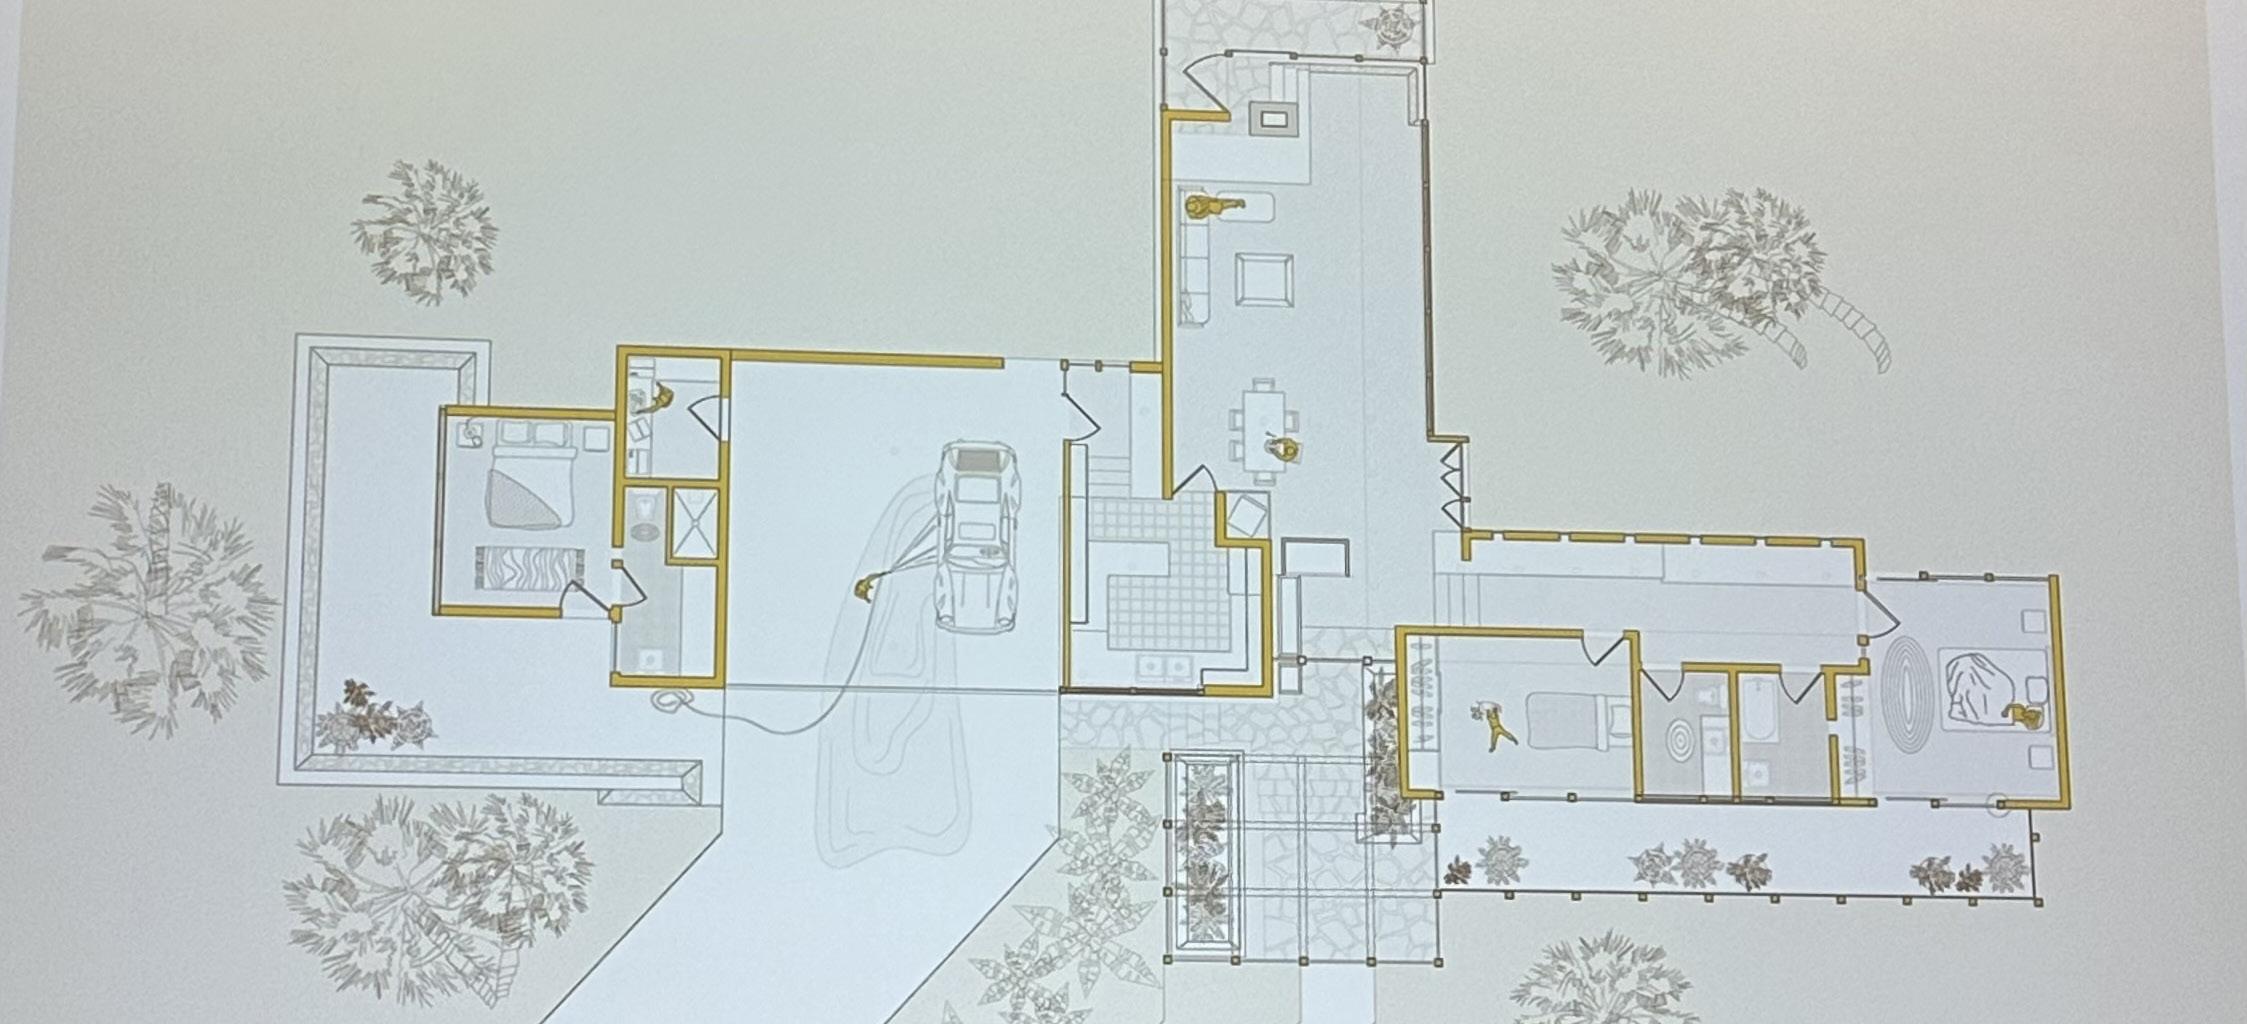
He also discussed the making and fabricating of these projects. Having them build the model in rhino, sectioning or planning it, exporting it into illustrator and using it and photoshop to add entourage and color. The various
steps make the whole image more you, and allows for less recognition of one program. It also allows you to break the normal structure of a plan, by making the walls yellow.
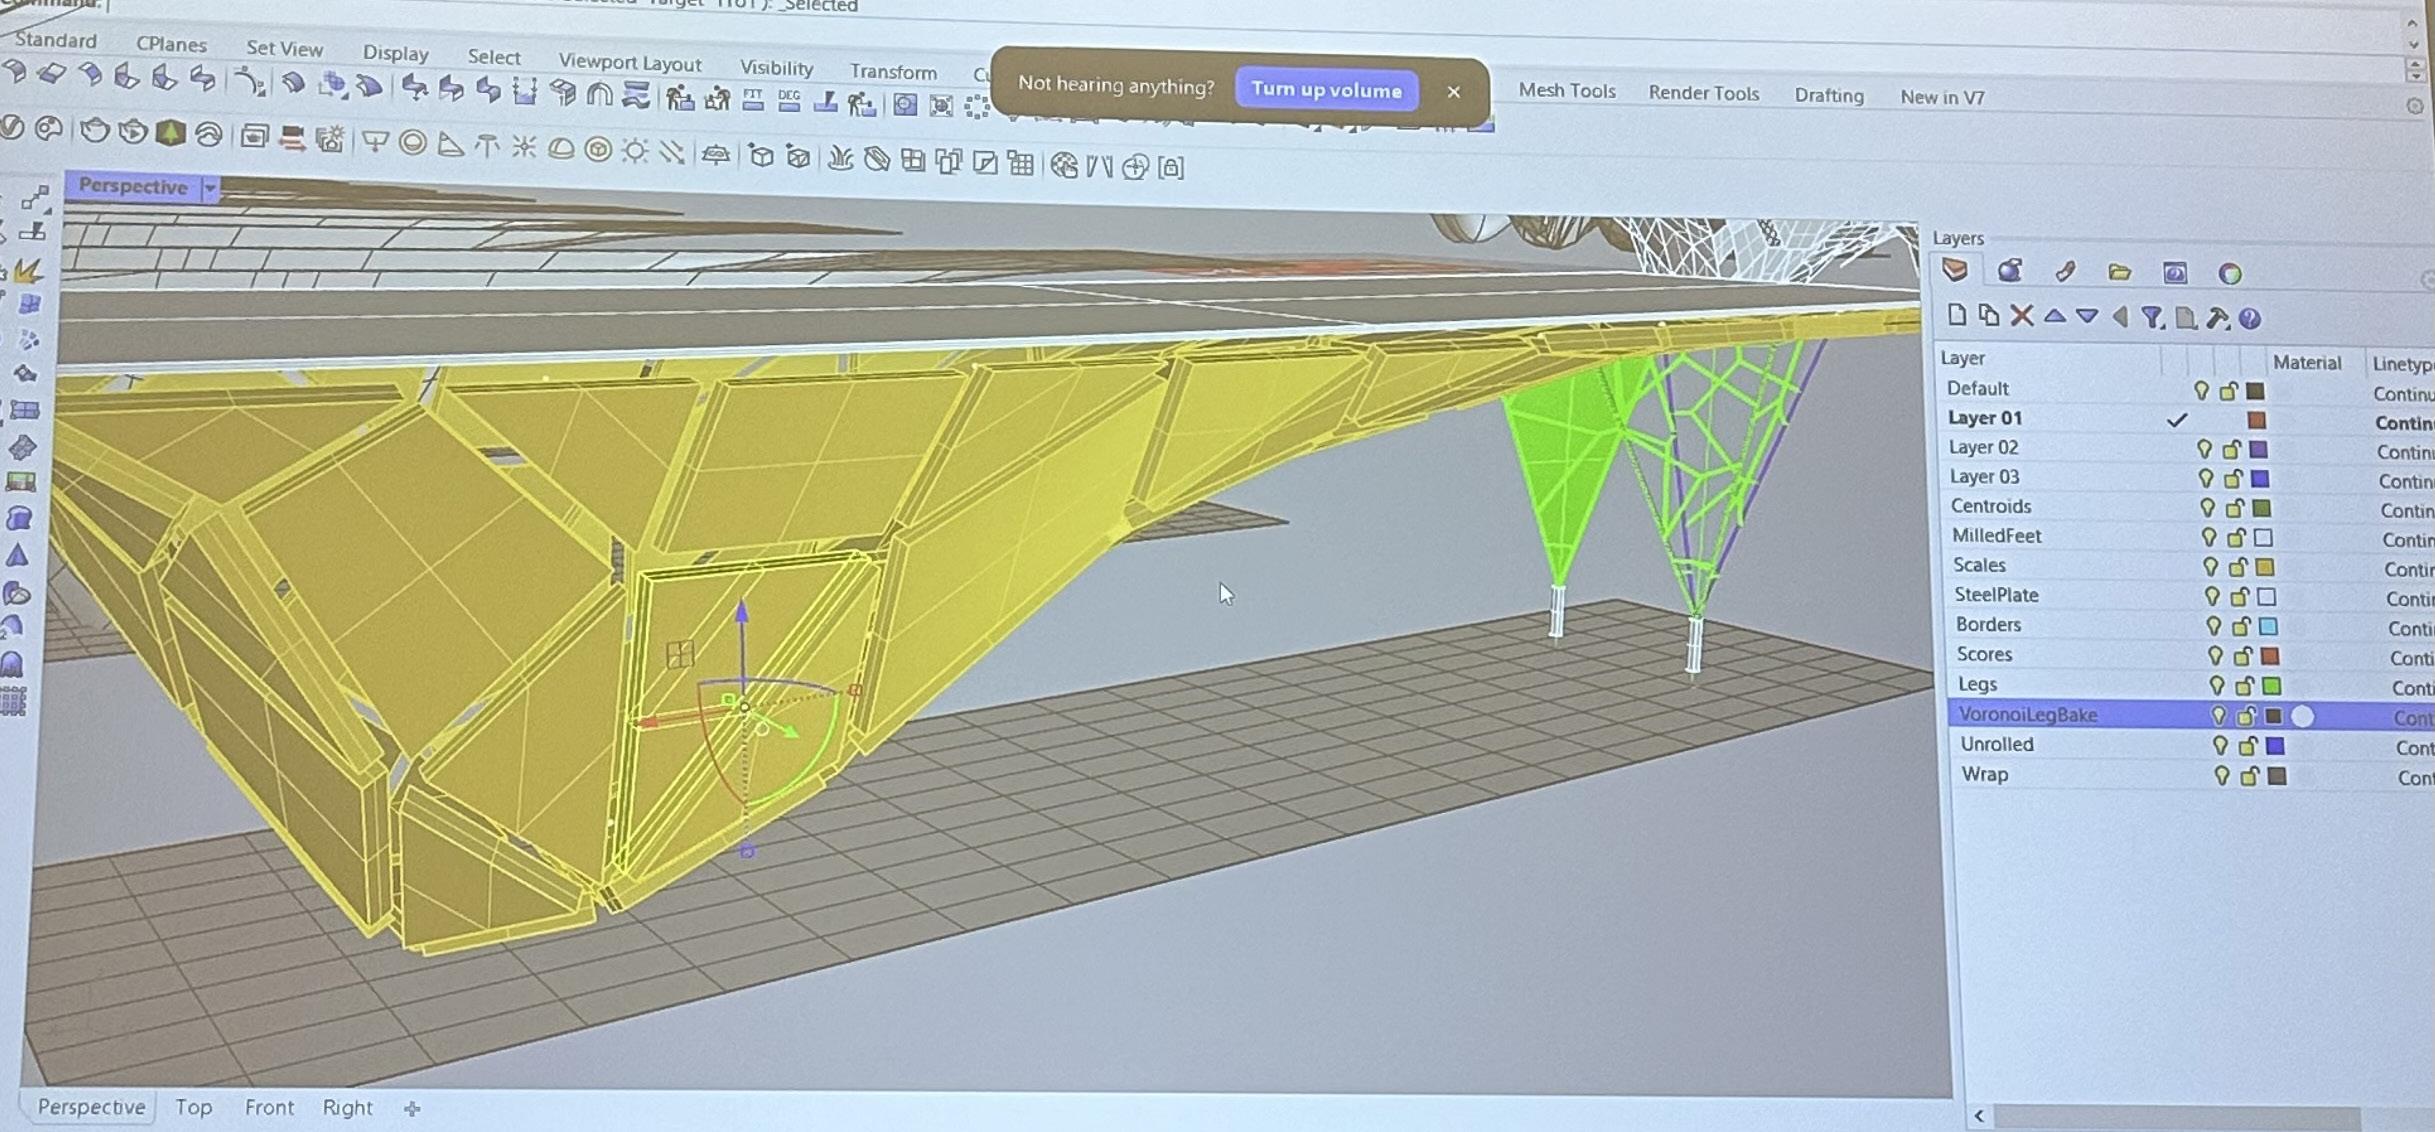
Lastly he talked about the digital making of elements in Rhino. He was making a bench with Grasshopper but added “scales” along the smooth shape to break up the recognition. It also emphasizes the ability to adjust
an assignment to better fit your style then the way the program makes it. Understanding how to break a pattern up can allow for more fluidity and uniqueness.
Nancy focussed heavily on recycling materials and the benefit of it. Using the materials of the destroyed homes, makes the whole process have a deeper meaning.
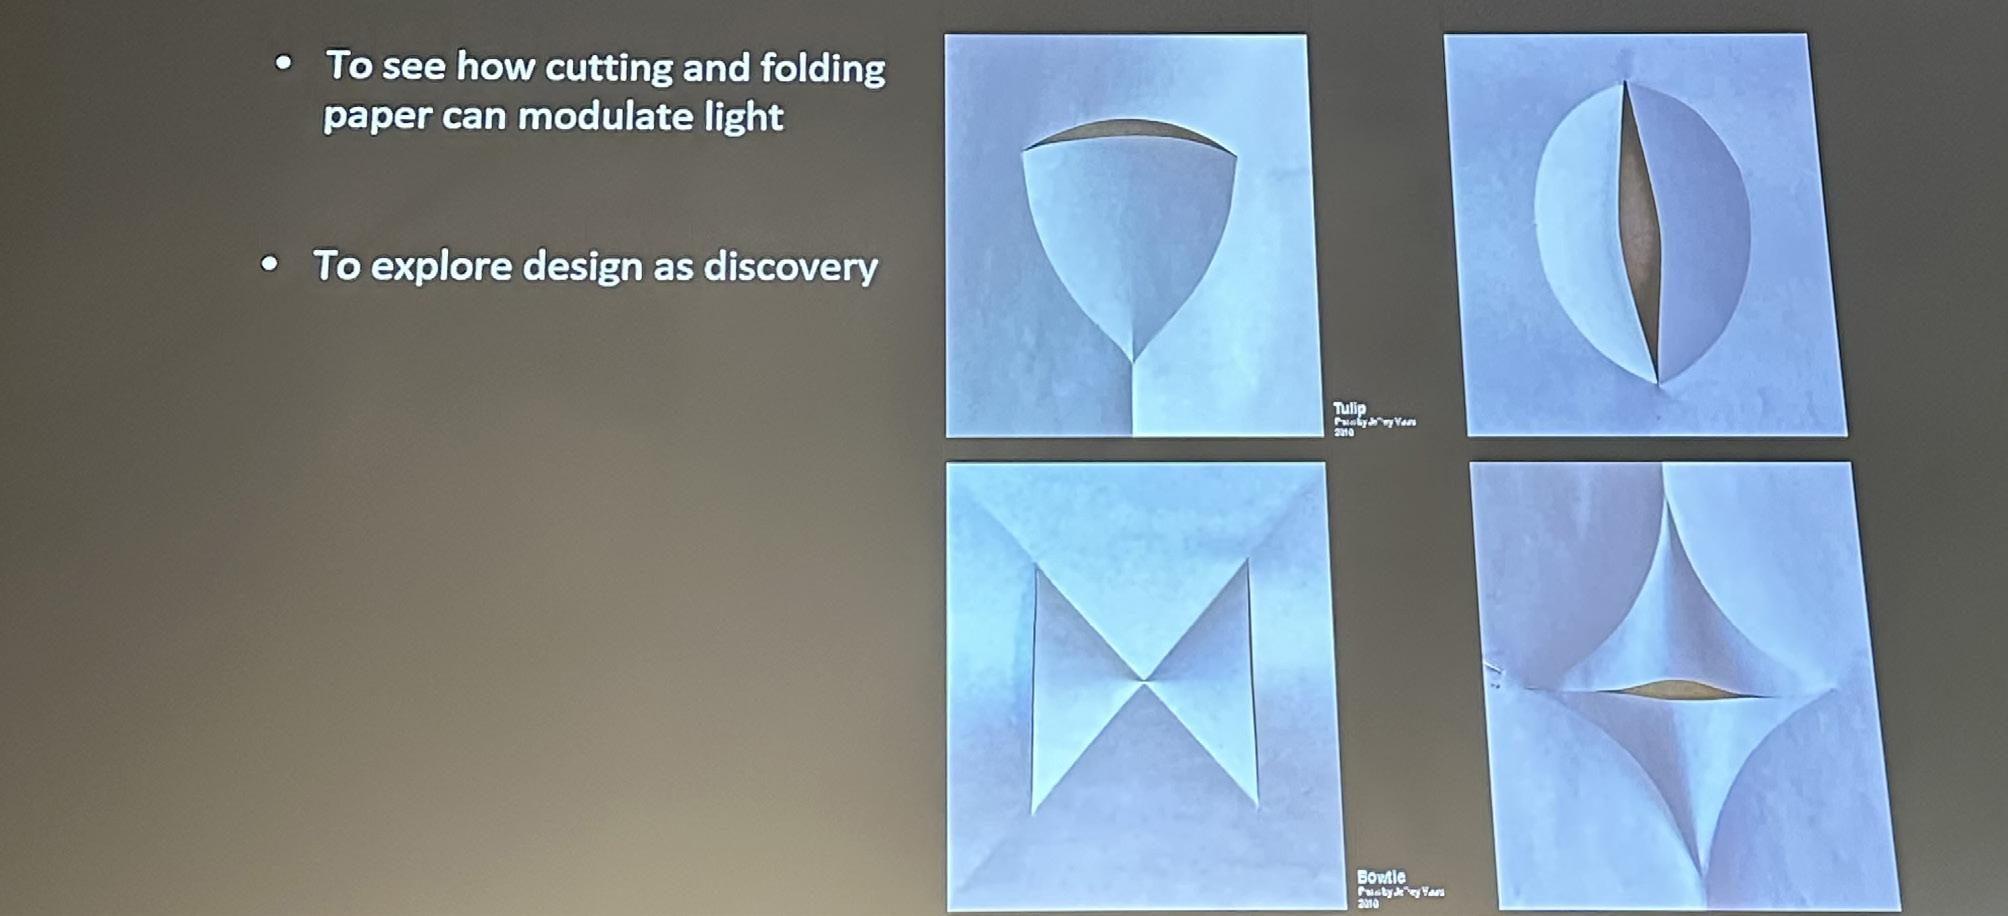
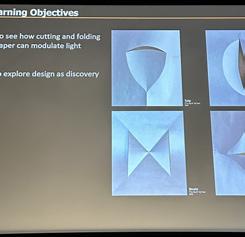
The first project she discussed was about the use of folding and cutting paper to create unique manipulations of light. She talked about how much of an impact the light can make by using simple geometries in the cutting and
folding process. She debated a lot about the use of curved cuts versus straight cuts, but decided on straight because it gives a cleaner edge between the light and the paper.
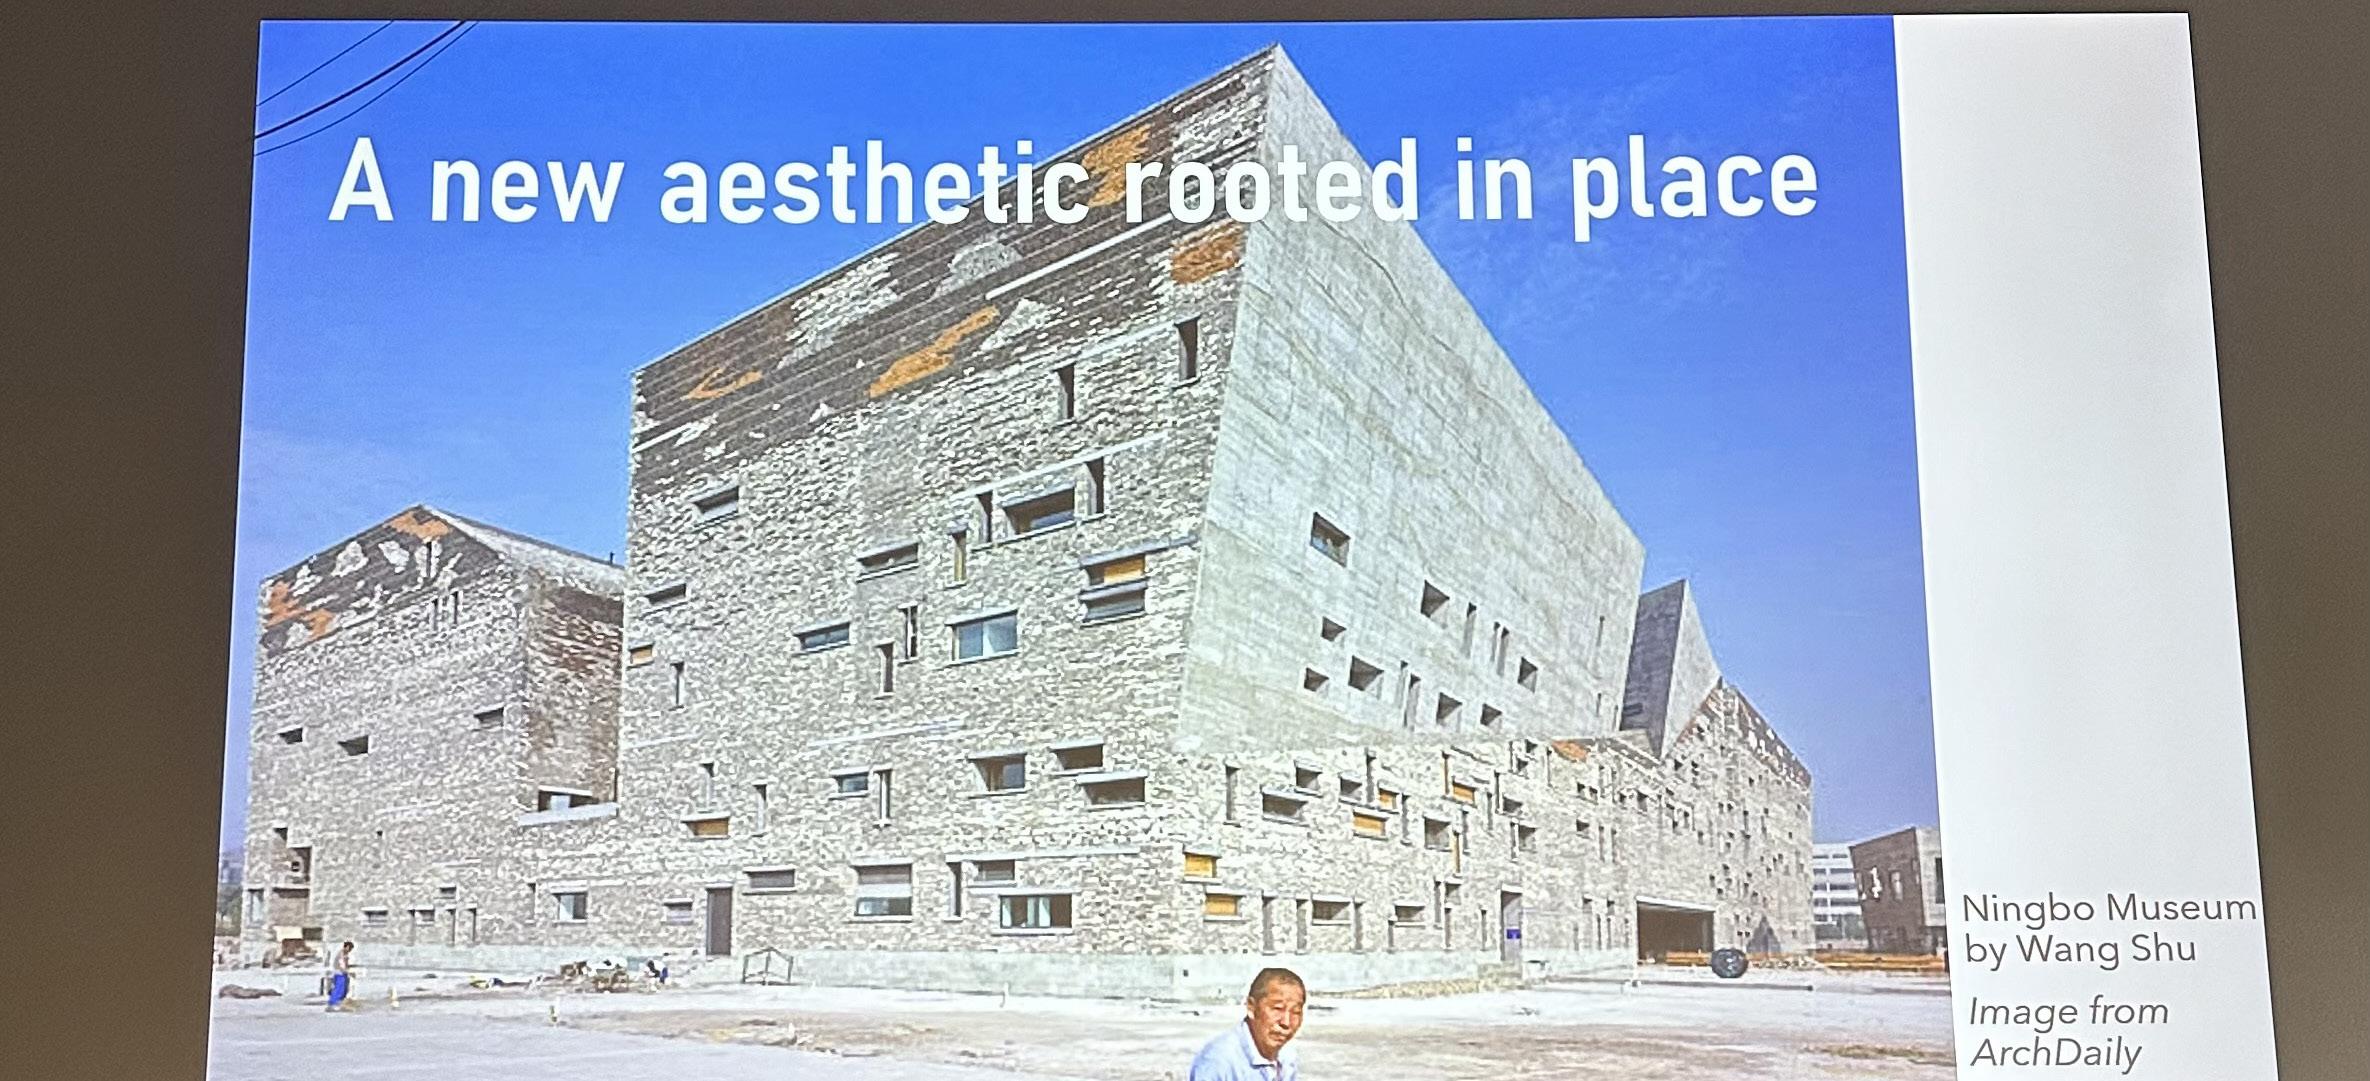
She talked about a building in China by Wang Shu, that used completely reused materials of the traditional buildings that stood there before. This project, similar to the
previous, talked heavily about the intersections of the material. When you use old materials, you have to be careful and creative on how you join objects together.
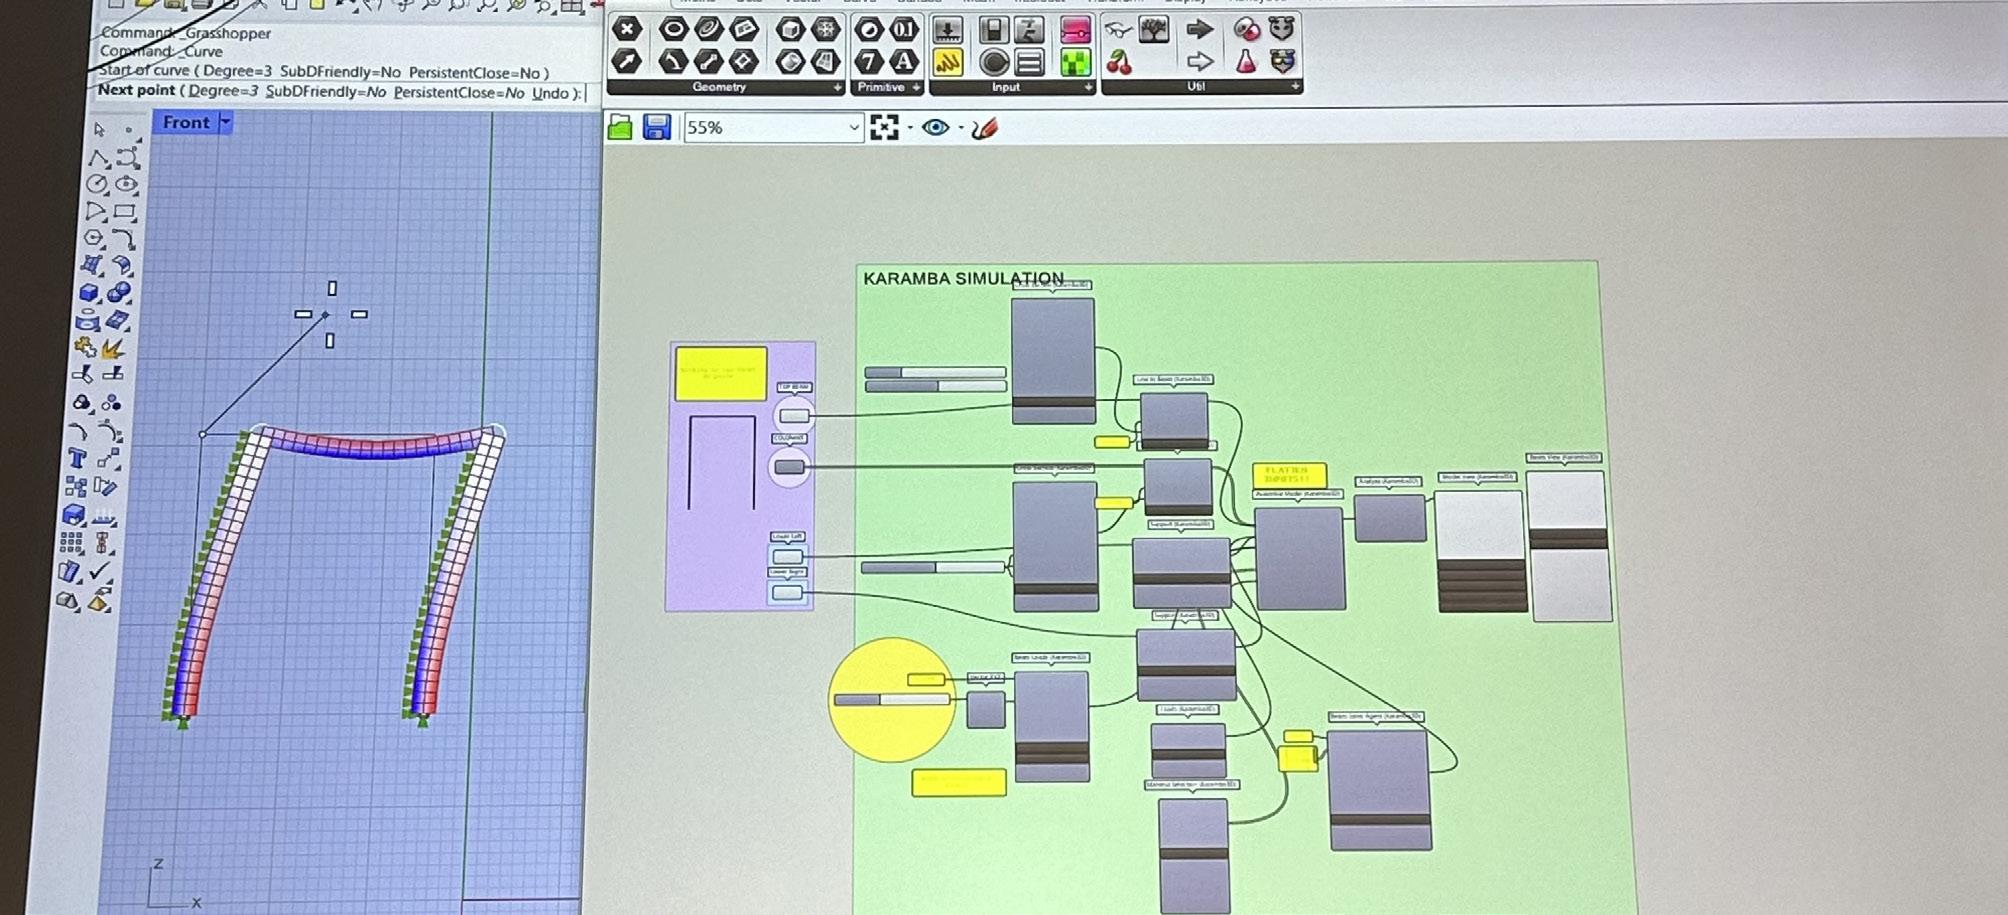
Lastly an important part of her design process, and what she tries to teach her students is the use of Grasshopper. Using grasshopper allows her to see thousands of iterations of one simple geometry, and then pick the best
that fits best for the real world. It also allows for easy duplications in the first project I talked about.
Dylan Wood focused his presentation and study on how to analyze a material before you start working to create a more comprehensive design.
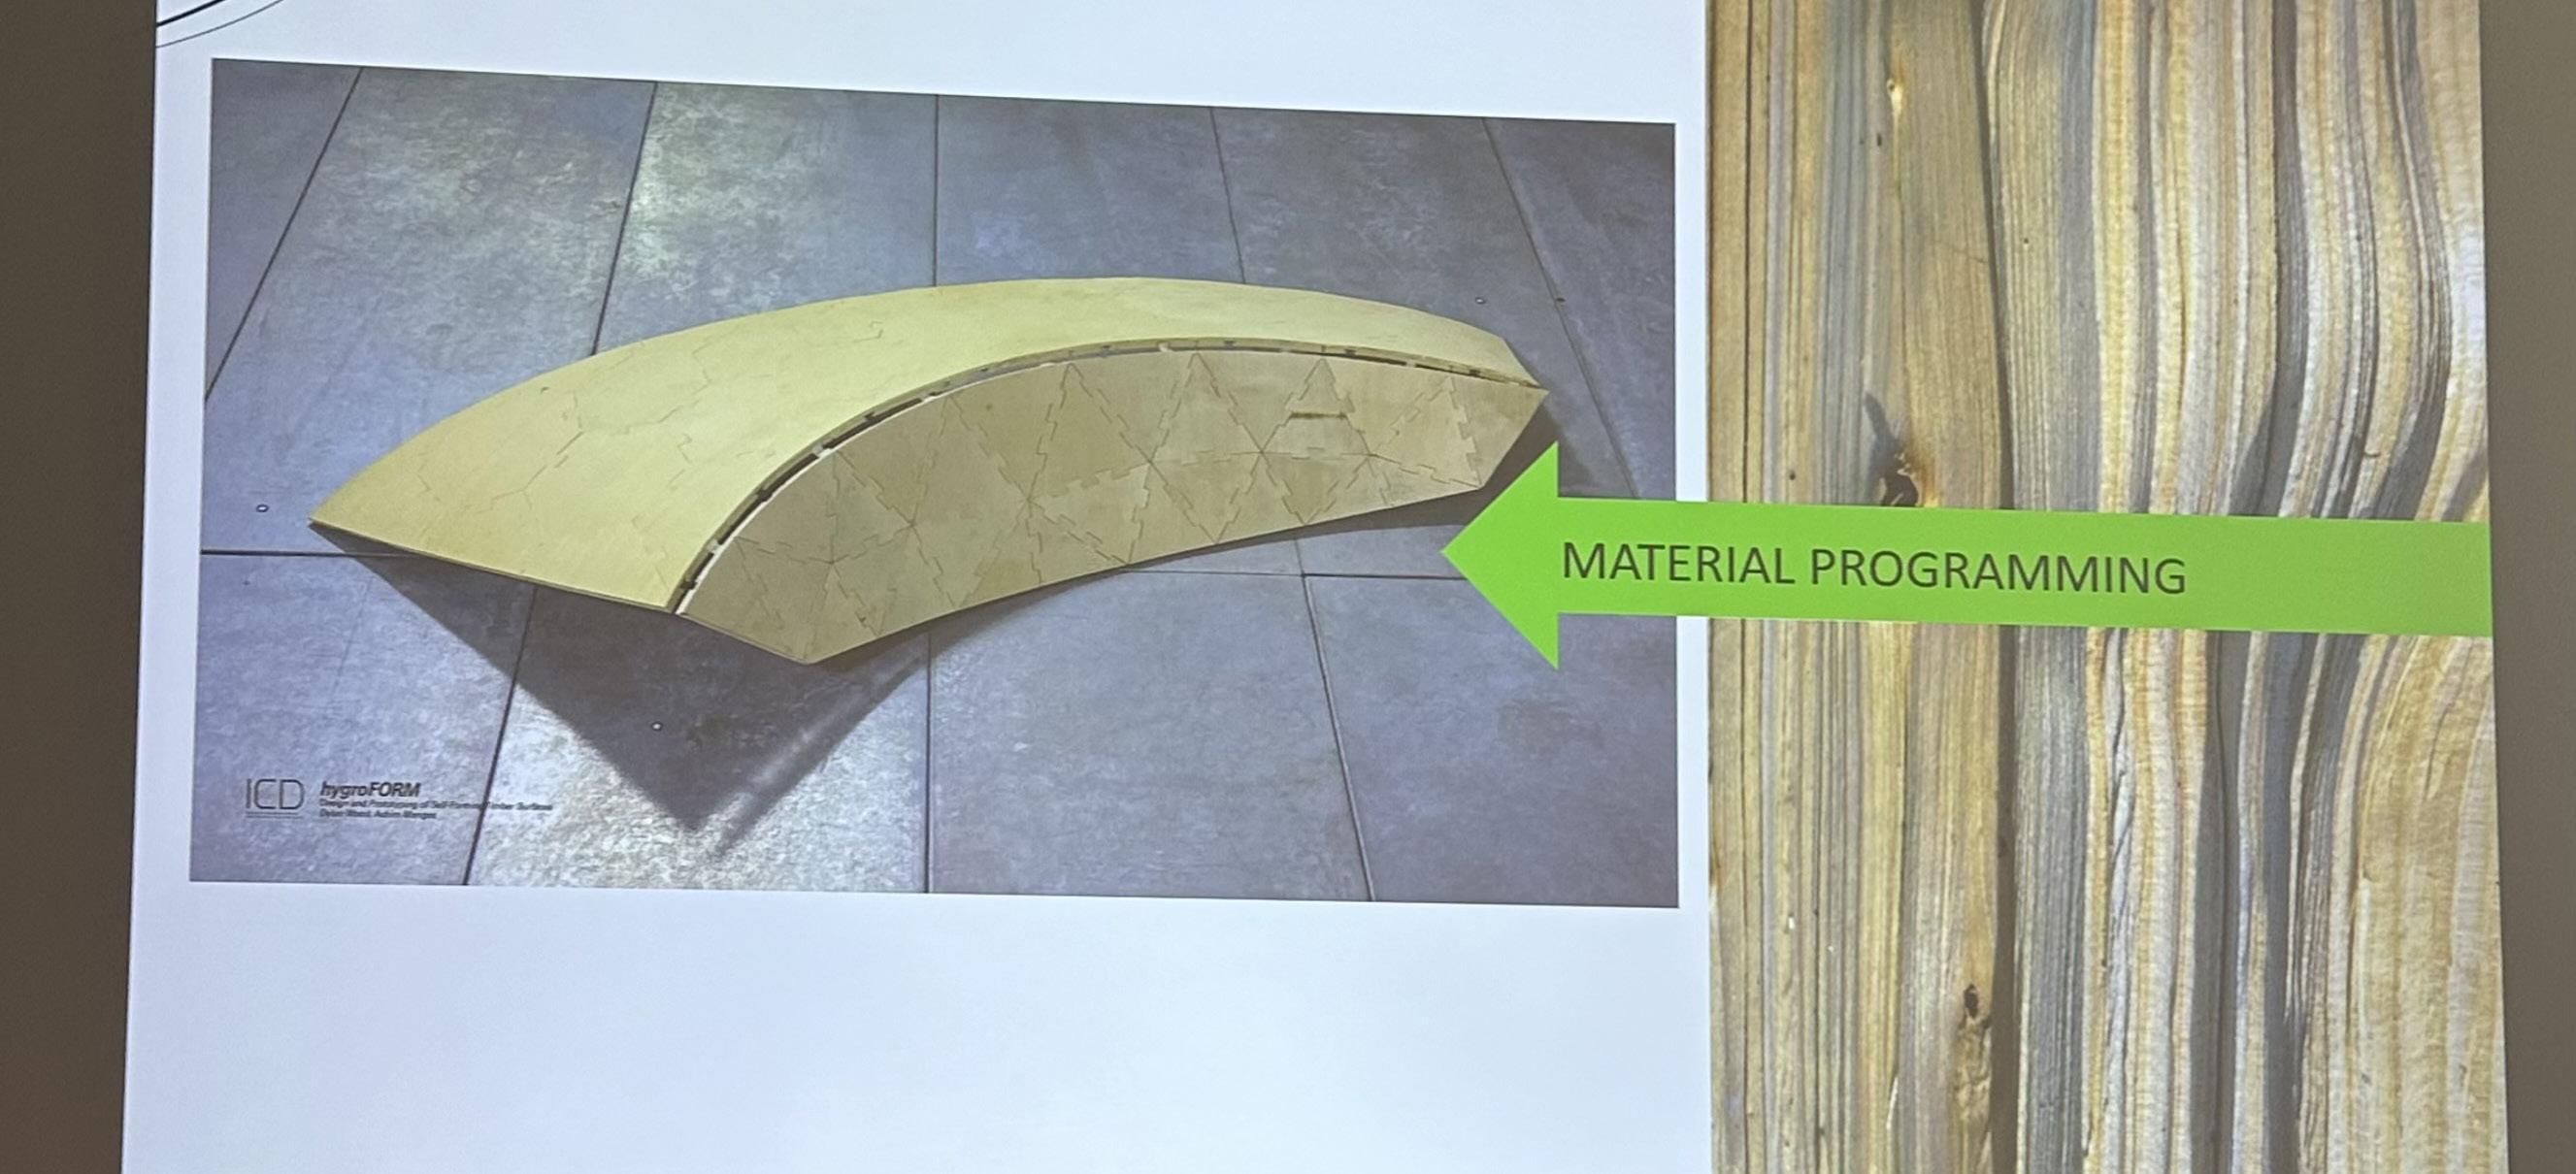
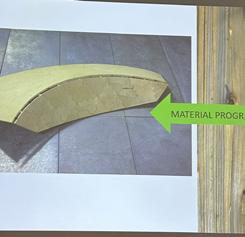
He talked about material programming, which has to do with knowing the limits of the material. He mainly focused on wood designs and the ability and strength that comes with them. With the process of breaking
the material down and fusing it back together, it allows for more possible formations and curvature, and limits the carbon admission which is something I’m very interested in.
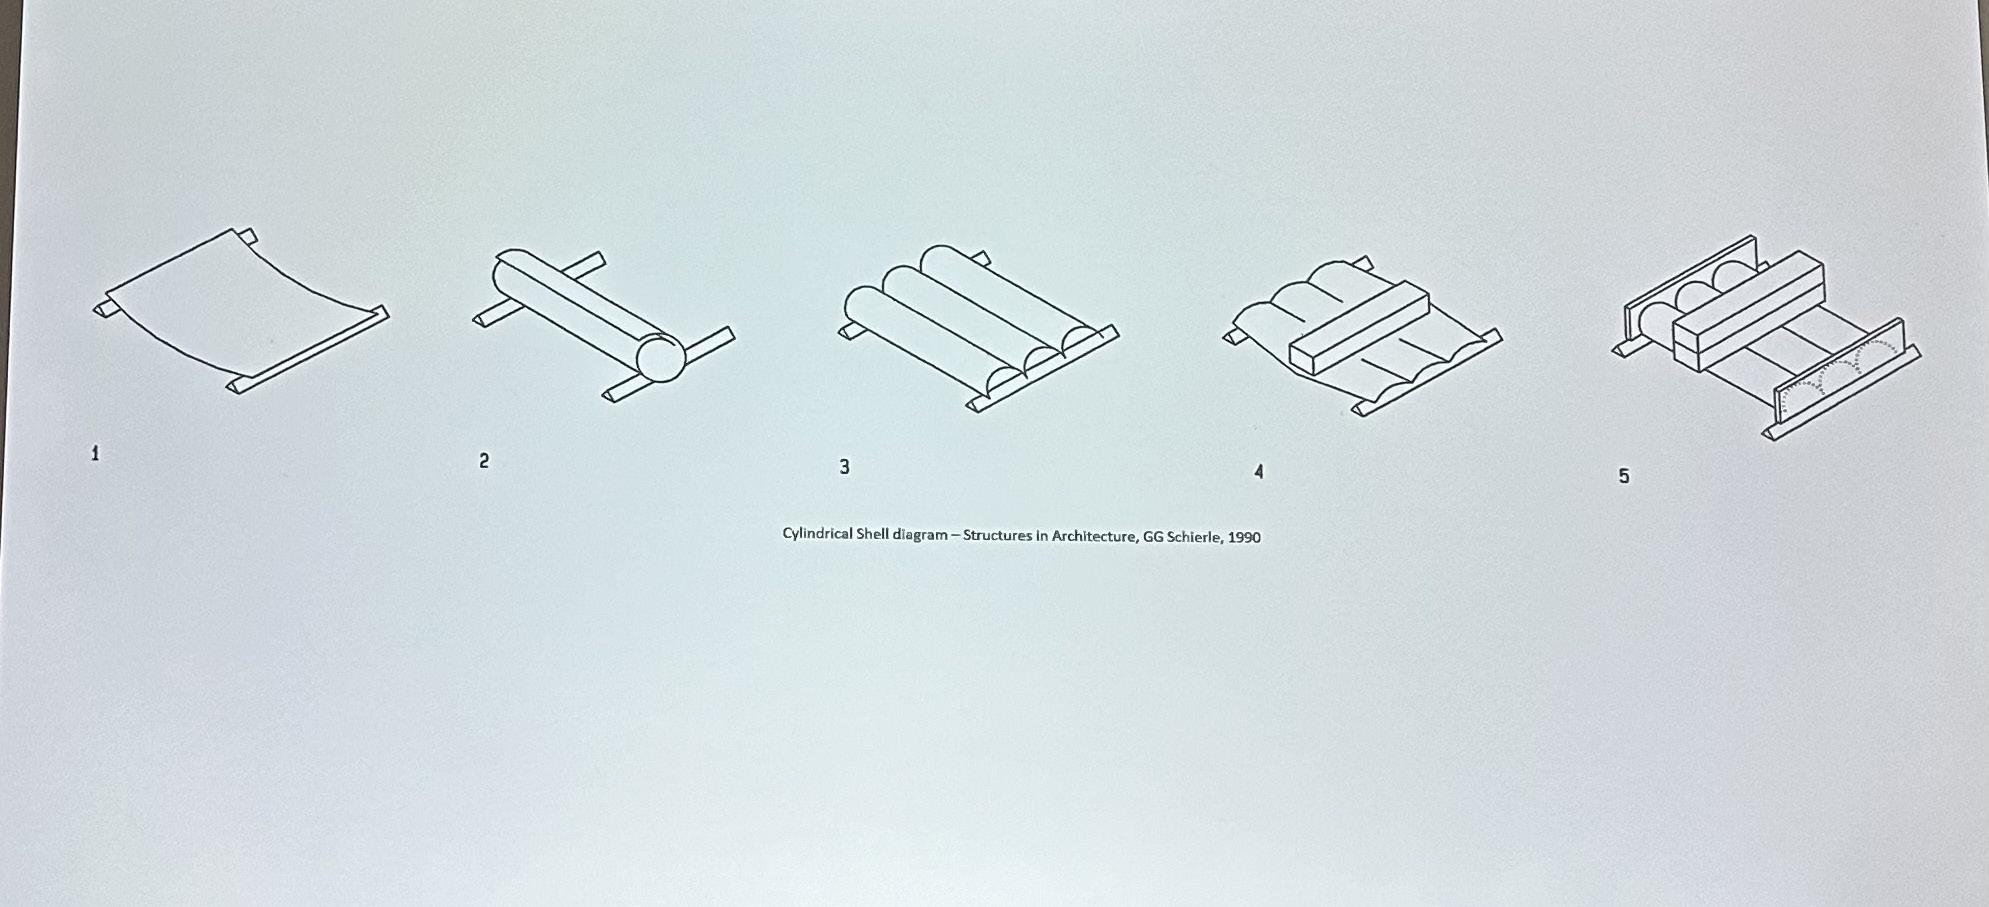
The main project he talked about was a tower created by wood cut directly from the logs and dried in a way that made them curve. This project focused on how we can design construction and design surrounding timber as the main recourse, not as the helper material.
This makes his designs cleaner and more creative. I feel understanding how to change your design based on the material is a key to designing. He used curves for more structure, and I really enjoyed learning about that because I adore how curves elevate the appearance of buildings.
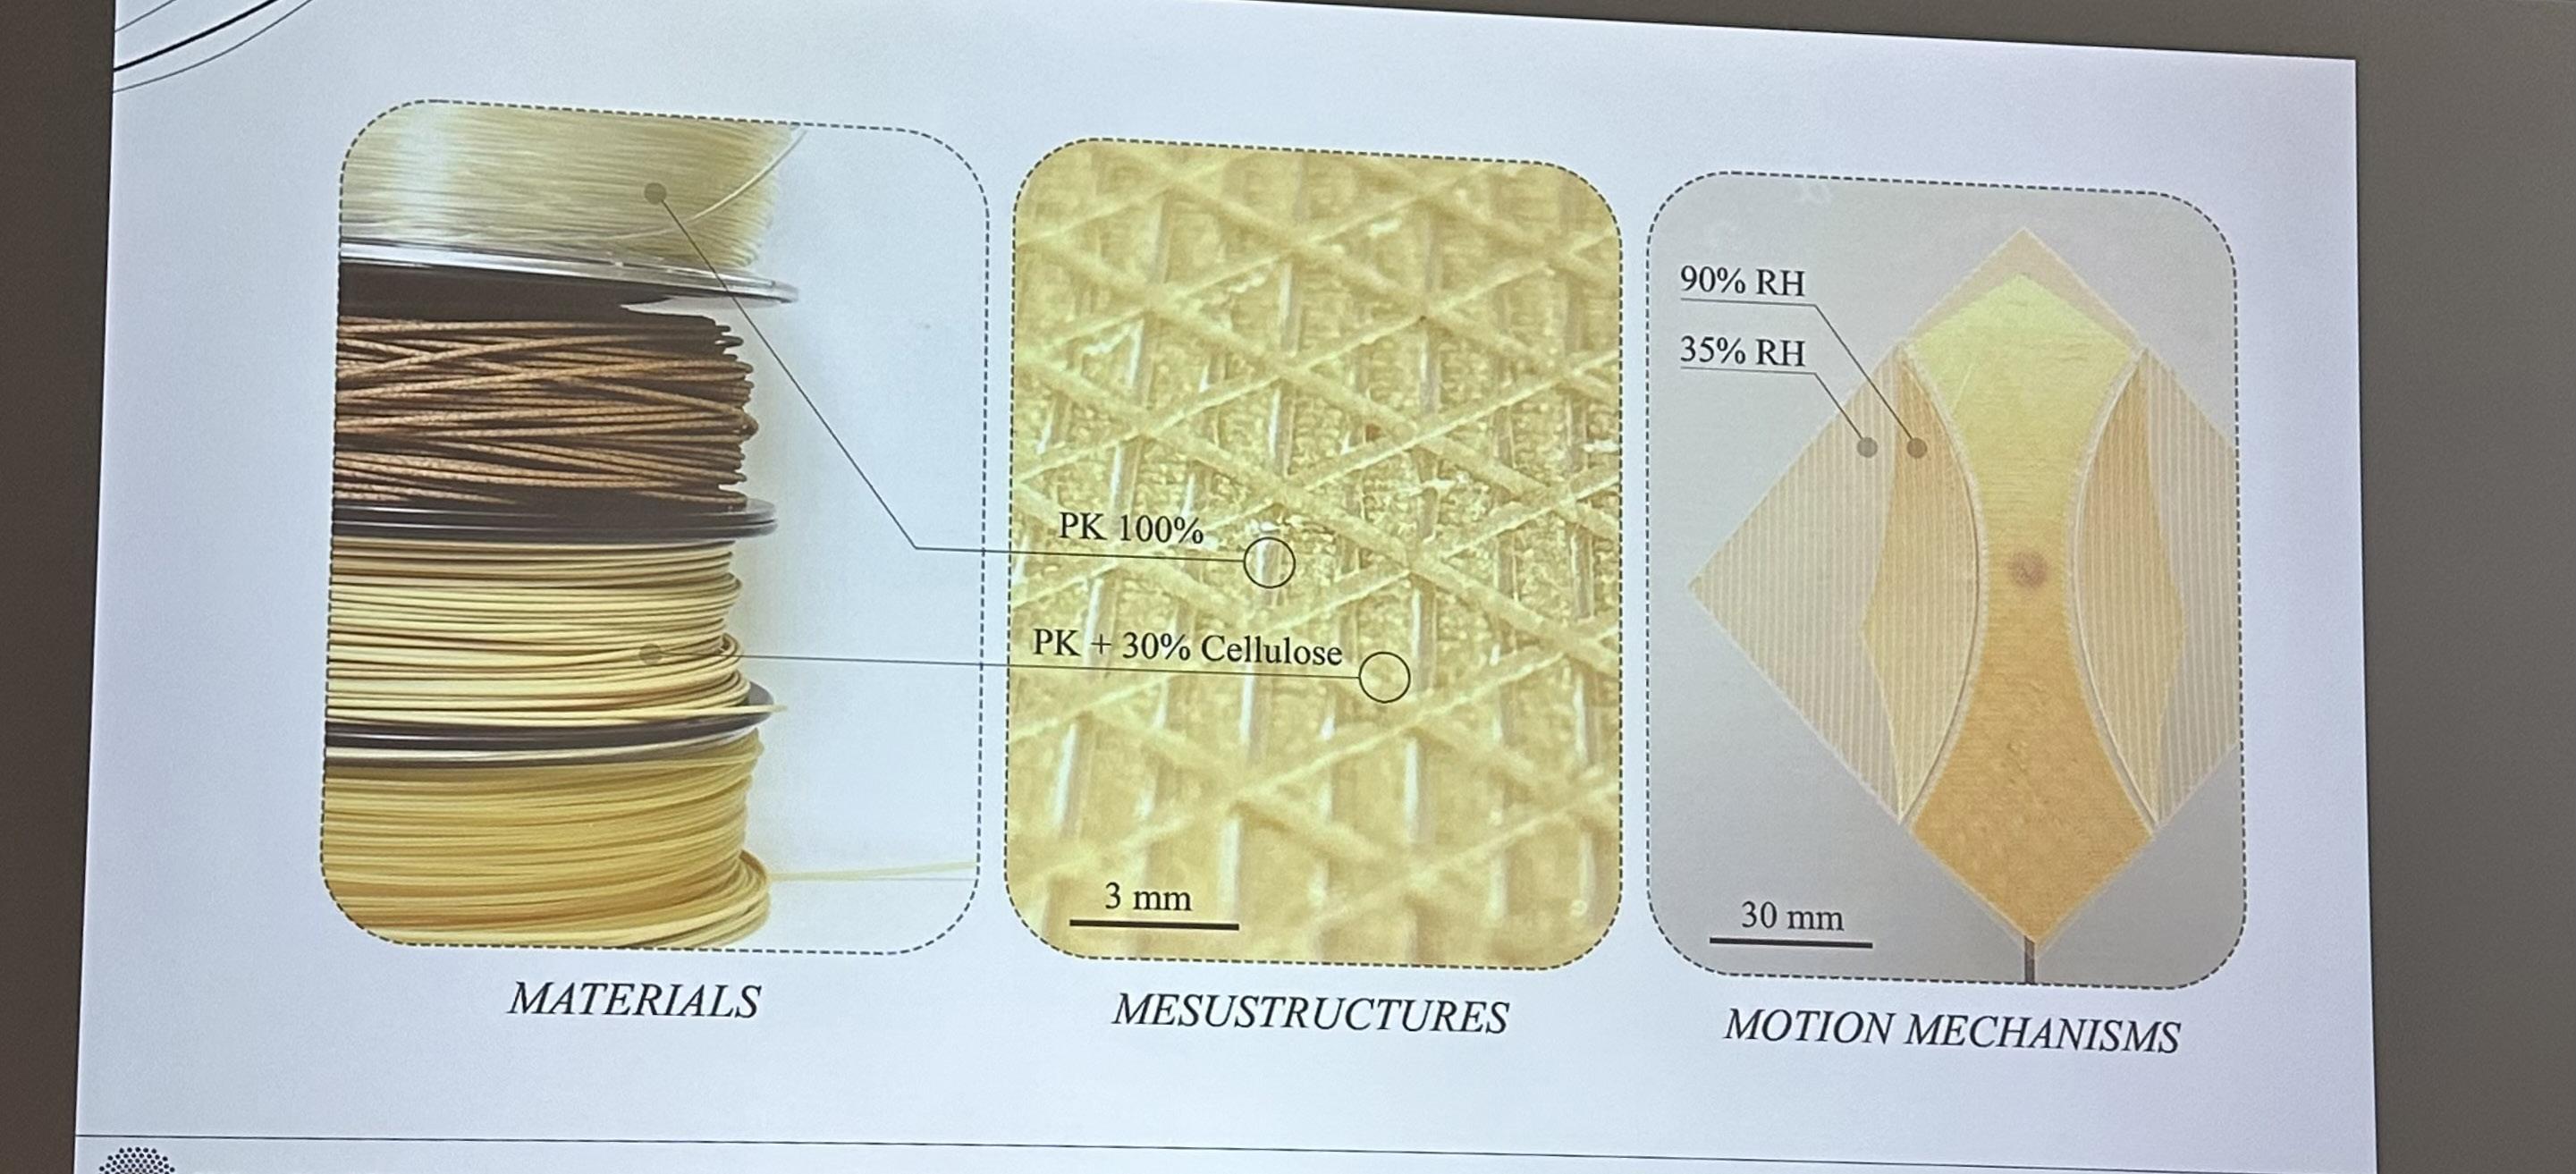
One of the most surprising things he talked about was how he can change the form of wood by absorbing the fiber from the wood and turning it into a filament for 3D printing. This allows him to create pinecone acting structures that
move with the sun, allowing, in his case, for light difference.
Ignacio is a landscape architecture teacher at UofO, and emphasizes the importance of using digital modeling when it comes to design.
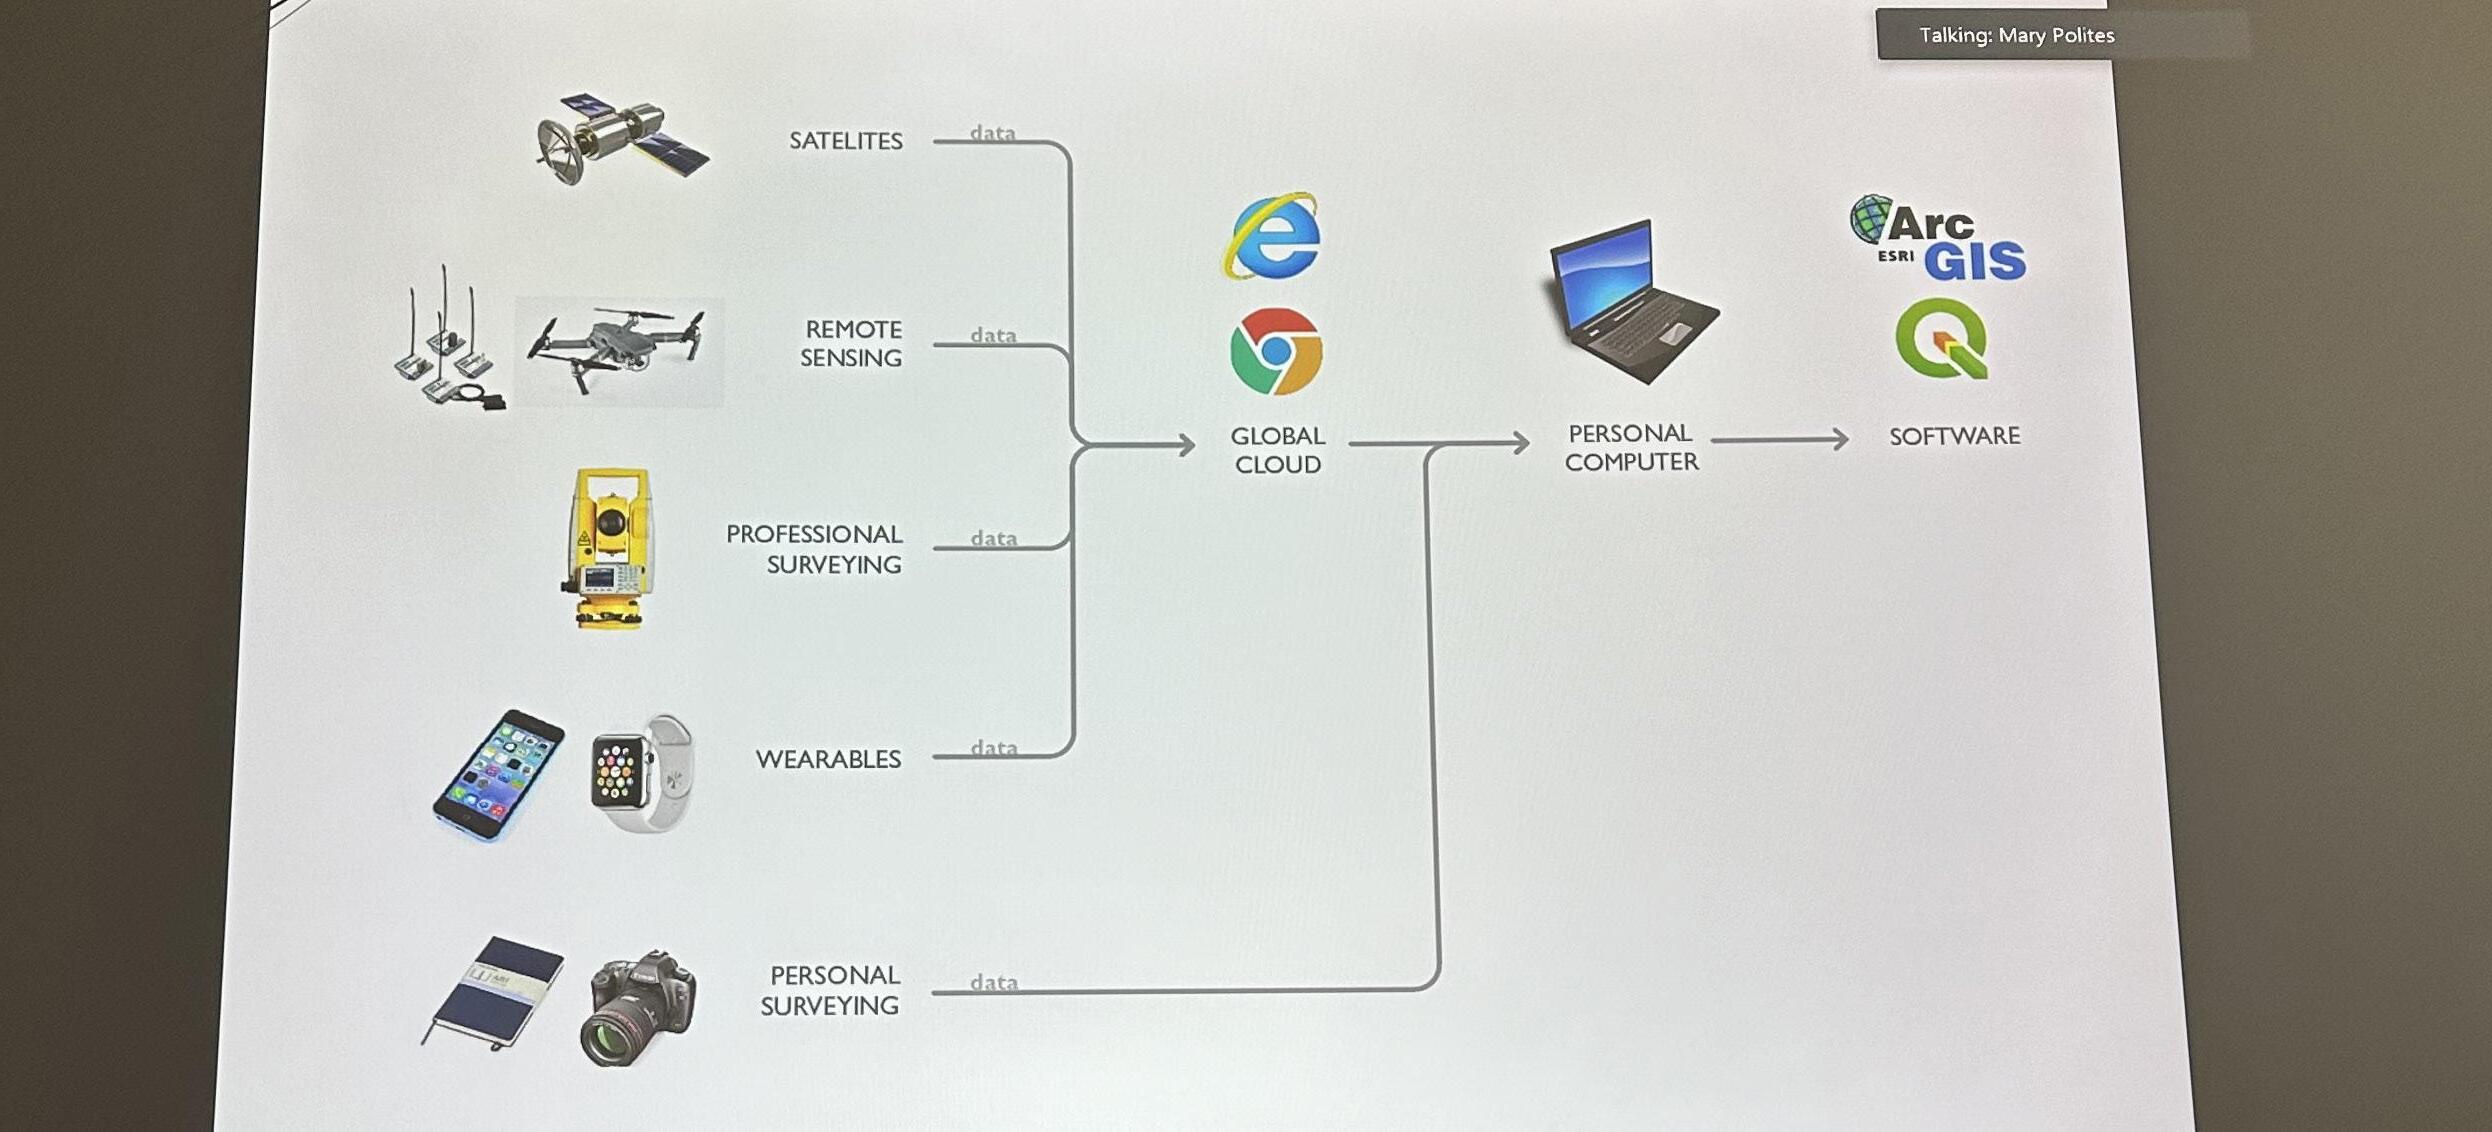
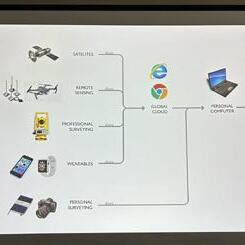
A very important part of technology and the 3D modeling process. He talks about GIS and how to capture and use data that is already online. We have so much information at our fingertips and it’s very important that
we know how to use it. If we can learn how we can design better. The computer is able to process things and ideas way faster than us and can help speed up our design process.
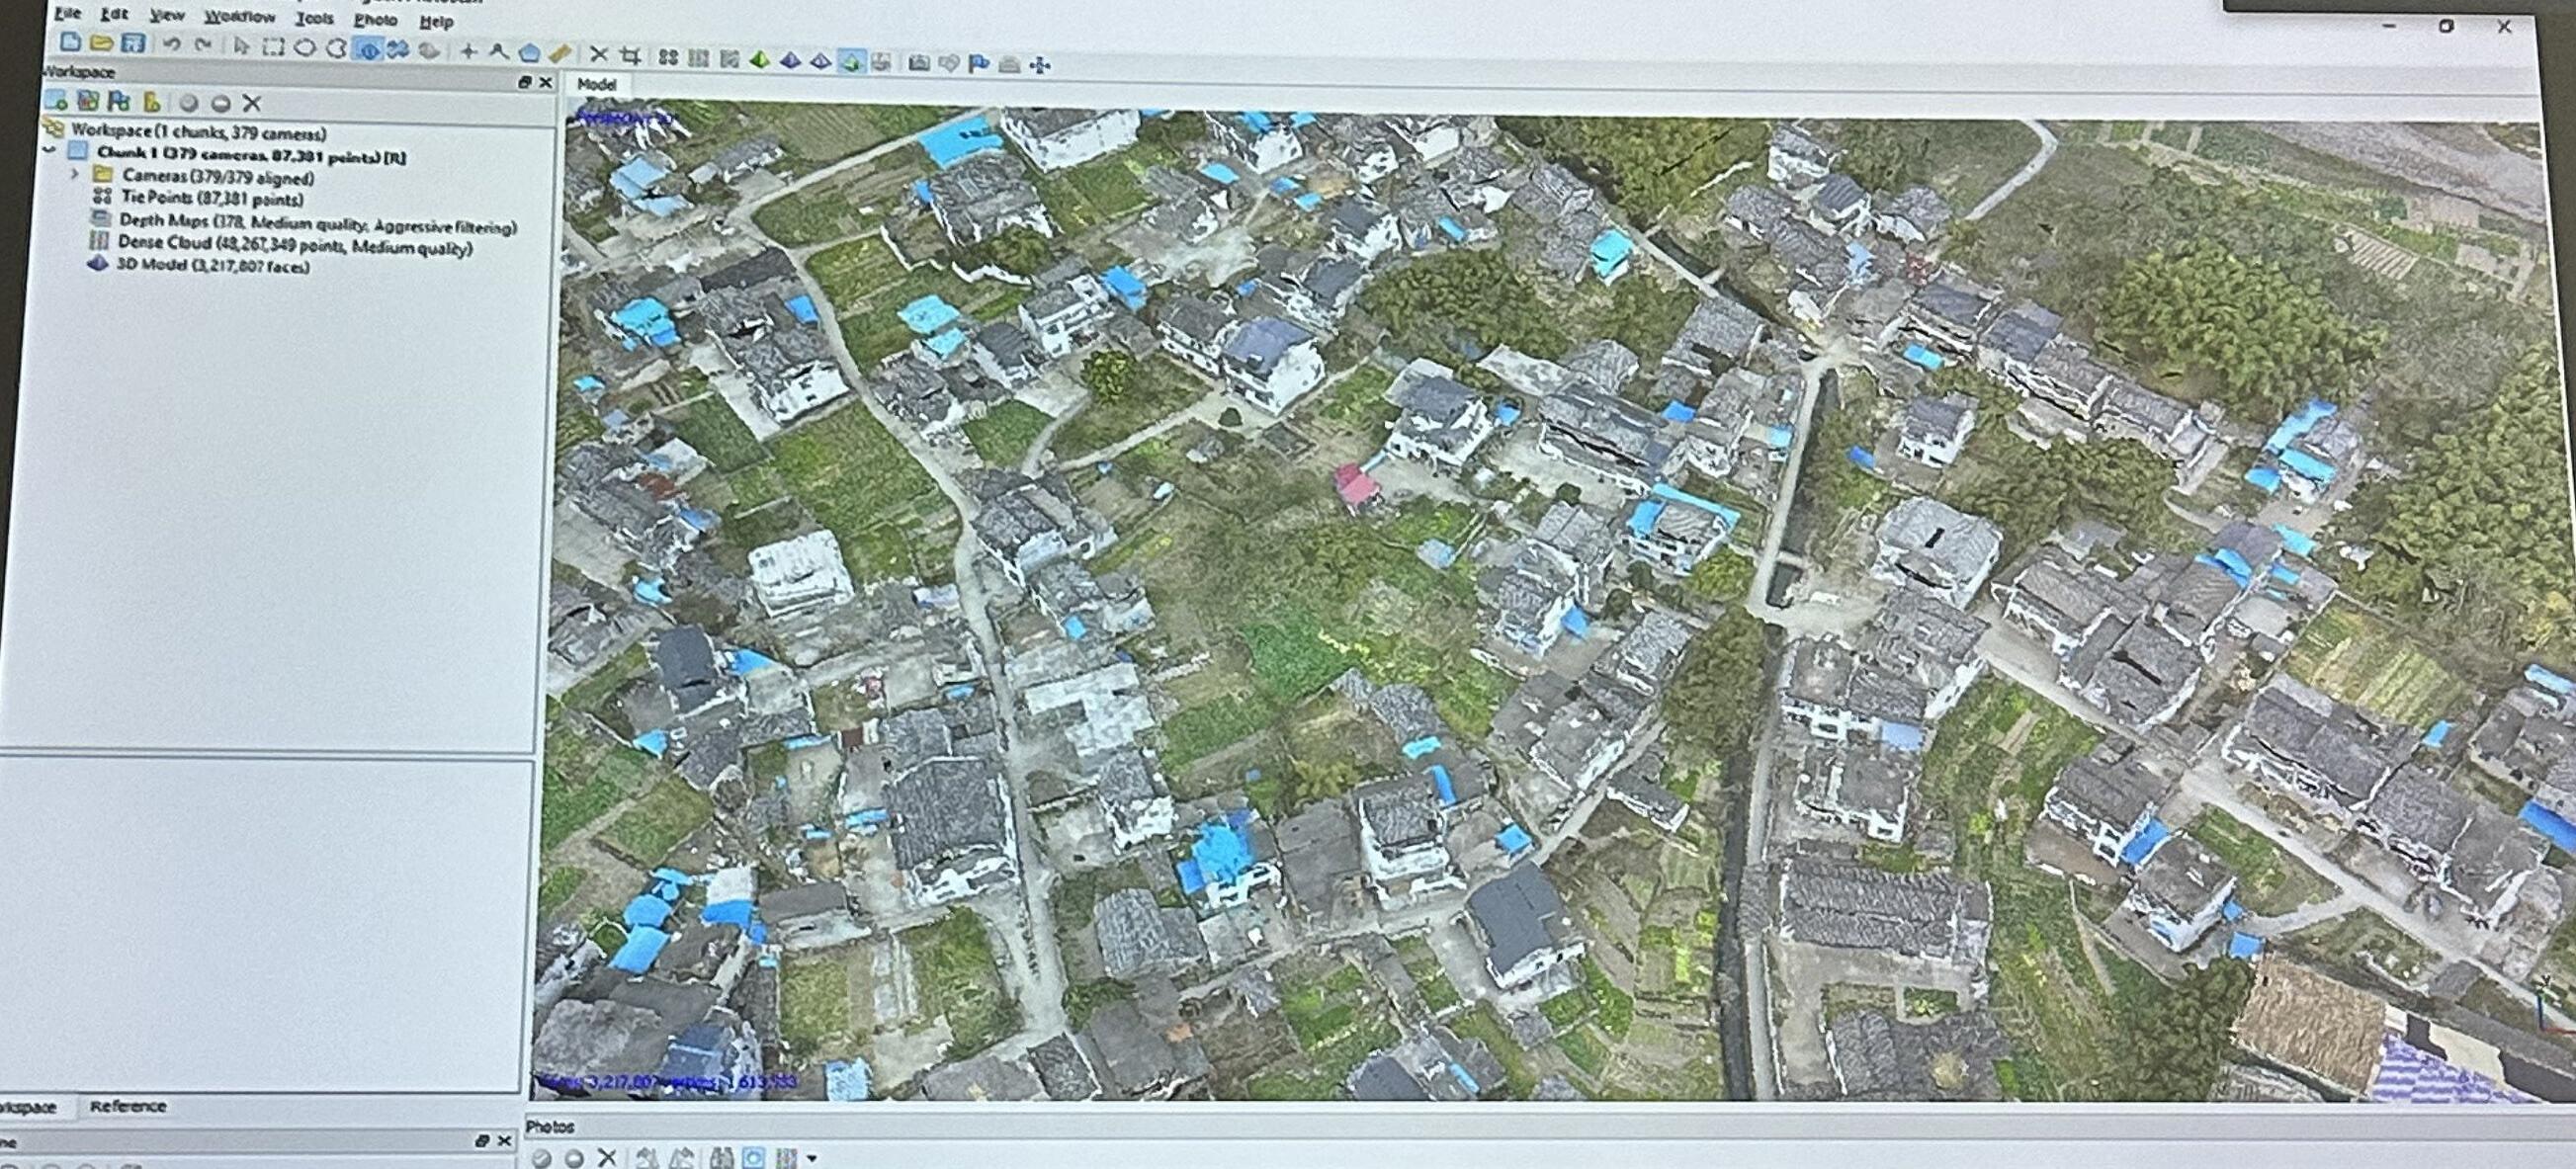
A very interesting part of his lecture is the use of drones in capturing information. Sometimes we design buildings or landscapes that don’t have any data online, or we need to make smaller models for city wide scale. From the photos taken on the drones, you’re
able to make a 3D model like the one Ignacio made. This is very interesting because it allows you to make a 3D model of anything, and very easy and quickly. It also allows you to analyze the data very easily.
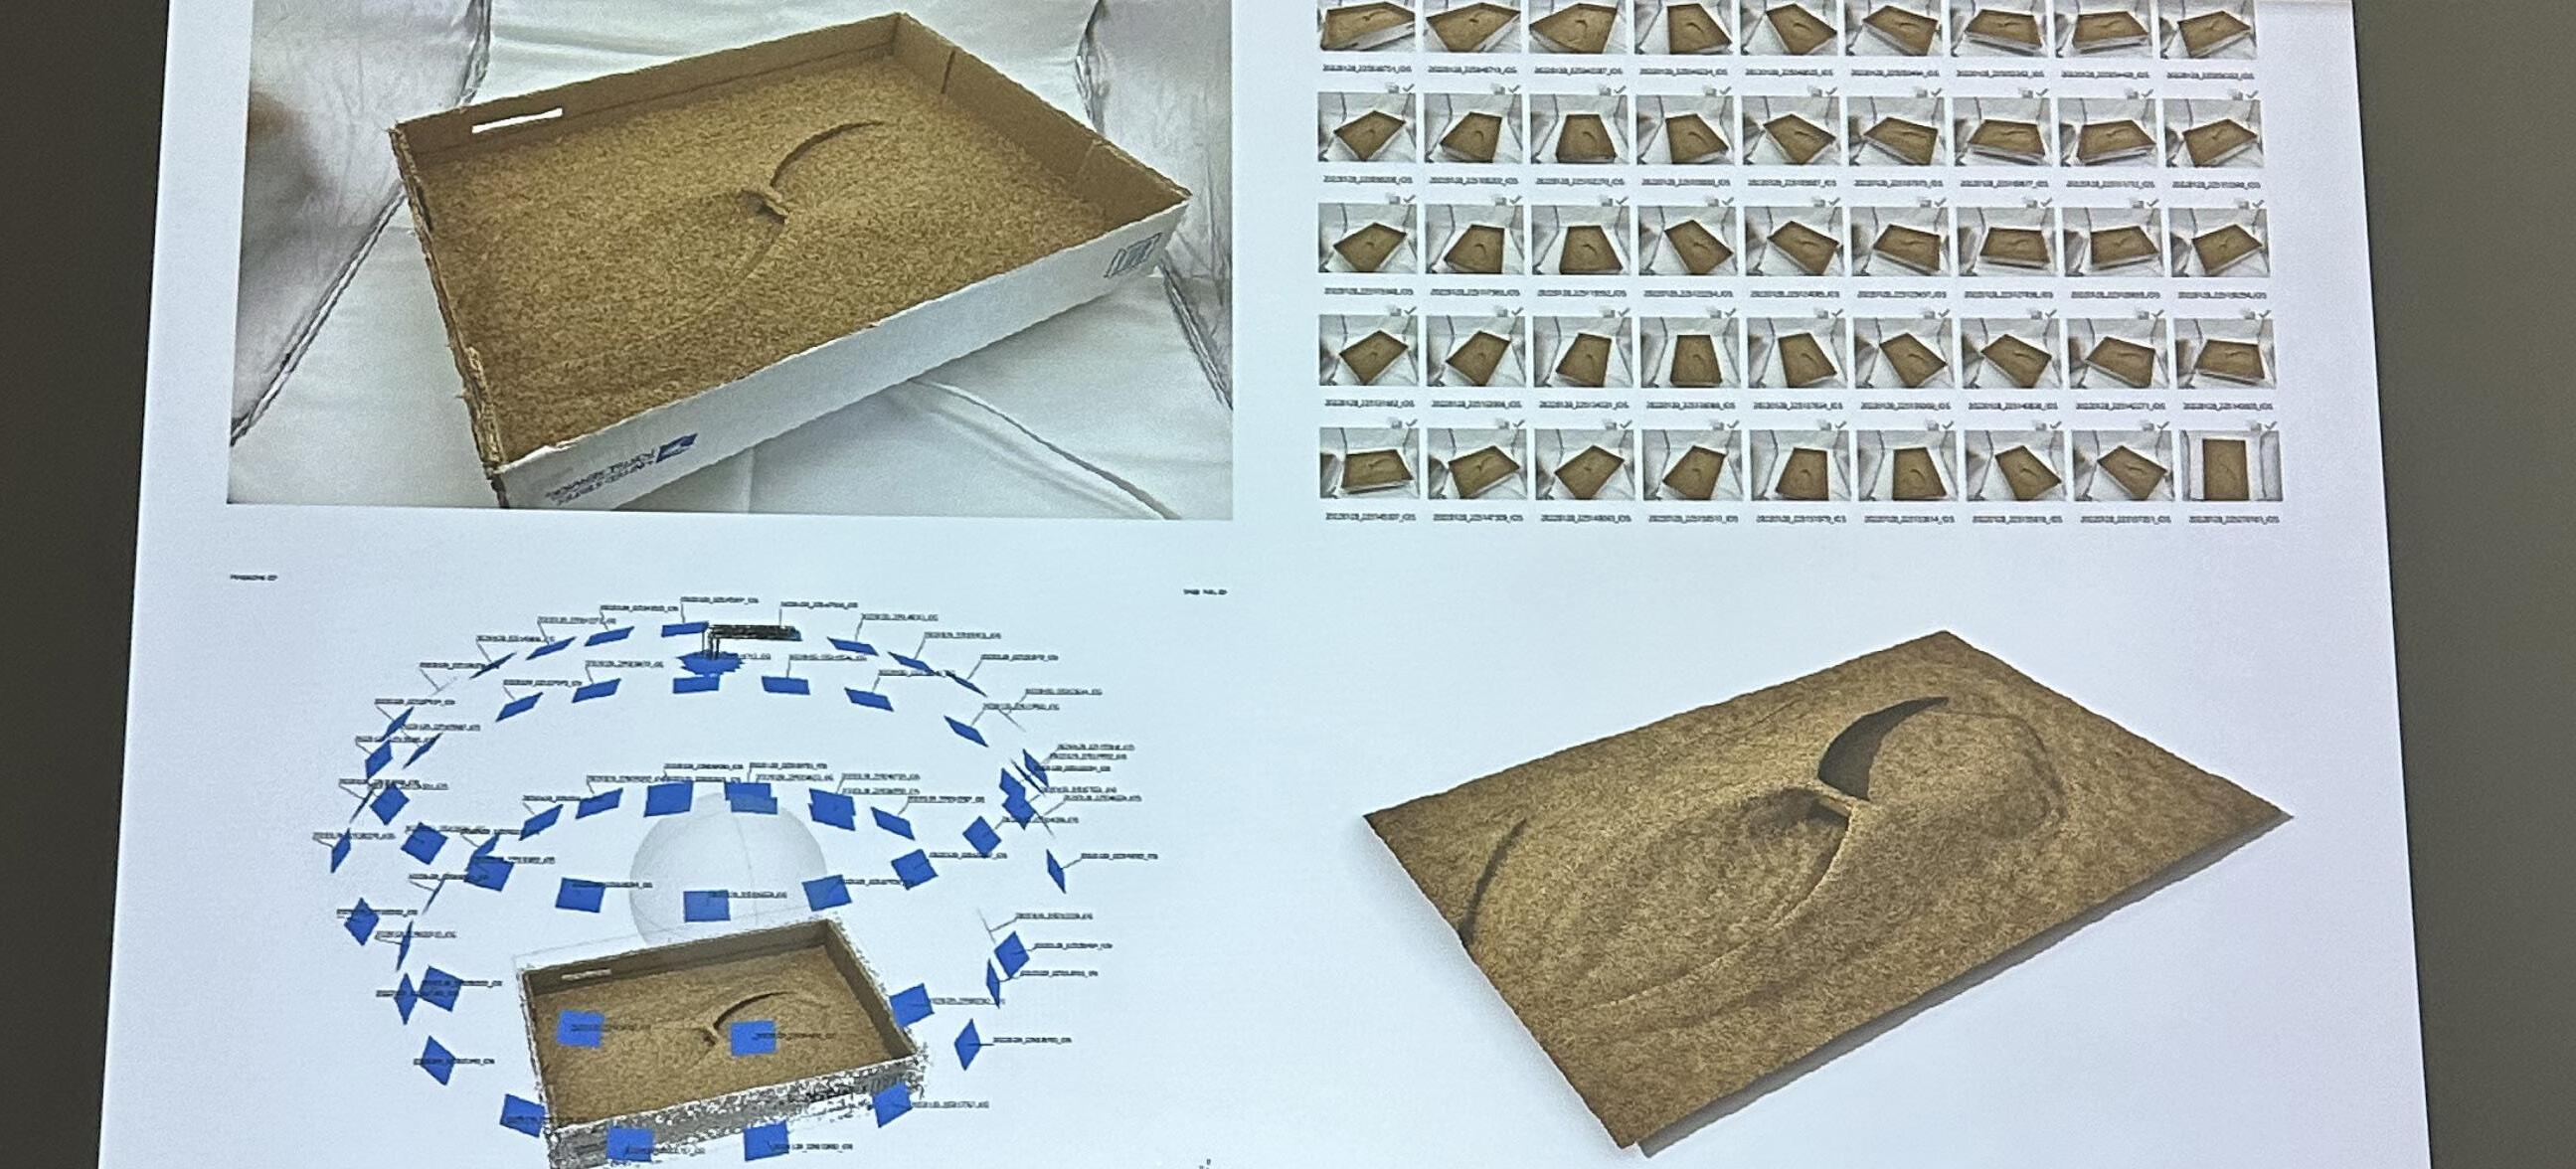
Lastly Ignasio talks about using physical models to make a 3D model online and analyze it. In one of his classes, he has his students make a model out of sand, and then analyze it once it’s on the computer. I really am interested in this,
even though he is a landscape architect, it can be used to analyze a model of a building. It would help with light paths and water and wind factors. Also it can help with earthquake protection.
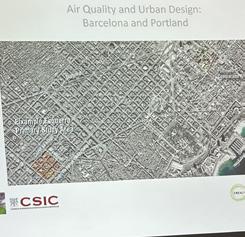
Philip is a professor at UofO and focuses on analyzing the environment to make a building that is perfect for that space.
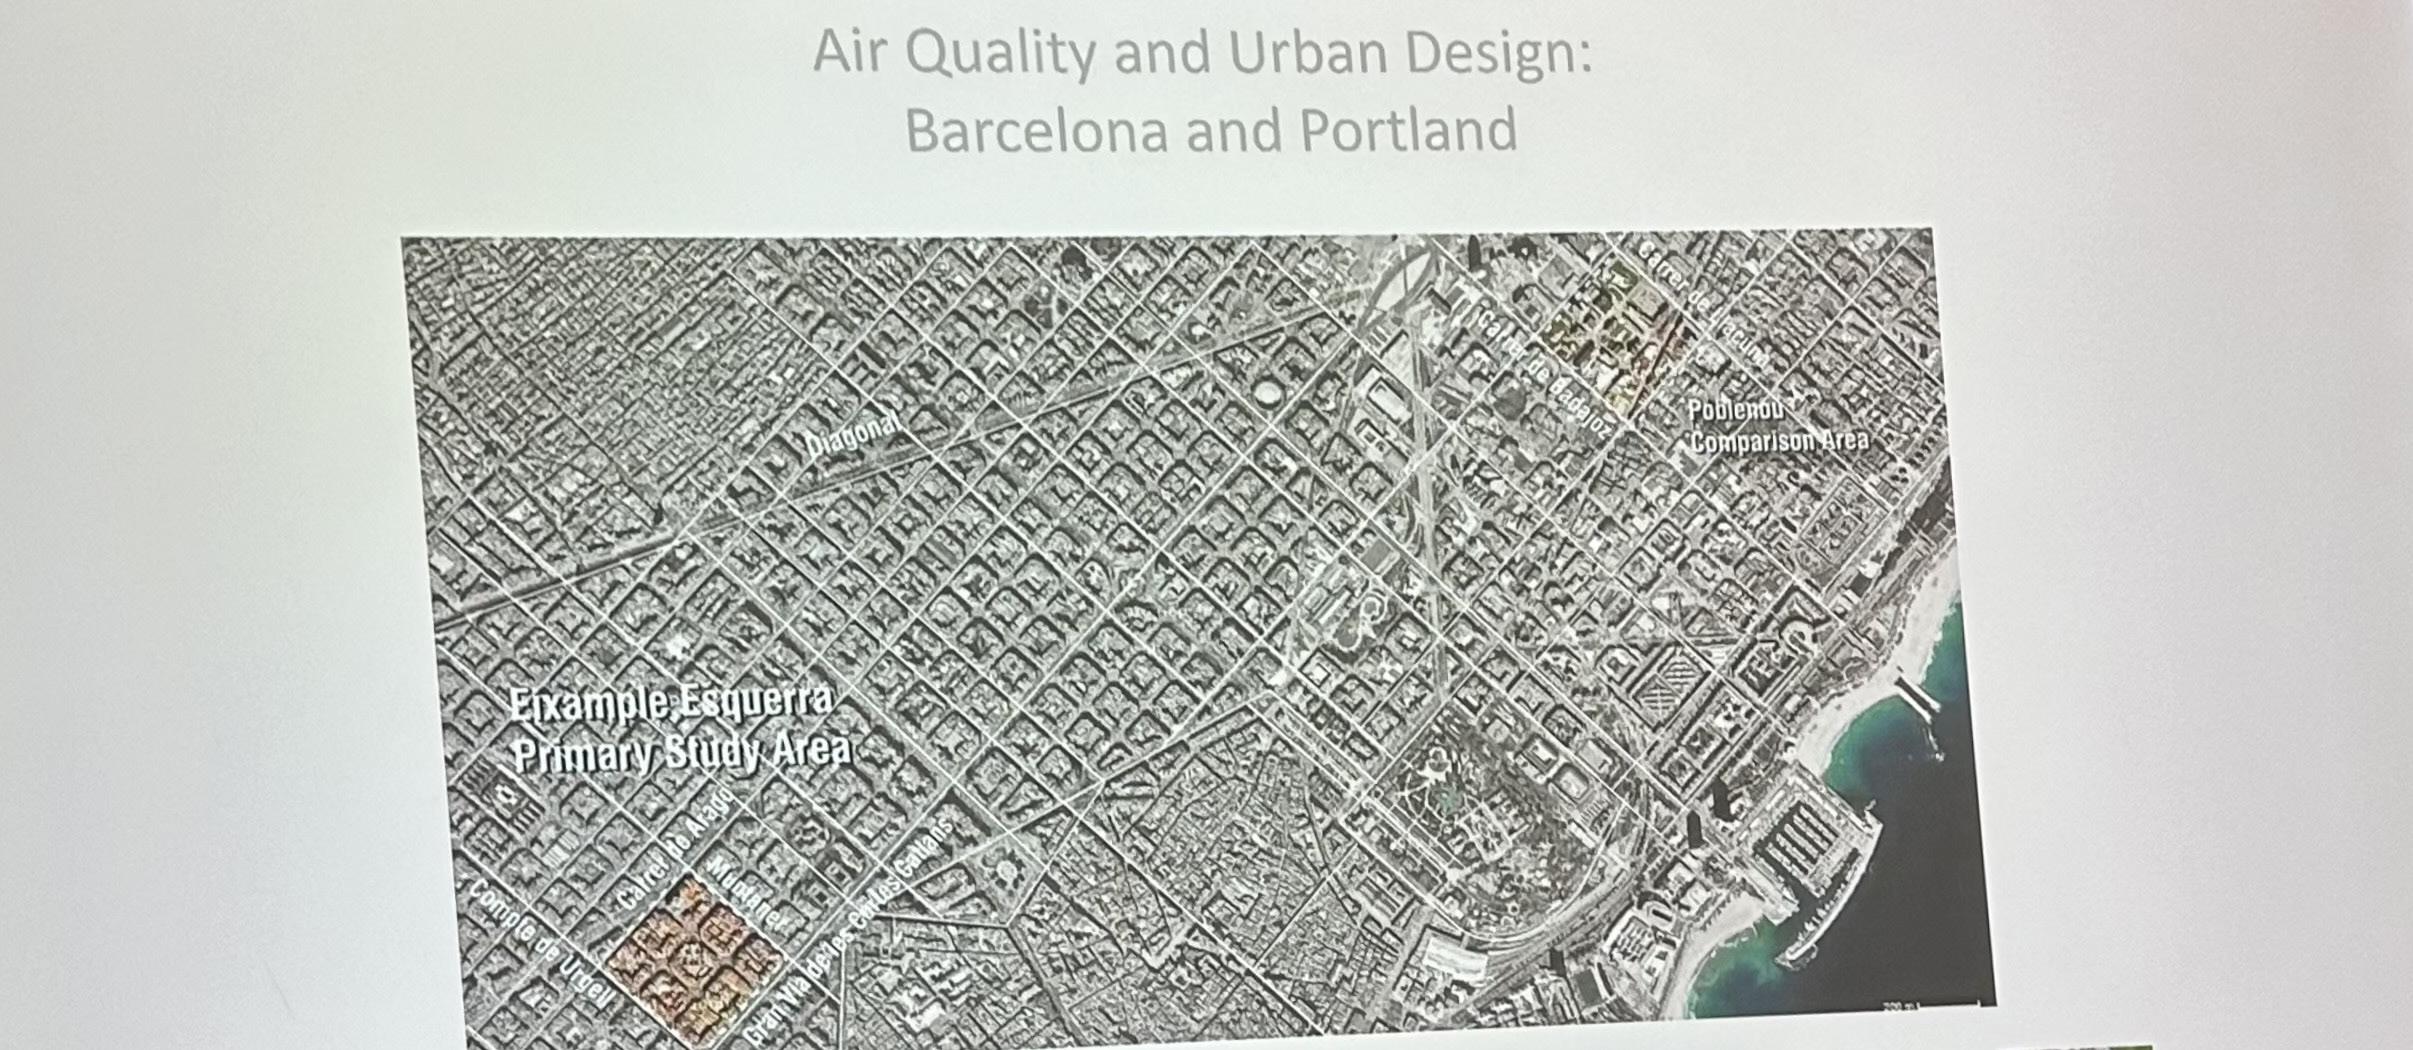
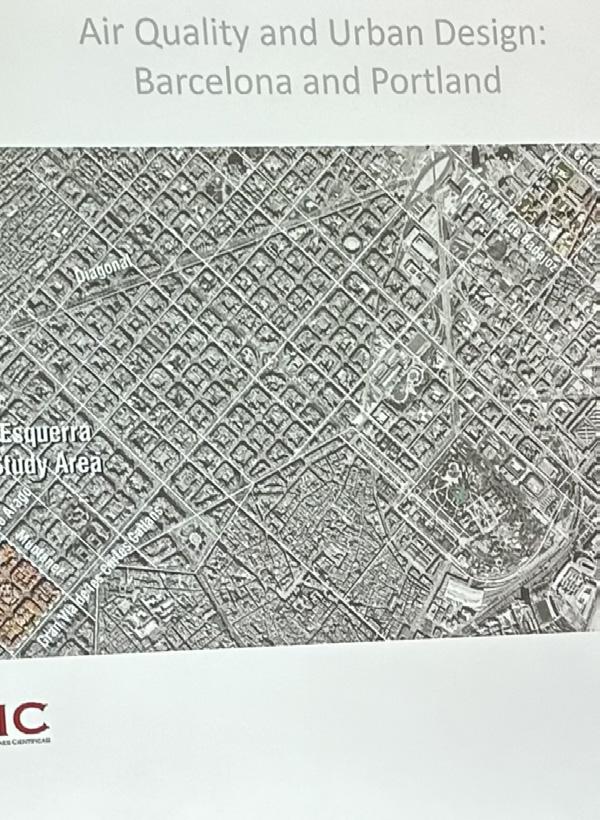
He works a lot with Barcelona buildings and analyzes their spaces. One of the informing processes he talked about was fine-grained urbanism. Which is looking at a small scale urban area, like a 3 block by 3 block area, and seeing
what works and doesn’t in that area. This is very important for architects and urban planners because using what works for other people can help aid in a better experience for everyone.
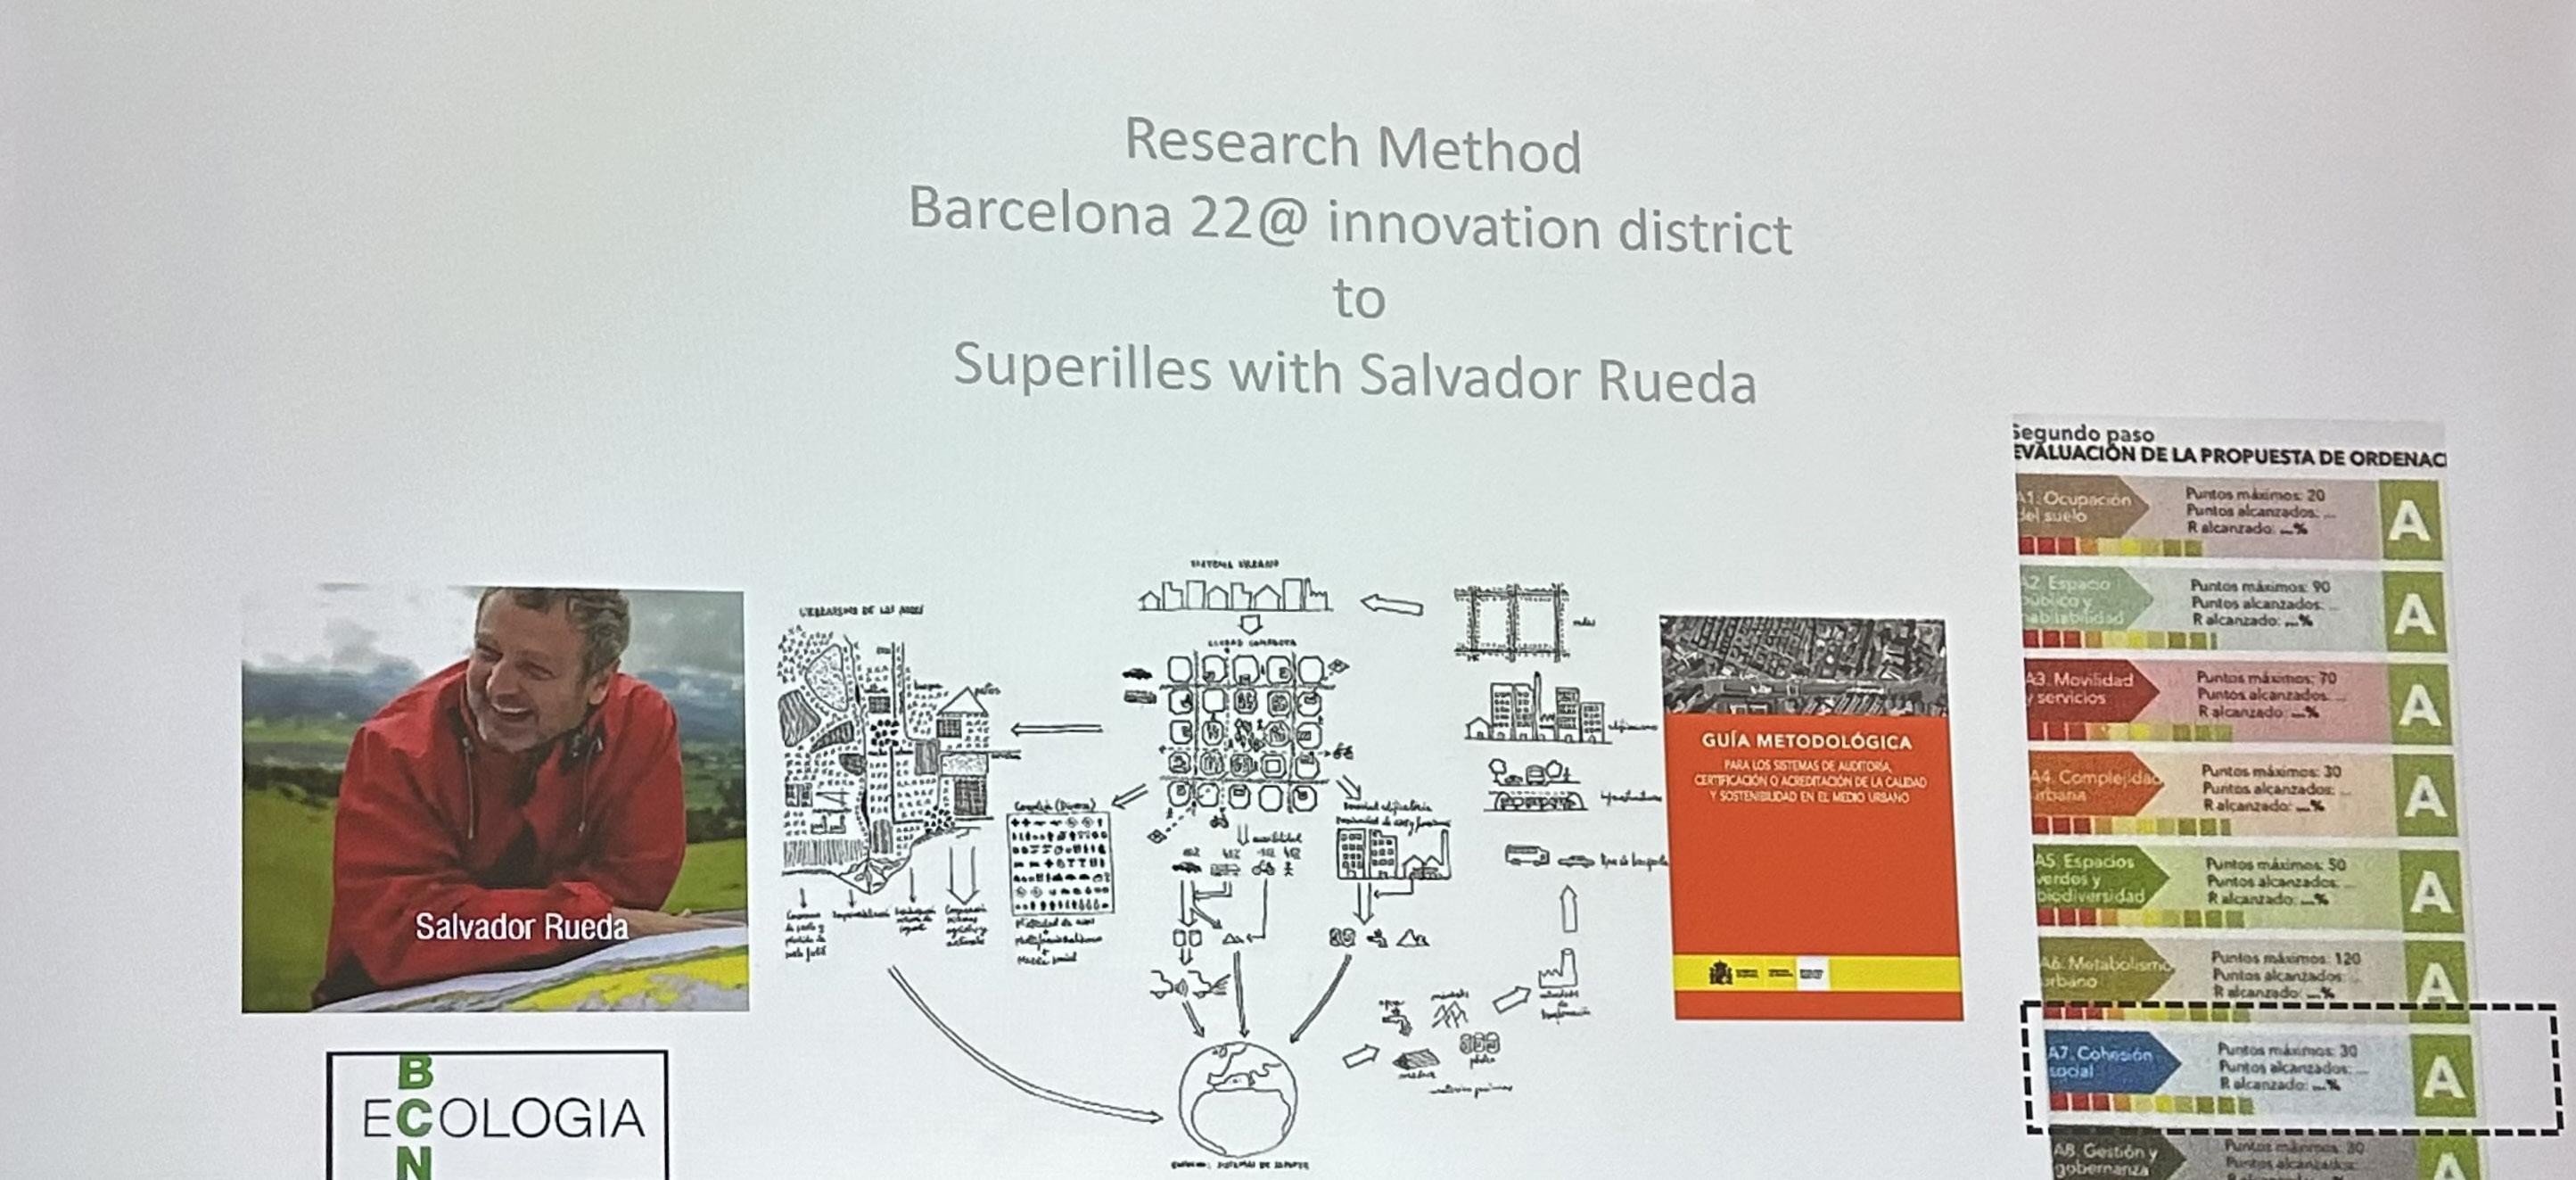
He also looks at fenomena based design which has to do with collecting data around a site before designing a space, or of a current space. This type of analysis allows Philip to fully understand what the location offers. He also does this to see what causes certain things, like air
pollution in cities. It seems like a good strategie to use when I design in urban areas.
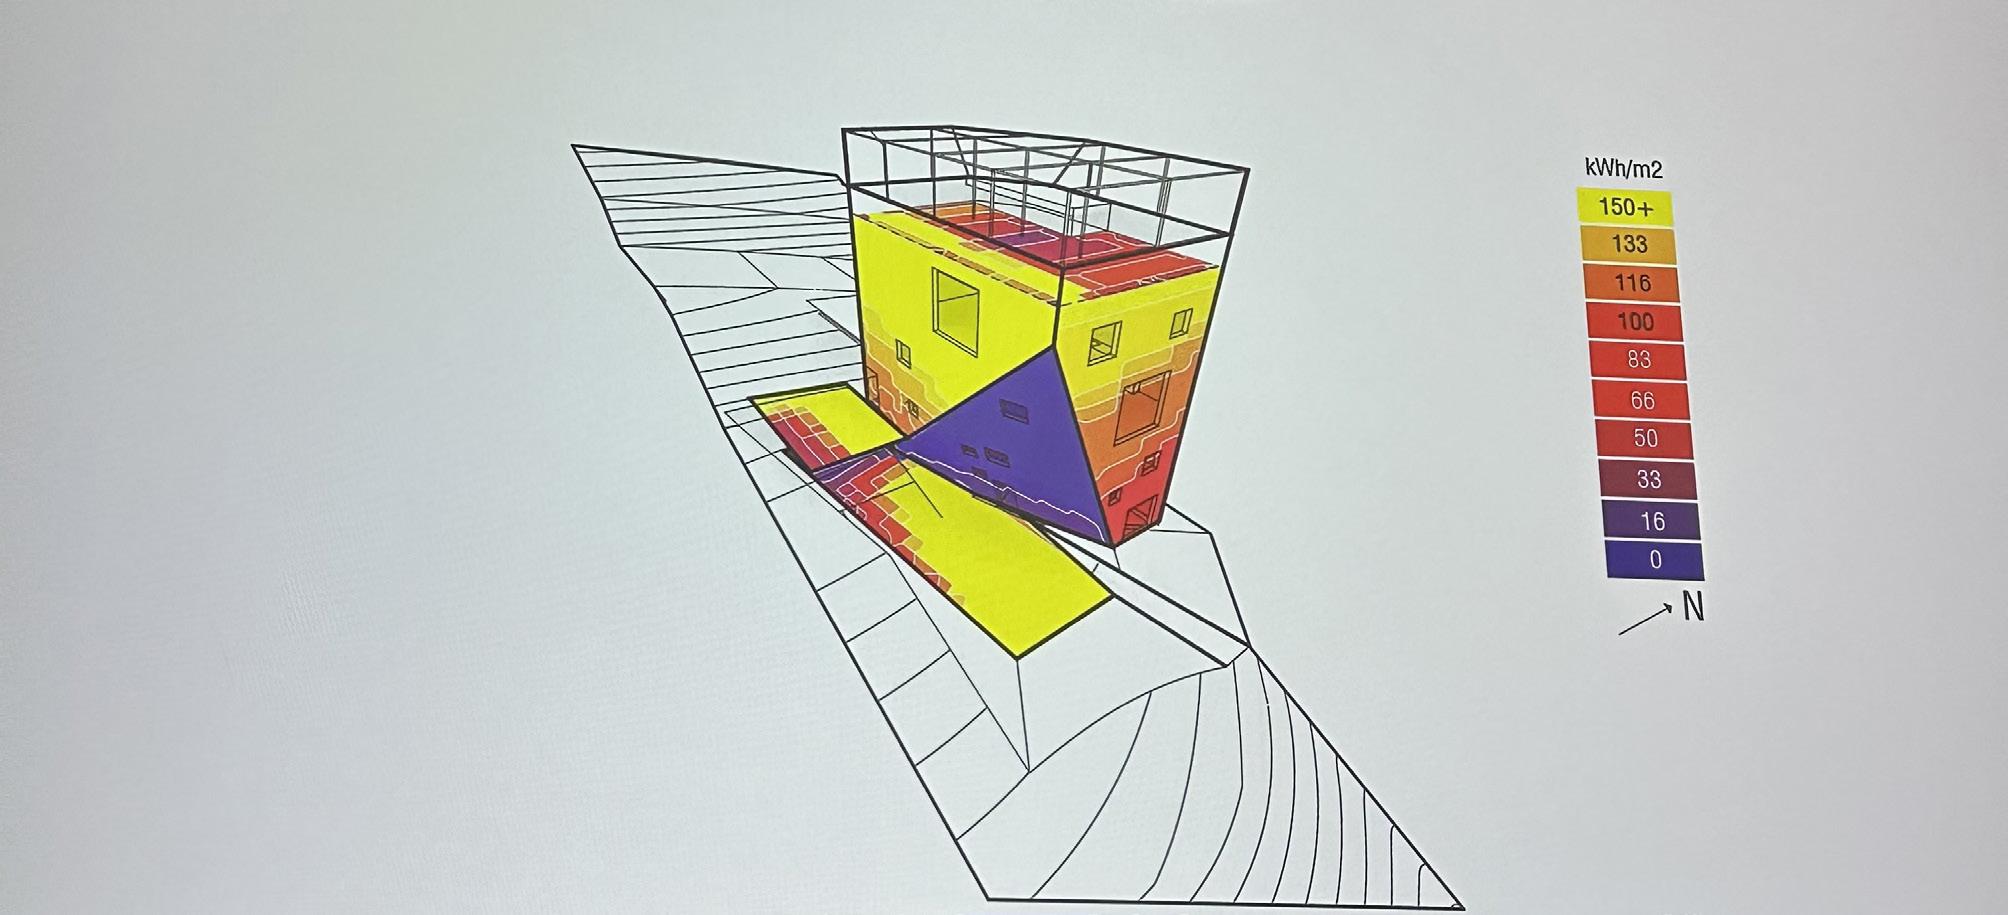
He talked about one of his houses he is designing here in Eugene called the Birch Fircrest house. This happens to be a house I have seen many times. He analyzes the site’s topography and solar radiation to have a house that can cool itself without need for many systems.
Allowing the house to be angeled in the way it is, deflects summer light while inviting winter light. This heats and cools the house sufficiently depending on the seasons. He adds a lot of solar chimneys that let light in, but also let warm air exit the building, keeping the lower floors cooler.
Siobhan focused her lecture on the impact and importance of light in the building. Explaining how we can use light when designing our buildings.
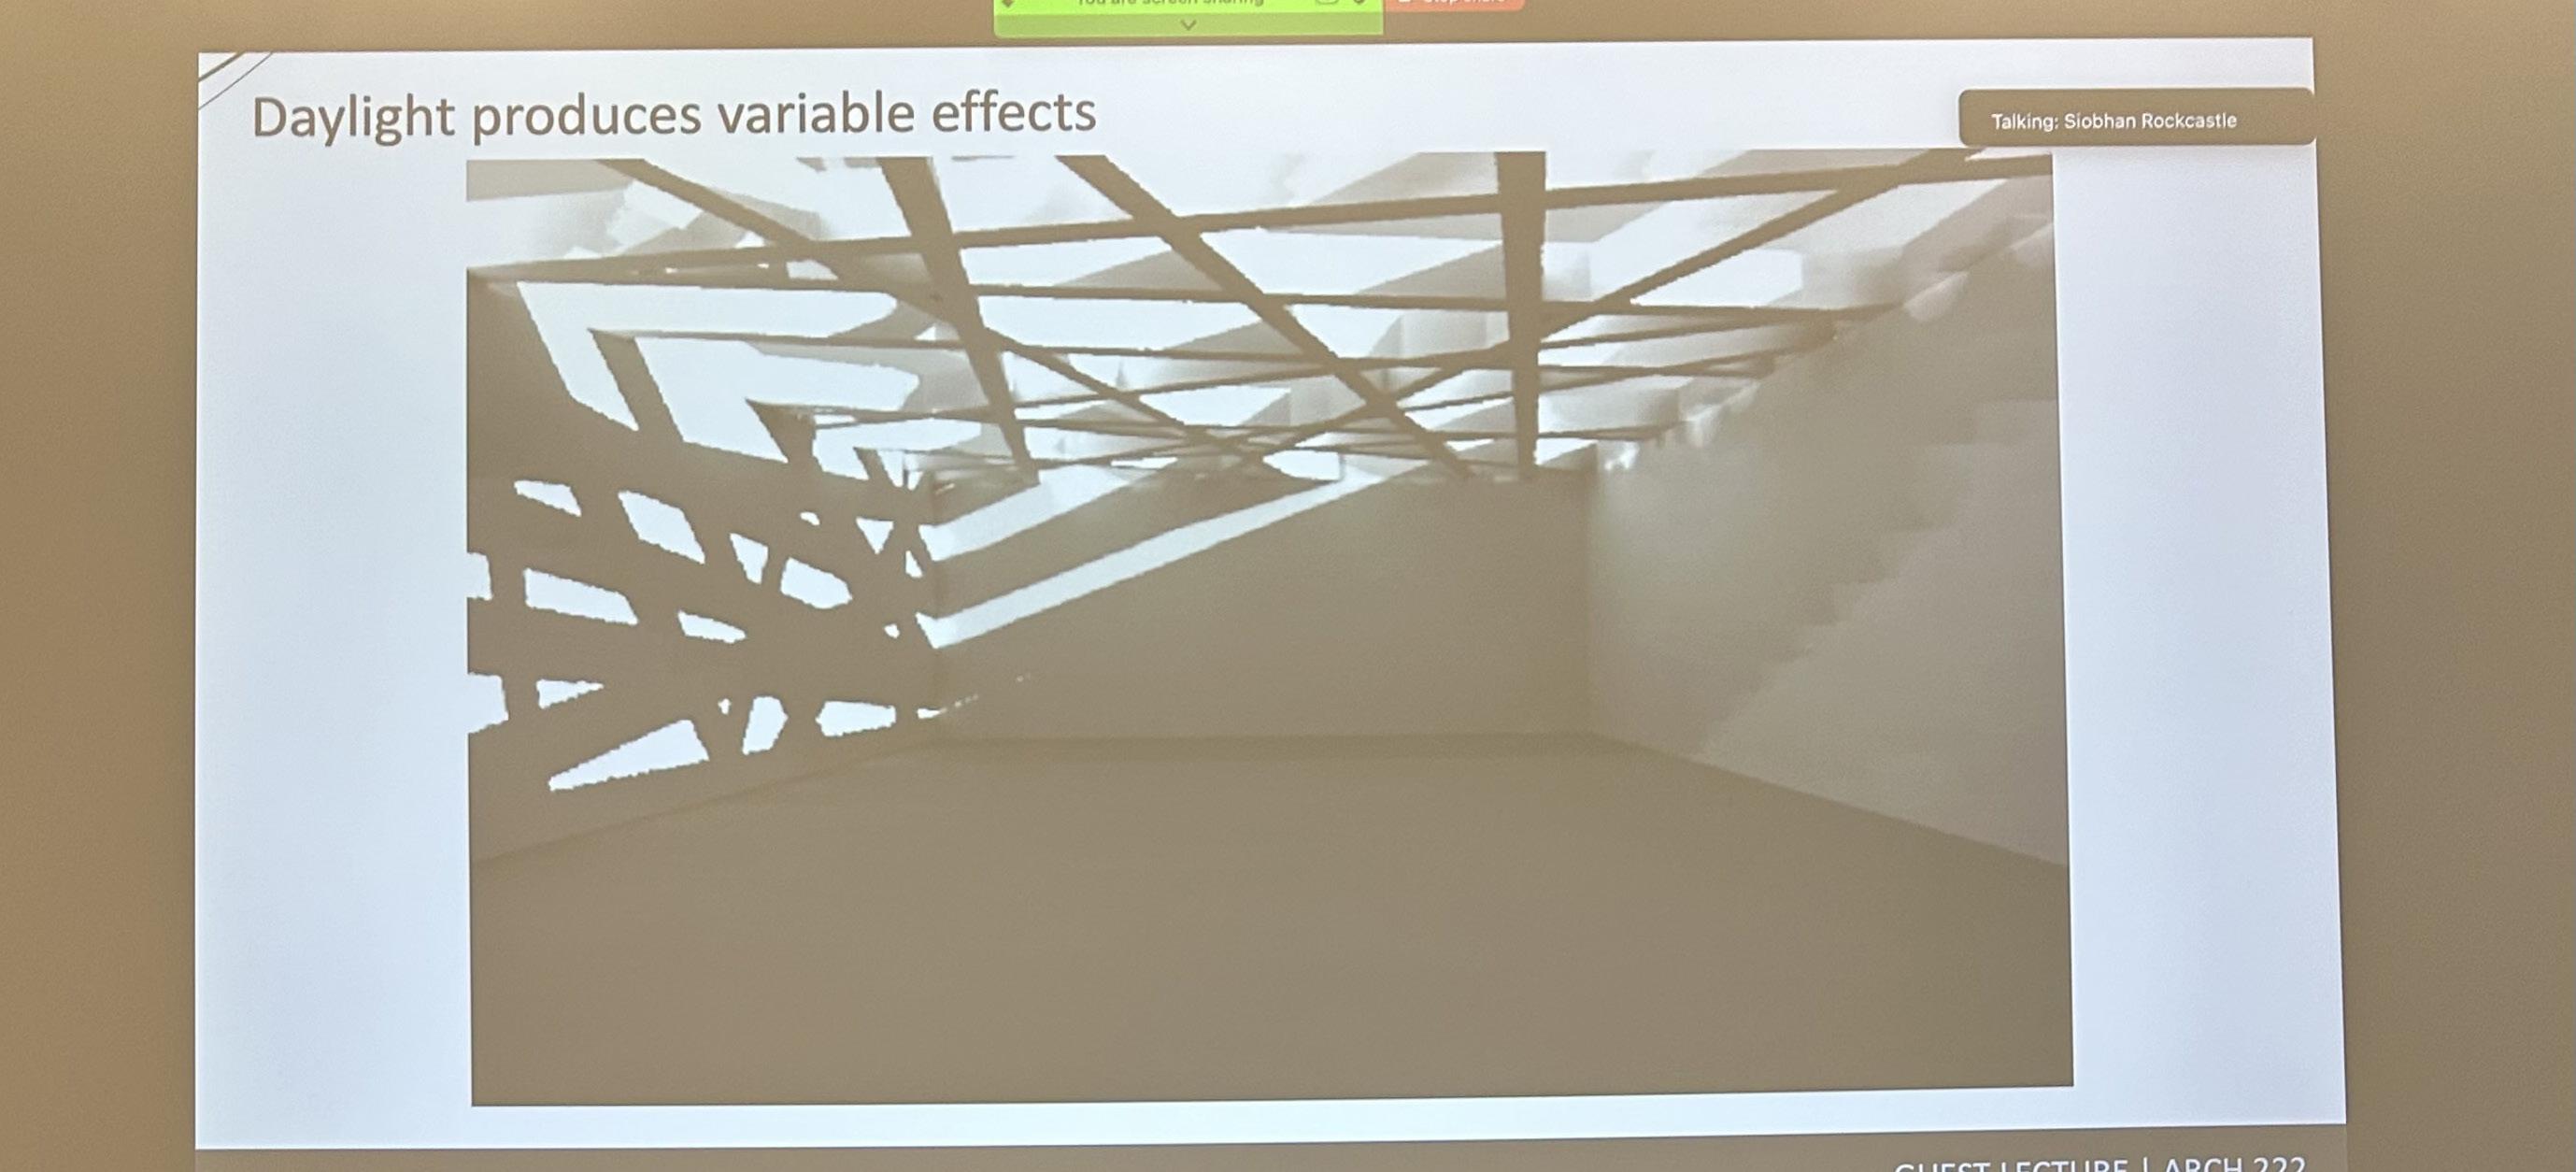
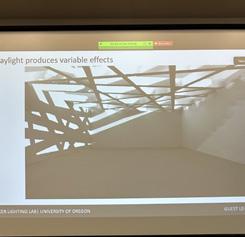
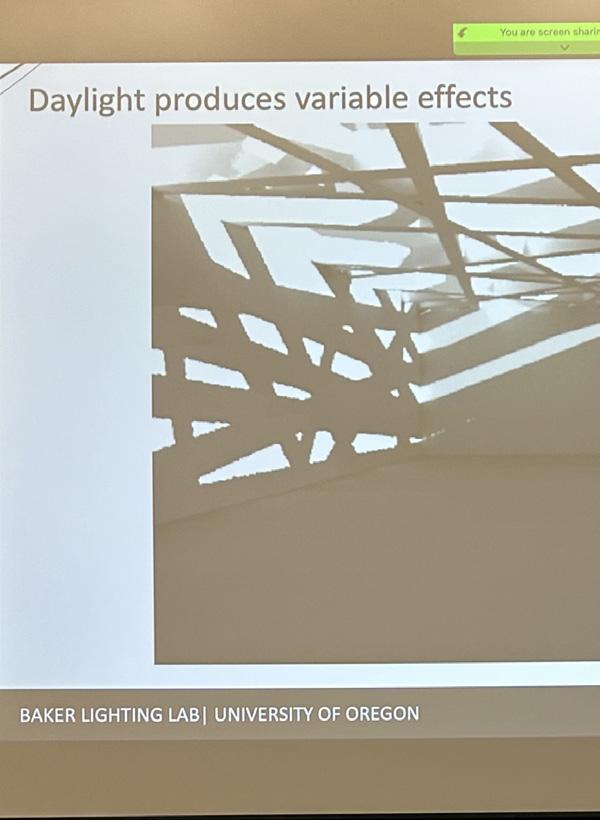
The impact of light in a building is one of the biggest factors of how we can inhabit and experience a space. It impacts the tone and can be used in many different ways. The way Siobhan focused on light helped the building become a different space based on the light conditions. This is because every day the light is different, so you have to adjust for that.
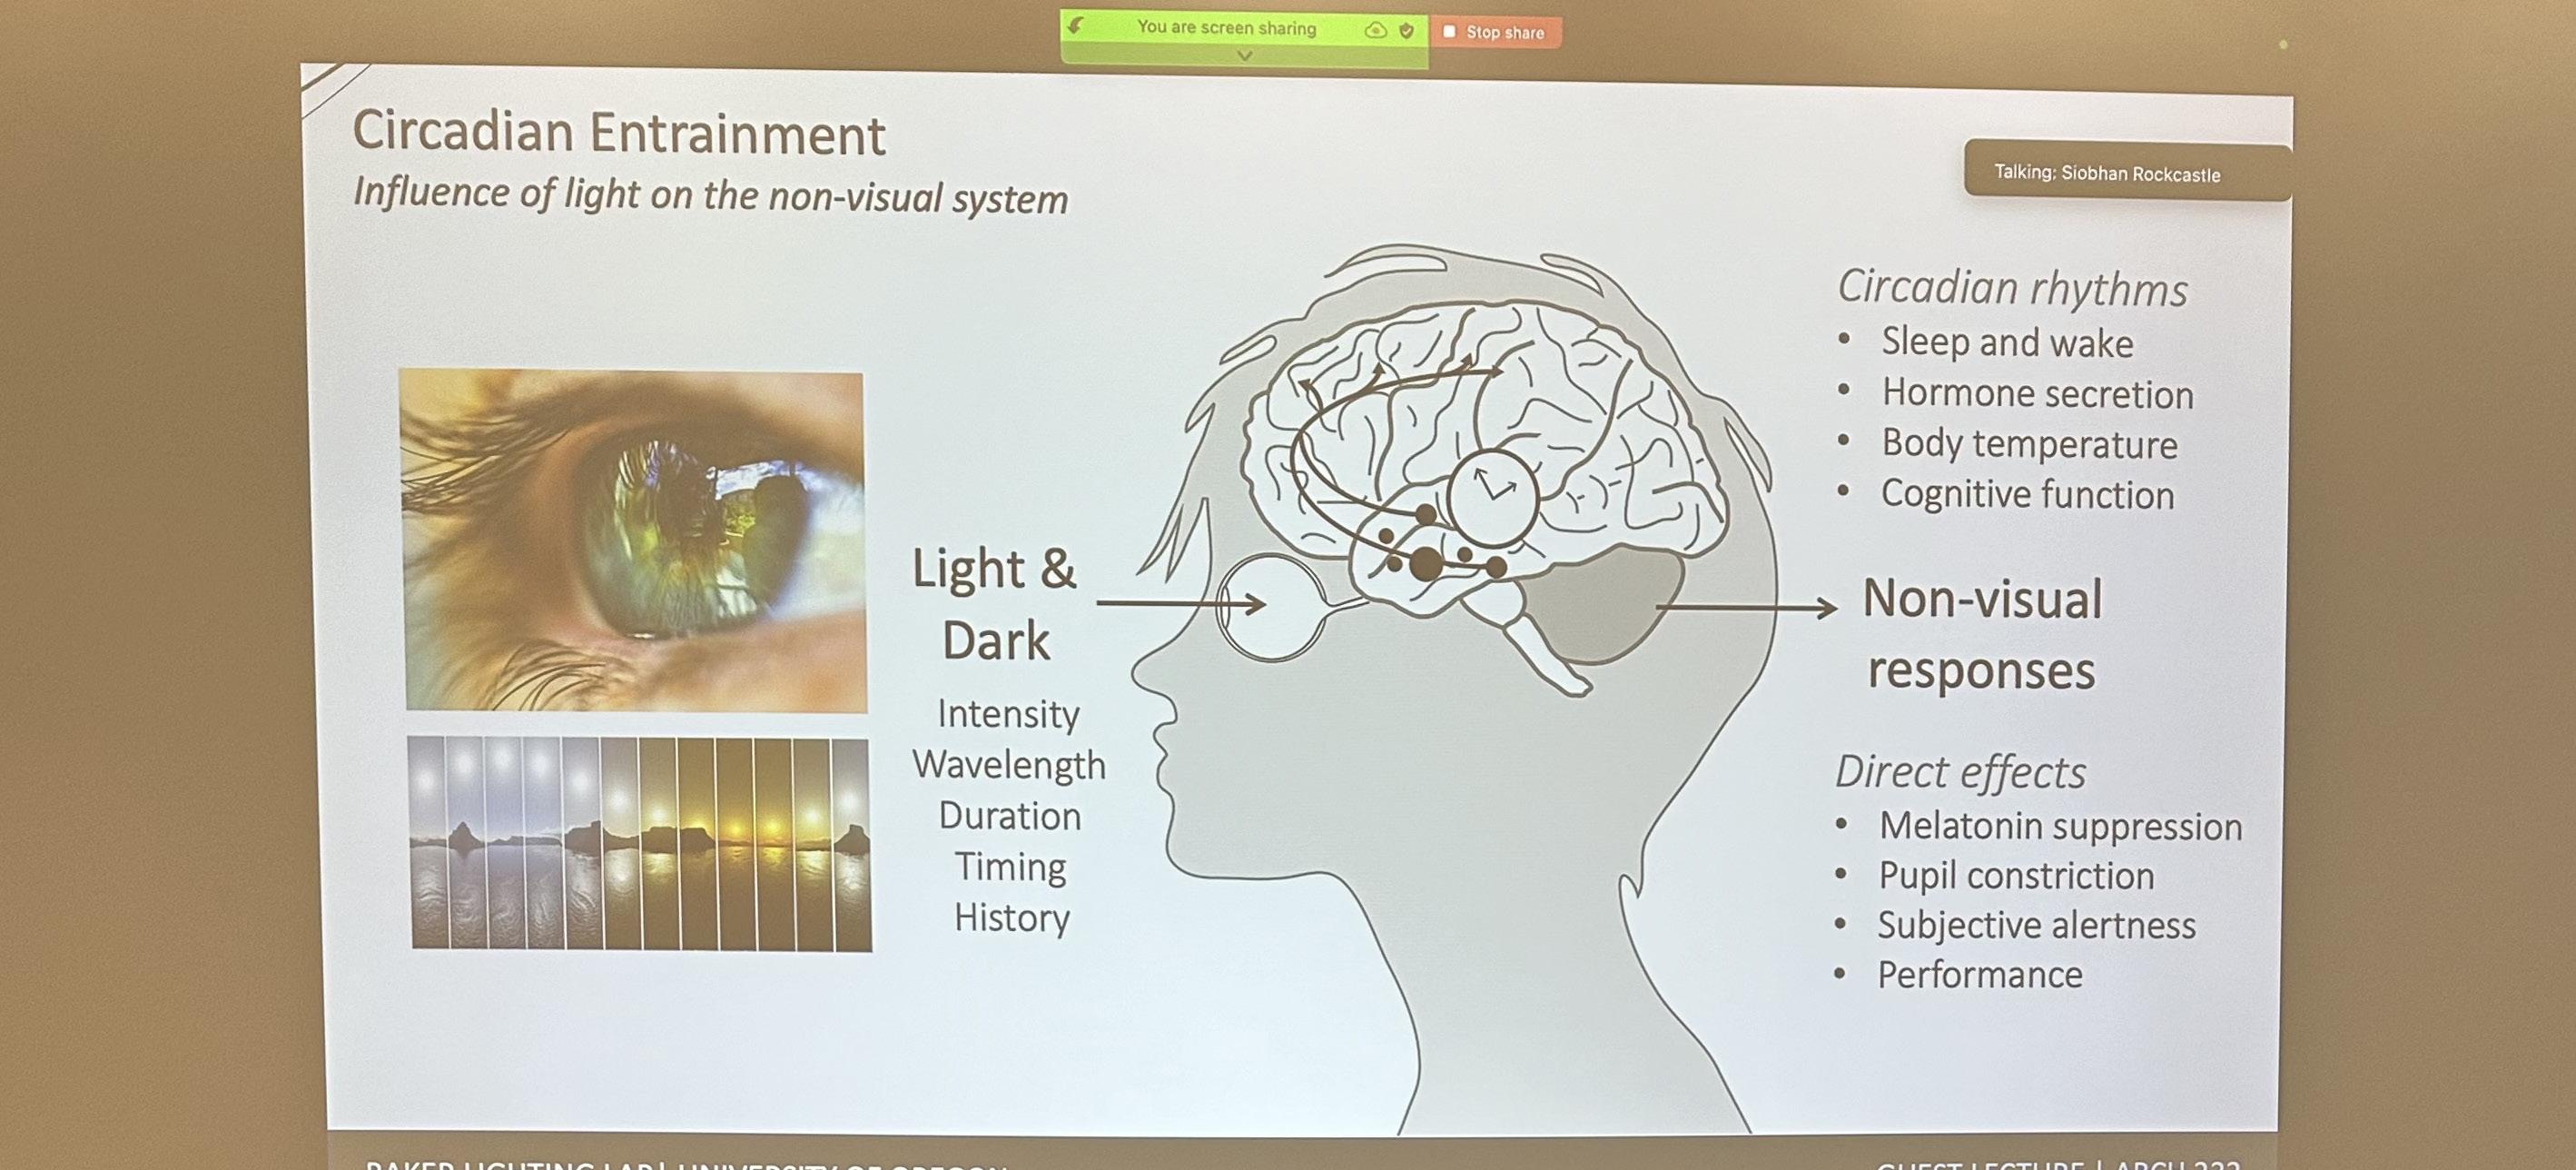
She also talked about a very important thing about light, that I didn’t know, the non-visual response of light. This has to do with how a building affects our circadian rhythm due to a building blocking light waves. Keeping this in
mind while designing to let some light in but not all. She also talked about the different experiences that all people have with the effect of light and how they perceive it. All of this is a good thing to have in your mind when you are building.
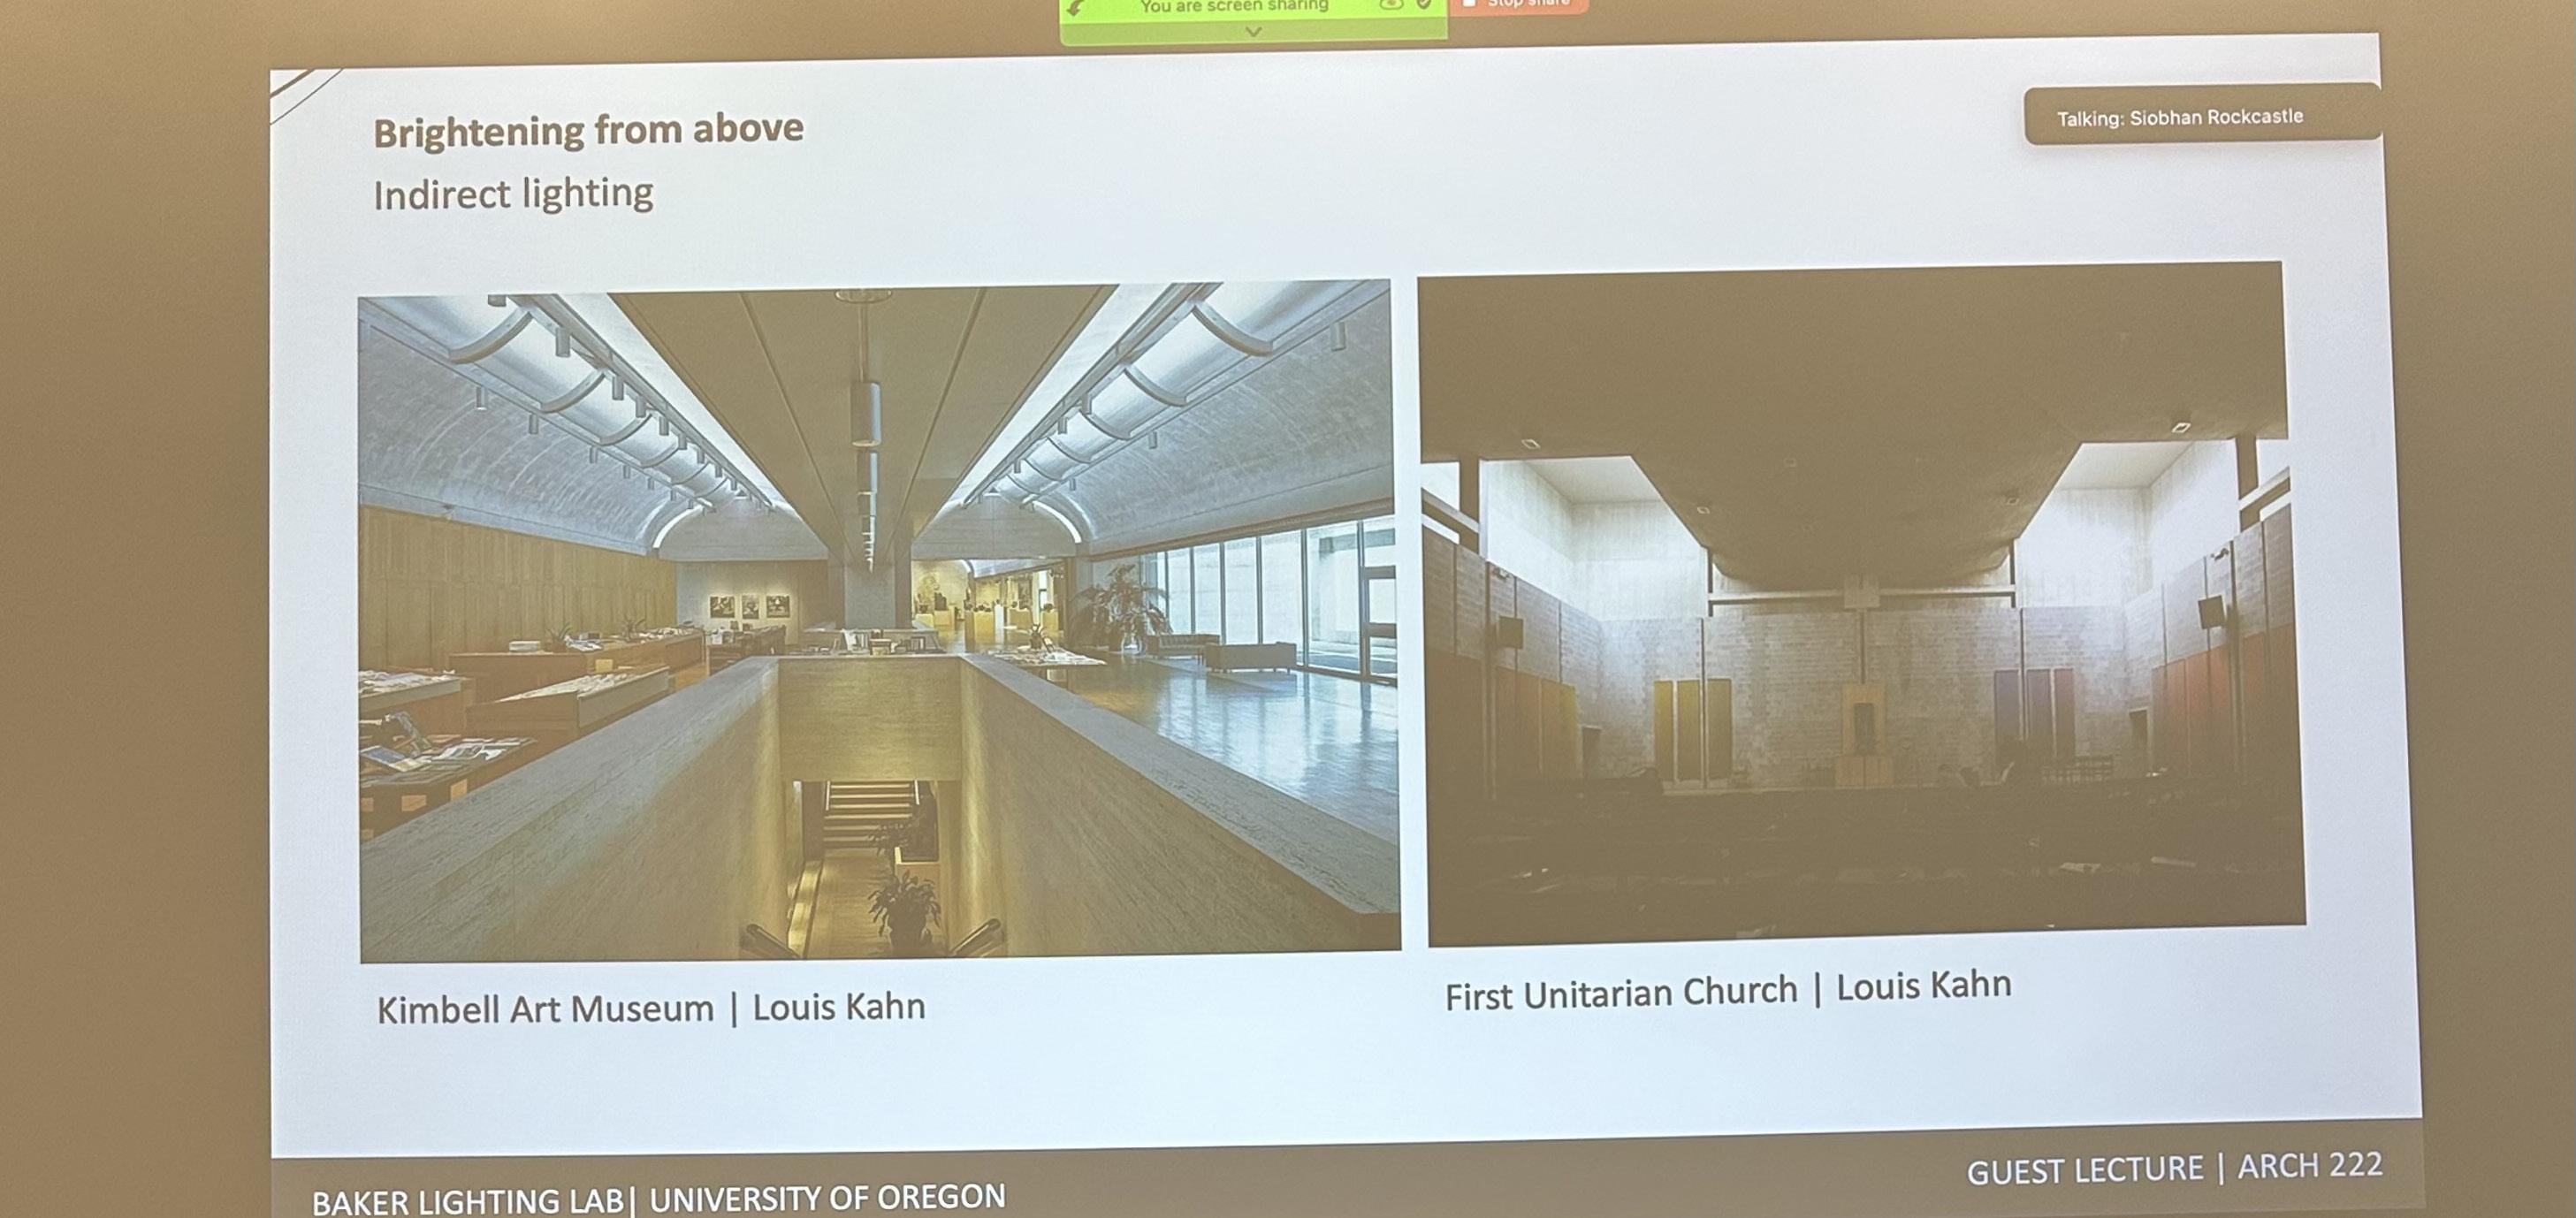
Lastly a very important attribute of design is using indirect light. This has to do with moving the light into a different direction to disperse and defuse the light before it reaches the walls and occupants. This will make the whole space all around
brighter and enjoyable. She also talked about the modeling process of diffused light and how modeling light during your design process will make the feel overall be better.
Management Schedule
These extra credit activities were made to give us skills that would help us use our time the best, and how to suceed in collage.
The image on the right shows the schedule of my sprinf term 2024, with class time and work time. This way of thinking wbout time will make your work smoother and make you less stressed
wbout completing assignments on time, because you know you have the time. I found it handy to refer to this when I was not sure when I would have time to do an assignment.
The extra credit assignments are made for us to use in our future classes so we manage our time as well as we did this term.
