


ARCHITECTURE IS BASICALLY A CONTAINER OF SOMETHING. I HOPE THEY WILL ENJOY NOT SO MUCH THE TEACUP, BUT THE TEA.
- YOSHIO TANIGUCHI
Hi, my name is Kellen Baker and I am a first-year Architecture Major in the College of Design at The University of Oregon. When I first applied to this program, I had already worked at an Architecture firm in the San Francisco Bay Area for the past 2 summers. It gave me a sense of how sustainability, design, critiques, and business all play into the business side of architecture. This helped me create my portfolio which I then used to apply to the program.
I had previously explored some CAD programs, including VectorWorks and SketchUp, but programs such as AutoCAD and Rhino are completely new to me. I look forward to perfecting my techniques within these programs and using CAD skills taught to me at my internship to help complete my projects.
For this term, I am looking forward to learning more about how space can be projected and modeled in a 3D CAD program and how color and light can be used on a computer to amplify my designs. Furthermore, I look forward to diving deeper into ideas surrounding sustainability and eco-friendly designs. I want to make my designs more eco-friendly this term and use gardens, solar, and other methods to make my designs adaptive in a changing world.
Pages 8-9
Module 1
Digital Primitive Solid
Page 14-15
MoveEdge(X,YPlane)
Module 2
MoveEdge(X,ZPlane)
Digital Primitive Rules
Page 10
Module 1
Laser Cut Template
MoveFace(X,YPlane)
MoveFace(X,ZPlane)
MoveFace(X,YPlane)
MoveFace(X,ZPlane)
MoveEdge(X,YPlane) SelectTwo
MoveEdge(X,ZPlane) SelectTwo
Page 16-21
Module 2
Digital Primitive Rules
Page 11
Module 1
Laser Cut Model
Page 22-25
Module 2
Digital Primitives Additive
Page 12
Module 1 Laser Cut Material
Page 26-27
Module 2
Digital Primitives
Subtractive
Page 13
Module 1 Primitive Enclosure
Page 28-29
Module 2
Assembly Primitives
Page 30-33
Module 3 Topography
Page 52-55
Guest Lectures + Cory Olsen
Page 34-41
Module 3 Digital Frames
Page 56-59
Guest Lectures + Nancy Cheng + Dylan Wood
SOFTWARE USED Rhino
FABRICATION TIME
30 min. Laser Cutting
1 Hour 30 min. Assembly
6 Hours Digitally Modeling
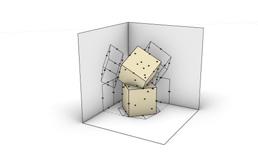
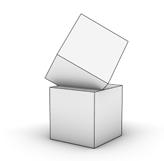
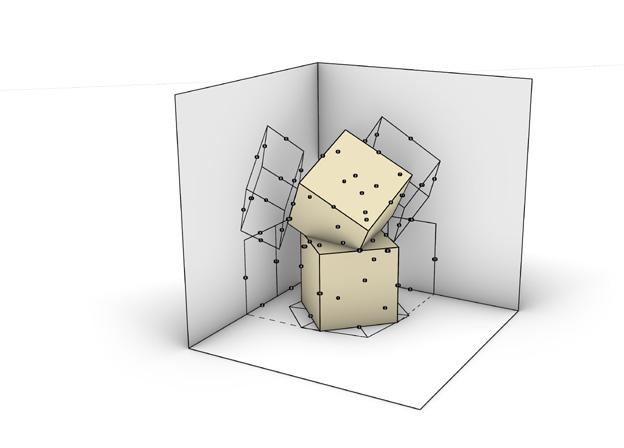
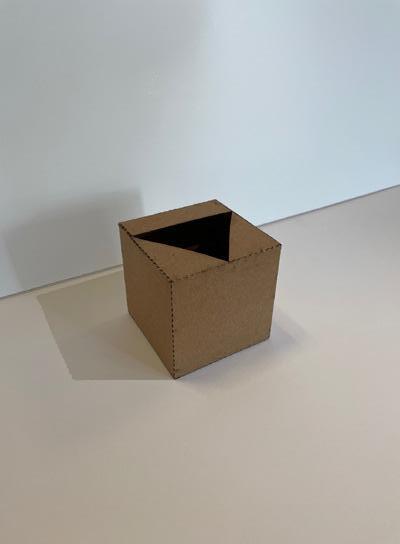
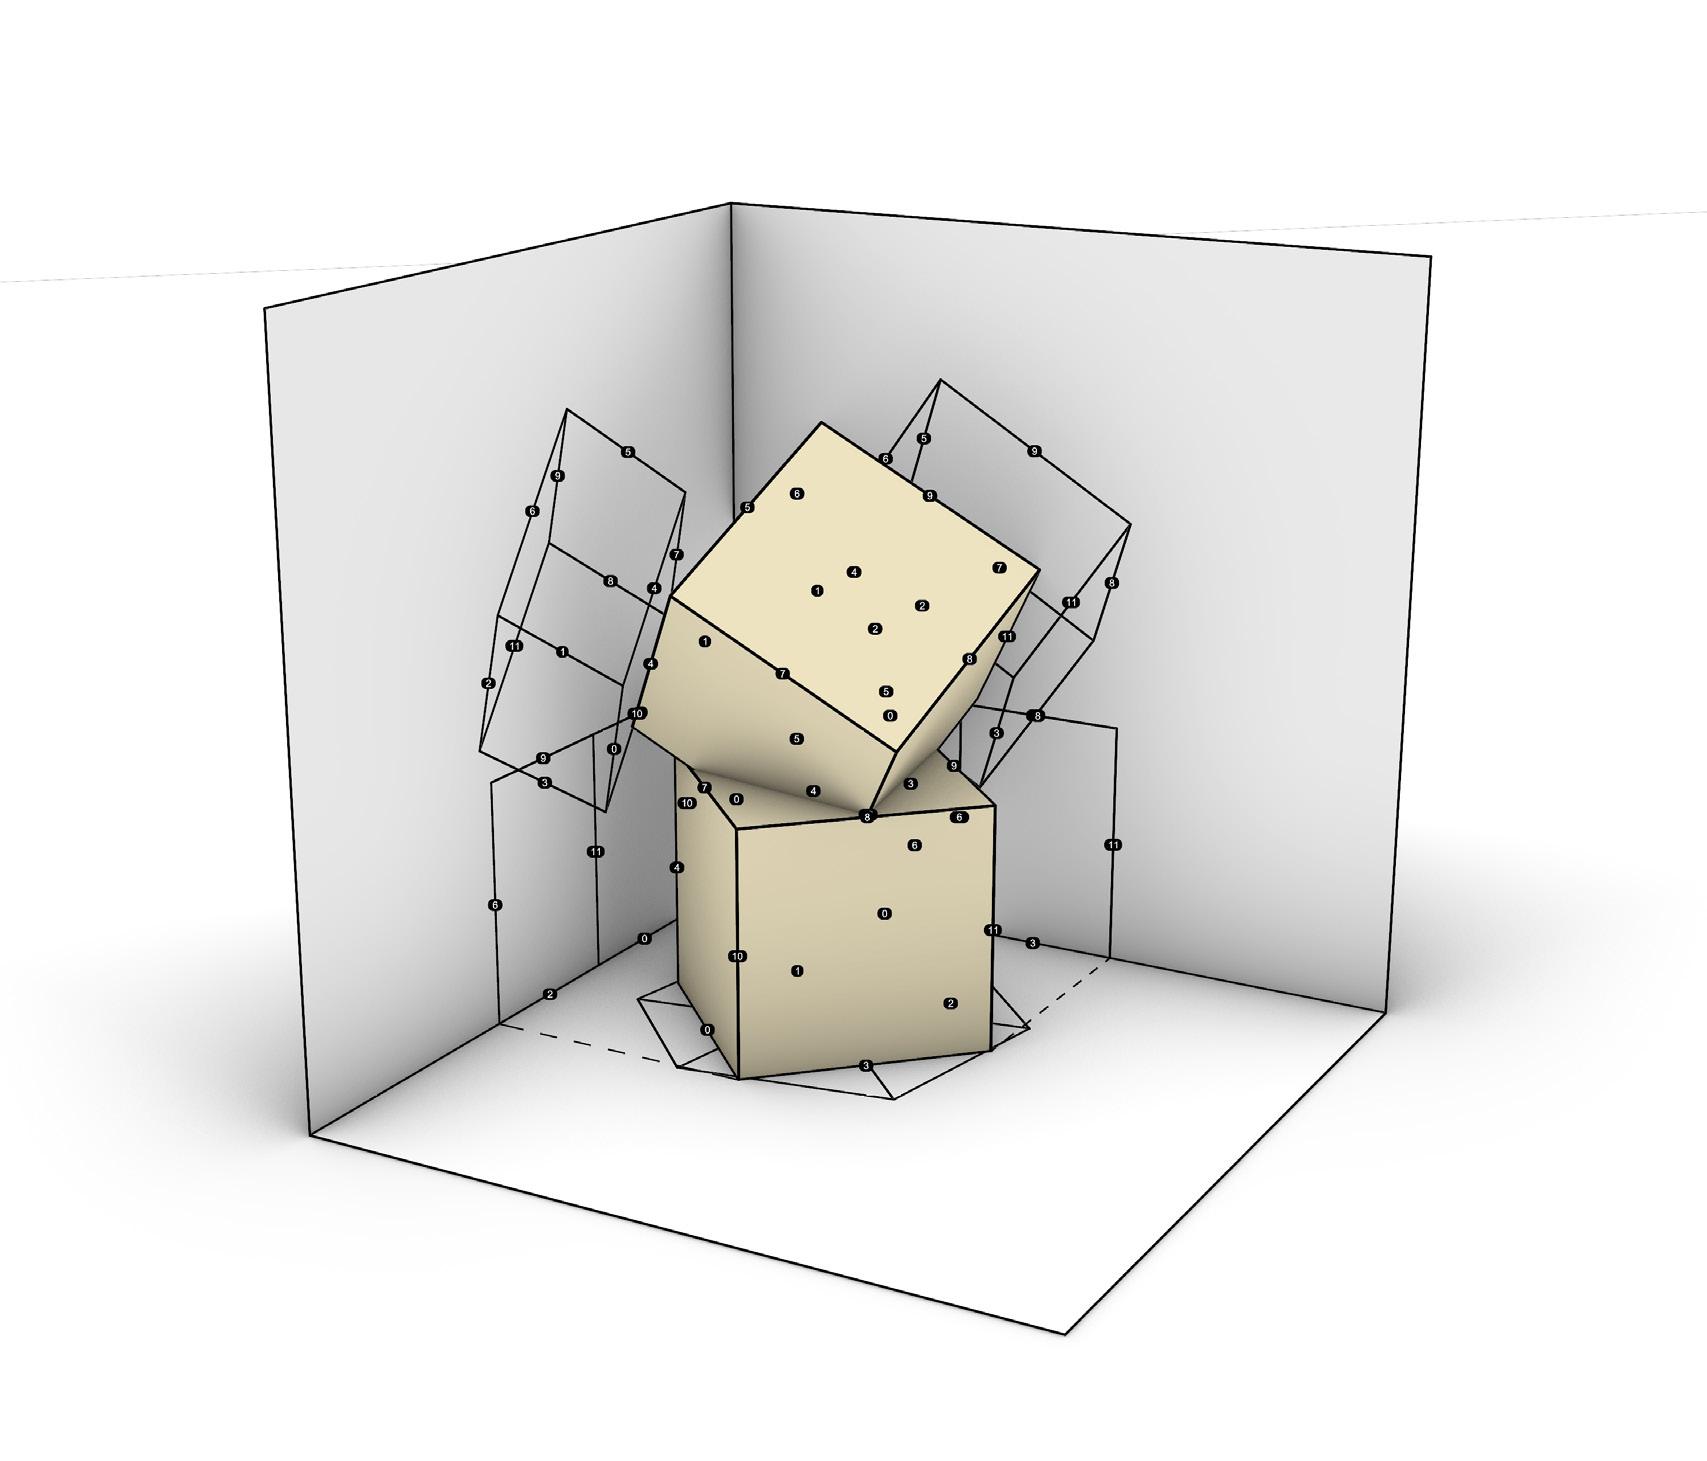
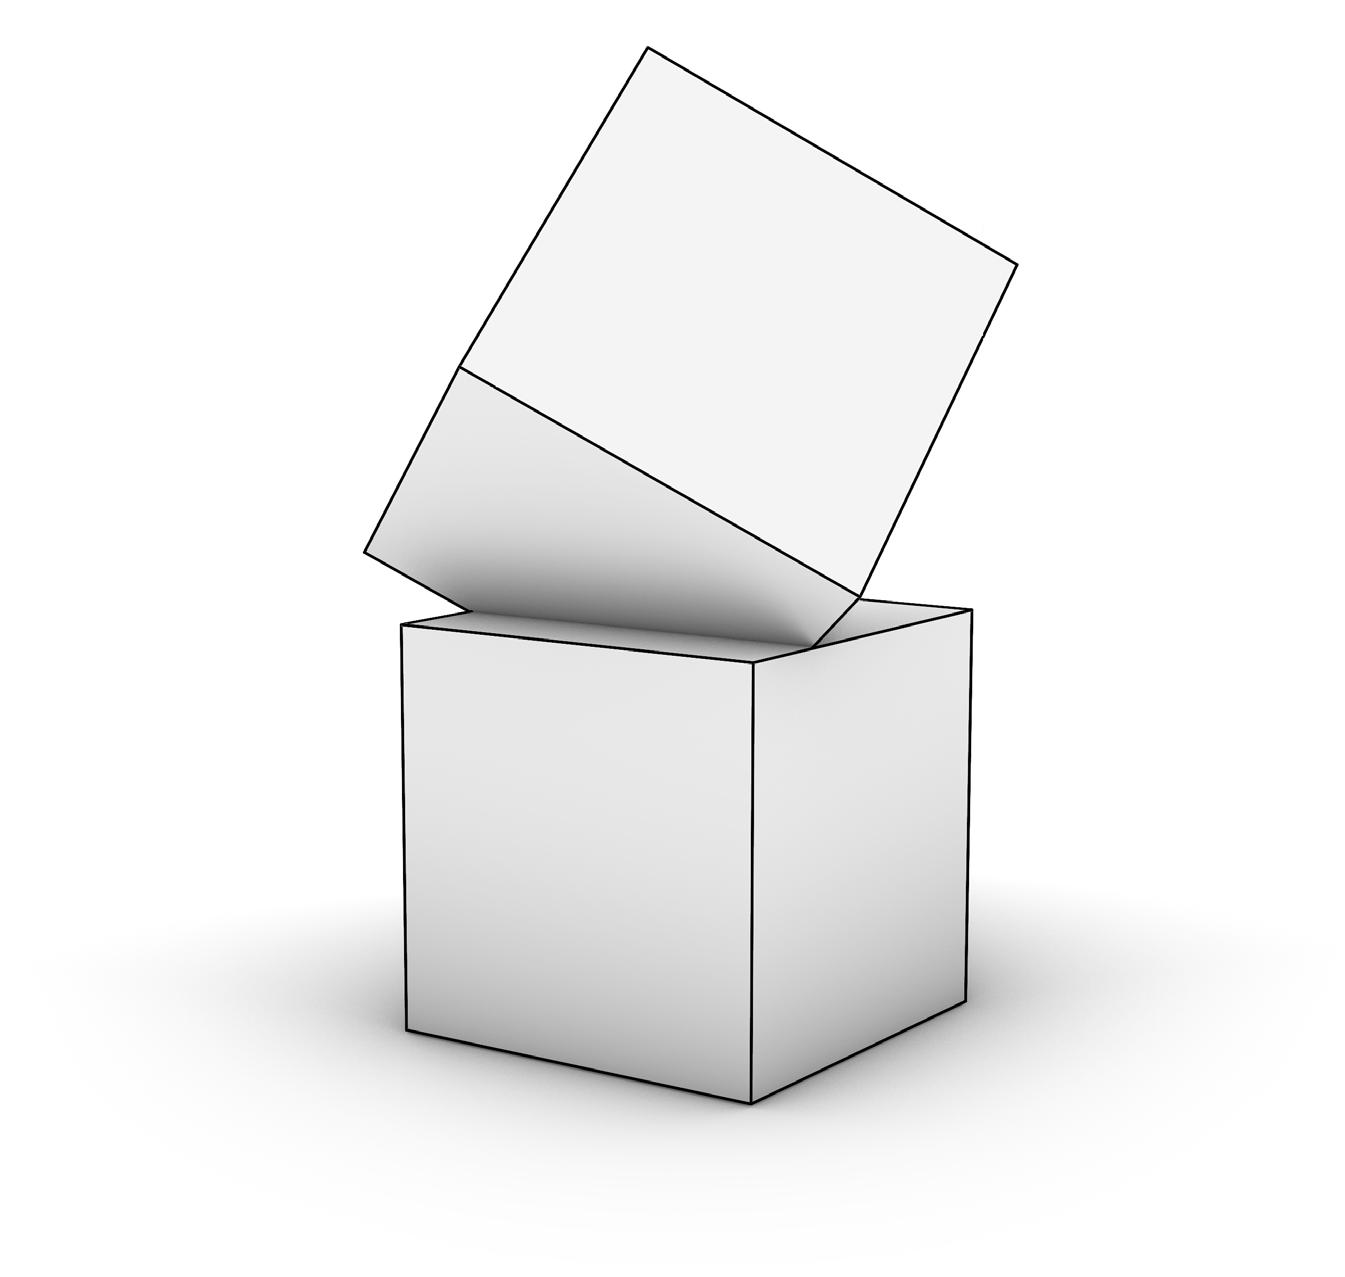
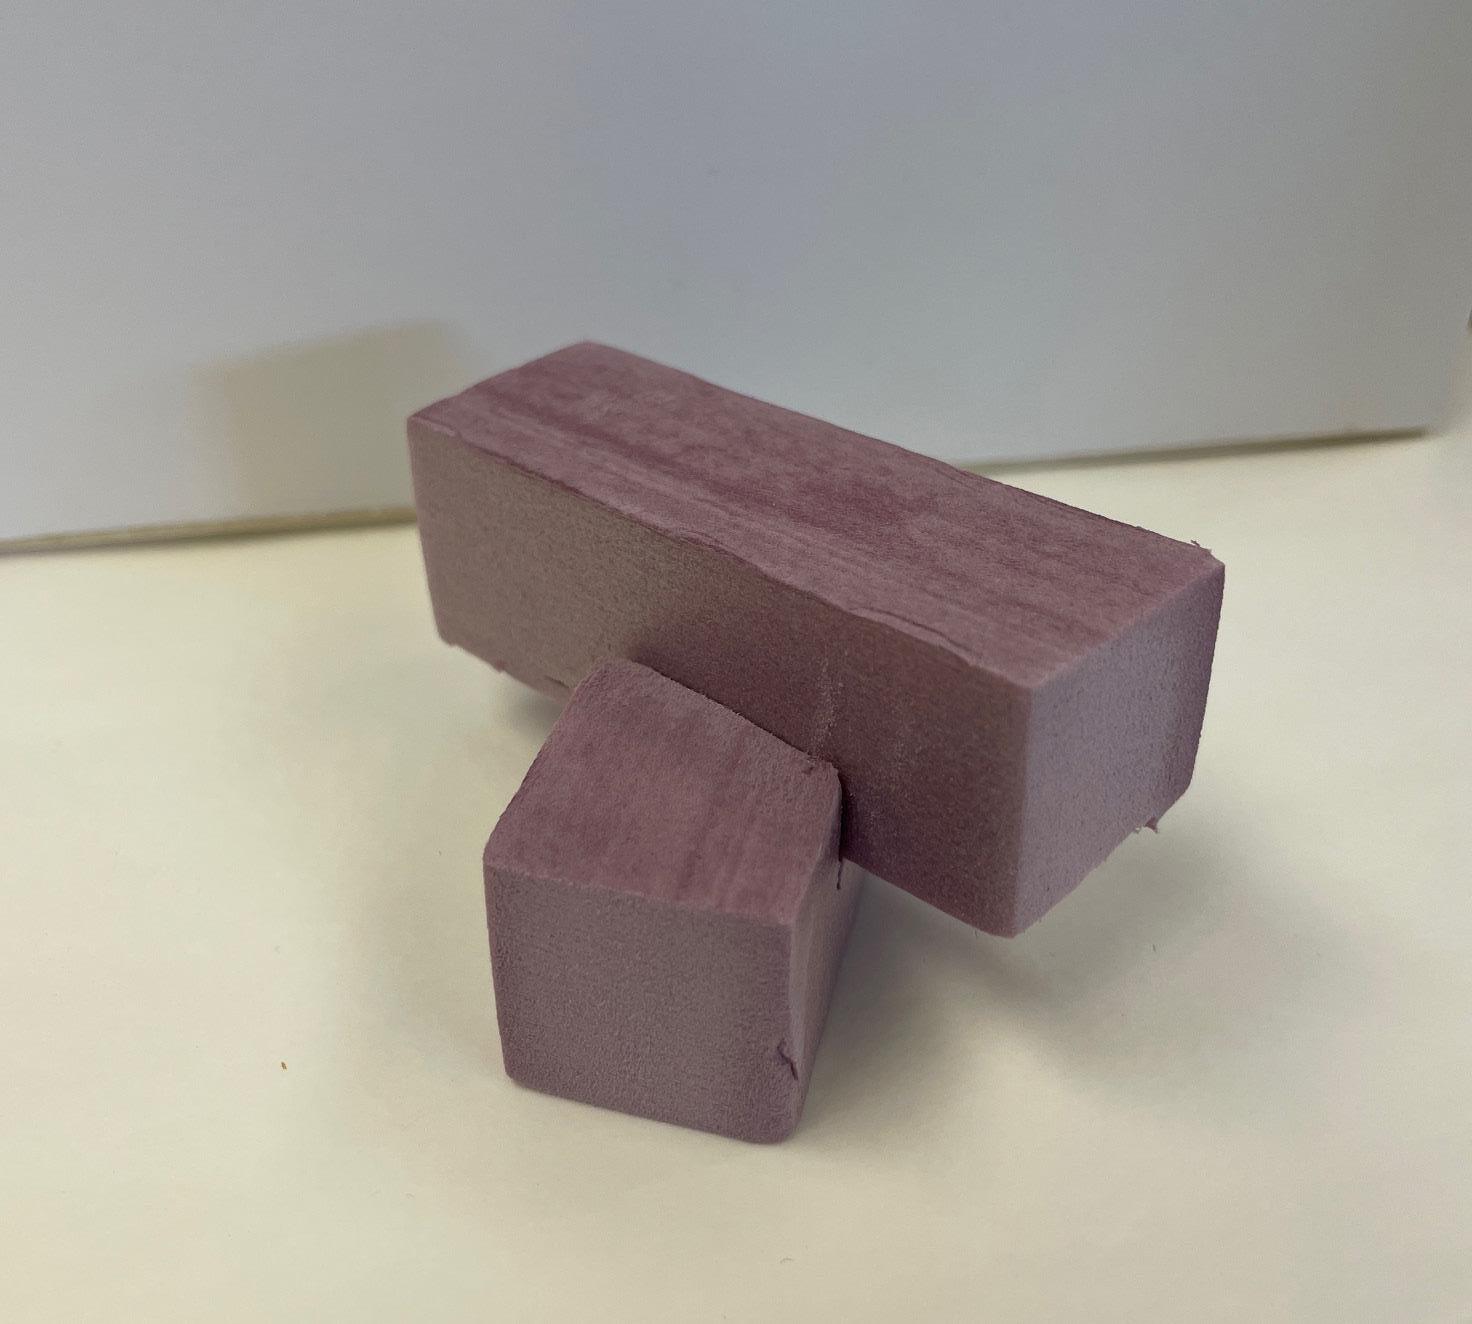
For my first Digital Design Methods module, I found many things to be both helpful and unhelpful. Firstly, I properly set up the Rhino program by creating a new file and setting it up to the proper standards. I then started by modeling multiple iterations of 3D primitives and choosing which one I liked the best. I ran into a few issues with rotating the 3D primitives, as my Rhino 8 differed from the tutorials, and was not set up properly. This caused me a delay of about 30 mins, but I was able to fix and properly rotate the top primitive. I then chose the model shown on the left.
MODELING MATERIALS
0.02” Chipboard
Xacto Blade / Box Cutter
Cutting Mat
Tacky Glue / Spray Glue
Mat Board / 11” x 17” Paper
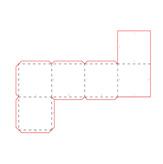
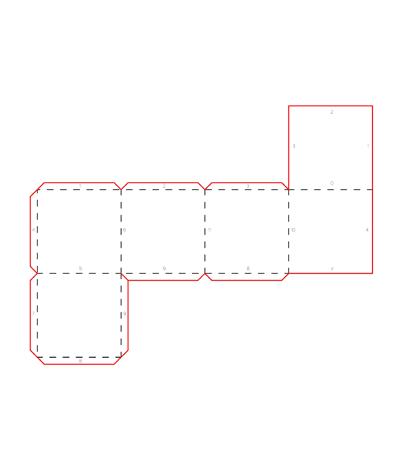
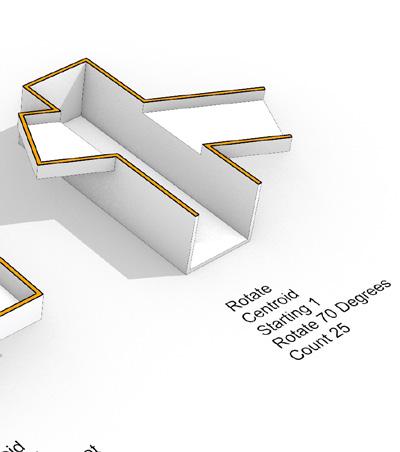
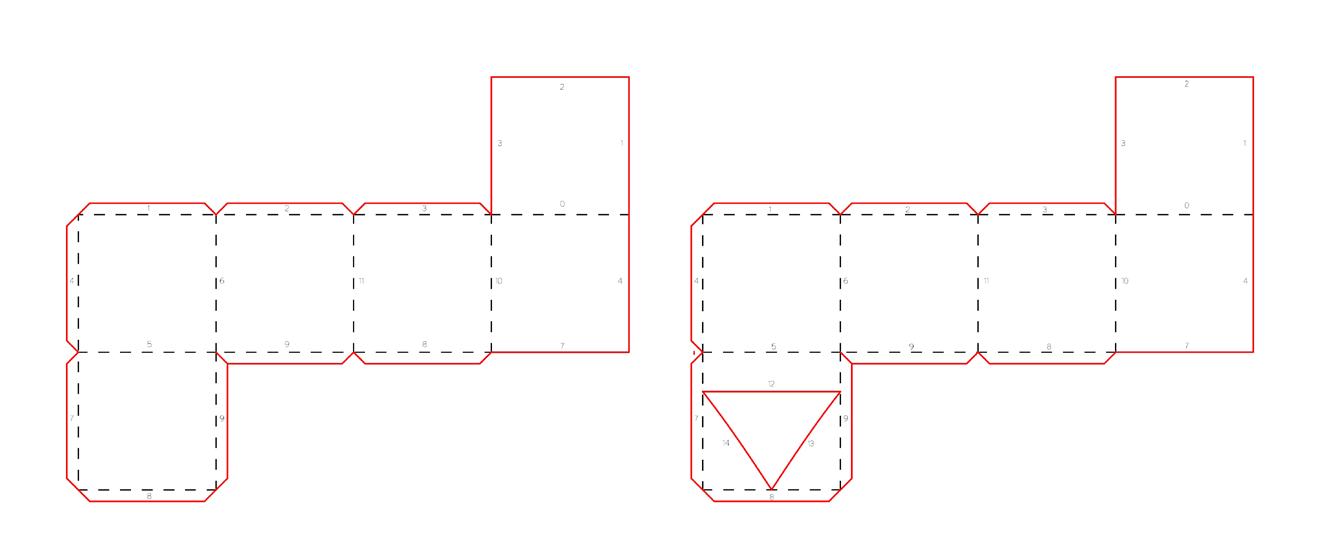
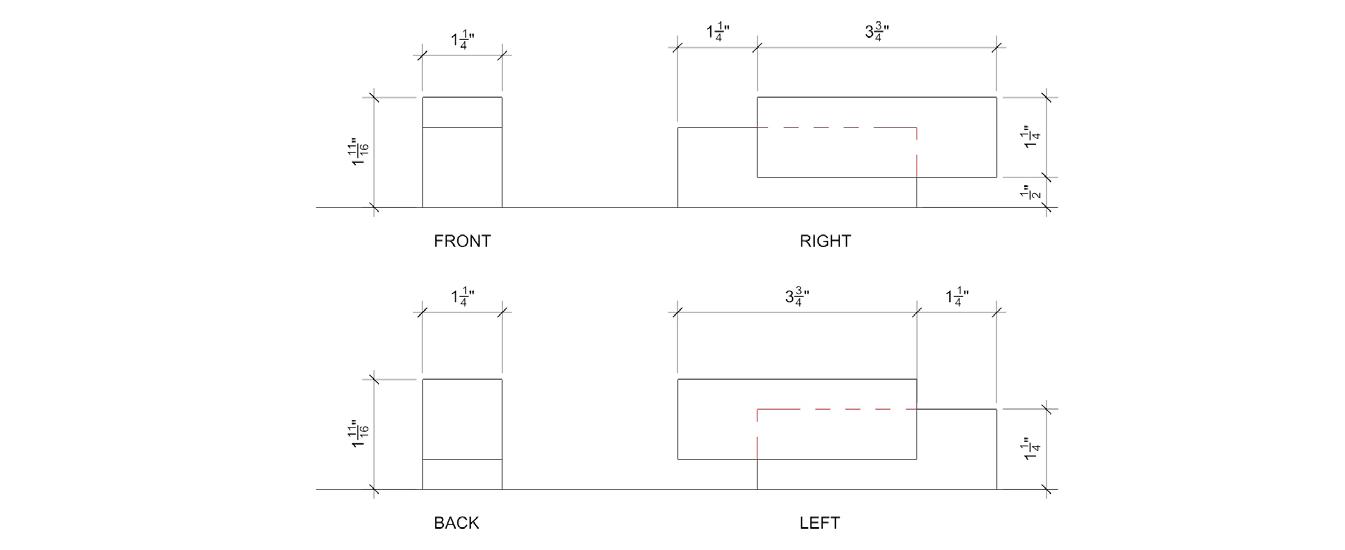
Then, I used the “Make2D” function in Rhino to unfold my primitives. I ran into a major issue here, as my bottom primitive unfolded weirdly, with the side of the open triangle that houses the top primitive. I had to ask for help and came up with a solution that fixed it and modeled it properly. This caused a delay of about 1 hr. I then changed the layers to prepare them for the laser cutter. Once that was done, I copied my final laser cut templates to the laser cutter template Rhino document. I placed it in the 18” x 32” bounds and was ready to print.
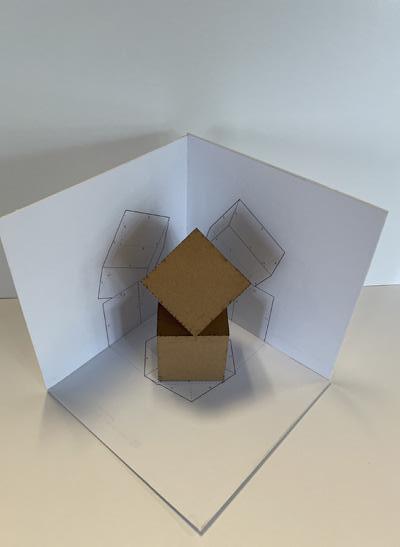
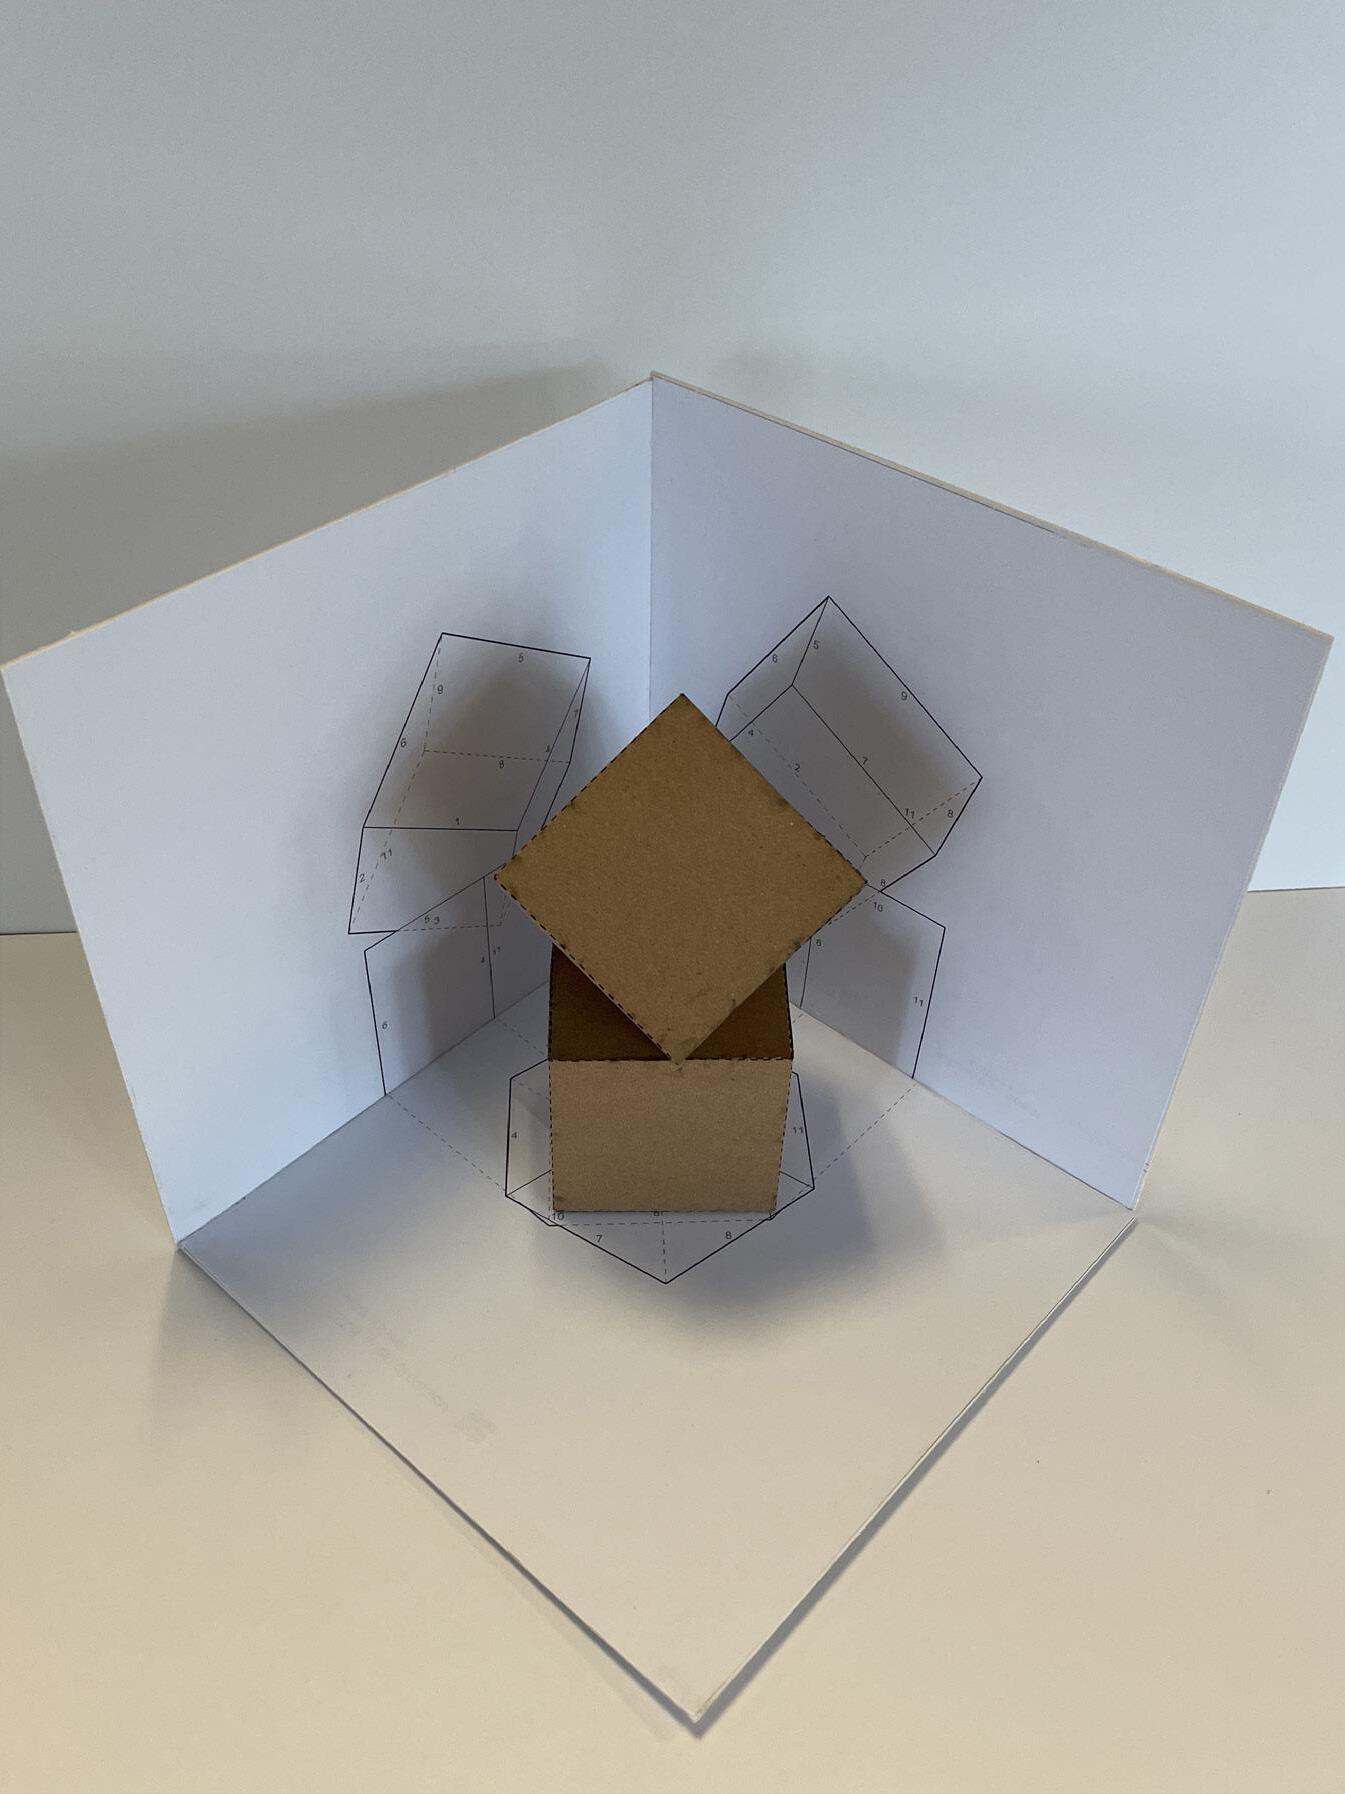
Once that was completed, I focused my attention on digital 3D modeling. I started by creating an enclosure that would surround the 3D primitives. Once that was complete and the walls were up, I was able to use the “camera” function on Rhino to take photos and digitally project the left, right, and top sides of the primitives. I then have to manually move the numbers on the folds and make them look better. I finally rotated the projections, aligned them on the walls, and rotated them to fit on 11” x 17” paper. I then printed all 3 of the sheets and waited to spray glue them to the Mat Board.
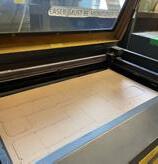
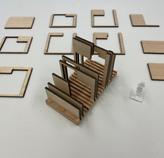
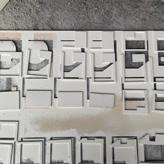
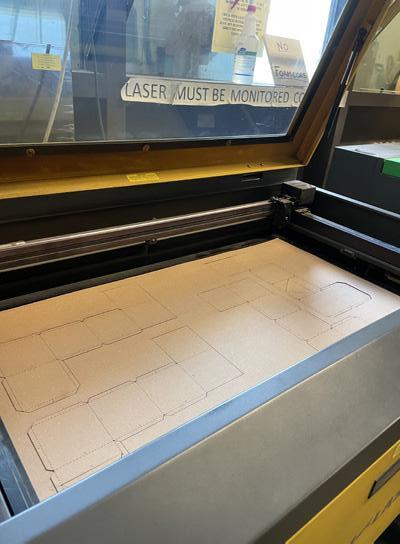
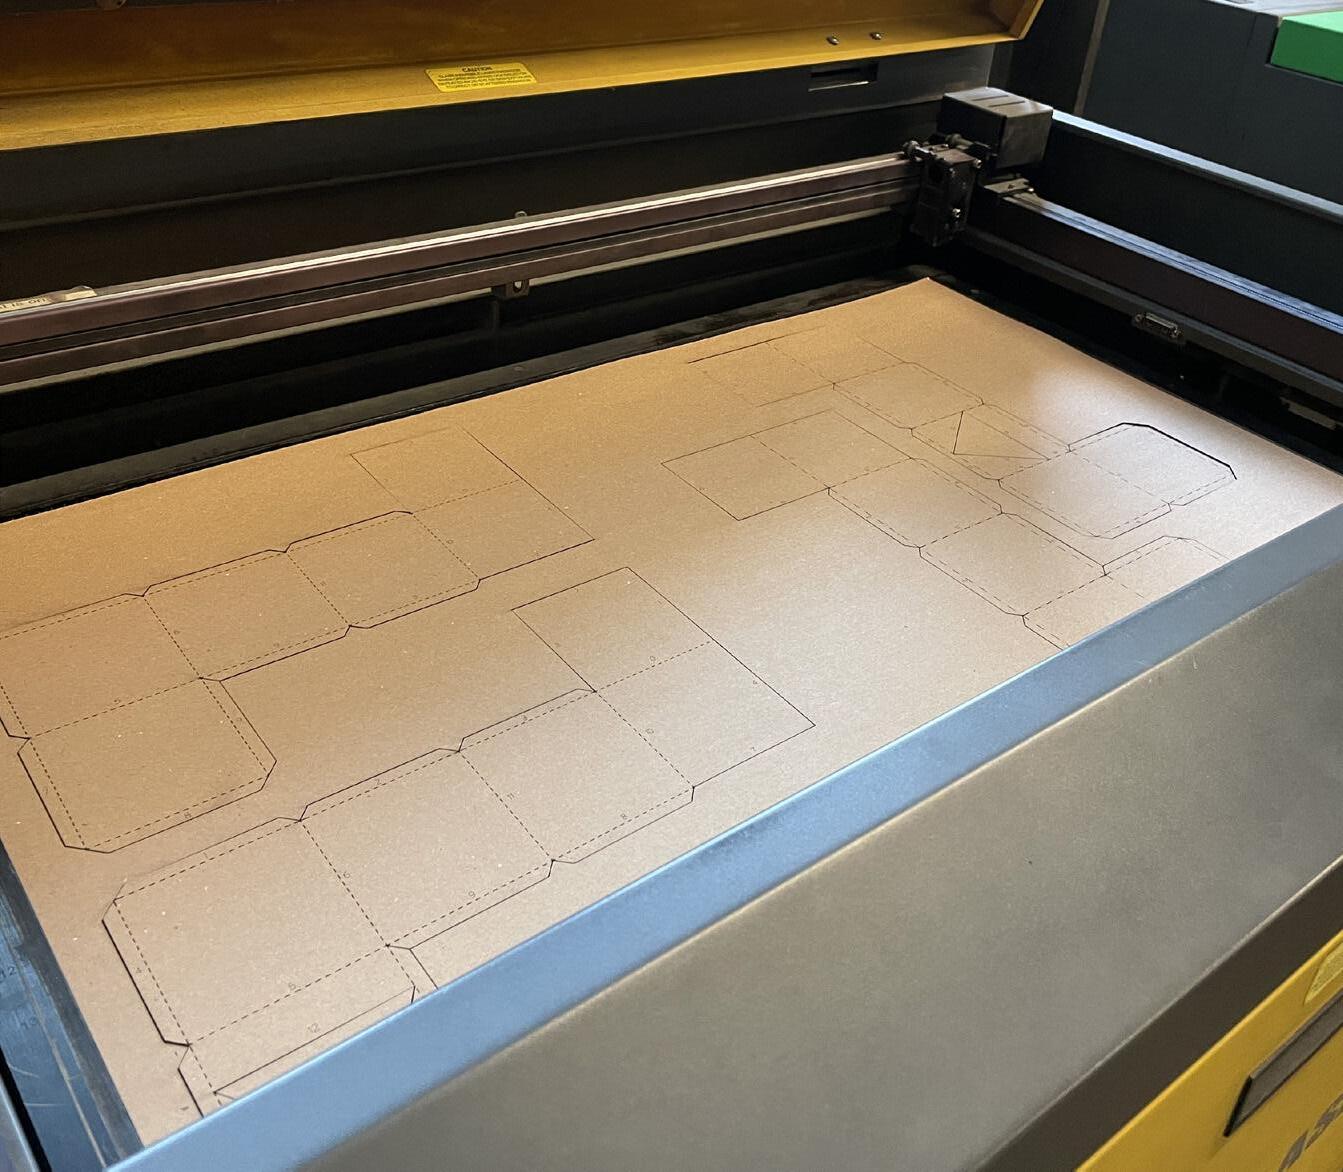
Furthermore, on Thursday, I laser-cut my files. I received a Rhino file from another person and we laser-cut both projects on the same file. I went down to the woodshop, got a USB stick, and transferred our file to the laser cutter. It was successful on the first try and never had any issues with the lines, cutting, or time. I took a photo of the laser-cut files before taking them out of the cutter for documentation. The scoring was perfect and none of the pieces that should have been attached, fell off while picking it out of the cutter and carrying it back to my desk.
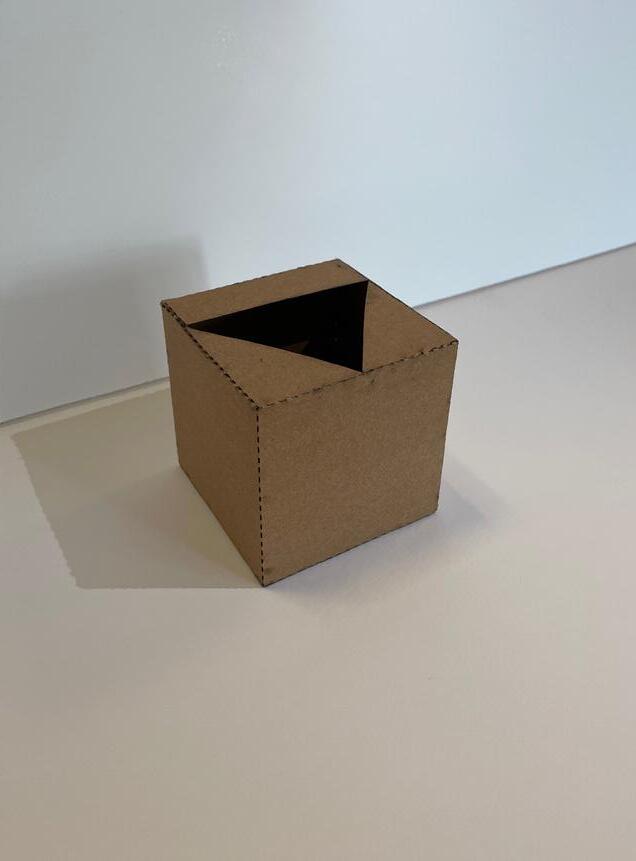
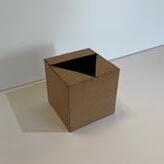
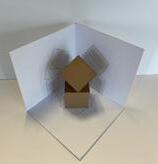
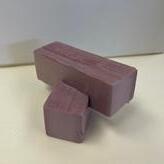
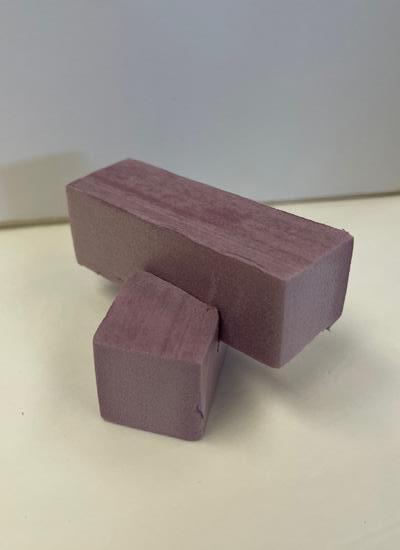
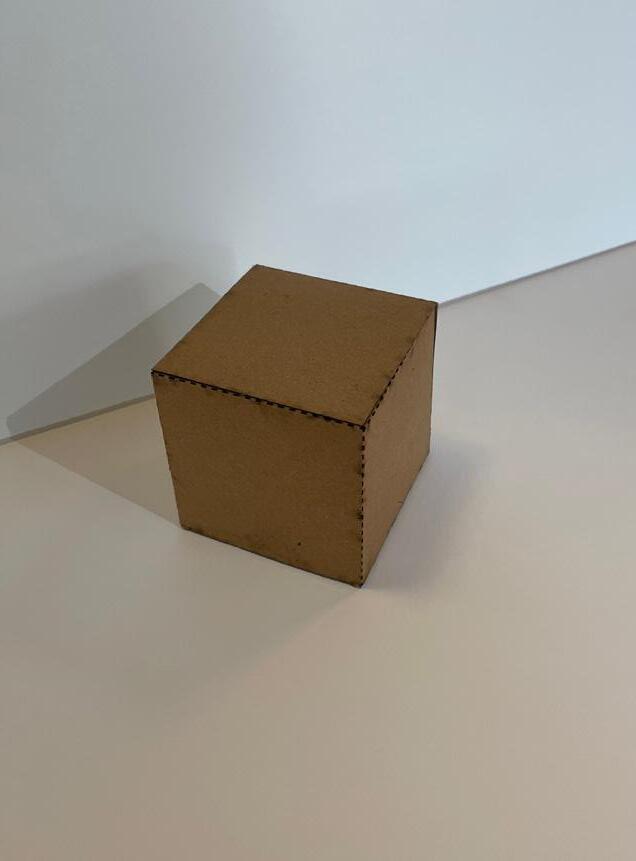
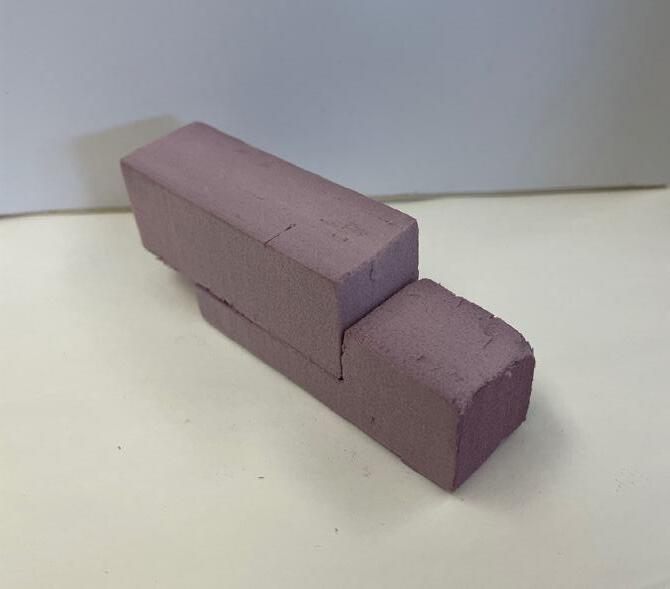
Finally, the last thing that had to get done was putting together the model and enclosure. I started by building the enclosure. I first printed the 3 sheets I needed and cut them out using an Xacto Blade. I then used Mat Board, cut at the same dimensions, and spray glue to adhere the two materials. Once that was complete, I used Tacky Glue to glue the 3 sides together and create the enclosure. Then, I used Tacky Glue to secure the two primitives. Using the fold lines, I folded the chipboard and attached the sides.
On both cubes, I had two sides that had extra overhangs, so I had to carefully remove them, and apply the glue to the remaining overhand. After this my model was complete. I followed the final instructions of the video tutorials, taking good physical and digital photos of the models to present in this portfolio. Overall, this project provided me with a solid introduction for Rhino and all of the tools it can provide. I learned so much in just the first week of learning this software and I know I am only scratching the surface of what it achievable in this software.
SOFTWARE USED Rhino
MODELING MATERIALS
1’ x 1’ x 1” Insulation Board
Tacky Glue / Spray Glue
Cutting Mat
Xacto Blade / Box Cutter
FABRICATION TIME
1 Hour Assembly / Hand Cutting
6 Hours Digitally Modeling
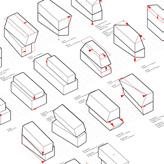
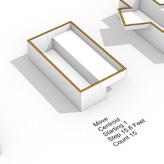
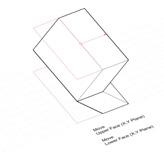
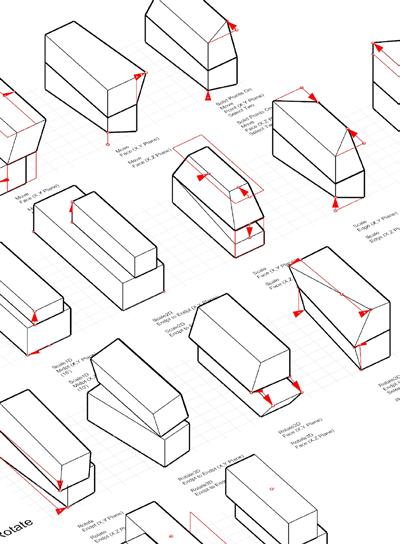
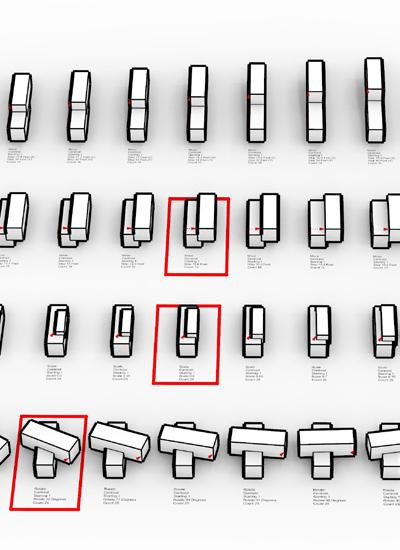
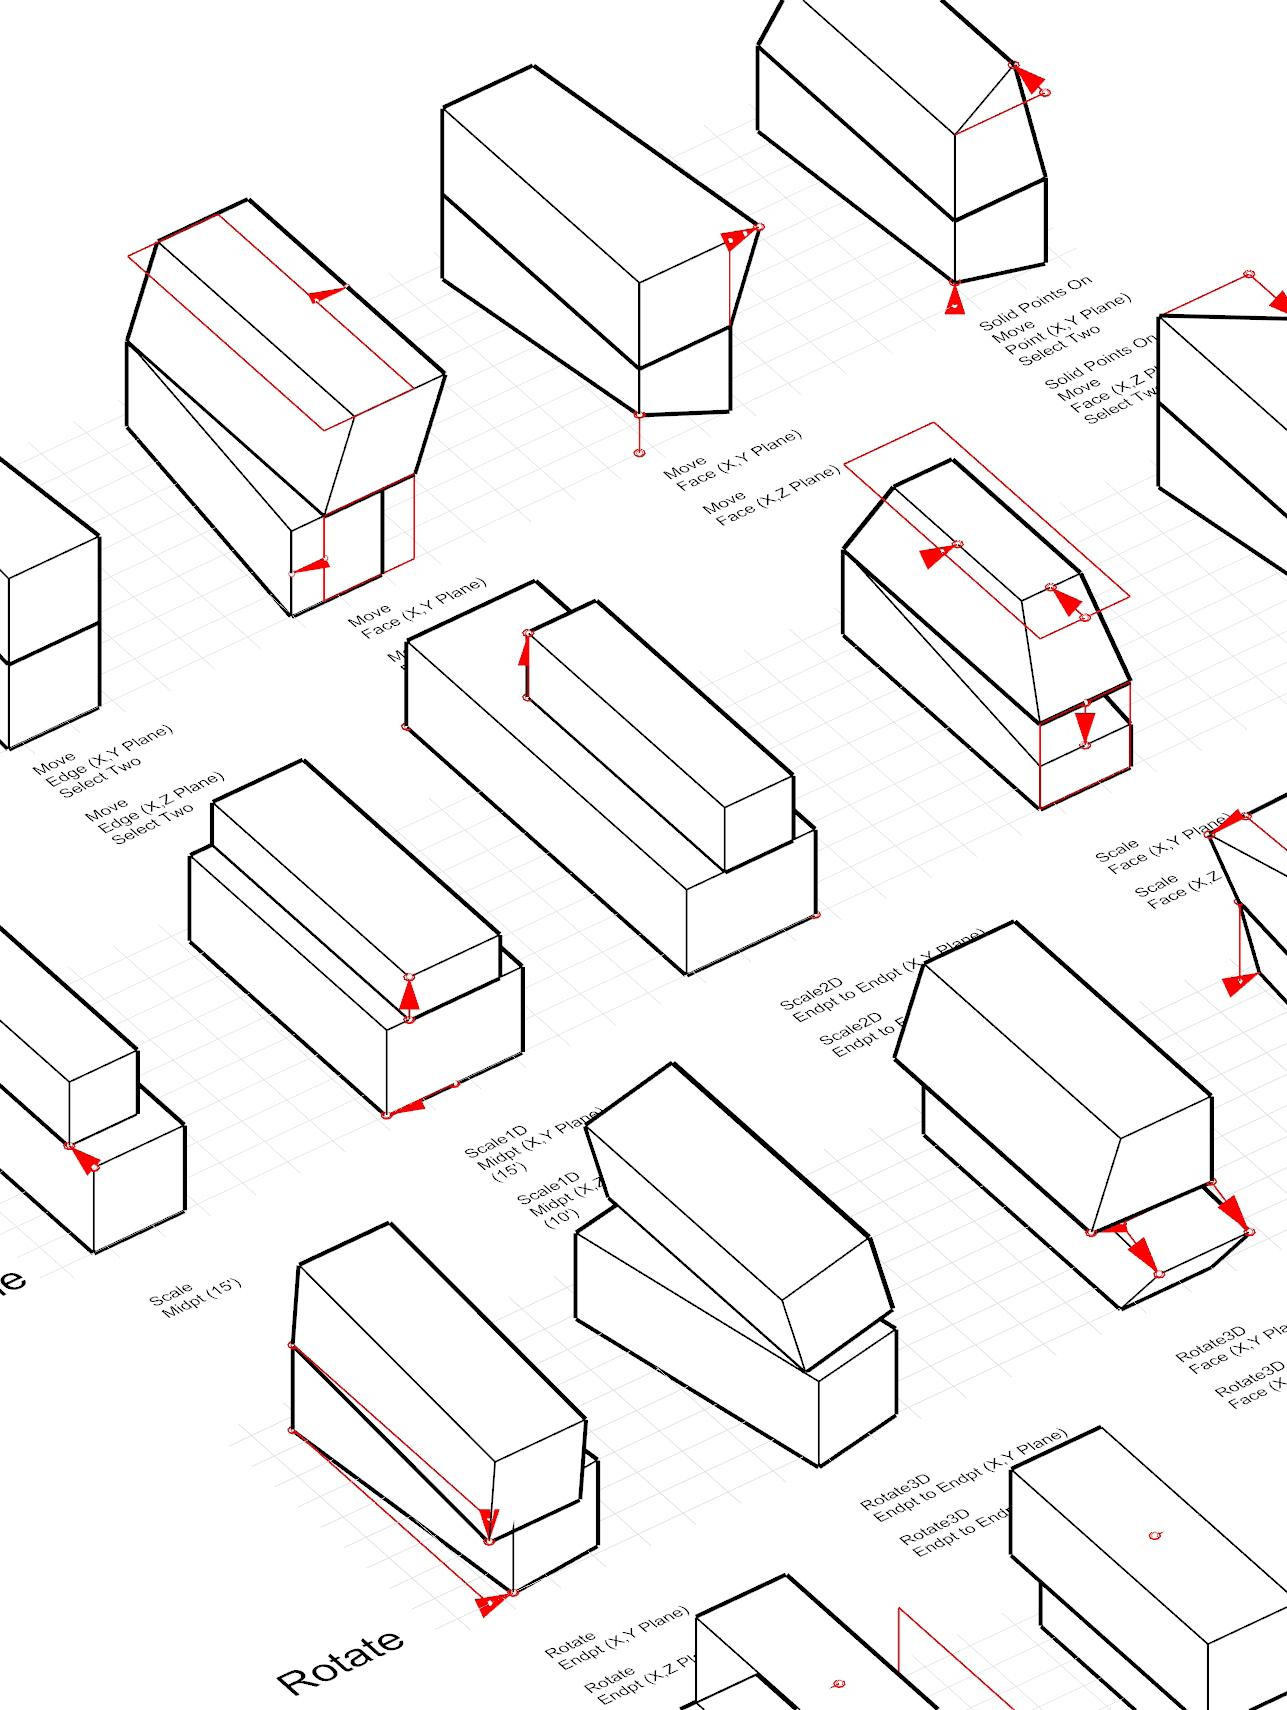
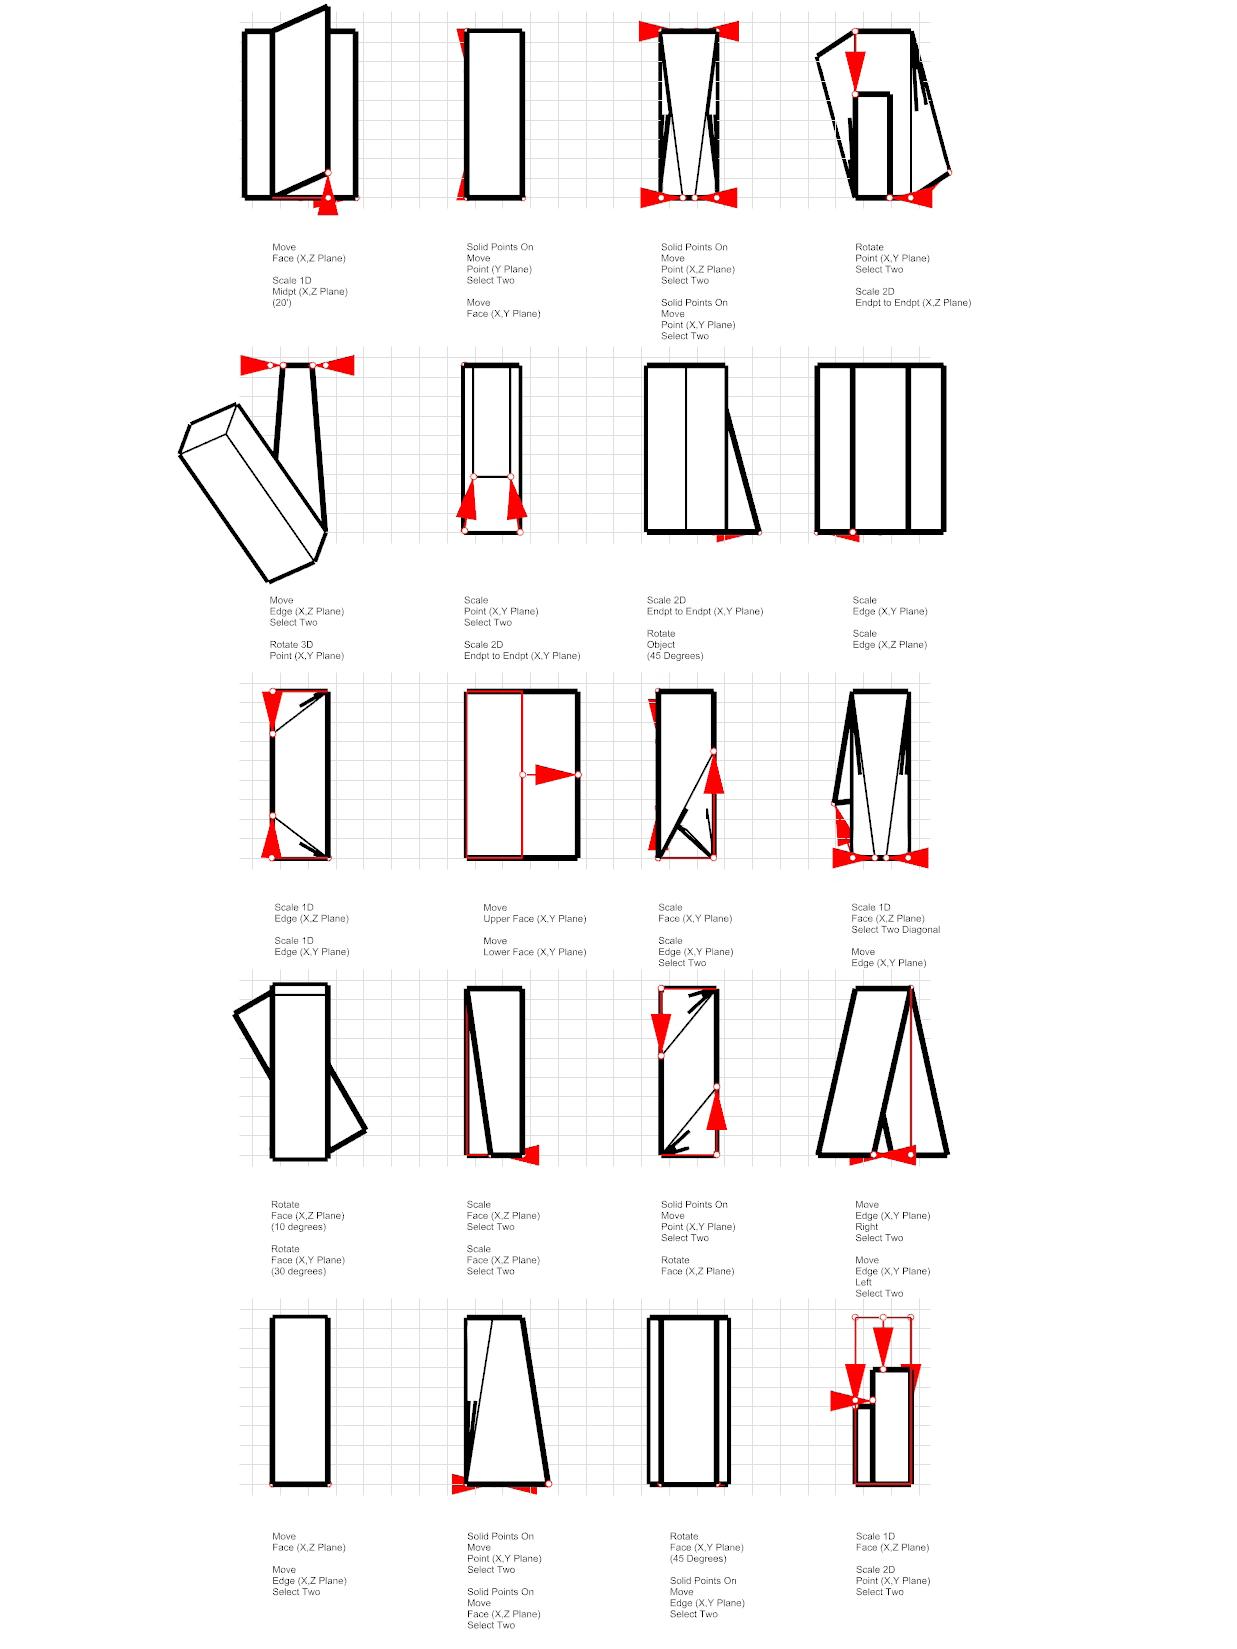
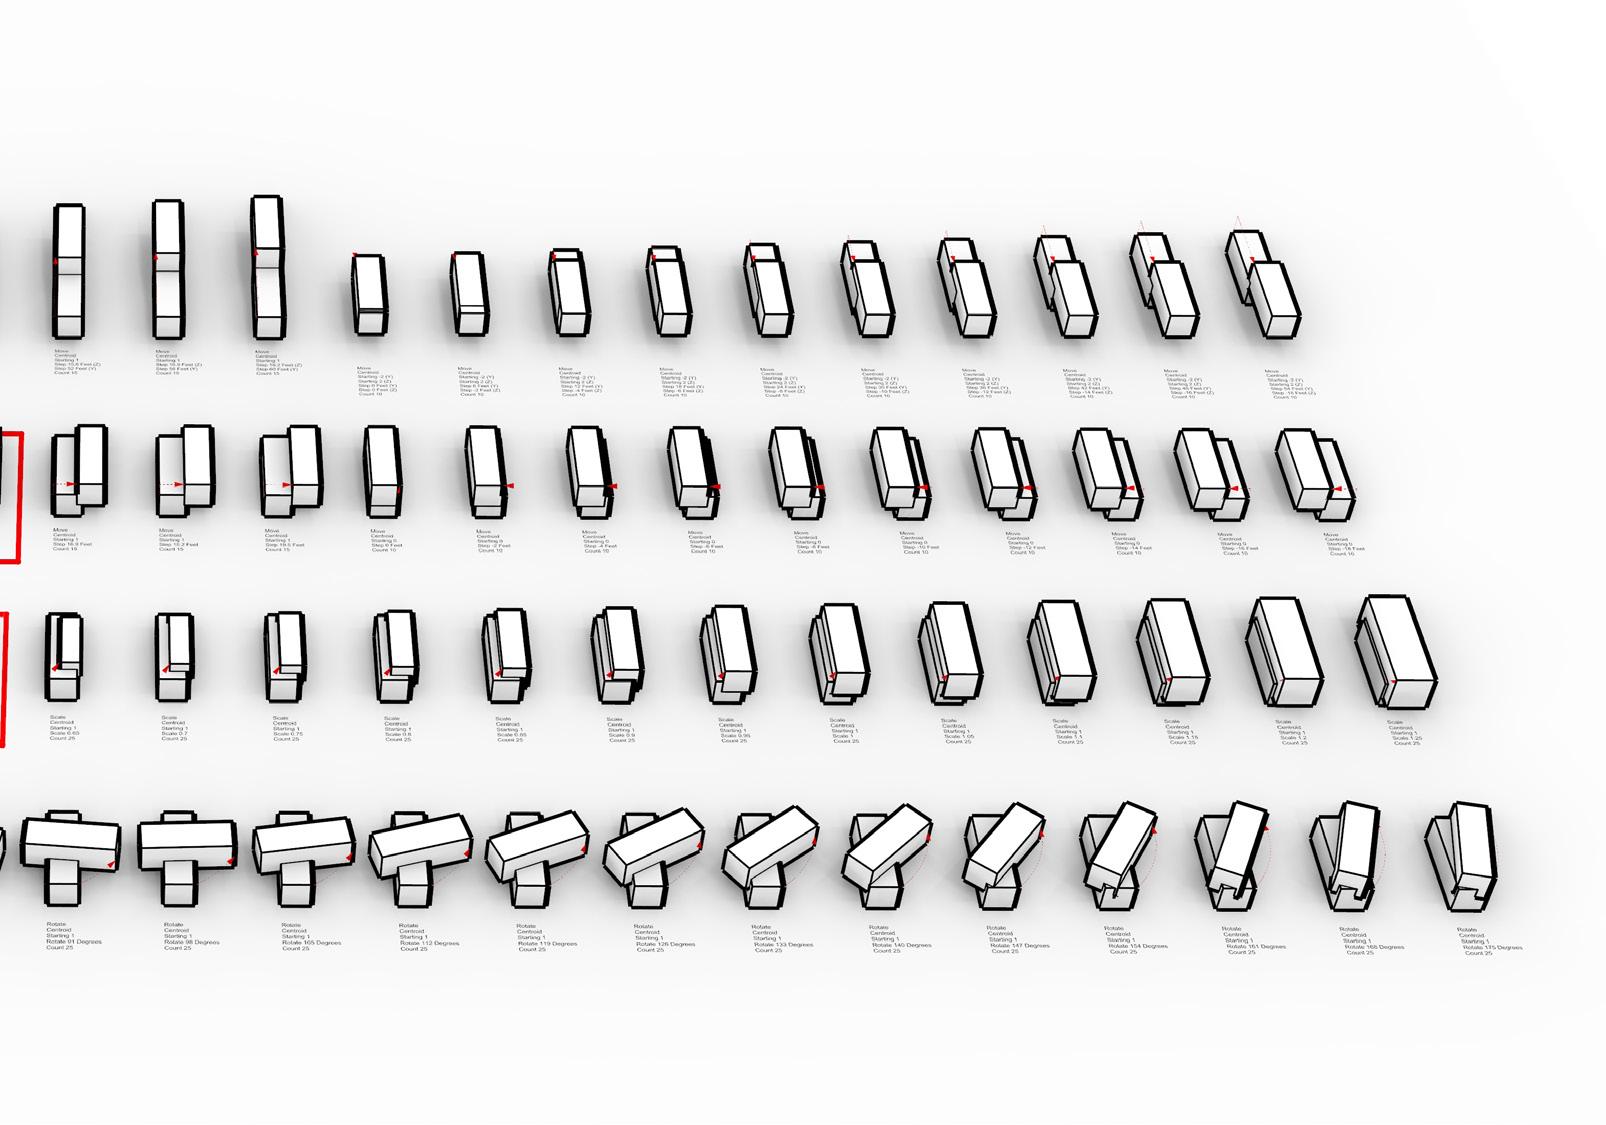
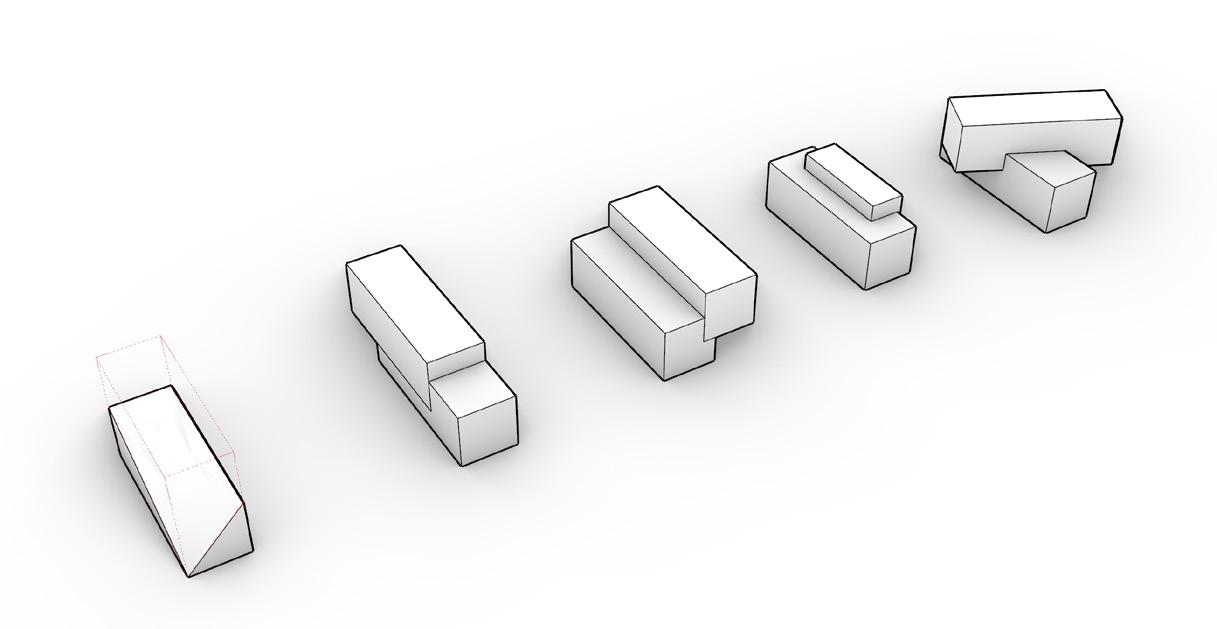
For this week, I learned how to move shapes in Rhino and orient them in a variety of different ways. Firstly, I was tasked with setting up 2, 20’ x 60’ x 20’ cuboids and iterating that 20 times in different manners. By watching the videos, I was able to properly move, scale, rotate, and mirror these objects in different ways. Each of these methods really helped me understand how Rhino works and the process surrounding selections and commands. I labeled each iteration using red, hidden lines with circles and arrowheads. Doing the circles and arrowheads in Rhino was new to me and it
helped me understand my design process better and kept everything neat and clean. I titled each of the iterations using a detailed description that documented each move. Then, I exported my move row as an Adobe Illustrator file, and increased the line weights, proportions, and scale of the row of iterations within the application. I then used the shadow technique we learned in the previous module to highlight each of the iterations and show the difference between having a shadow and none. All of these iterations allowed me to understand even more of the capabilities that Rhino has.
MoveEdge(X,YPlane)
MoveEdge(X,ZPlane)
MoveEdge(X,YPlane) SelectTwo
MoveEdge(X,ZPlane) SelectTwo
MoveFace(X,YPlane)MoveFace(X,ZPlane)
MoveFace(X,YPlane)
MoveFace(X,ZPlane)
SolidPointsOn MovePoint(X,YPlane) SelectTwoSolidPointsOn MoveFace(X,ZPlane) SelectTwo
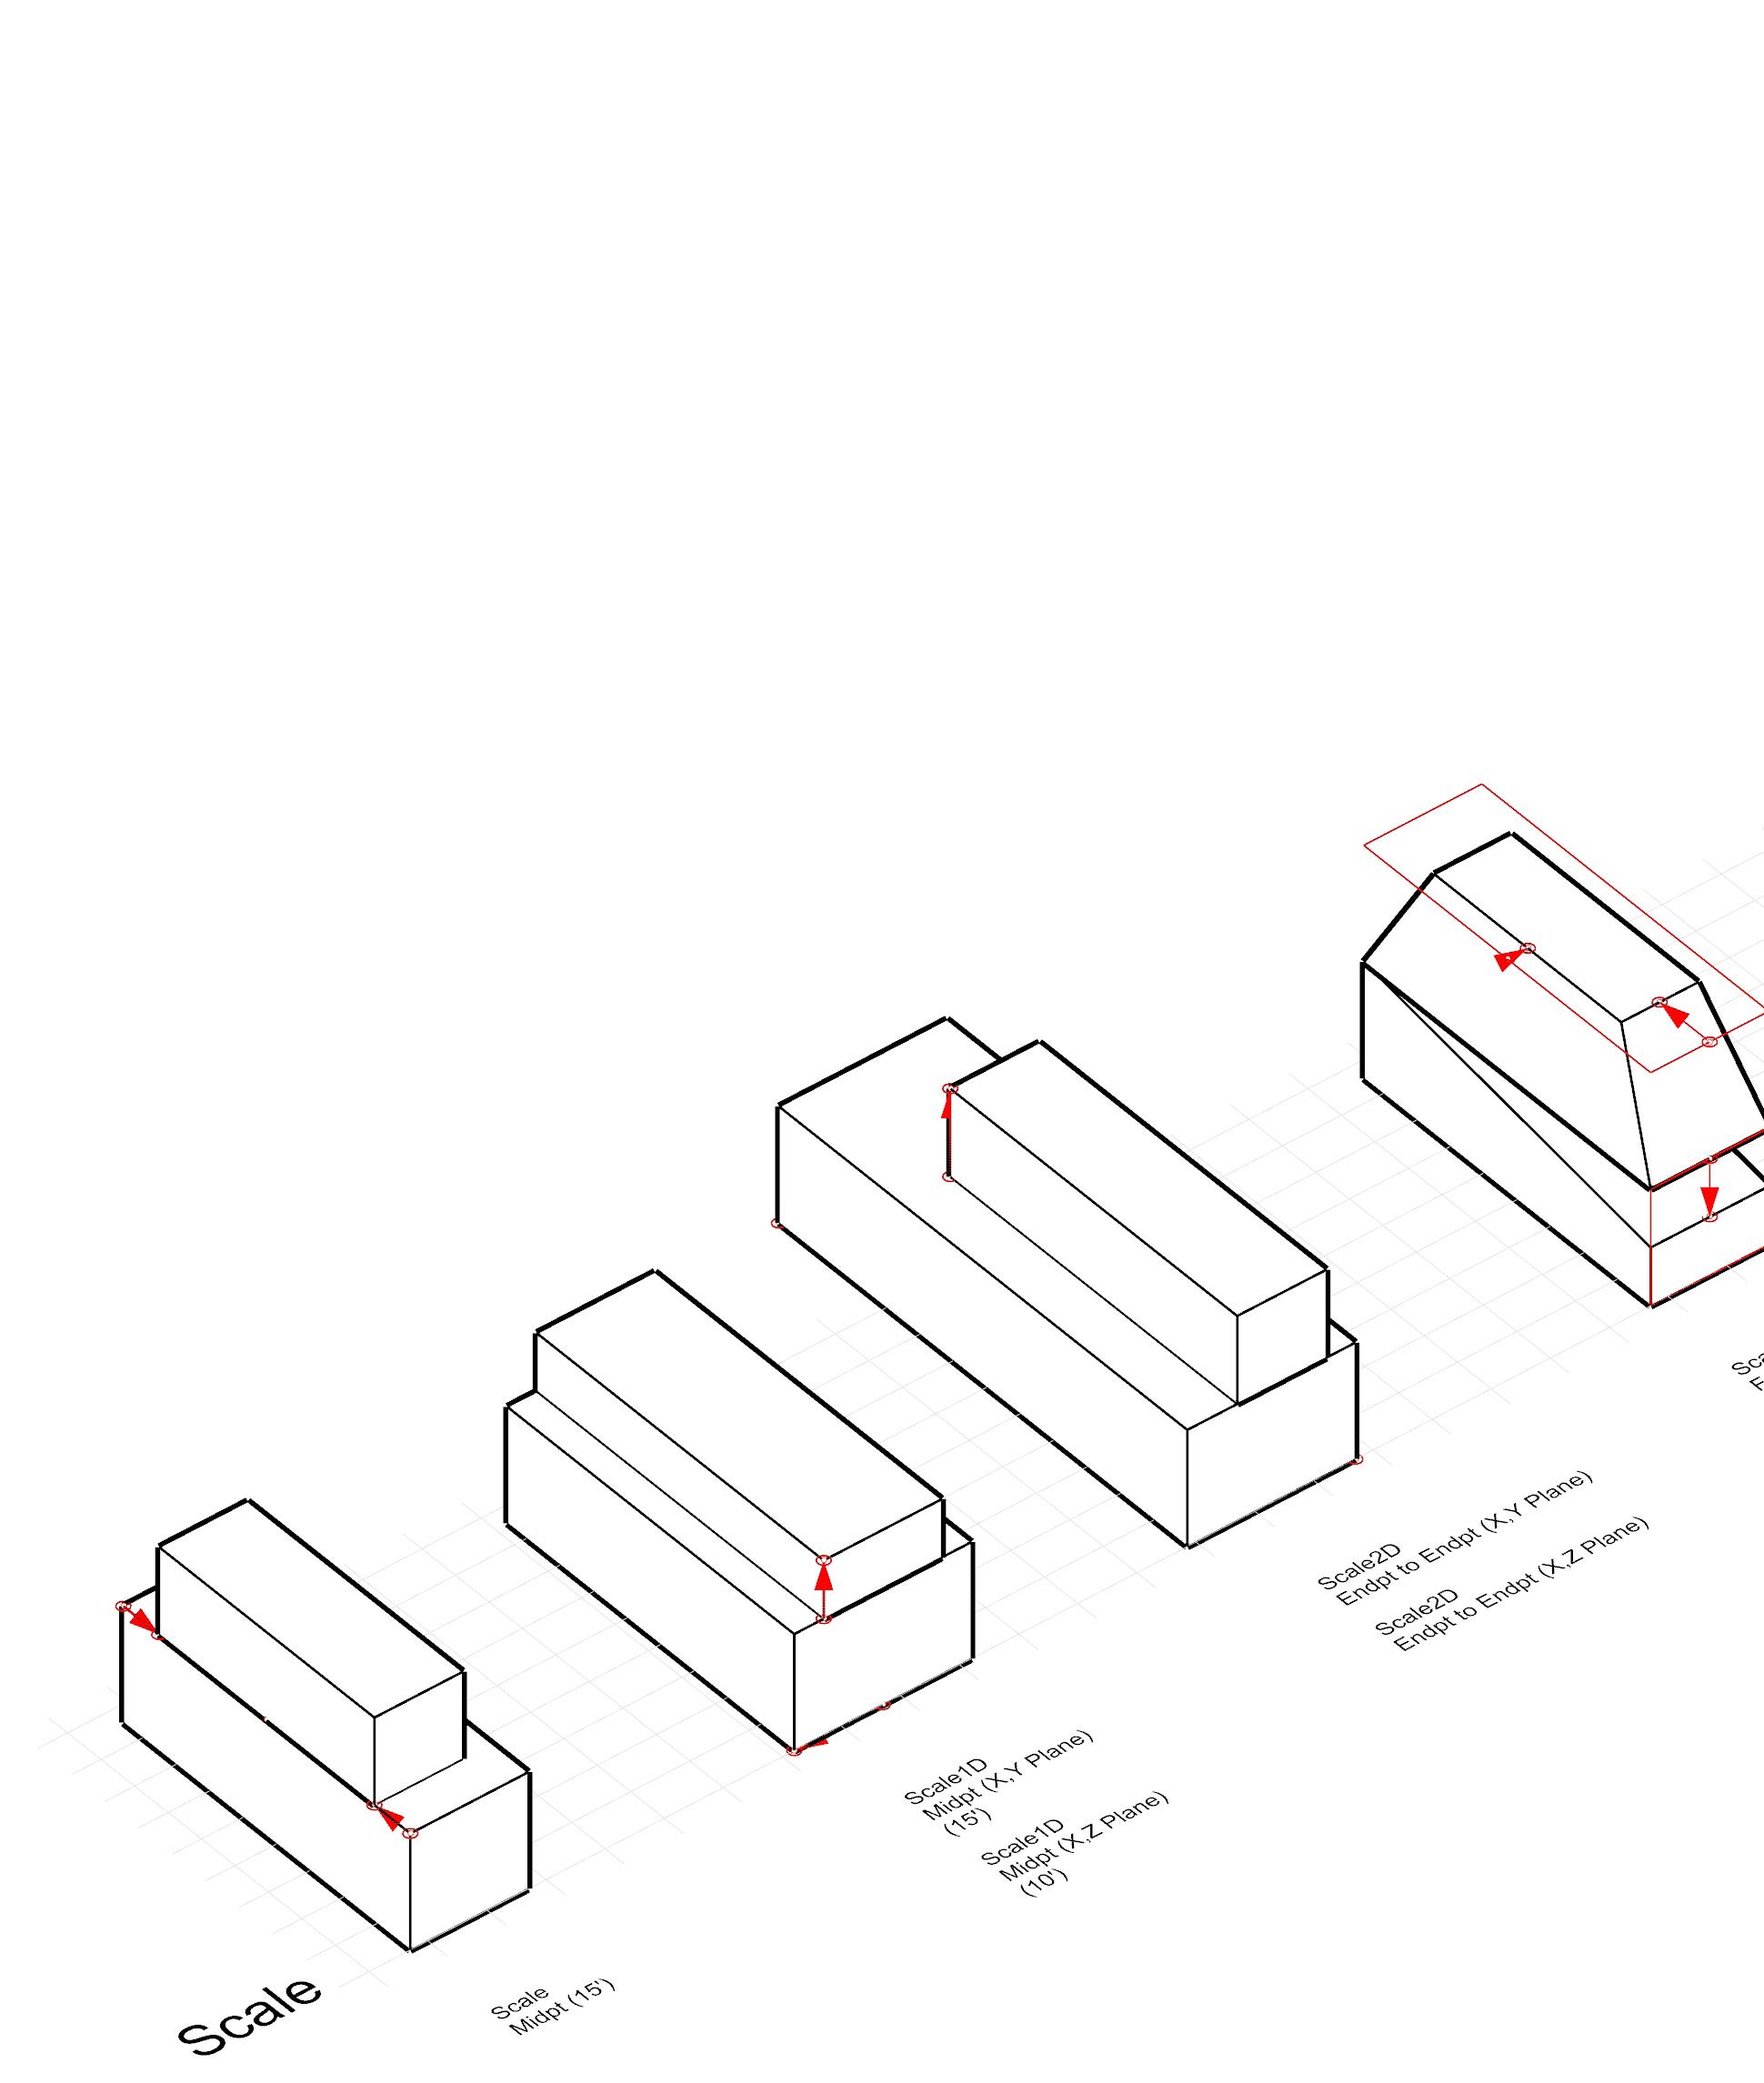
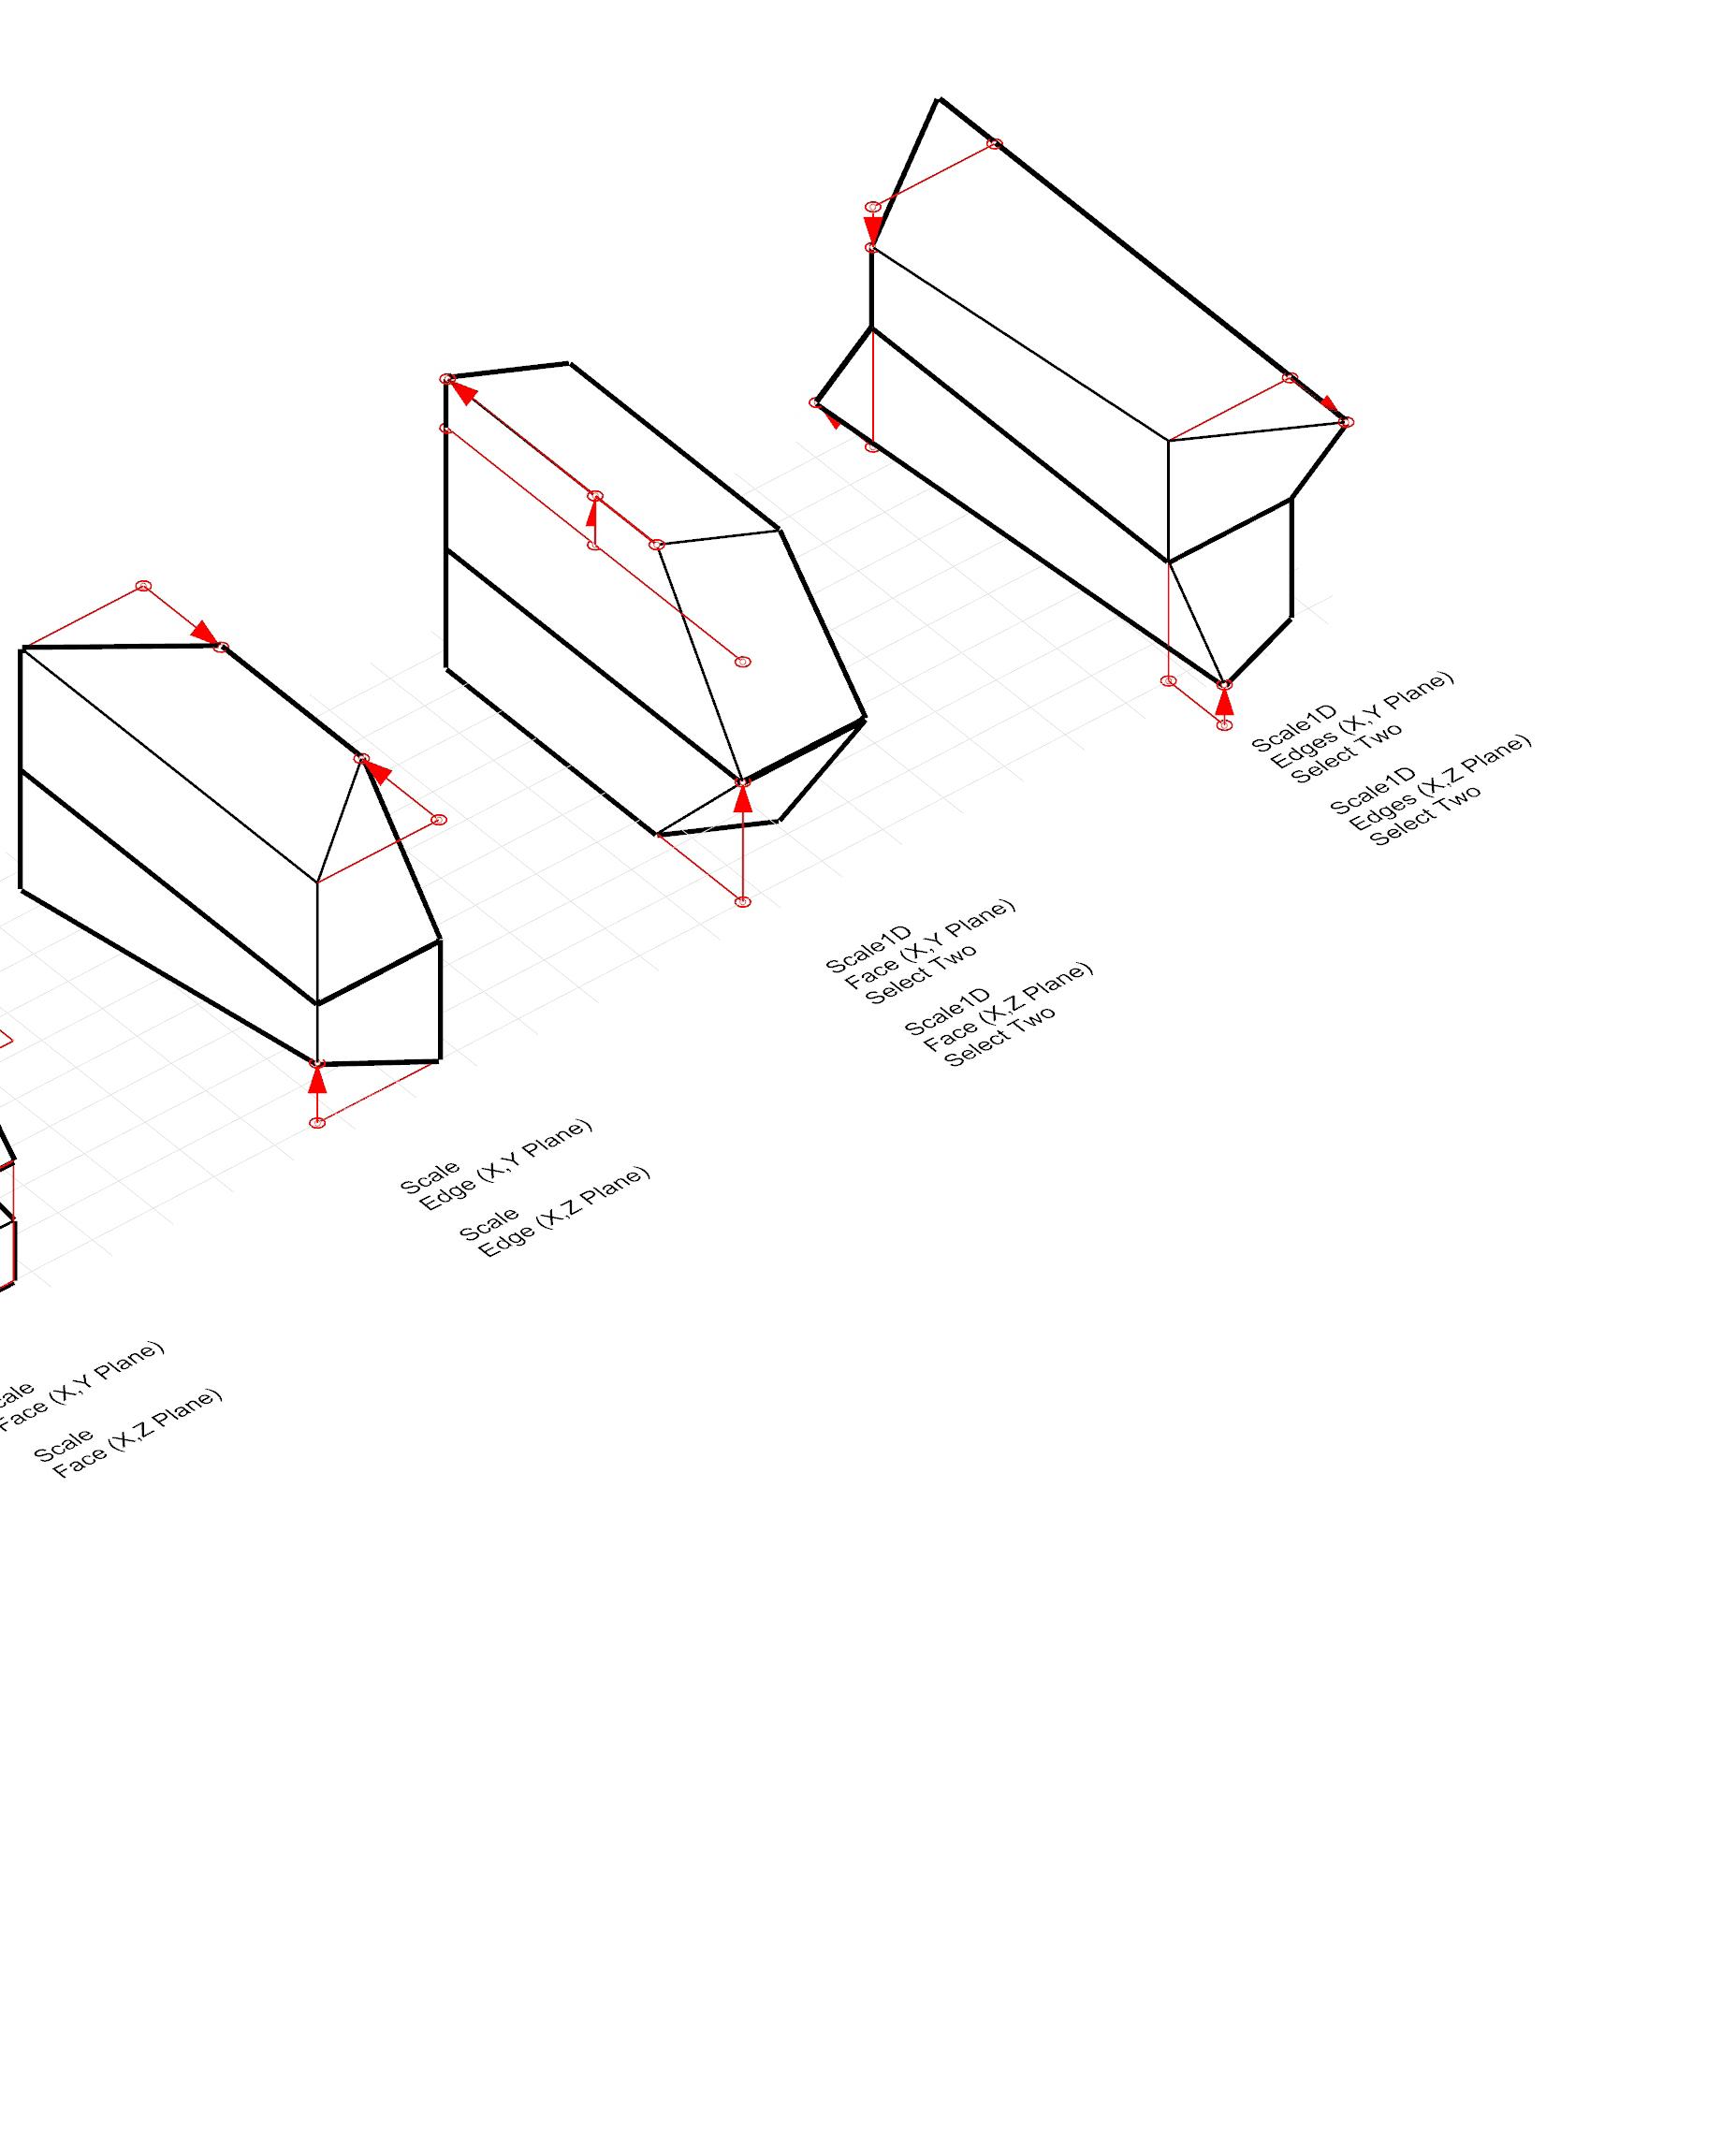
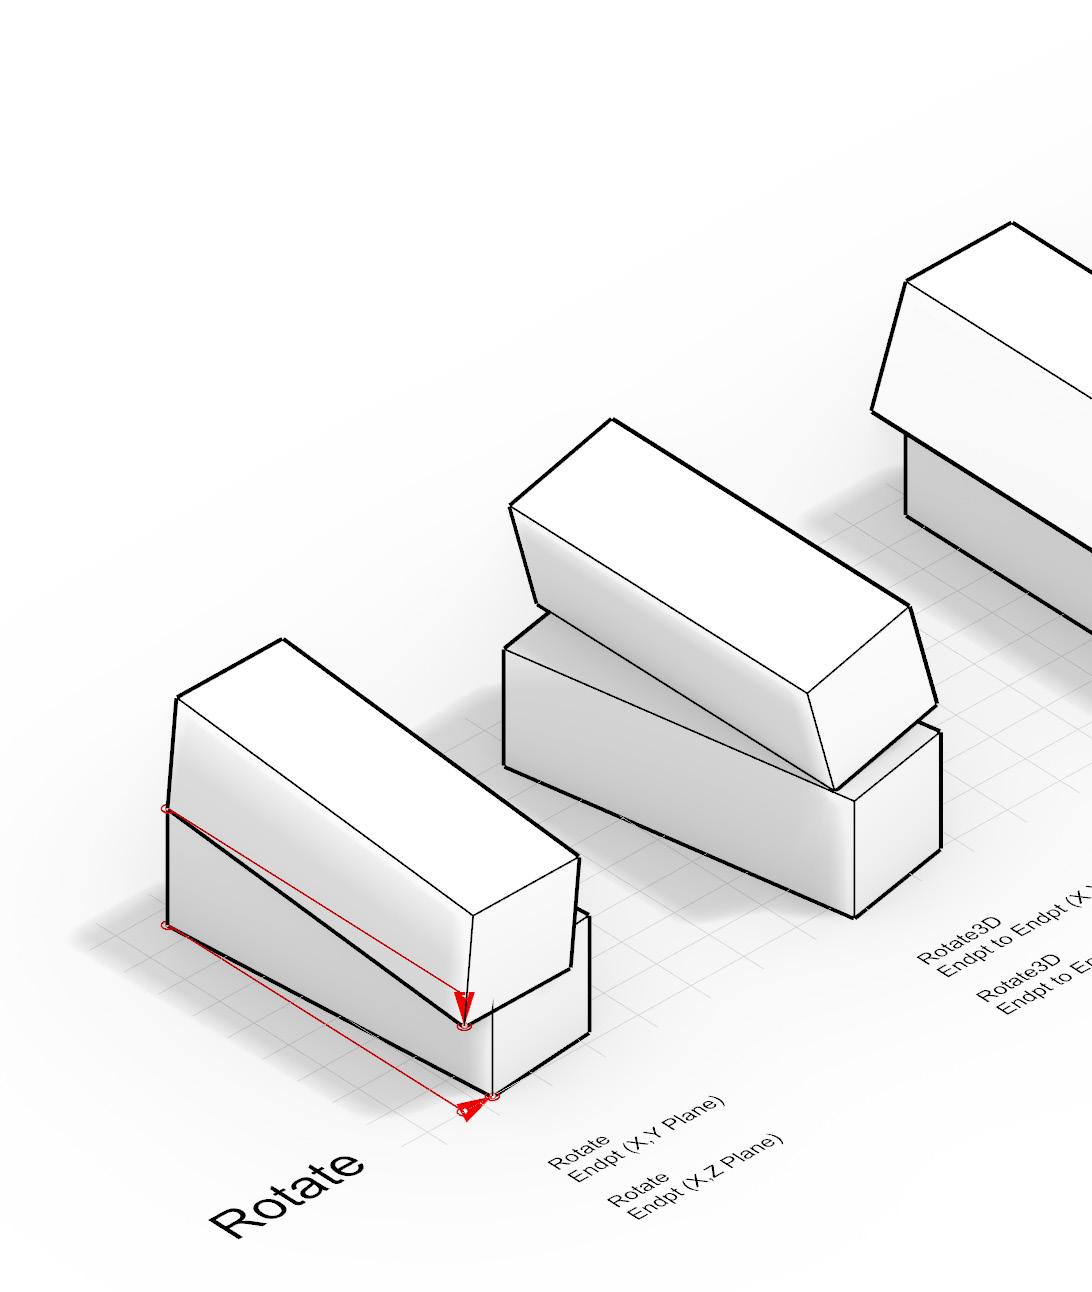
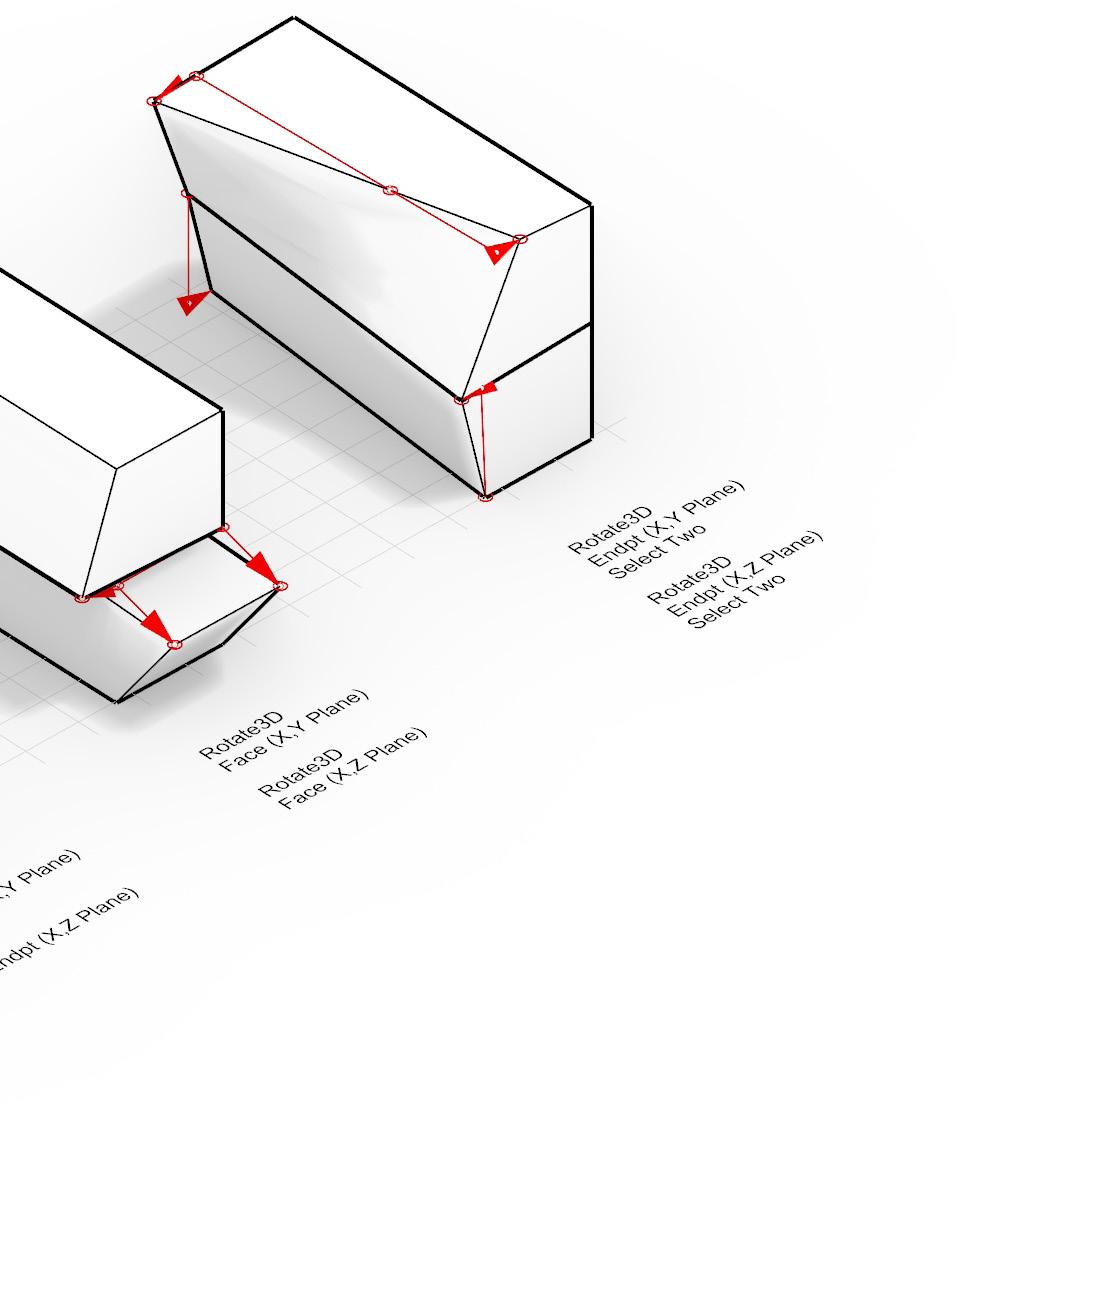
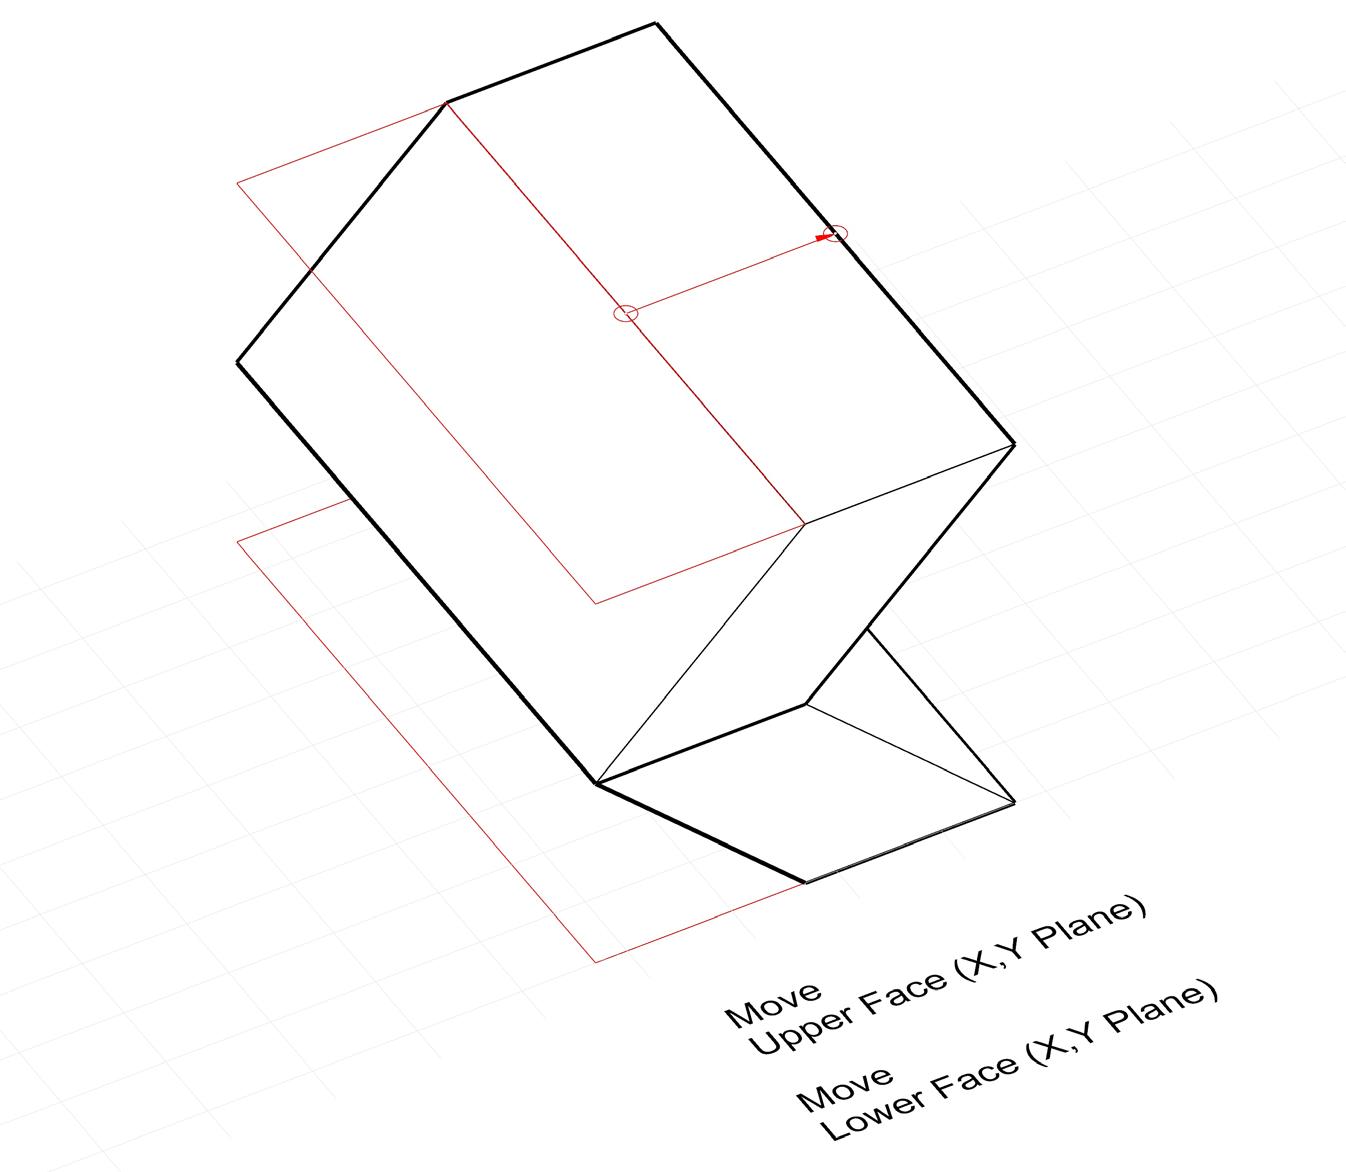
For the next part of this assignment, I was tasked with creating 20 iterations on my own using the different commands shown in the video tutorials such as move, scale, and rotate. It took me a lot of time to come up with these and it was hard to continue to think of new ways, moves, and parts to shift. But, the one I found the coolest is placed above. I found this specific iteration to be simple, yet look so neat after it was moved. Moving the upper and lower face of the respective cuboids was easy and it created a really cool and symmetrical shape. The process of diagramming and typing out the moves of the shape was
also easy and did not take as much time as some of the other sections. Using these tools in Rhino will help me very much on my studio project and designing my 3D model in Rhino. When I first started thinking about my studio final, I had no idea which program I was going to use for modeling by building. But, all of these steps, tutorials on point, line, and plane movement in Rhino has given me the skills to design a full scale model within the platform.
Move Y,Z
Move X,Y
Scale
Rotate
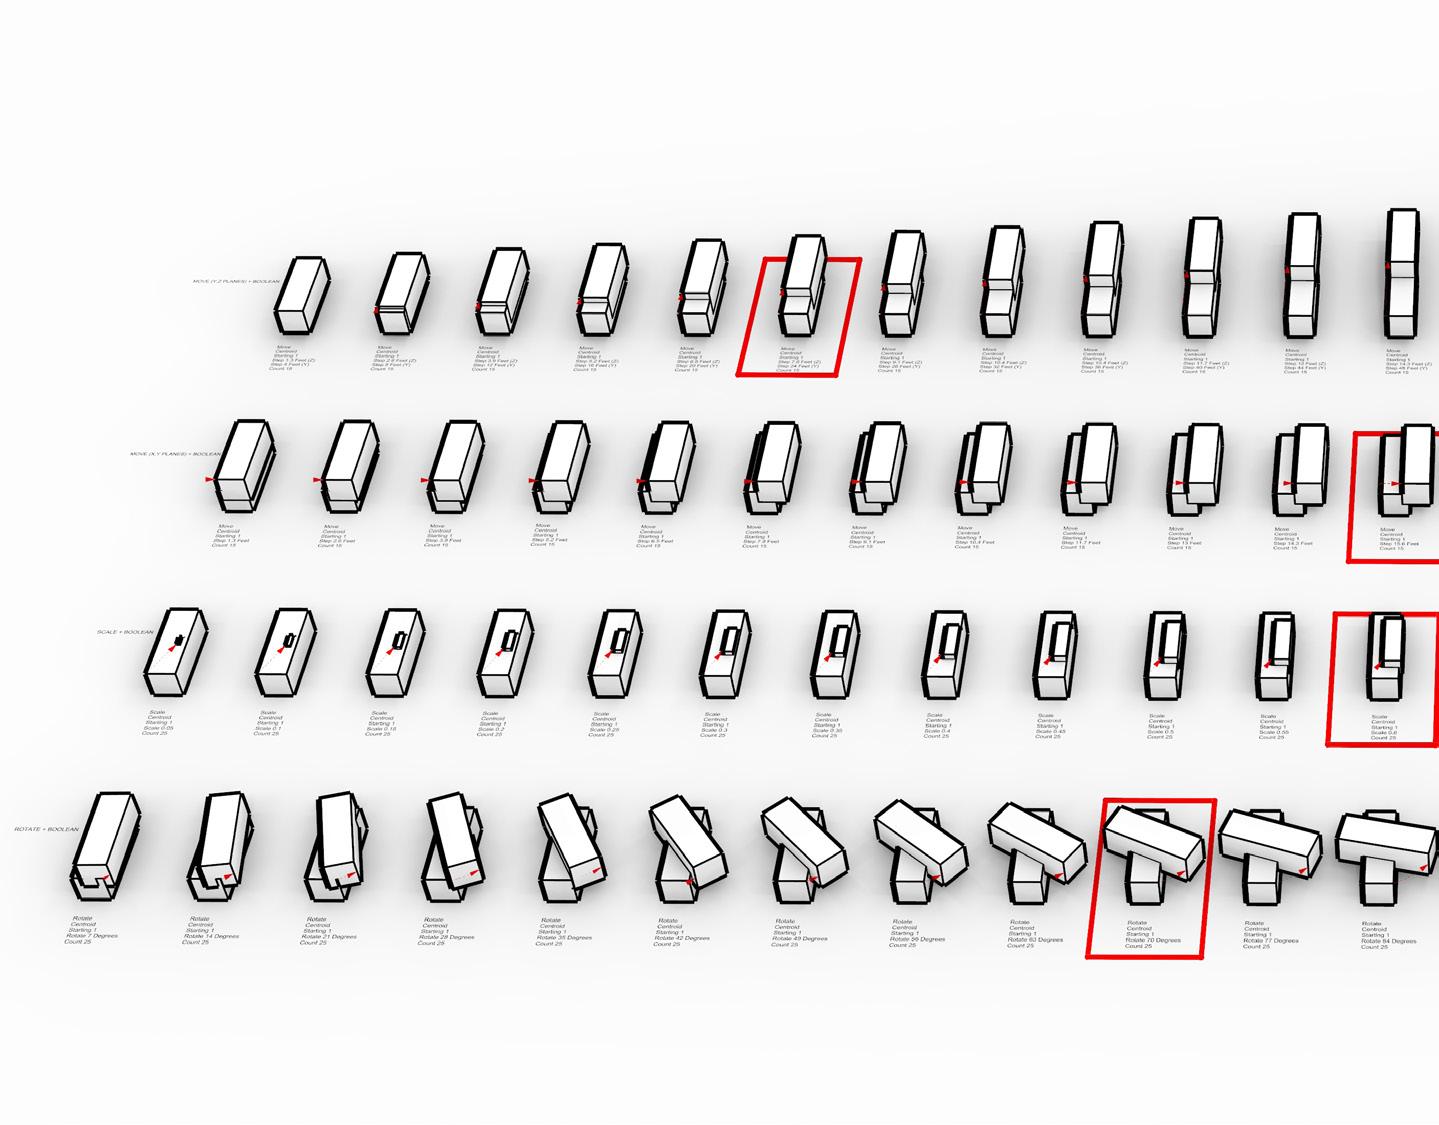
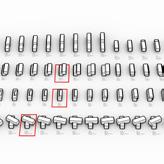
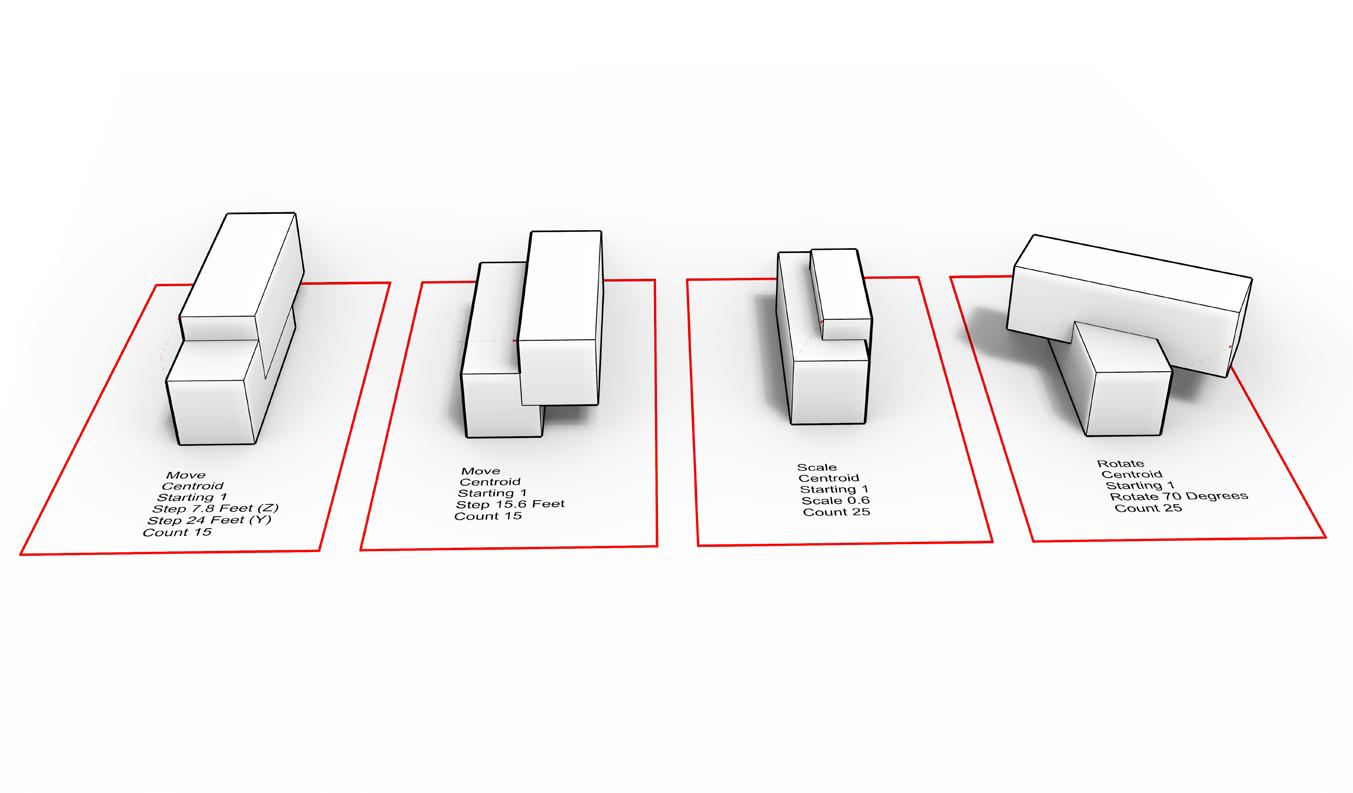
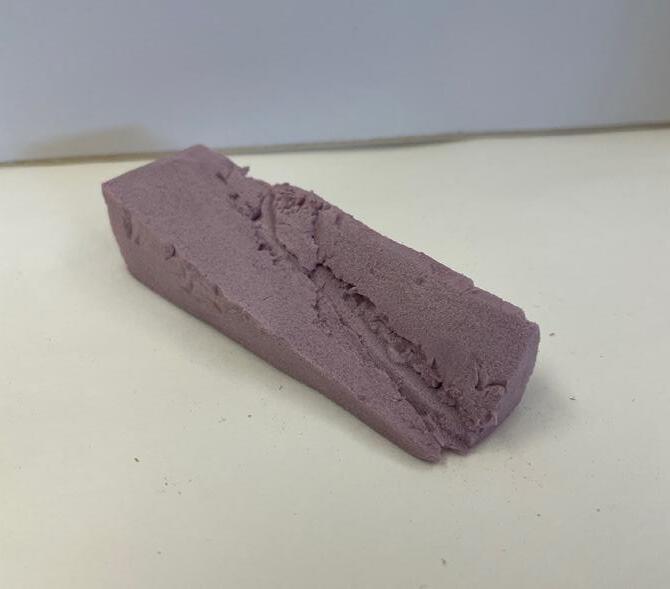
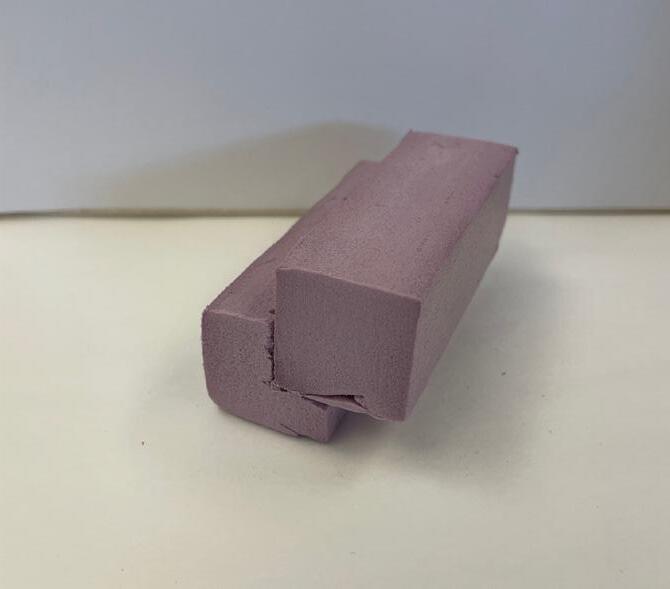
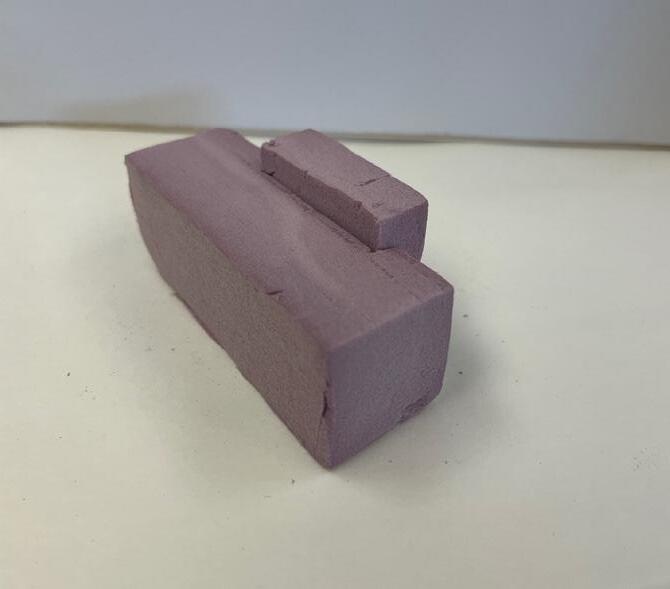
For this portion of Module 2, I chose to use the Grasshopper application to code my sets of iterations. This was really helpful for me as it saved me a lot of time and created a more streamline learning process throughout all of the tutorials. For the 4 models pictured at right, I chose them because they all looked very clean and specific, and showed my command
and precision when using Grasshopper. I made sure to select ones that seemed easier to model in real life. Overall, the process of creating these iterations was relatively simple. Using the tutorials made it way easier. The end was tougher since my shadows were not outputting, and led me to use the sun scale on Rhino instead of the shadow. This led to a 1 hour delay.
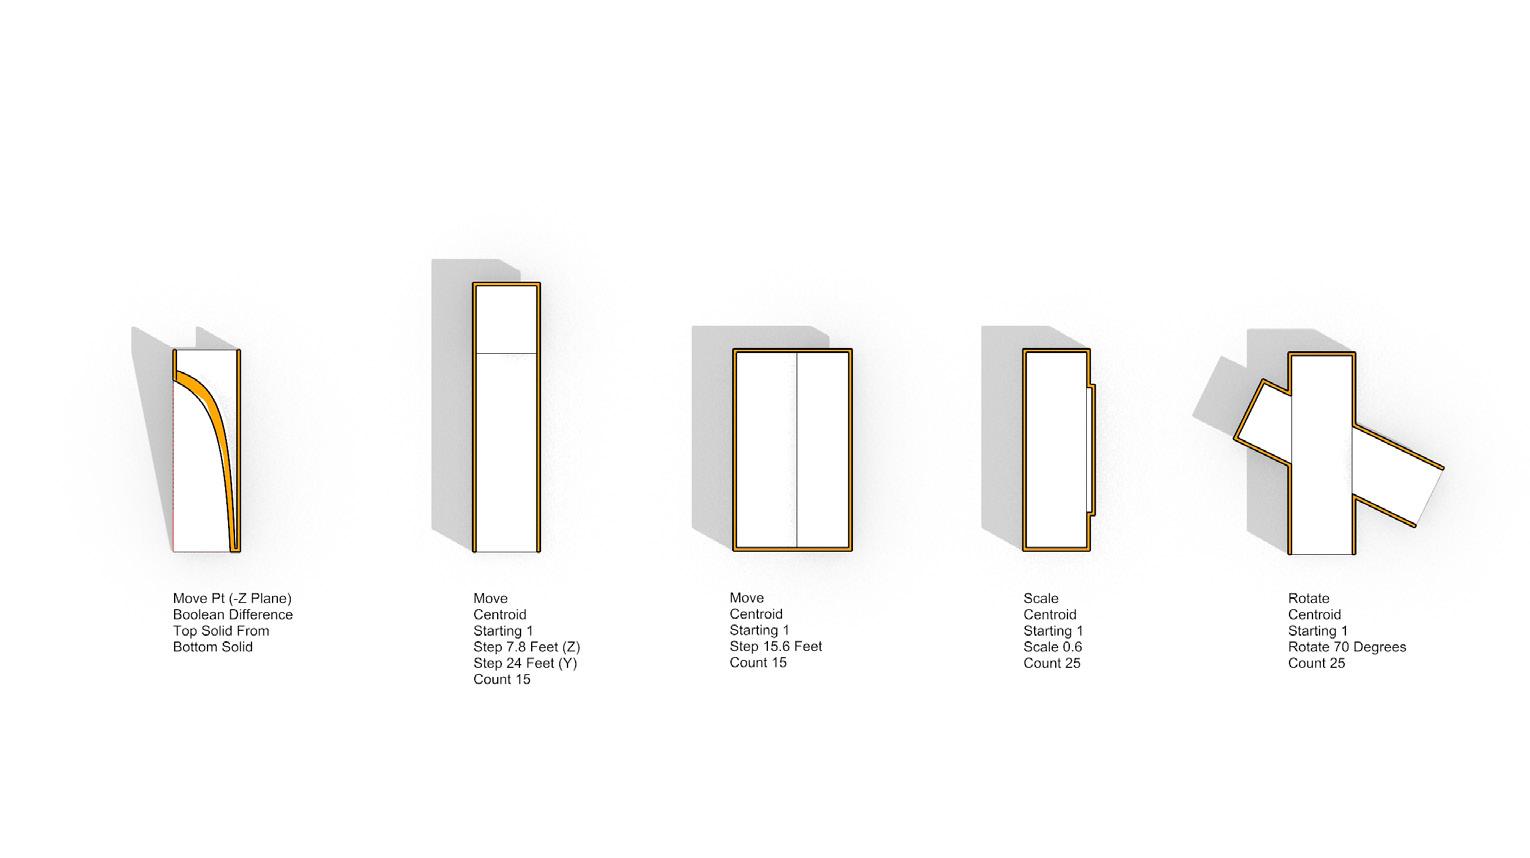
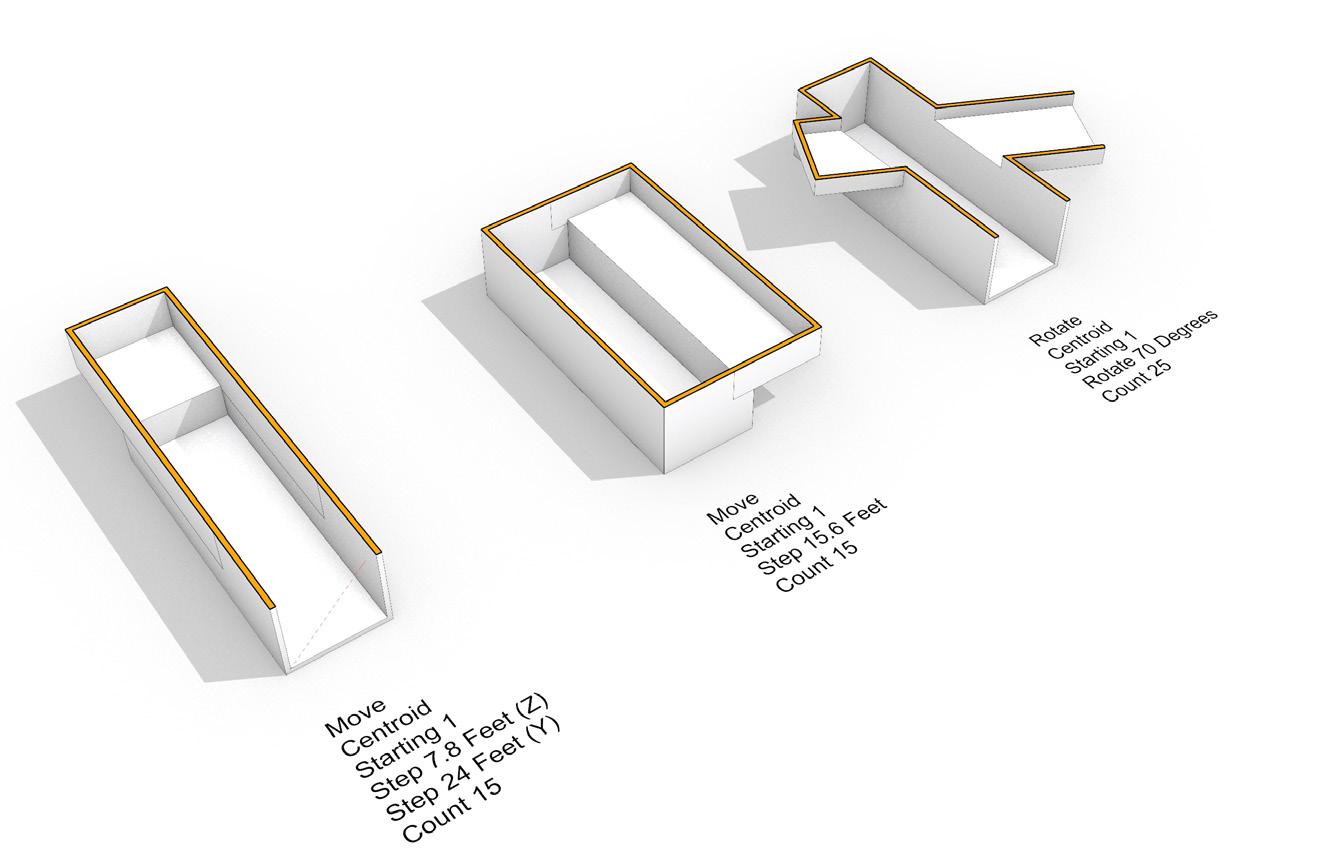
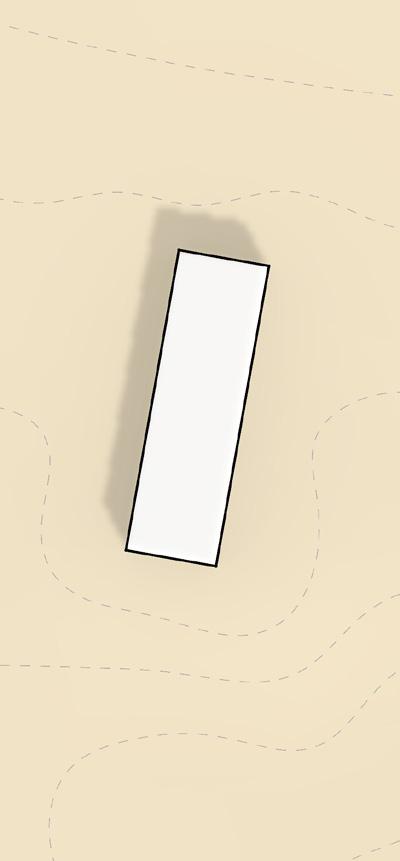
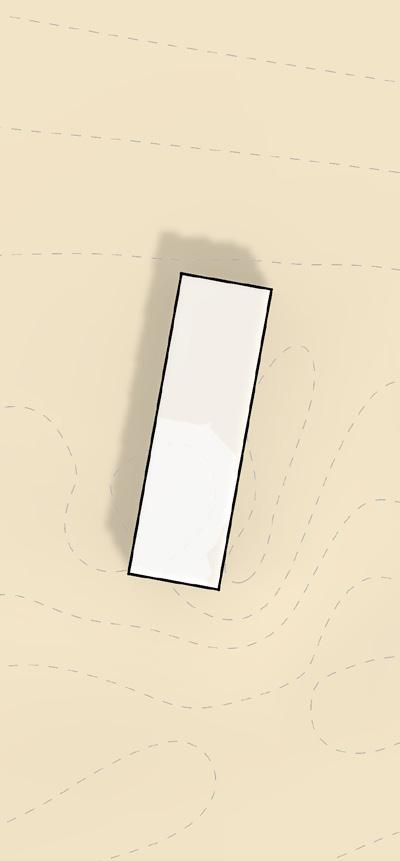
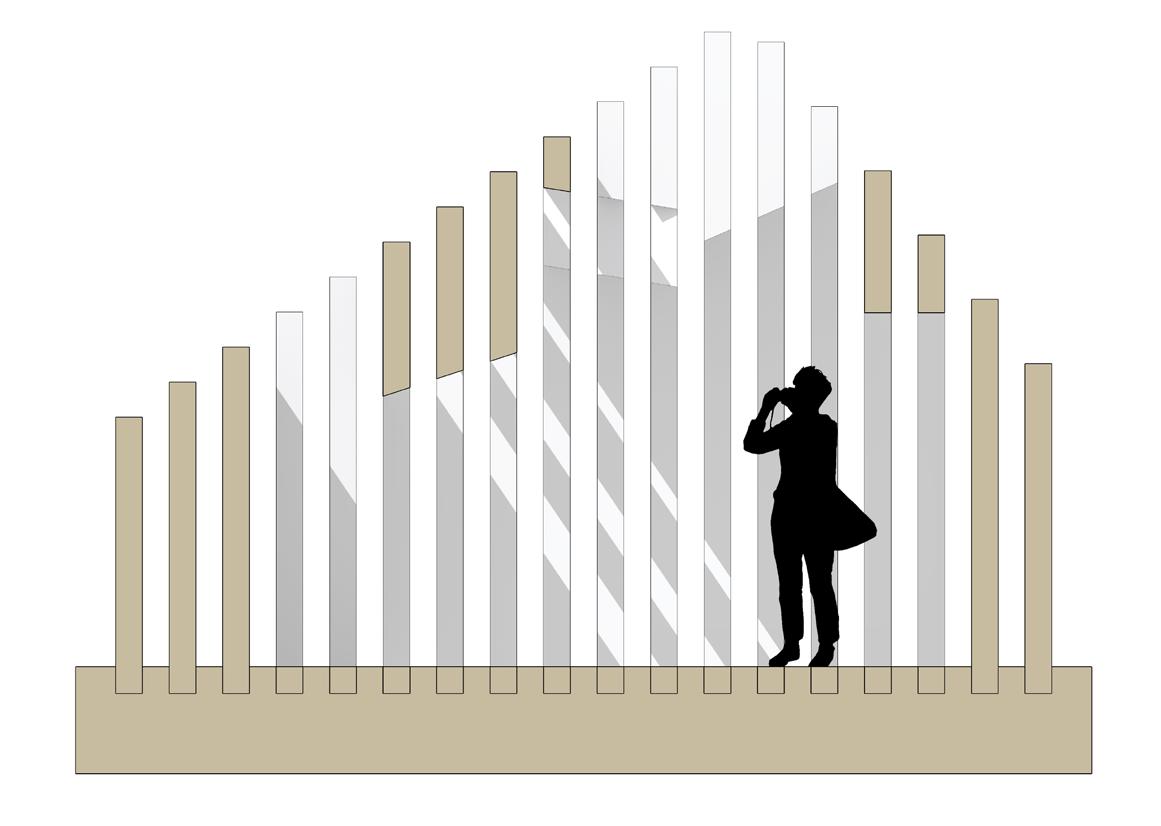
For this portion of the assignment, I used the hatching tool in Rhino for the first time and used poche on my walls. Rhino was a little tricky to do this in, as there were many visual glitches on my end, as sometimes the poche would not show up. I was able to fix this and export the image at left. The clipping plane tool was also very helpful and allowed me to
select my images with precision and at the best possible spot to display the most information about the shapes. Finally, I brought the file into illustrator as well, and worked on line weights and poche there as well. This was a little bit easier for me and allowed me to be more creative in my line weights. I chose line weights that had similar displays in Rhino.
Fabrication Time
1 Hour Assembly/ Photos
1 Hour Painting
1 Hour Laser Cutting
8 Hours Digitally Modeling
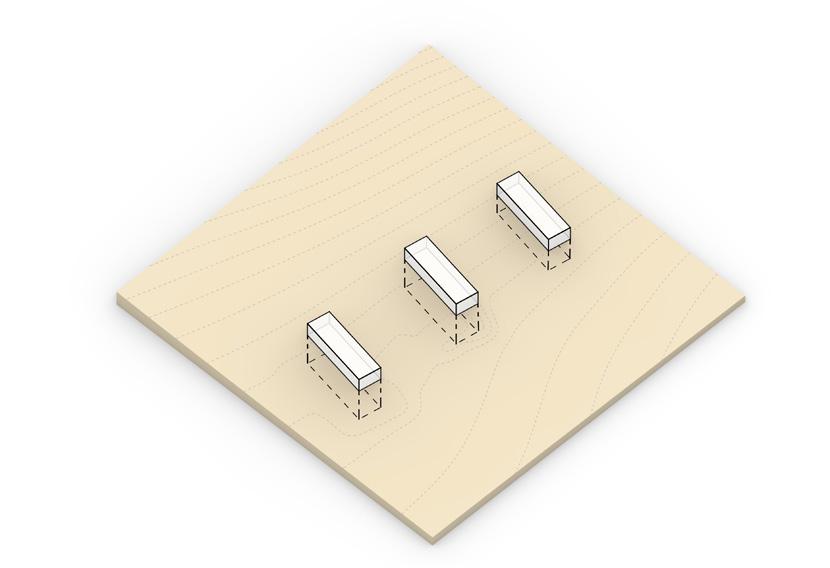
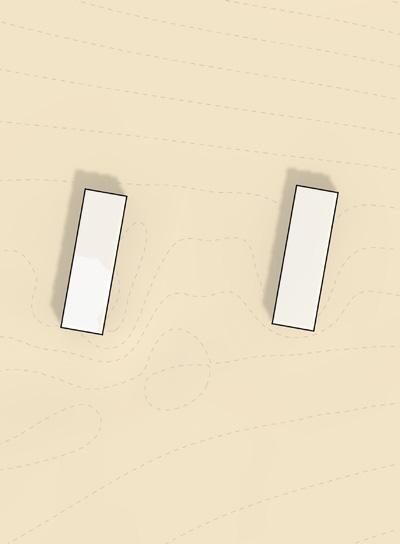
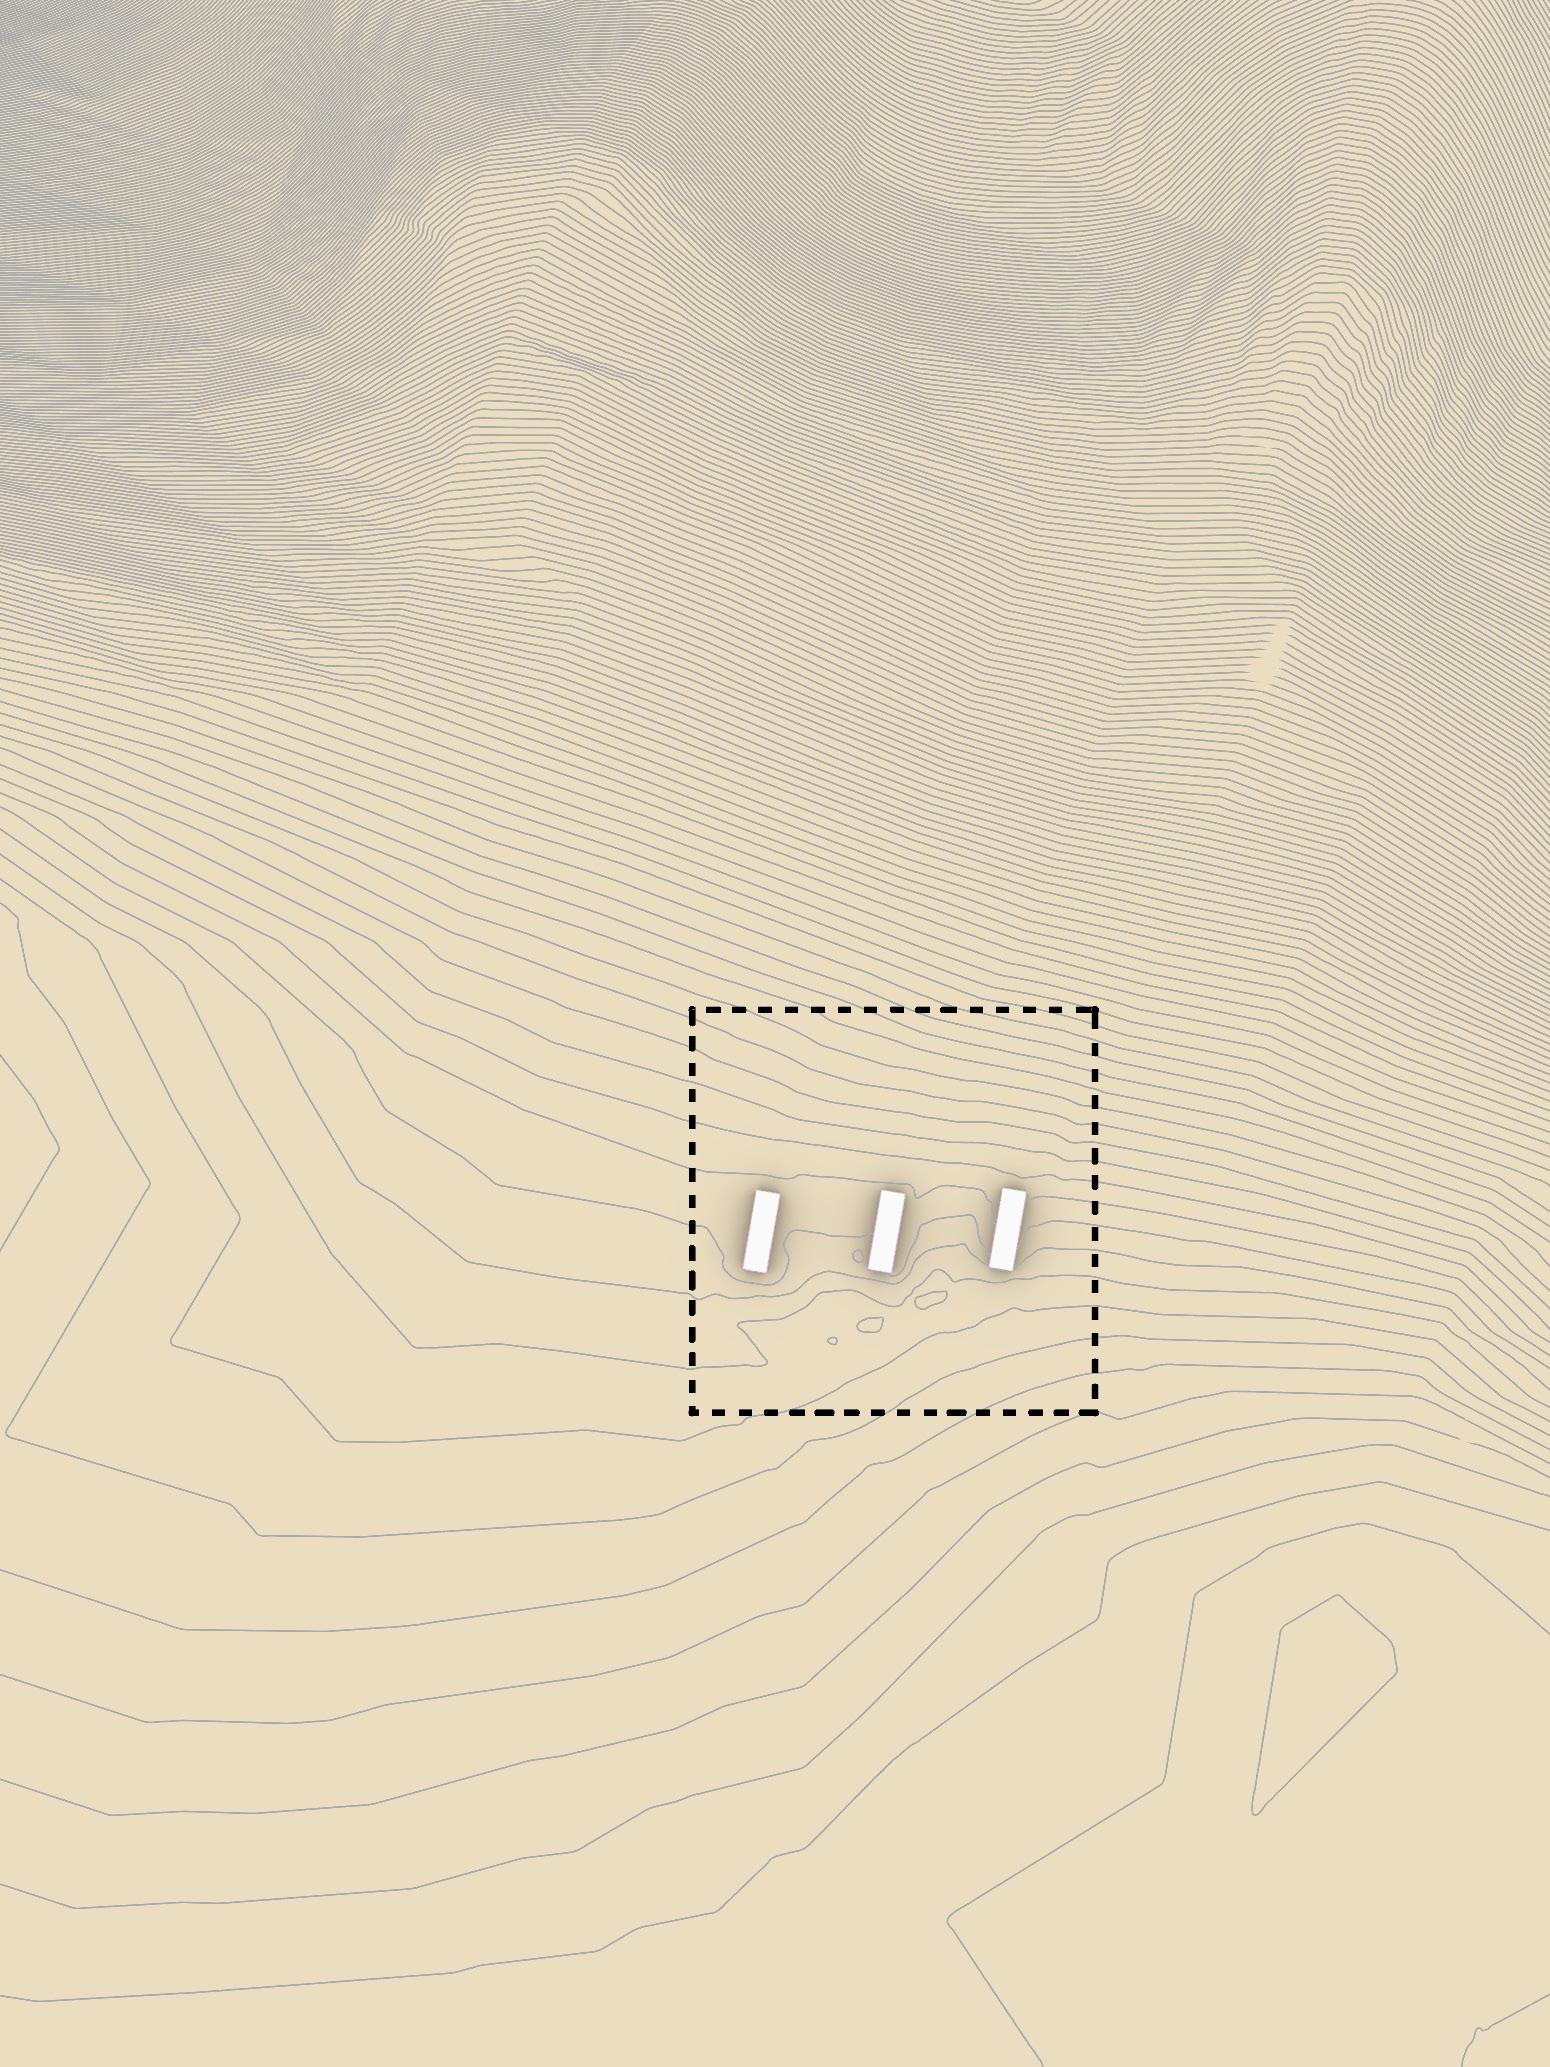
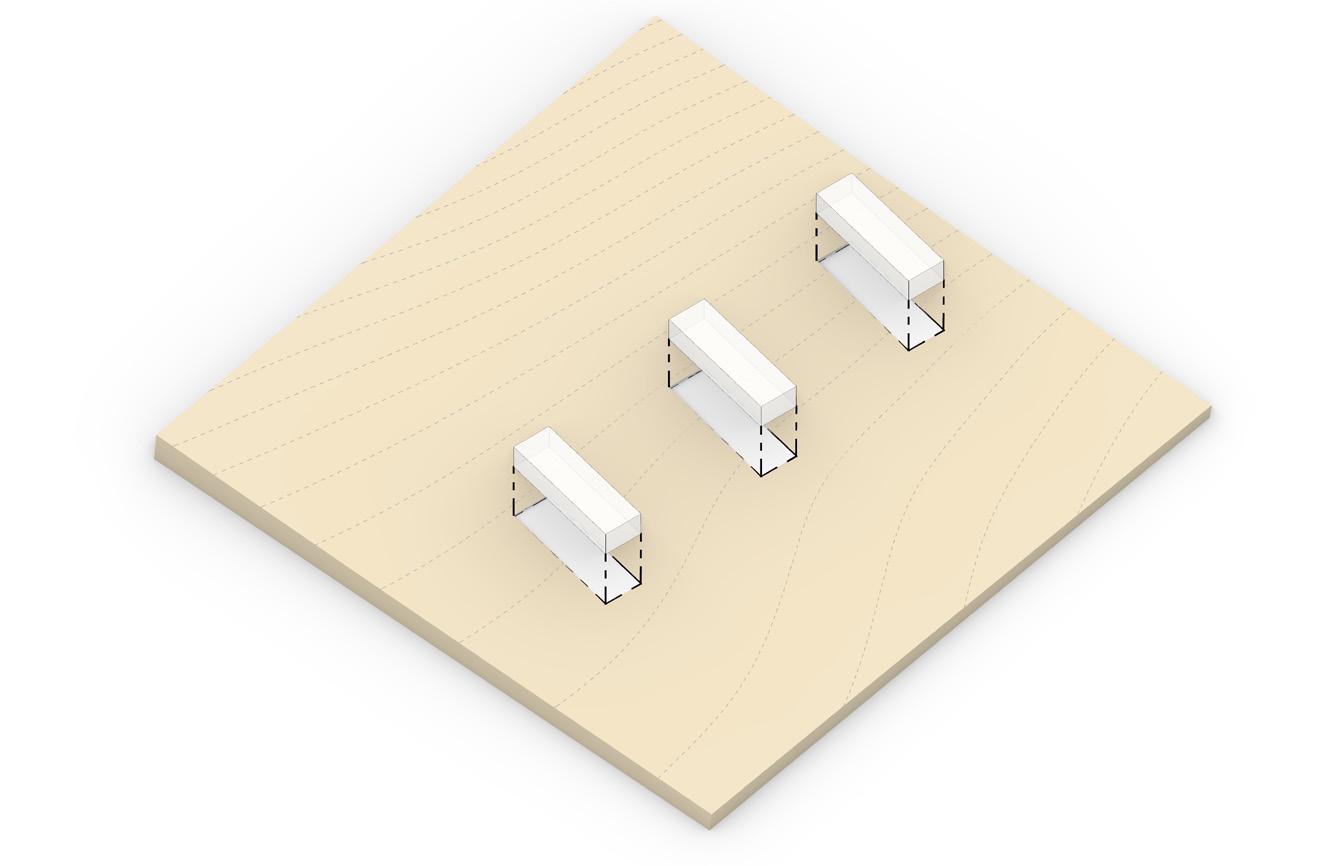
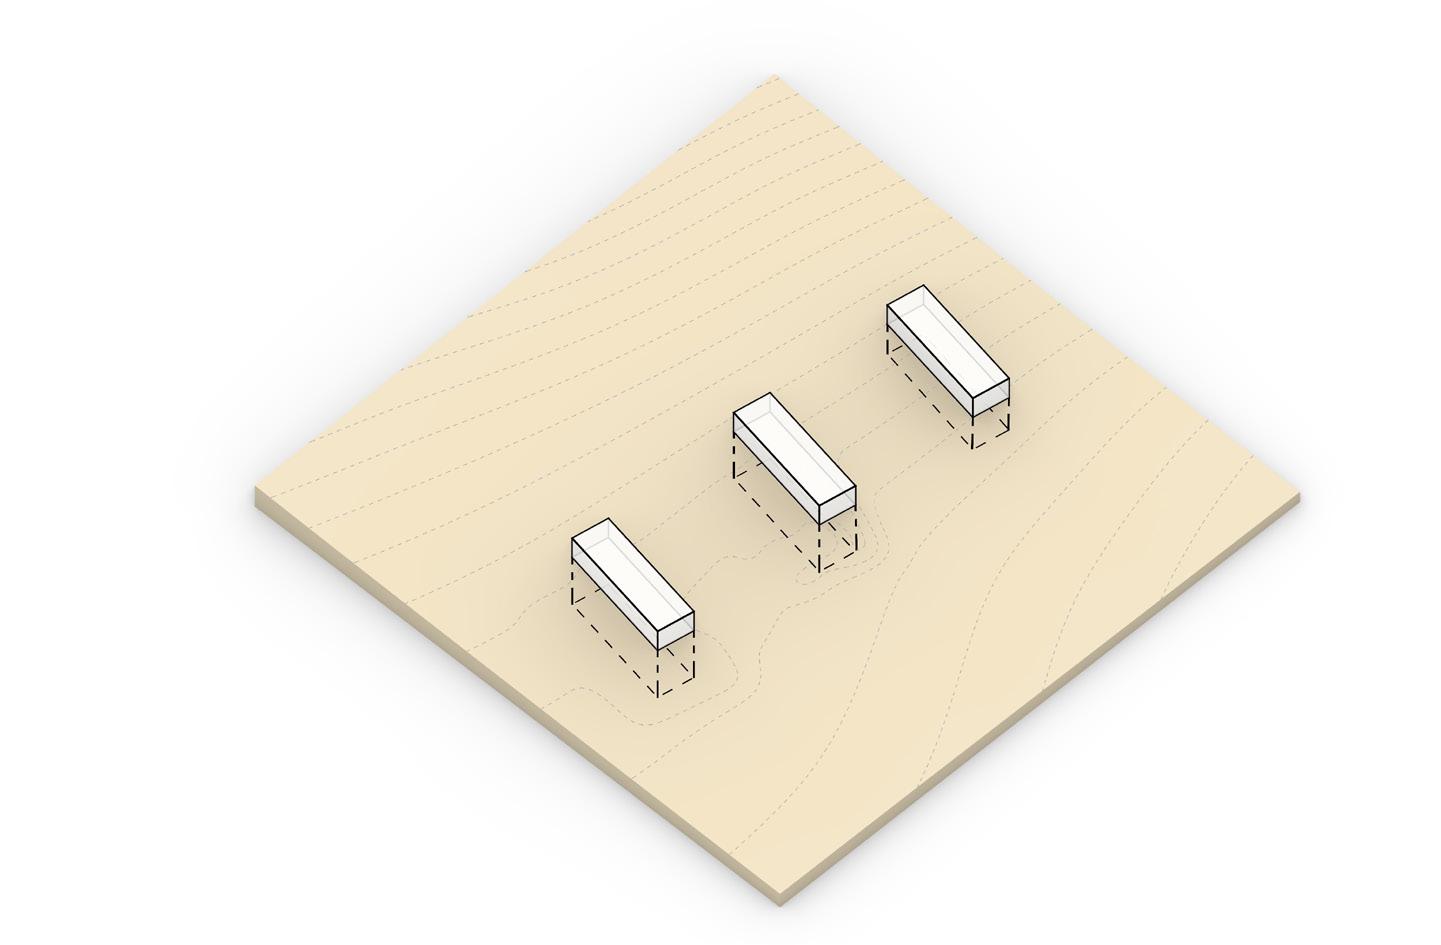
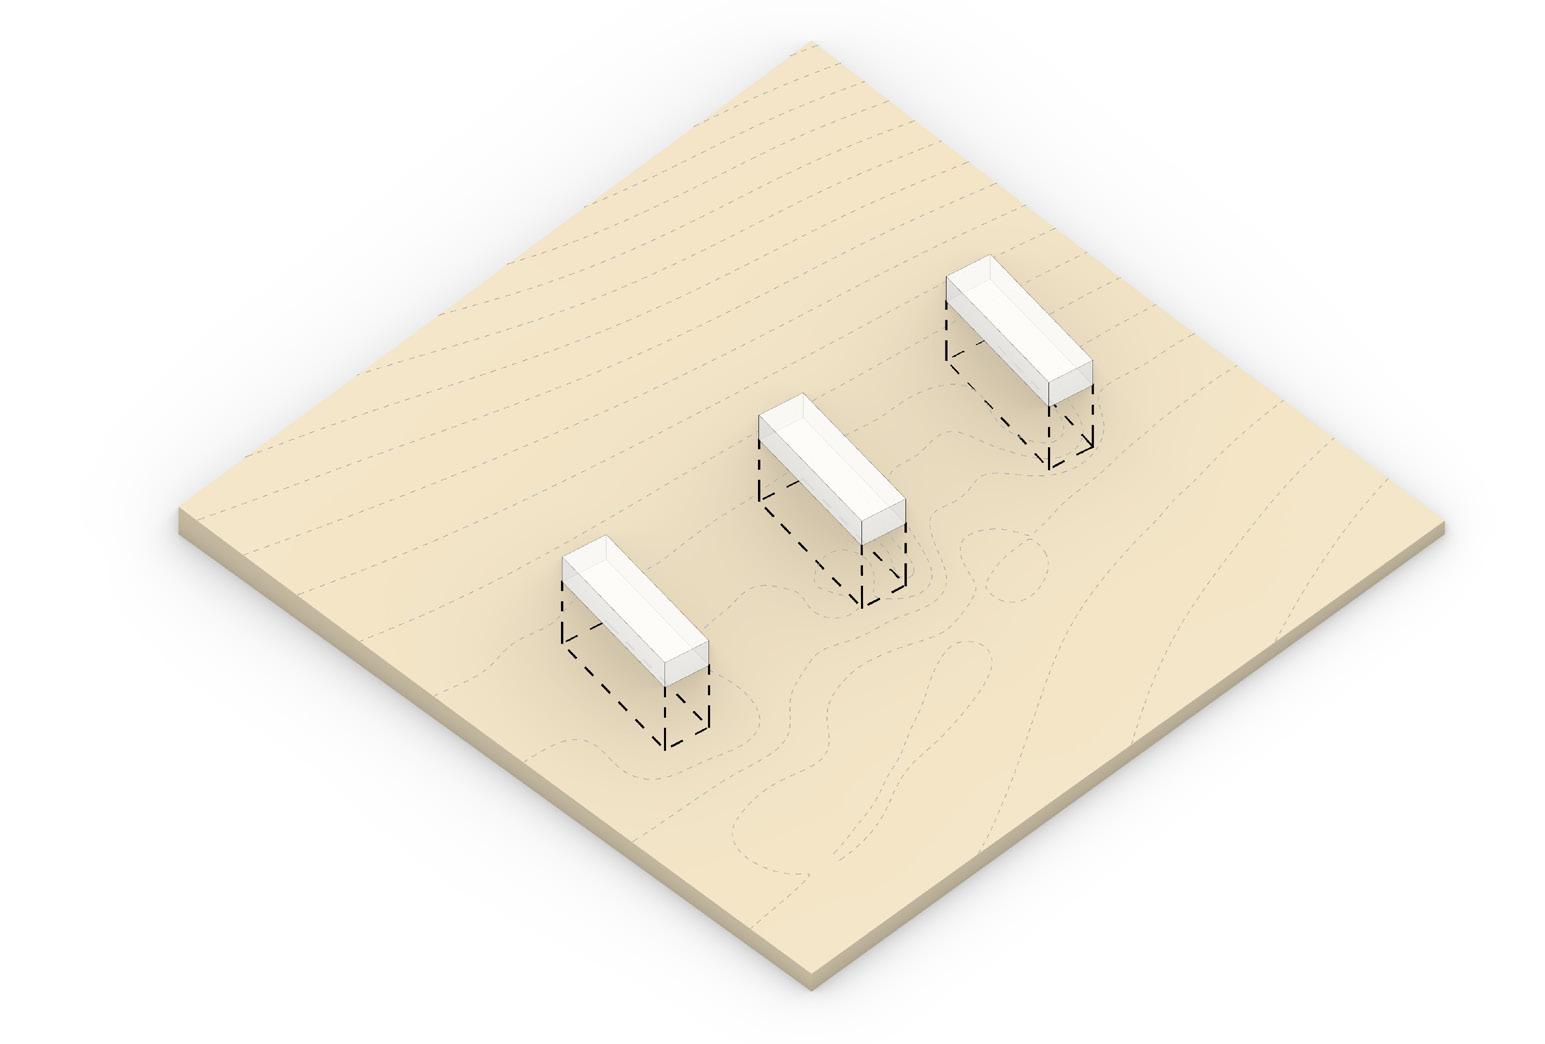
For this section of Module 3 in Week 7, I was tasked with finding a piece of topography and then mapping 3 buildings on top of that surface. One of the tasks that was really hard for this section was getting the sunlight and shadows to work. For some reason, my sun was malfunctioning and it would not let me turn it on. After a bit of troubleshooting, I was able to fix the issue and use my sun to the extent
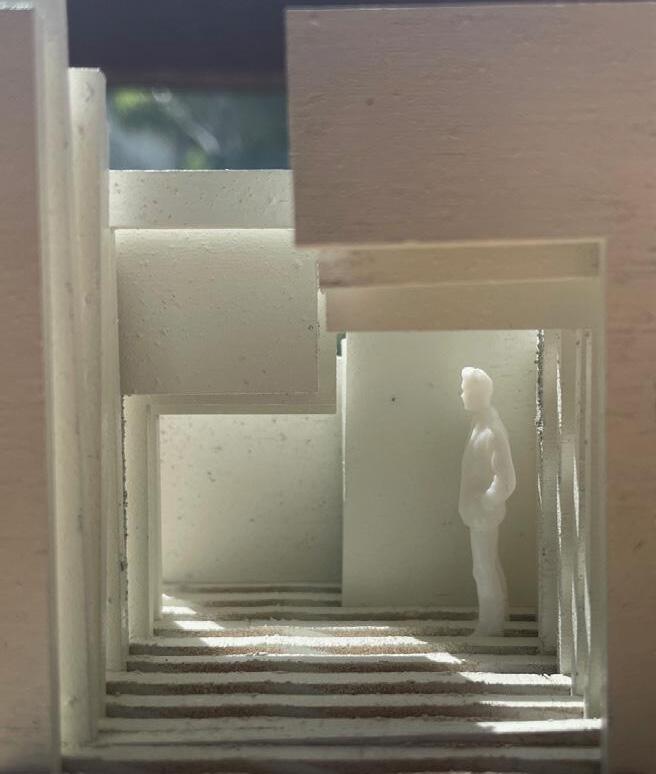
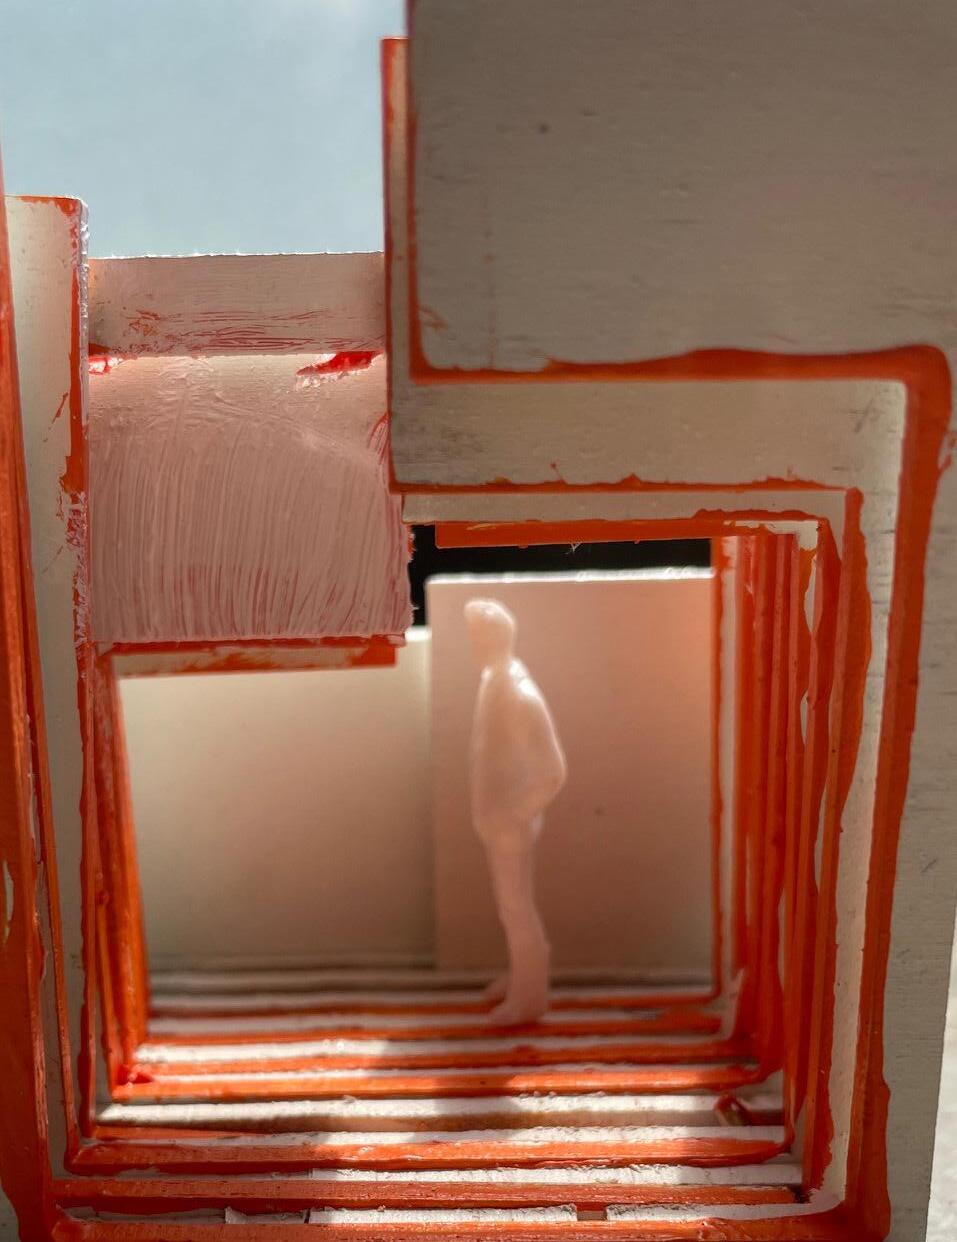
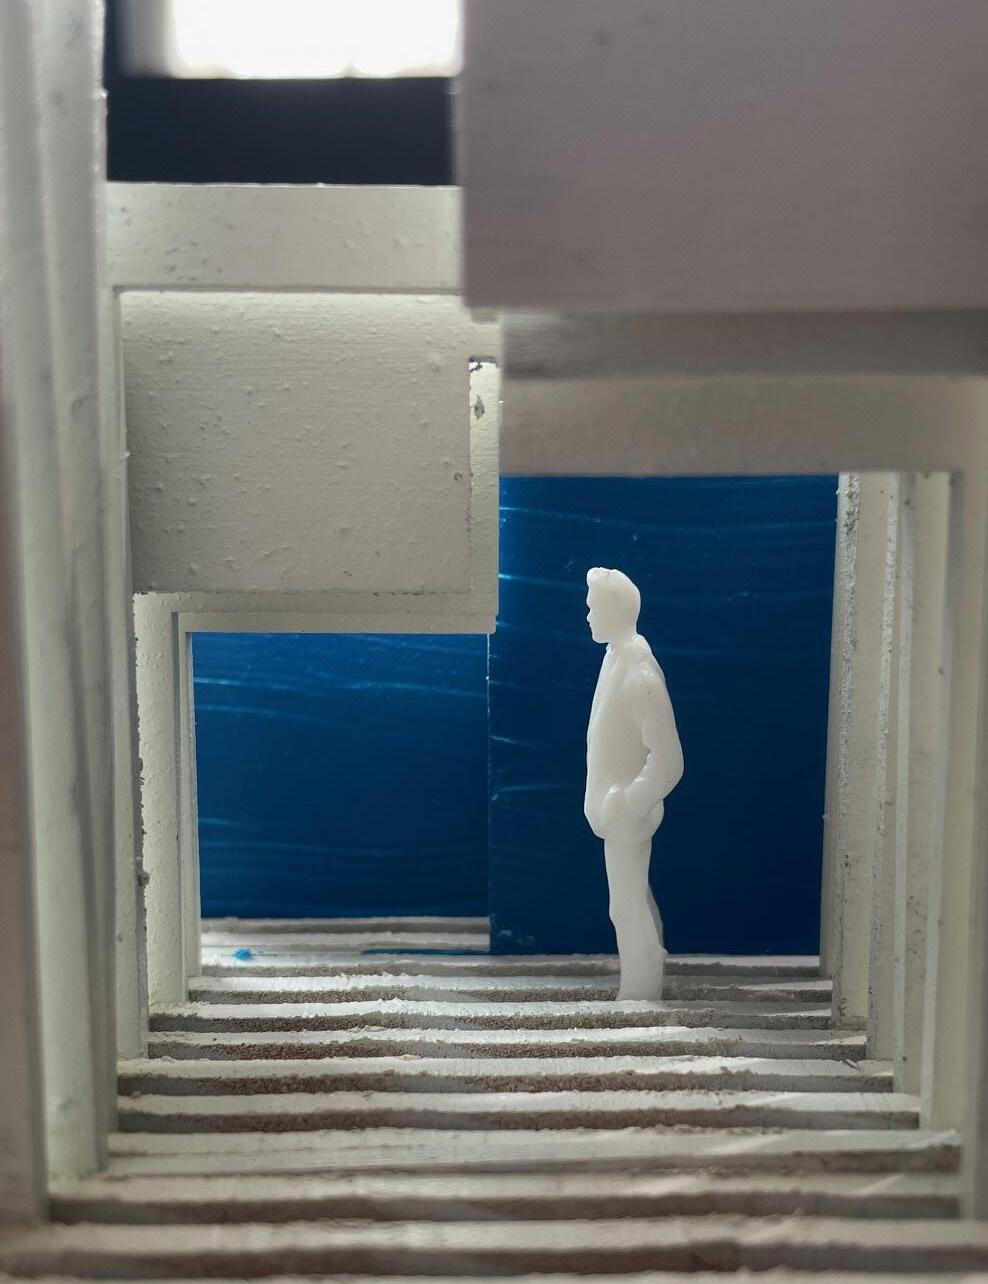
Modeling Materials 1/8” and 1/2” Plywood
Blue and Orange Acrylic Paint and White Spray Paint
1/4” Scale Model Figure
that the project required. All of the required commands and iterations were easy and very clear to follow. Each of the commands allowed me to see and manipulate the topography in order to get what I liked. The line weights were easily outputted and the building edges were also outputted. Overall, this section was a challenge, but it allowed me to learn how to use topography for future projects in Rhino.

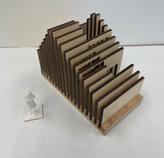
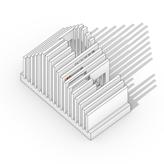
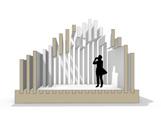
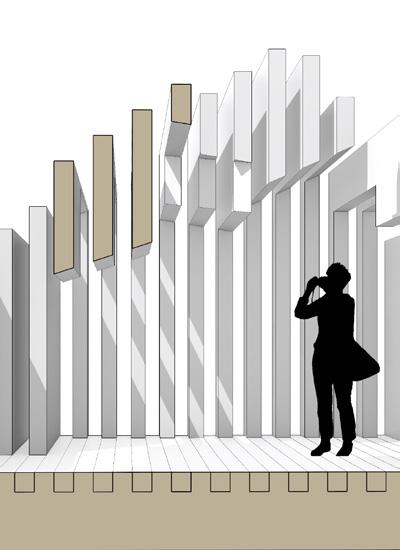
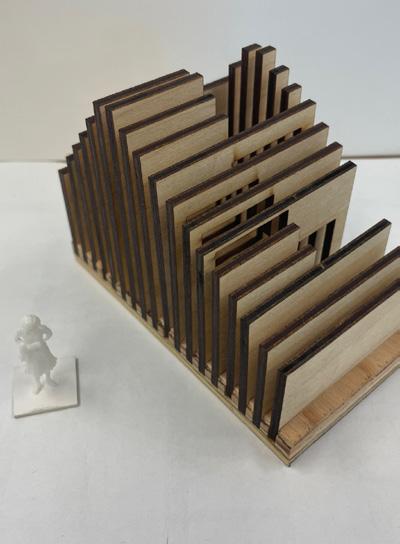
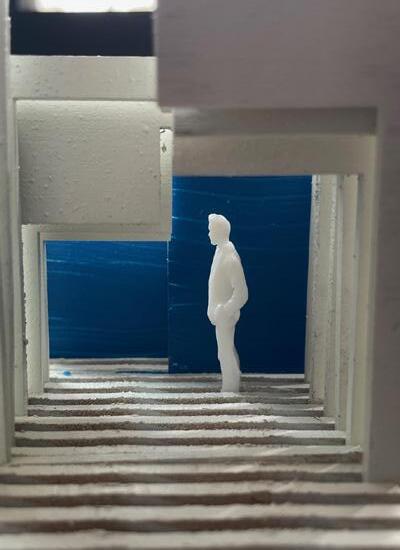
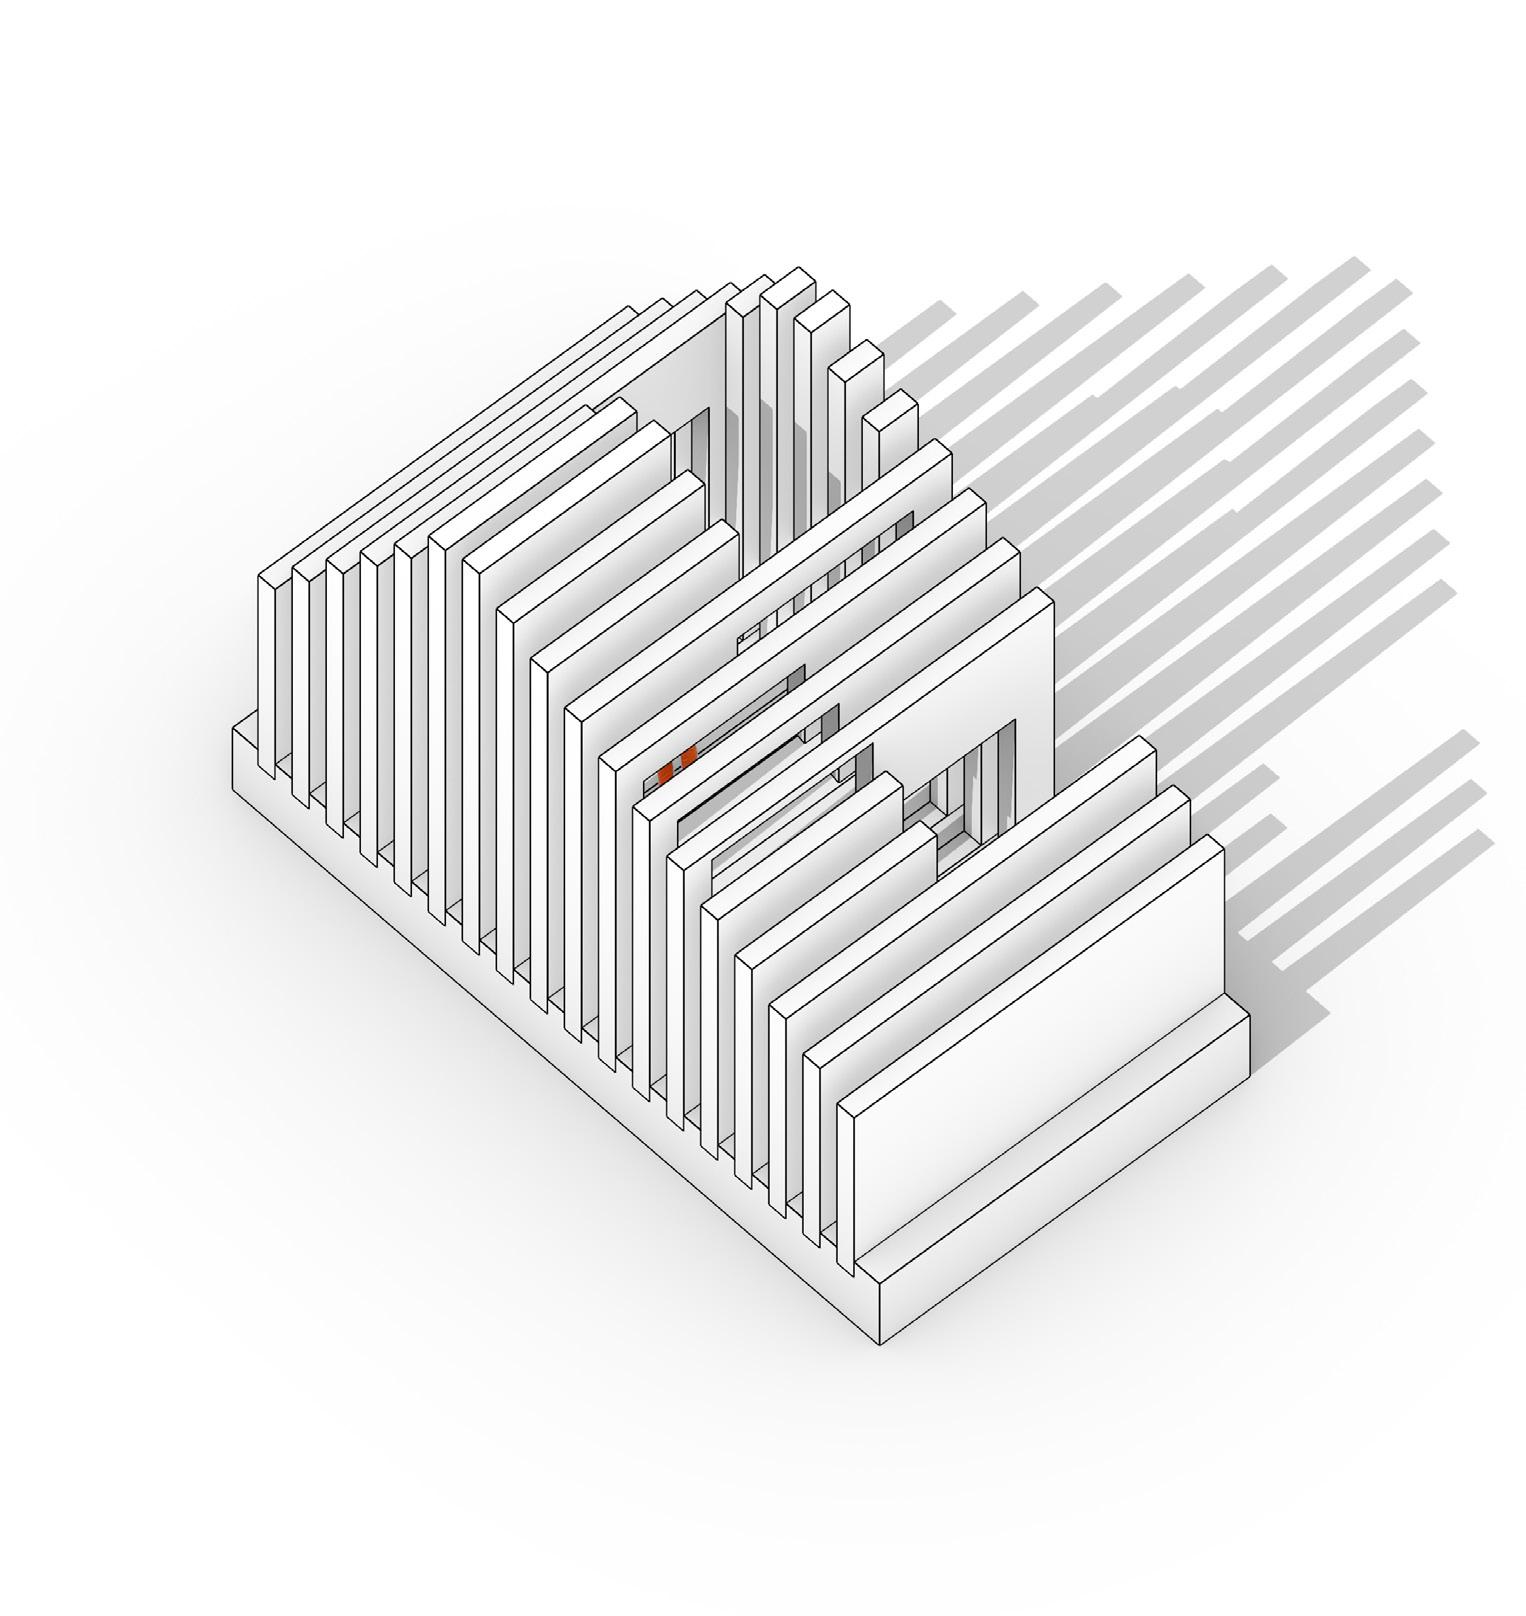
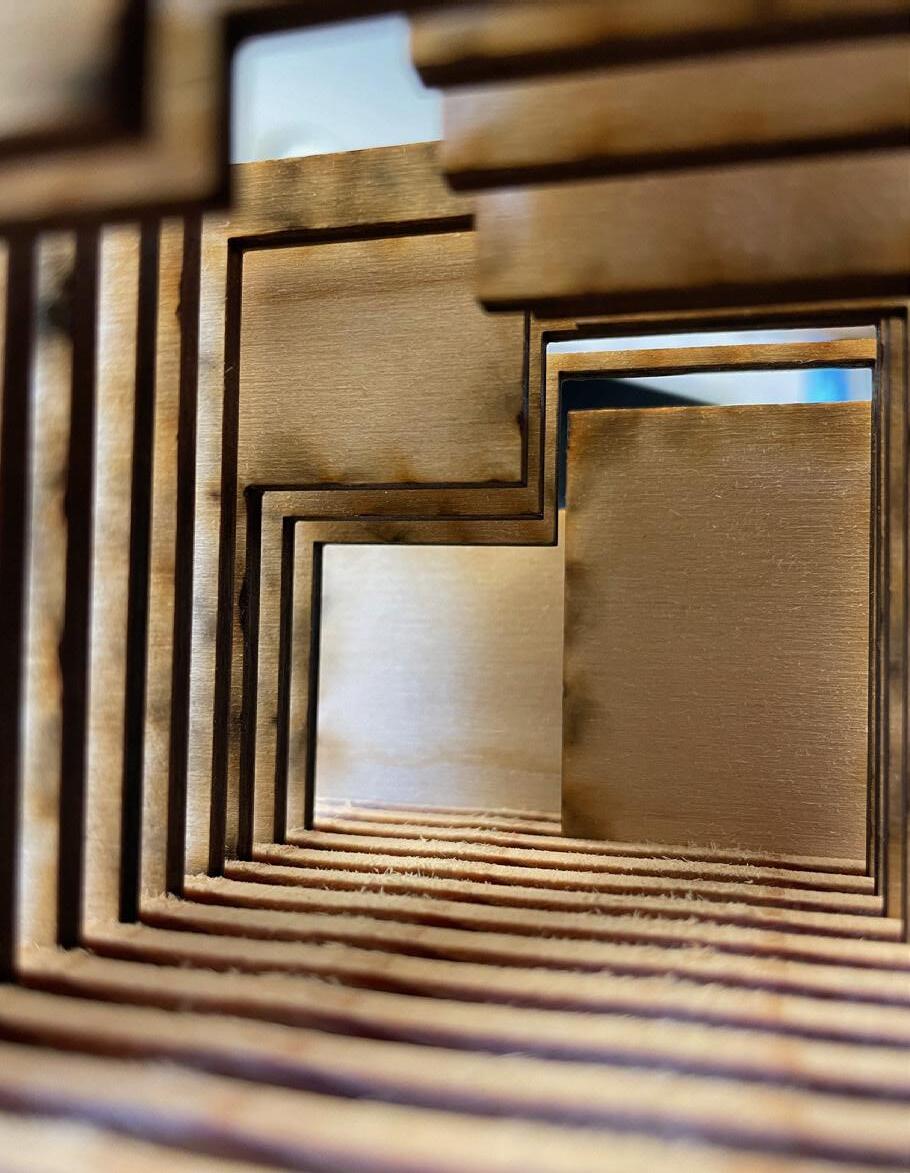
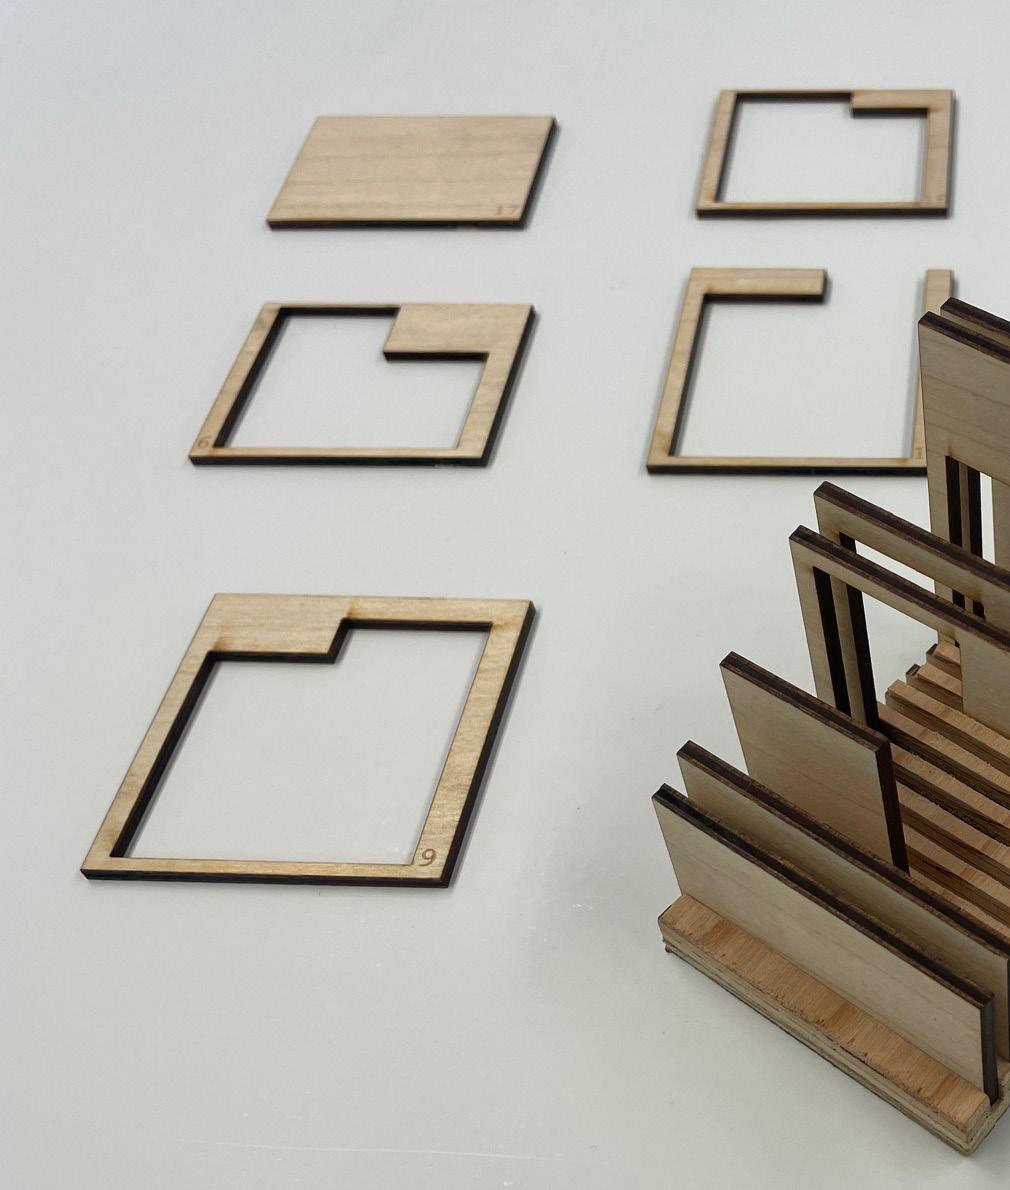
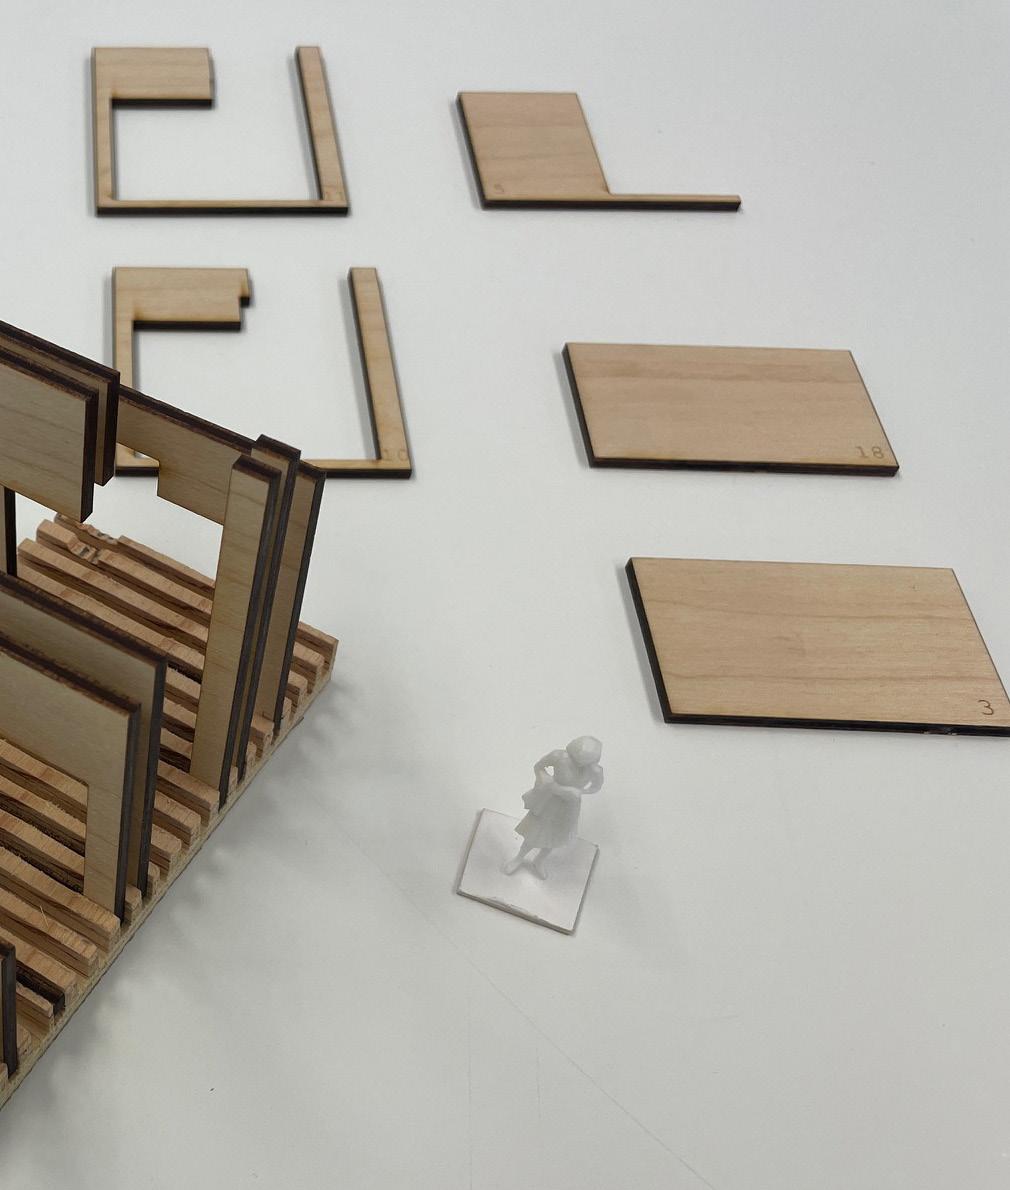
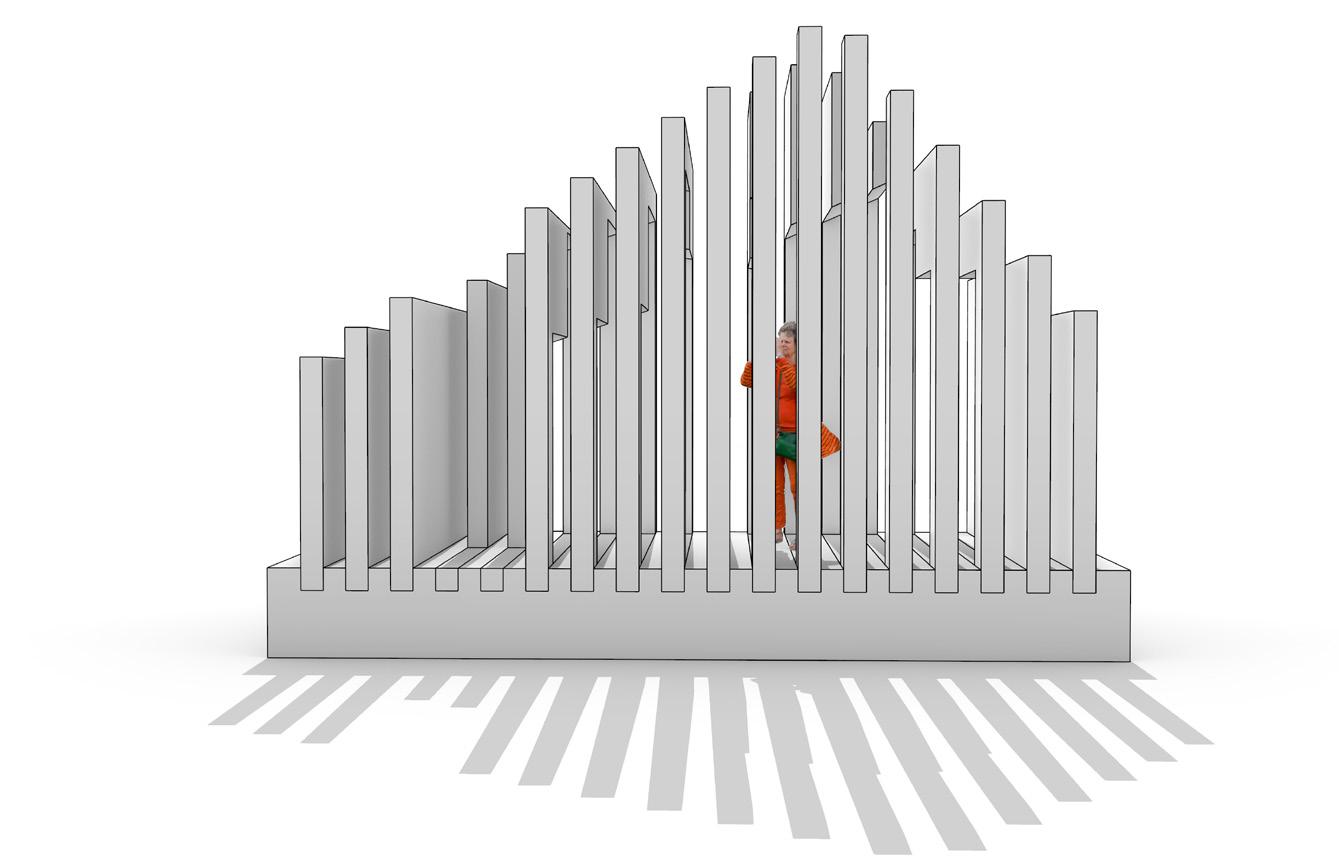
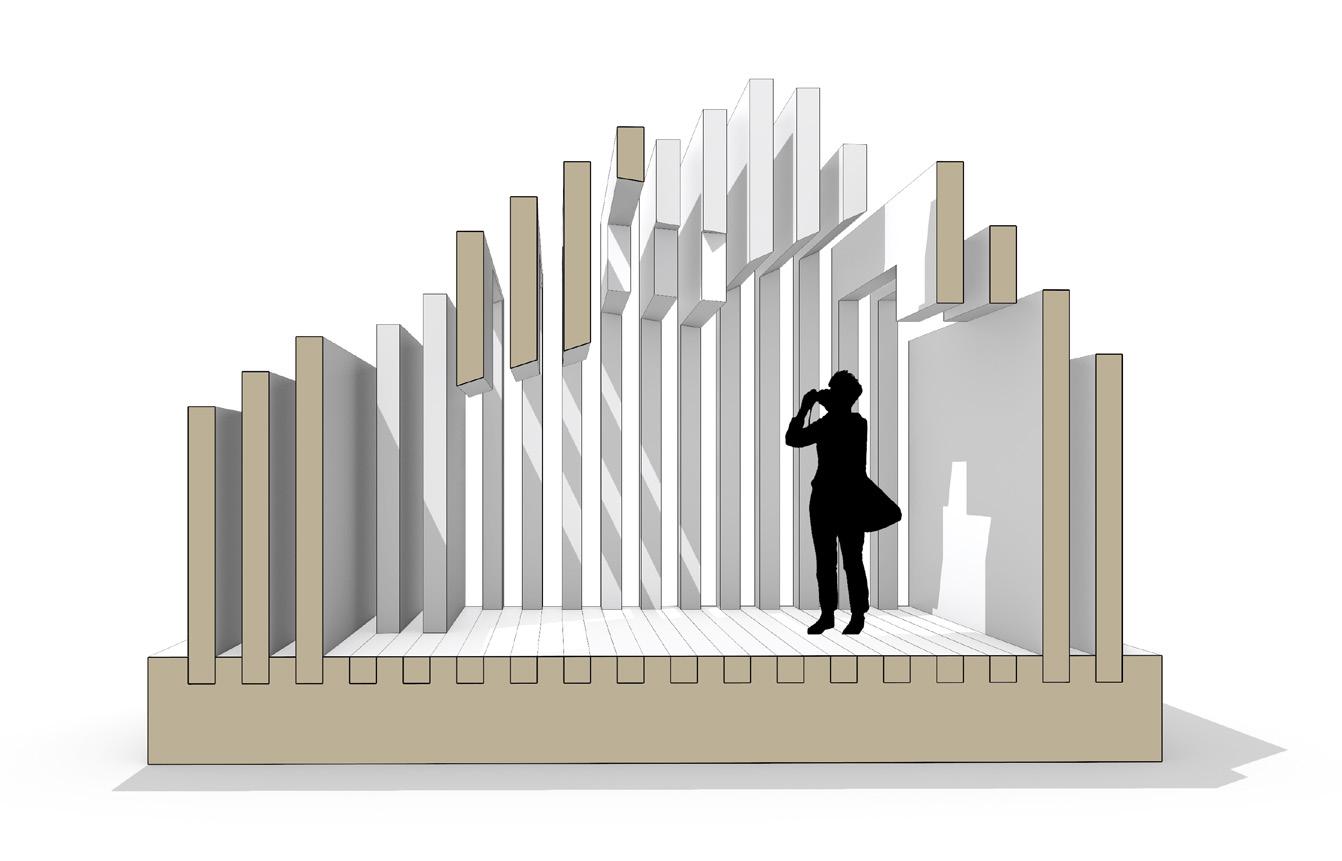
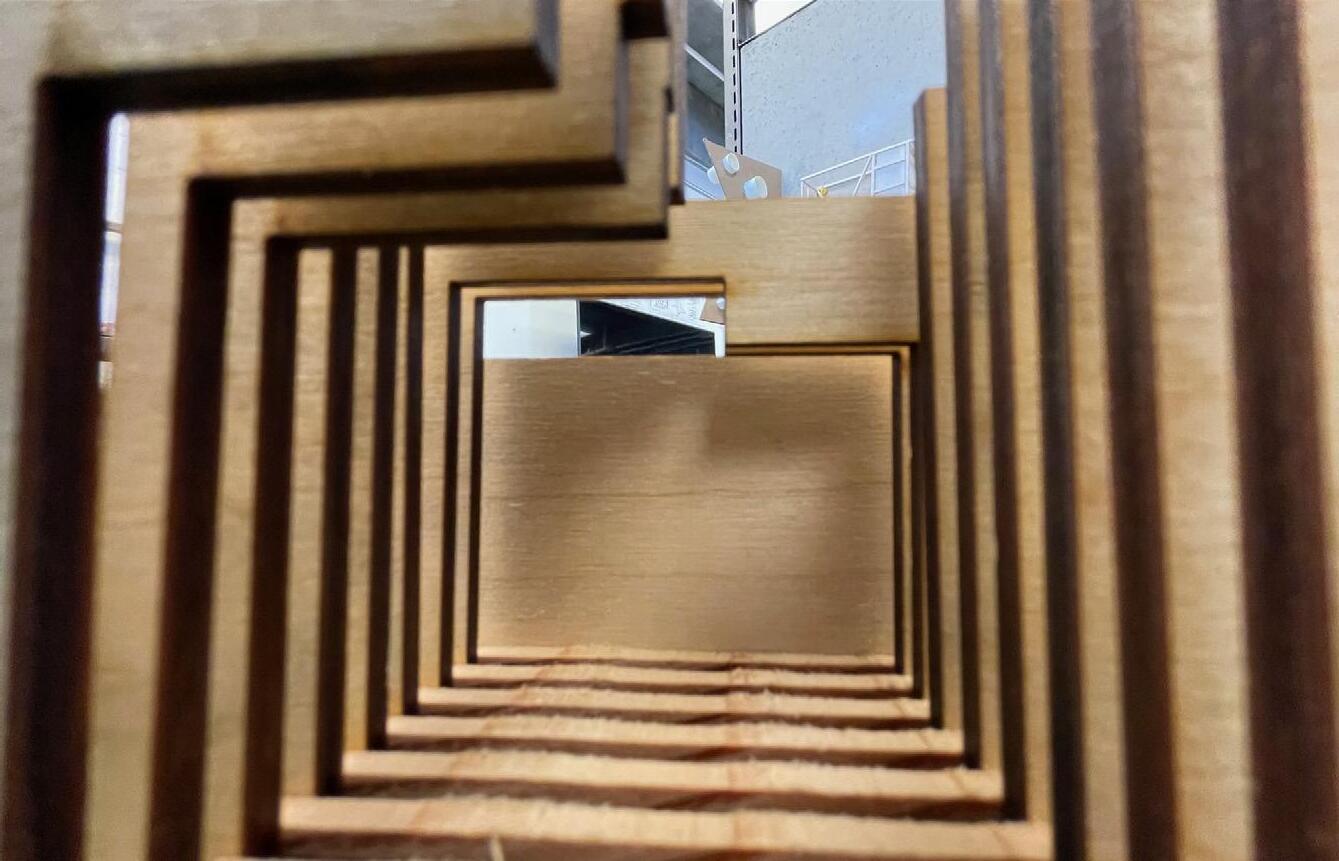
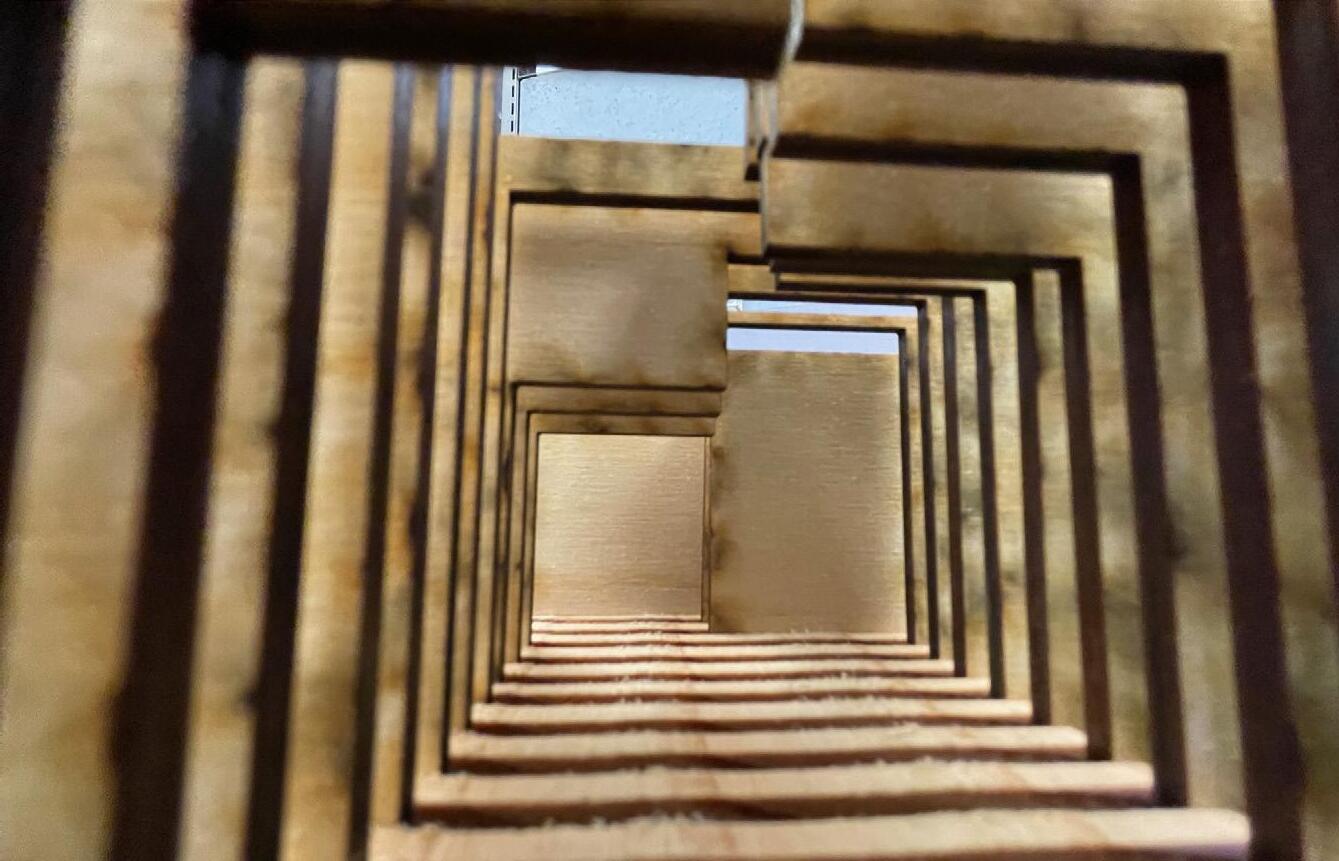
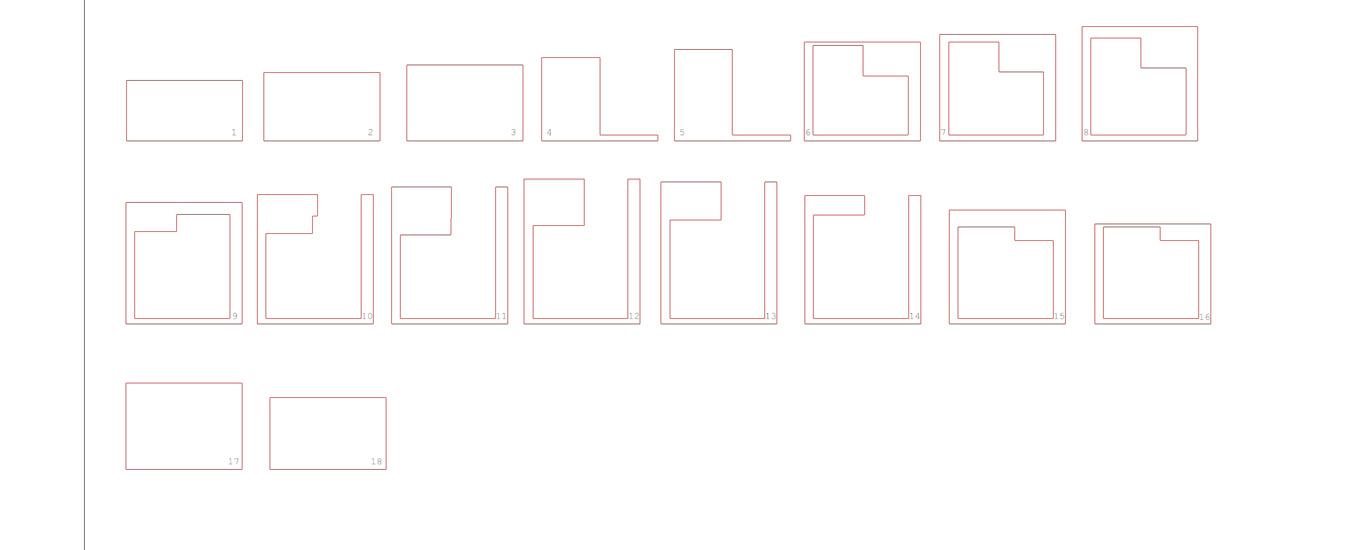
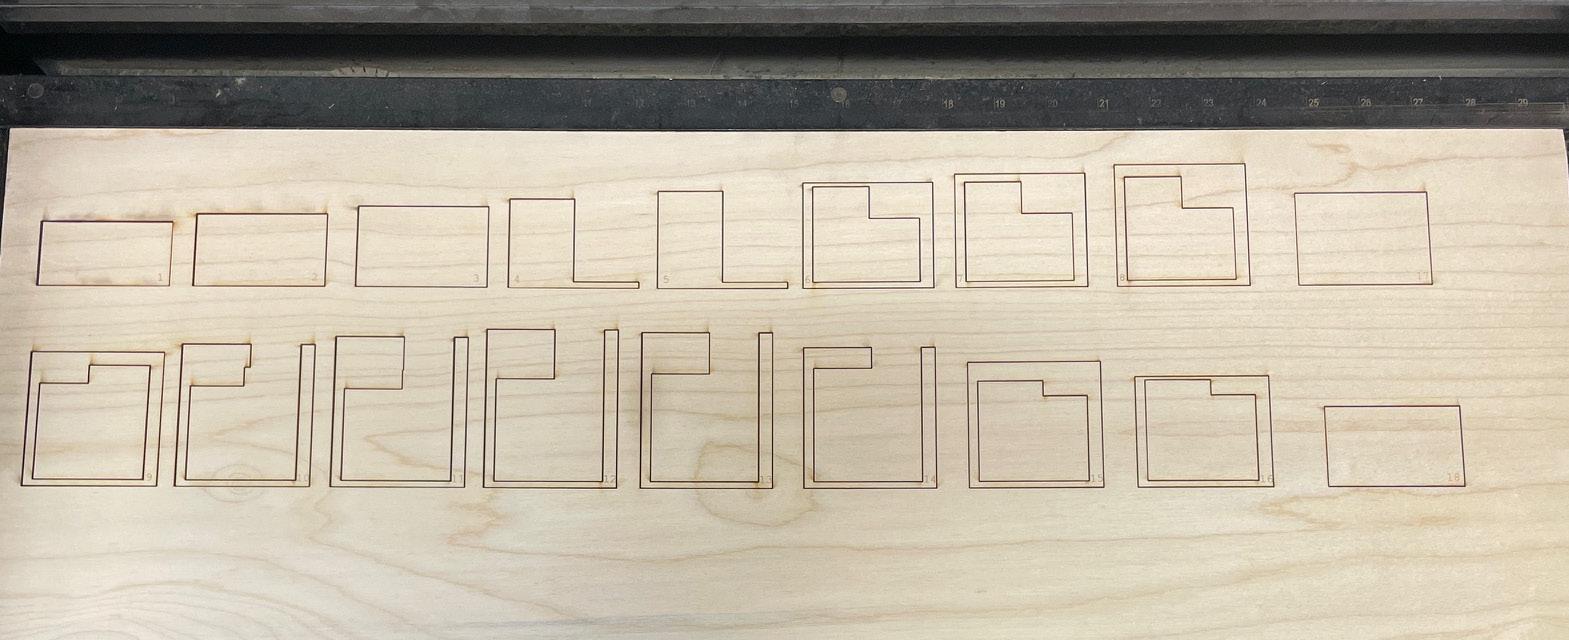
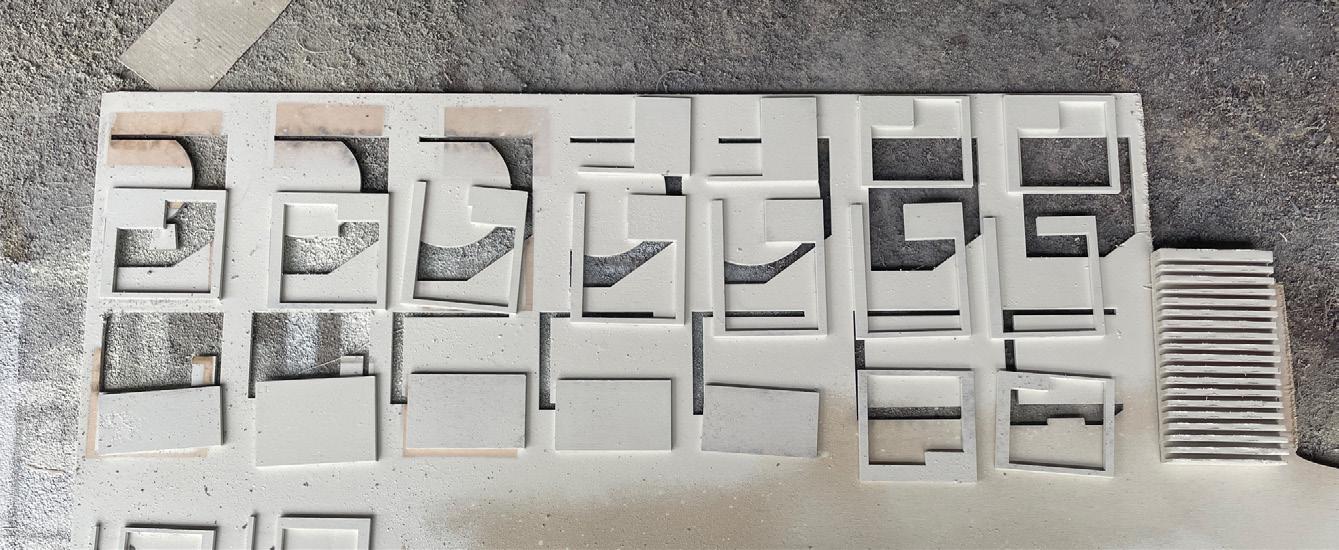
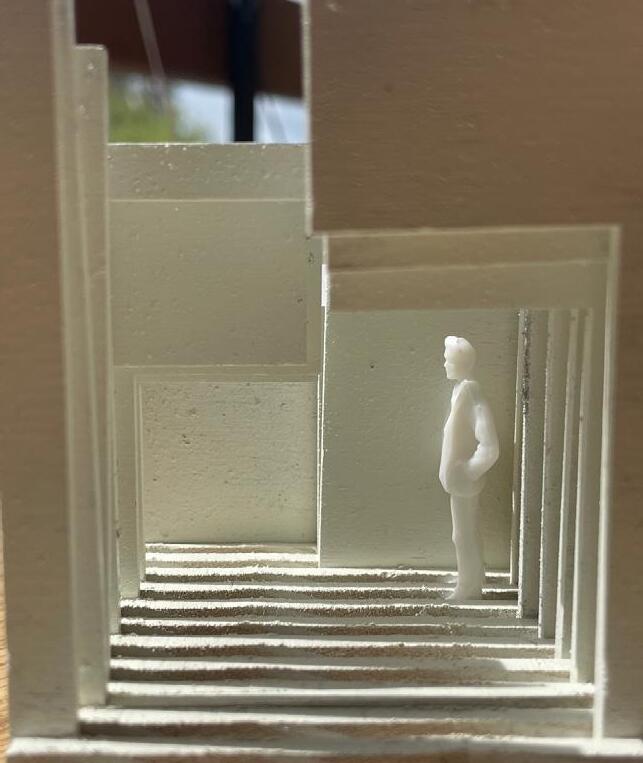
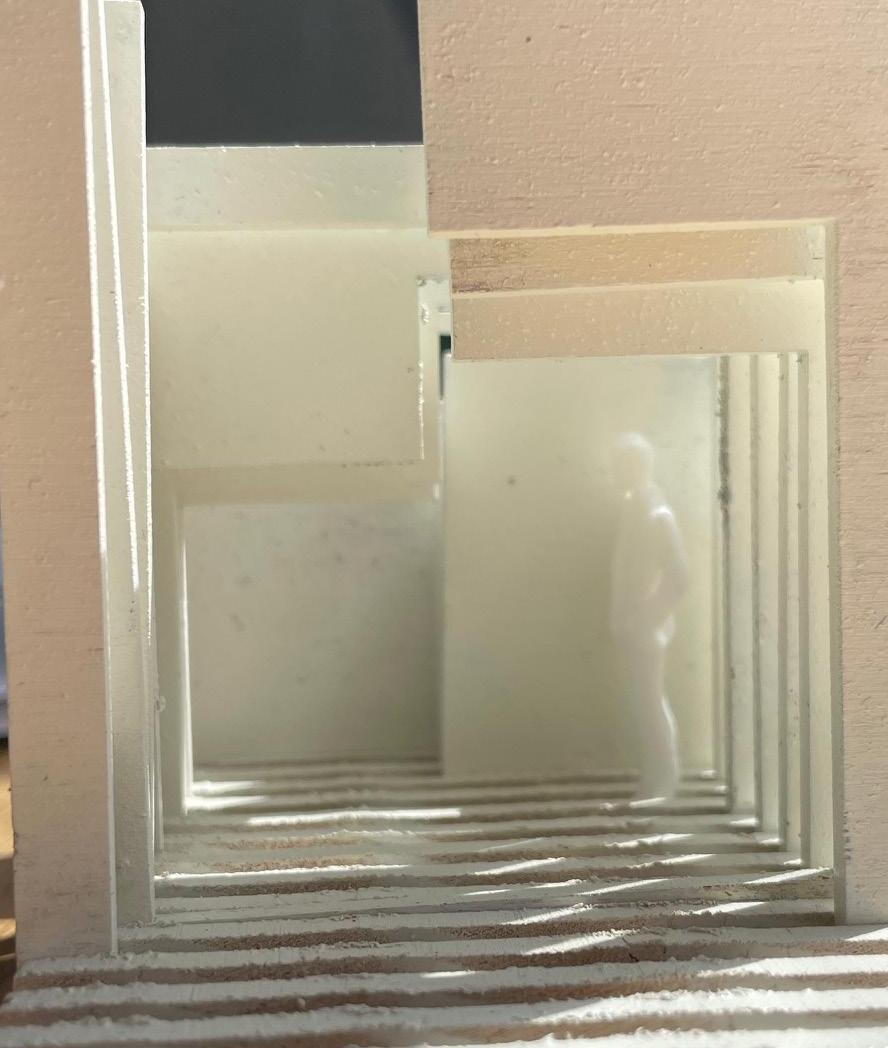
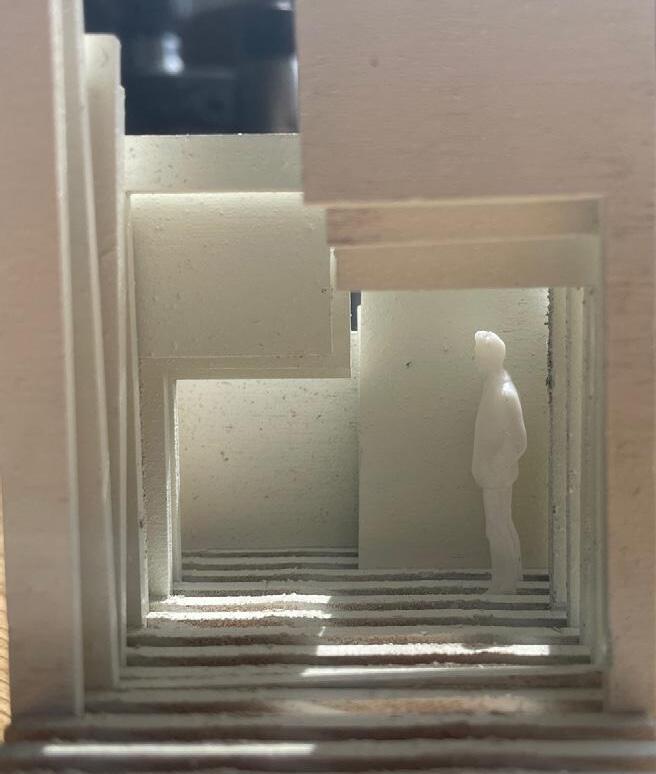
The assembly and creation of this model was very simple and allowed me to learn the skills and craft to create a model with plywood. This was the first time I had used plywood in this thin of a manner and it was really neat to work with the material and laser cut with it. Firstly, I designed my model in Rhino using the tutorial videos and using techniques such as extrude curve and split to create the model frames. Then, I rotated the files onto a flate surface and used Make2D to create a laser cut file that I could used to create the real model.
I then laser cut my file and assembled it, which went very smoothly and it allowed me to create a model exactly like in my file. I used the jig set up by Tom in the wood shop to cut the slits for my frames to fit in. Then, it was easy to assemble. I just slid the panels in and it was done. While this was going on, I started creating views and using the clipping plane tool to create views using poche and were had shadow. All of this allowed me to produce views presented in the following pages. Throughout this process, I was able to learn vital skills to help me create the perfect frame model from Rhino.
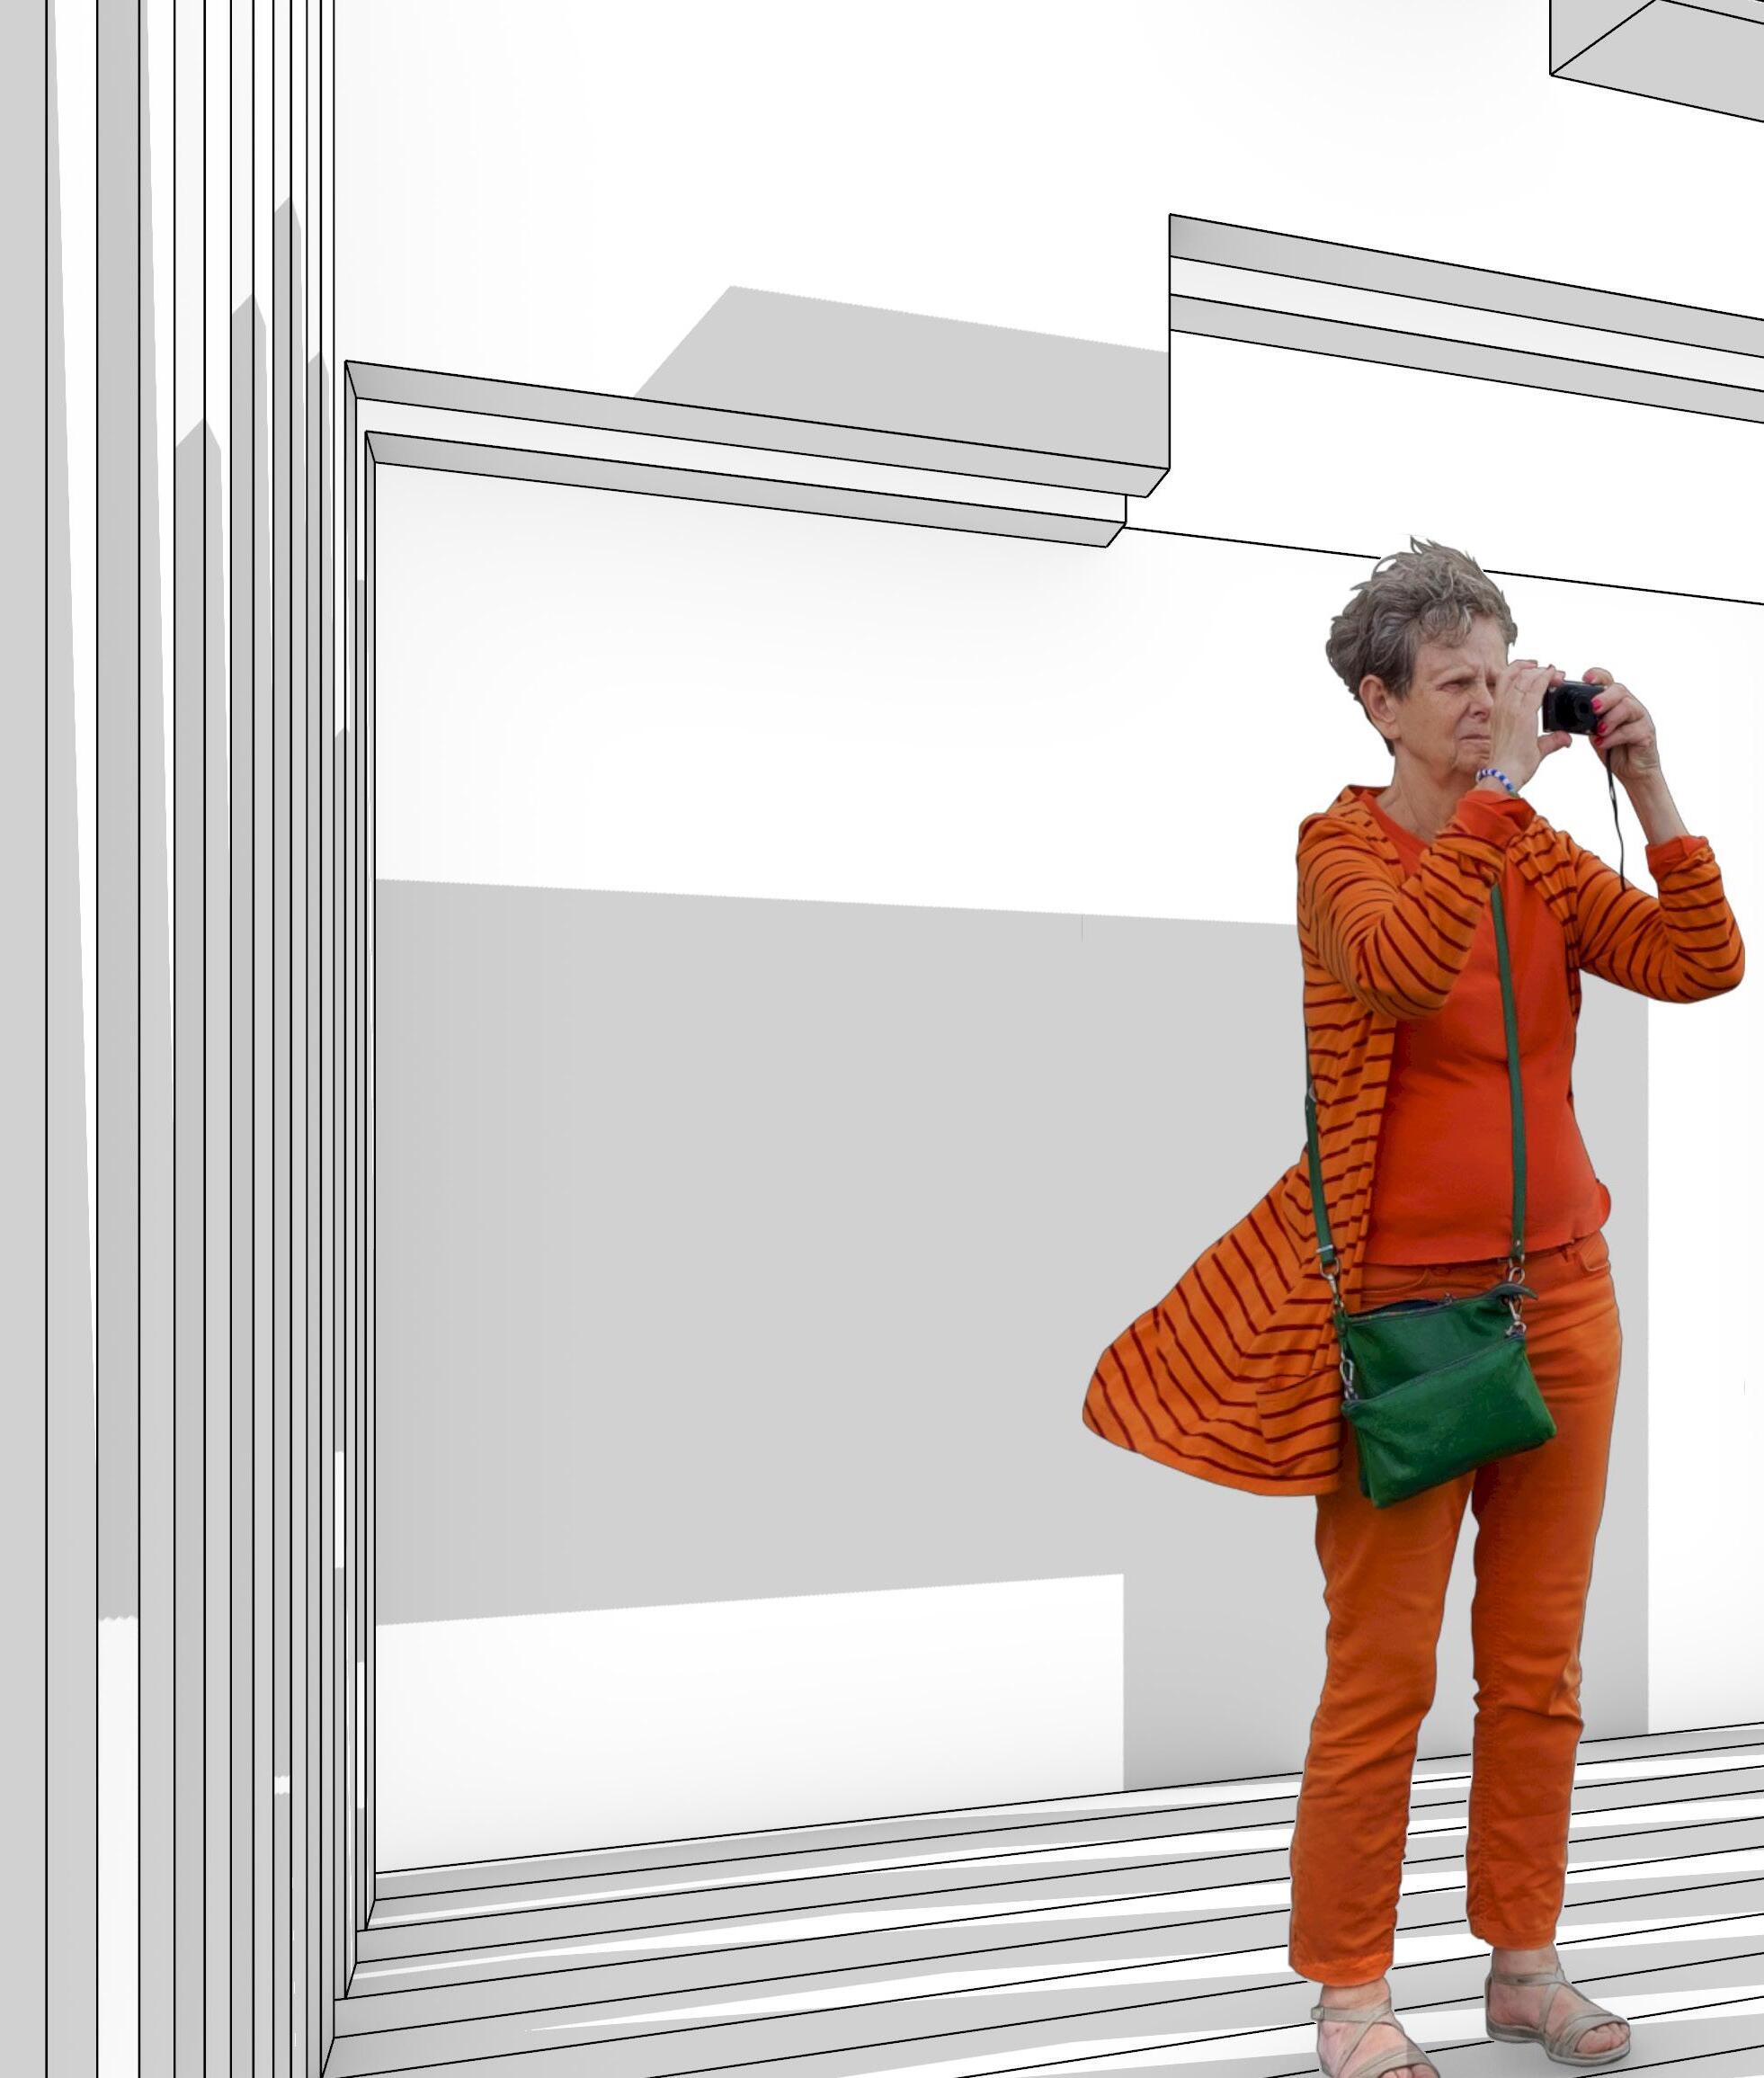
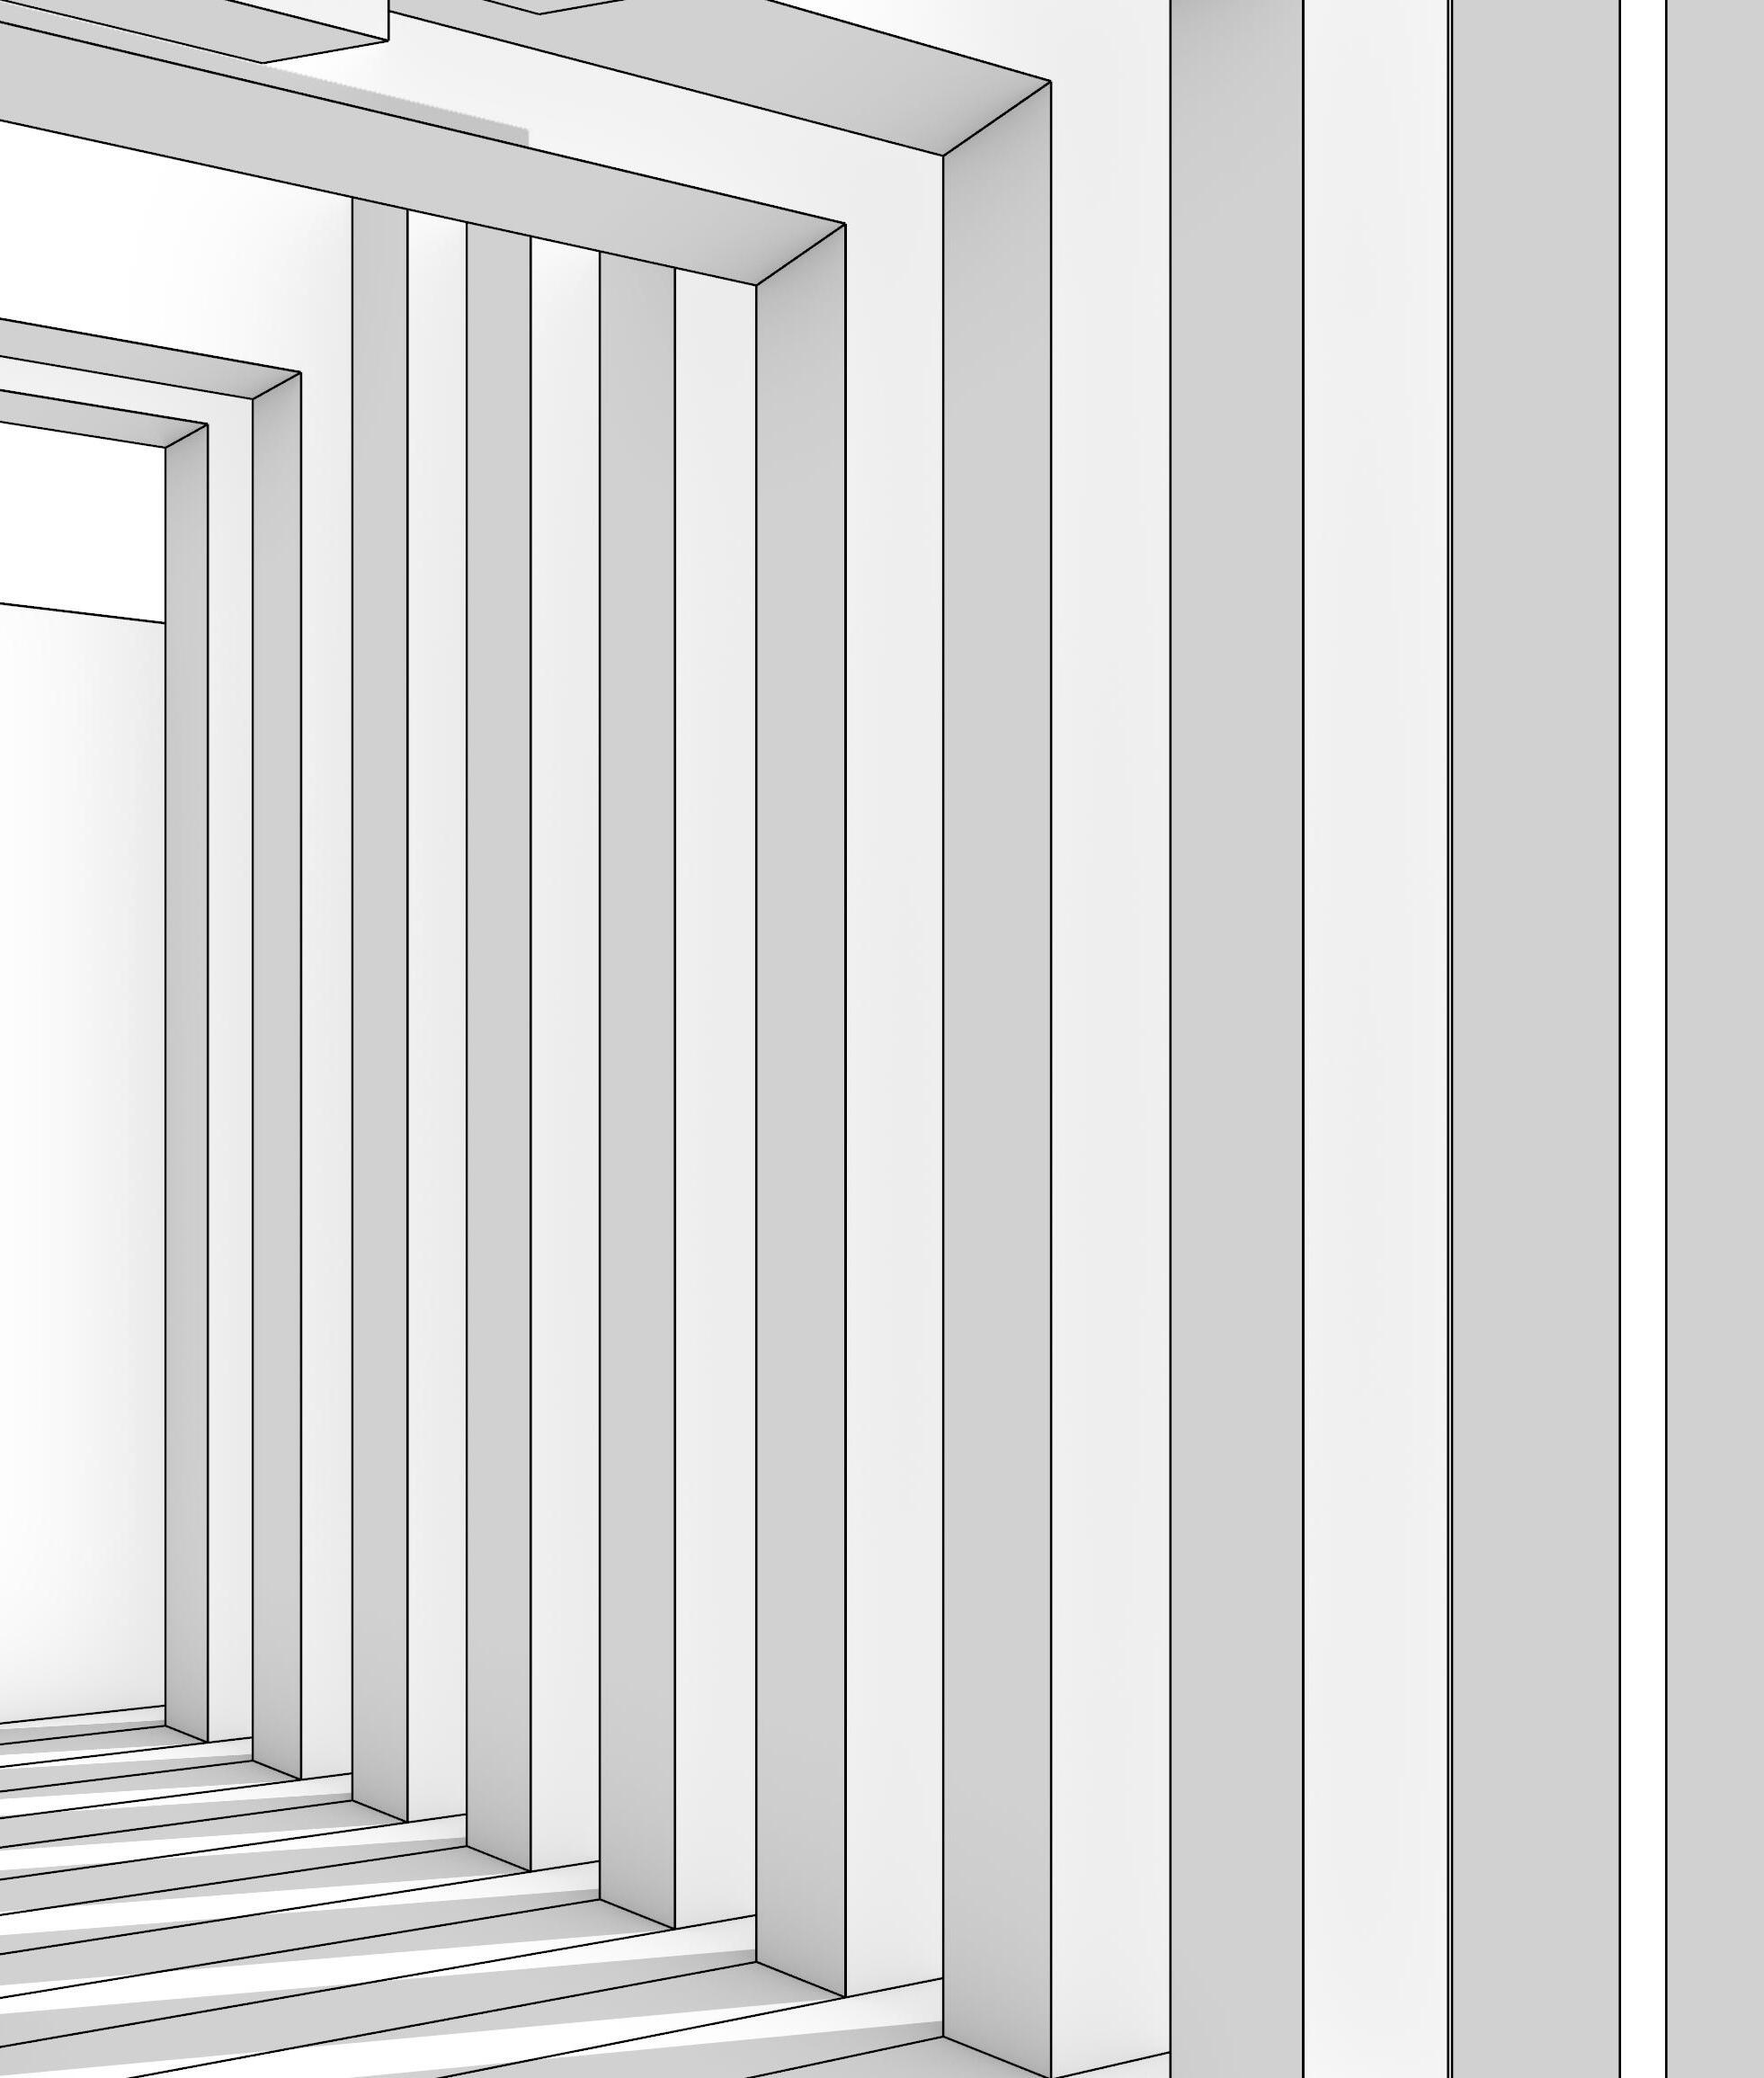

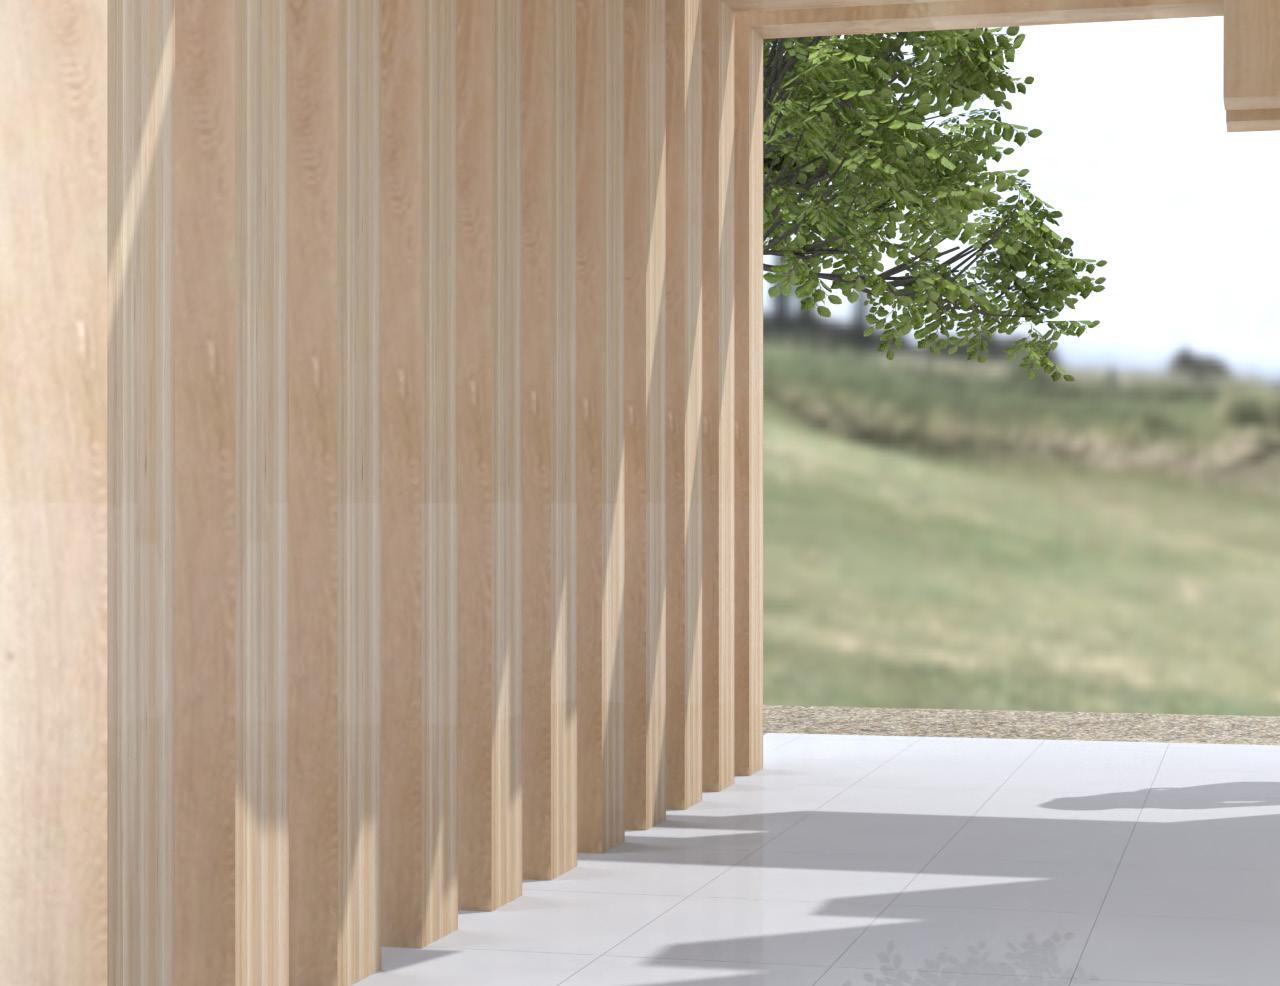
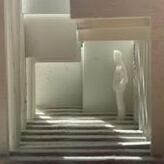
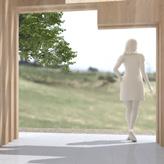
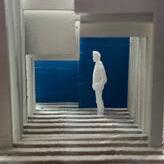
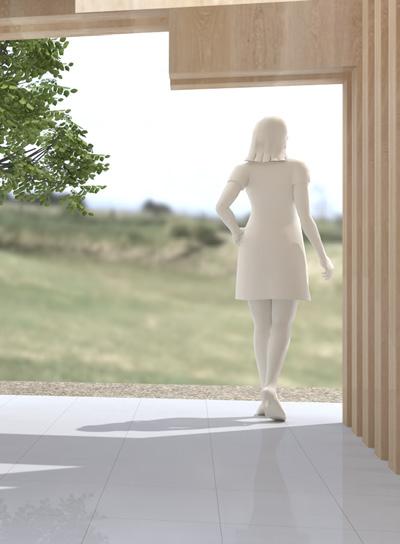
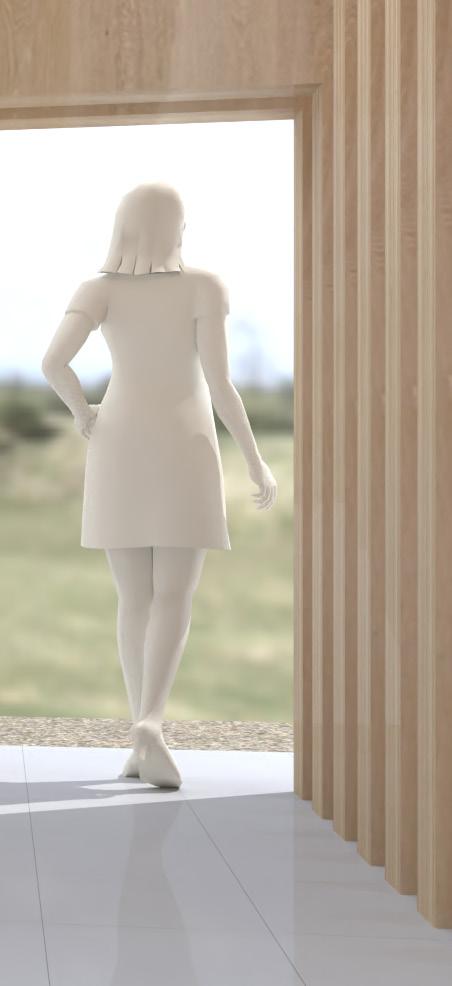
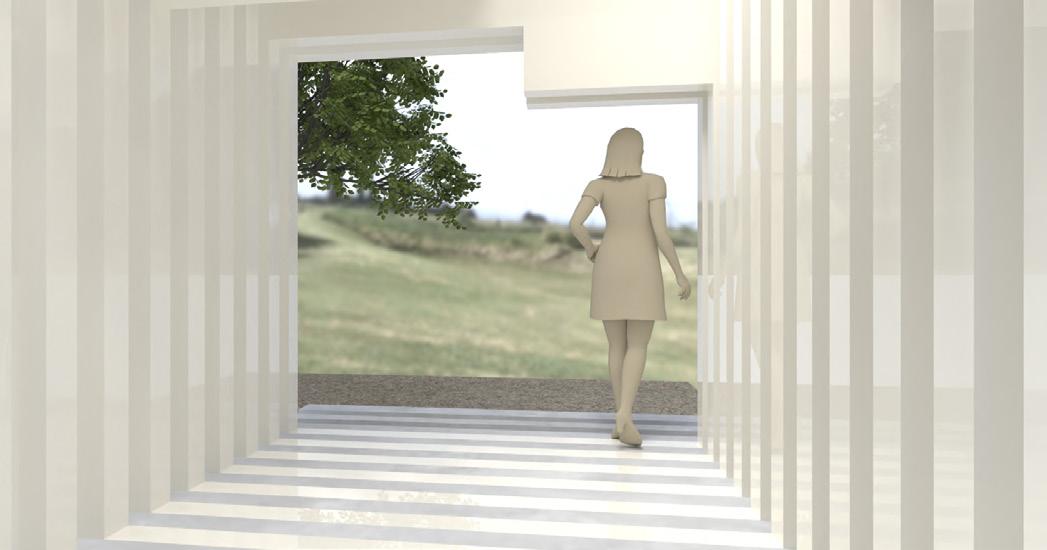
For this section of Module 3, I was tasked with rendering multiple different versions of the interior view of my model. This was the first time I have attempted anything like this and it was really easy and went relativly smoothly. Moving the sun and shadow was easy and allowed for the smooth process to flow between designs. The tree and person were easy to render and I had no issues with creating lower sized files for both. The only problem with this was that the file sizes for both objects were still too big and it was hard to render on my device, and my computer
experienced a lot of glitches. On the other hand, setting everything up in the main document was easy and I was able to swiftly complete each tutorial and export them as png’s. I experimented with the sun and shadow on all images, and allowed me to explore different render qualities and designs. My personal favorite is the sun render shown in the lower image at right. I really enjoyed how the sun glistened off of the panels and fell into the space, while also depicting a reflective surface on the right. Overall, I felt really confident in my design abilities and it made for an overall smooth process.
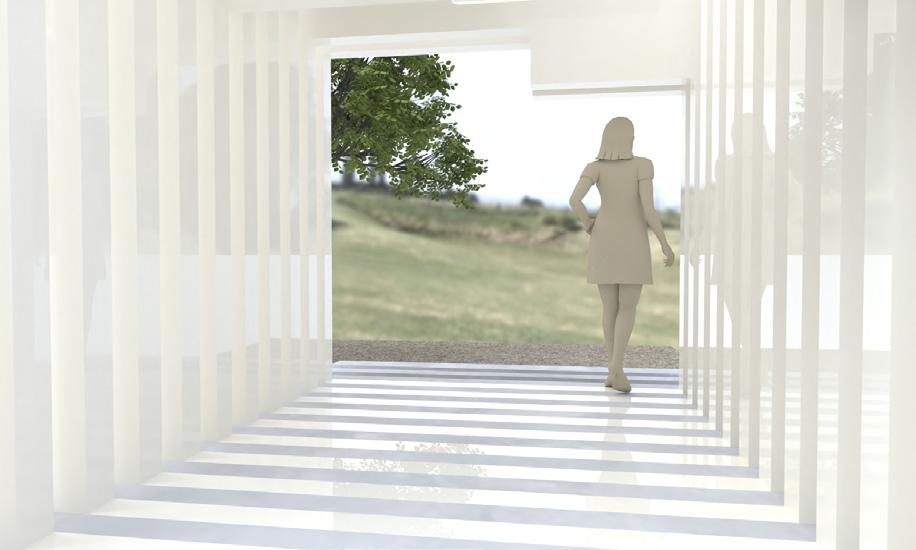
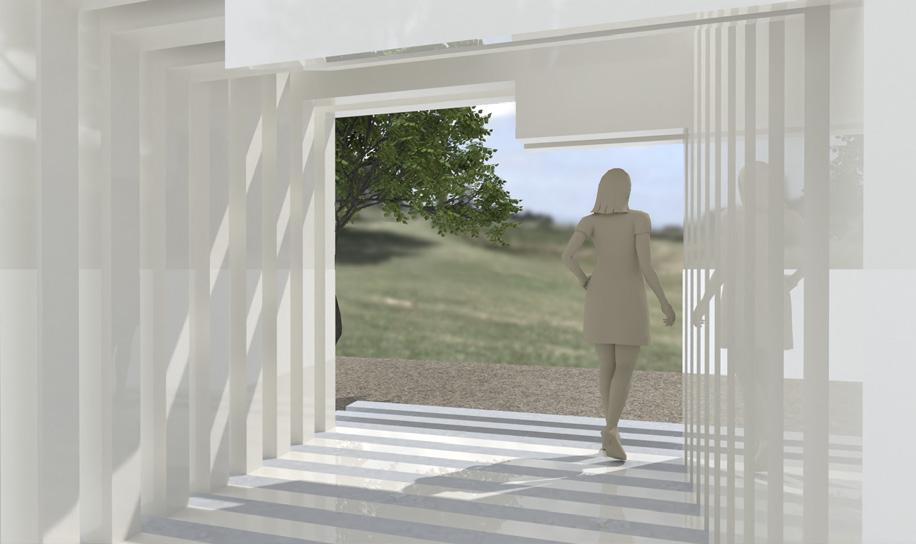
Images
Top Left: Sun and Material Render
Top Right: Skylight Render
Lower Image: Sun Render
Images
Top: Spot Light Render
Middle: Point Light Render
Lower: Rectangular Light Render
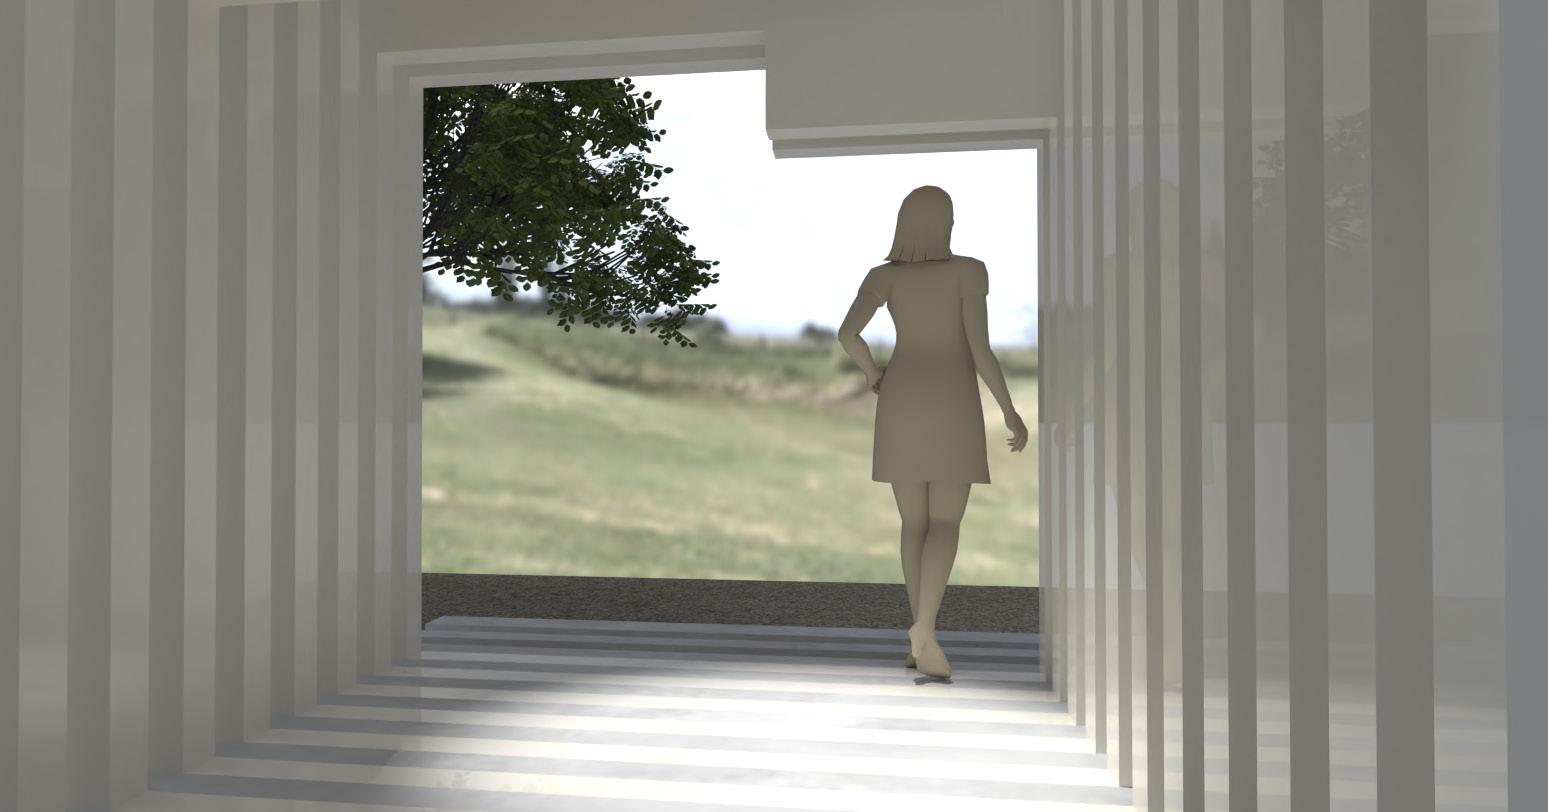
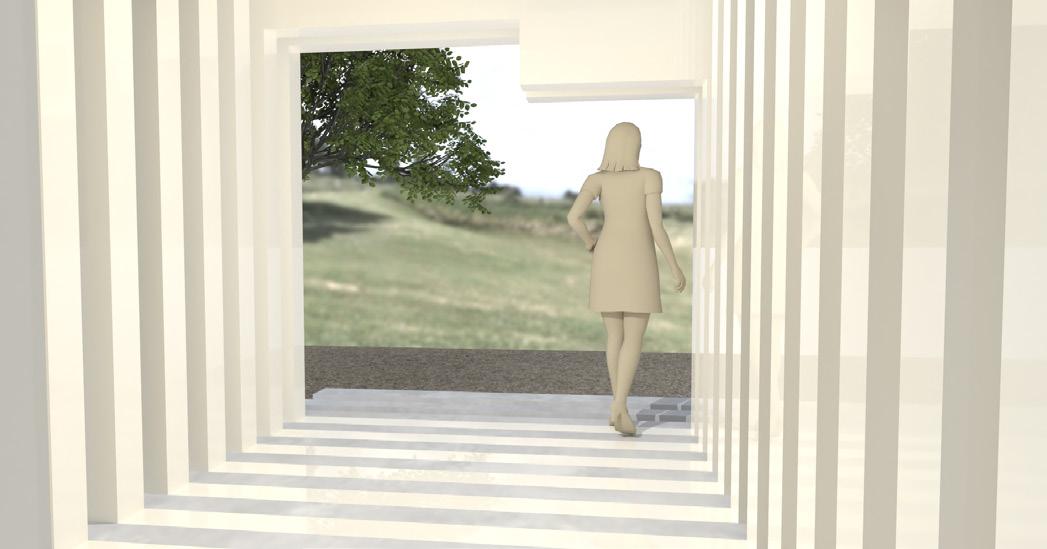
North Light + Warm Tone
Week 03 Cory Olsen
Week 04 Nancy Cheng
Week 05 Dylan Wood
Week 06 Ignacio Lopez
Week 07 Philip Speranza
Week 08 Siobhan Rockcastle
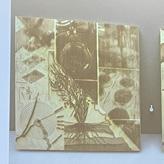
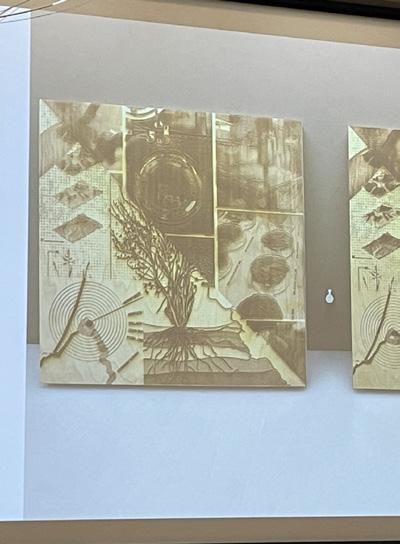
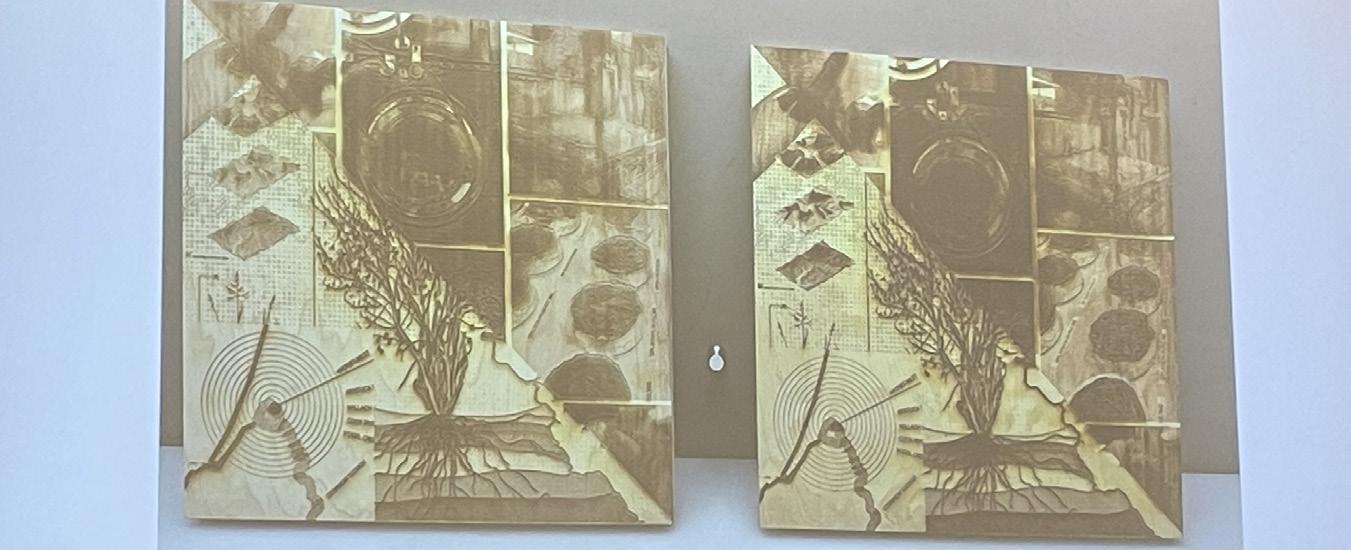
Overall, this section on the guest lecturers that spoke between Week 3 to Week 7 were very interesting and got me inspired to peruse a number of different motives and ideas that I had, that were previously not possible to do. I have always wanted to incorporate AI and digital fabrication into my work and two guest lectures, shown in the following pages, gave me the insight and inspiration to do that on my final studio project for this term. I was able to implement an AI collage for the project while also using laser cutting to digitally fabricate my model to use for review. This was one of the first times that I had used
the laser cutter for a studio project, and it would not have been possible without the guest lecturers. Furthermore, for my final studio review, I was reviewed by Cory Olsen, our first guest lecturer, and was able to talk to him more about material choice, furniture, and overall design as it pertained to my structure. This really built off of his first lecture that I attended on AI and materials. It was really interesting to talk about this within the context of both my structure and the assignments for ARCH 222. Overall, the guest lectures were extremely helpful and allowed me to develop my design ideas for the future.
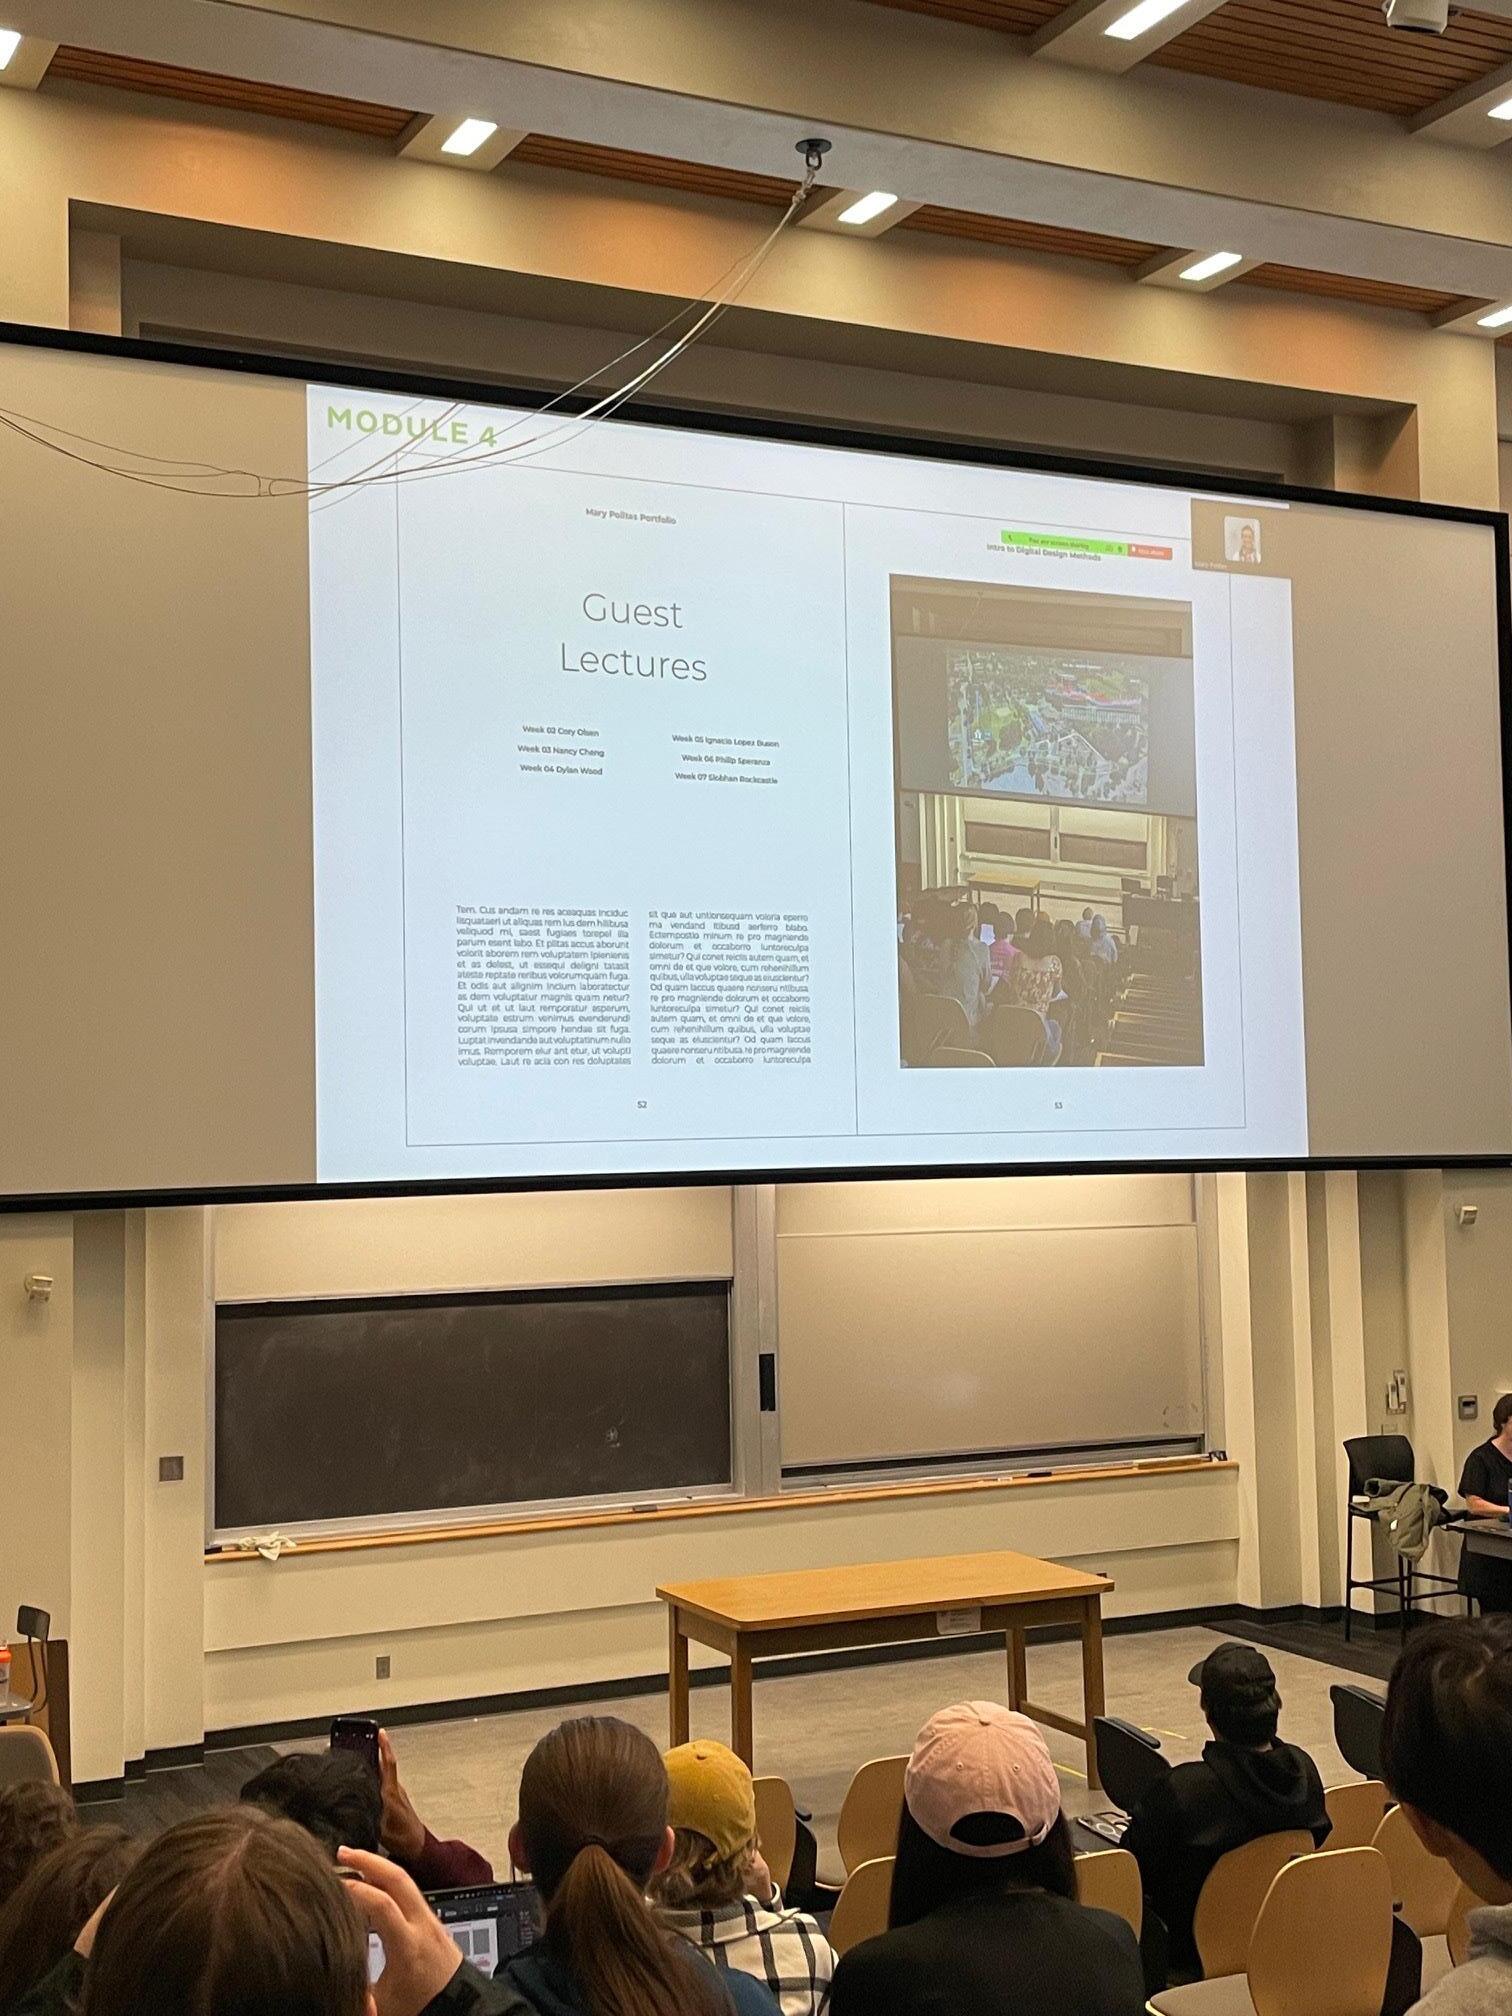
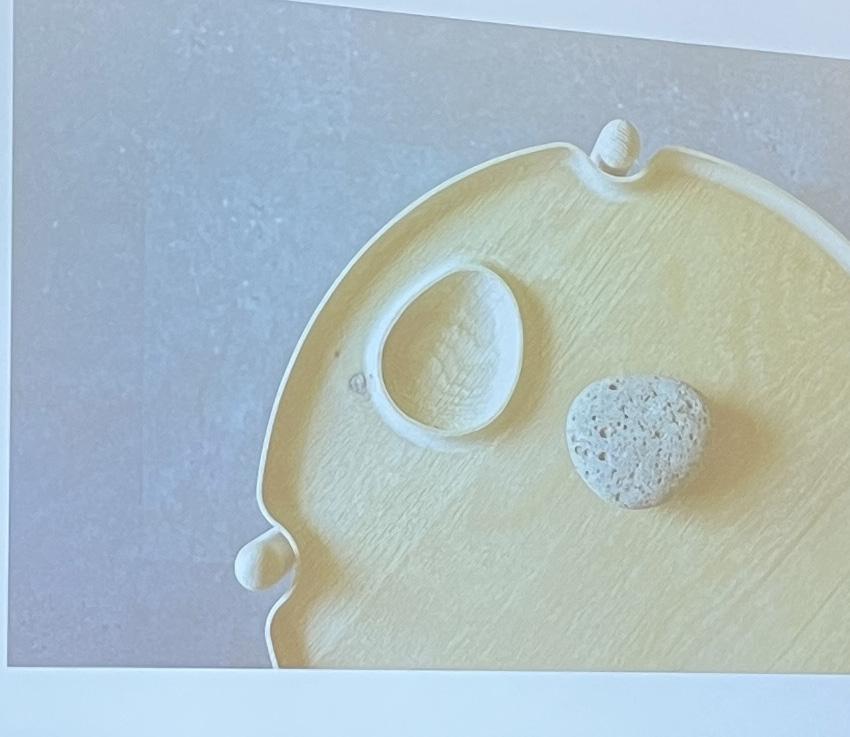
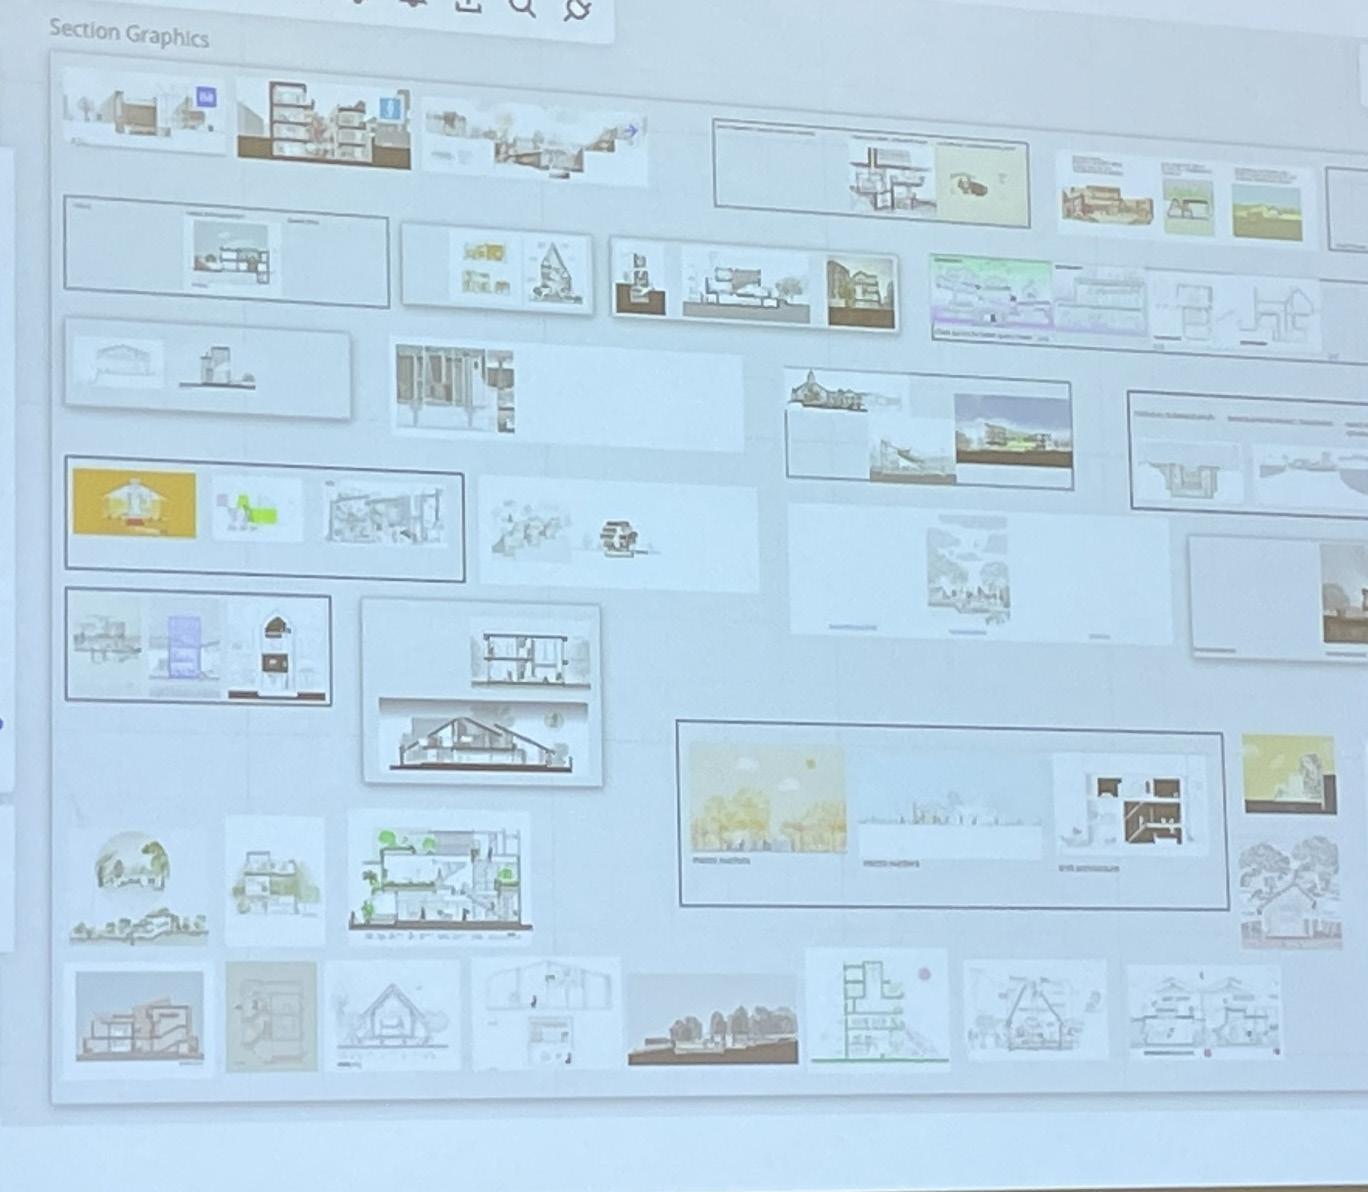
Cory Olsen’s lecture was very interesting and gave many insightful ideas into the presence of AI in design and architecture. He had very cool ideas on how his class was structured, allowing students to look up plans and sections using AI for the assignment. He also has lots of class engagement via the voting process, and created a website to categorize all of the projects that they created. He also advocates for the “not silo process” and the “messy napkin sketch”. This shows that process can be messy and does
not have to be perfect. Design that goes through more than one iteration can get us a better result than one that went through no iterations. Also, it is better to use more than one design process to achieve an overall goal. He also had many cool ideas of stone vs. wood and how they play into structural dualities within the process of the design. He also showed us many AI tools at the end of class that we can use in our design processes to provide powerful insight and recommendations. Overall, Cory’s lecture was very helpful for me and gave me more tools to help with my design processes.
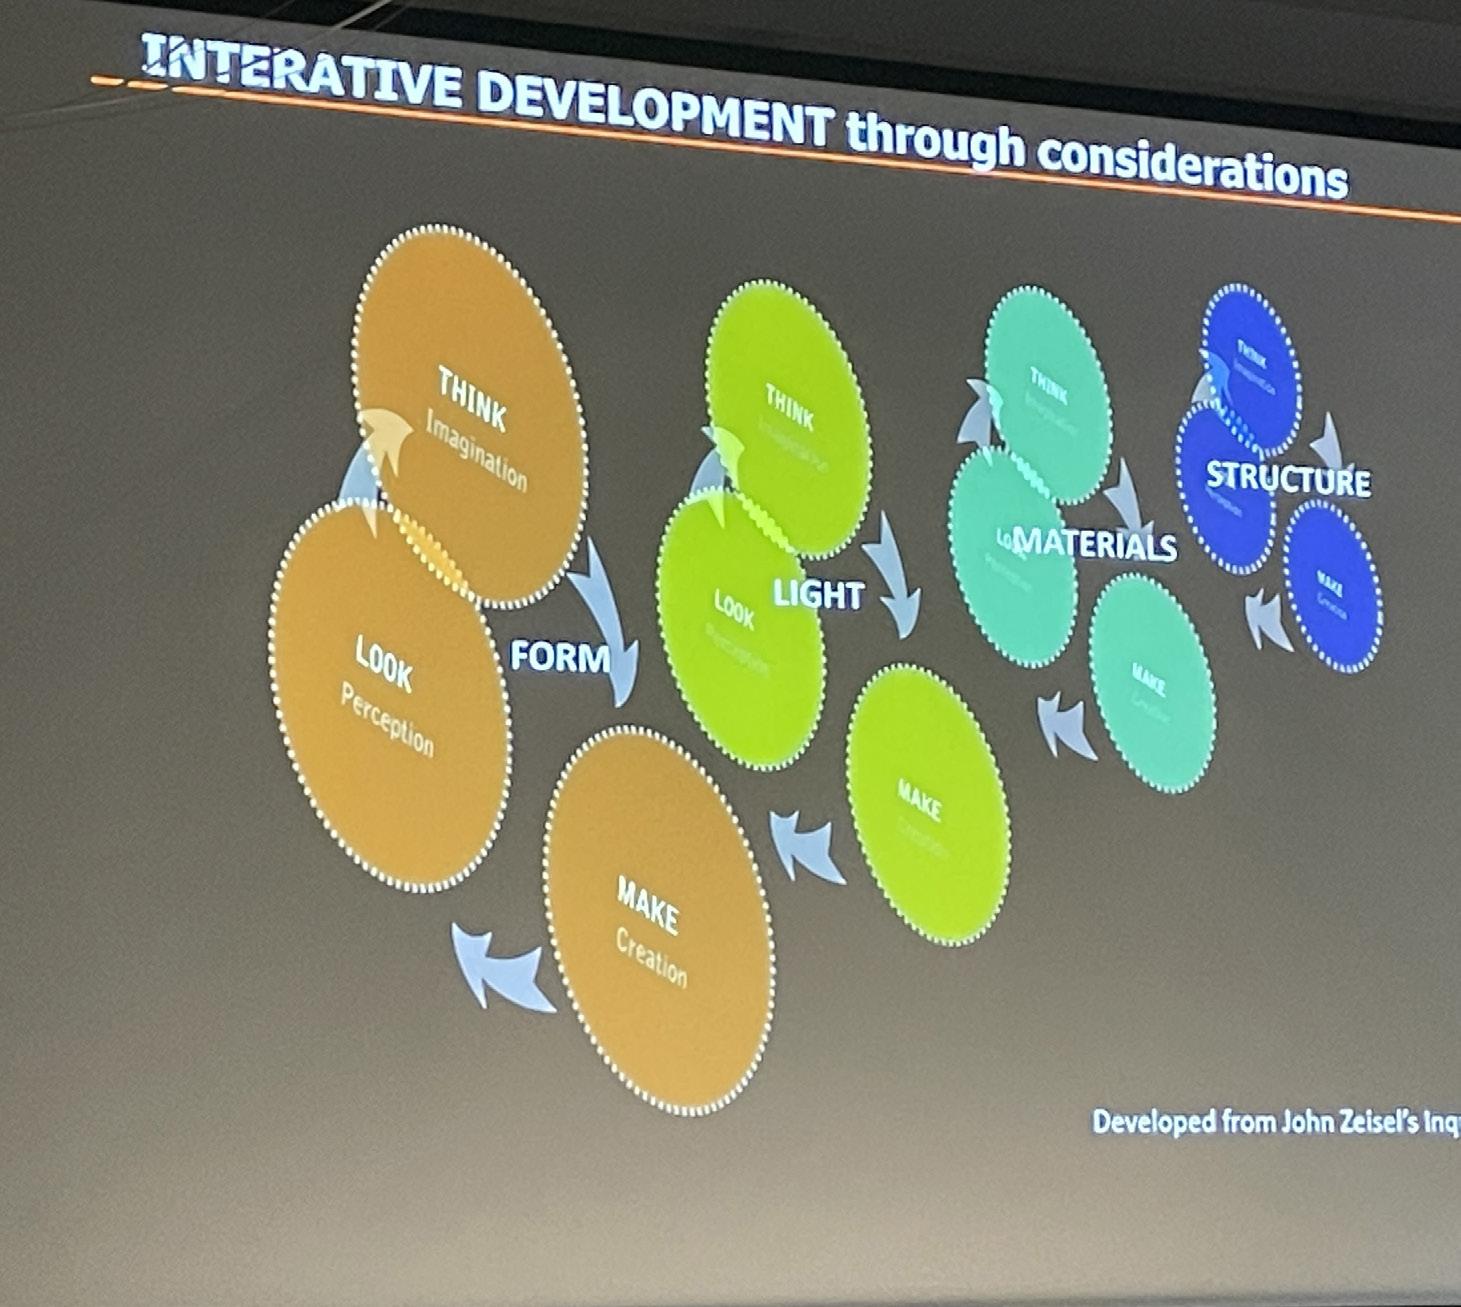
Nancy Cheng’s Lecture was also very interesting and gave a lot of insight into ideas surrounding product development and group work. She talked about how patterns are created physically but can form more natural things. She discussed how you can pull things into tension, and work with objects in different scales. She also created models that helped receive daylight. She was very interested in joints and connections and wanted to see how air flows if we put textures on a surface. Shes uses form, light, materials, and
structure to help influence her designs. She wants to embrace a new aesthetic rooted in place and create houses using local and reclaimed materials. She wanted us to think about it like a cook, check your ingredients and see what best possible dish you can create. Partnered with Oregon State University to create adaptive refugee housing. She asked the question, how can we maximize reuse? The main answer is that you have to plan for reuse. You must organize, prioritize, and utilize all that is available. Overall, I really enjoyed the lecture and it gave me valuable insight into structures and reclaimed materials.
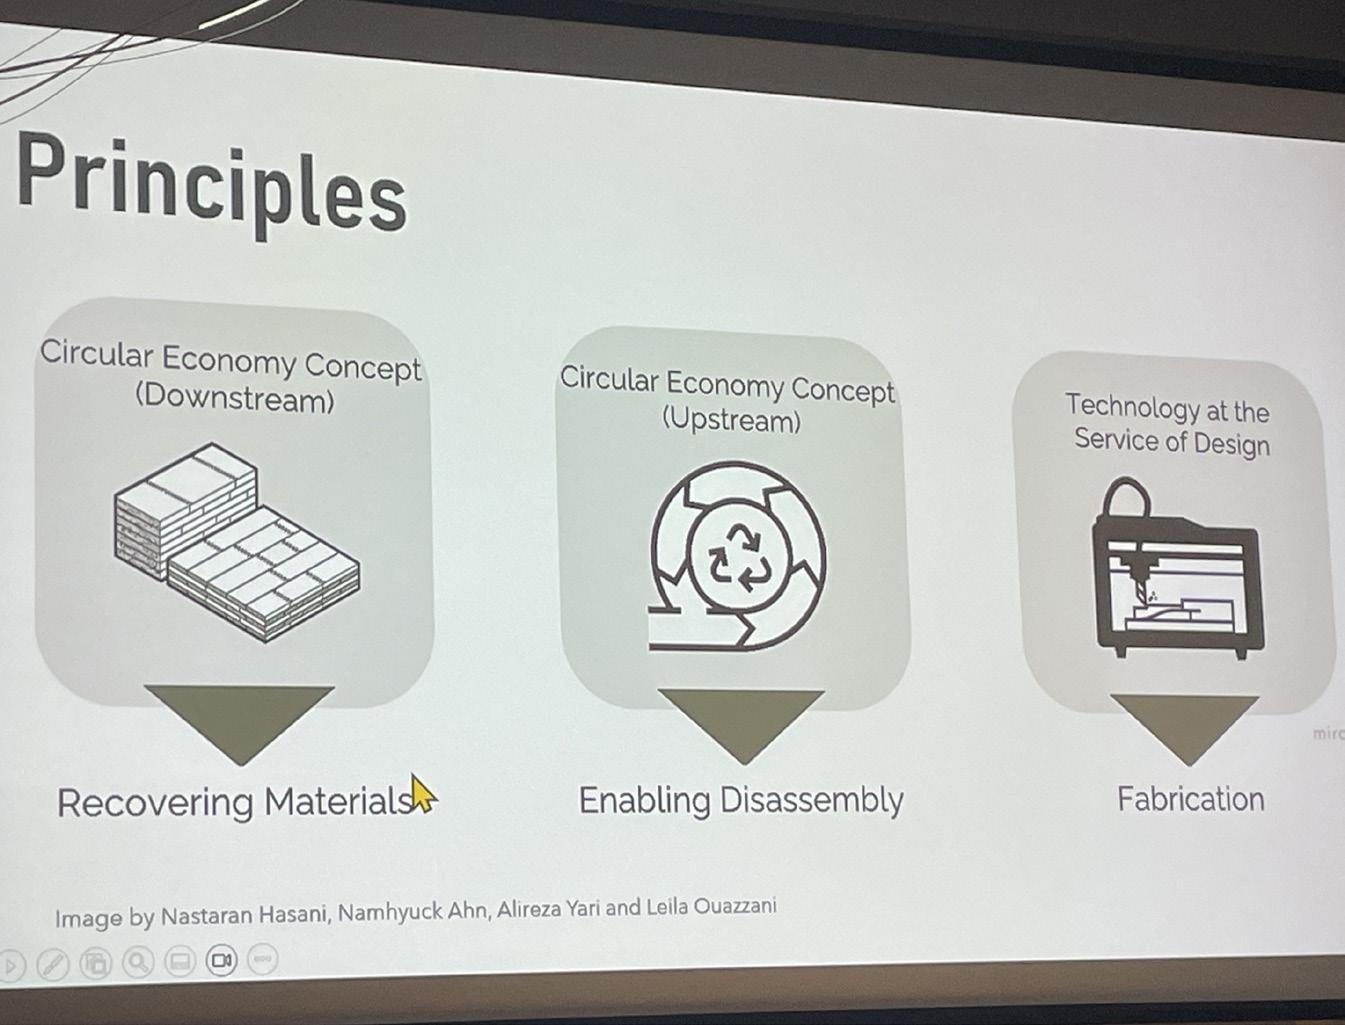
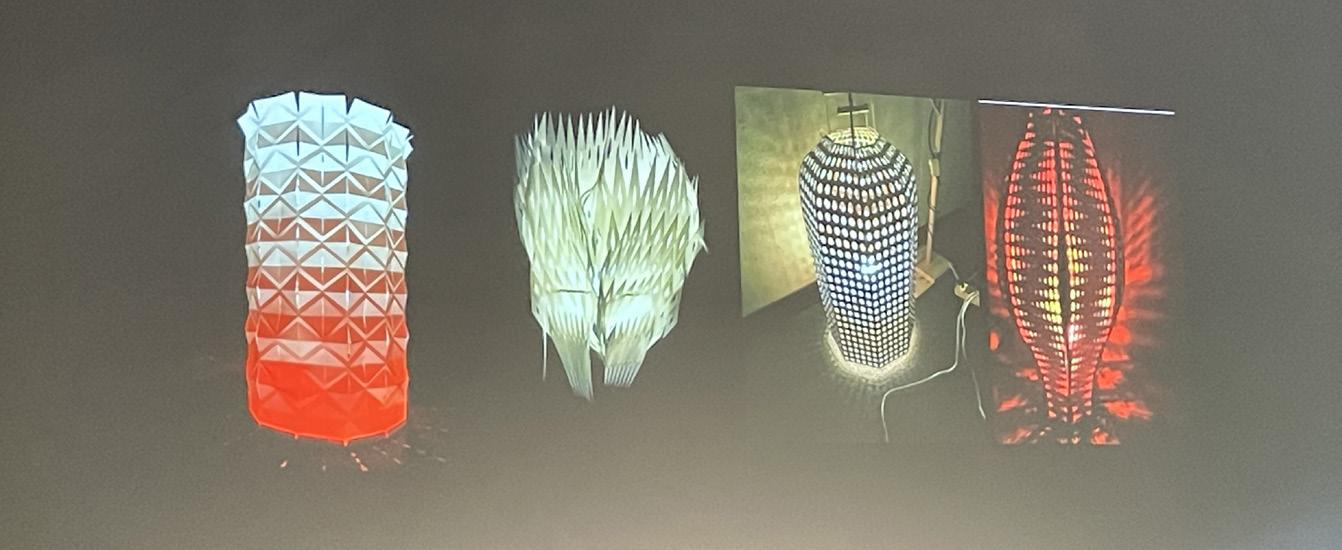
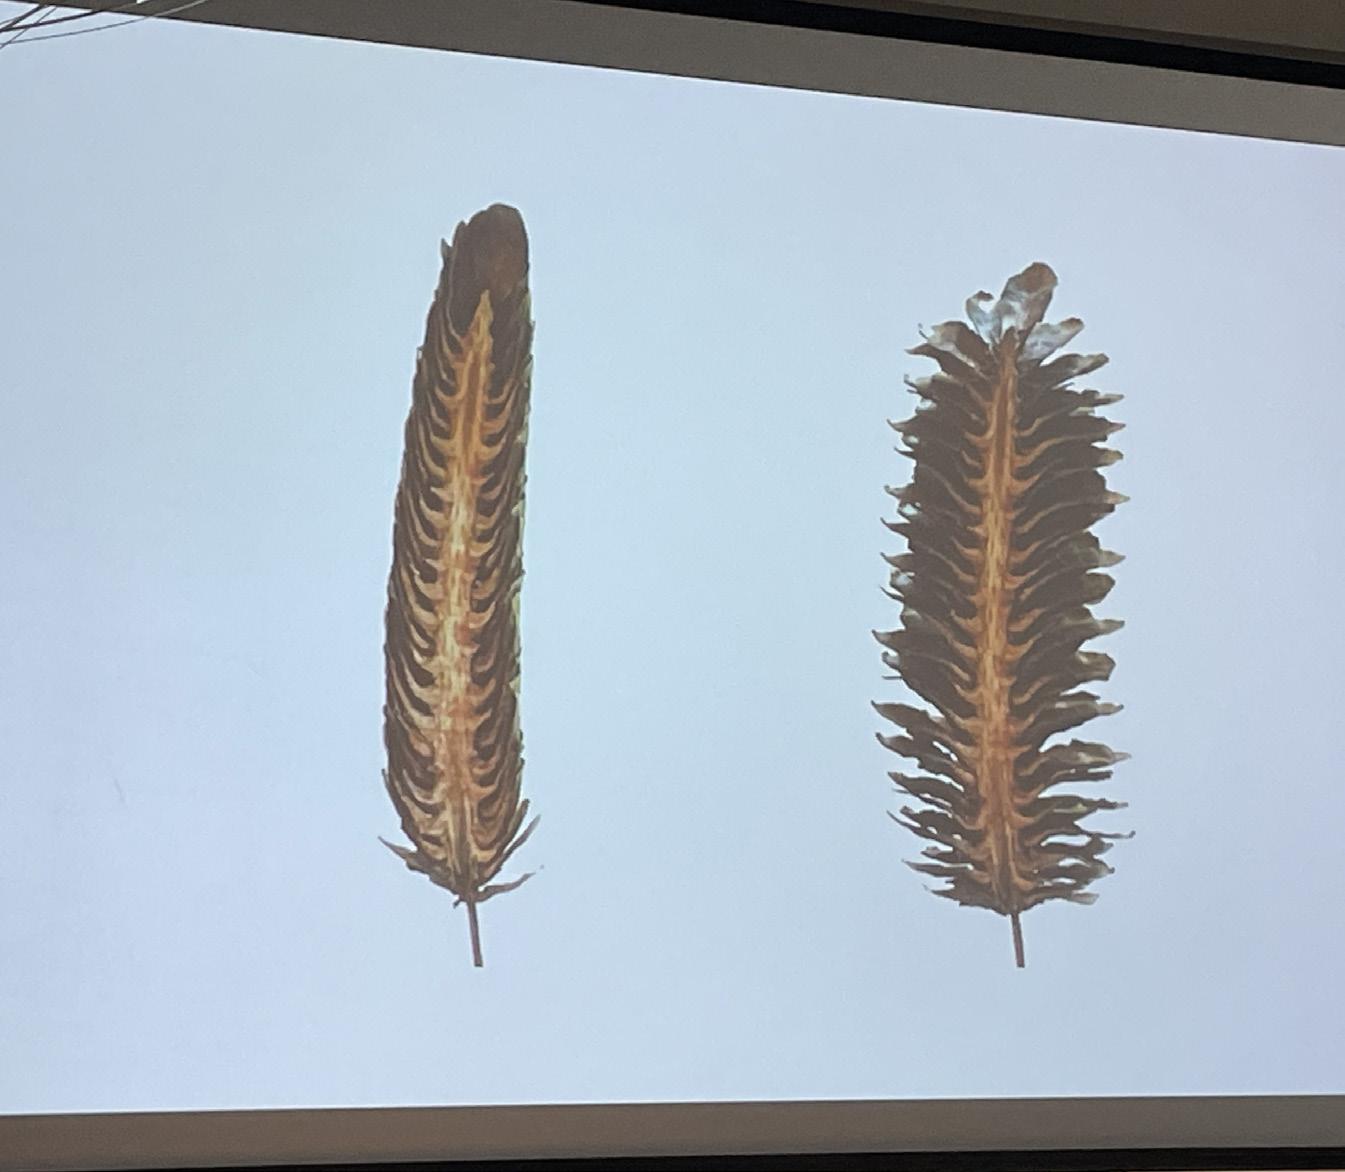
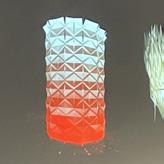
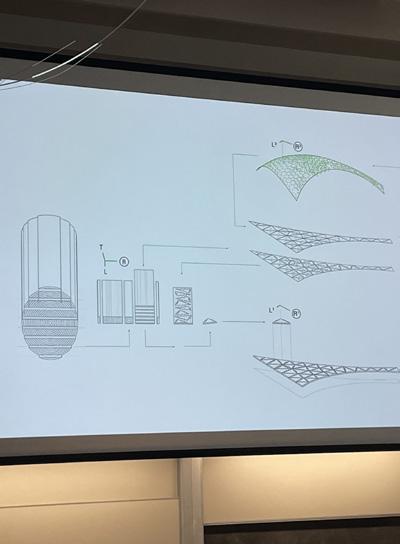
Dylan Wood’s lecture was probably my favorite lecture so far. He talked about how design can be very simple and can arrange elements in space through a process. The material choice has to come first and that creates the object. The object is then arranged and can provide better functionality. Furthermore, he talks about the basic structures of pine cones and how they are the base of his computational thought about materials. It is a great example of material programming in how they change shape. He talks about
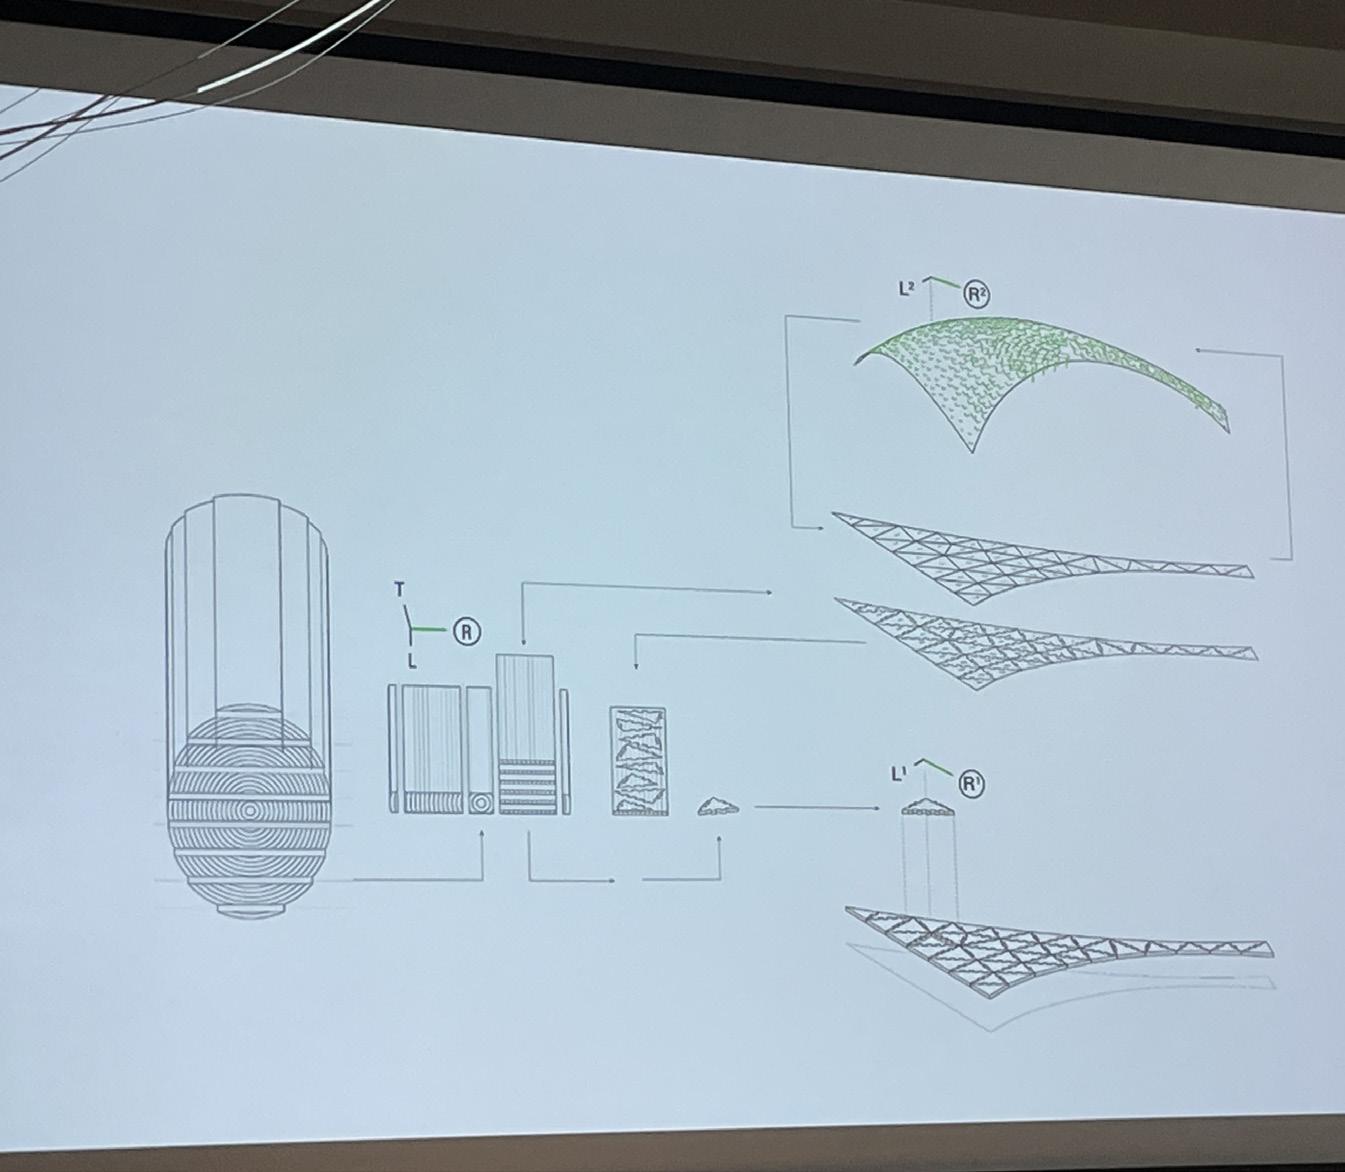
how wood is “hydromorphic” which means it changes shape with water. He then transitioned his presentation to talk about sustainability and how you can use less material for the same architectural benefit. He described these generated curved surfaces with wood, but it is exponentially more expensive than flat panels since it takes more time even though flat panels are less efficient. He then talked about his main project which was a curved tower made out of multiple iterations of circles. He showed the design process of the tower and how they bent the wood to form those cool shapes.
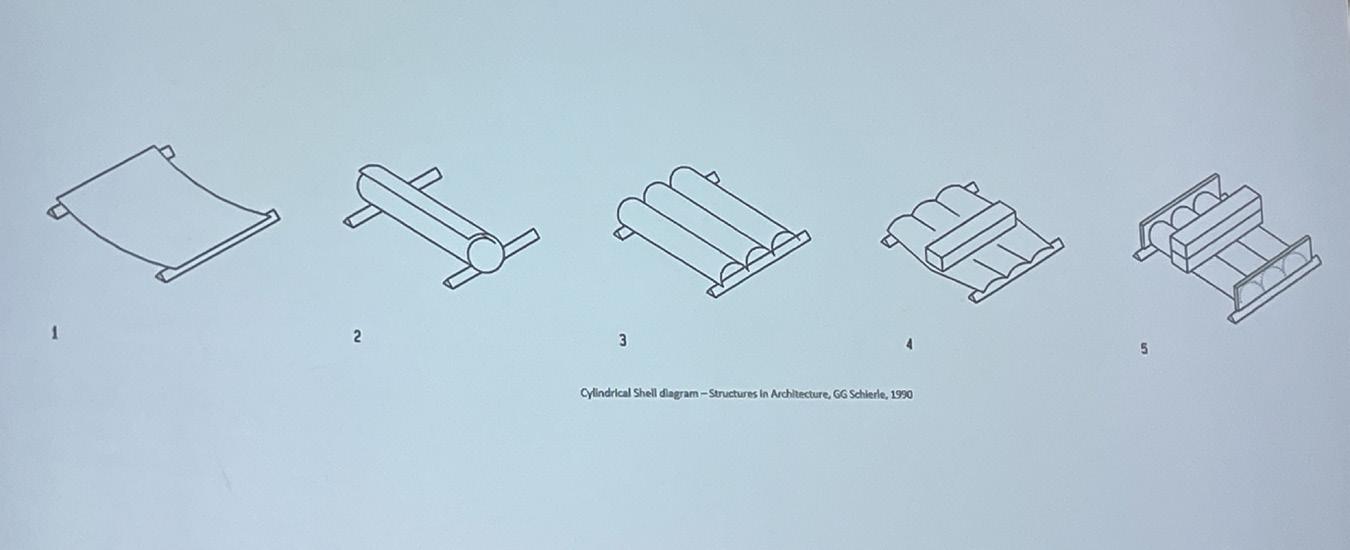
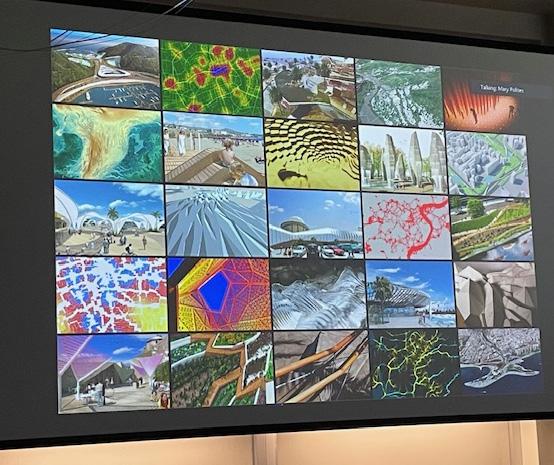
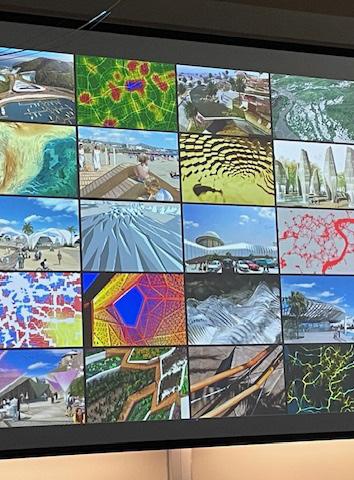
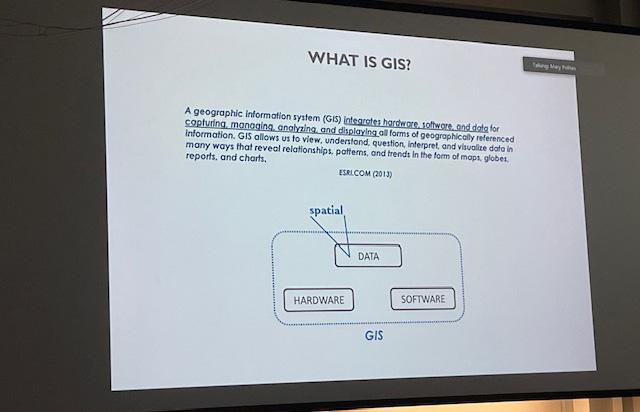
Ignacio’s lecture was very interesting and focused on many different aspects of digital media. He focuses on digital technologies and how everything can be designed with respect to nature, technology, and sustainability. He talks about how with technology, design is possible in a changing world. You don’t have to worry about scale, run simulations, and push through design in general. He talks about GIS, and how there are three main concepts surrounding data, hardware, and software. It means that if an
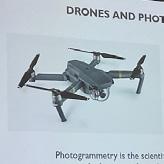
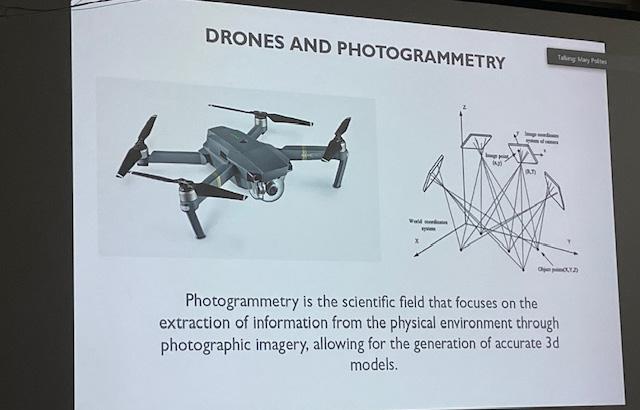
application is connected to the internet, it is GIS. Examples include computers, phones, smart watches, drones, satellites, Google Chrome, and Internet Explorer. Everything on the internet normally comes from the global cloud, and downloads to your computer. One of the main things that changed his life was drones and photography with him. Before drones, you needed massive scanners to analyze big portions of land, but now drones make it way easier to survey land. It is incredible to see the resolution that you can get from a drone, and then build 3D Models with these pictures.
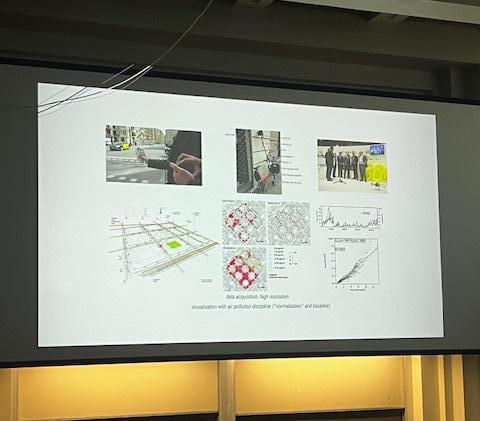
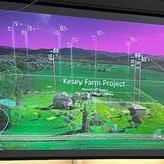
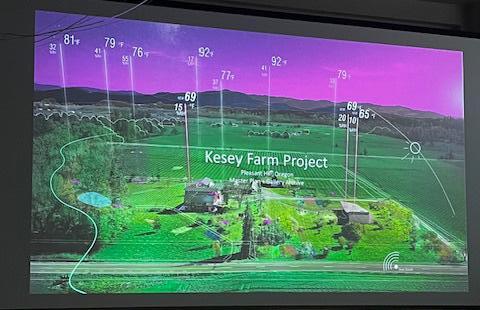
Philip’s lecture allowed me to understand more about urbanism and the delicate measures used in urban architecture. He worked with artist Janet Echelman to create public art, form-based geometry, computation of form, and understanding phenomena (seeing the wind and environment). He used the example of Gracia, a city that is very walkable pleasurable, peaceful, and has a lot of pedestrian space. The main goal was to create spaces for people, rather than cars. Secondly, he worked on the Kesey Farm
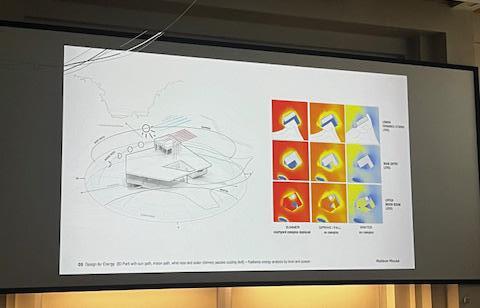
Project. I had this sense of push and pull that created a vision of being at the site as if you are pulled out and nature is pulled in. An example of this is light coming in through the top of the building but it also has passive cooling in the space. Finally, he also helped work on the Birch Fircrest House, which was 3 units overlooking Sisters. He implemented strategies for passive cooling and heating. He then finished cutting the view while also making shade in summer. This created a cool facade in the house. He created a model of topography in rhino with grasshopper. He also used Revitt as well.
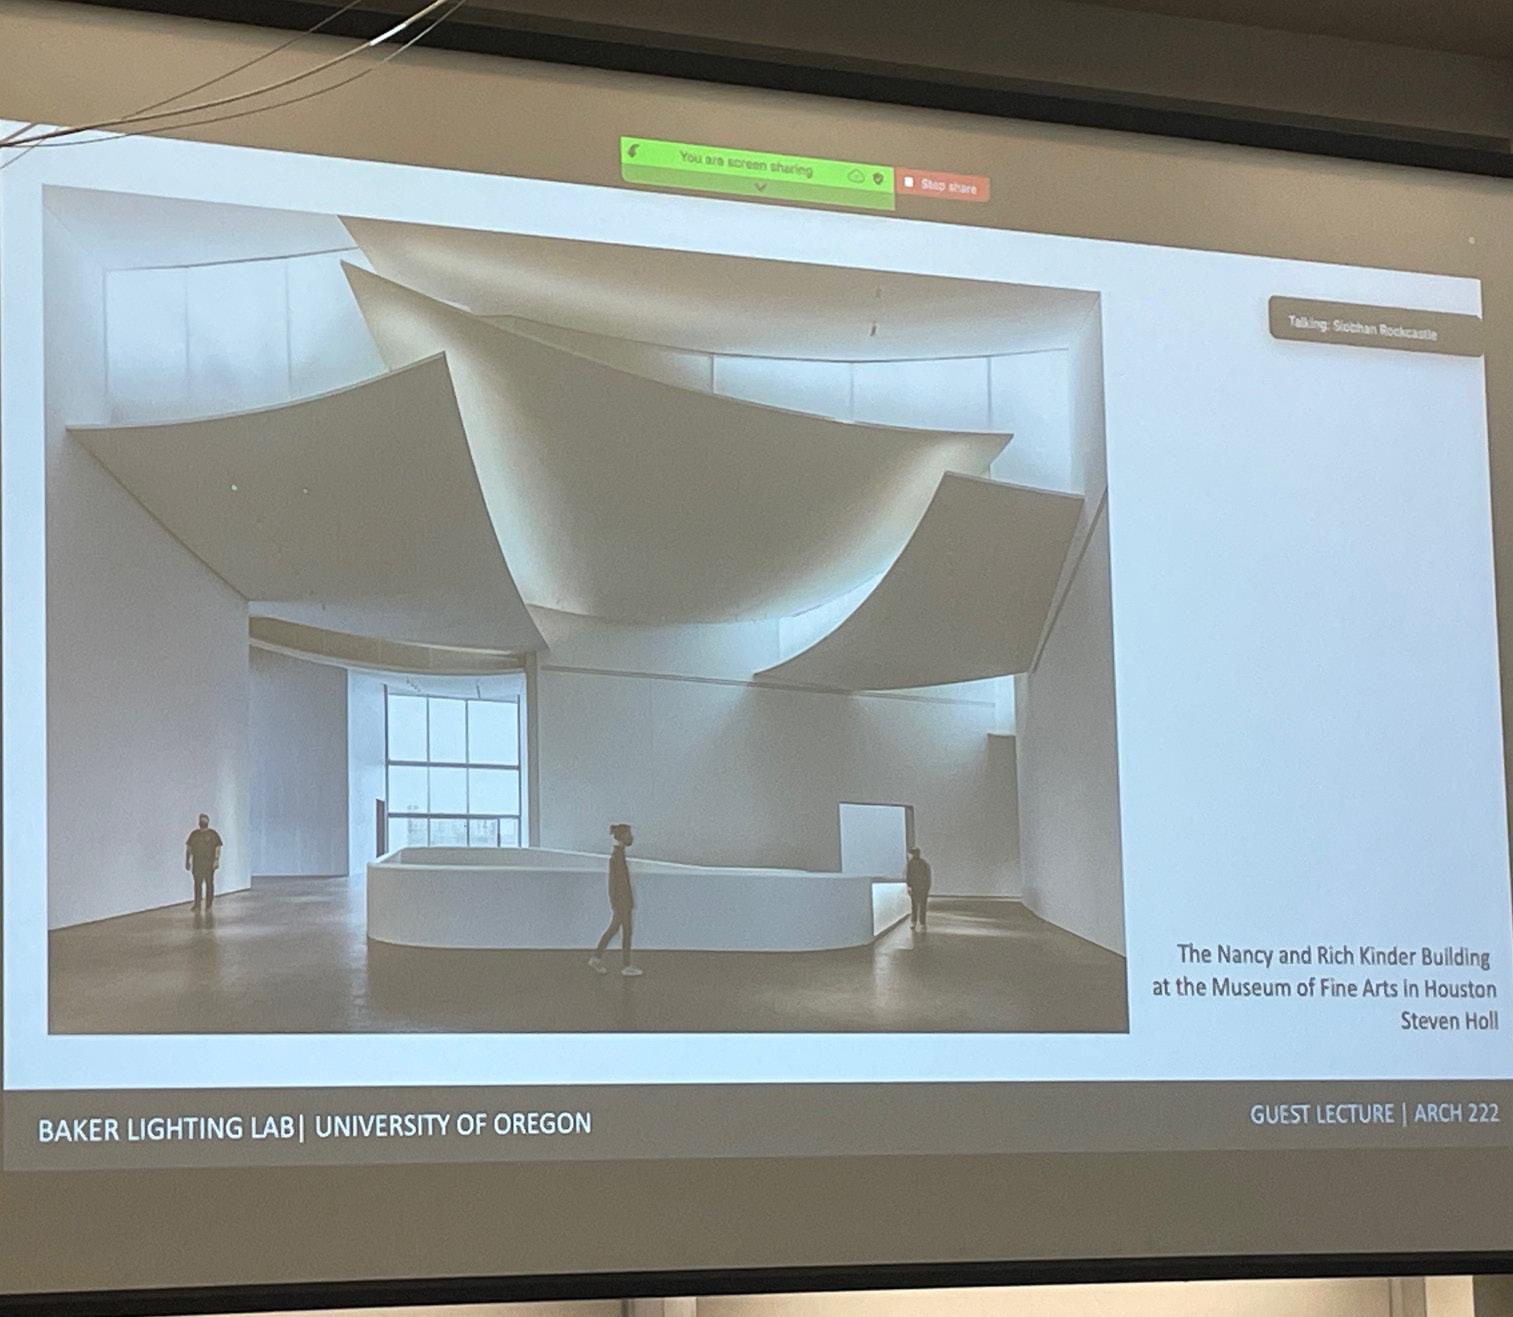
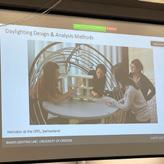
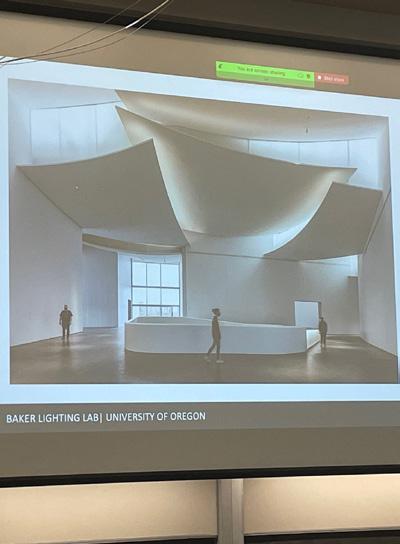
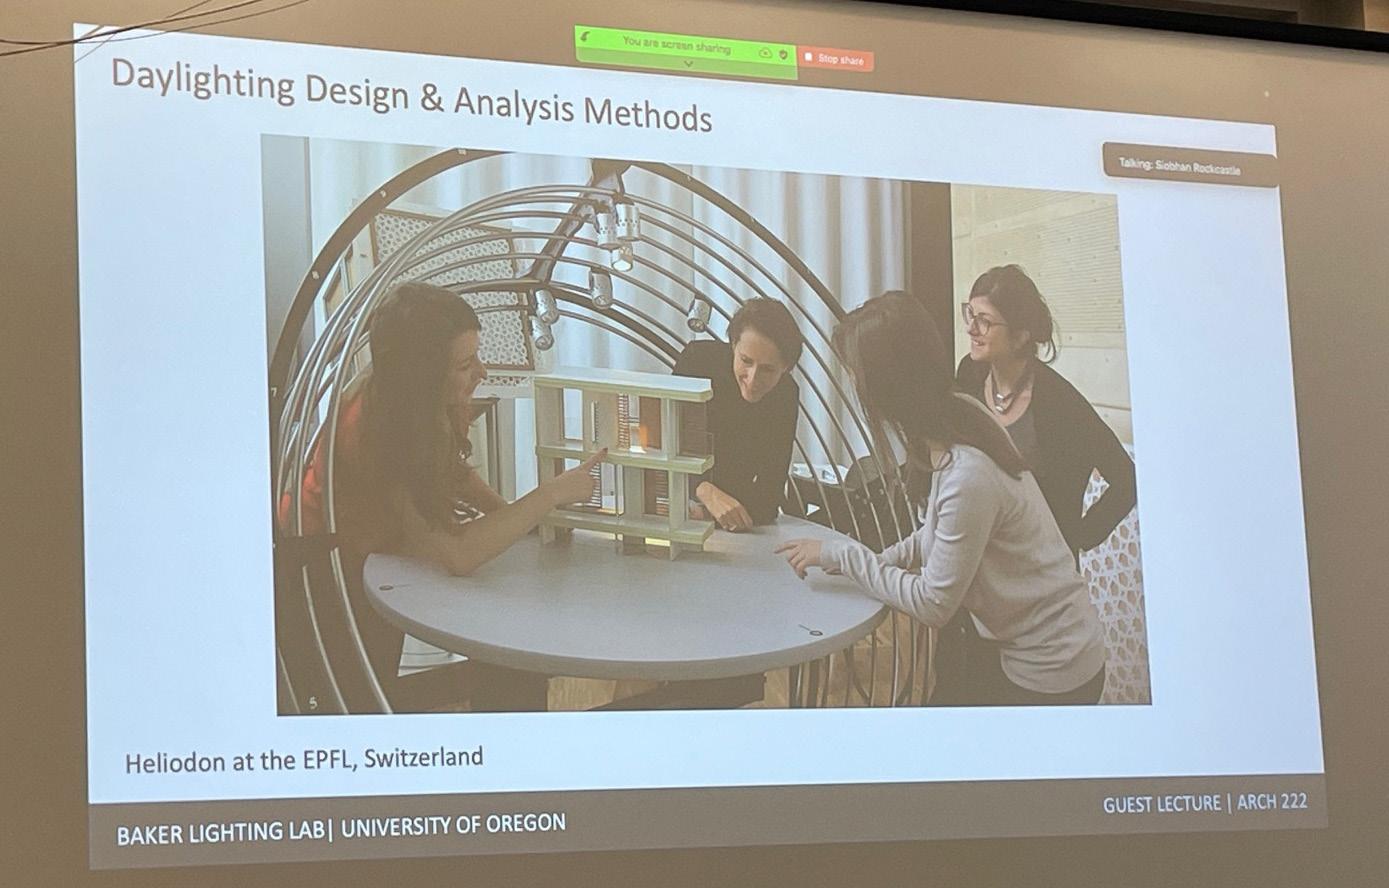
Siobhan’s lecture was very interesting and gave me valuable insight into demos and light sources. She started with talking about daylight and how daylight is impactful in setting our tone for the perception of interior space. It is highly variable and can have a variety of factors including atmospheric pressure, cloud cover, and position on the Earth. the photo above shows the impact of soft, diffused light on a space. She made a physical model, shown above, that allowed the user to move the model and table in
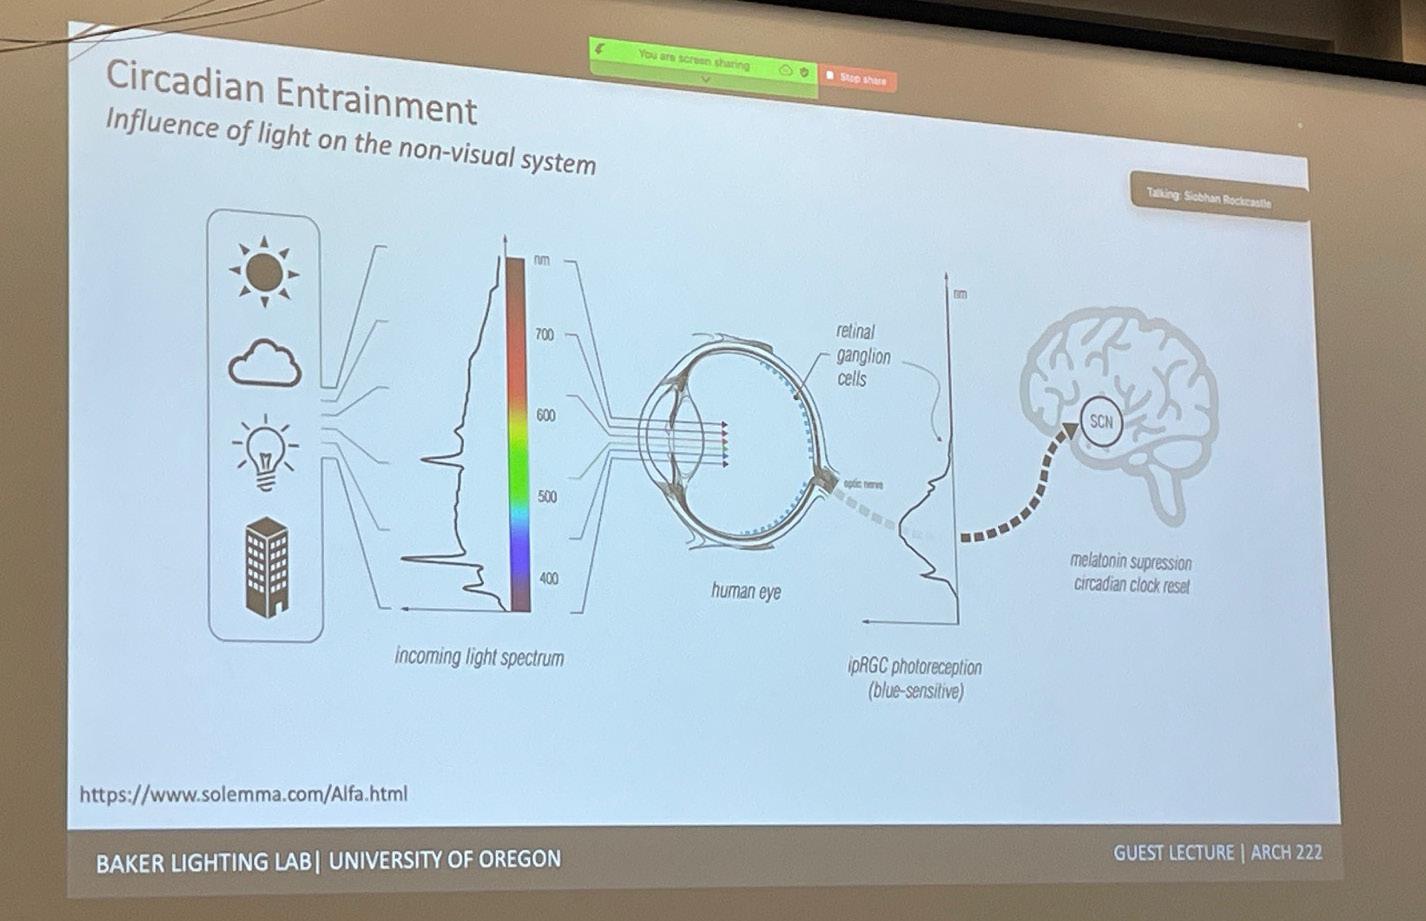
different directions to get any possible light in any sort of season. Furthermore, she also uses 3D cameras to see inside her space, allowing for a more perspective and intimate view. She also talked about the circadian rhythm and how light in the past, we were exposed to more harsh light, but now with electric and interior lights, humans are not getting as much light as we previously were. So it is the job of the designer to create a space that emphasizes light and allows people to get ample natural light. Overall, I really enjoyed the lecture and loved the interaction with the audience on all of the demos.
For the extra credit for this term, I chose to do the time management schedule, and also the two extra credit surveys due at the end of the term. For this time management sheet, I was able to compose this in Adobe Illustrator and I drew rectangular boxes around the certain time slots for each of my hours. I made sure to dedicate specific work times for each class and the specific class periods for each week. This helped me improve my work flow every week and kept me on track, especially towards the end of the year. Furthermore, I made sure to allocate enough time for me to sleep, eat, and travel to each of my classes. This
helped me set up quality time for myself and help with my emotional health. All of this I made sure to keep track in the legend at the top of the schedule for easy access. I changed the transparency on most of the boxes, so that I could still see the frames underneath them, and not intrude on the specific “hour blocks”. For the surveys for extra credit, they were relatively easy and I was happy to be able to provide my honest feedback for the two specific ones. Overall, this class has helped me grow as a student and my Rhino skills have grown since the start of the term exponentially.
ARCH
