

ARCHITECTURE CAN’T FORCE PEOPLE TO CONNECT, IT CAN ONLY PLAN THE CROSSING POINTS, REMOVE BARRIERS, AND MAKE THE MEETING PLACES USEFUL AND ATTRACTIVE.
- DENISE SCOTT BROWN
Experience in a broad range of service industries lead Dani Hill to discover his passion for design. With skillsets gained from working in banking, interior design, coffee and wine, Dani approaches the design process with a people-focused mentality.
With an education in Architectural Design, Dani intends to learn how to design sustainable, beautiful, and functional spaces. At The University of Oregon, he hopes to conduct research involving topics that give him insight into the needs of urban communities that can be met through design.
During his time at The University of Oregon, he’s looking forward to immersing himself in a cooperative and familial studio culture. Within his studios, he plans to nurture his relationshis by working with and learning from his peers and mentors. There’s so much to discover, and plenty to master in the design industry, and Dani intends
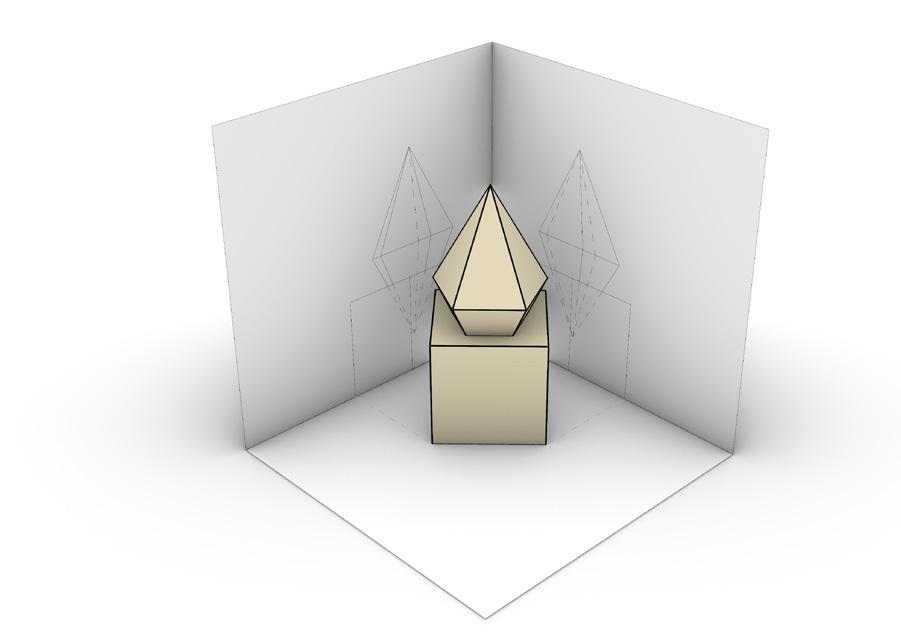
Pages 8-9
Module 1
Digital Primitive Model
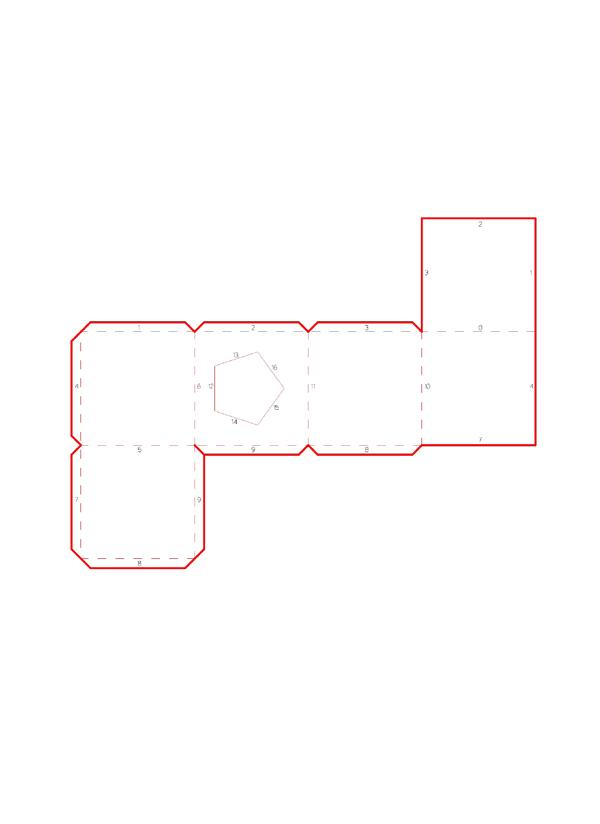
Page 10
Module 1
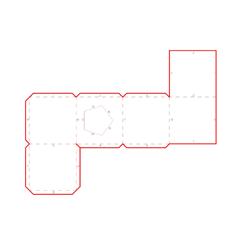
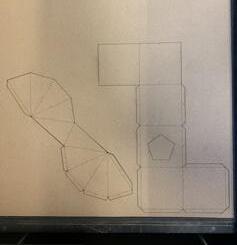
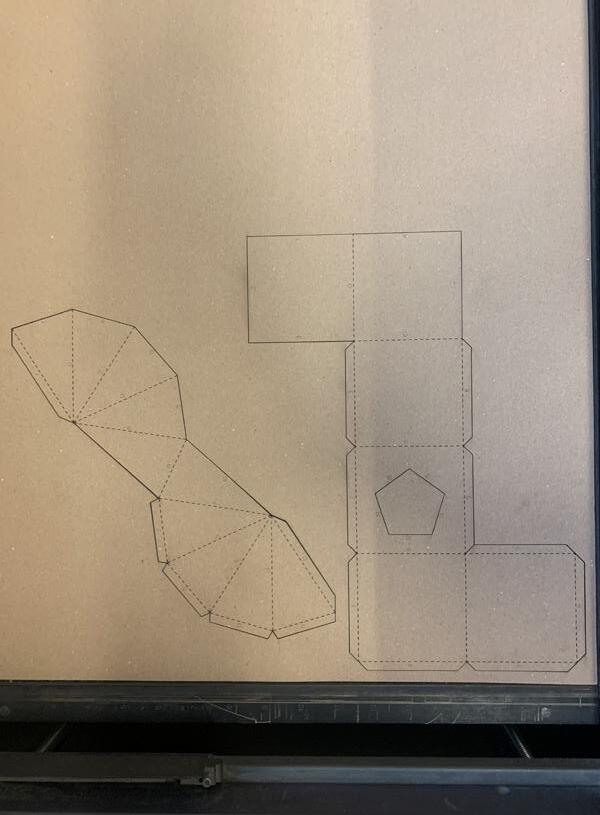
Laser Cut Template
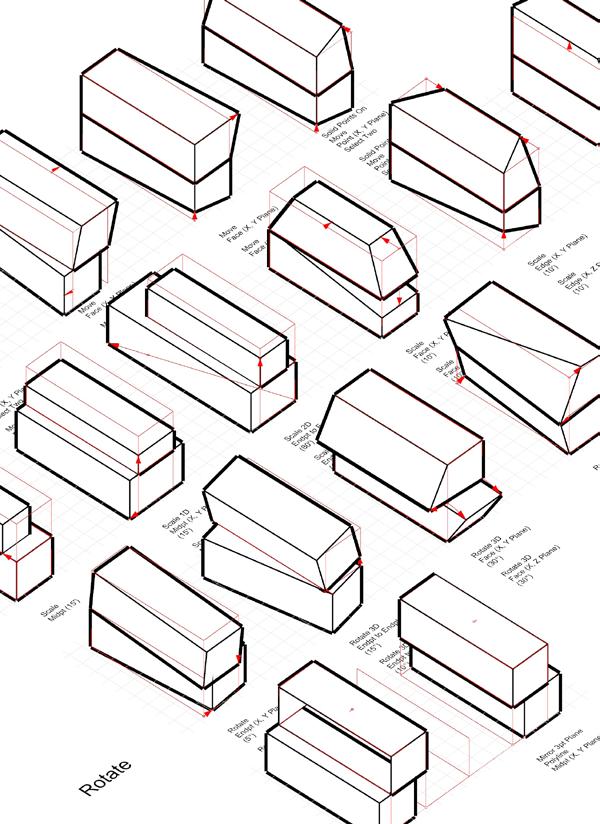
Module 2
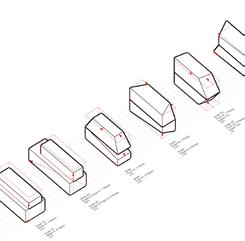
Digital Primitive Rules Pages 16-21
Module 2
Digital Primitive Rules
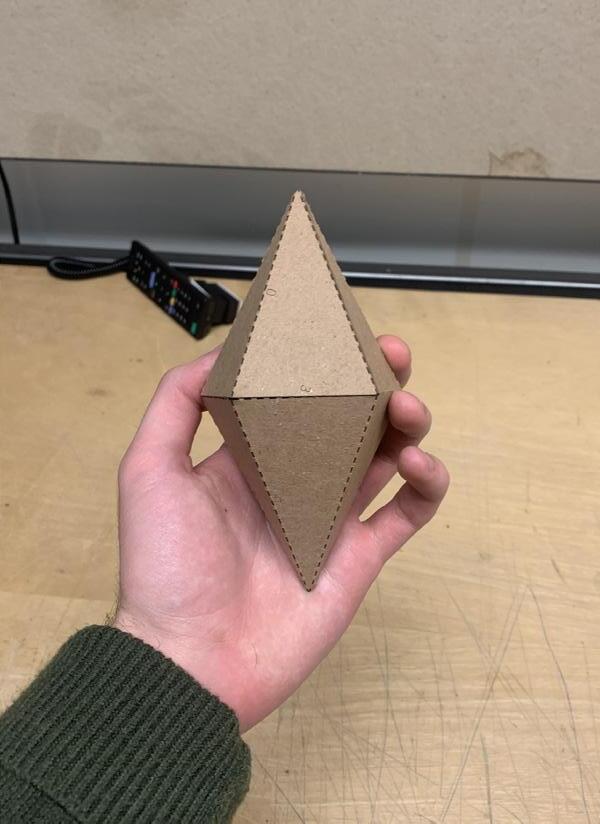

Page 11
Module 1
Laser Cut Model
Pages 22-25
Module 2
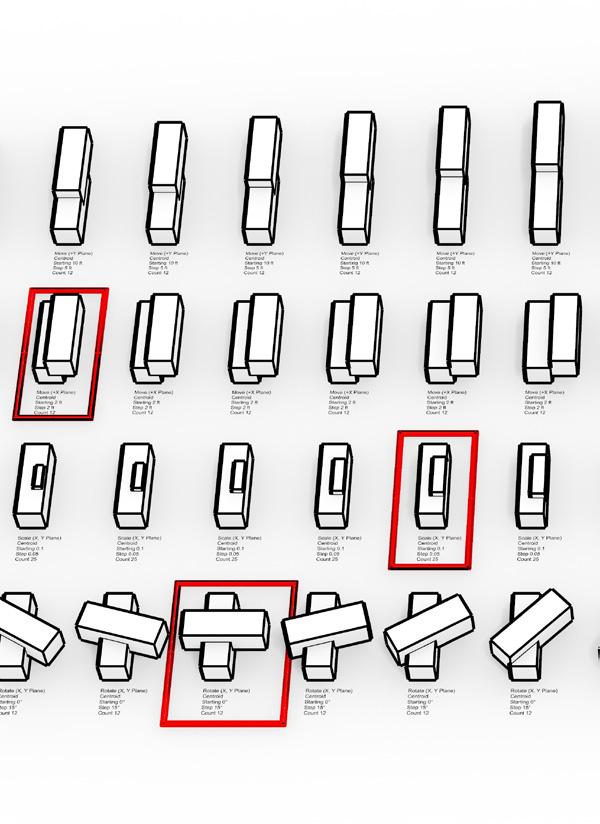
Digital Primitives Additive
Page 12
Module 1
Laser Cut Material
Pages 26-27
Module 2
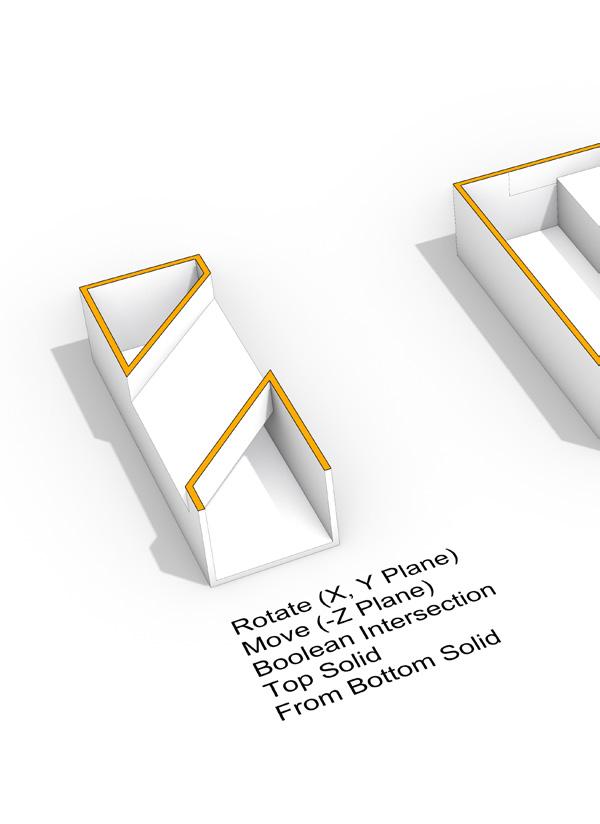
Digital Primitives Subtractive
Page 13
Module 1
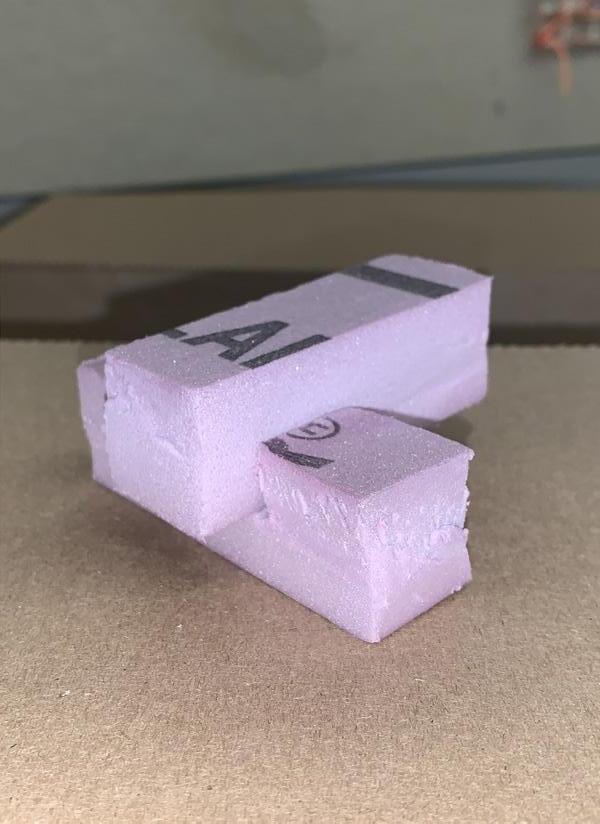
Primitive Enclosure
Pages 28-29
Module 2 Assembly Primitives
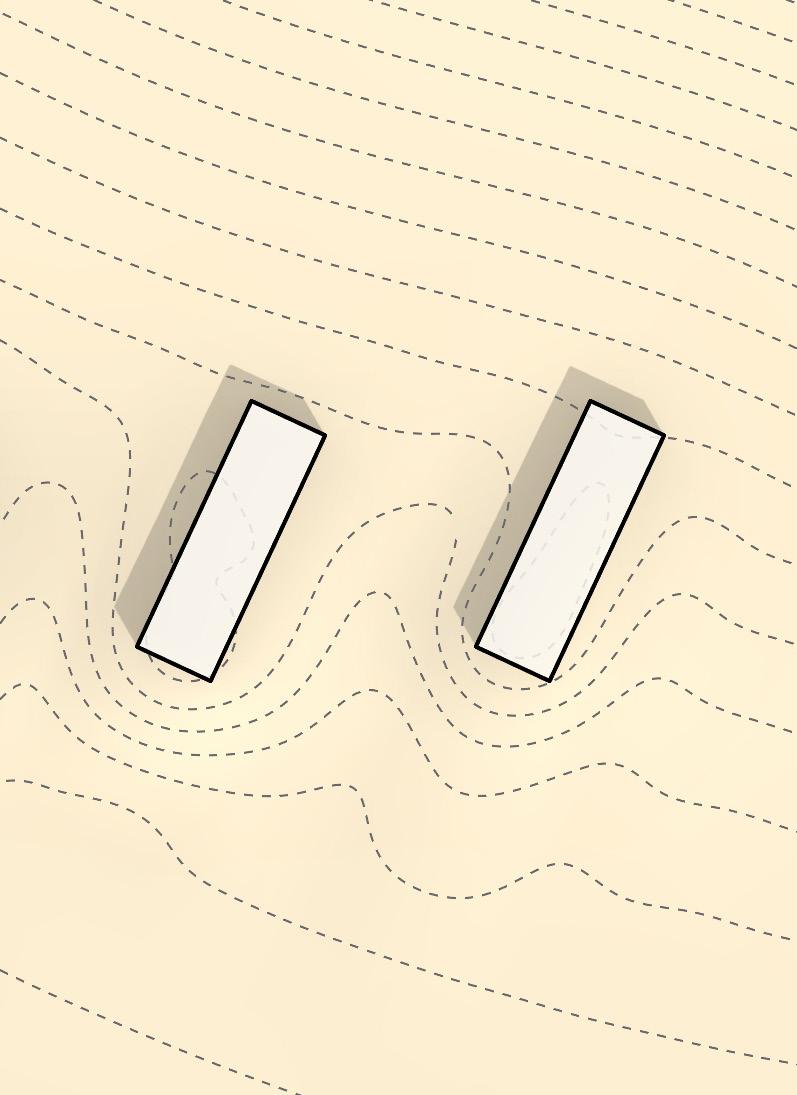
Pages 30-33
Module 3
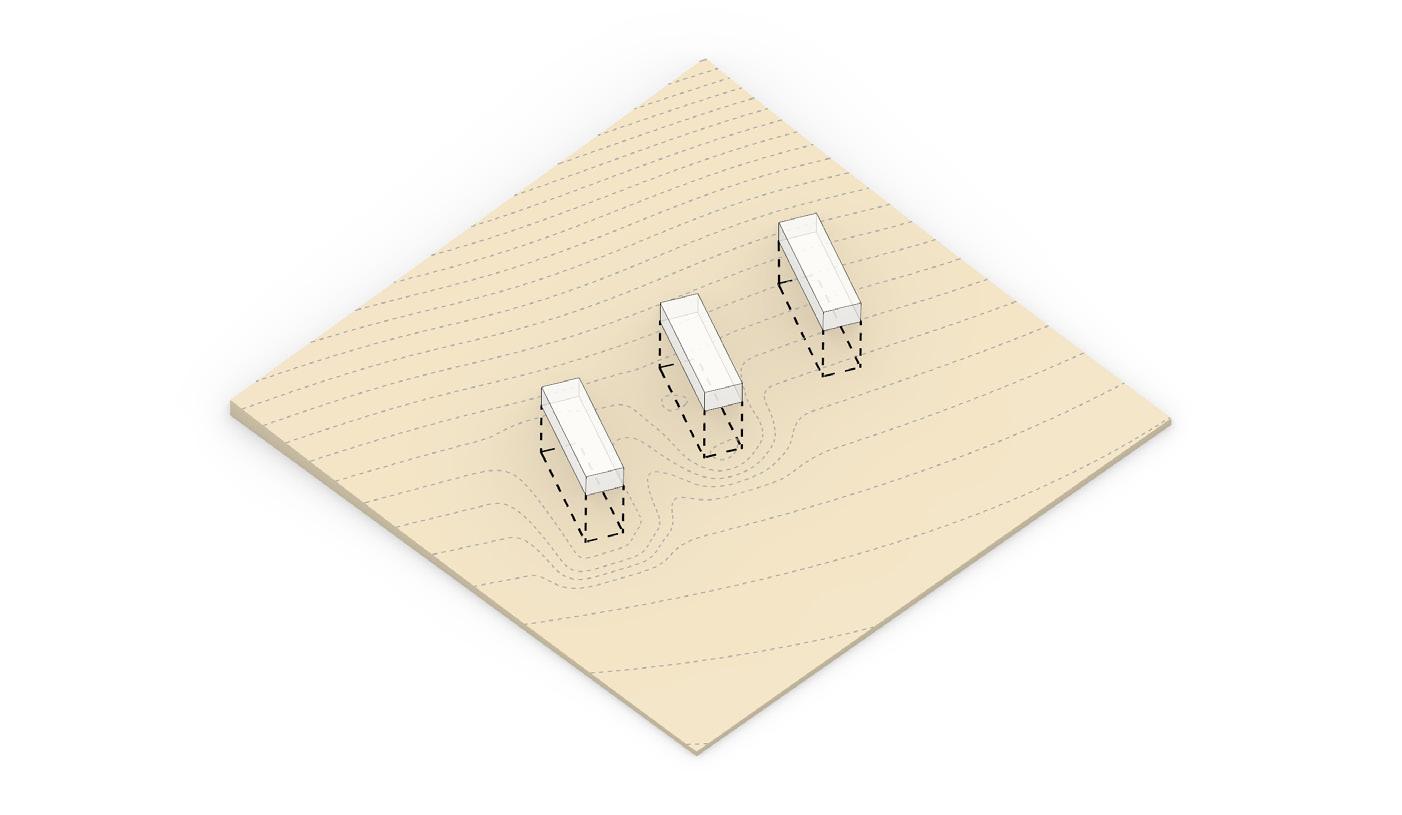
Topography
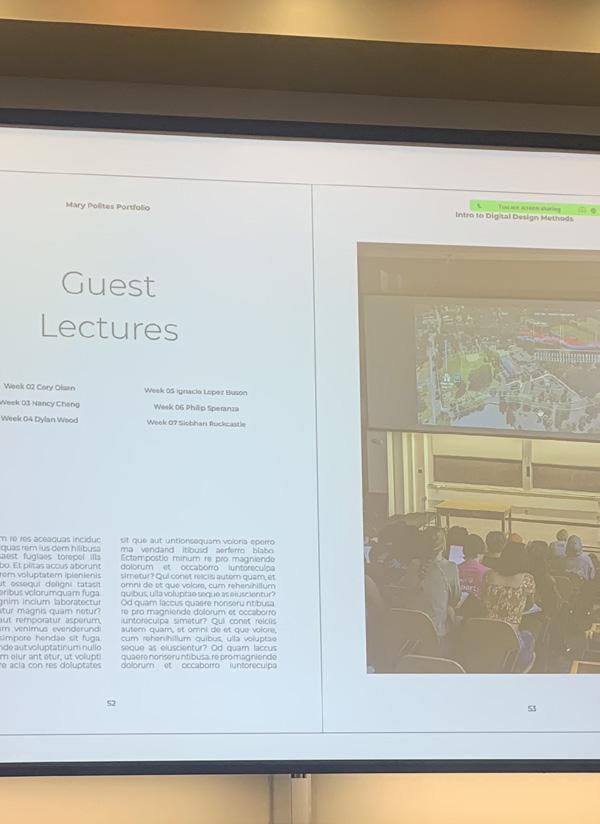
Pages 52-53
Guest Lectures

Pages 34-41
Module 3
Digital Frames
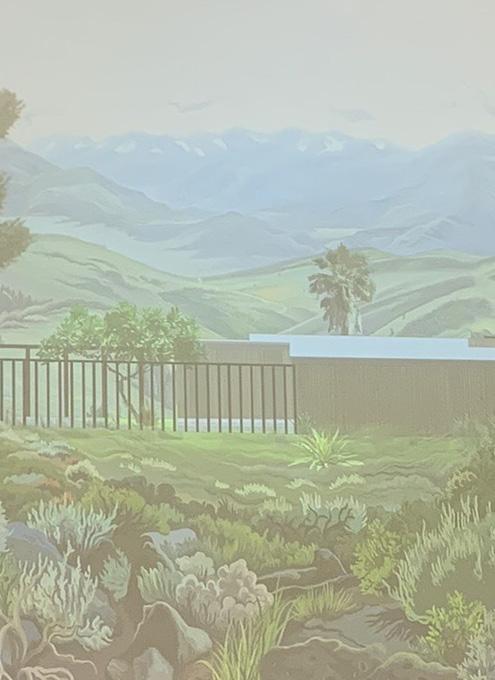
Pages 54-59
Guest Lectures


FABRICATION TIME
30 min. Laser Cutting
1 Hour Assembly
3 Hours Digitally Modeling
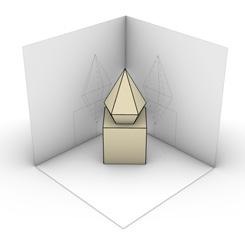
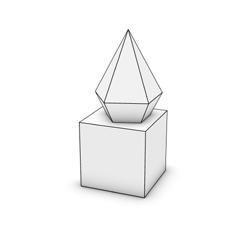
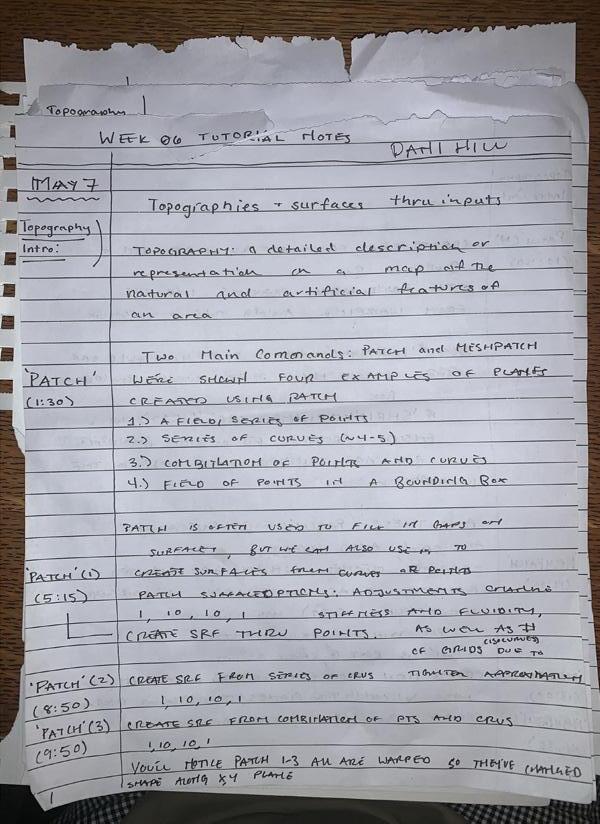
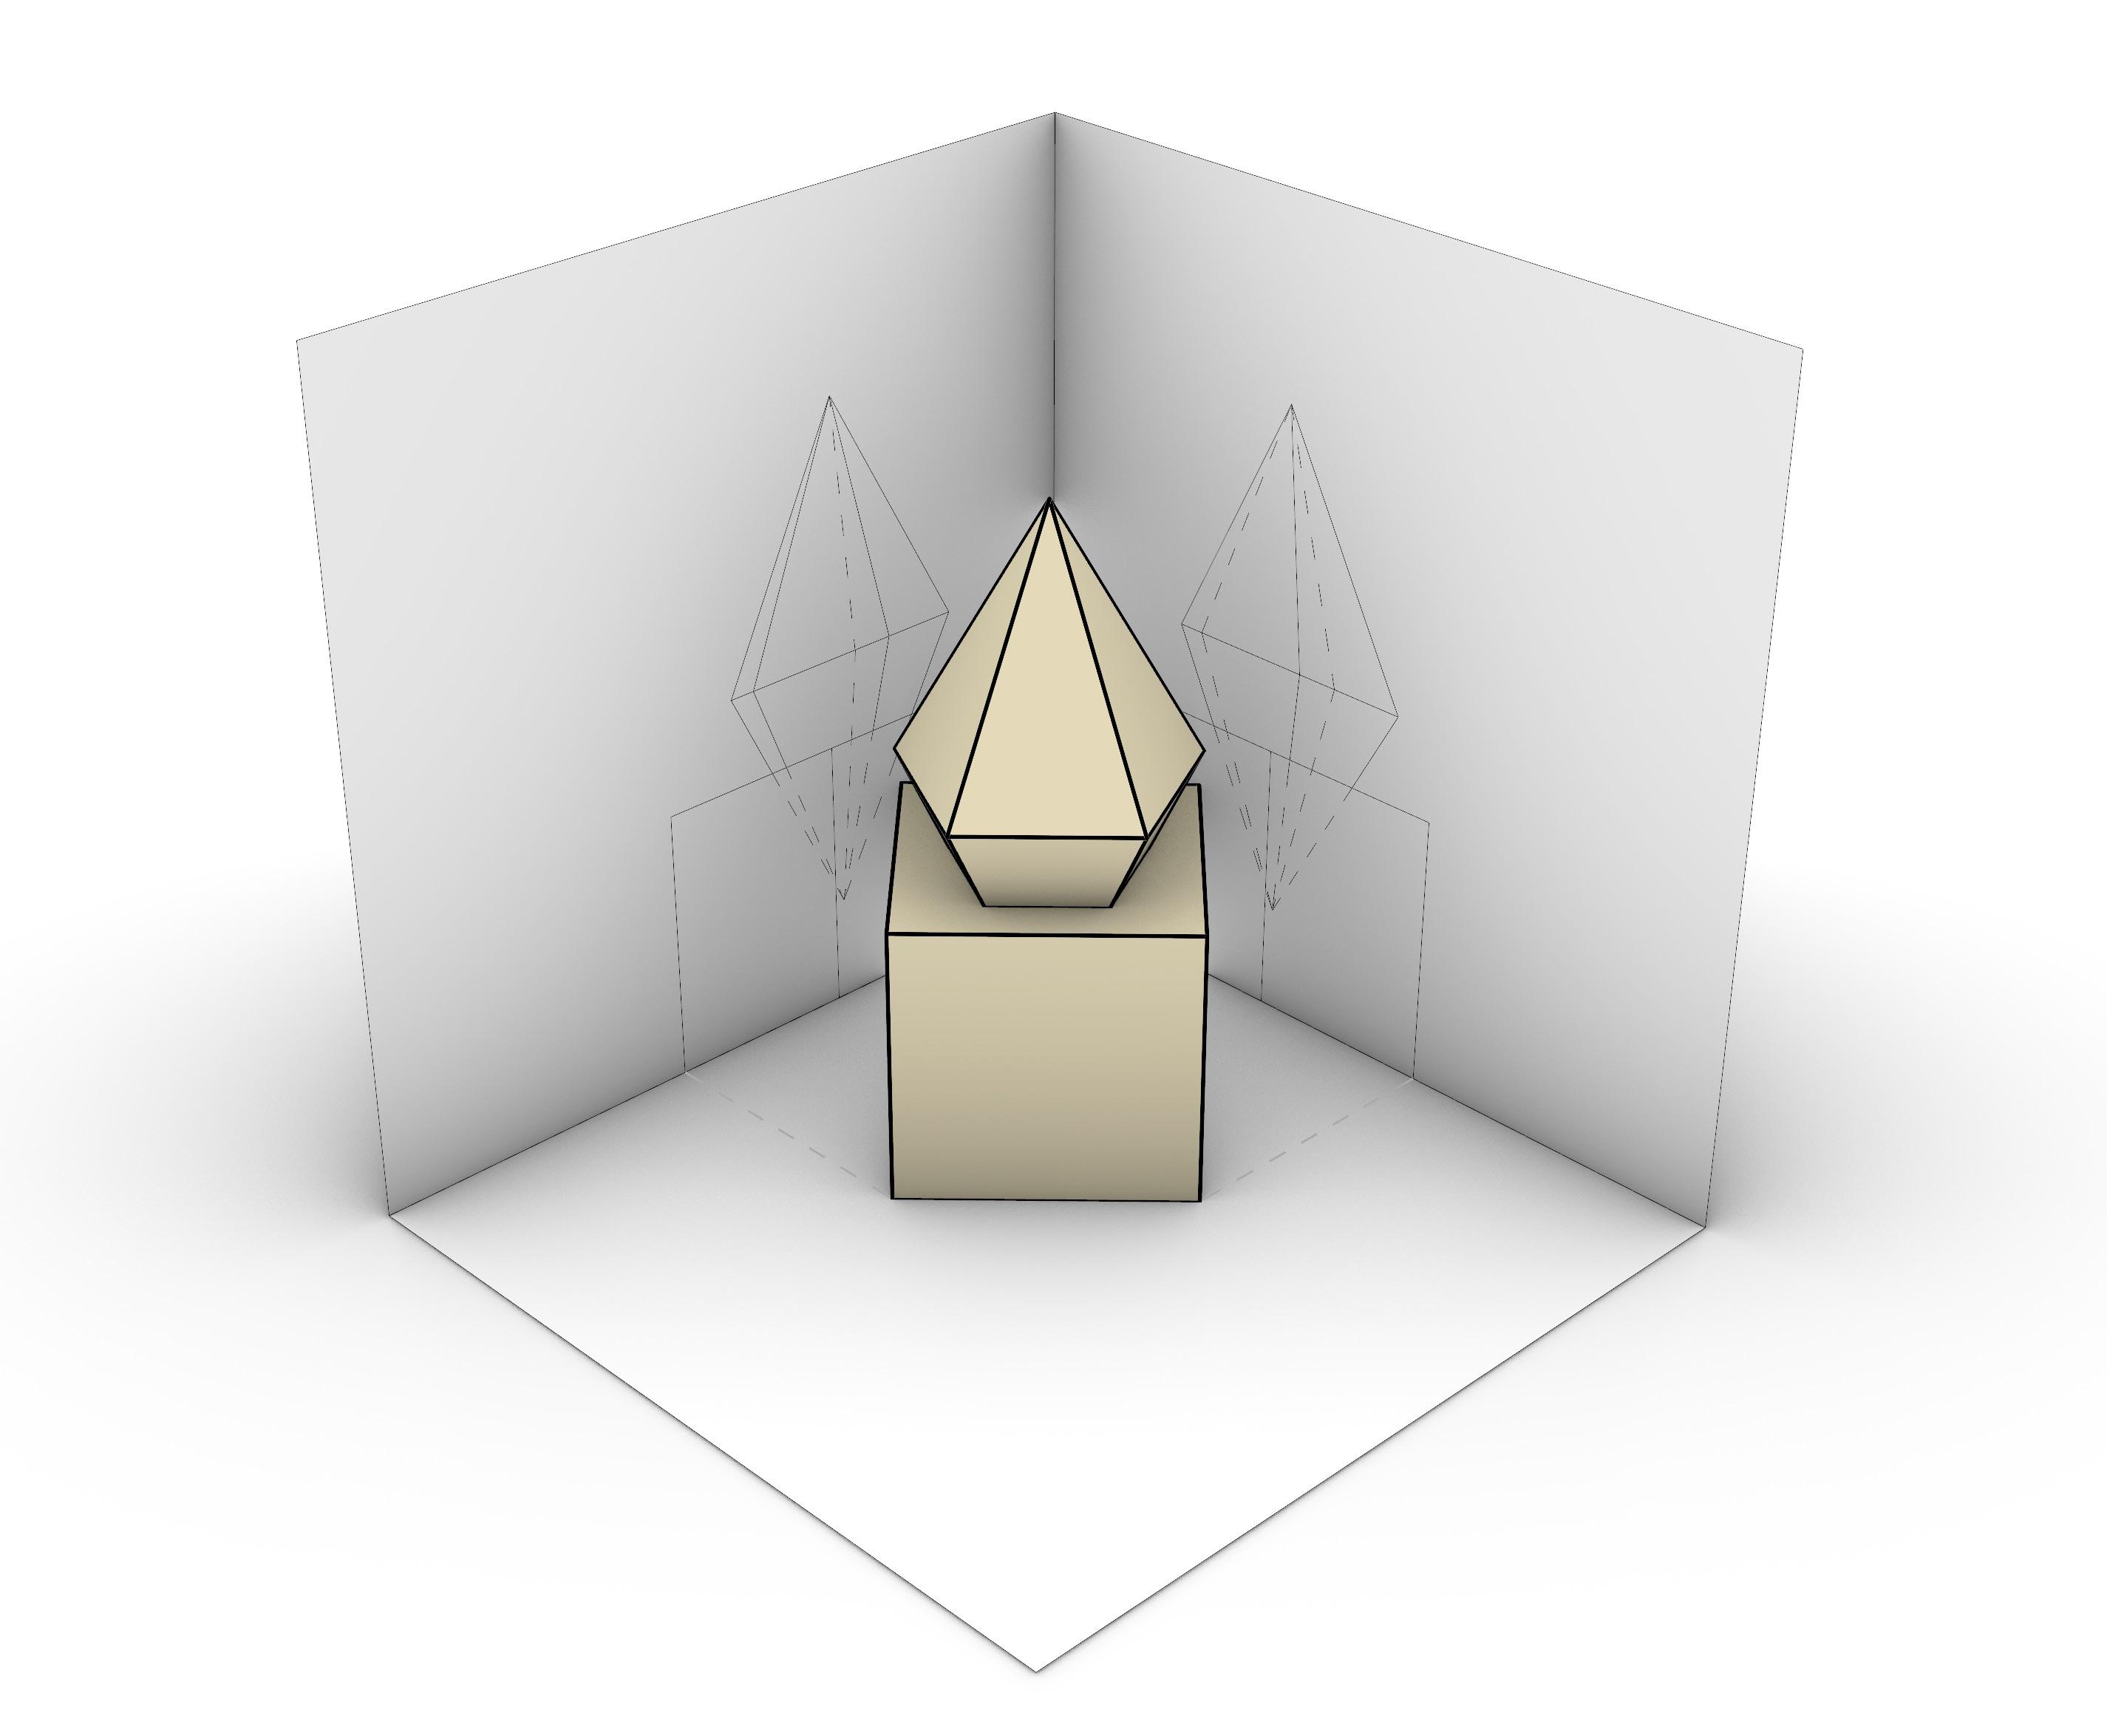
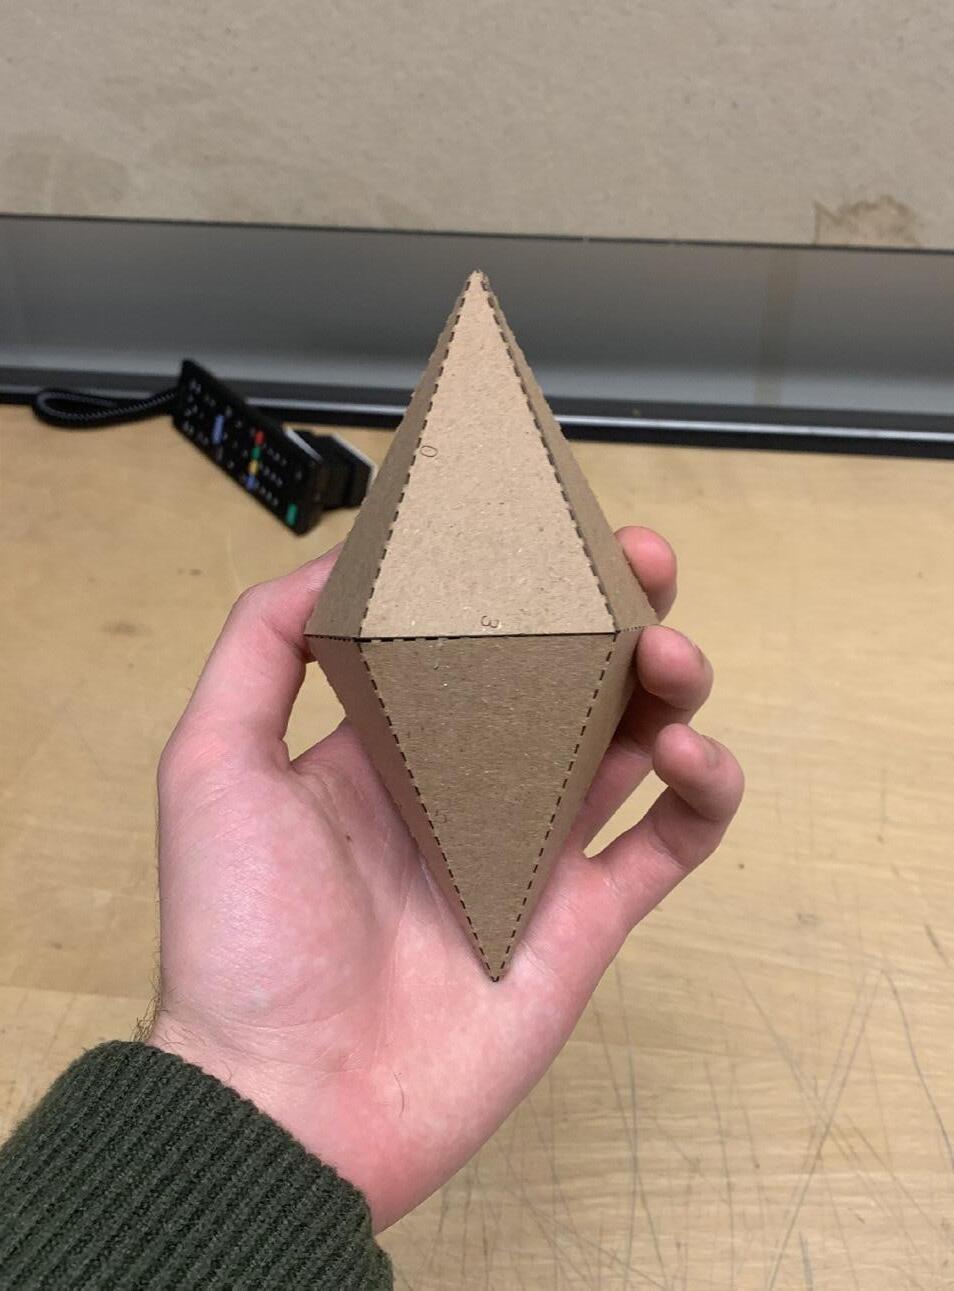
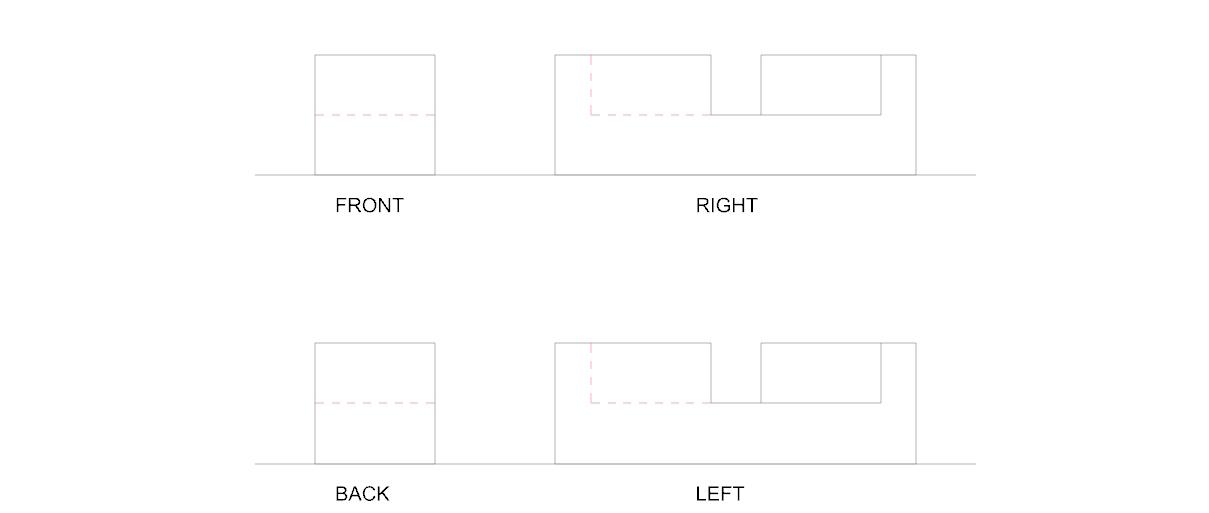
Module One: Primitive, had a focus on learning the basics of both Rhino and laser printing. The assignment went into depth about how to model both 3D and 2D objects, how to set layers, and how to adequately export model images from Rhino.
This assignment helped me develop skills in Rhino, and taught me many commands that will be a great baseline for my future use of the program. I can now confidently navigate the ssytem commands on a beginner level.
Througout the module, making copies of the primitives and 2D projections to continue editing in another step was fundamental. This allowed us to have a backup that we could backtrack to. I definitely used these model backups when I got lost in following steps.
The skills that I learned from Module One: Primitives will allow me to use Rhino for my future projects. I hope to get into more in depth building within Rhino after this. If I can confidently model within this program, I will surely be able to design in a more efficient manner.
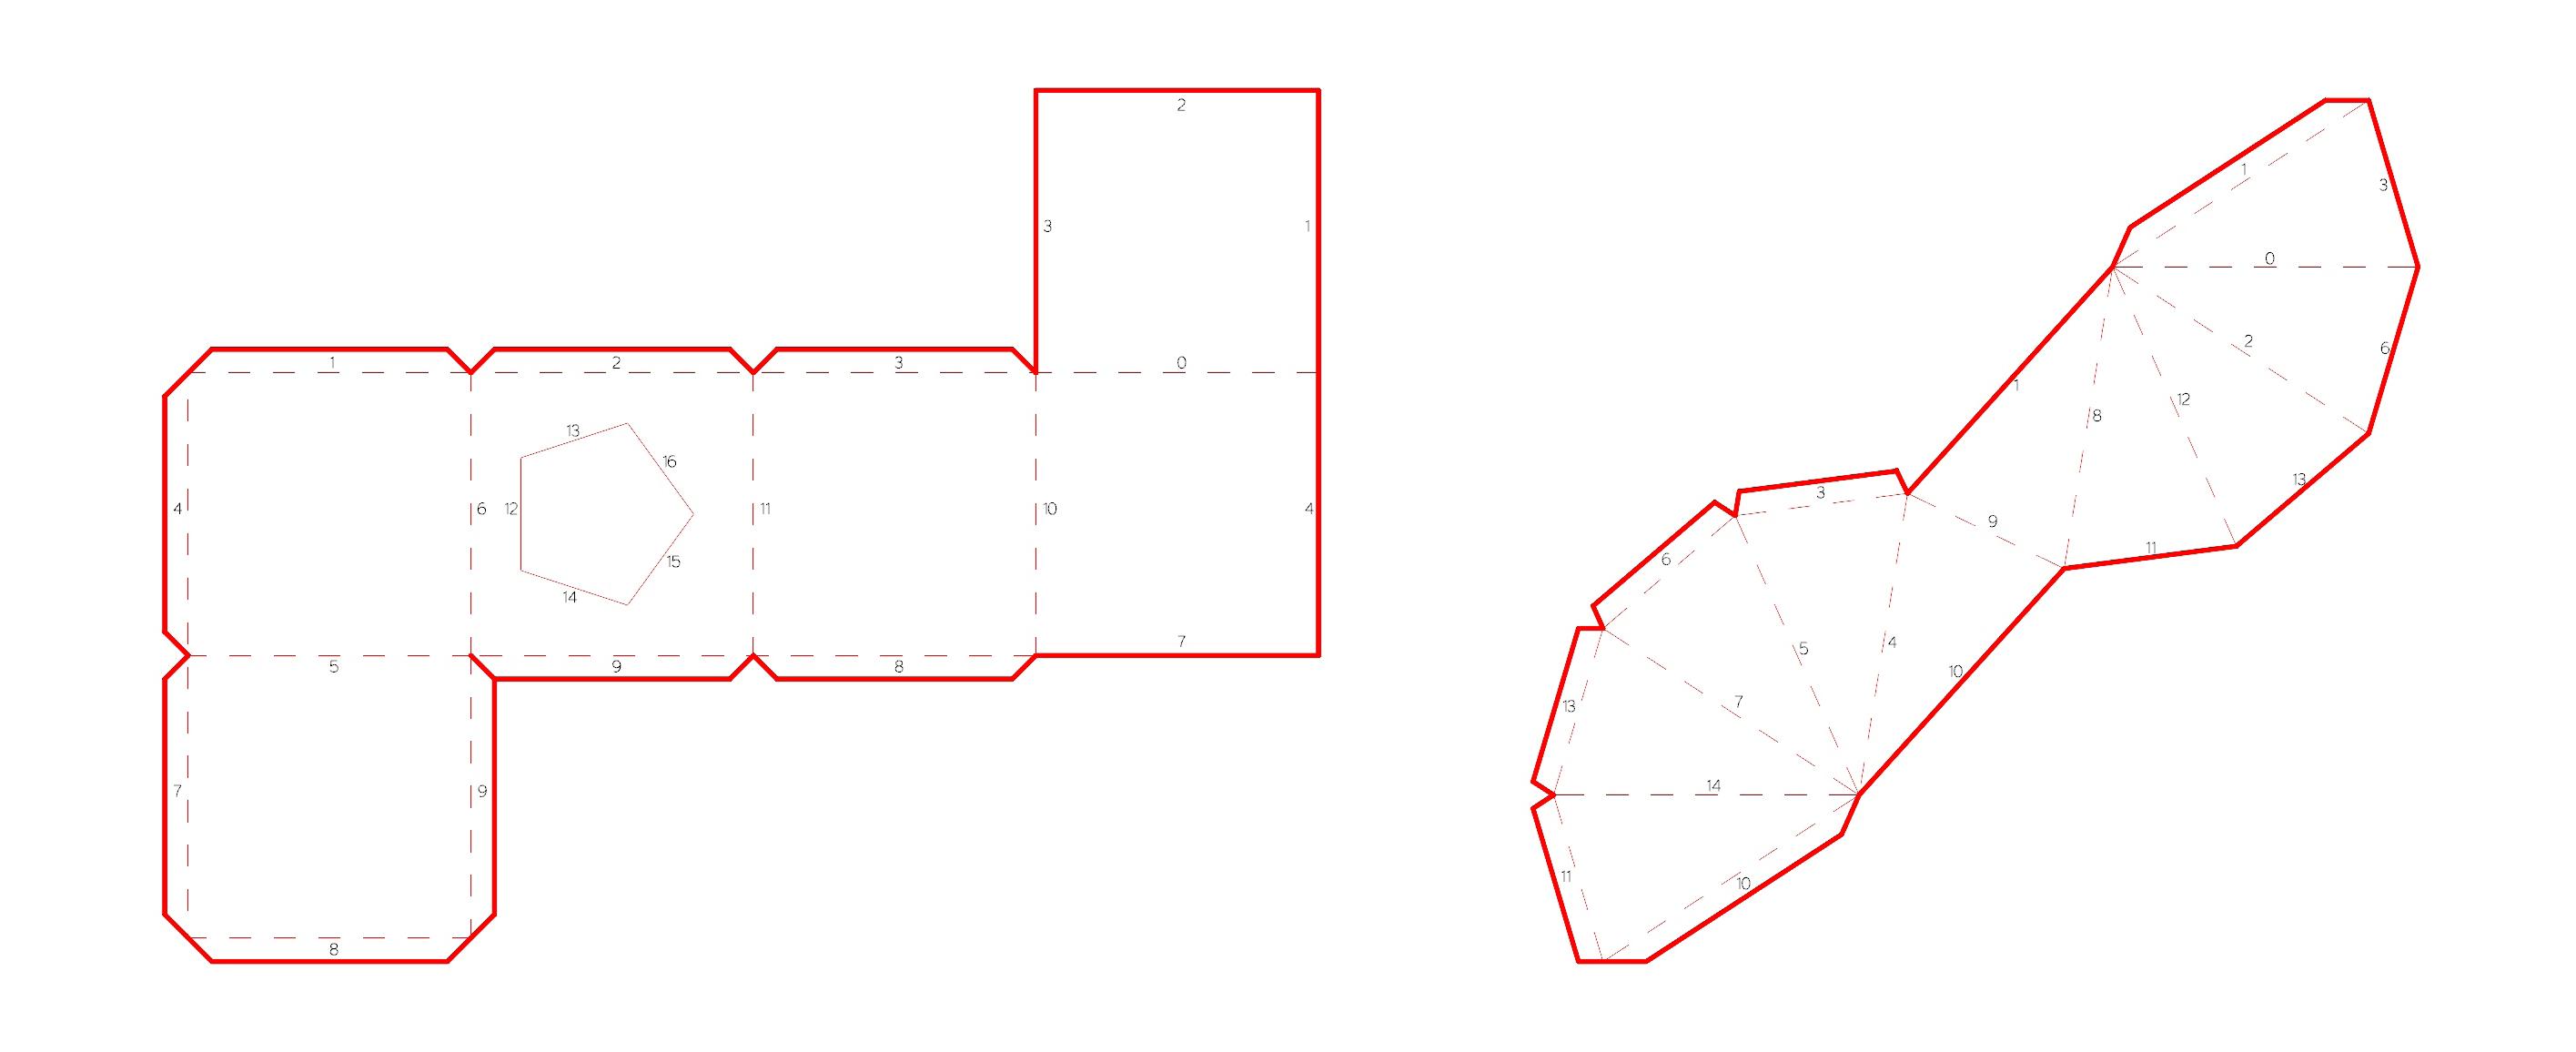
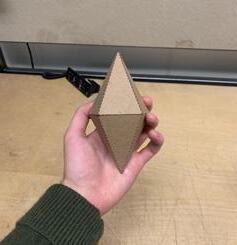
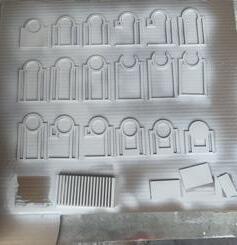
One major step of the process was laser printing. In Rhino, you can set different layers and line types to specific colors and thicknesses to allow for the file to be read by the laser printer. This went fairly smoothly for me. Instead of using scoring, which projects the laser only partly into the material to allow for either folding or text engraging, we used a dashed line on the cut layer. This dashed line allows the
primitive model to be folded both forward and backward. This was essential during construction.
Printing and construction seemed to be the more difficult part of the process for me. When I tried to log into the laser cutting computer, I had difficulties. After working with the shop intructor, we had set up the computers correctly, and the rest of the printing process was a breeze.

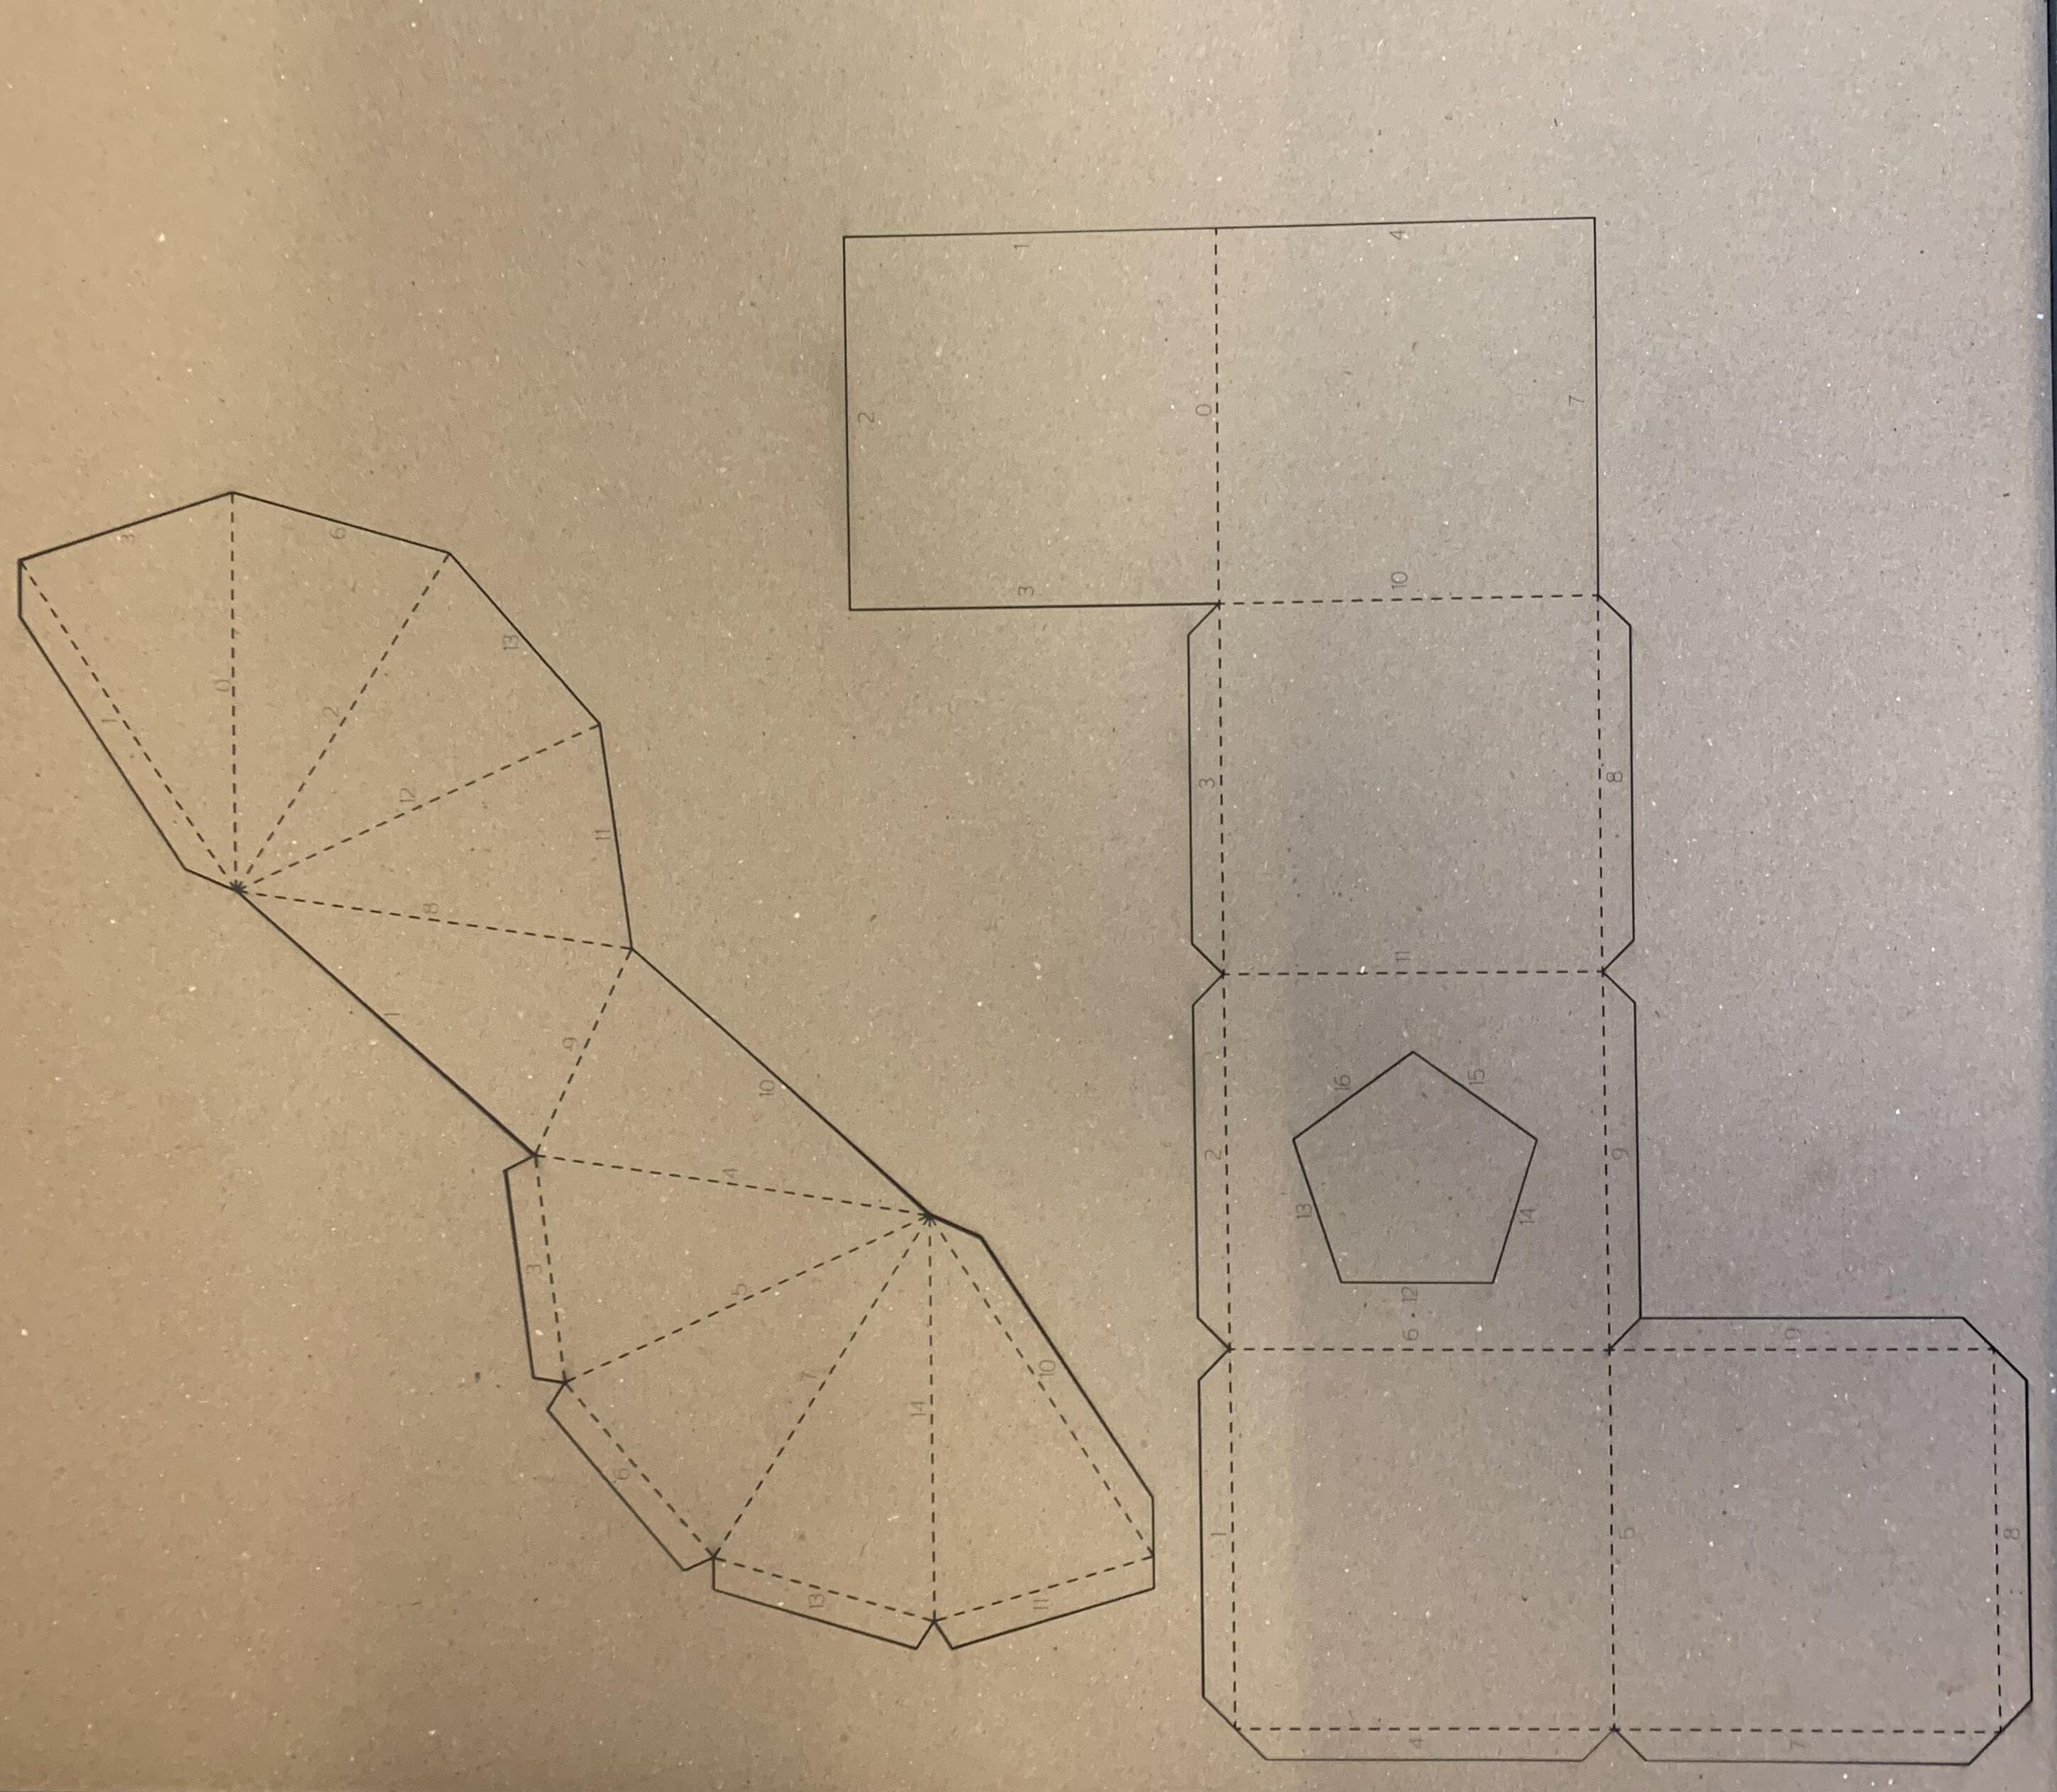
Laser printing may be one of the most useful tools that the wood shop has available. There is a small learning curve, but after one use, I can manage to figure out how to print future models.
I’m glad that we got the opportunity to learn laser printing. The options that it gives students for model making is influential in design presentation. I hope to opt for laser printing instead of relying heavily on cutting with a knife. X-ACTO and Olfa knifes seem to be problematic for me. I’ve already had a couple incendents where I’ve cut myself, and hope to opt for laser cutting instead.
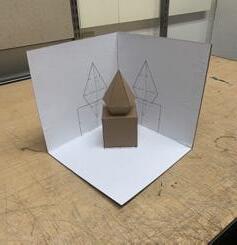
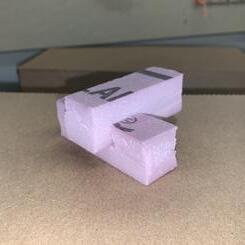
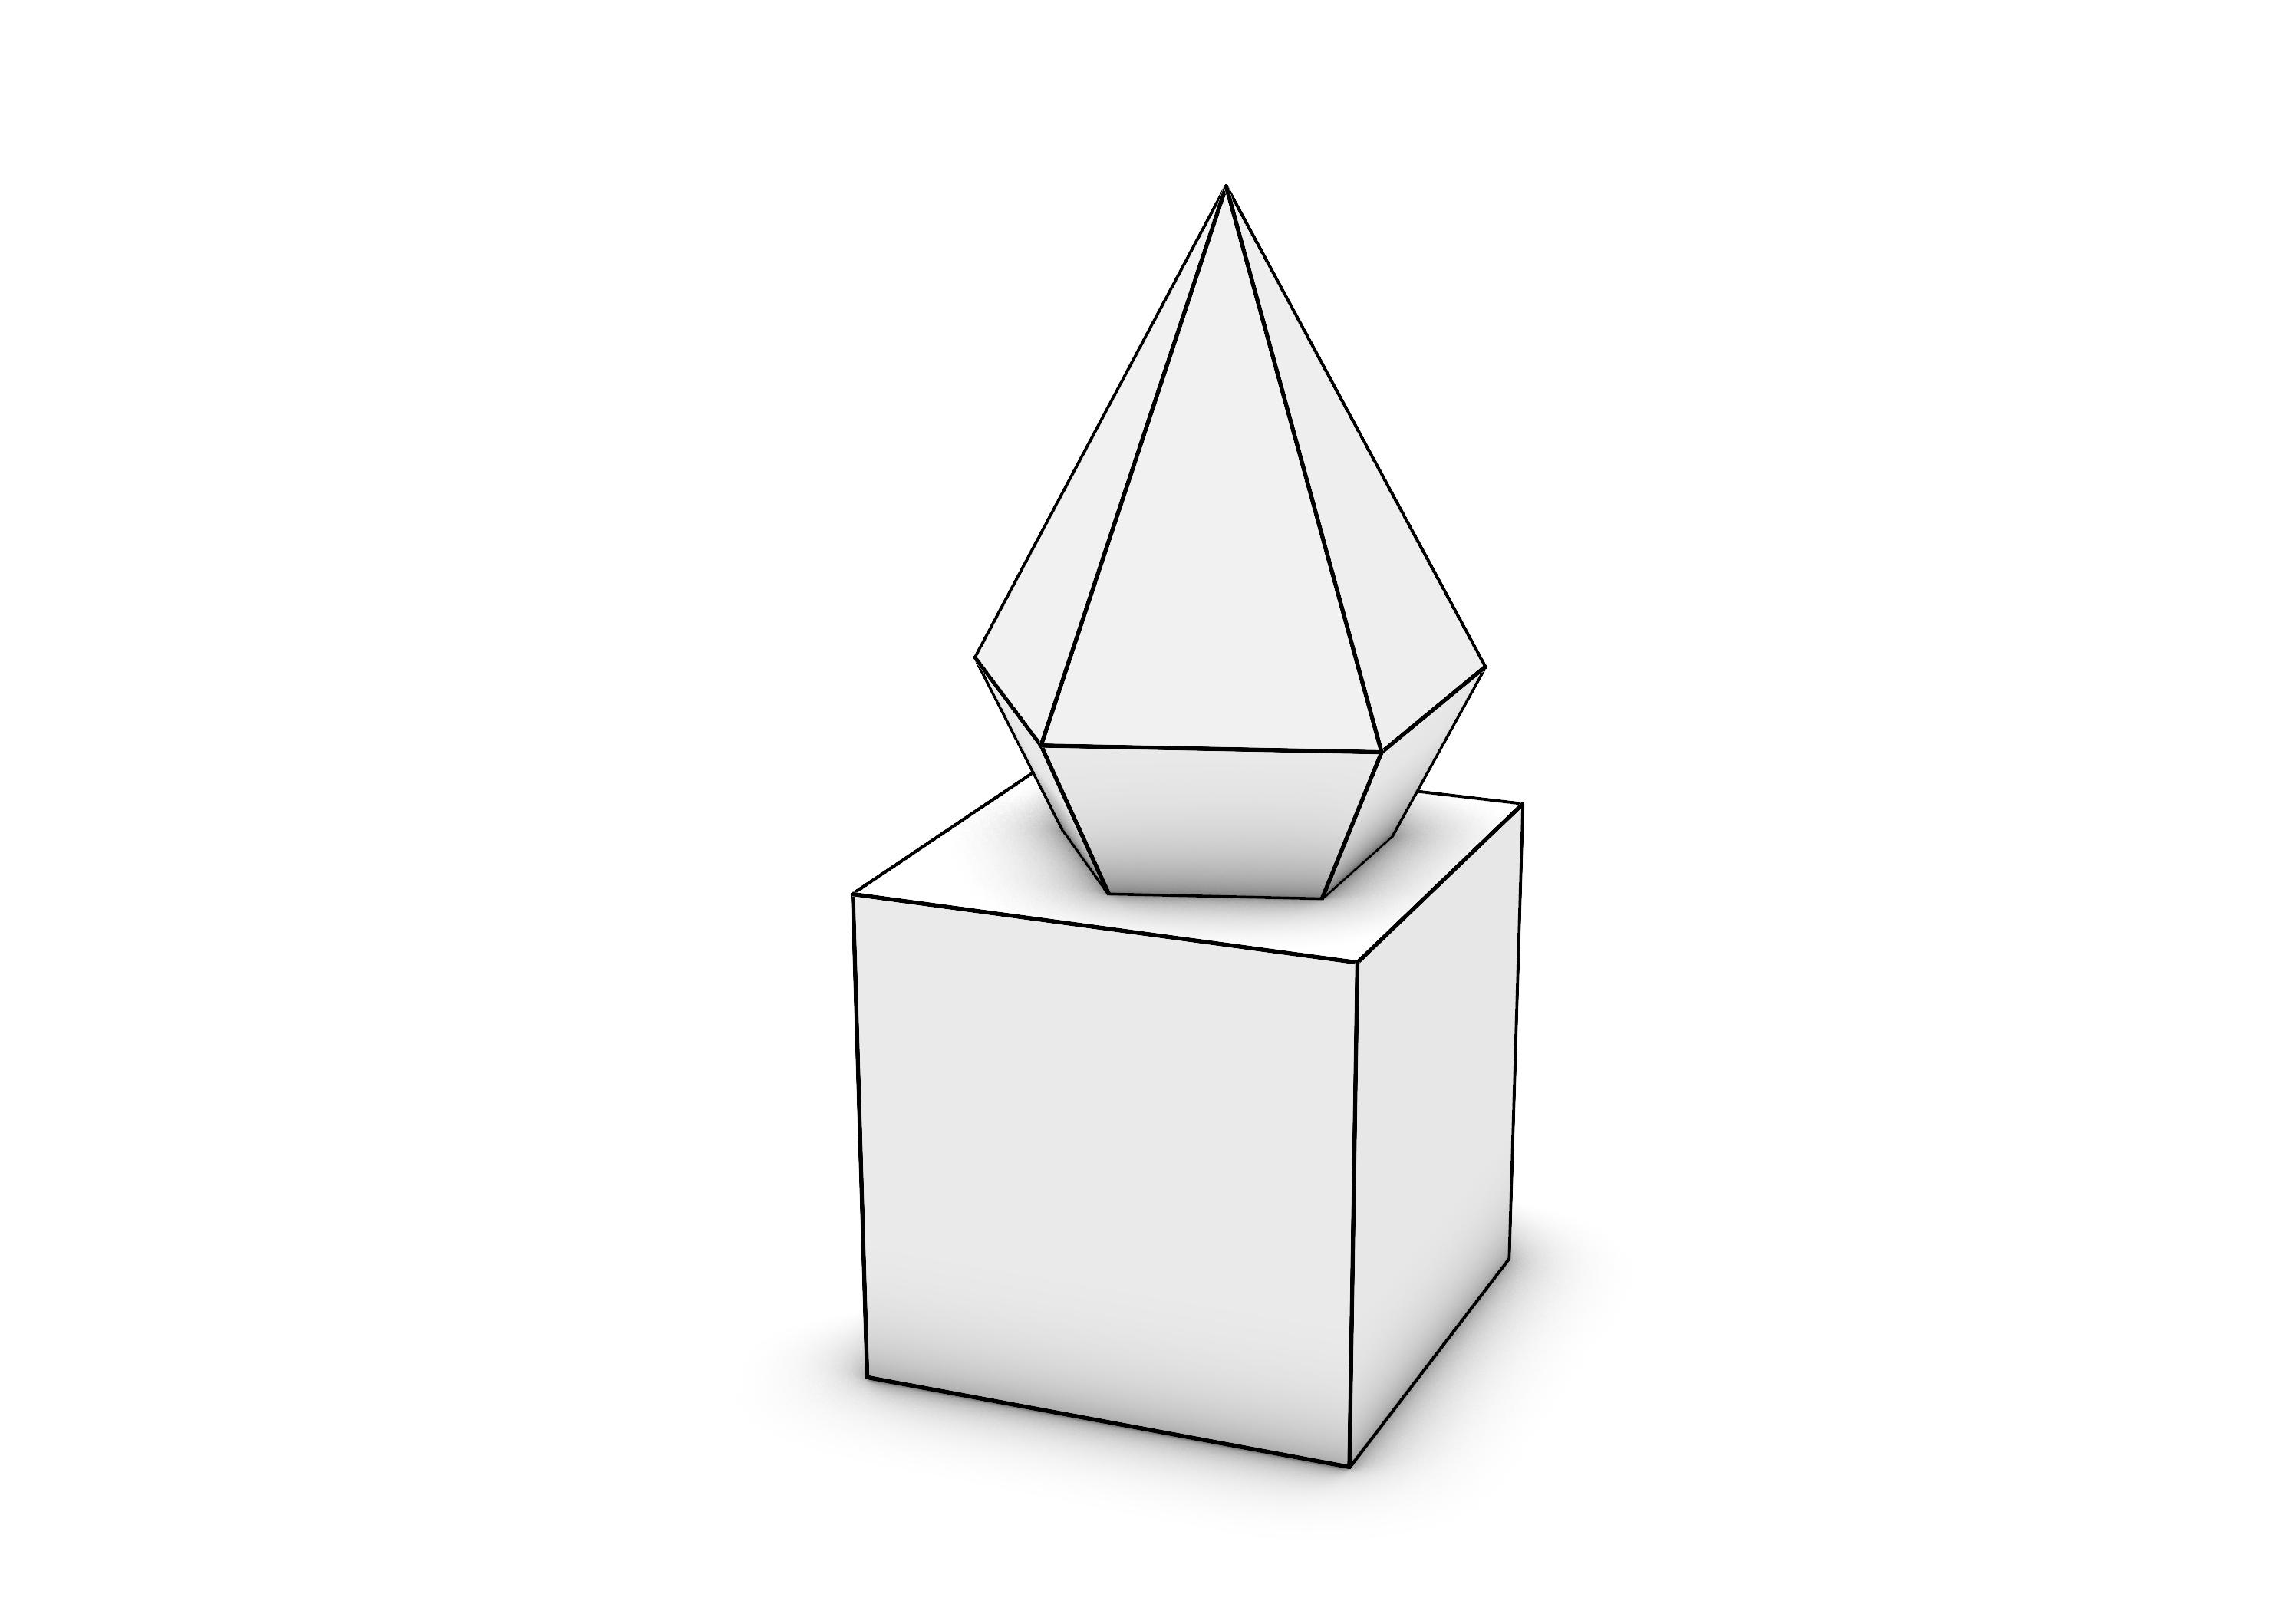
The final shape of the model turned out exactly how I planned. The diamond set into the cube creates a compelling projected elevation.
Overall, Module One: Primitive proved to be an informative assignment. My experience with AutoCAD and SketchUp did come in handy. Movement around the Rhino model spaces was intuitive for me, and many of the commands seemed familiar. Still, Rhino is a foreign program to me, and it will take time before I adjust to it. Eventually, mastery of the program will be an asset in my design work.

FABRICATION TIME
20 Hours Digitally Modeling
1 Hour Assembly
3 Hours Indesign
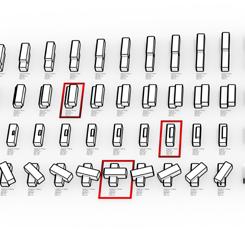
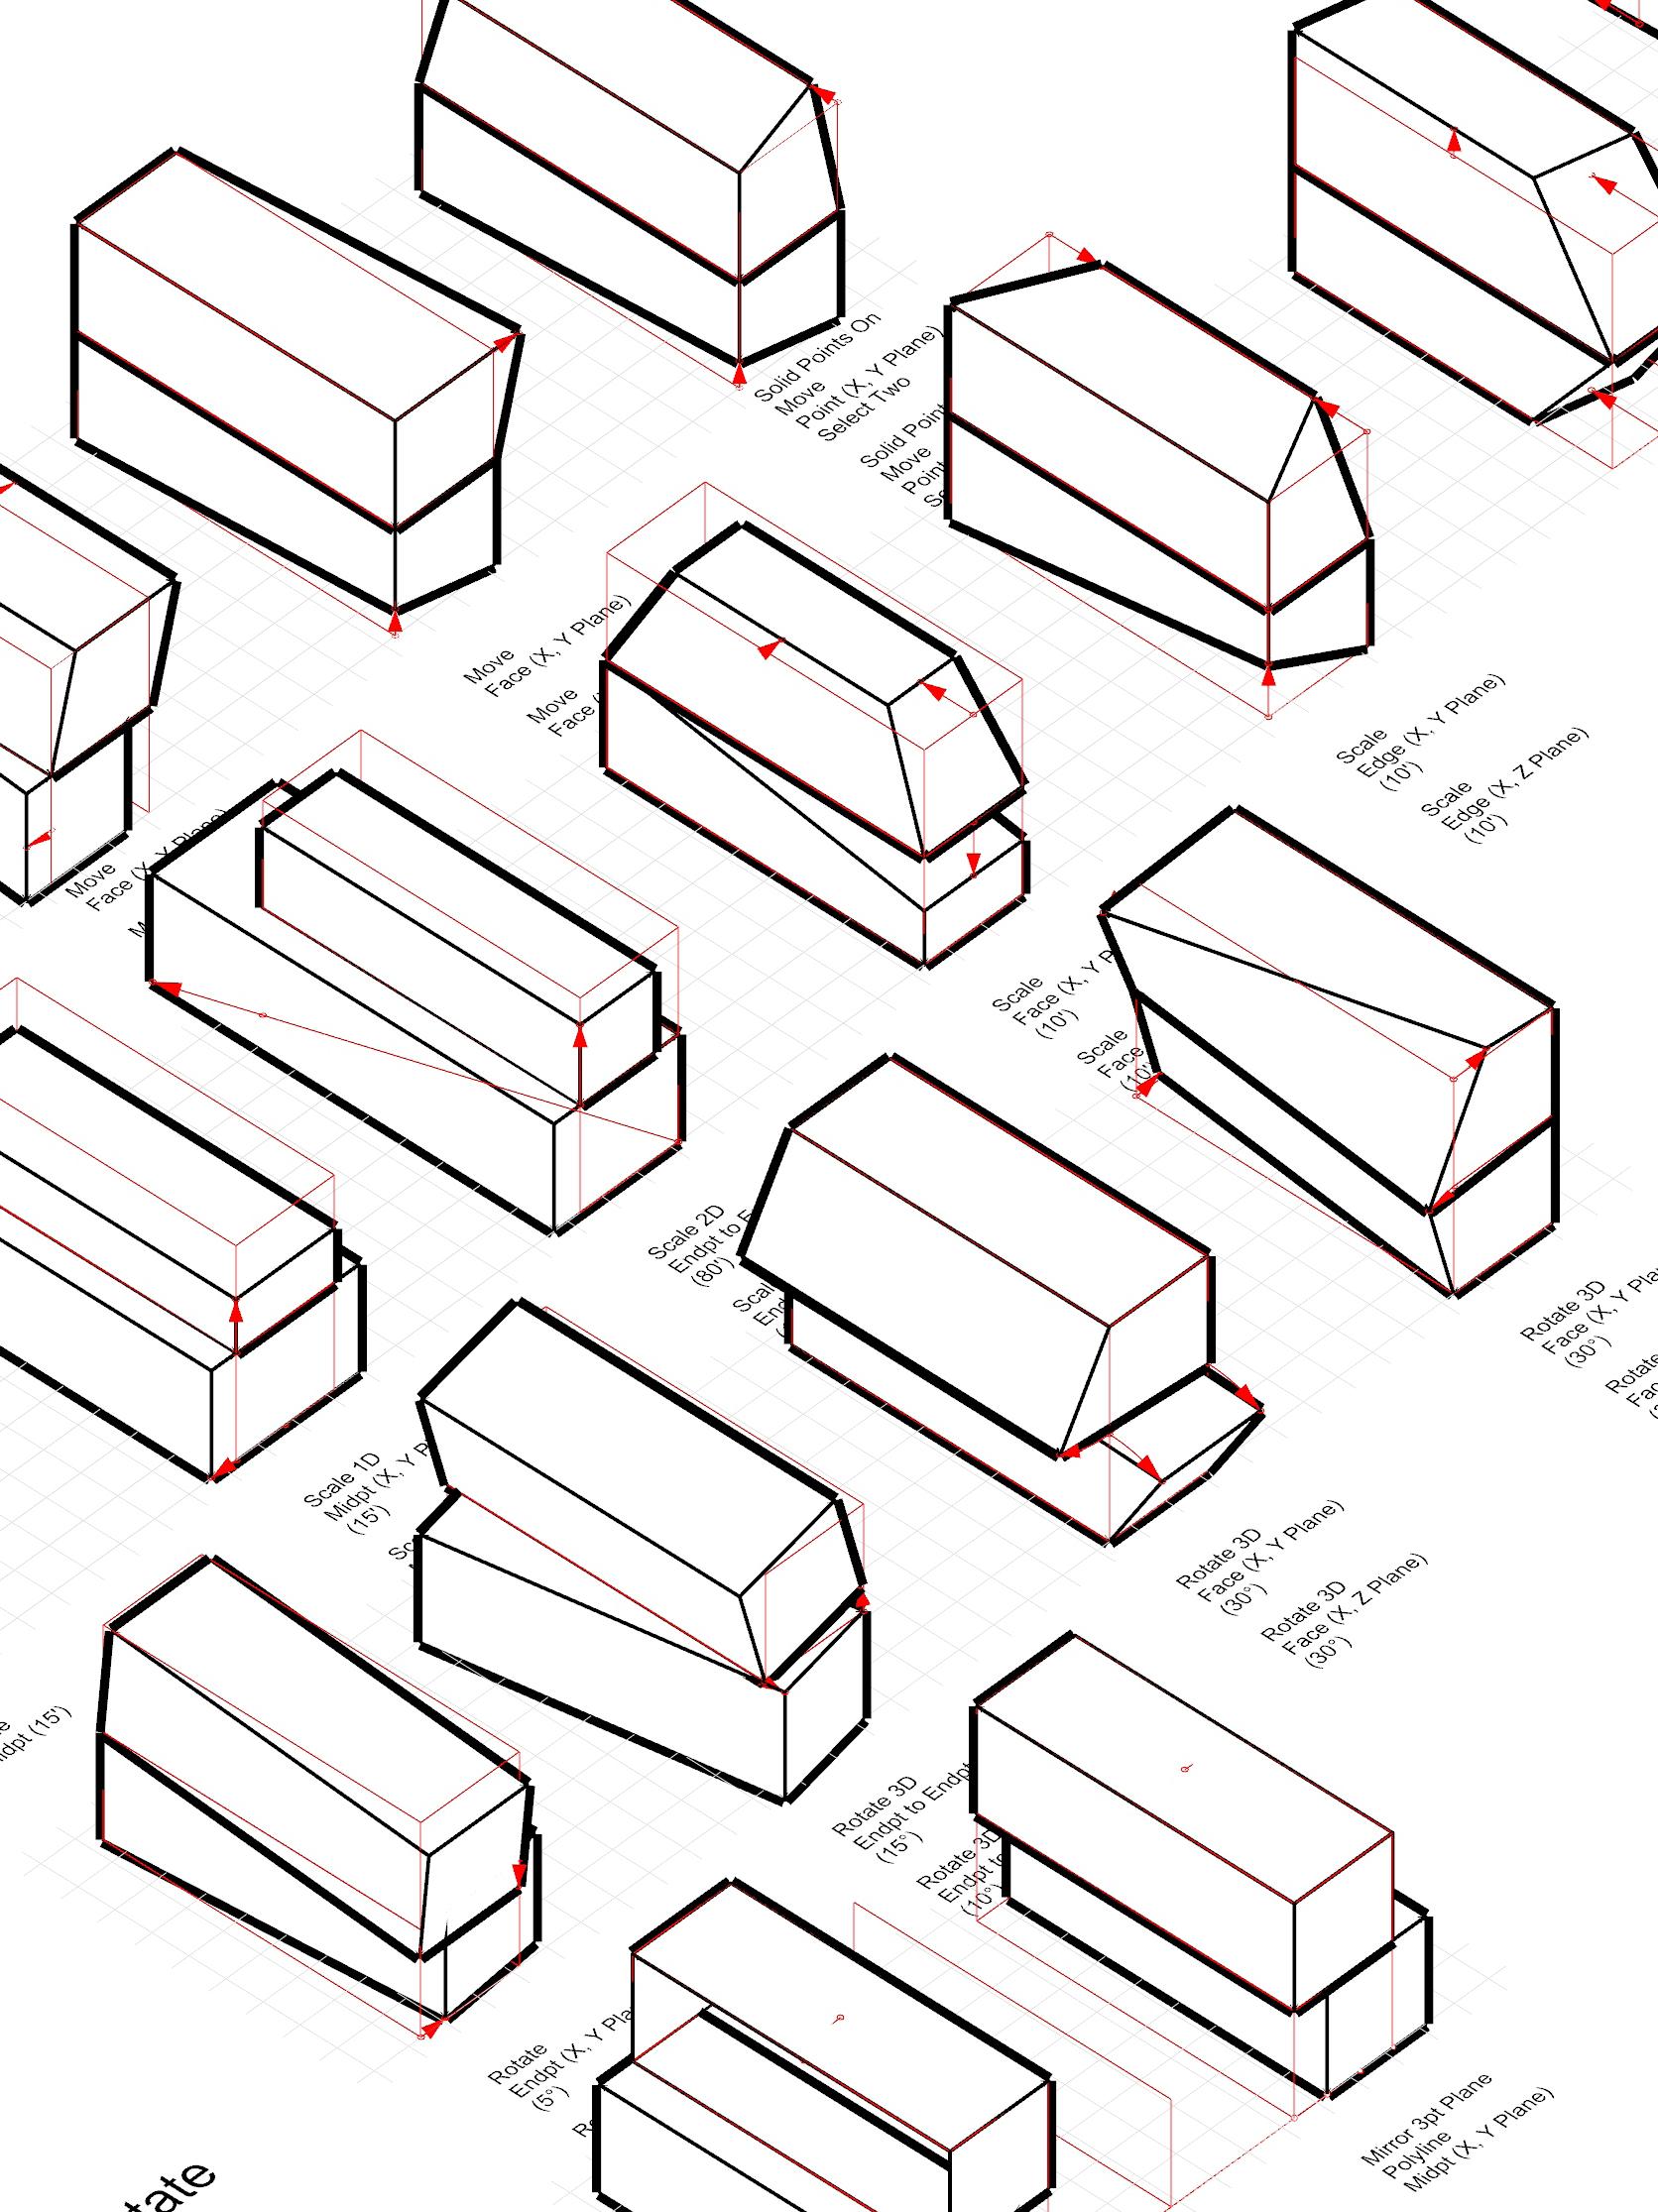
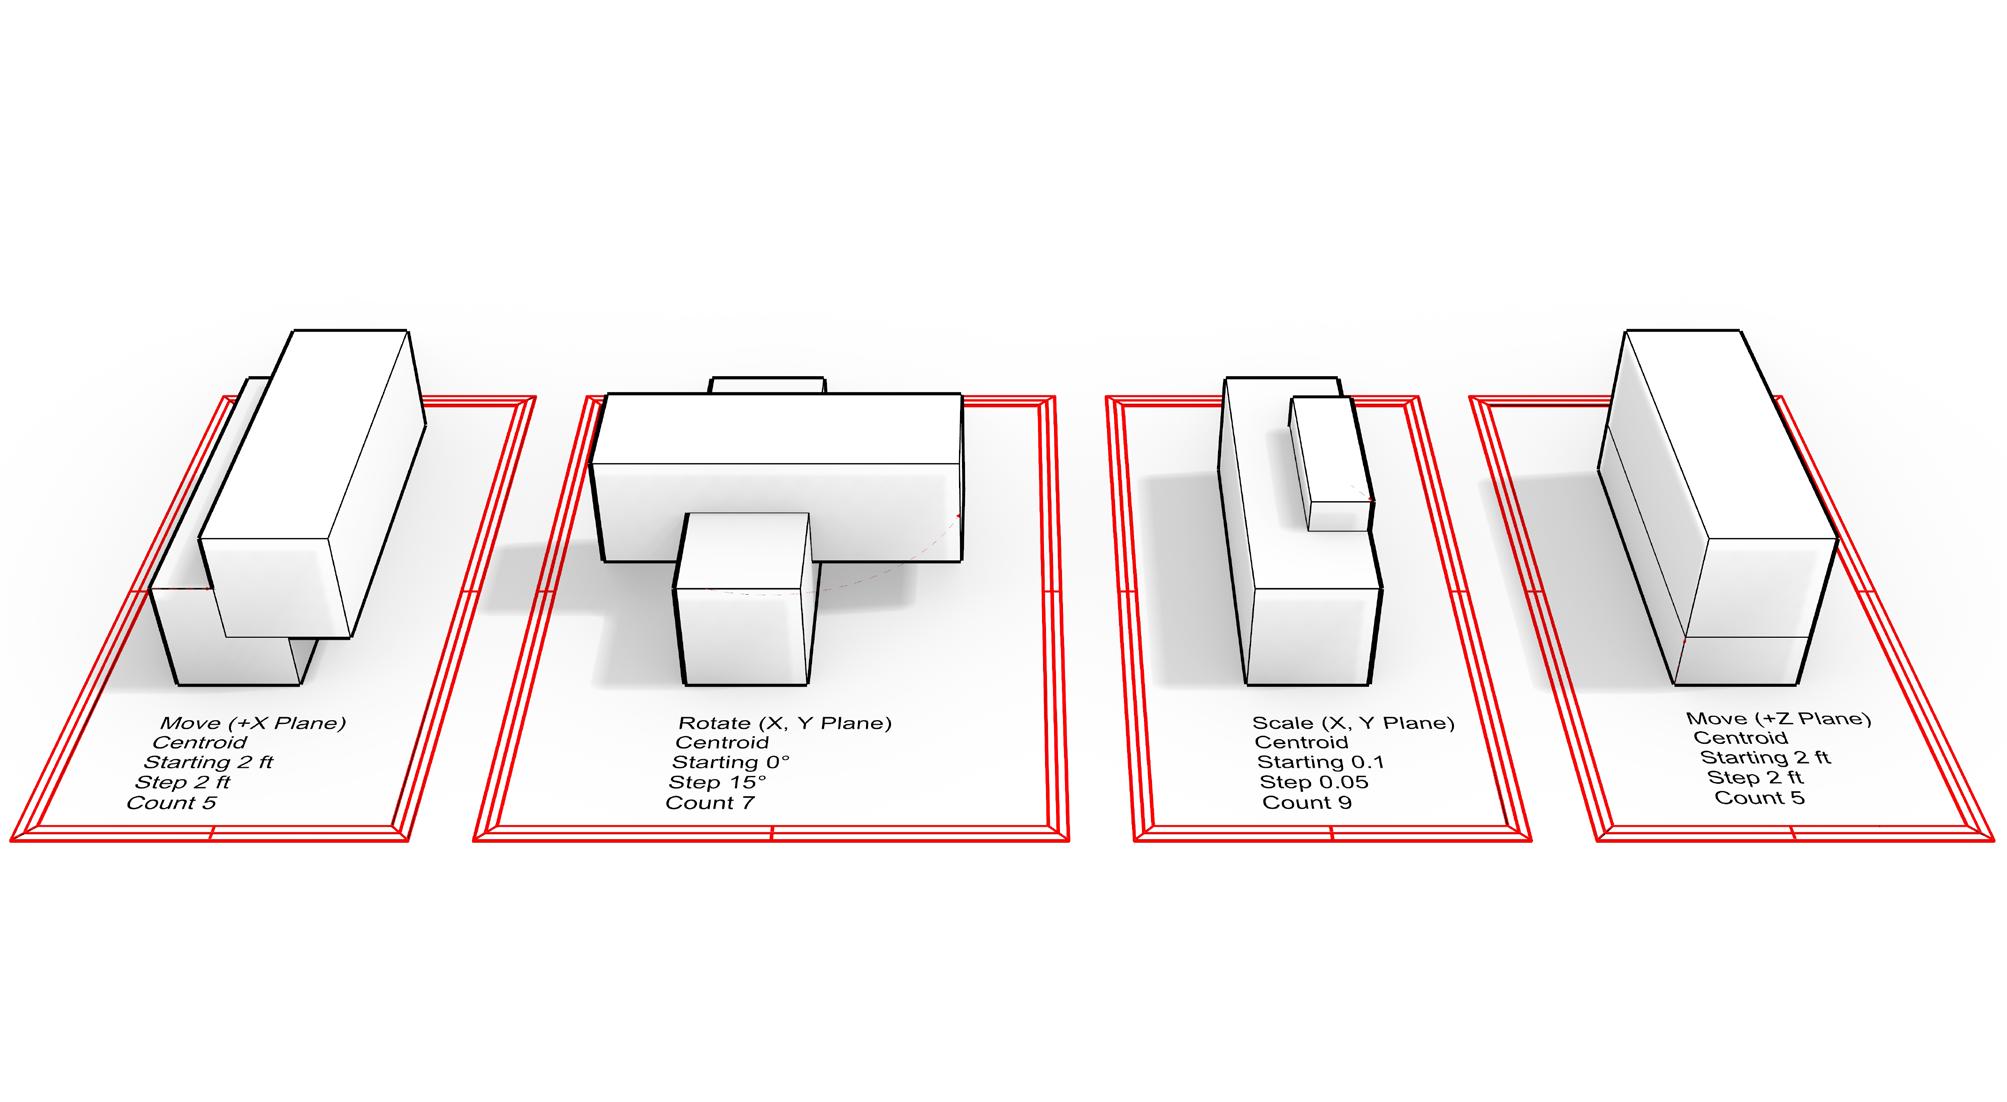
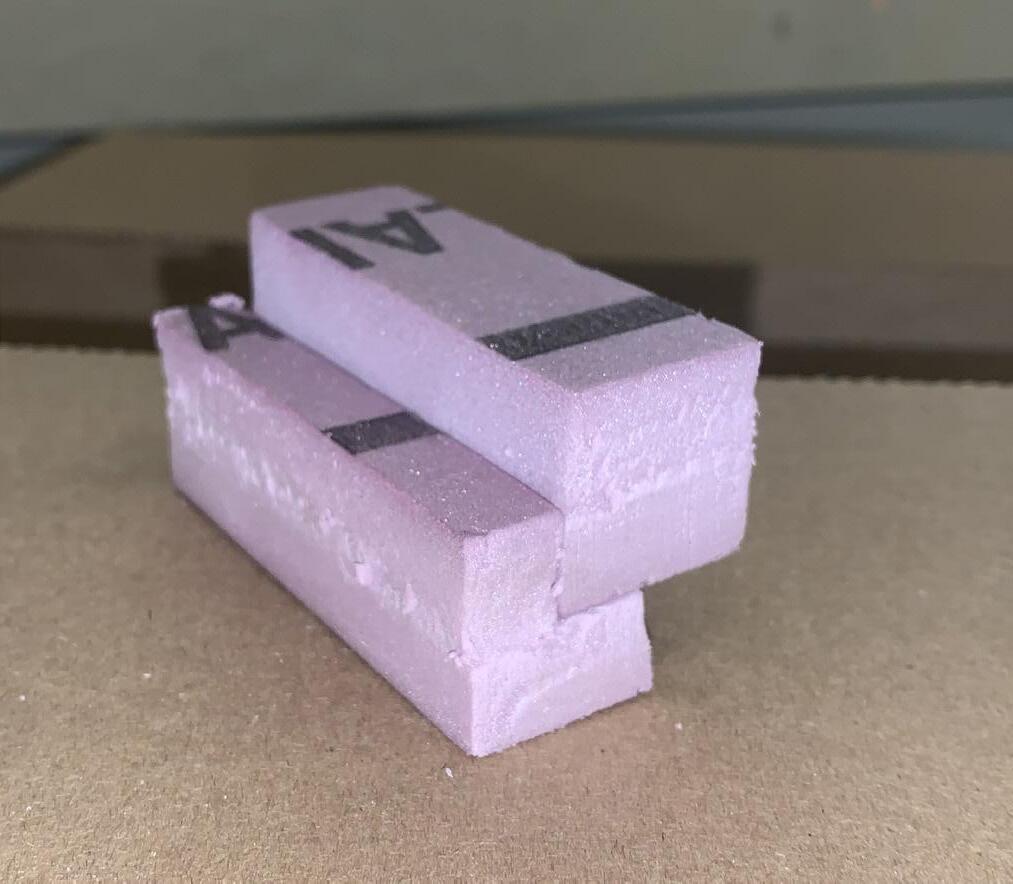
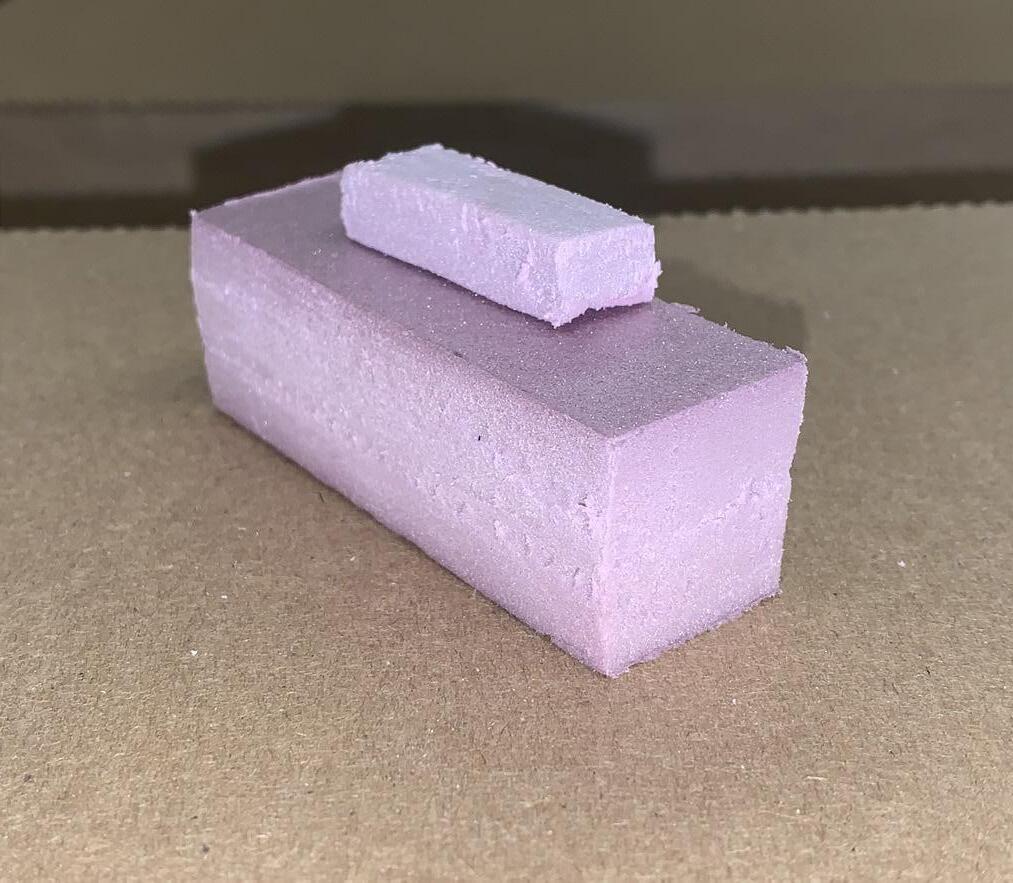
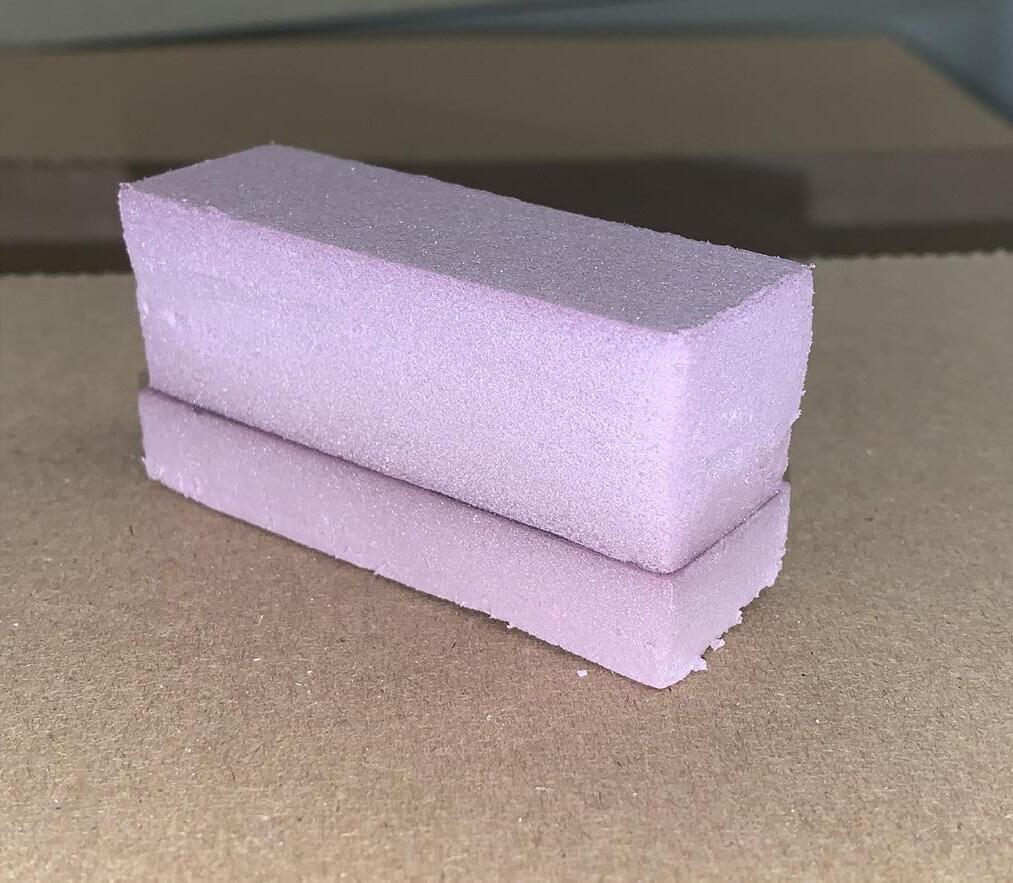
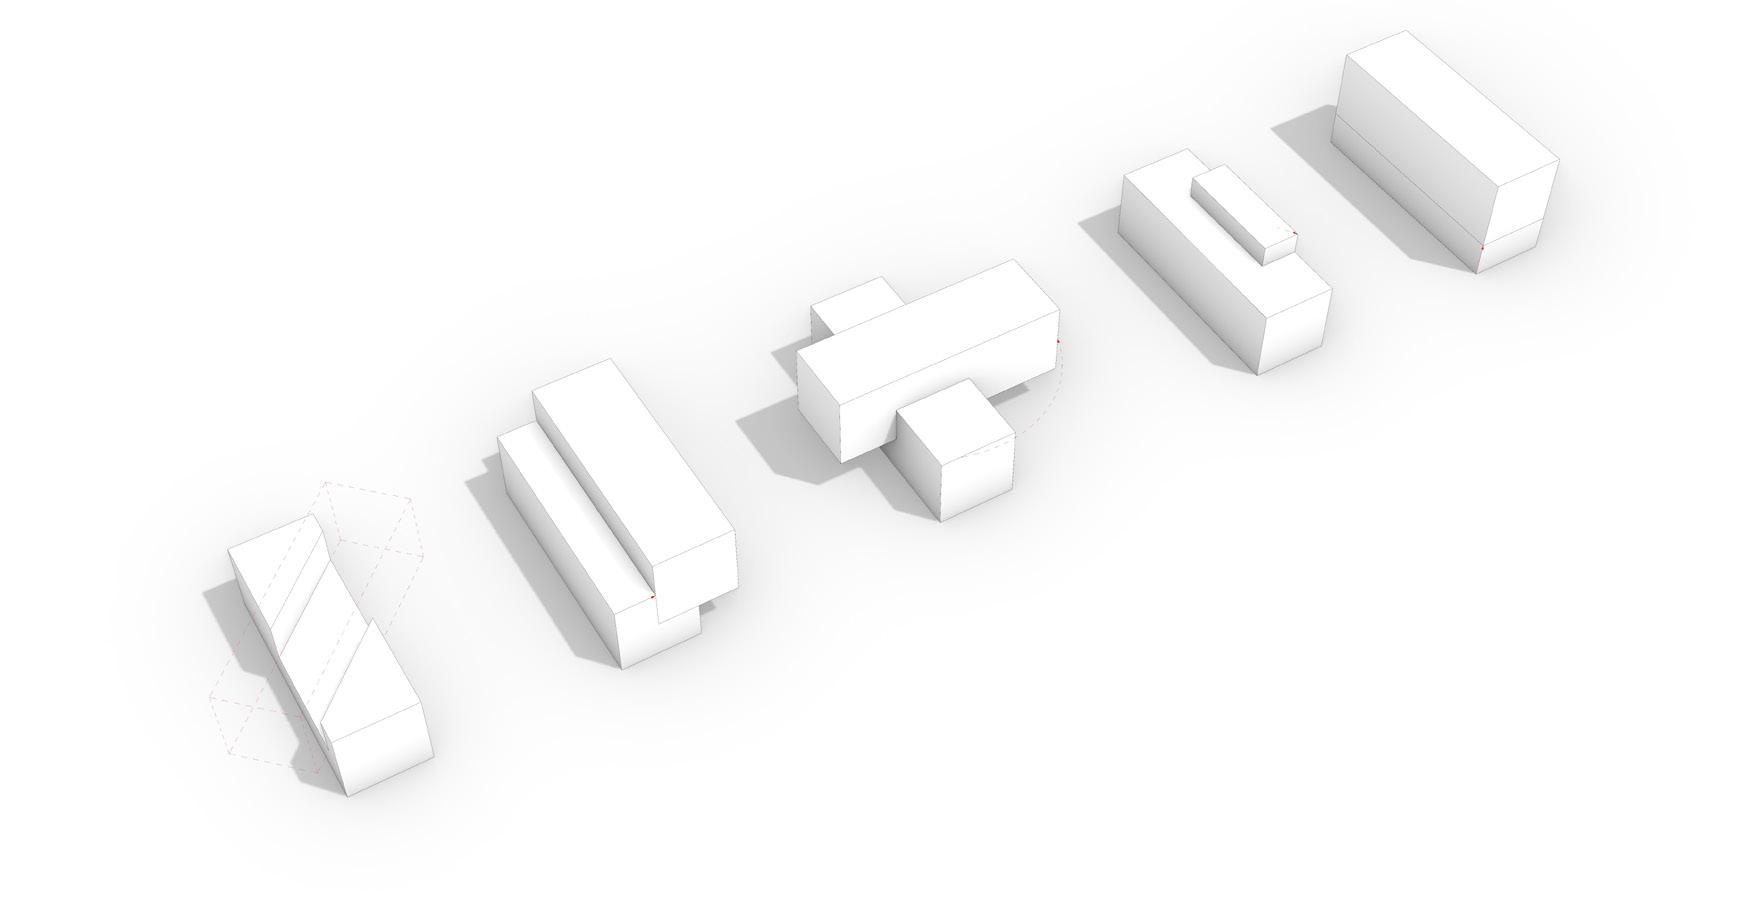
This assignment was primarily focused on iterative design using many different rectangular prism formations. It was pretty time consuming in ways that I didn’t realize. There were many skills that I developed, such as Rhino modelling skills, Indesign layout planning, and Grasshopper. It was great to focus on Grasshopper this module, and it helped speed up my process.
MATERIALS
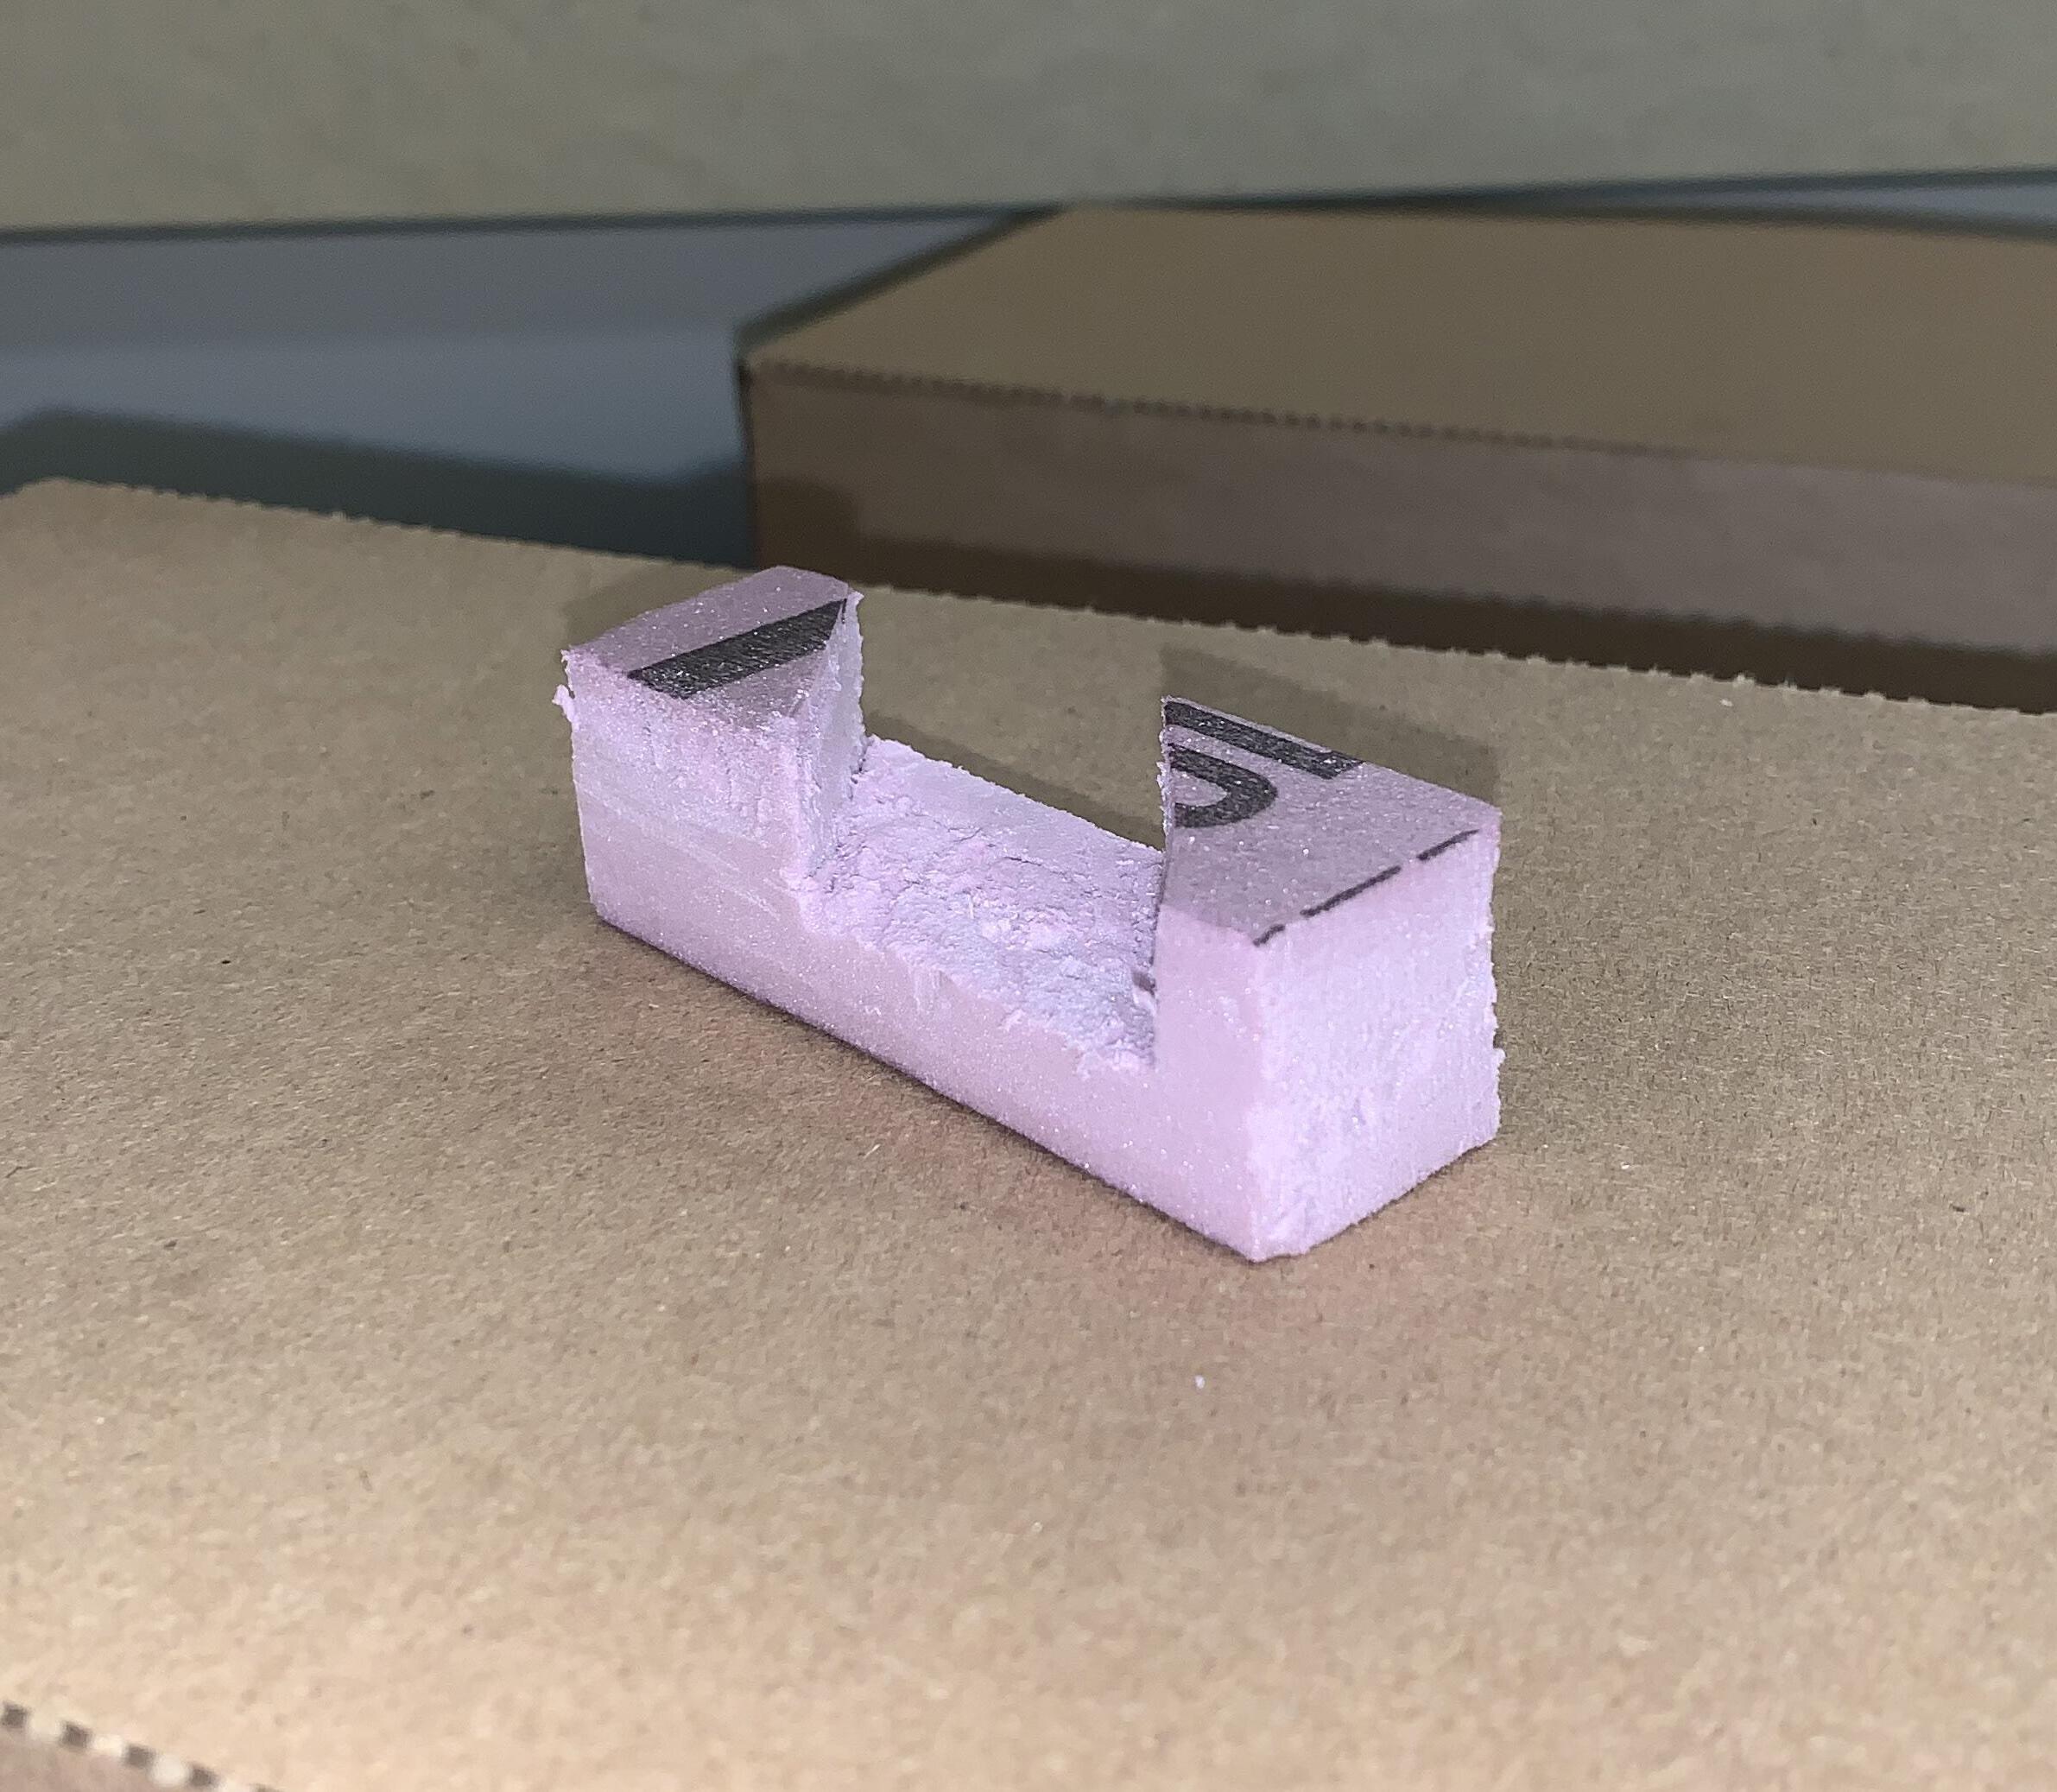
Insulation Foam
Cutting Mat
X-Acto and Olfa Knife
During Module 2 I was able to exercise my creativity within Rhino and test out shapes that I wanted to make. I feel a lot more confident in my skills for digital modelling now, and hope to use them for my 284 final project. One command that I found to be very useful was the boolean function. There are so many uses. You’ll see me exercise my new knowledge in this module.
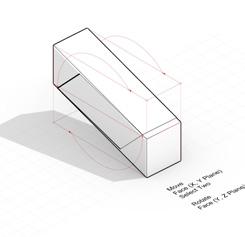
Move Face (X, Y Plane)
Move Face (X, Z Plane)
Solid Points On Move Point (X, Y Plane)
Select Two
Solid Points On Move Point (X, Z Plane)
Select Two
Move Face (X, Y Plane)
Move Face (X, Z Plane)
Y Plane)
Z Plane)
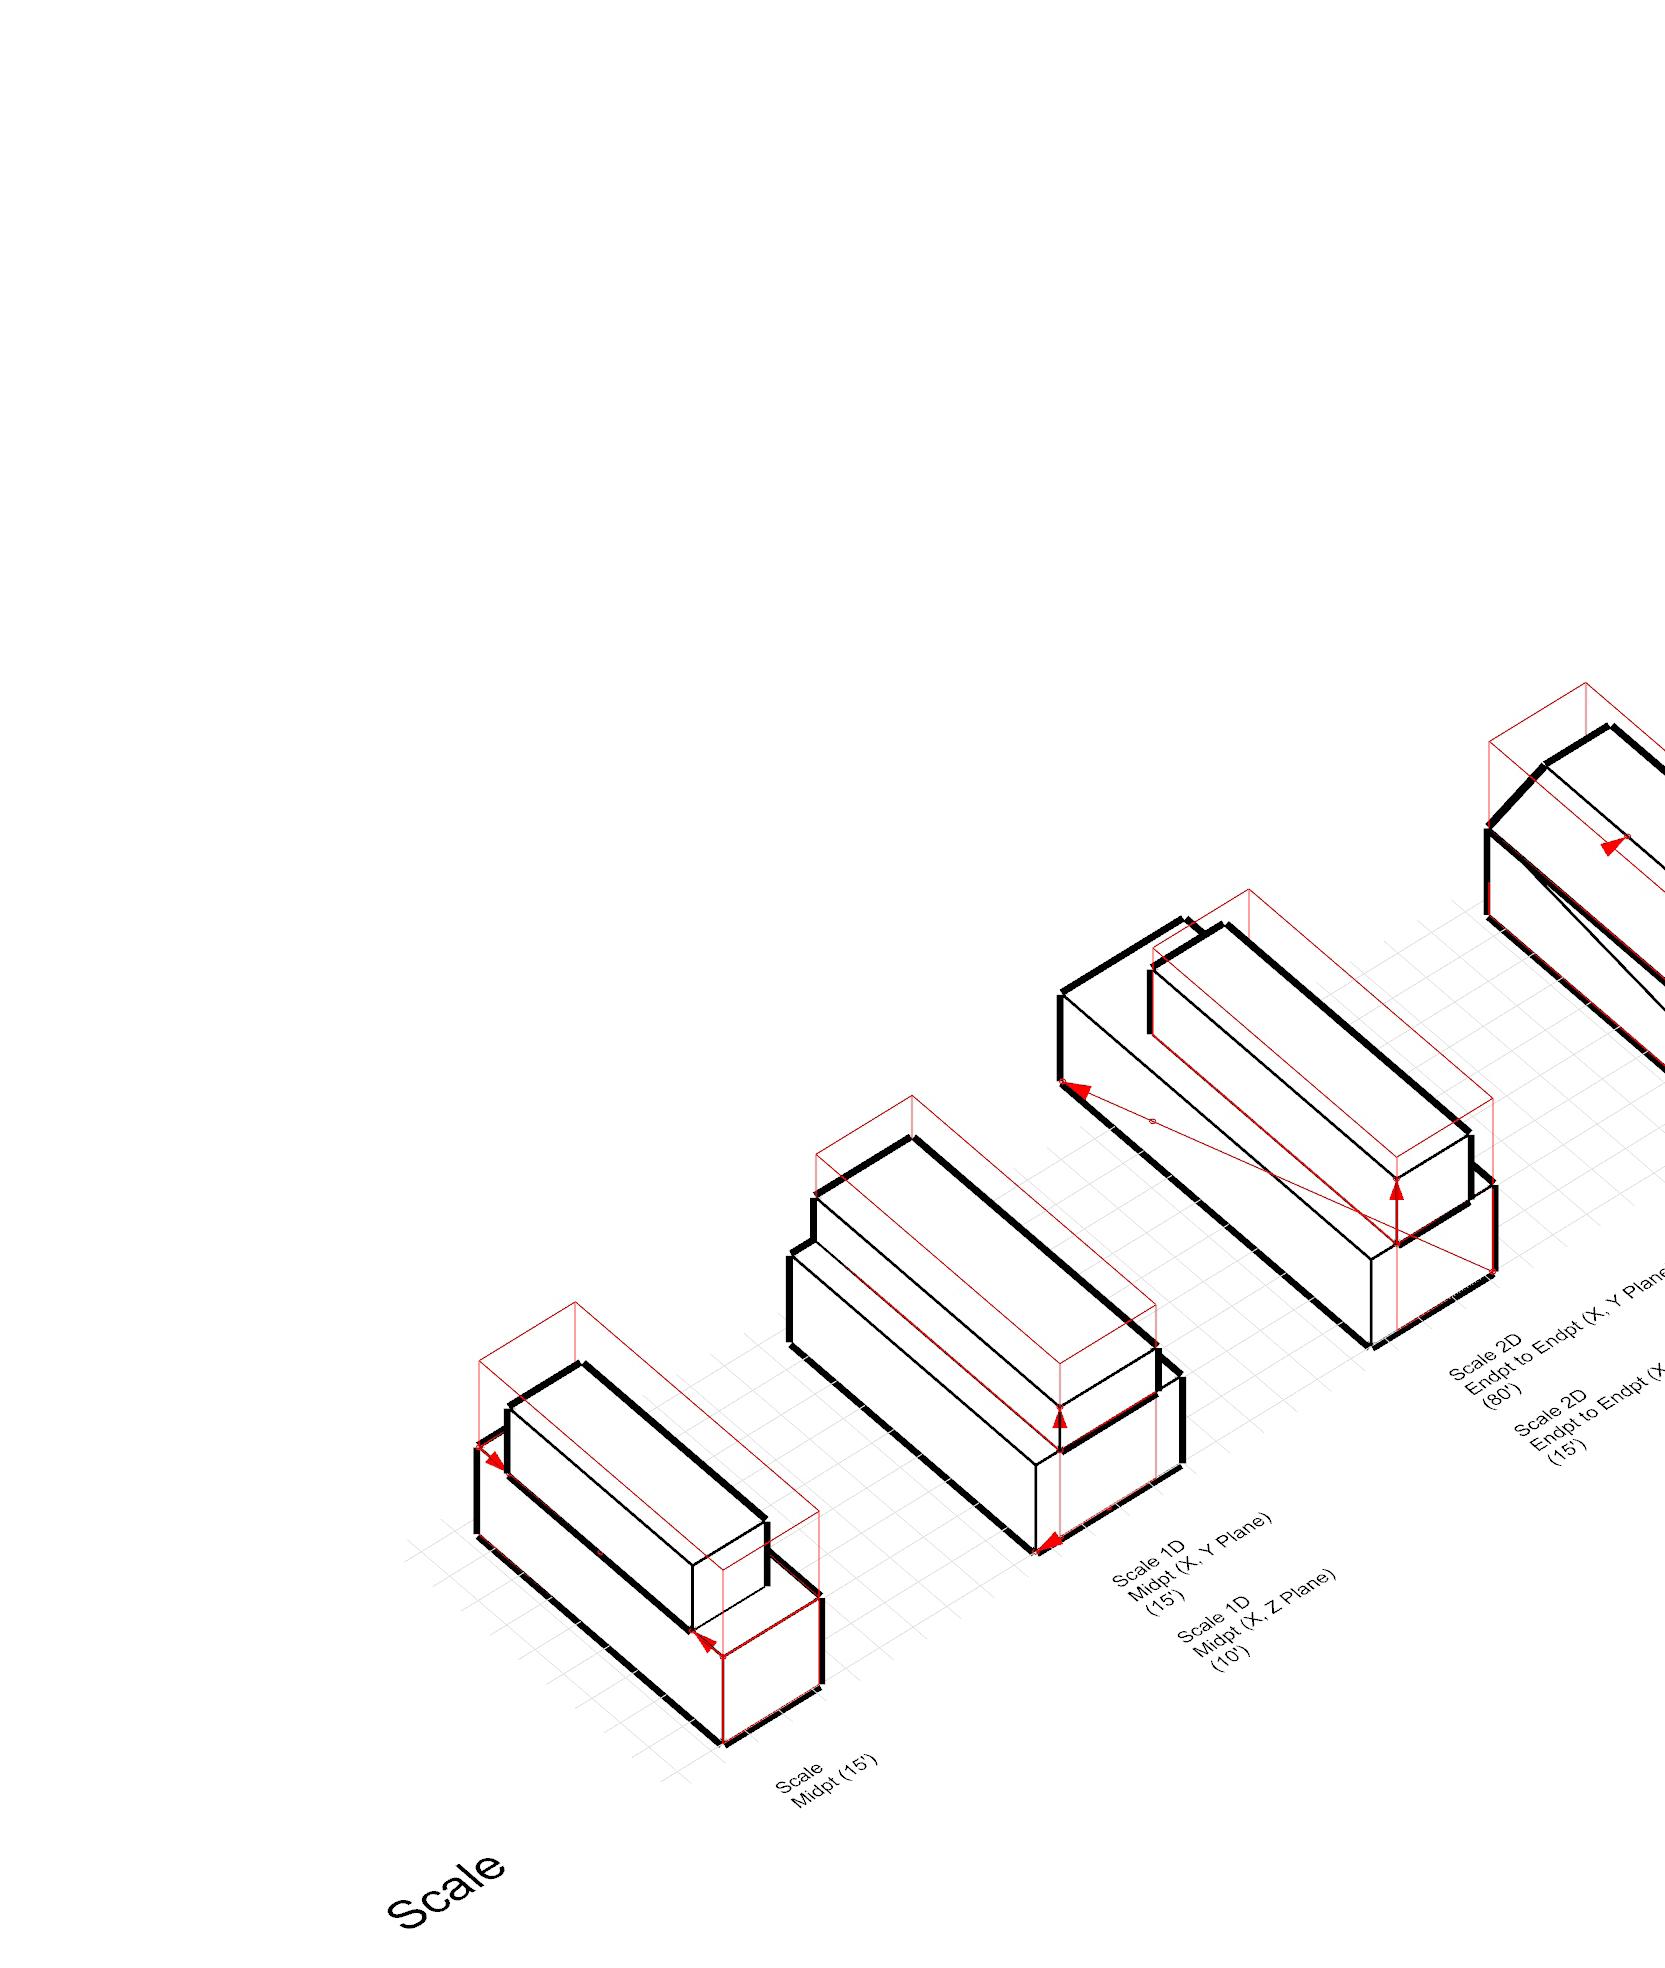
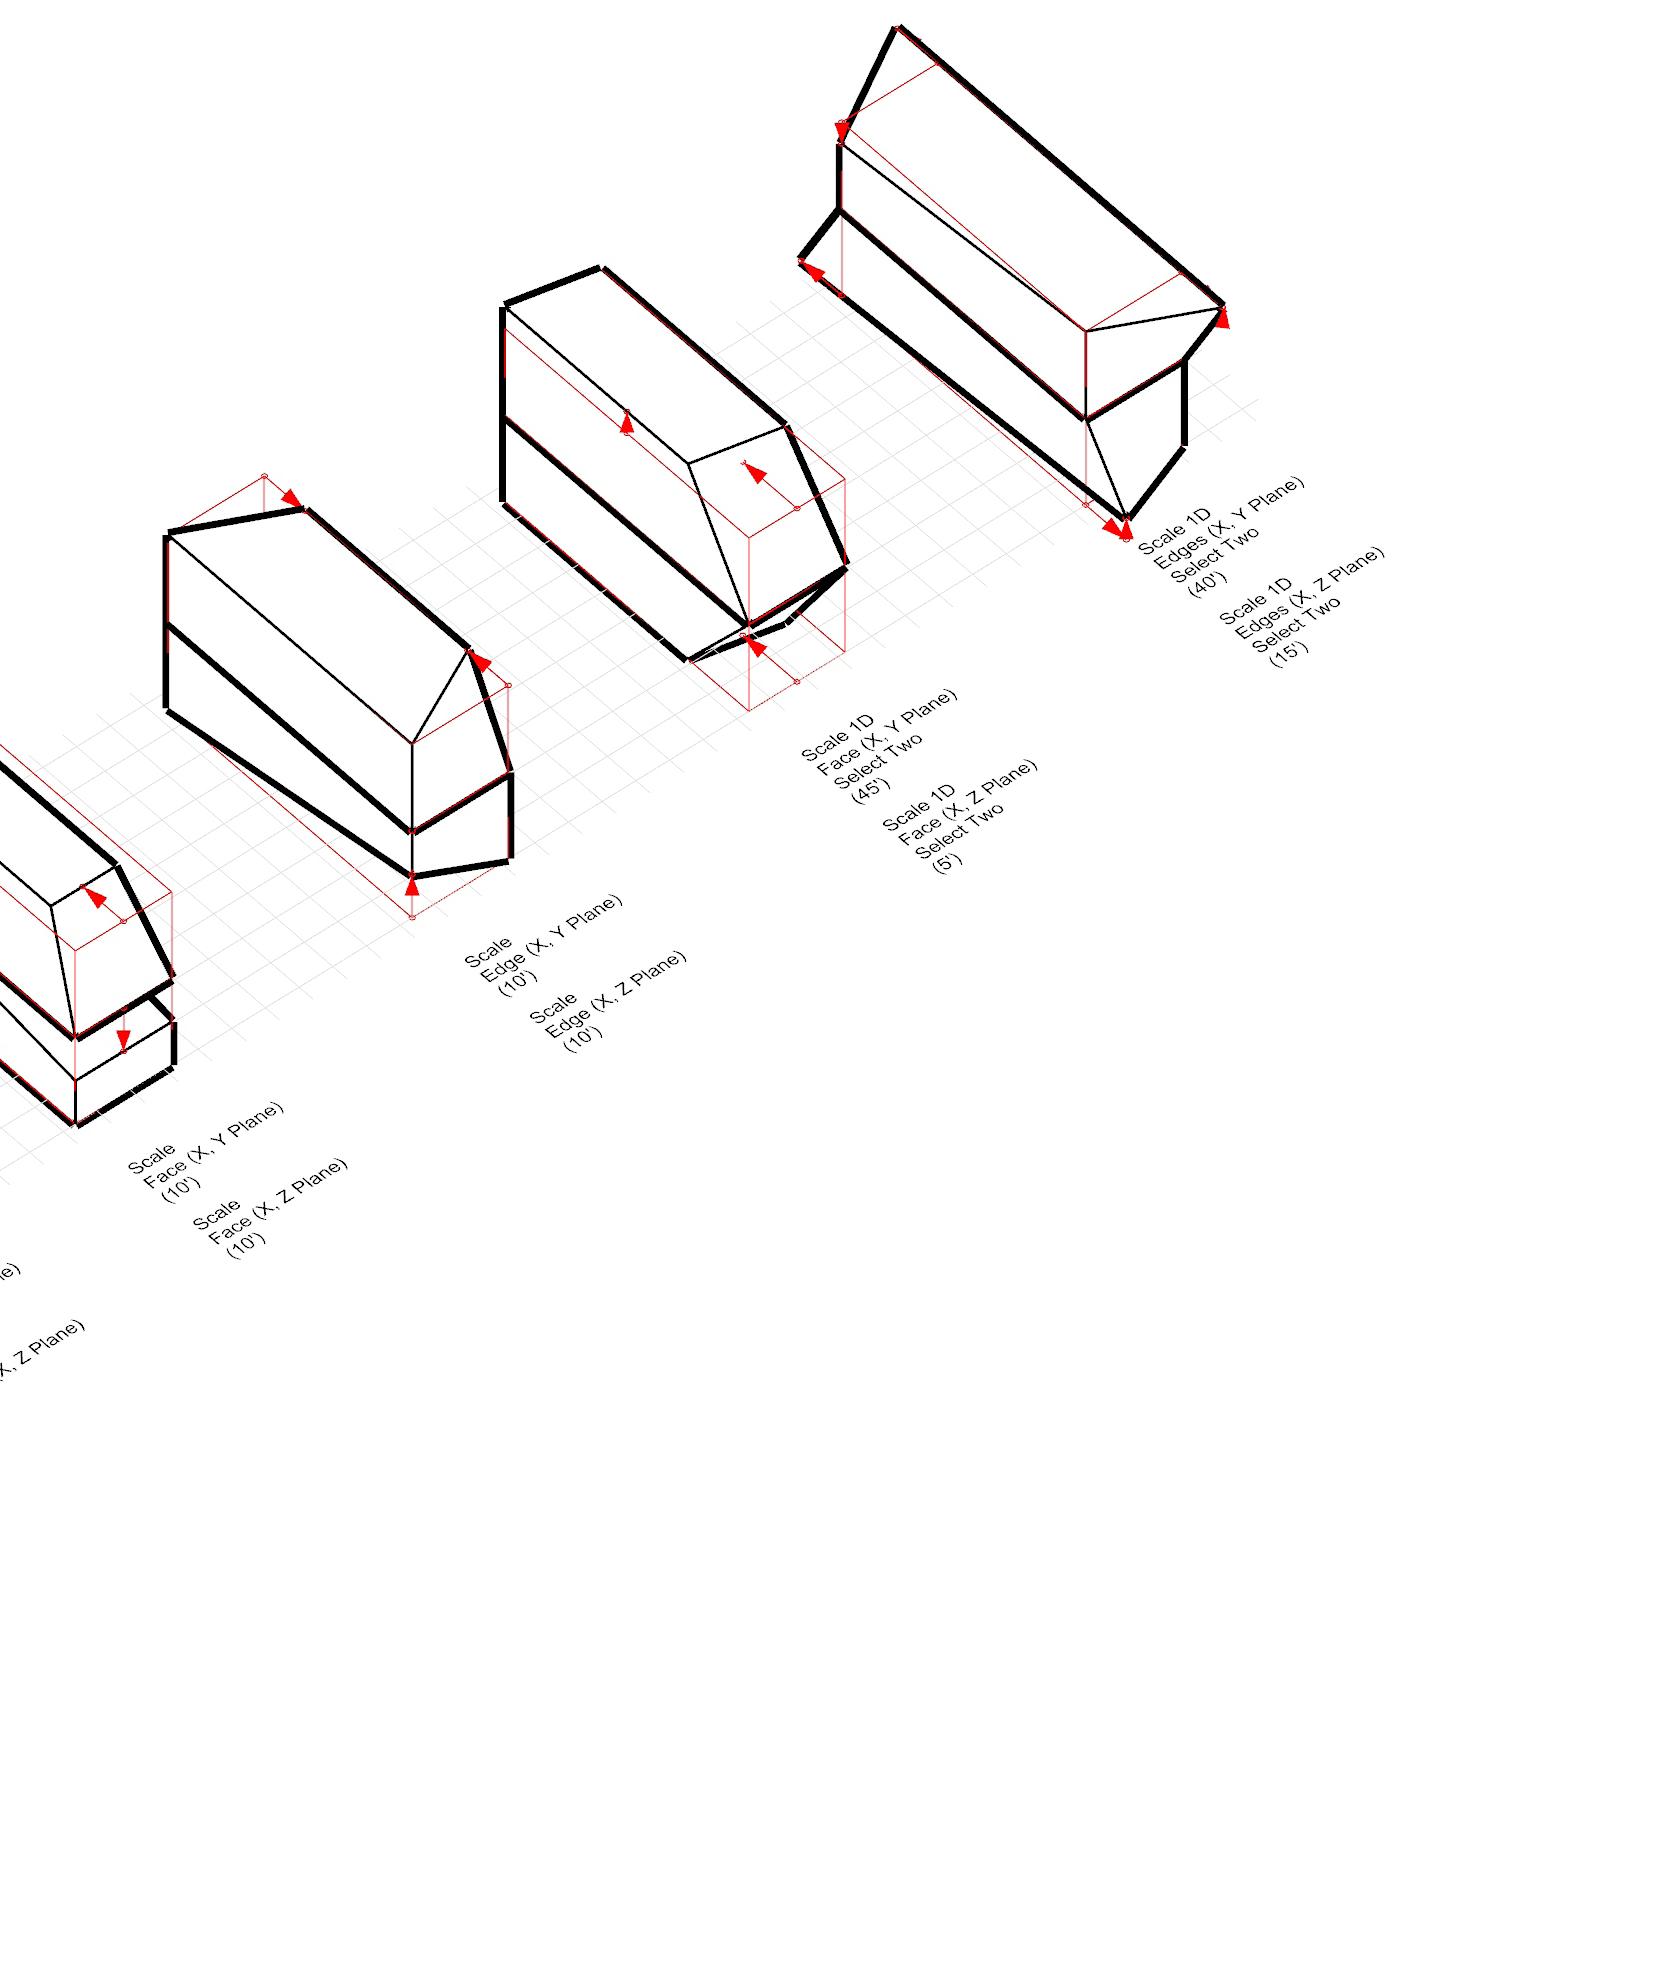
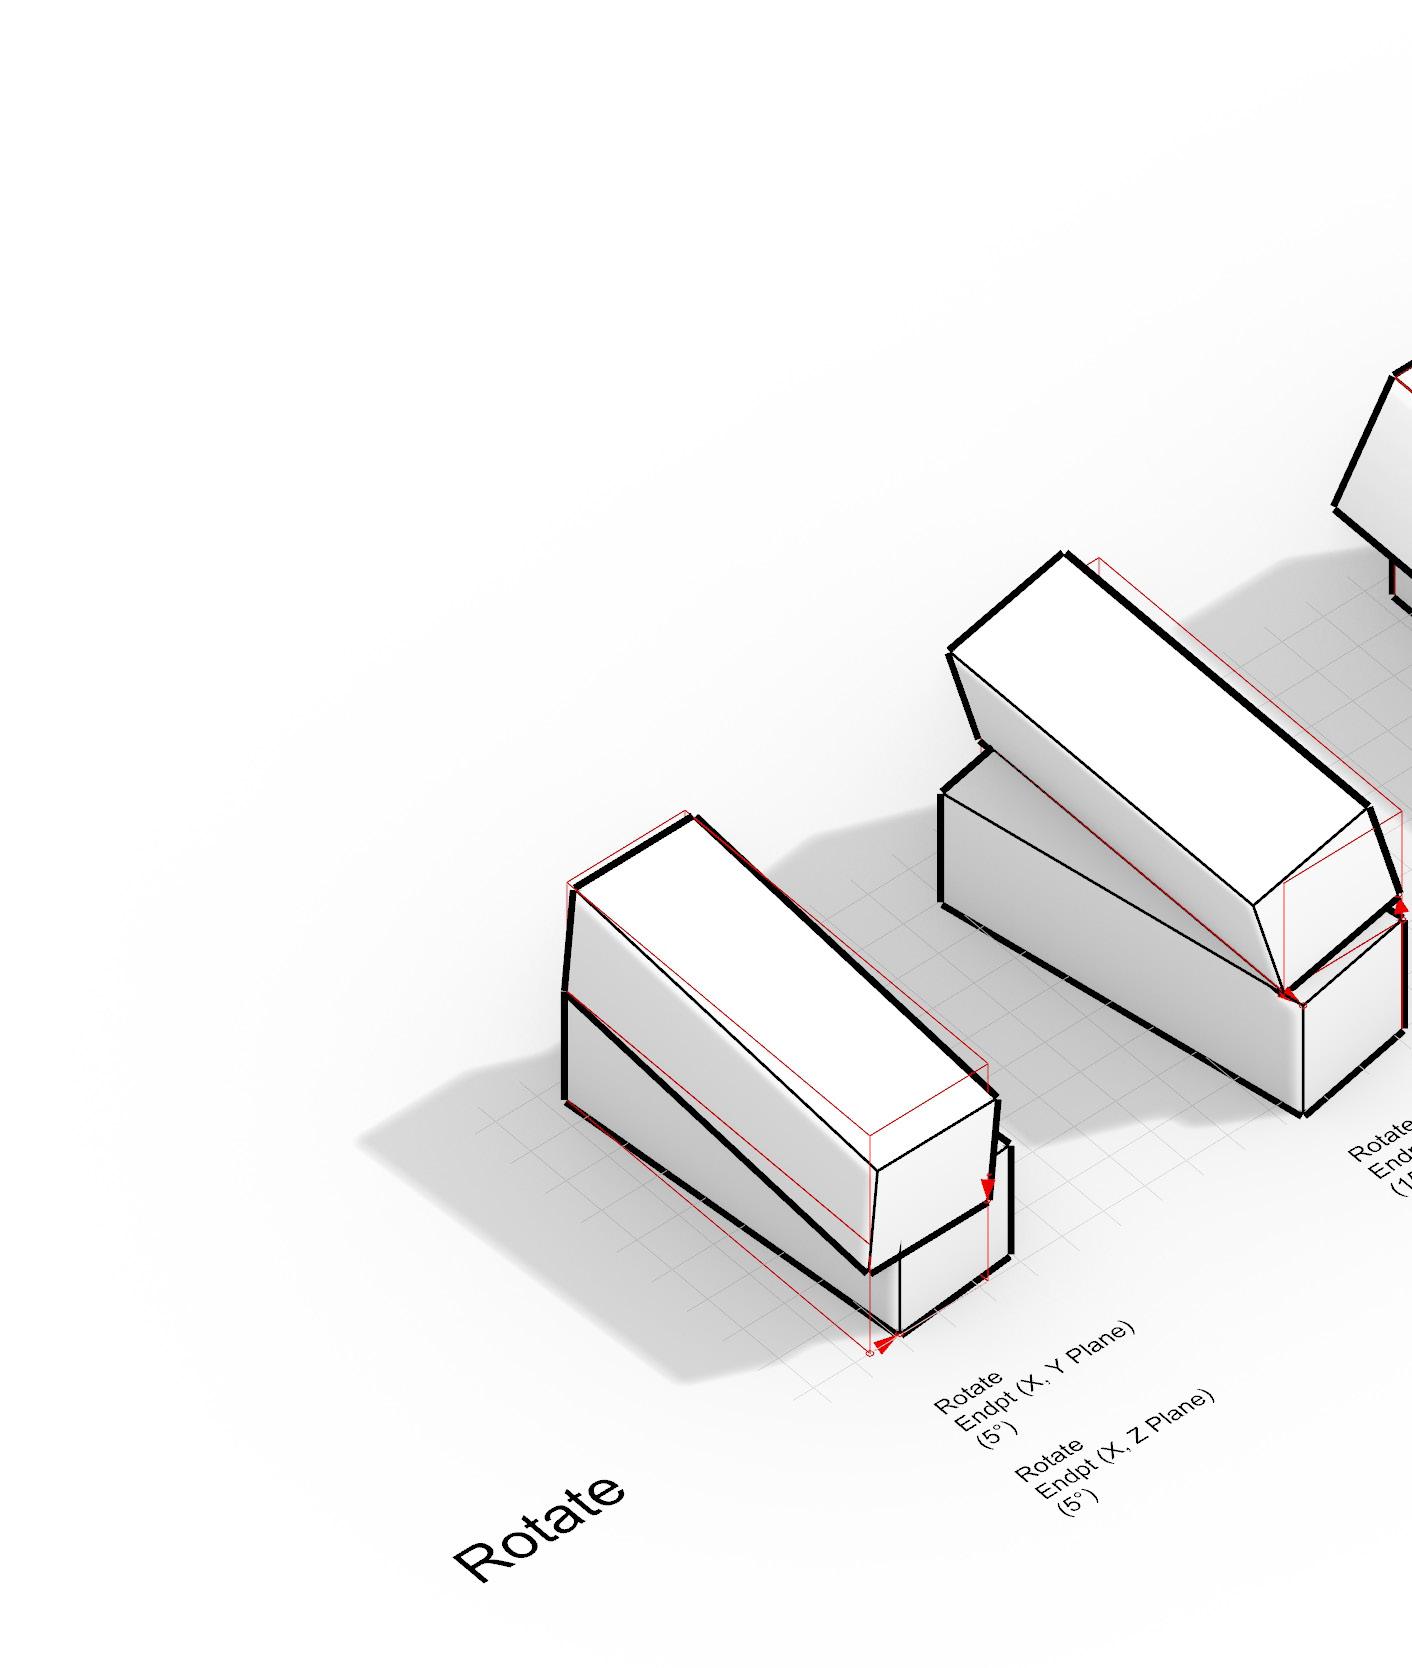

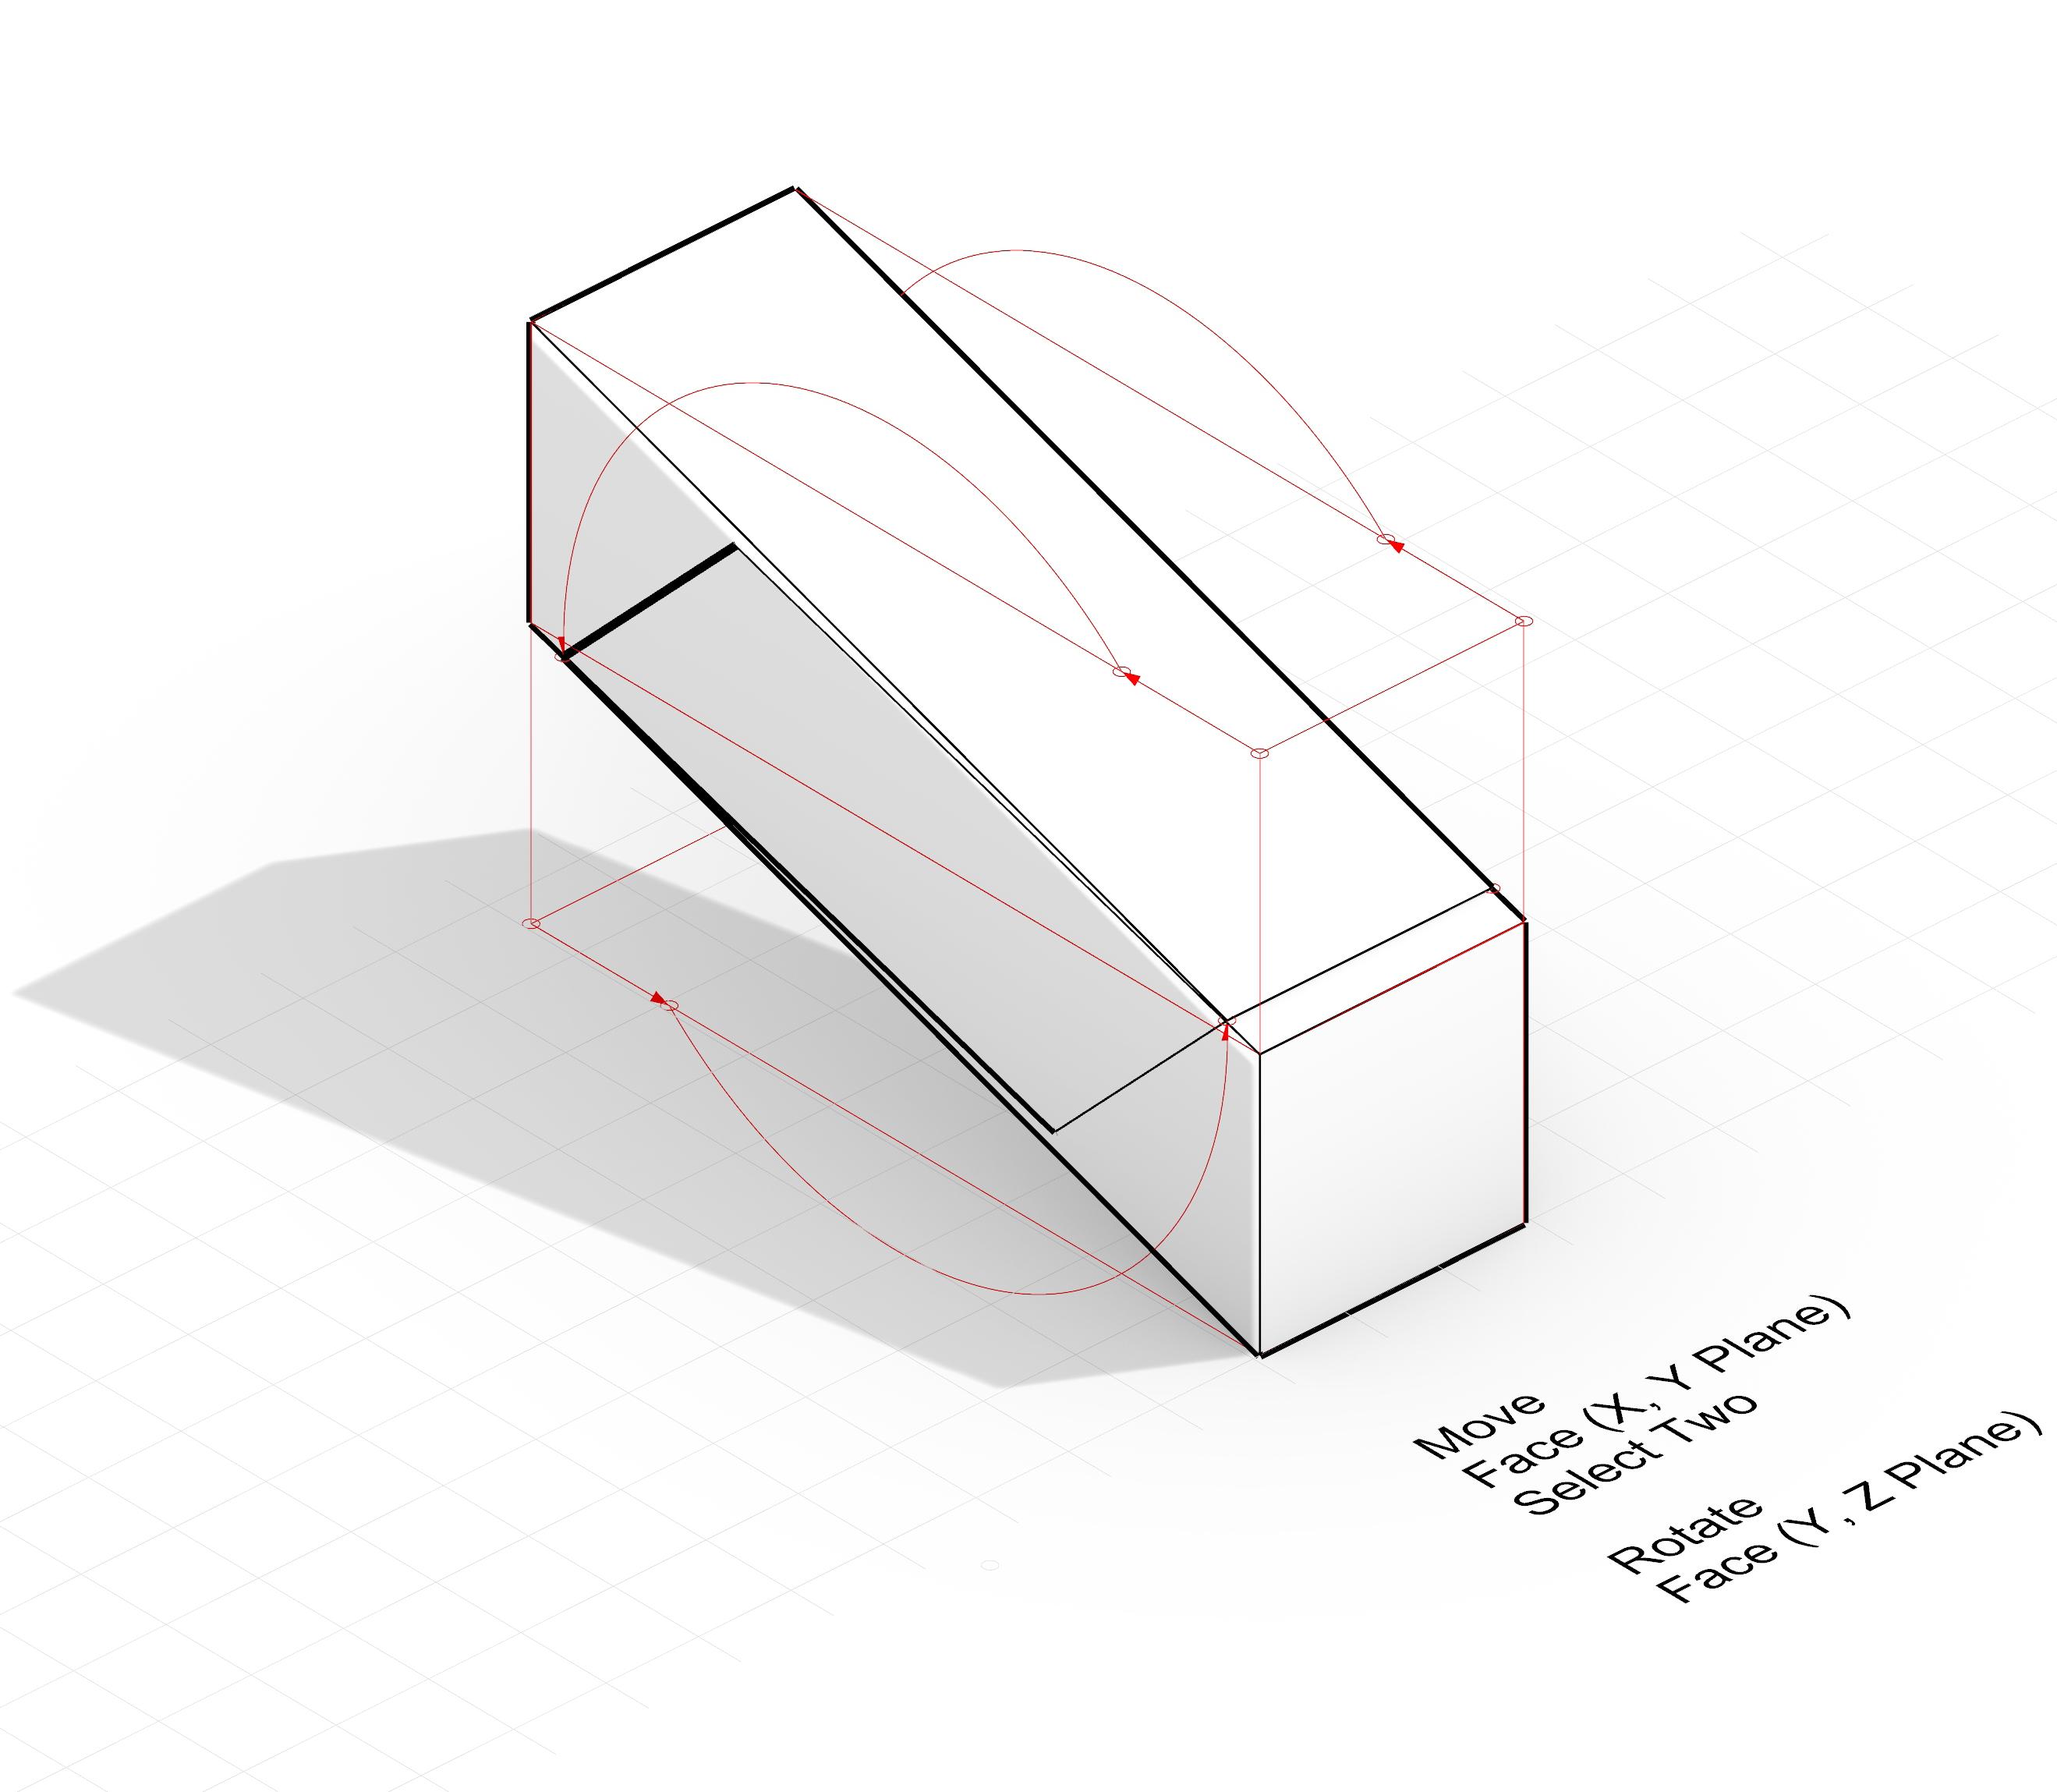
I made many iterative models for these practices. During this time, I ended up really focusing on pseudocode and the movement arrows. This was very helpful for my broad understanding of the project. I actually learned how to do good arc commands through the rotate movement arrows. This was one learning curve that I enjoyed.
While the assignment for this week was mostly iterative renditions of the rectangular prisms, I found a lot of difficulty in the exporting and shadow making. I ran into a roadblock when it came to the shadows, but after consulting with a GE, I started to use the Sun commands early, which improved the quality of my iterations greatly. Learning all the small details for exporting was very helpful. It seems that understanding how the different programs interact with each other is just as important as knowing the commands in Rhino.
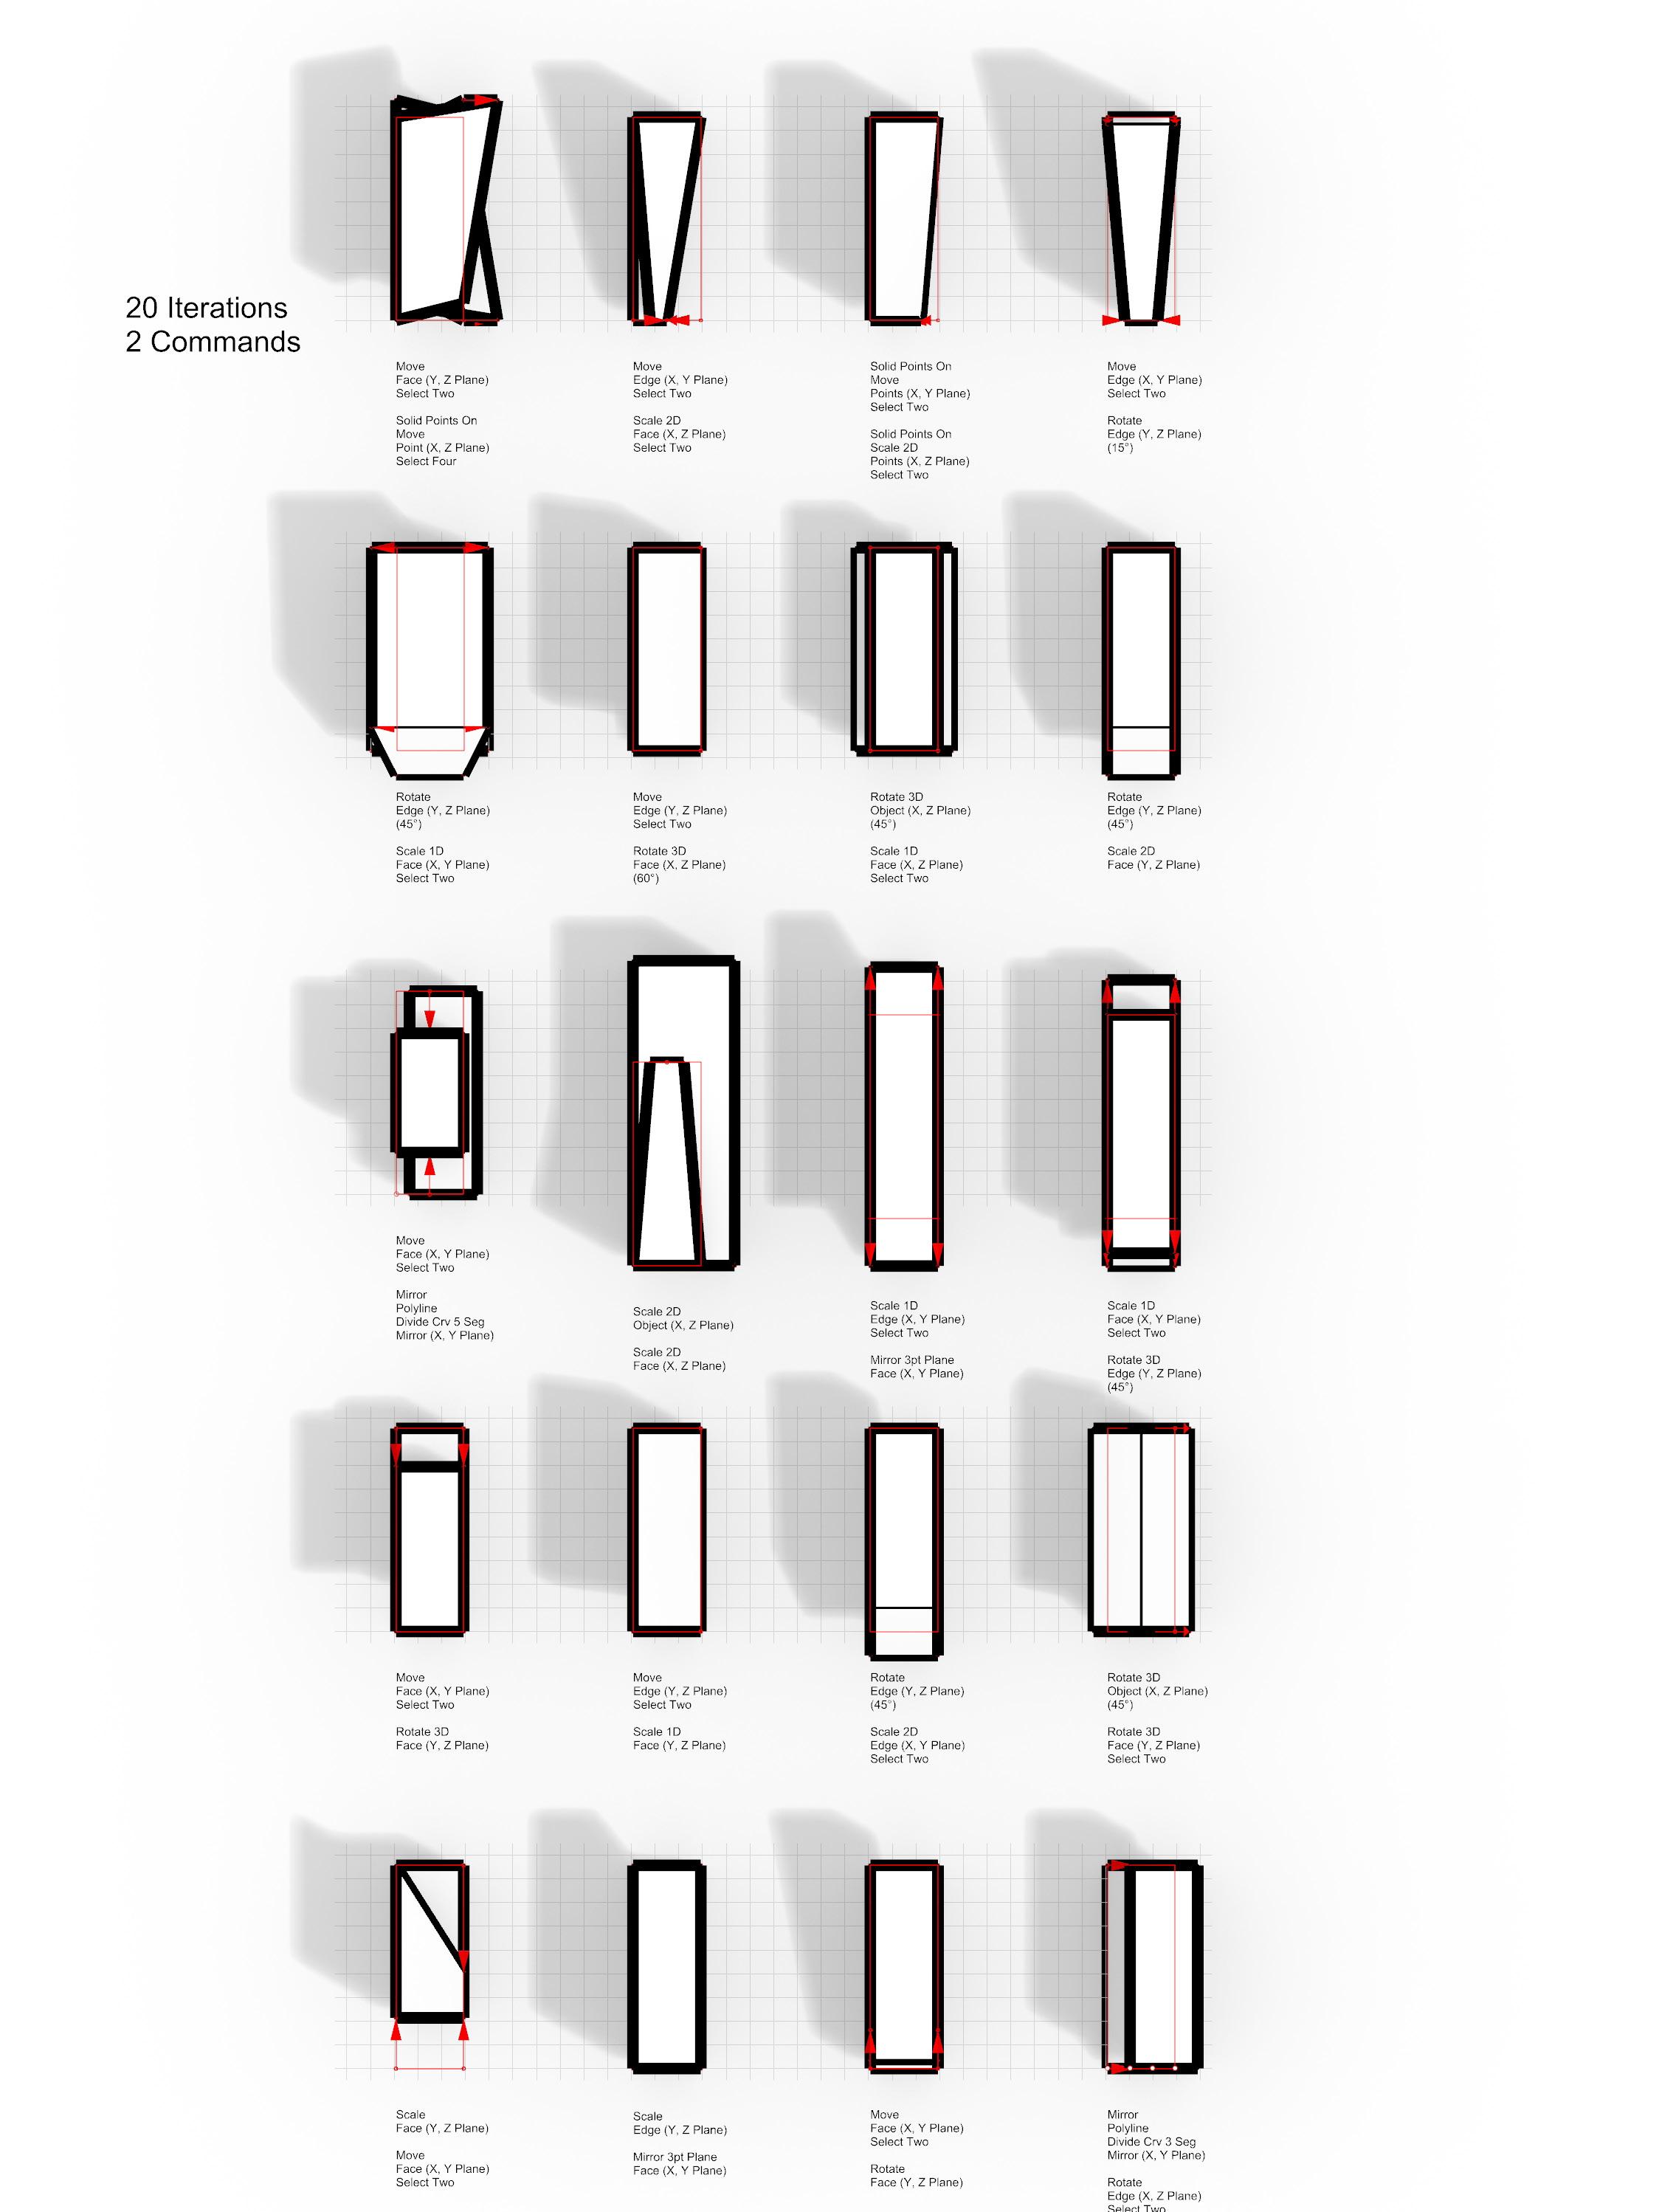
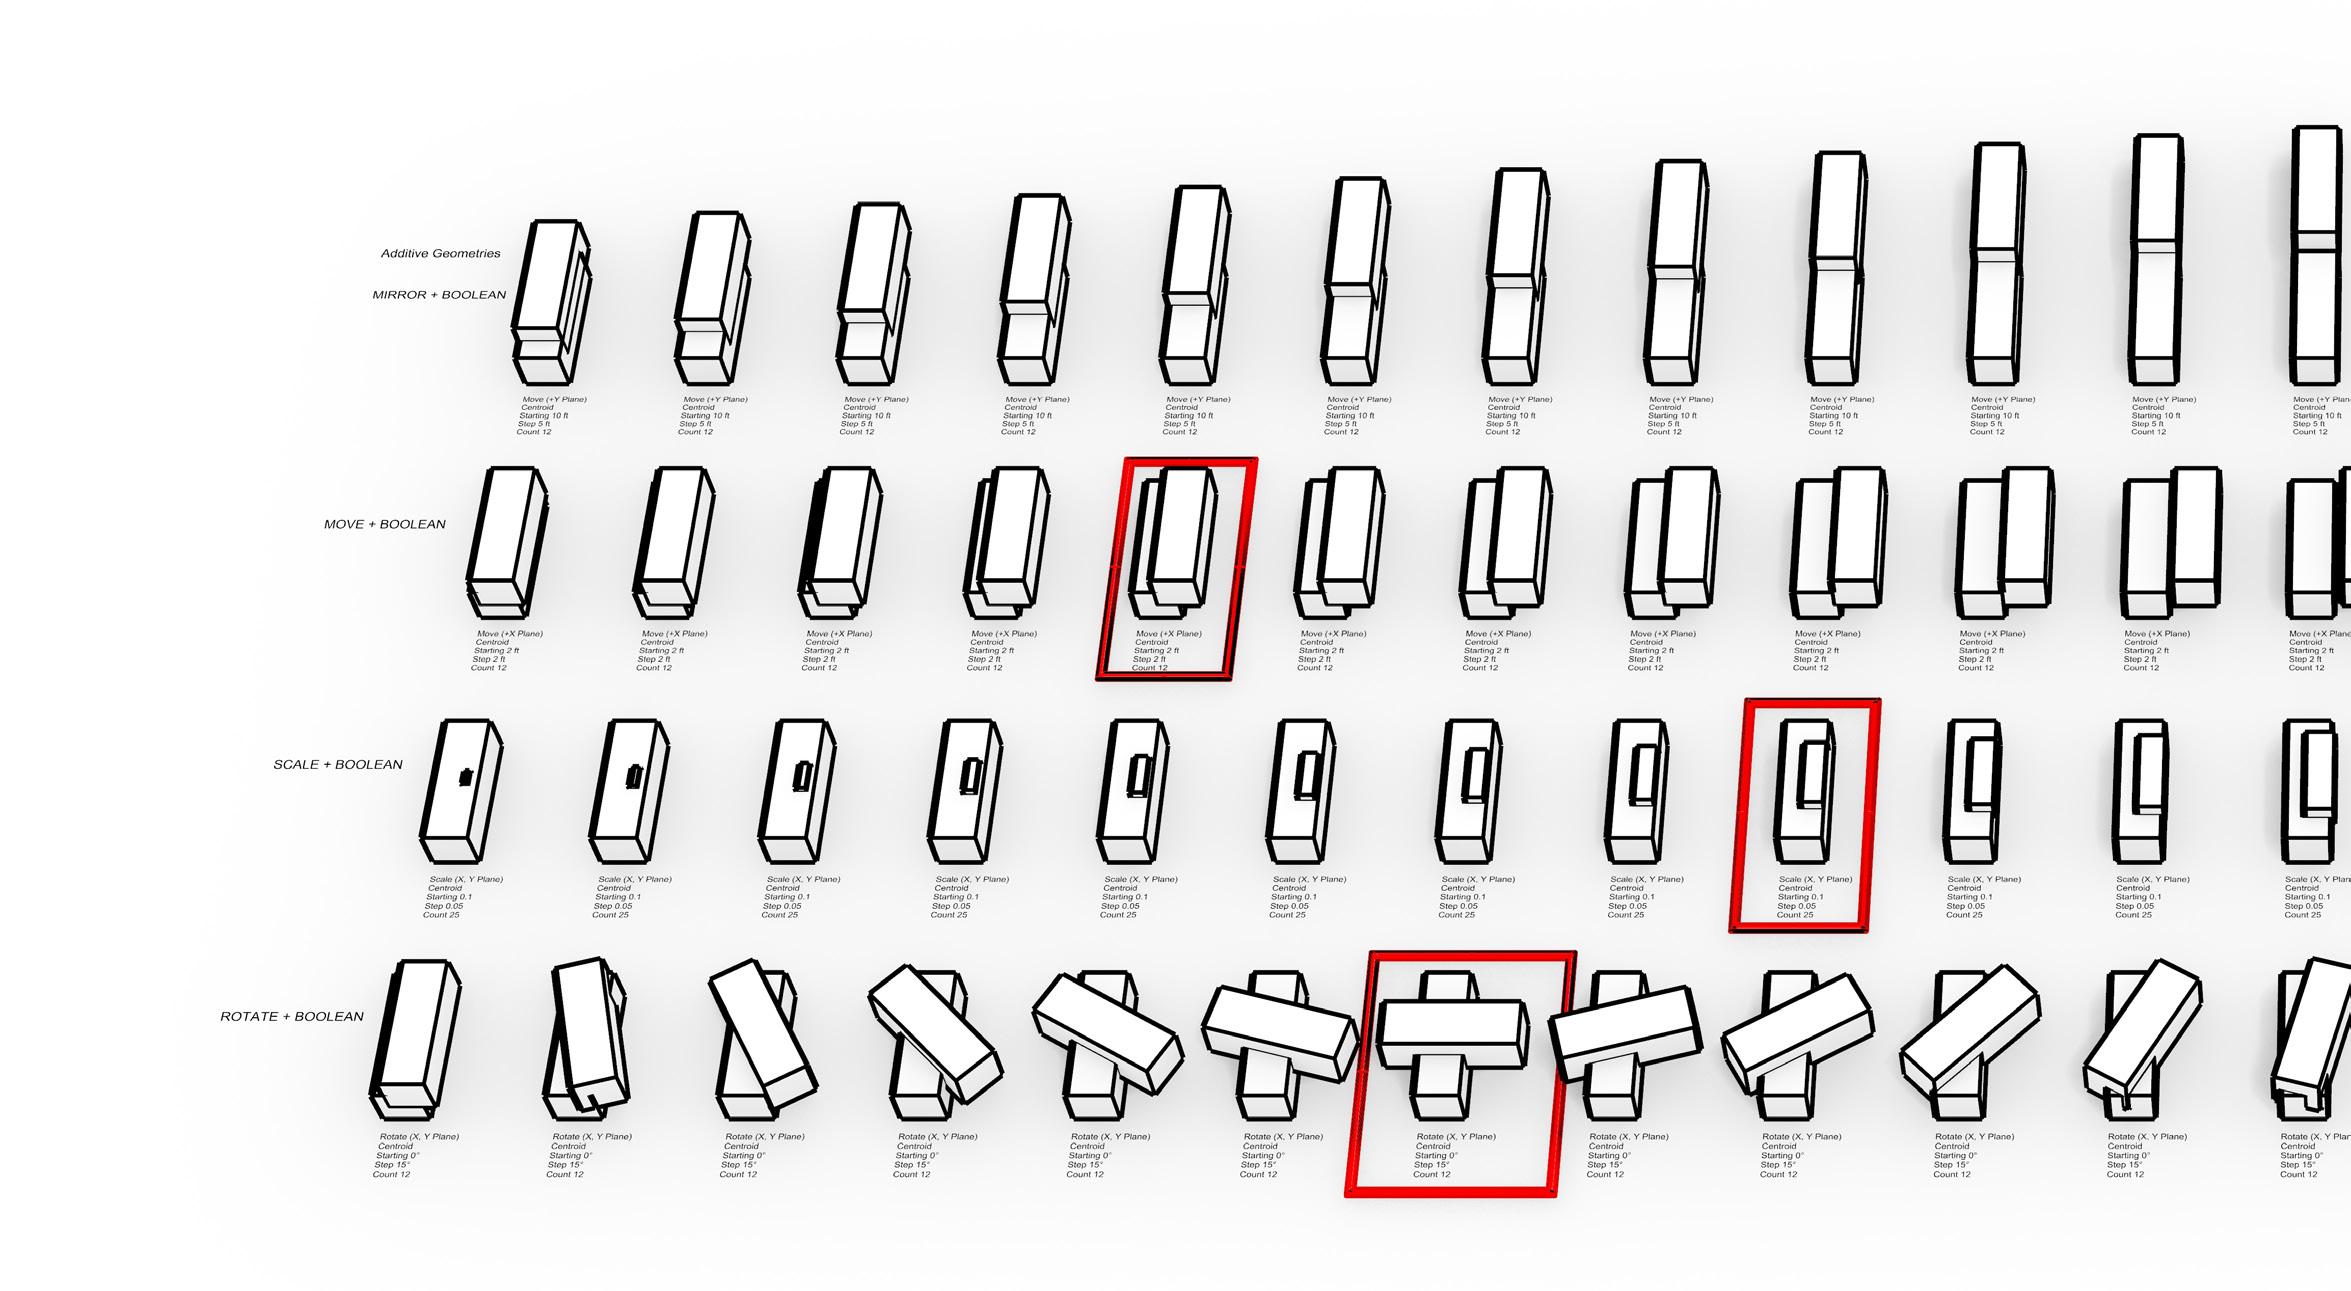
The 100 Rule project was very intriguing. I ended up going the Grasshopper route, and found it to be pretty fun. Although what we learned was basic, I can see myself utilizing Grasshopper in the future. I found many problems during this time, but used my online resources, and found alternate ways that had similar outcomes.
Some aspects of my design may not be identical to the examples, but I actally find them to be visually appealing. I also played around with different move functions in Grasshopper. This gave me a lot more variety in my 100 iterations. The Rule x 100 project set a great baseline for how I can use programming within digital rendering.

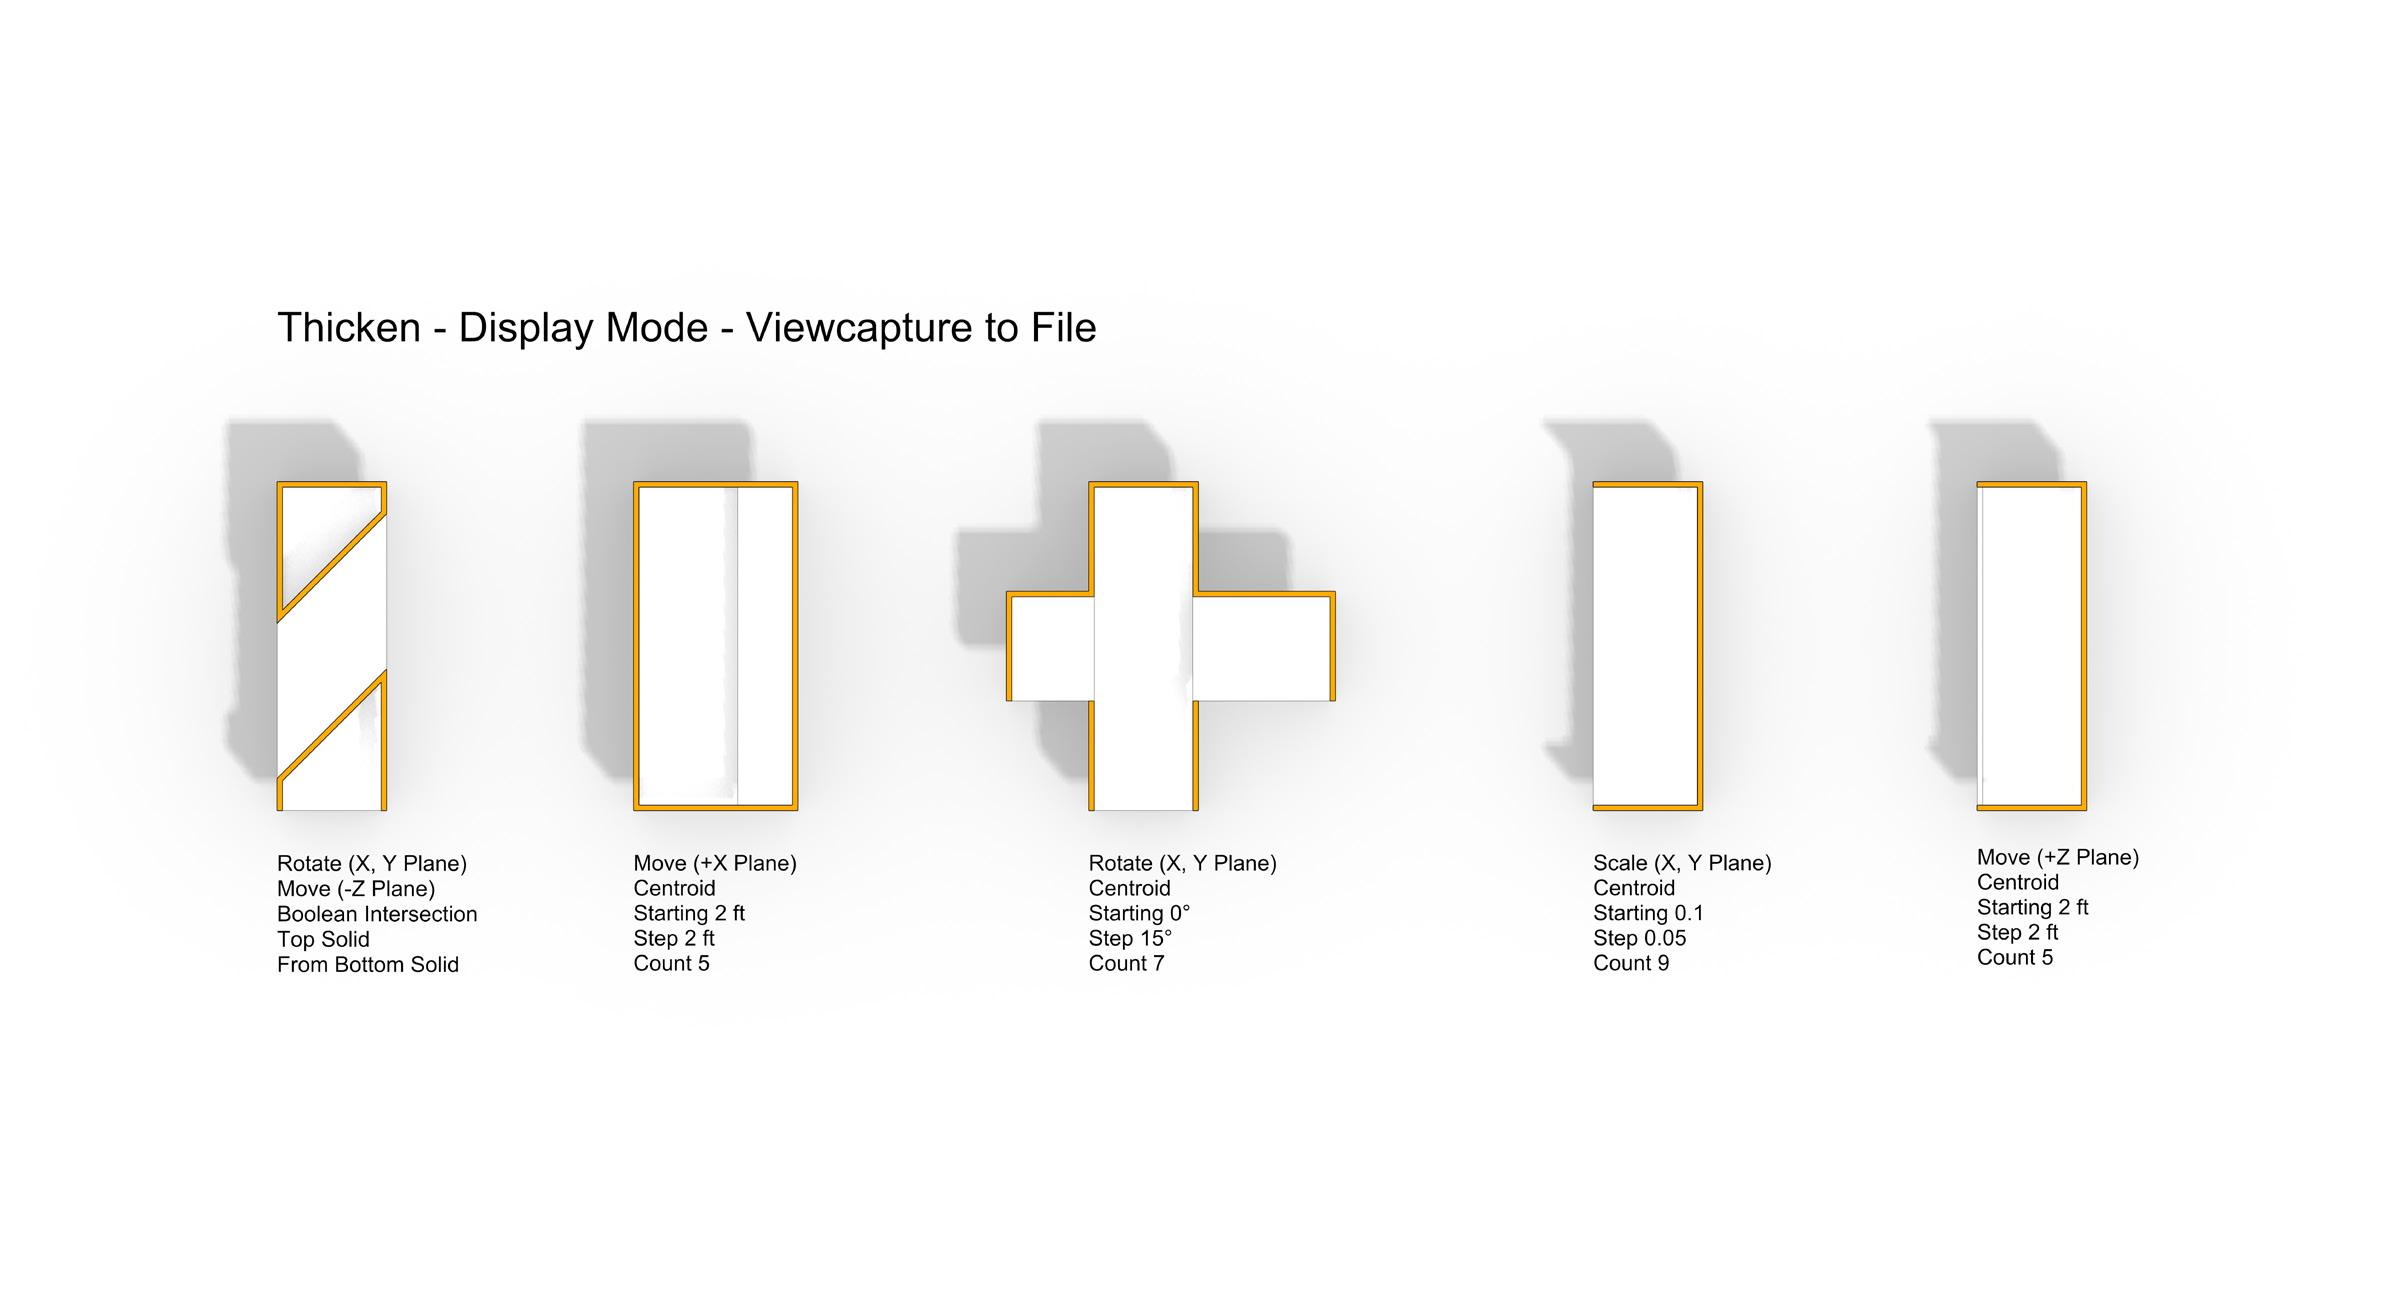
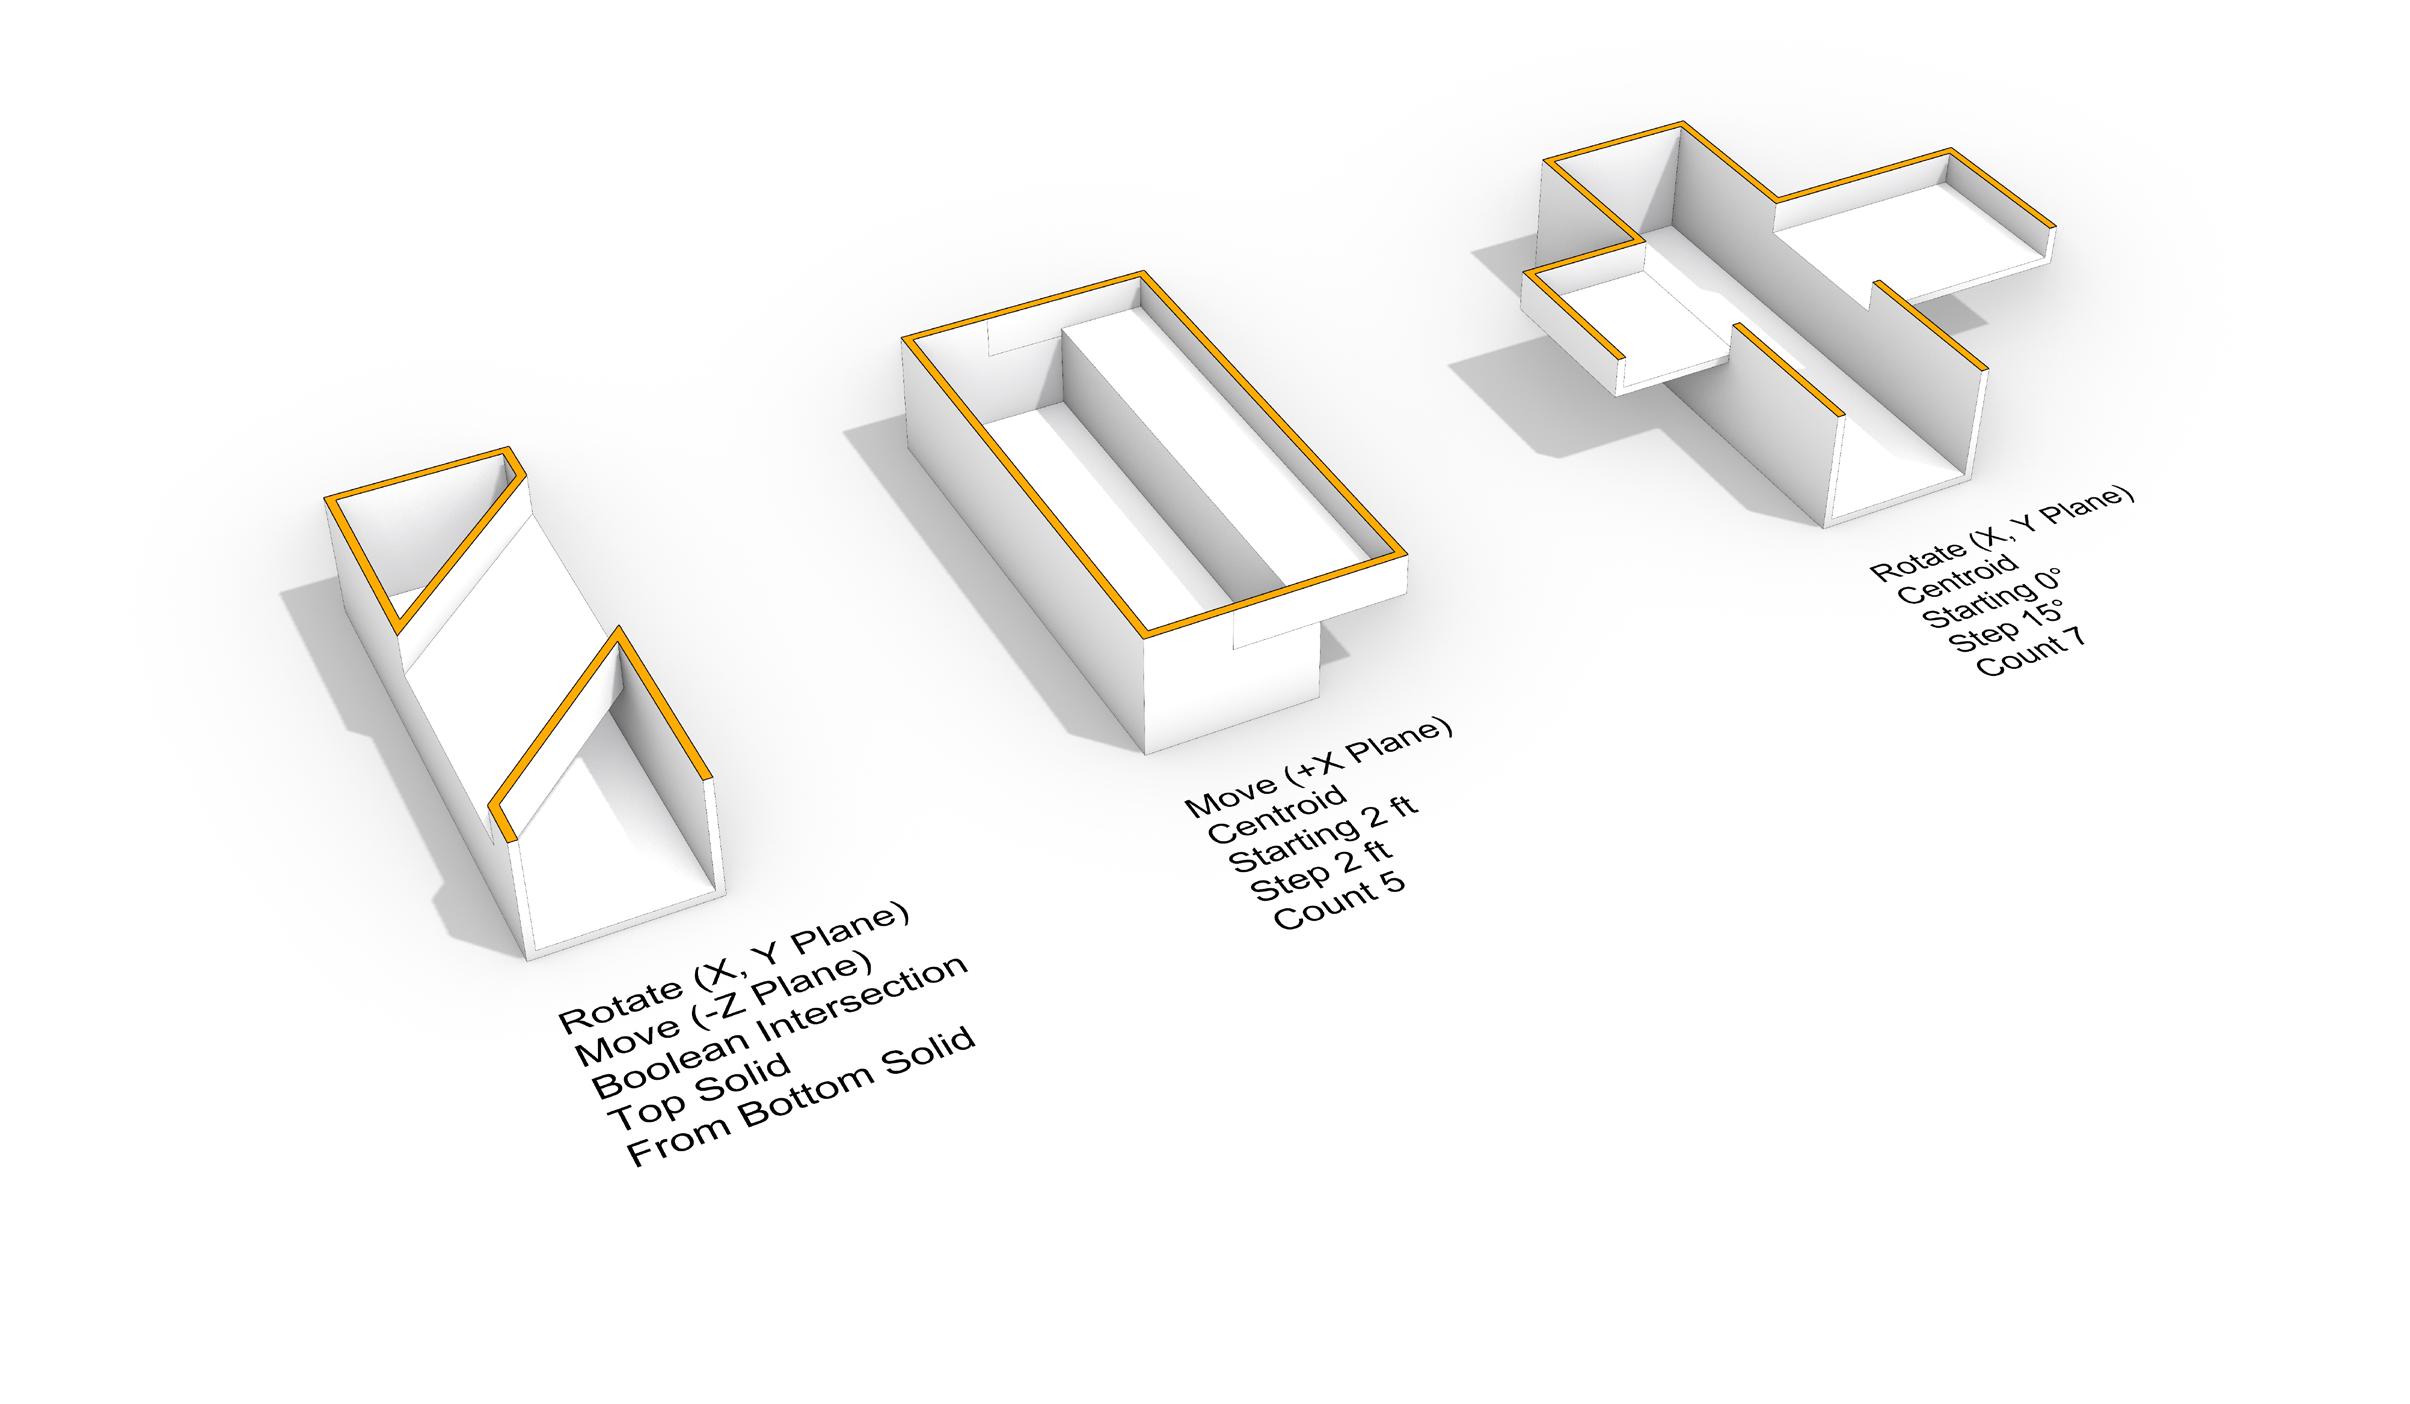
Subtractive commands focus primarily on boolean funcitons. These were very helpful and I’ve already started using them in different projects. Understanding the difference between extrusions, closed polysurfaces, open polysurfaces, and other types of objects in Rhino was a bit confusing.
Once I started to figure out the differences and similarities, and how they can be used in different ways, I began to understand this assignment a lot better. I plan to use section planes a lot in the future. Compared to how I’ve digitally rendered in the past, this is a much more effective method for showing sections.

FABRICATION TIME
20 Hours Digitally Modeling
4 Hour Assembly
2 Hours Indesign
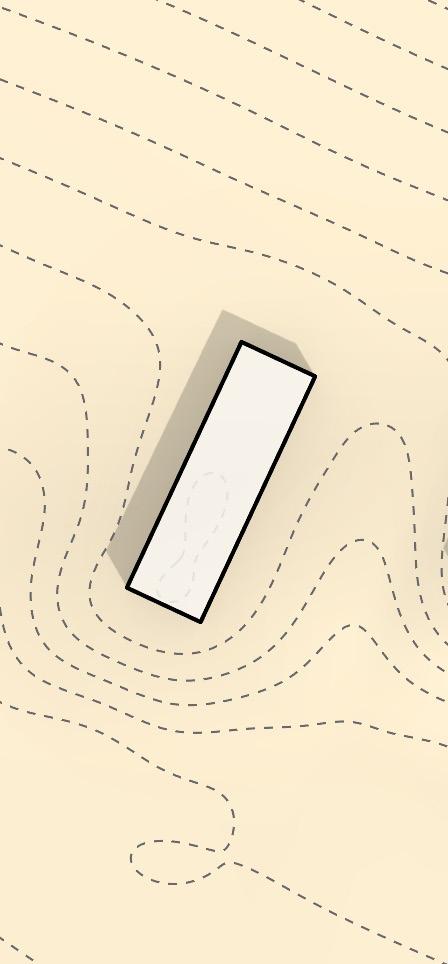
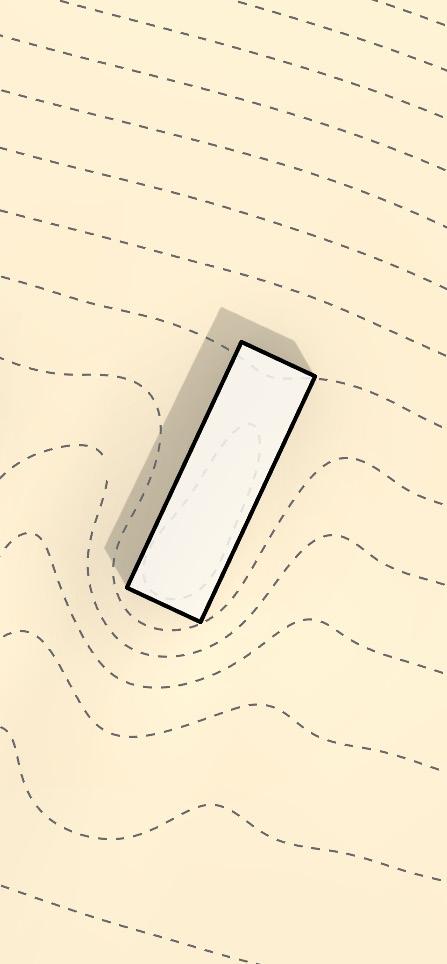
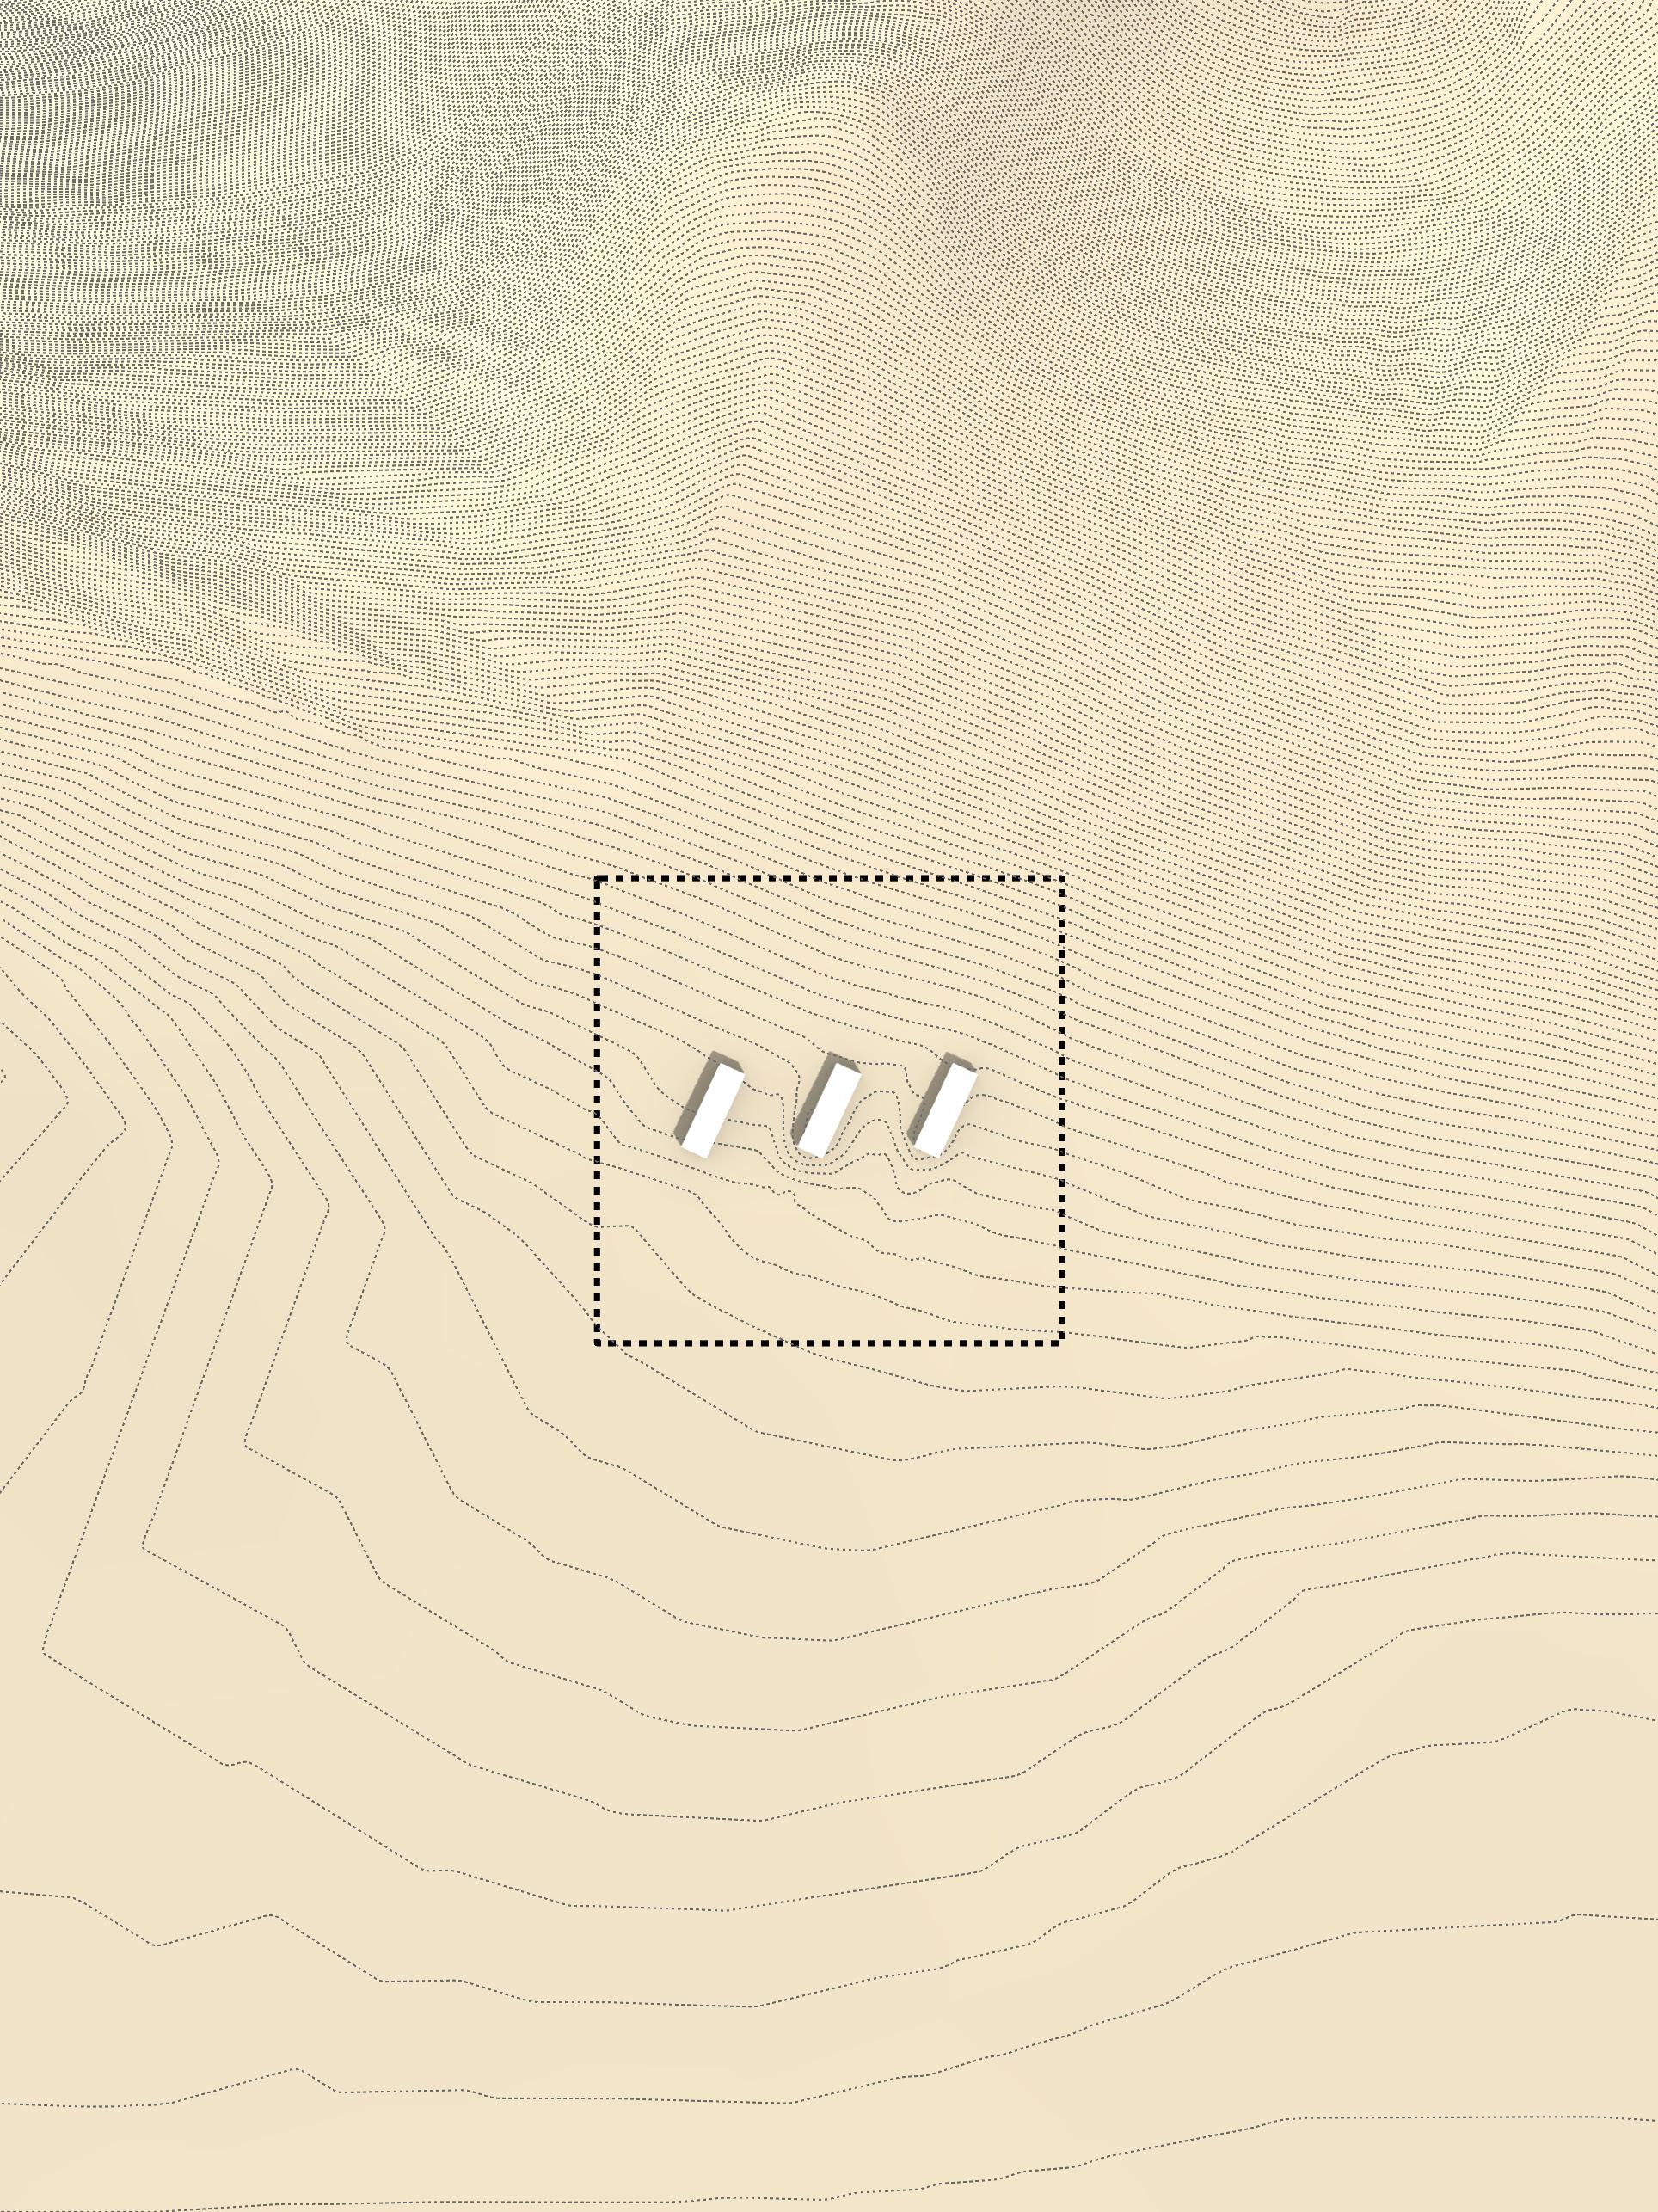
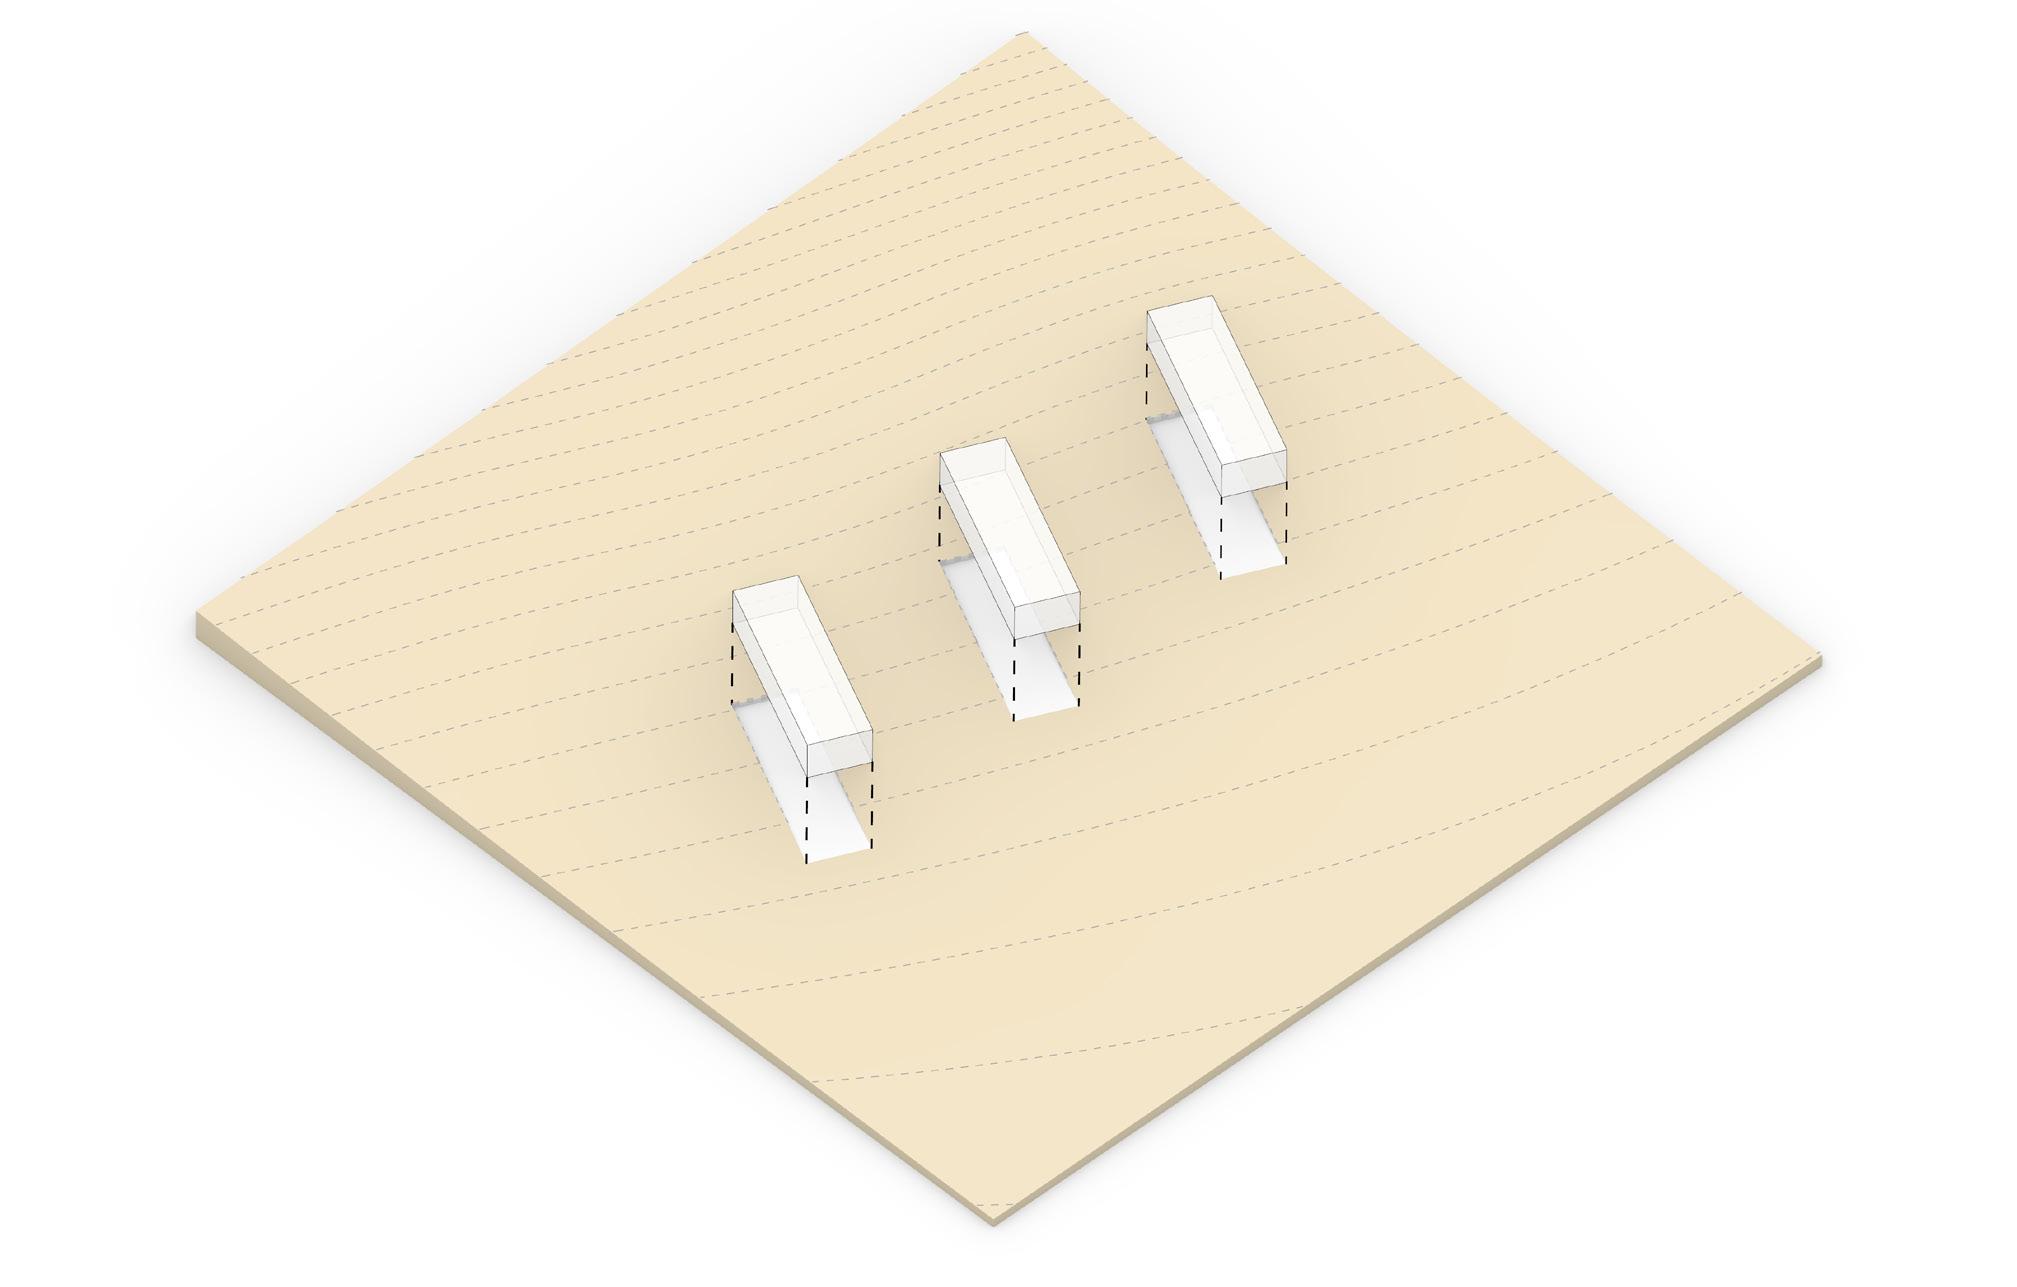
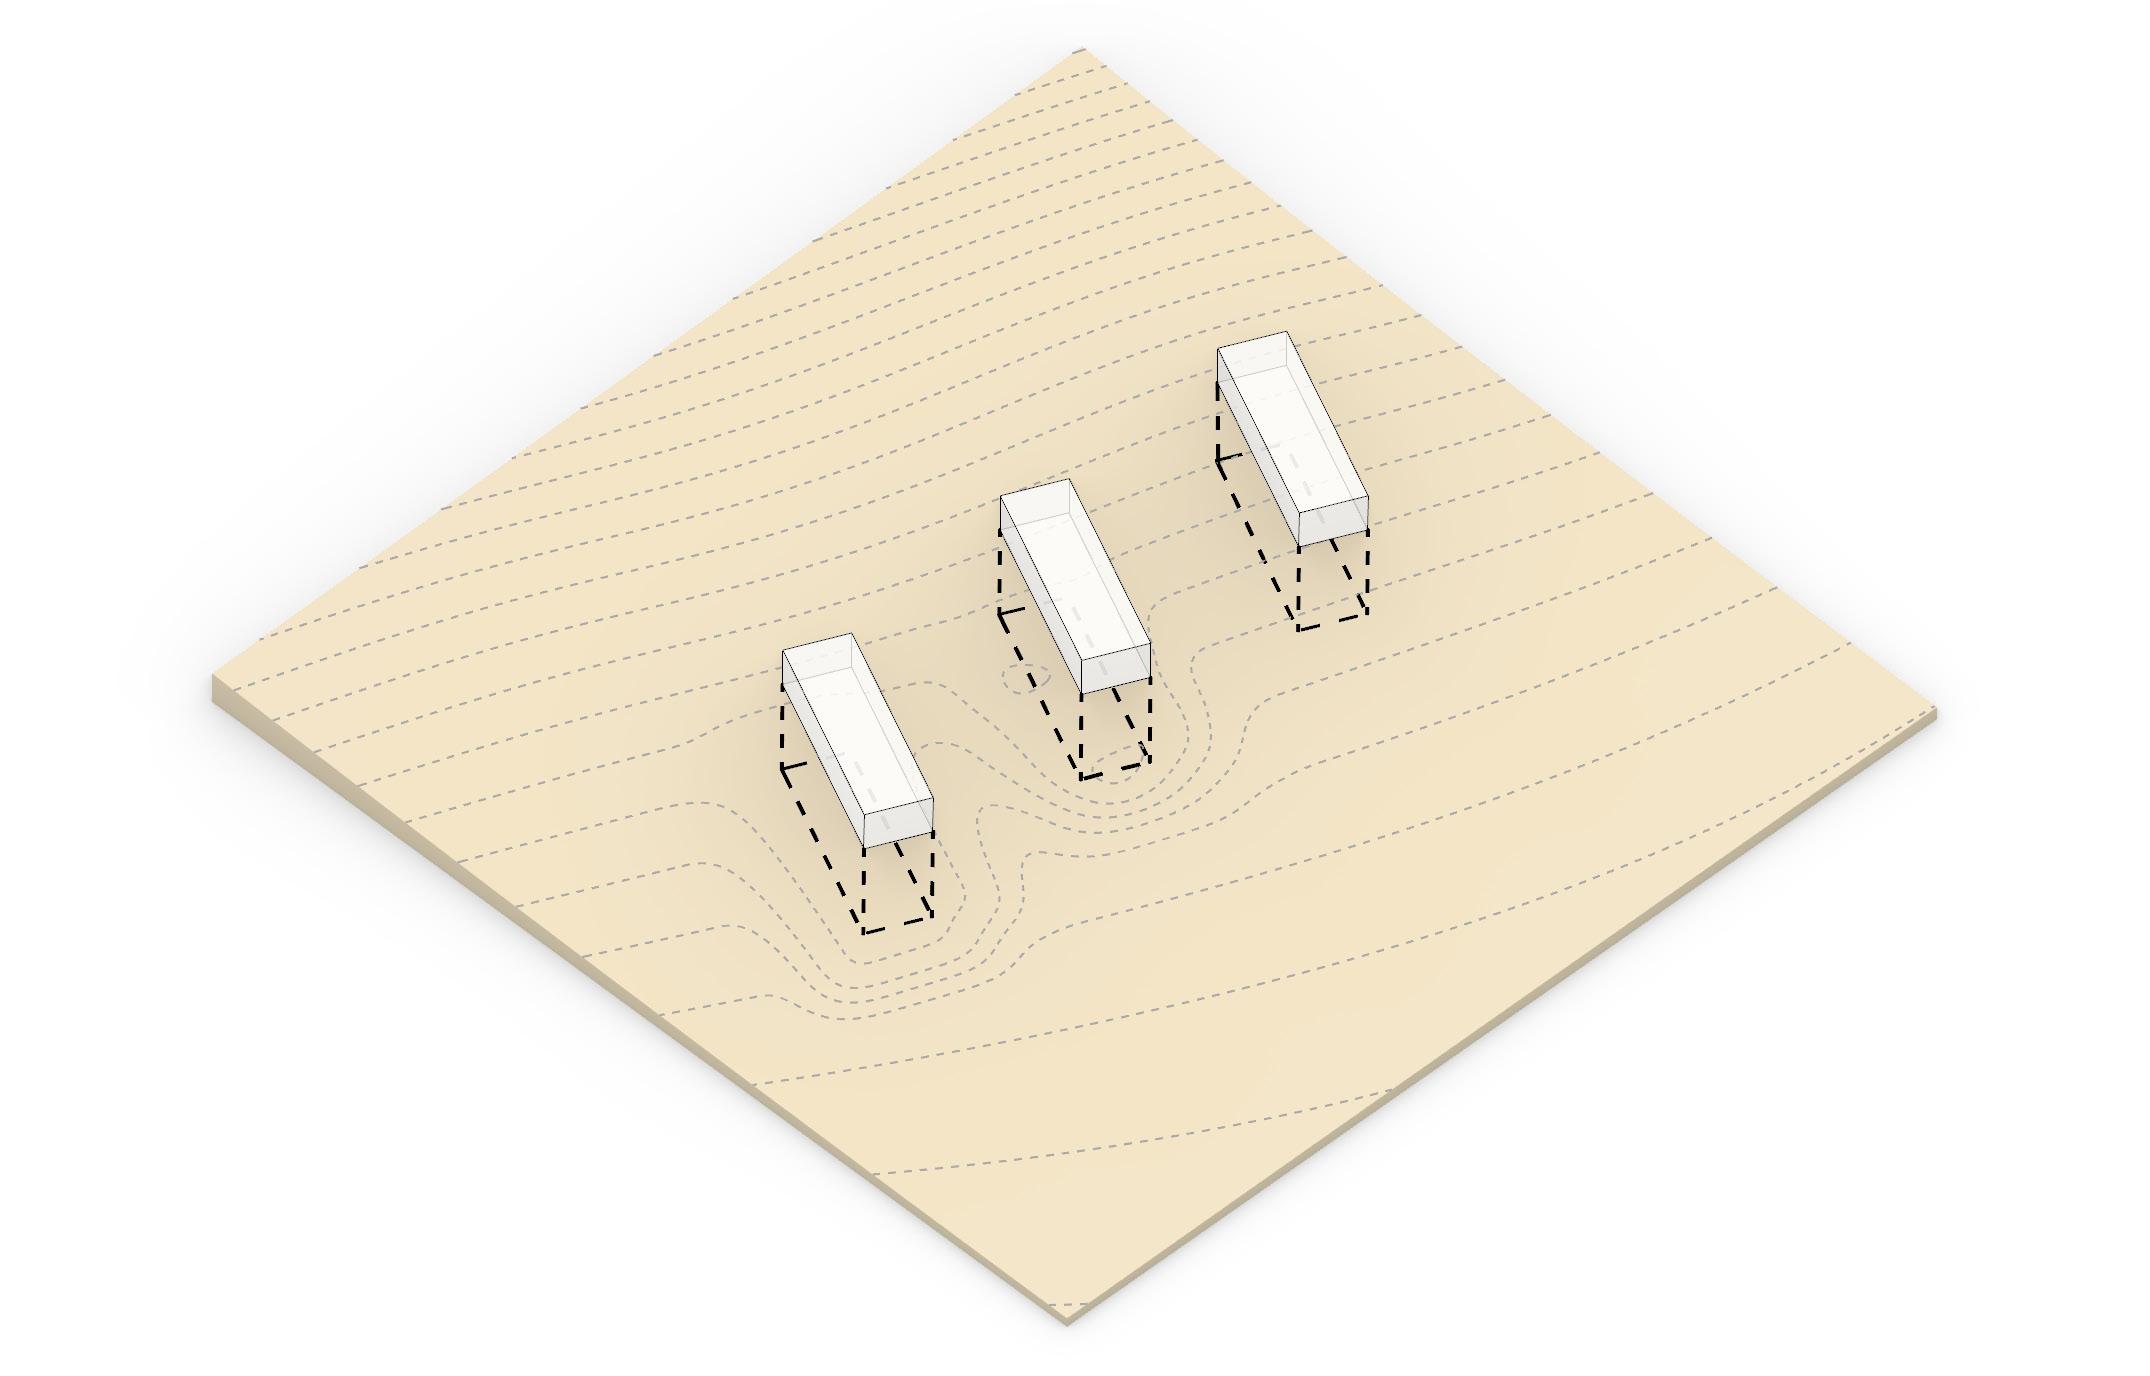
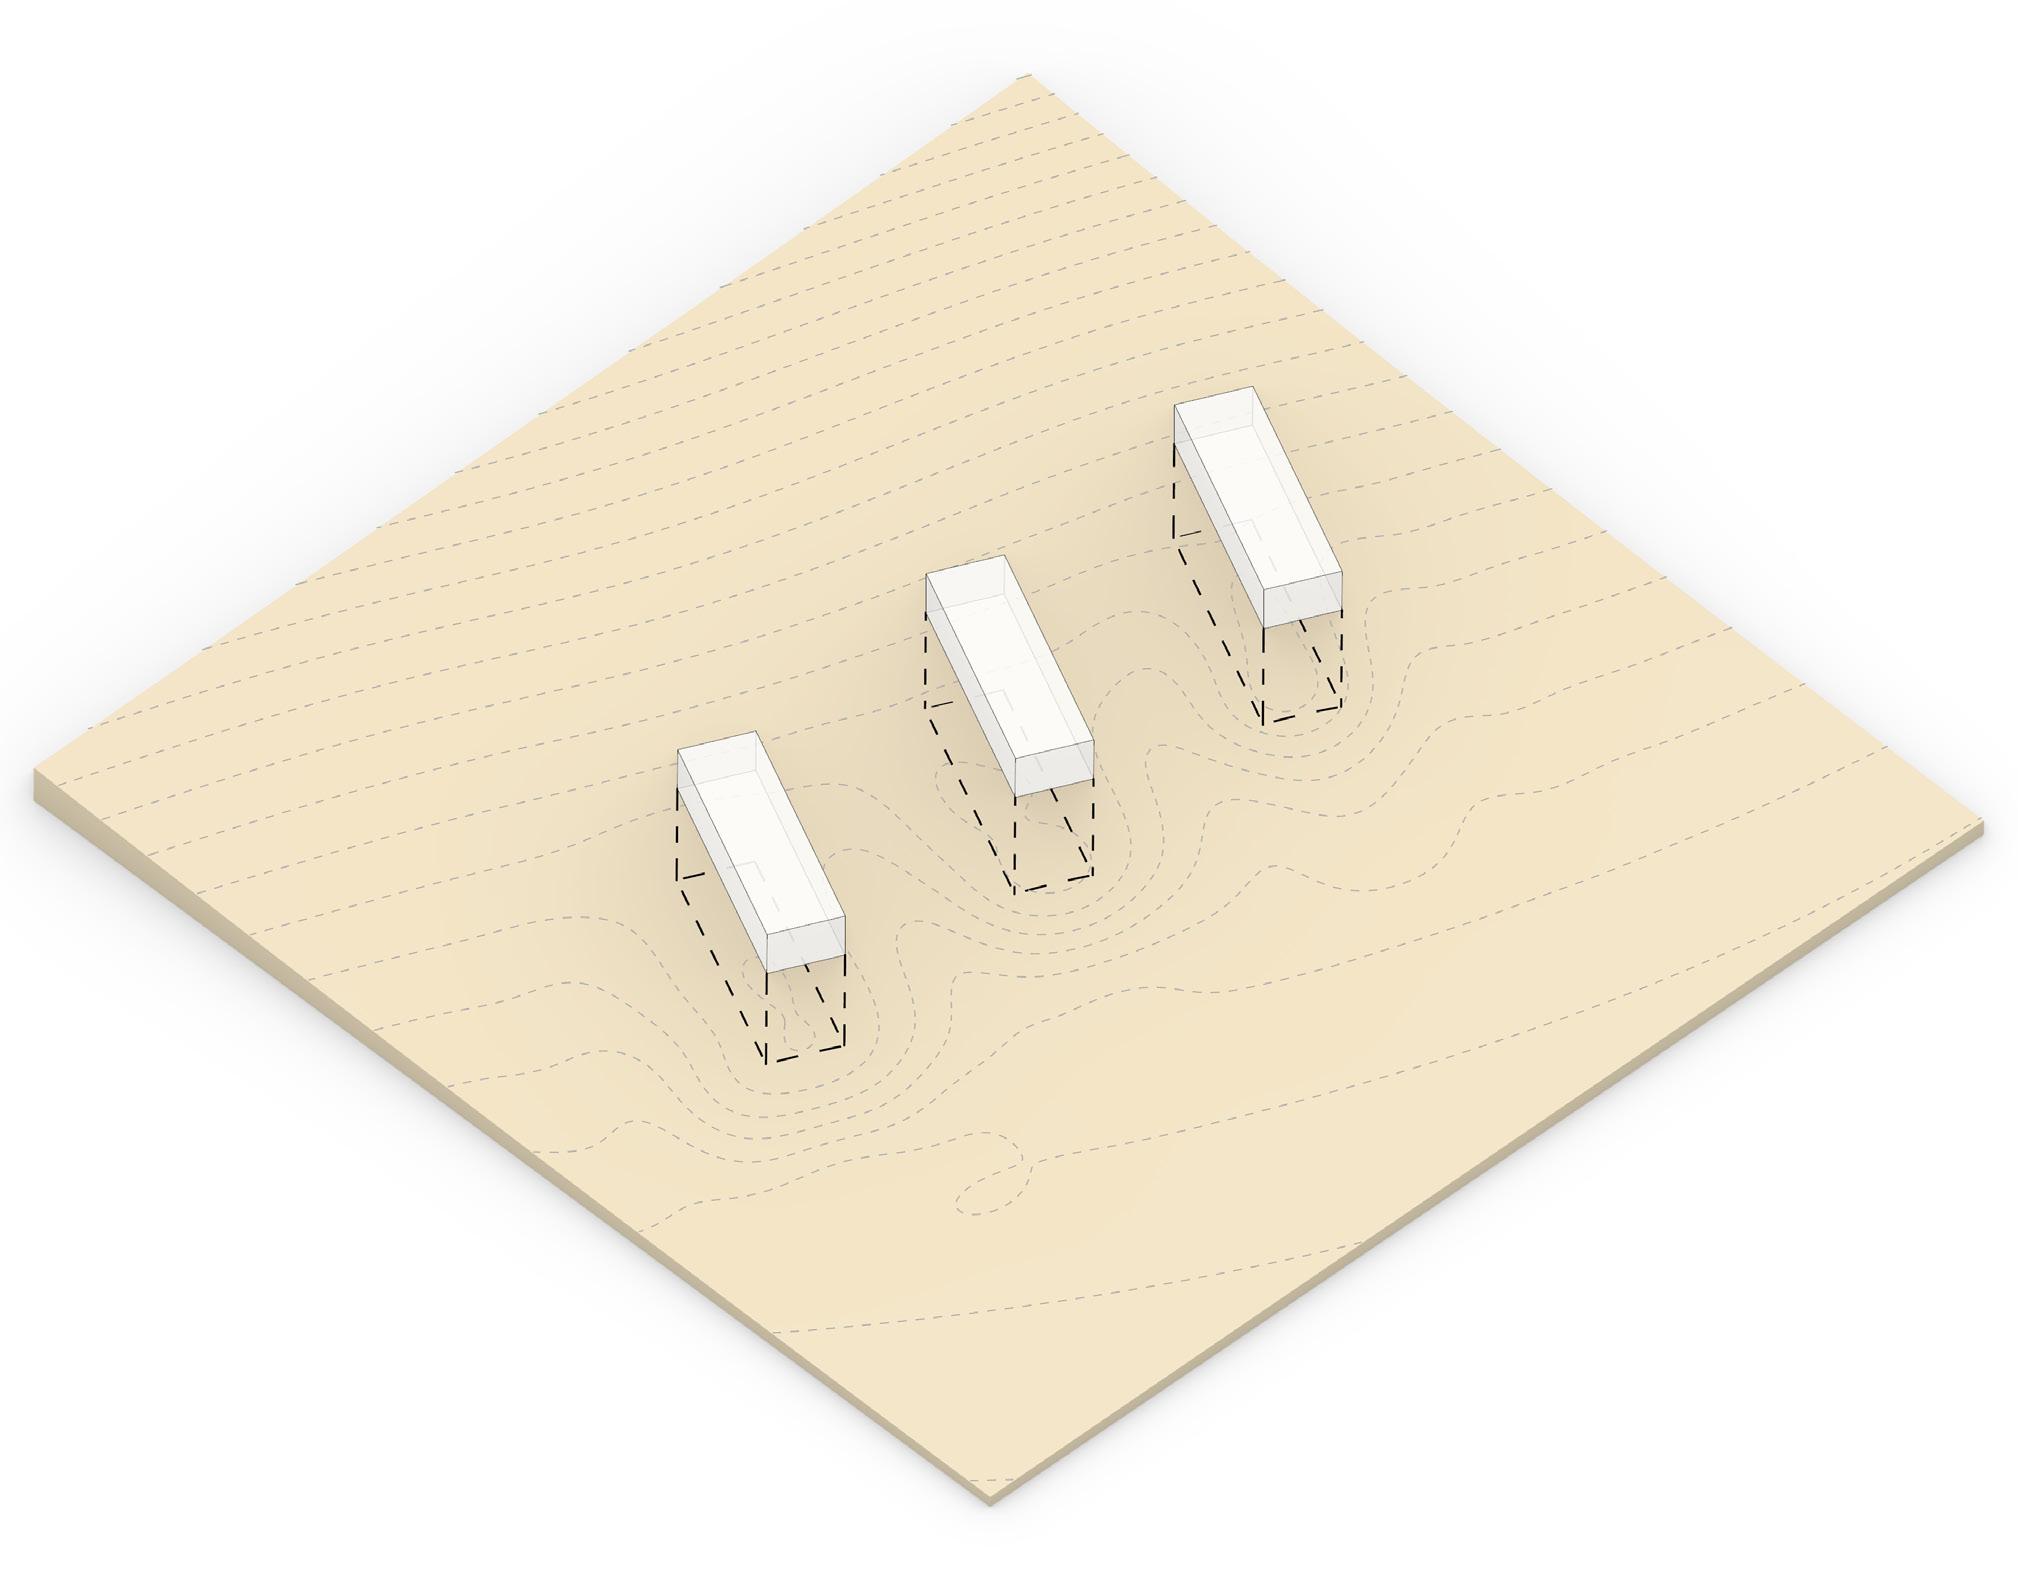
As I understood it, Module 3 focused more on how to take our Rhino models and present them within context. The three foci were site analysis and creation, addition of scale models, and light. Using all three of these, the last step was to properly render these conditions.
The lessons learned in Module 3 were tough, but I believe they’ll take my digital work to the next level. Presentation isn’t just about making something look pretty, it’s
MATERIALS
0.125” Basswood
0.5” Plywood
Laser Cutter
Spray Paint
Sharpie
also about presenting your creations within the context of their surroundings.
To quote Kamala Harris: “You think you just fell out of a coconut tree? You exist in the context of all in which you live and what came before you.”
This site analysis and modelling deals directly with this topic. And now that I’ve learned this, I can properly communicate the context in which we live in.

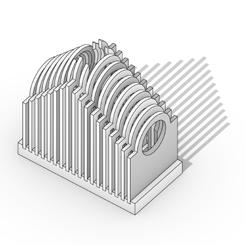
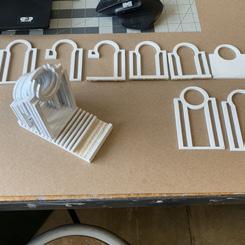
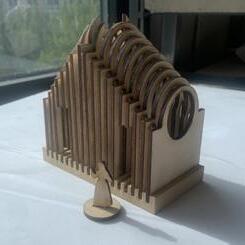
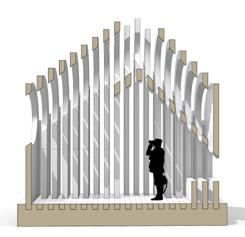
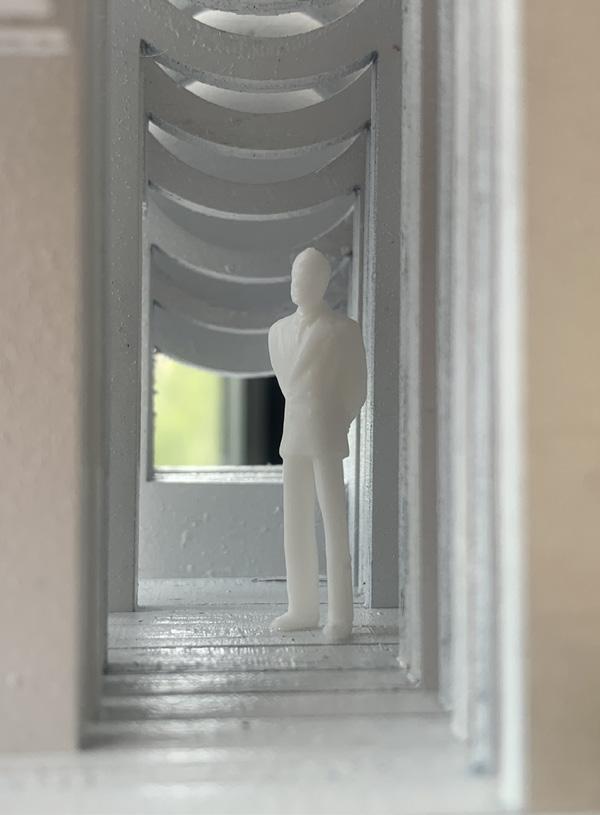
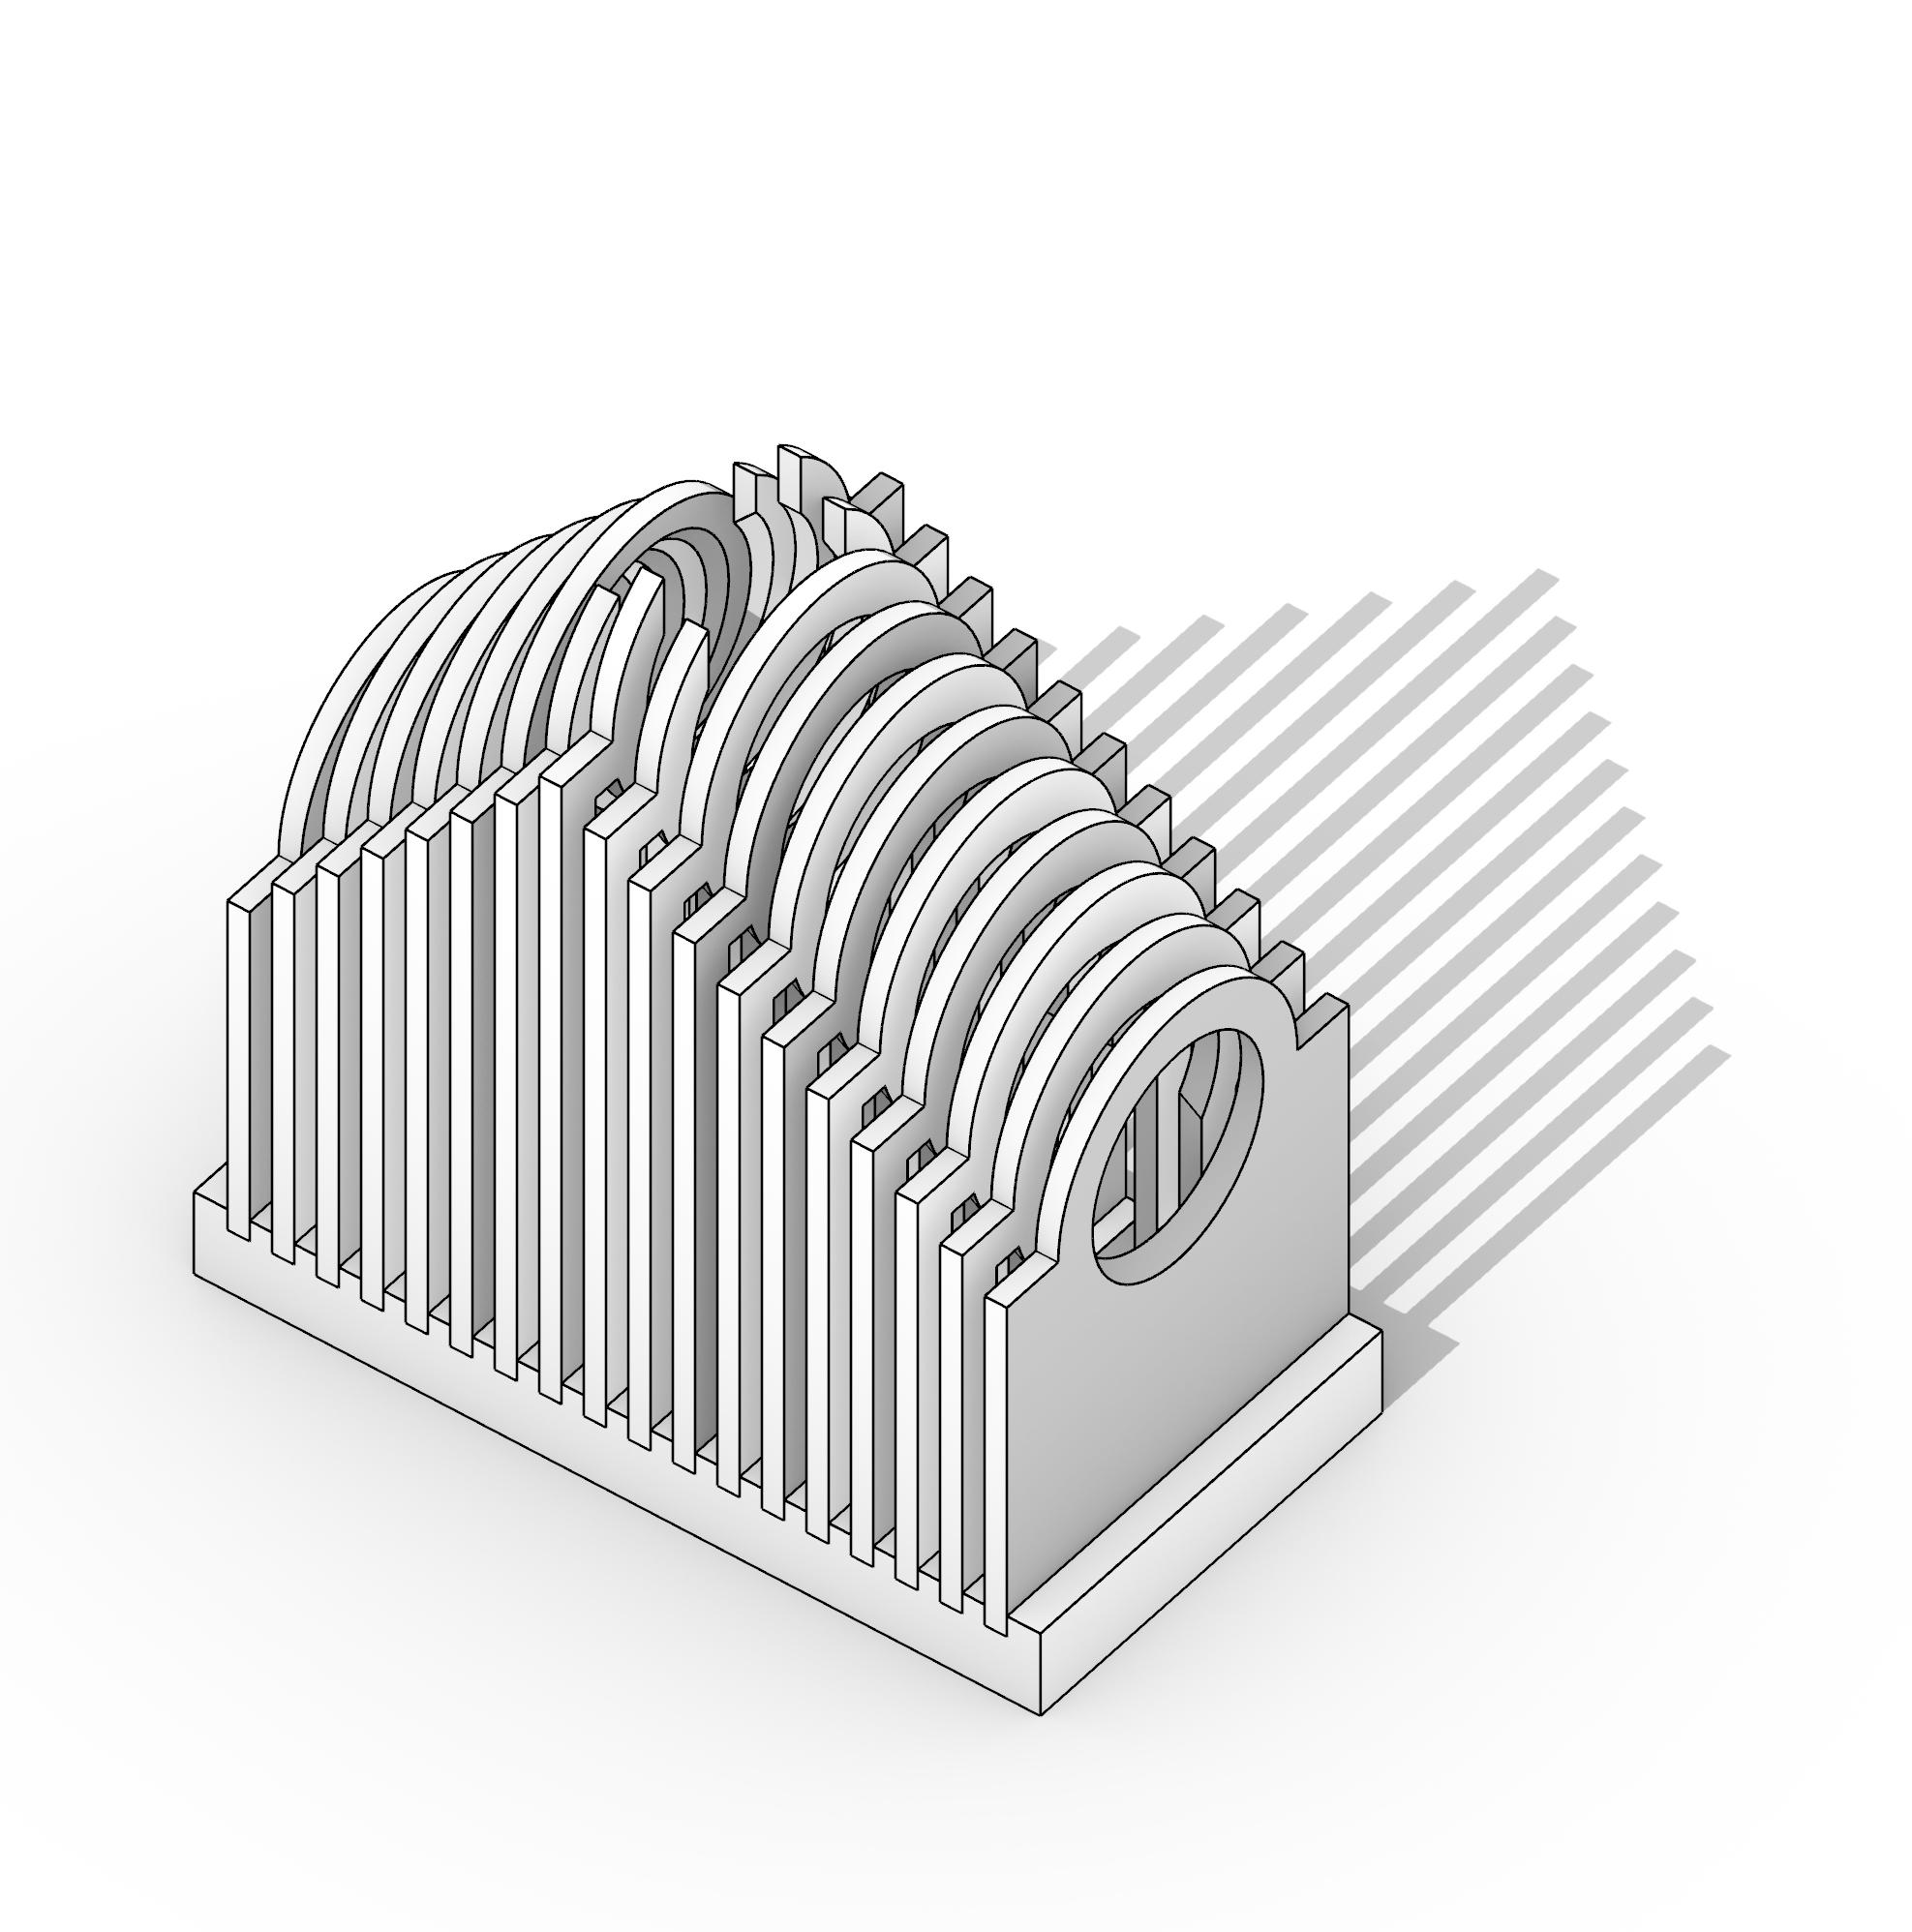
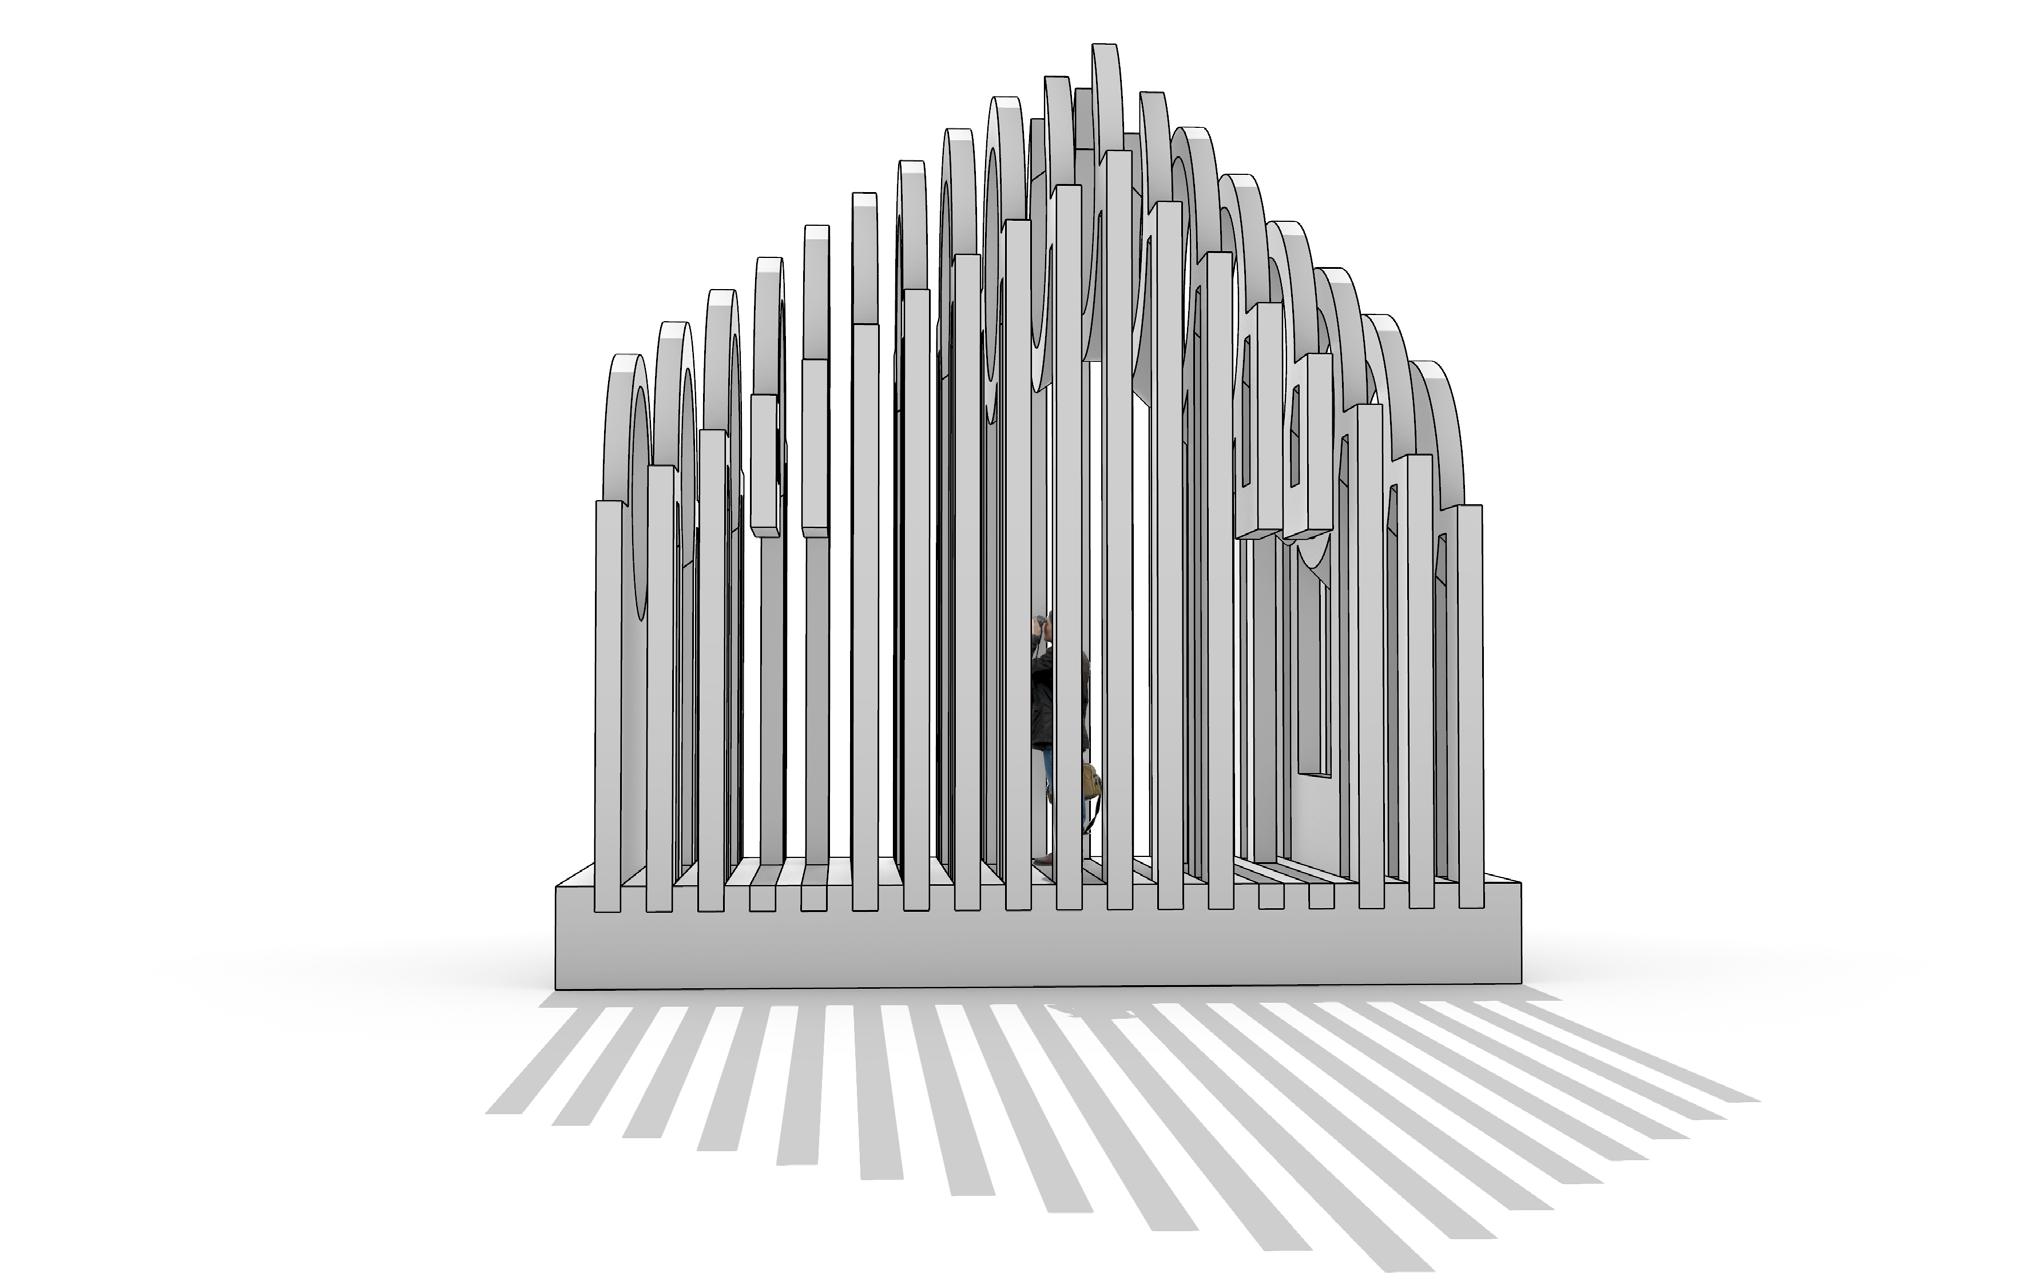
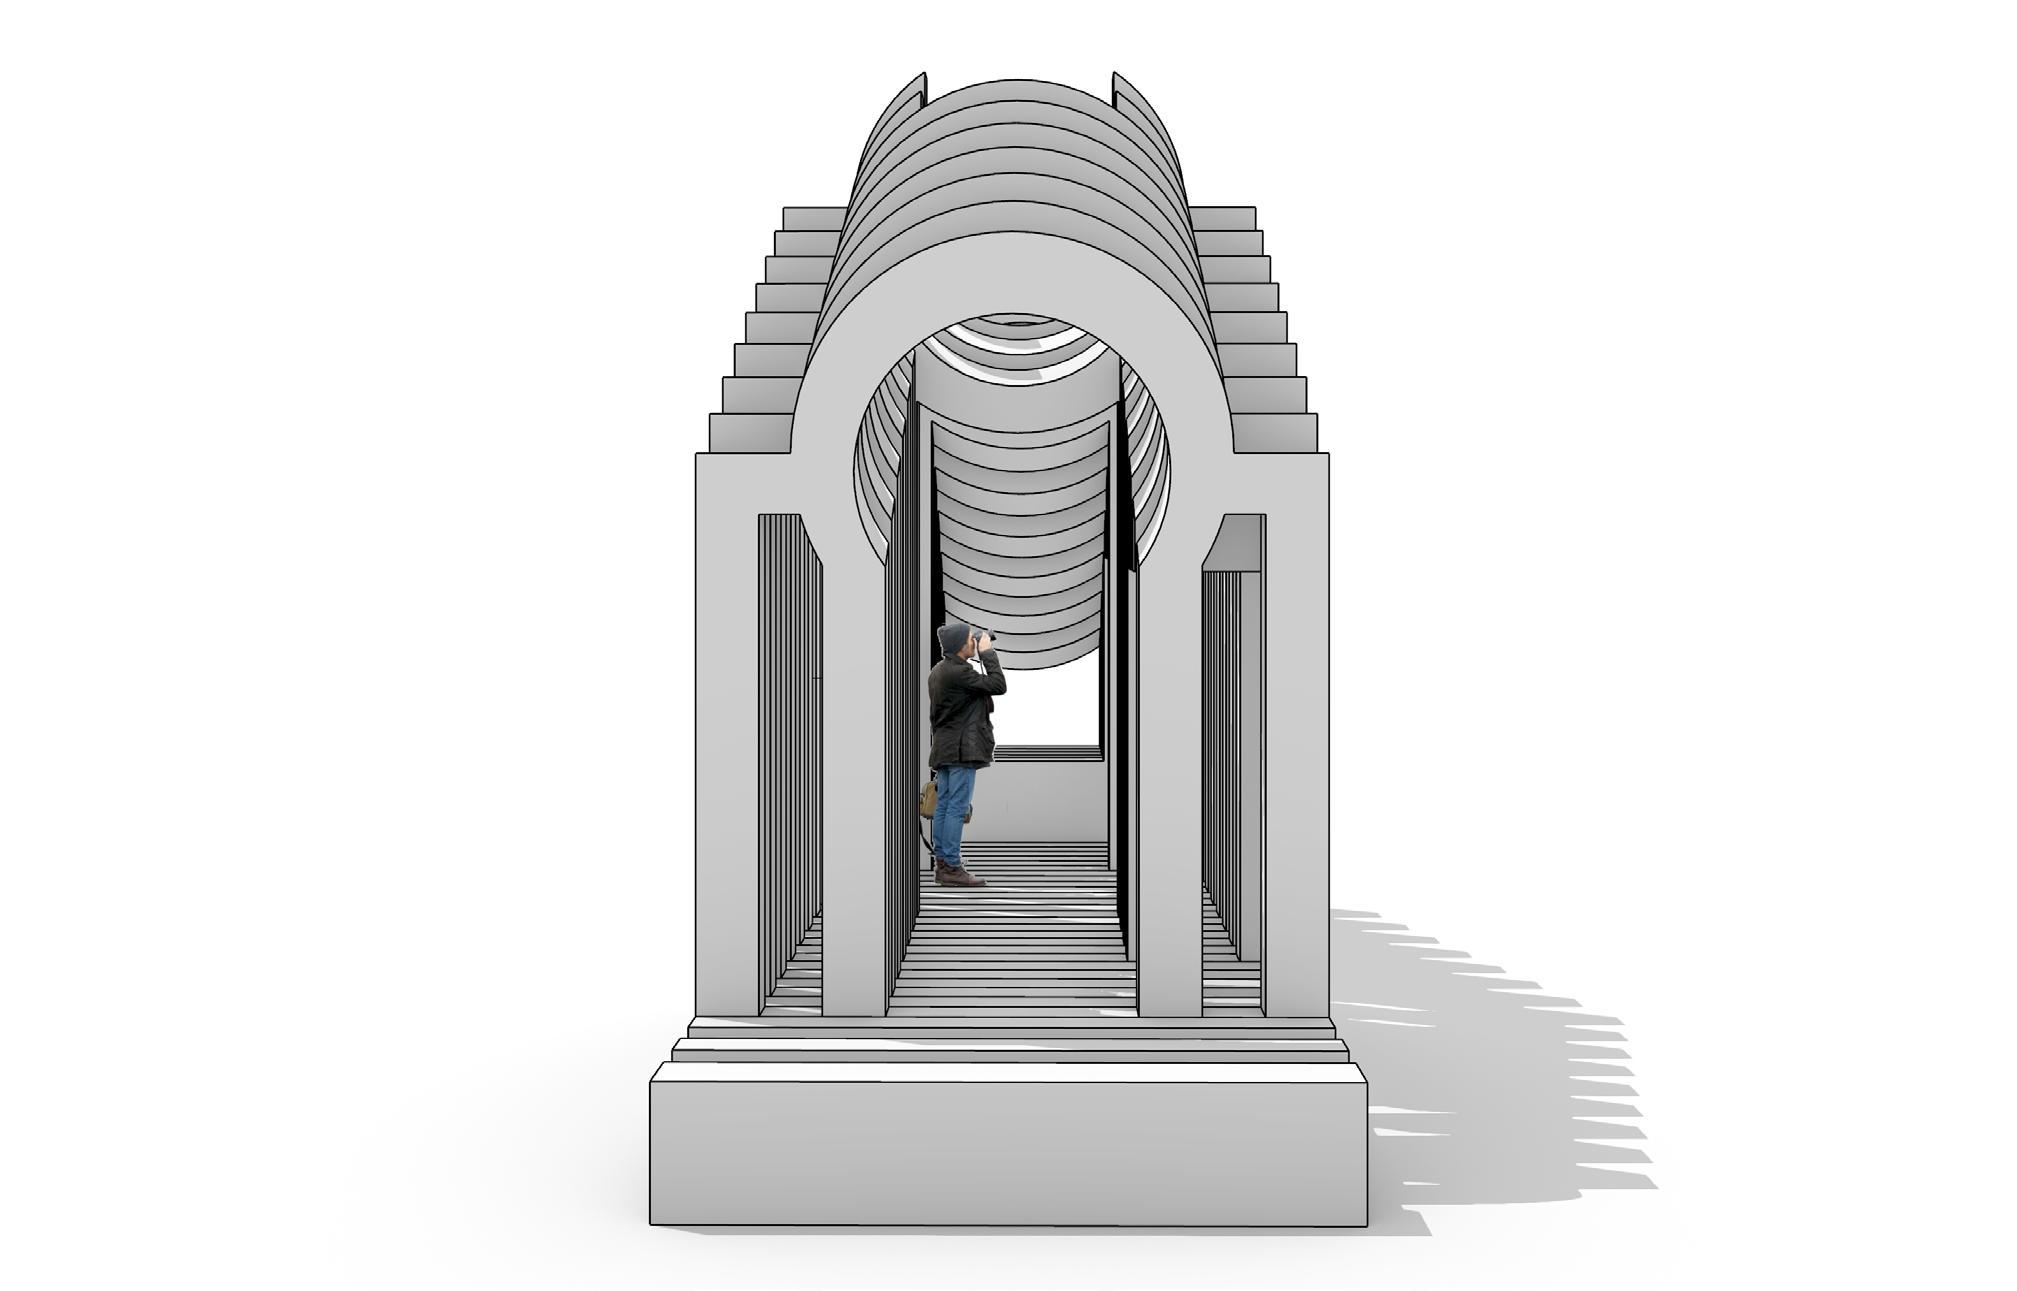
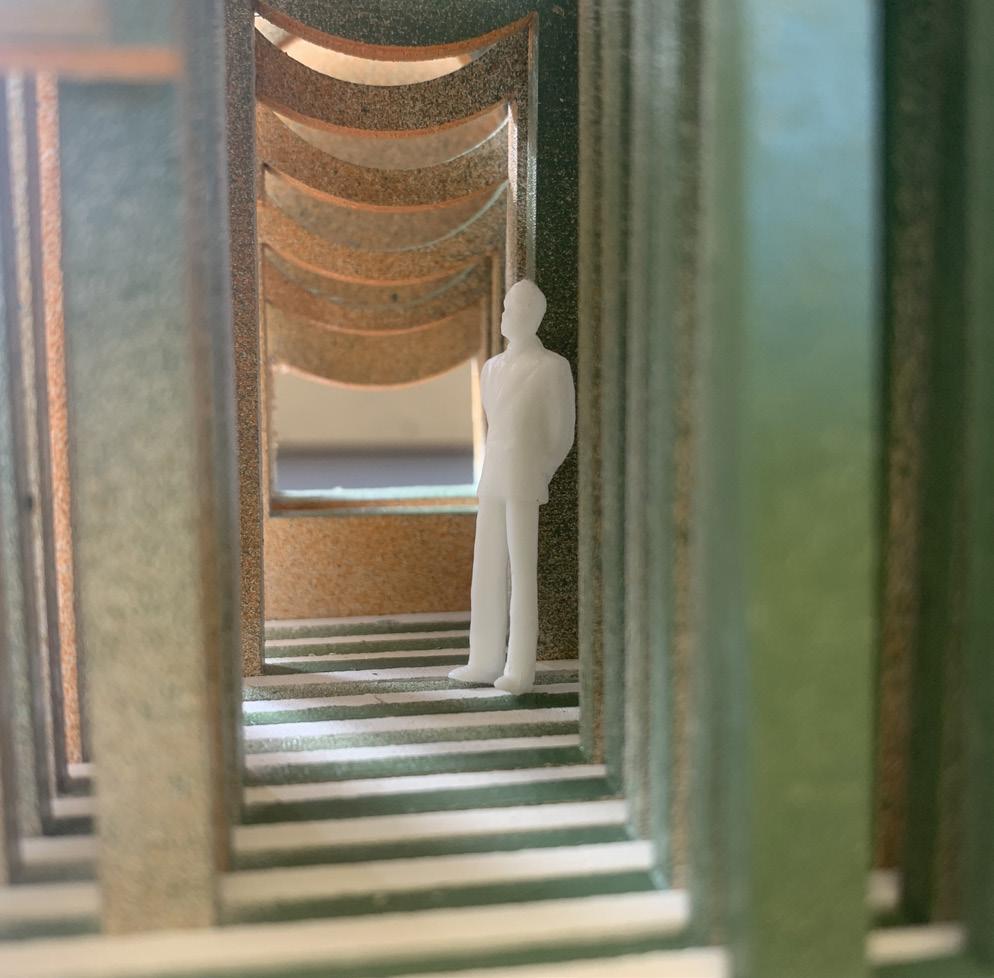
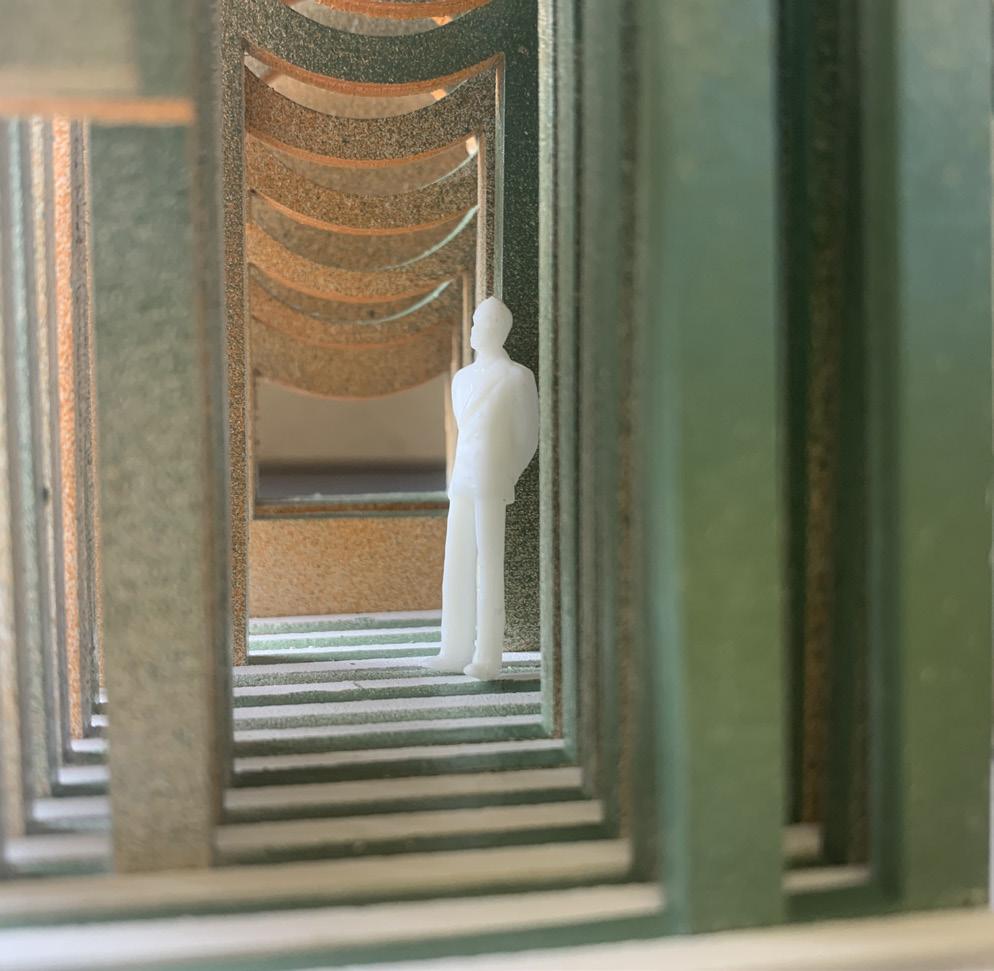
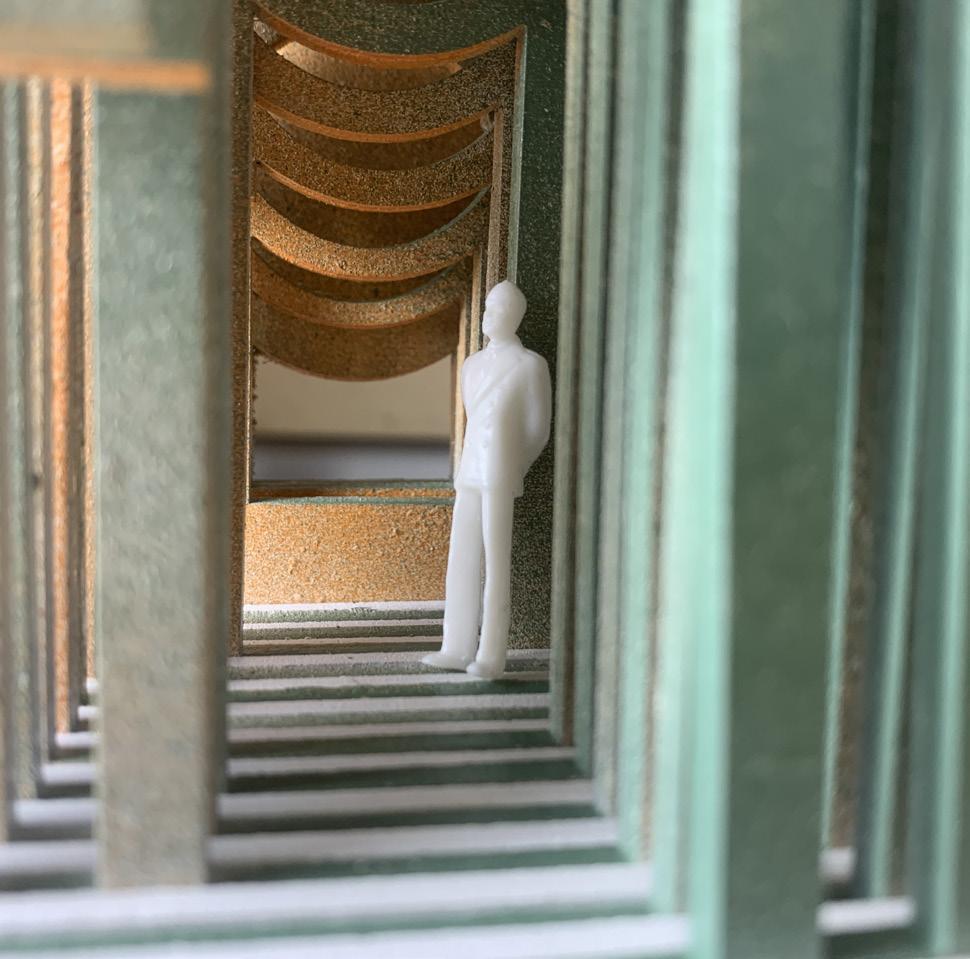
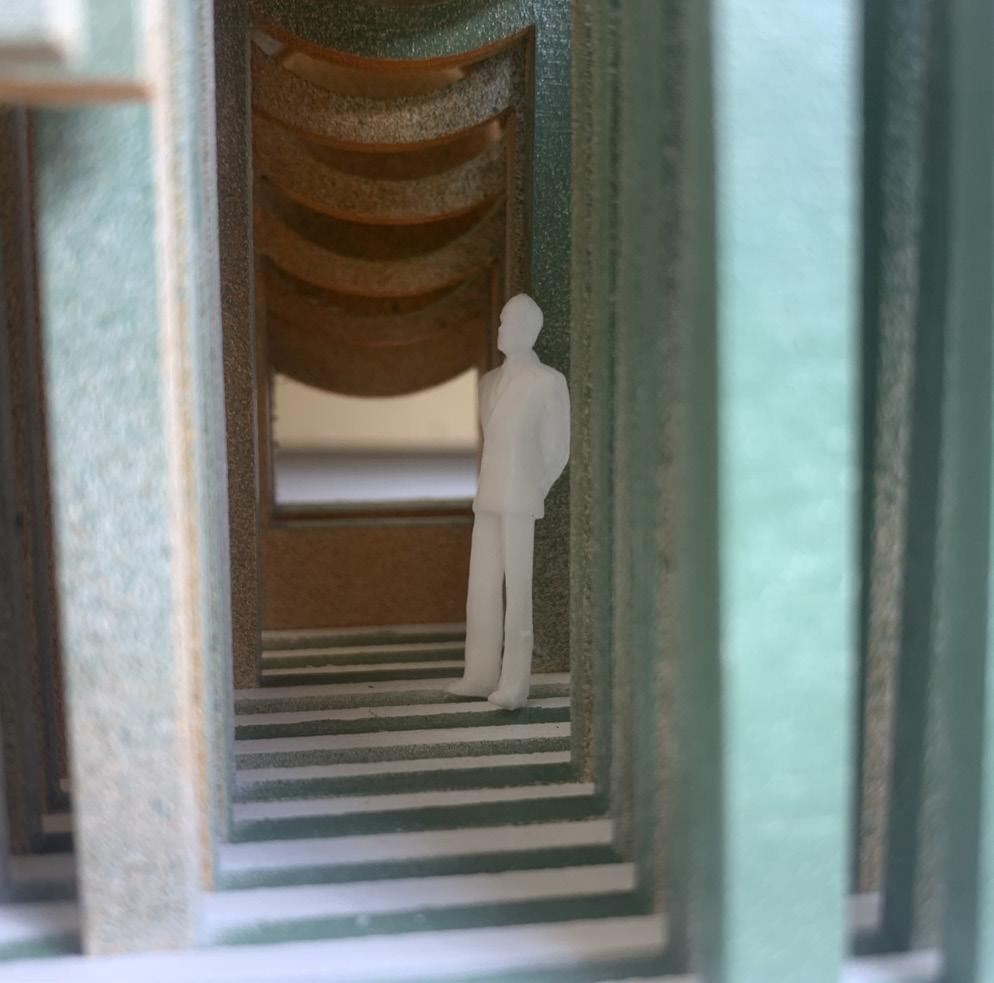
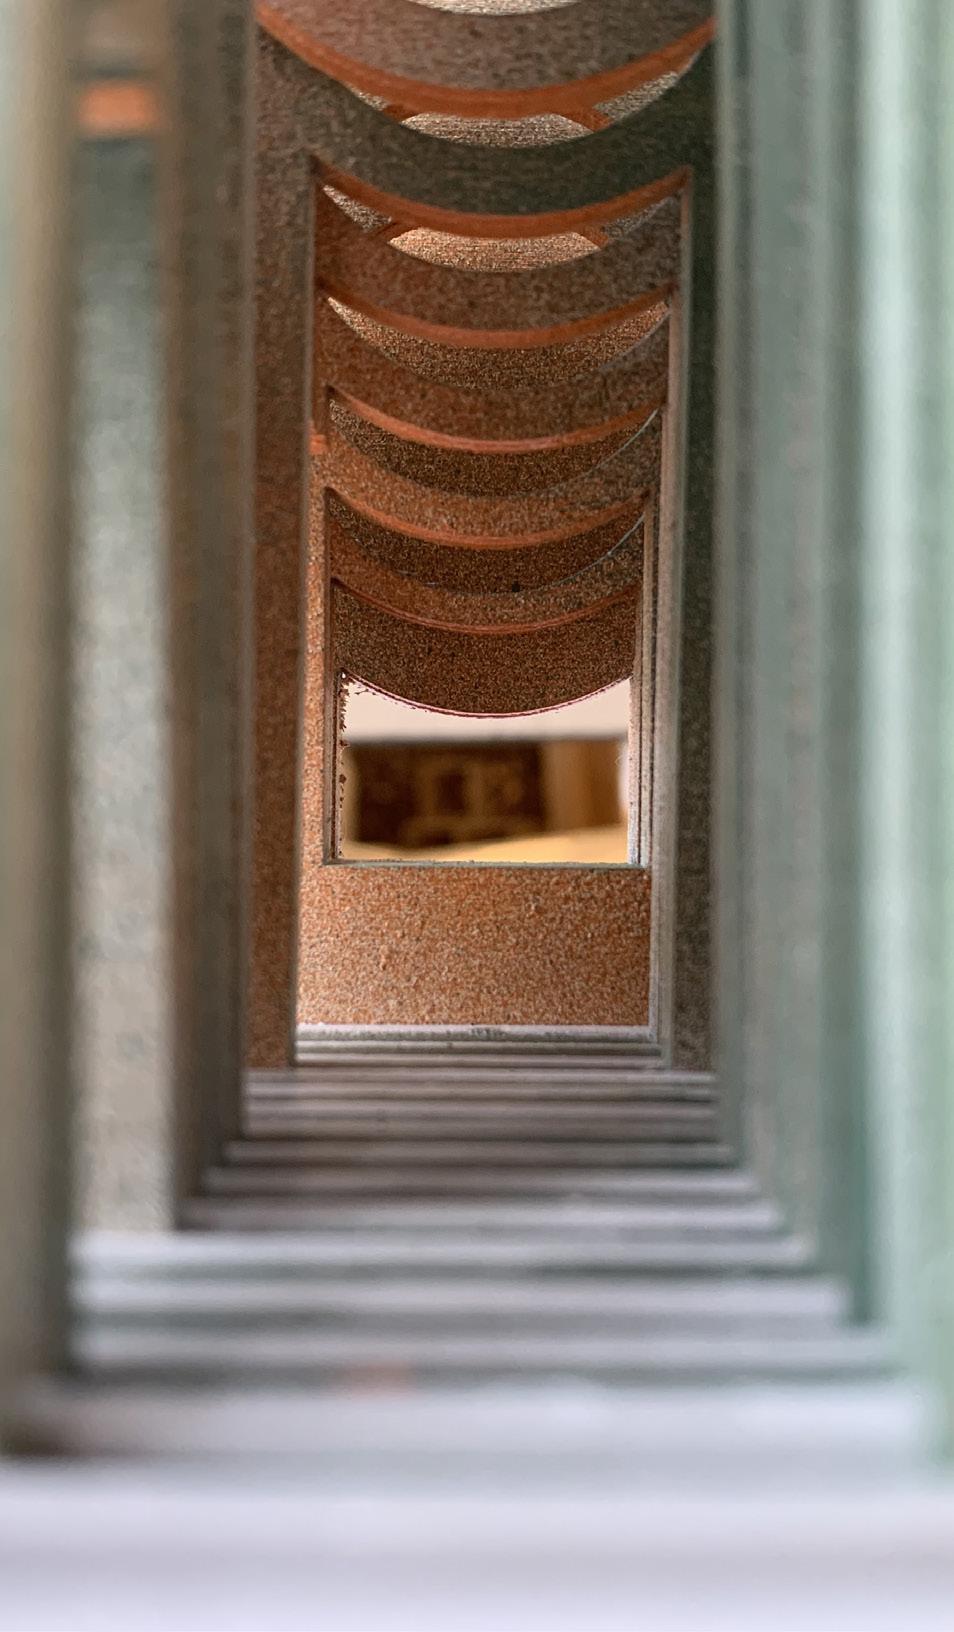
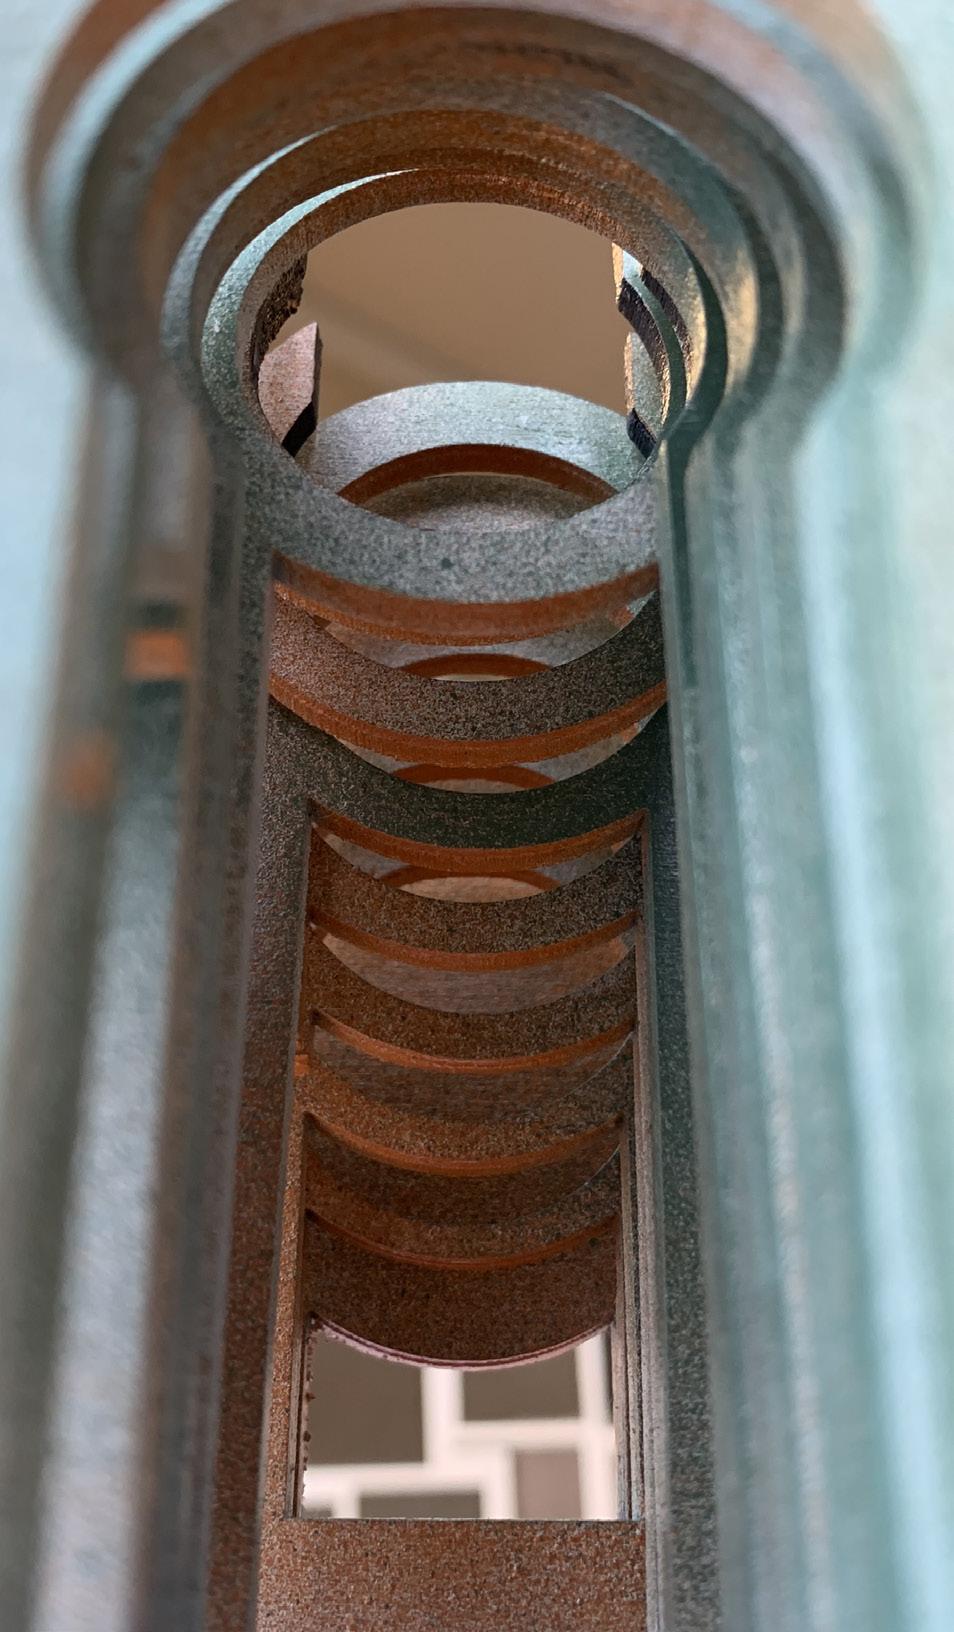
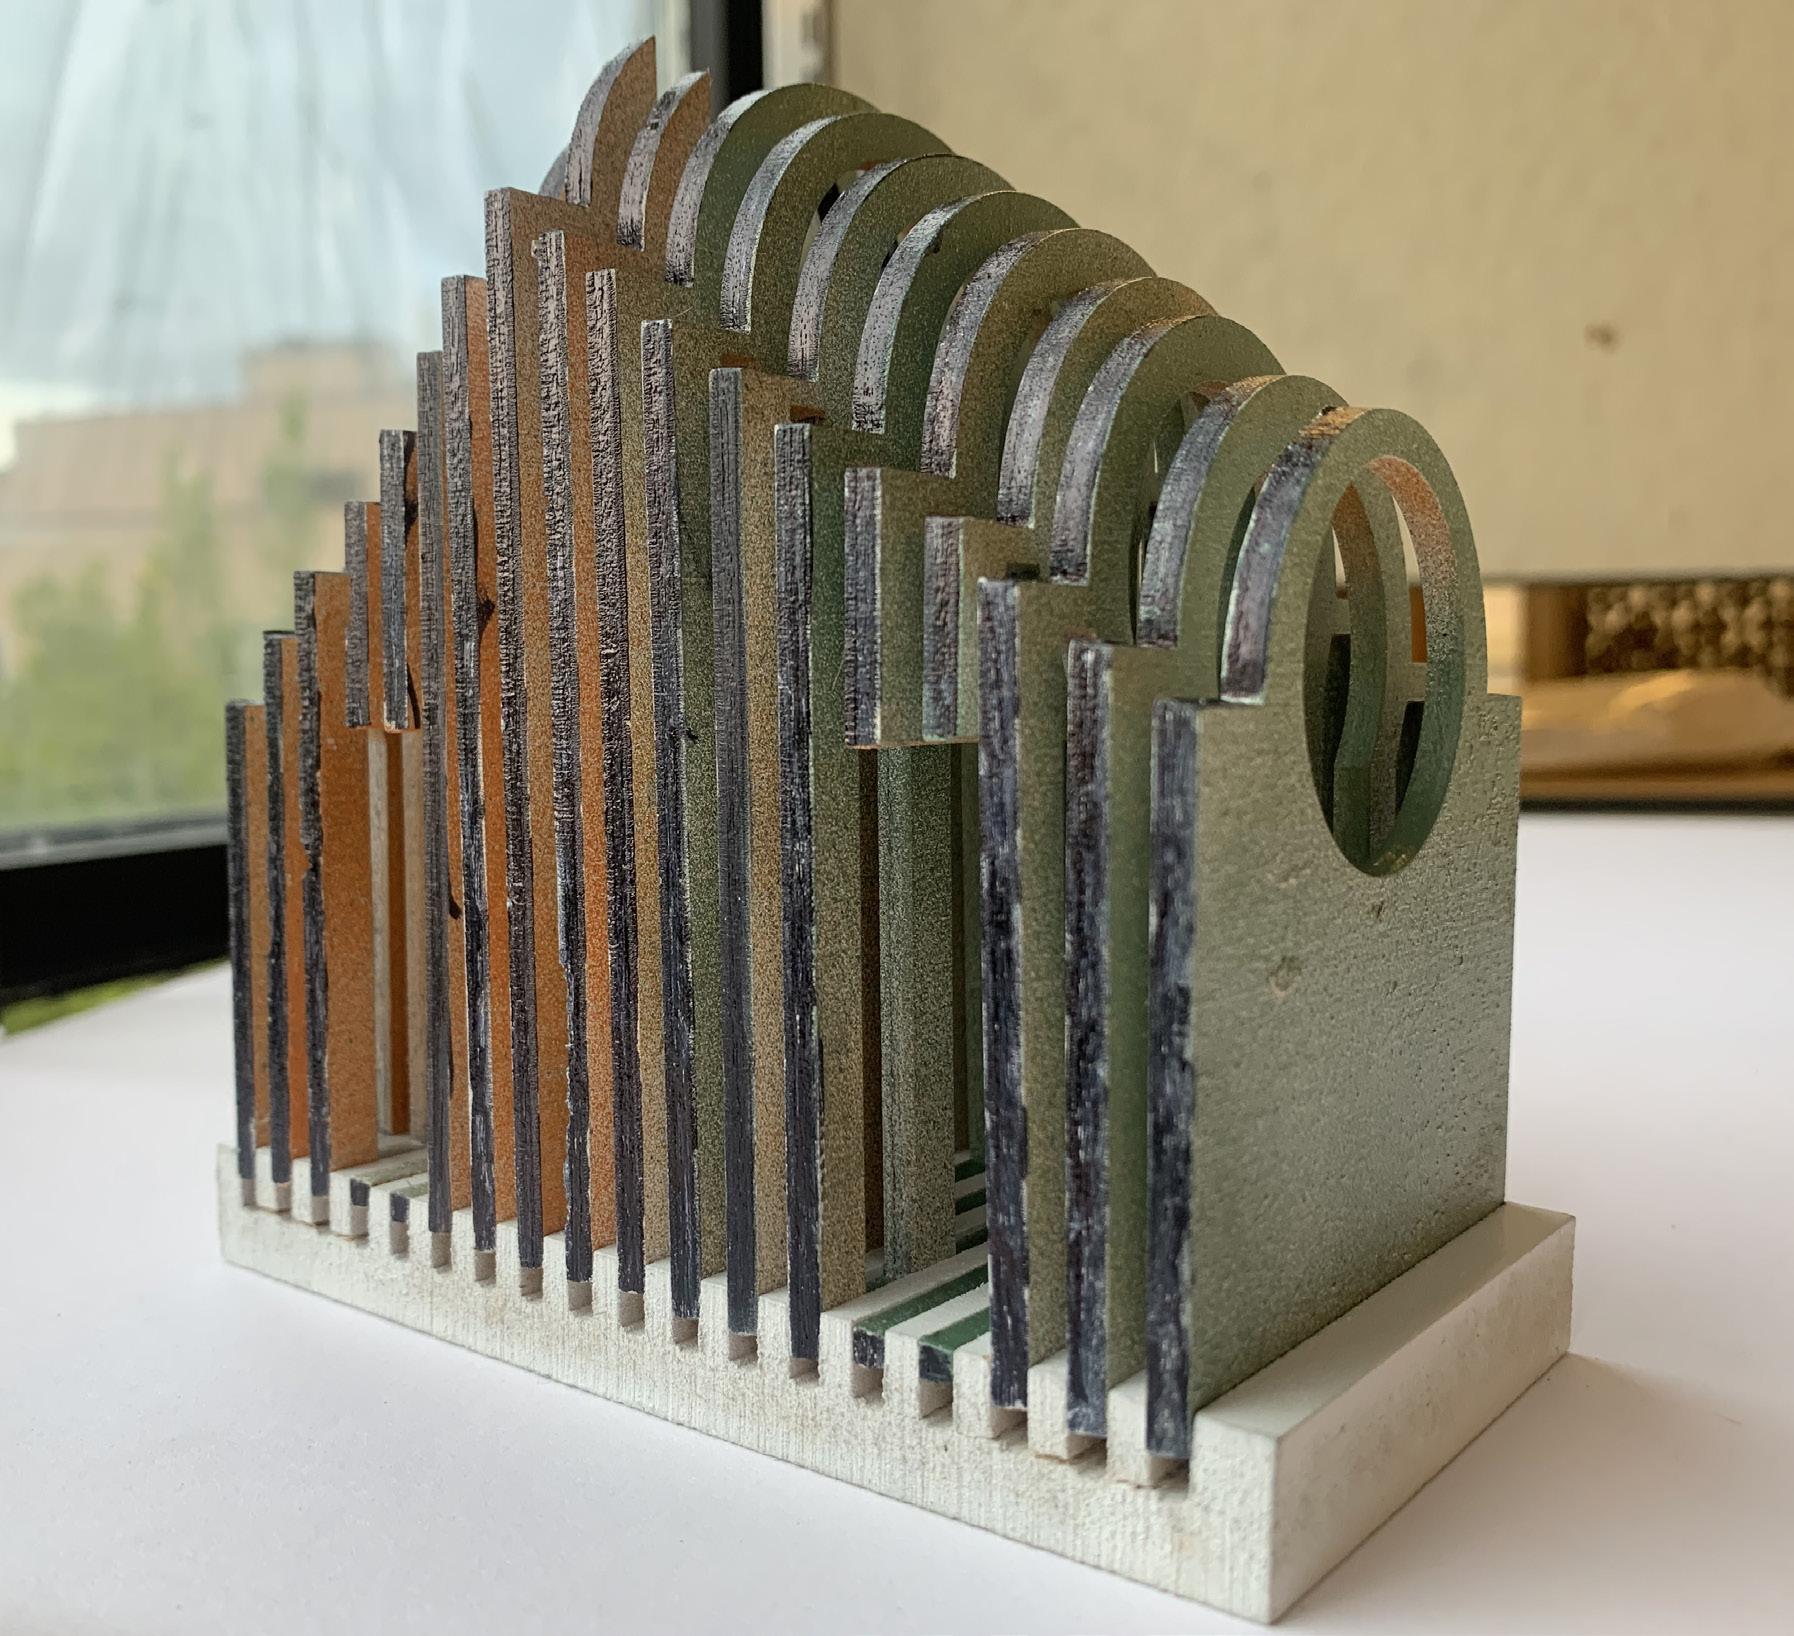
For this section of Module 3, we were instructed to create a space constructed of a series of vertical slats. These slats have been carved out to make an interior that demonstrates how light and other factors can interact with a building.
For my Boolean Frame Model, I chose to design it within the style that I’m using for my studio final. I wanted to study how light would enter a space when using circular and pillar frames.
During the modelling process, I used many different boolean functions to get my final result. Doing a boolean subtraction on many of
the slats at once sped up the process. I slowly chipped away at the interior to create a space that I thought would be visually compelling when interacting with light.
After I completed it, I noticed that I could have sped up the process by doing boolean subtractions on closed surfaces rather than closed polysurfaces. I struggled to clean up the edges and faces after doing booleans and extrusions. If I were to have used these on surfaces instead, it would have gone much faster.
Overall, I feel proud of the model I created. It has given me a lot of insight into how my studio final will look and feel.
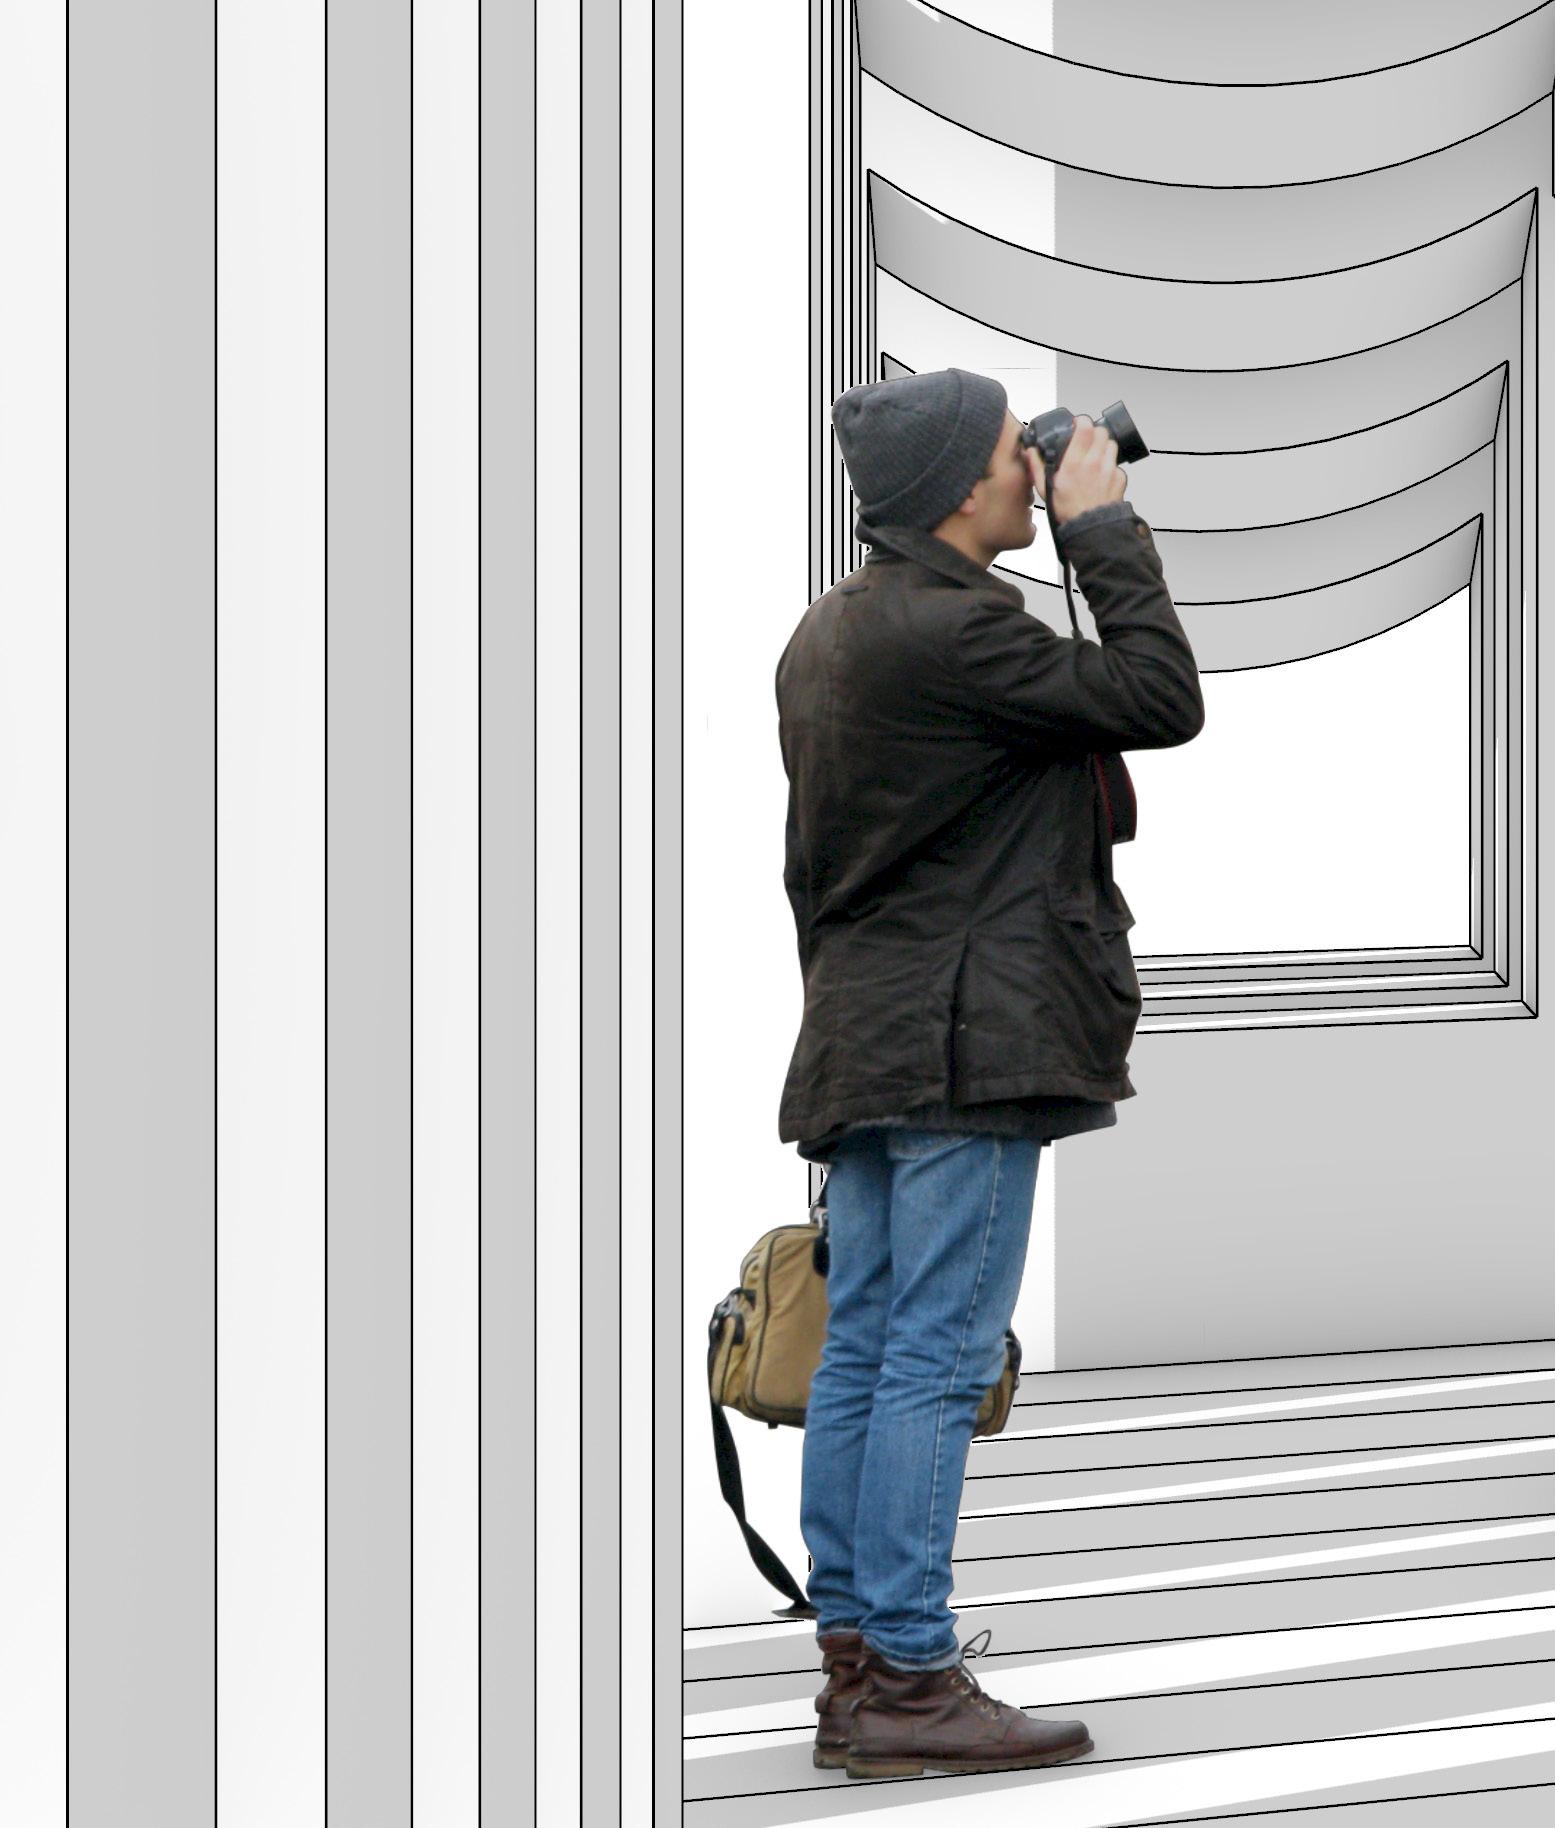
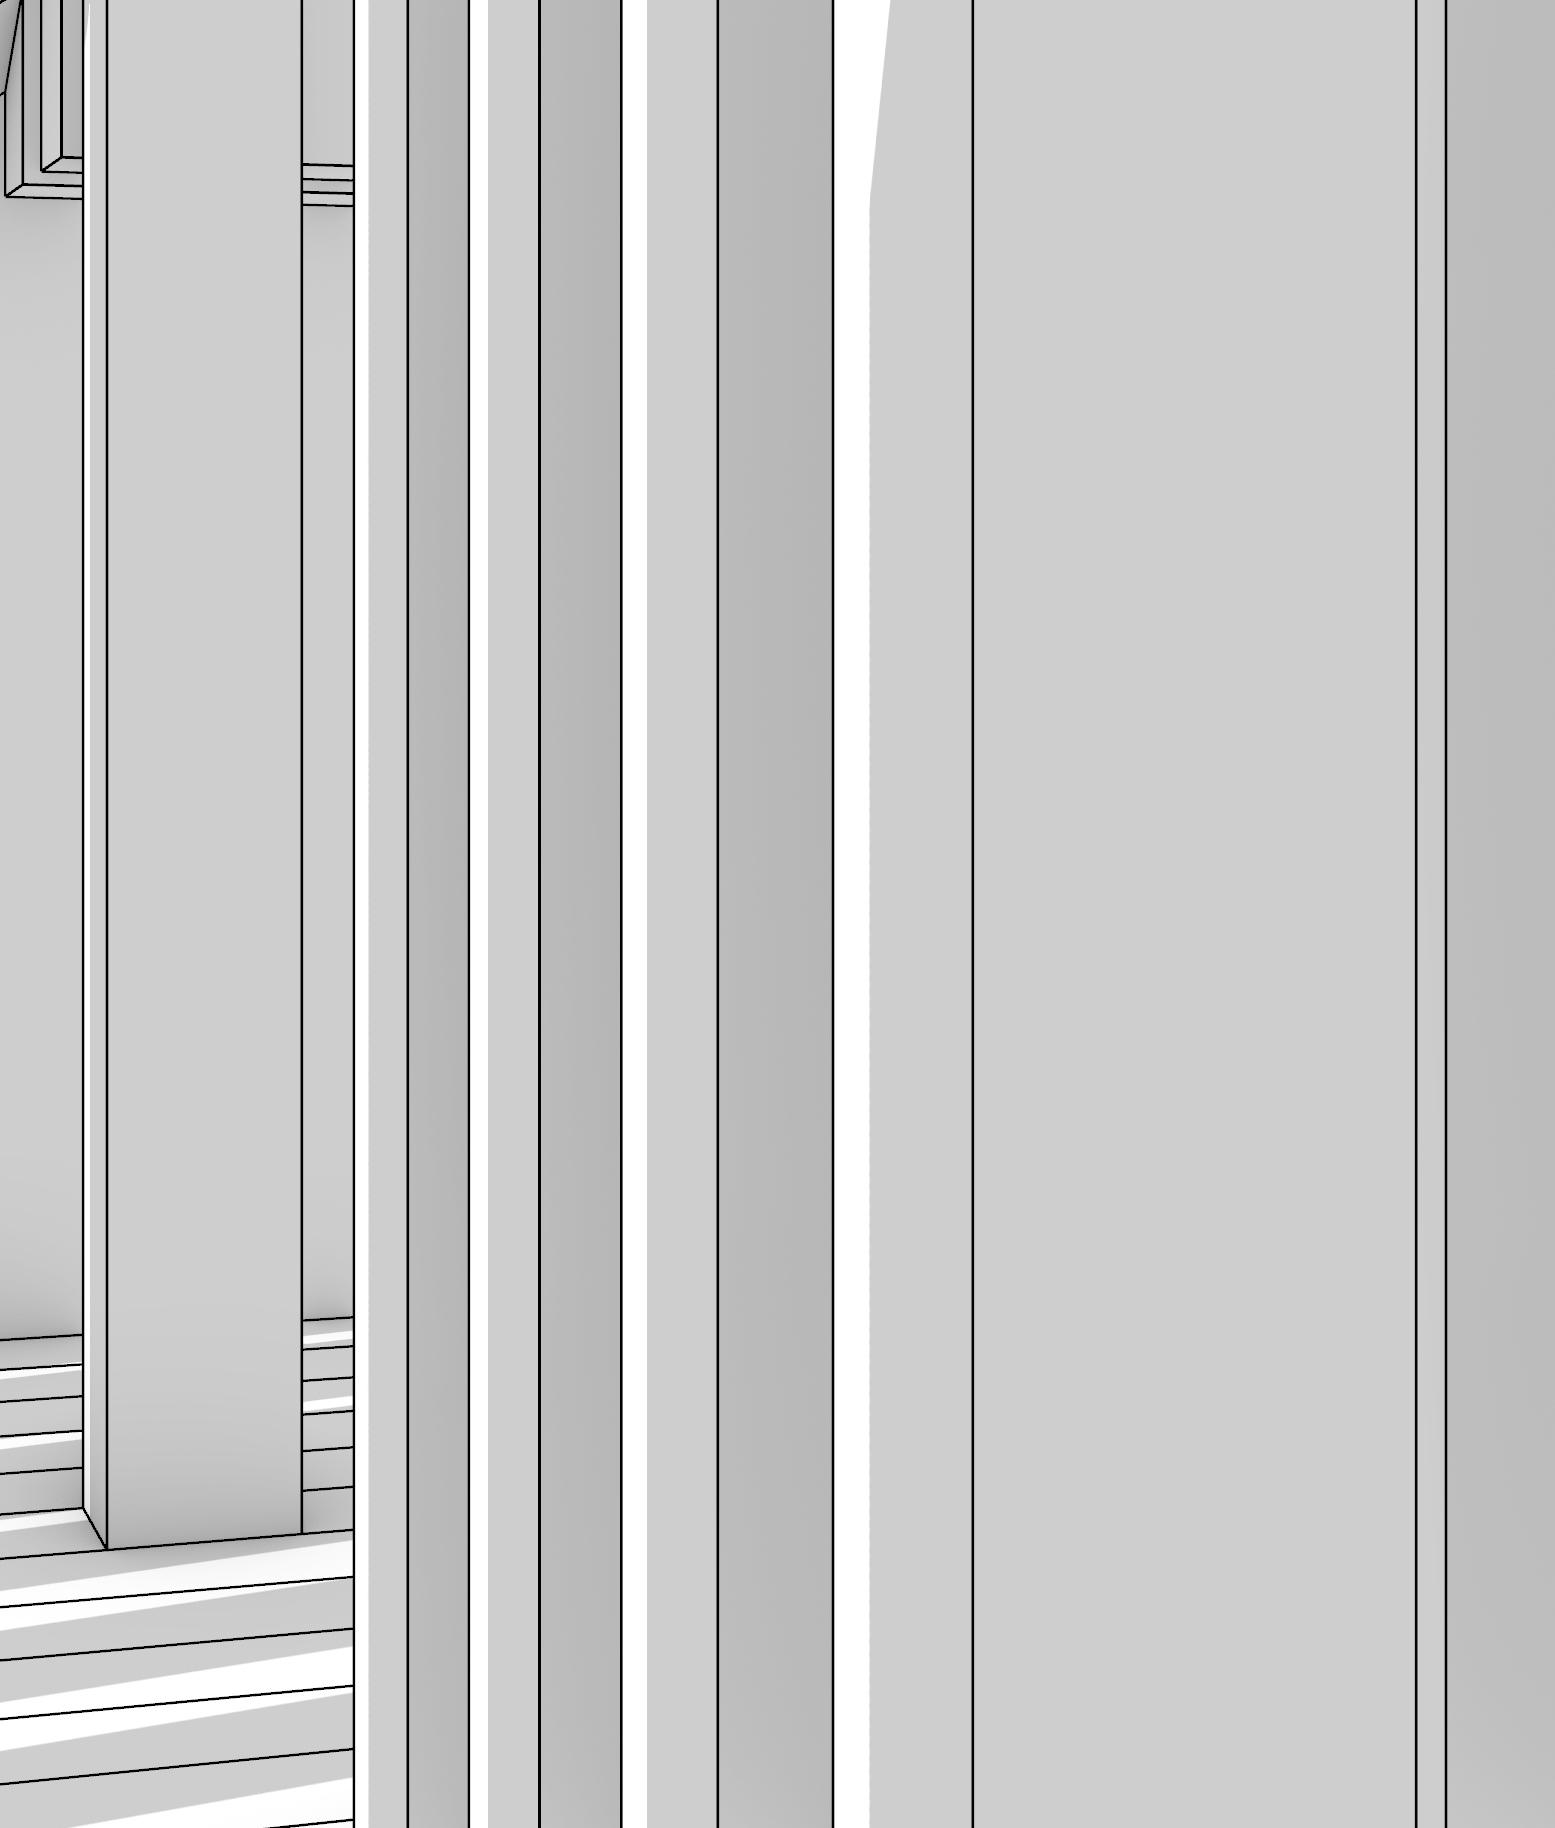
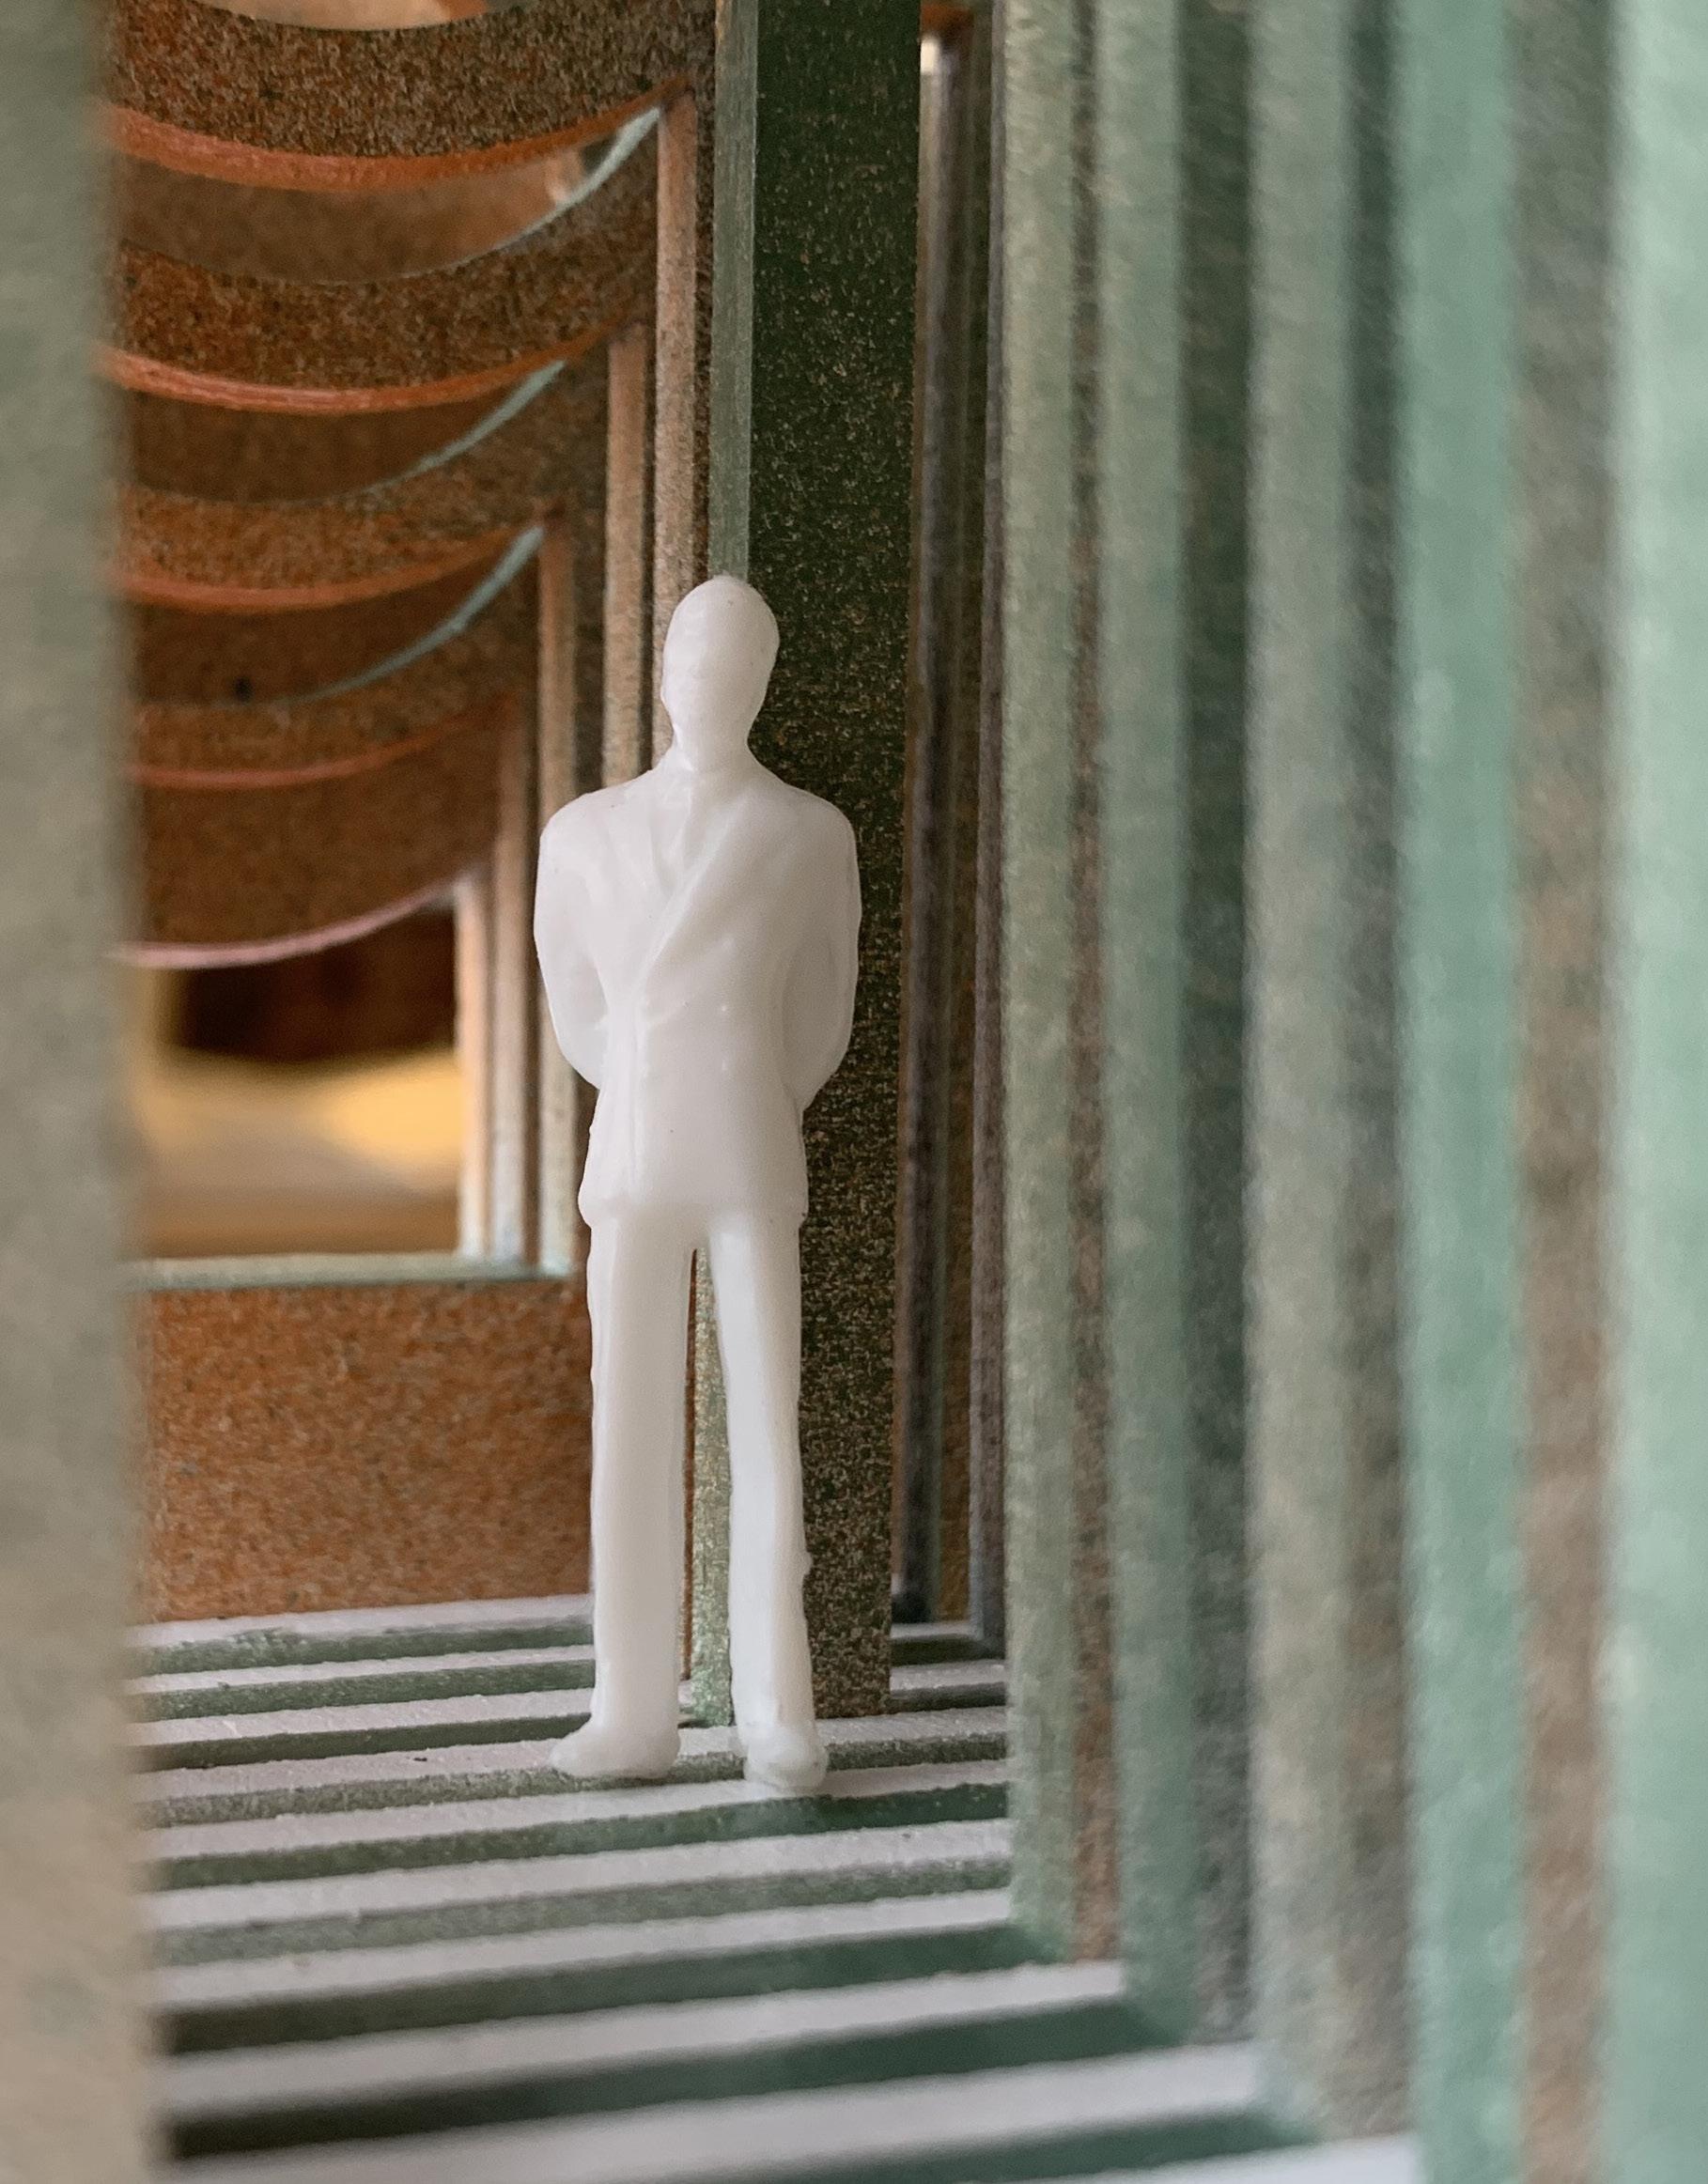
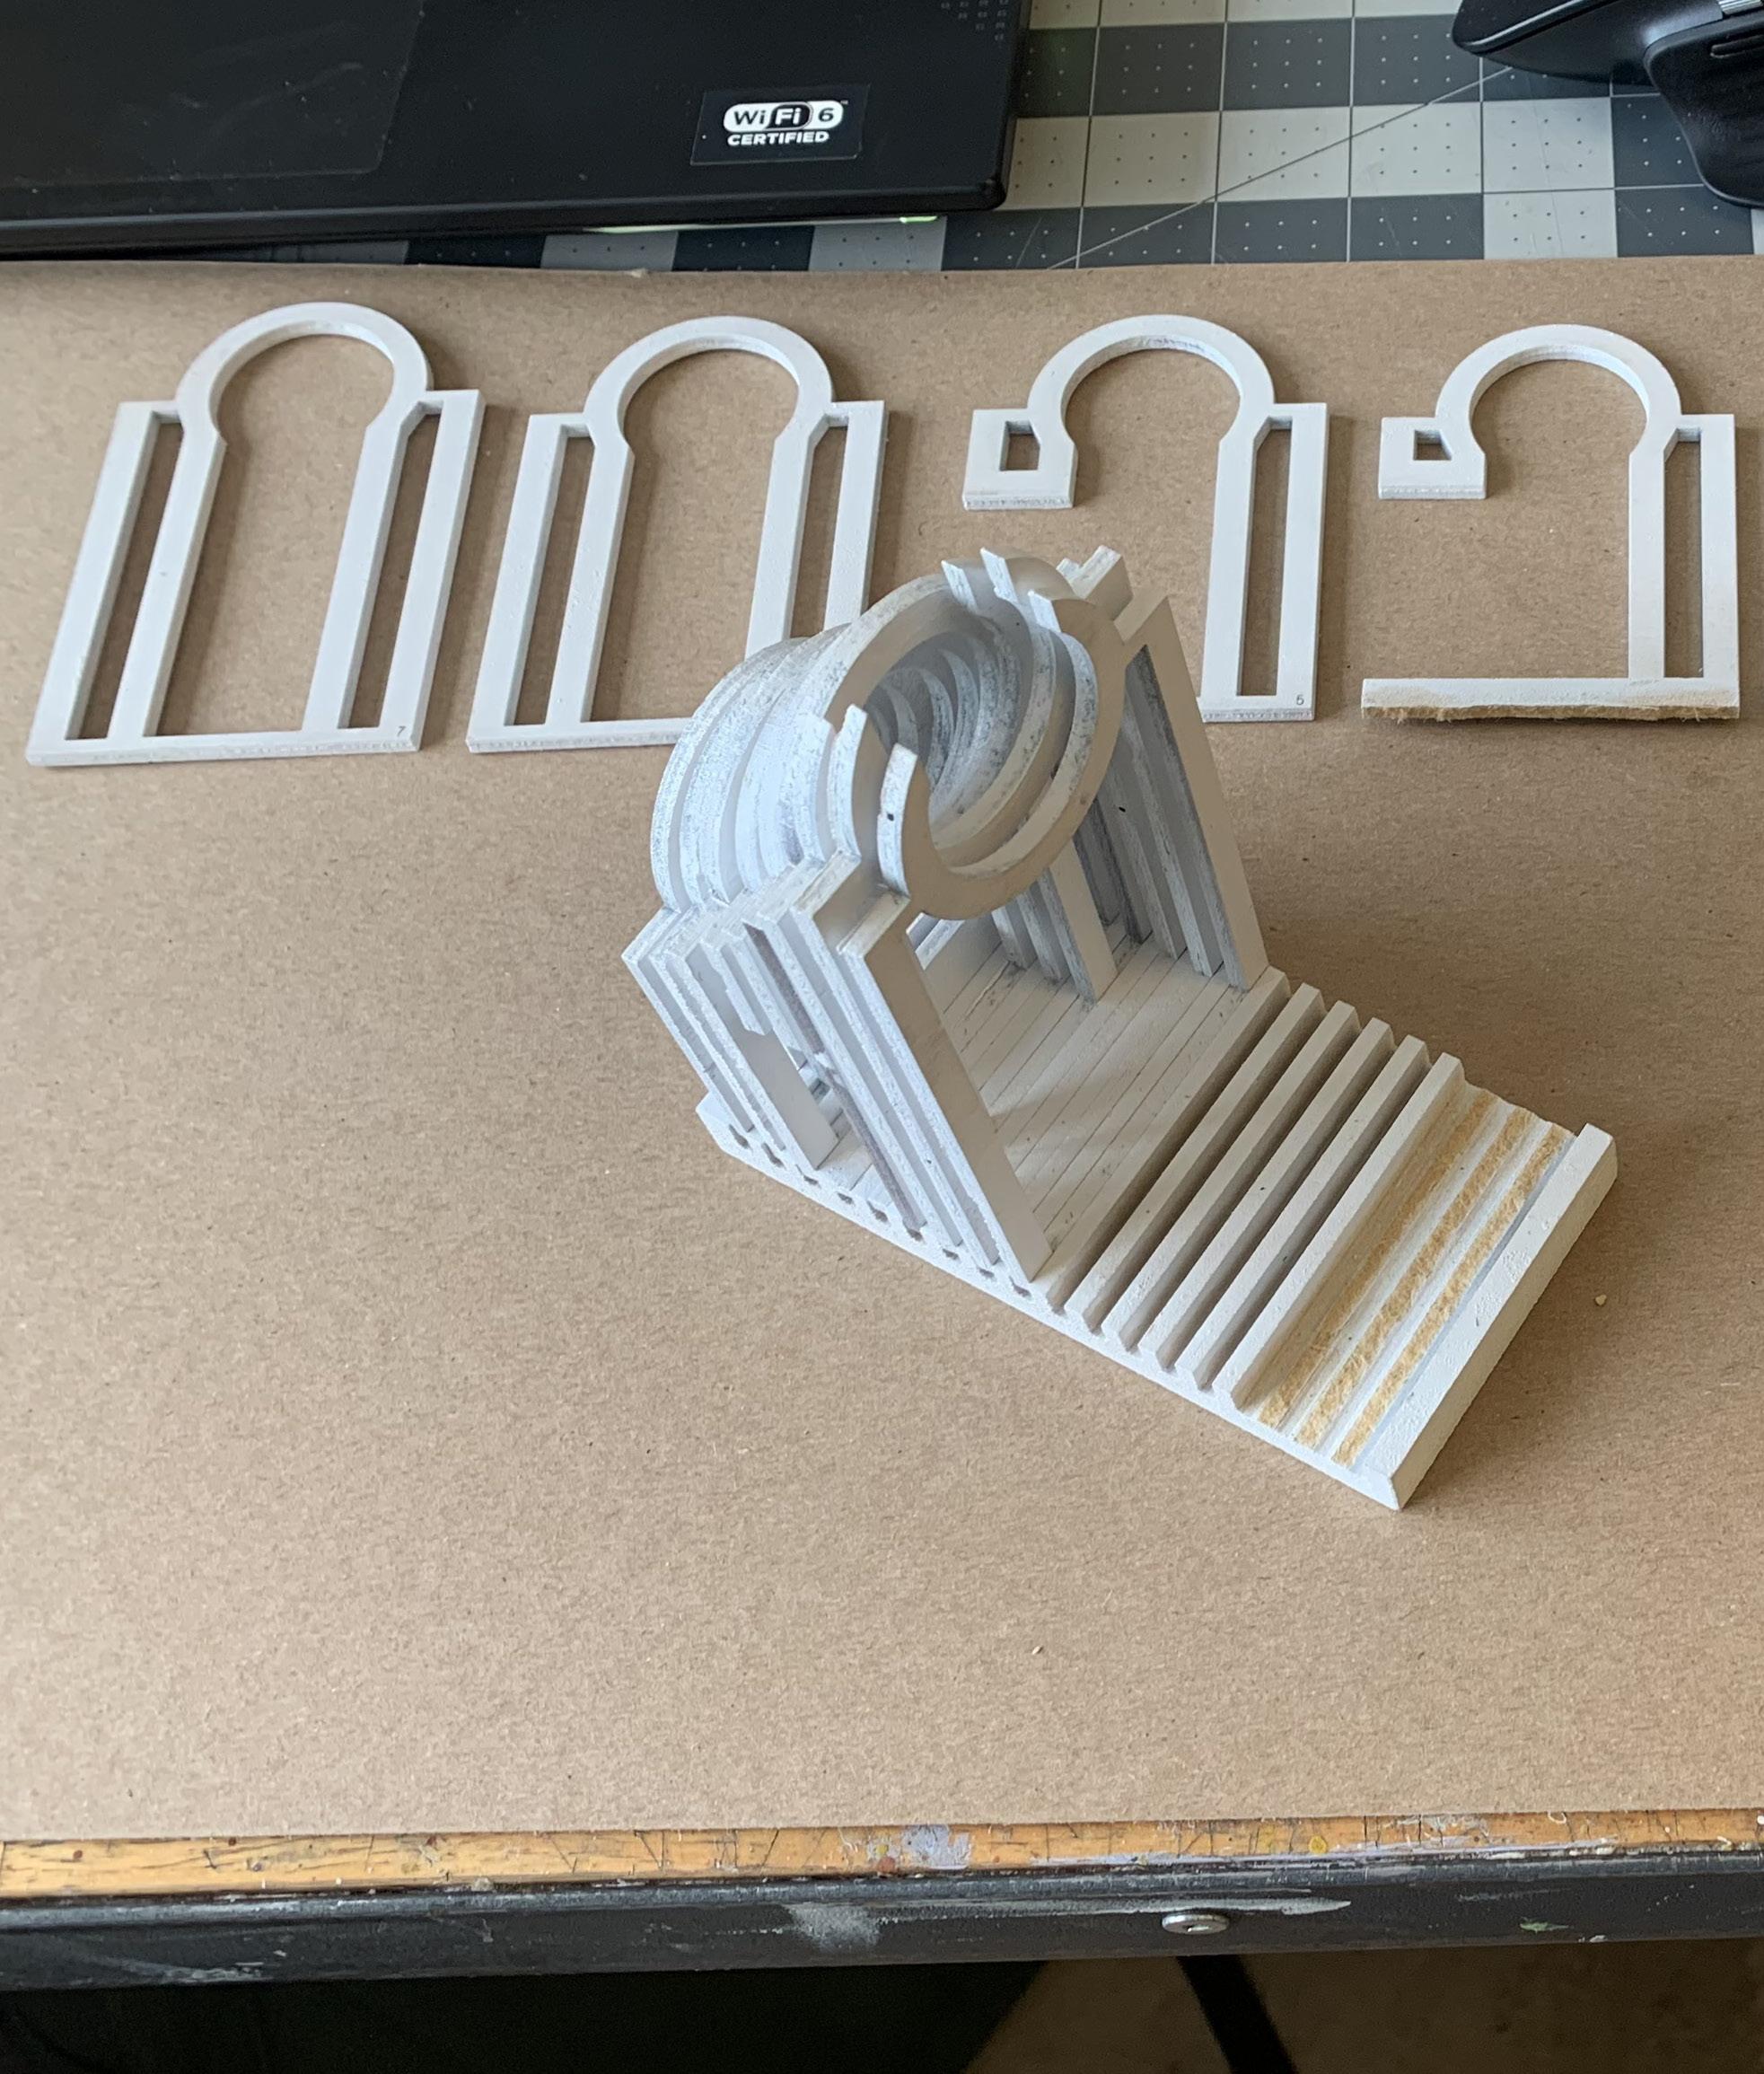
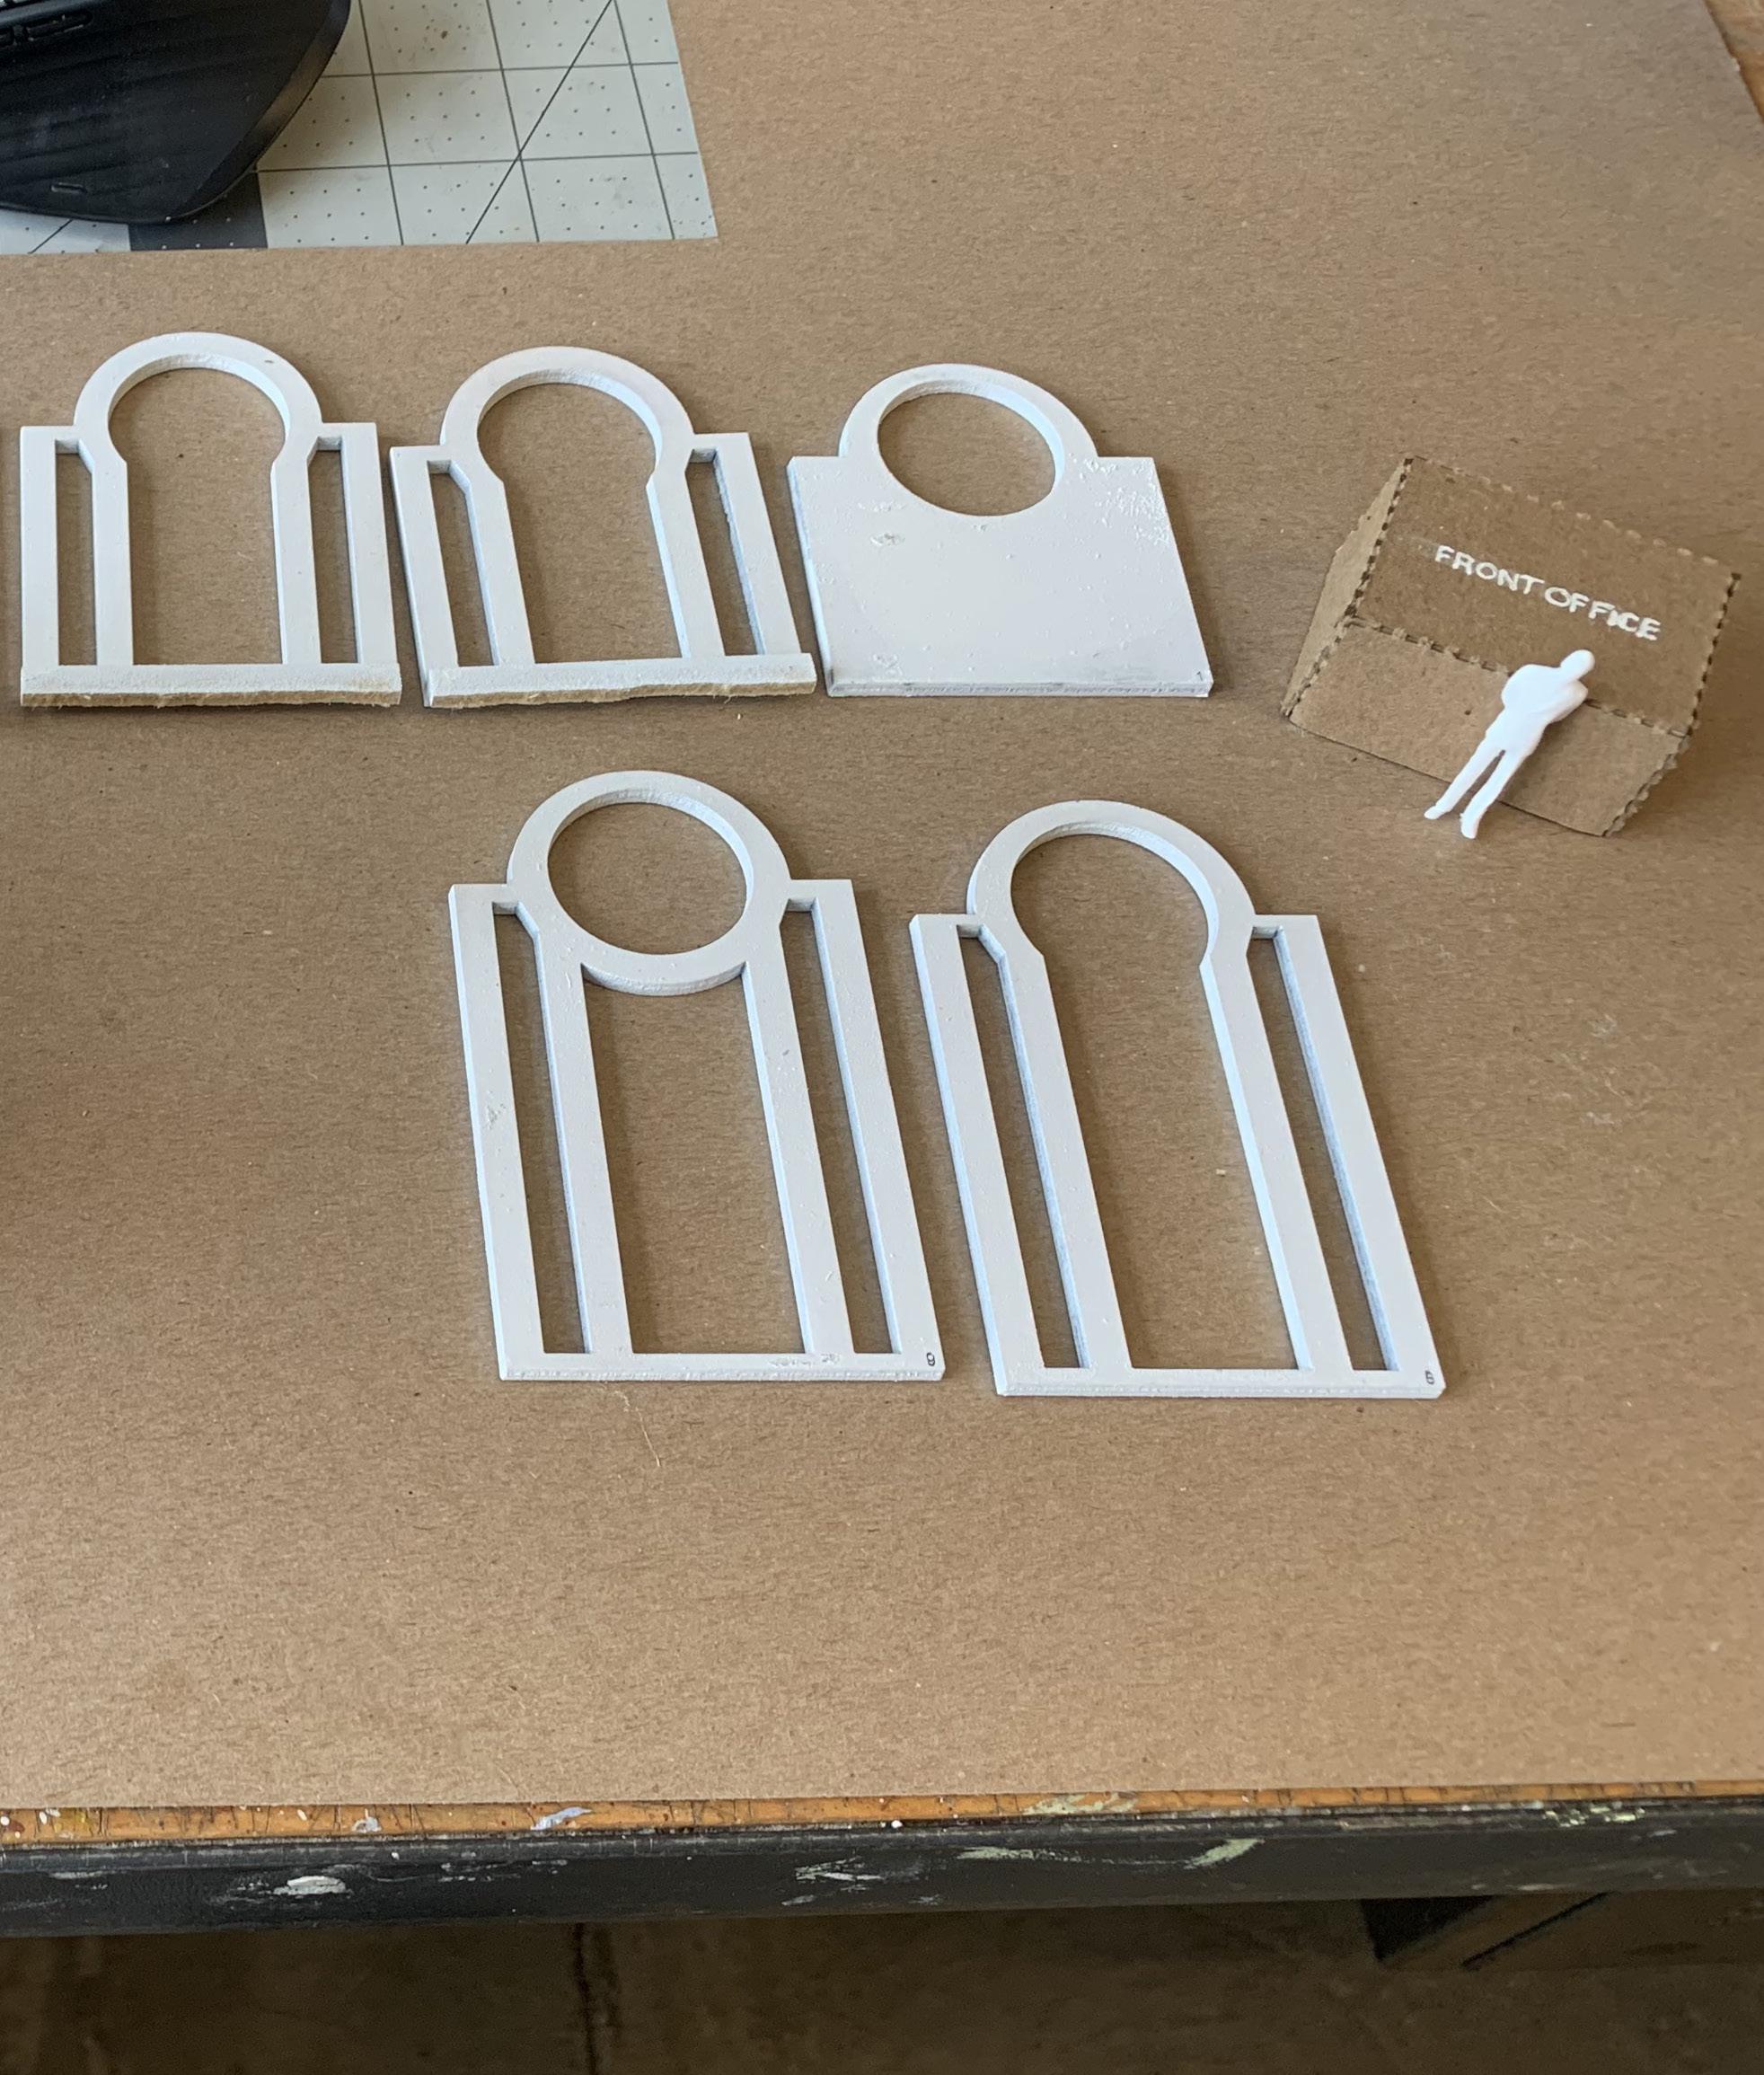

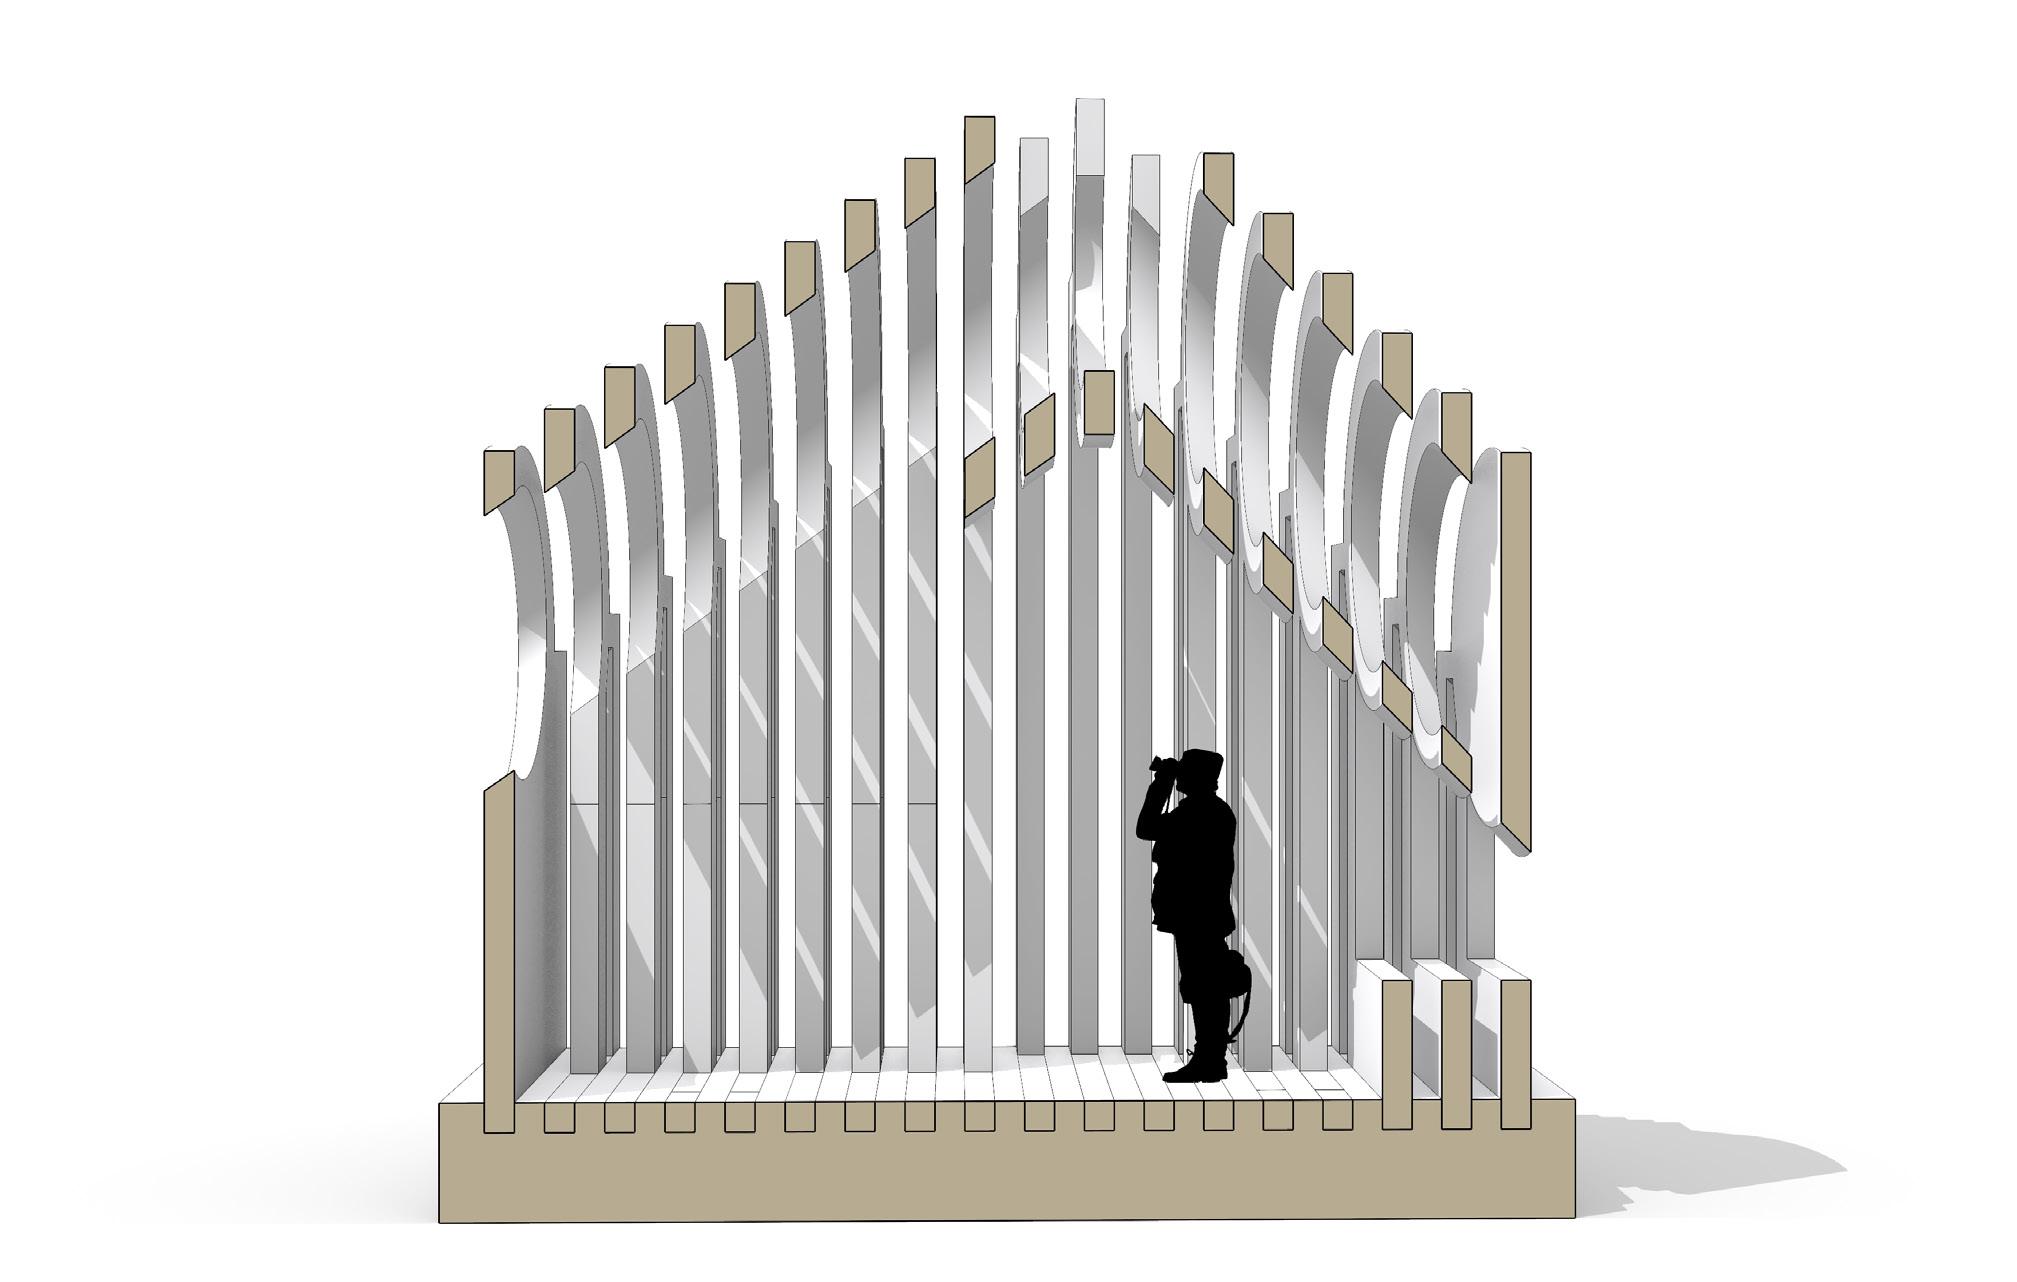
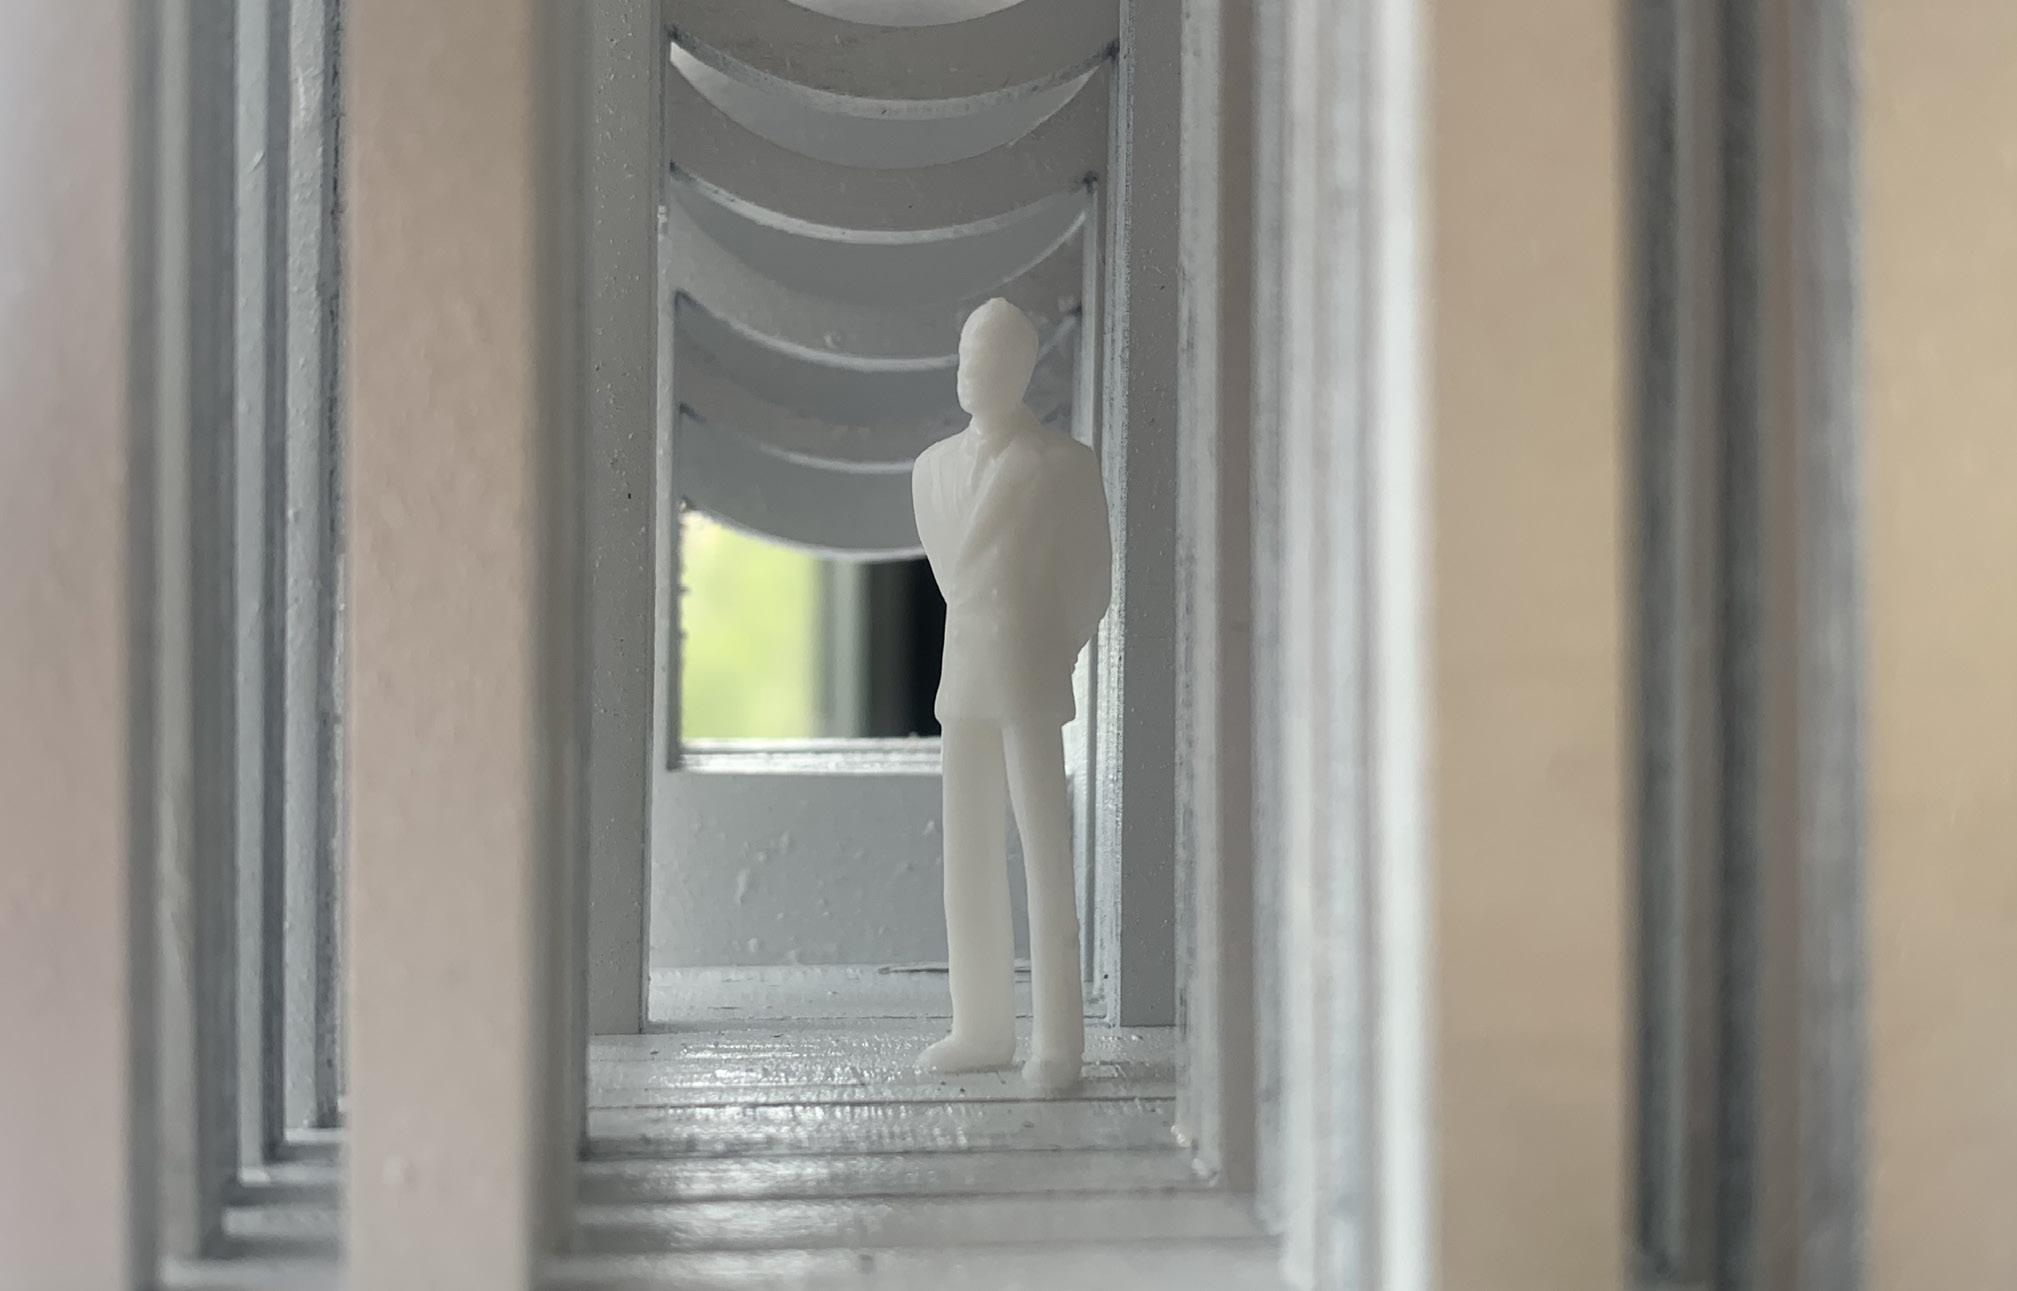
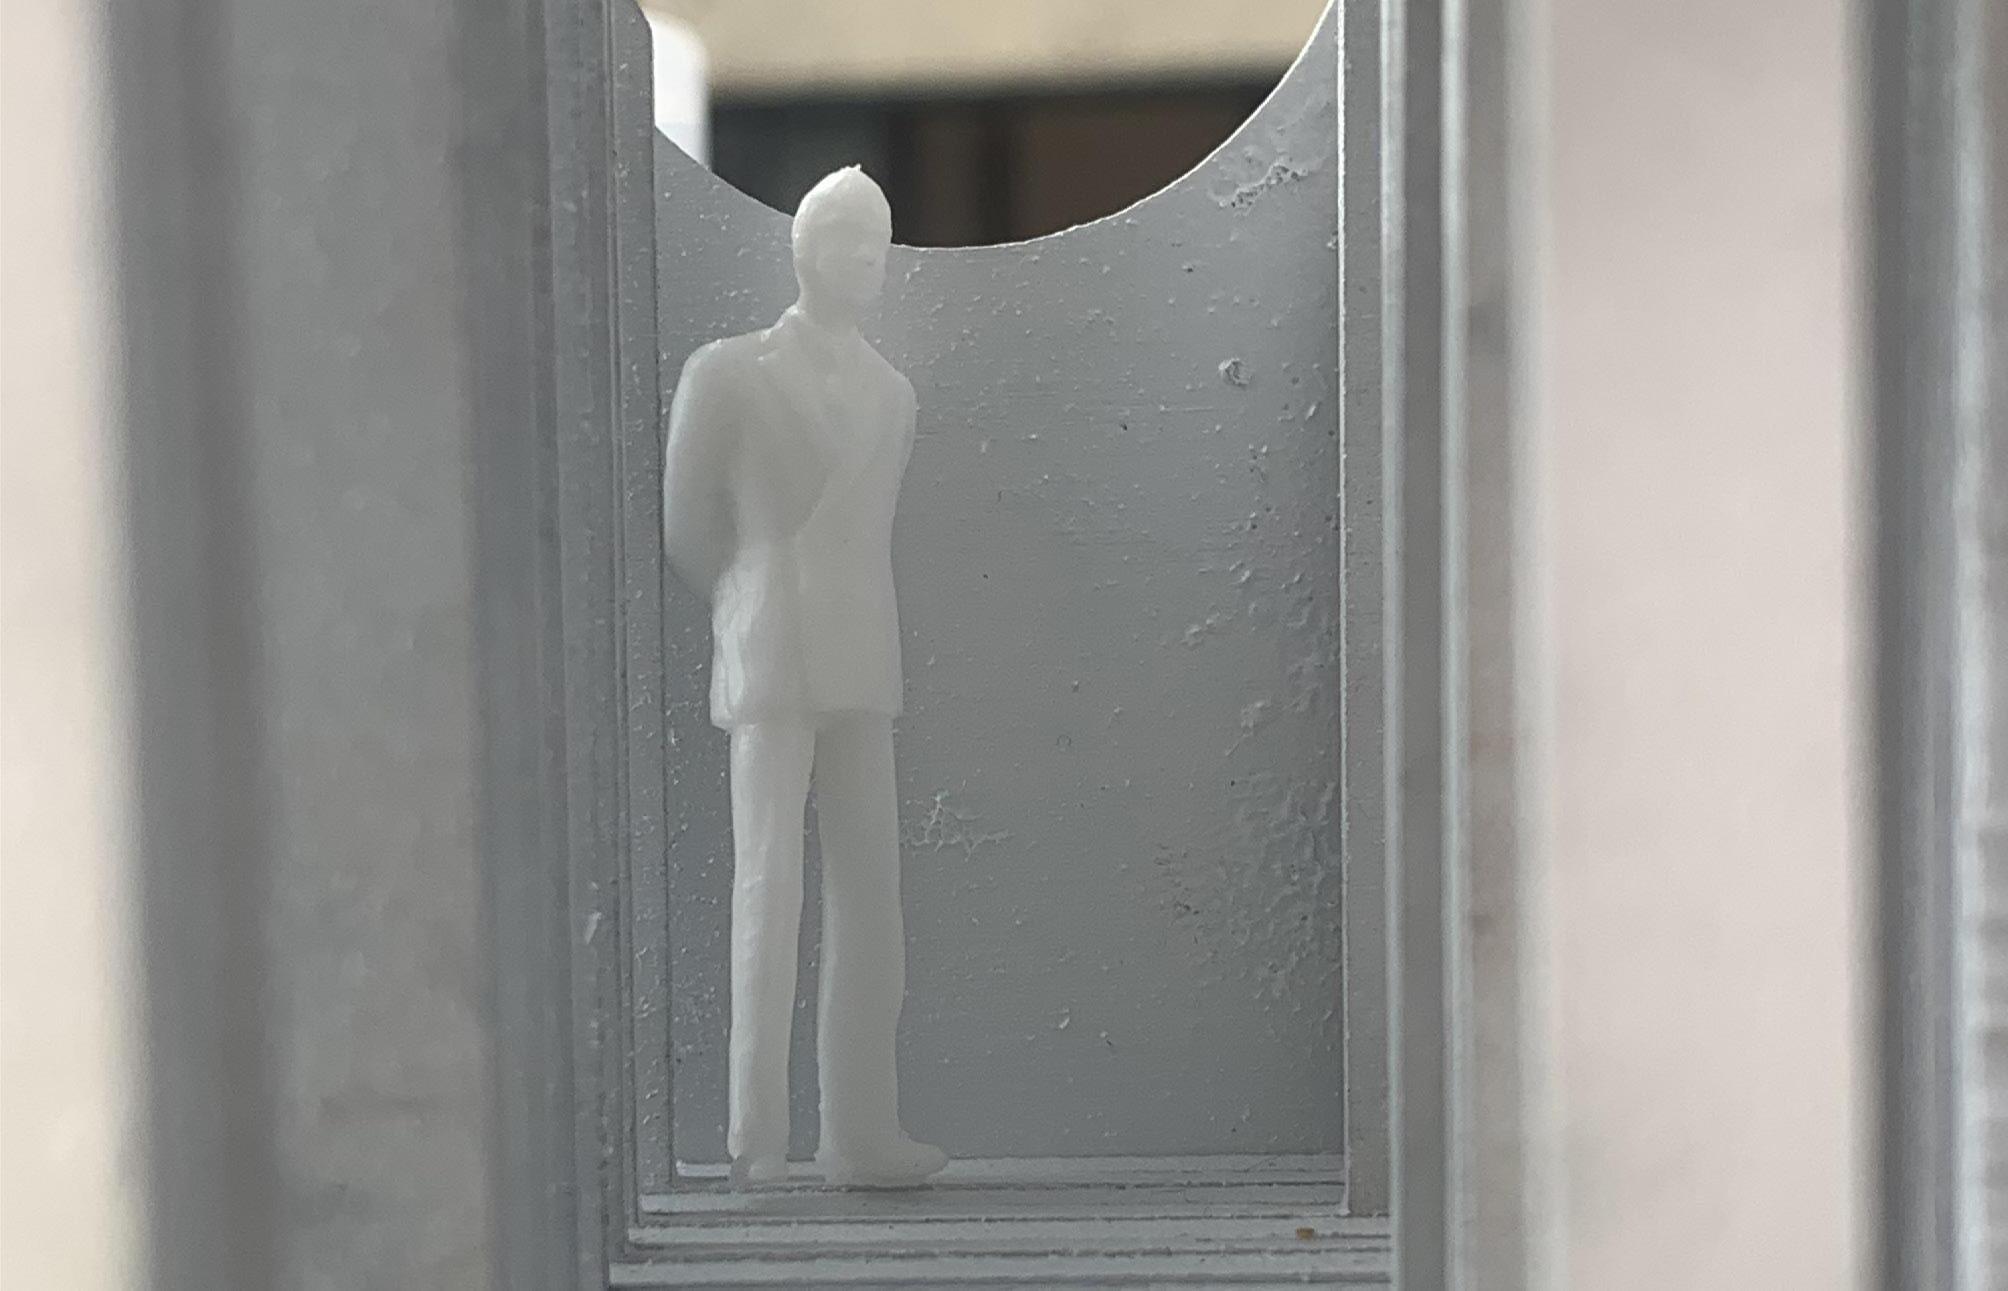
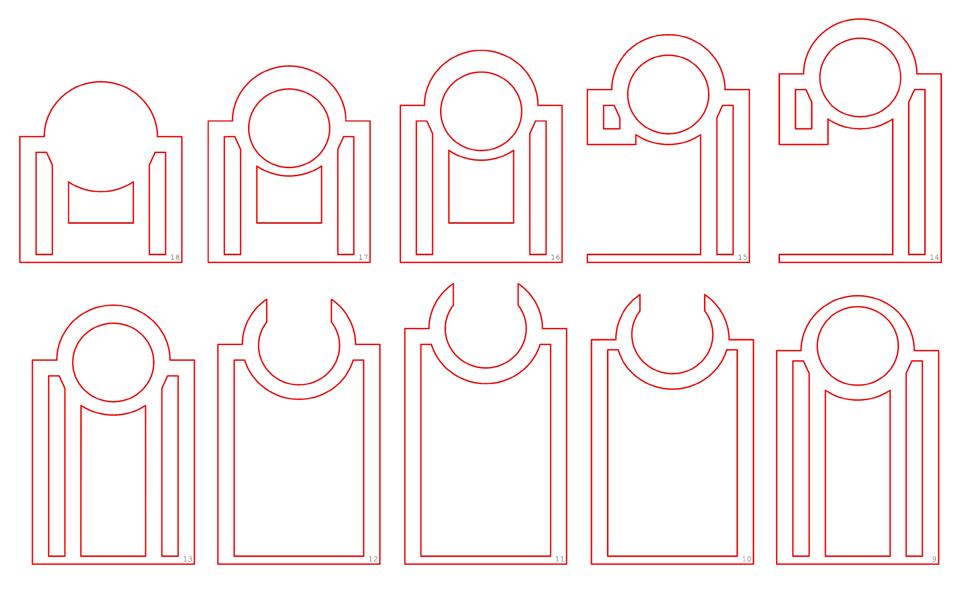
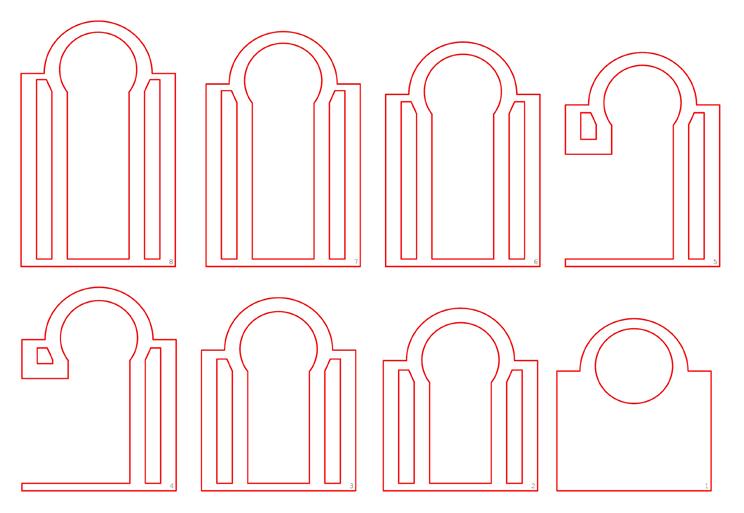

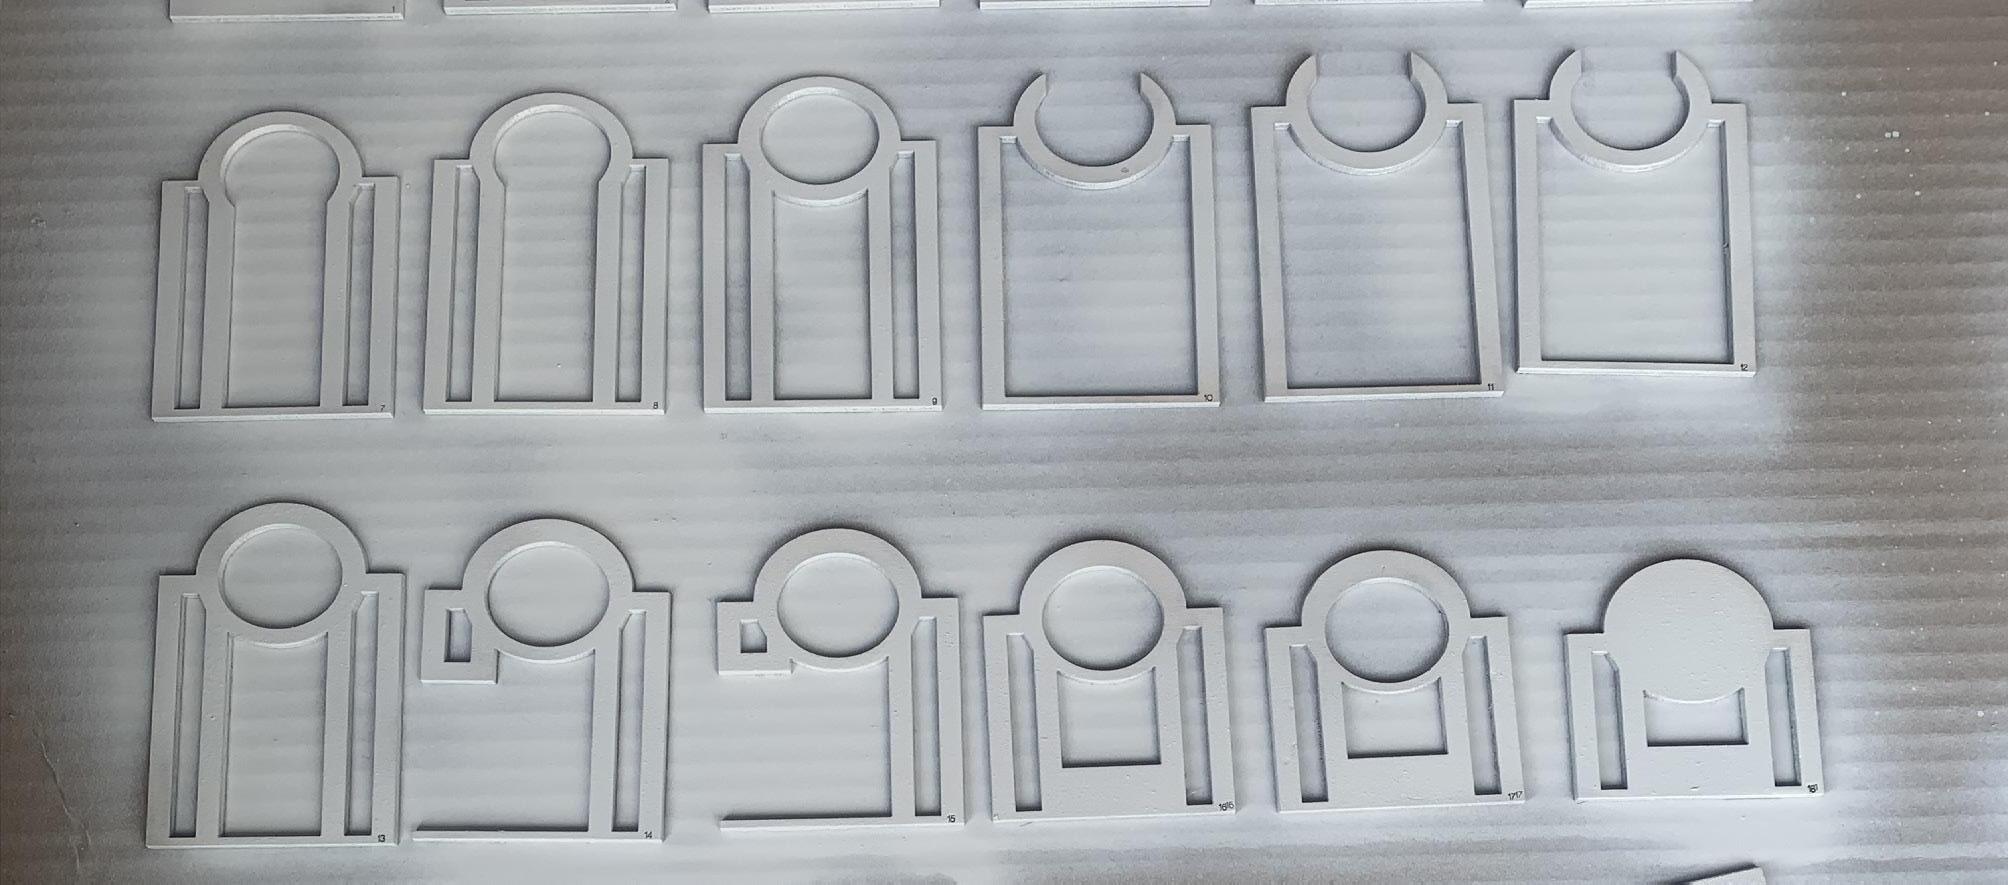
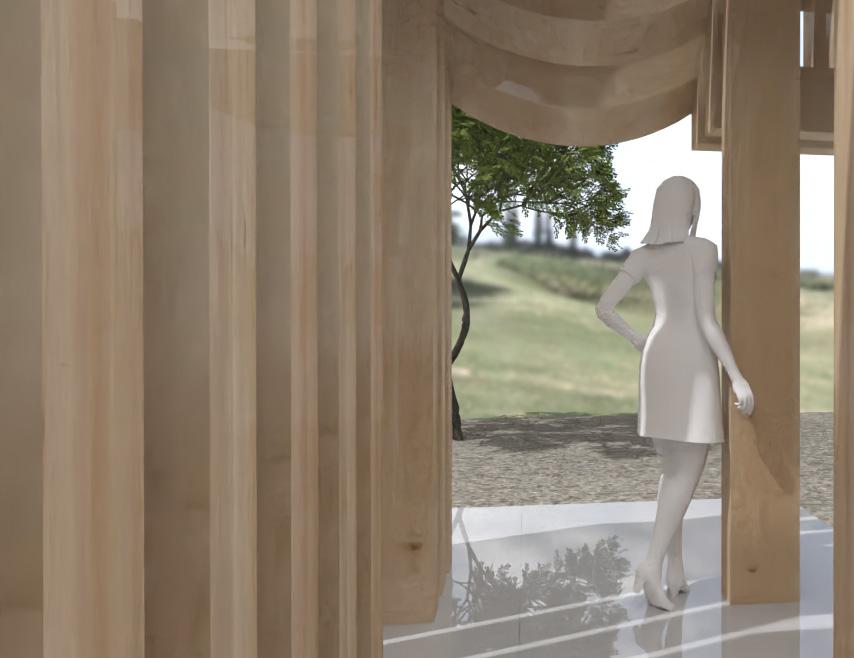
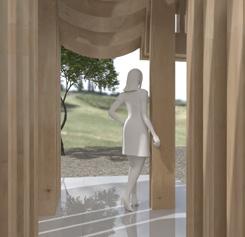
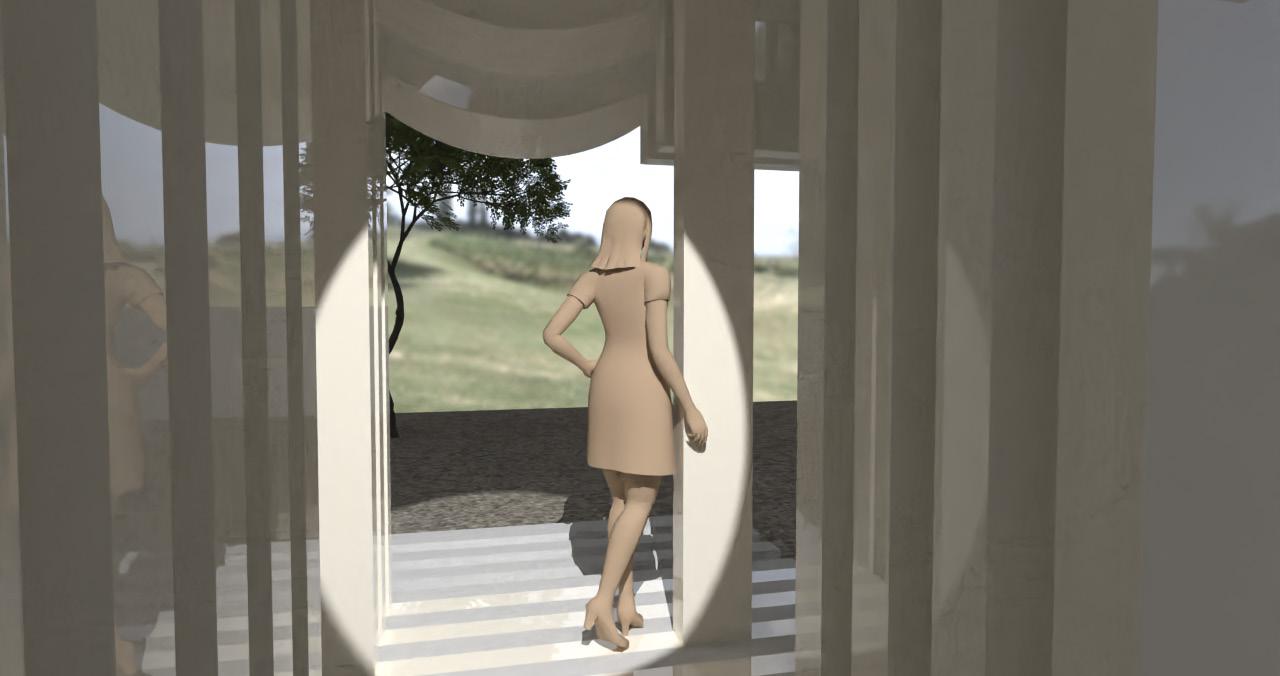
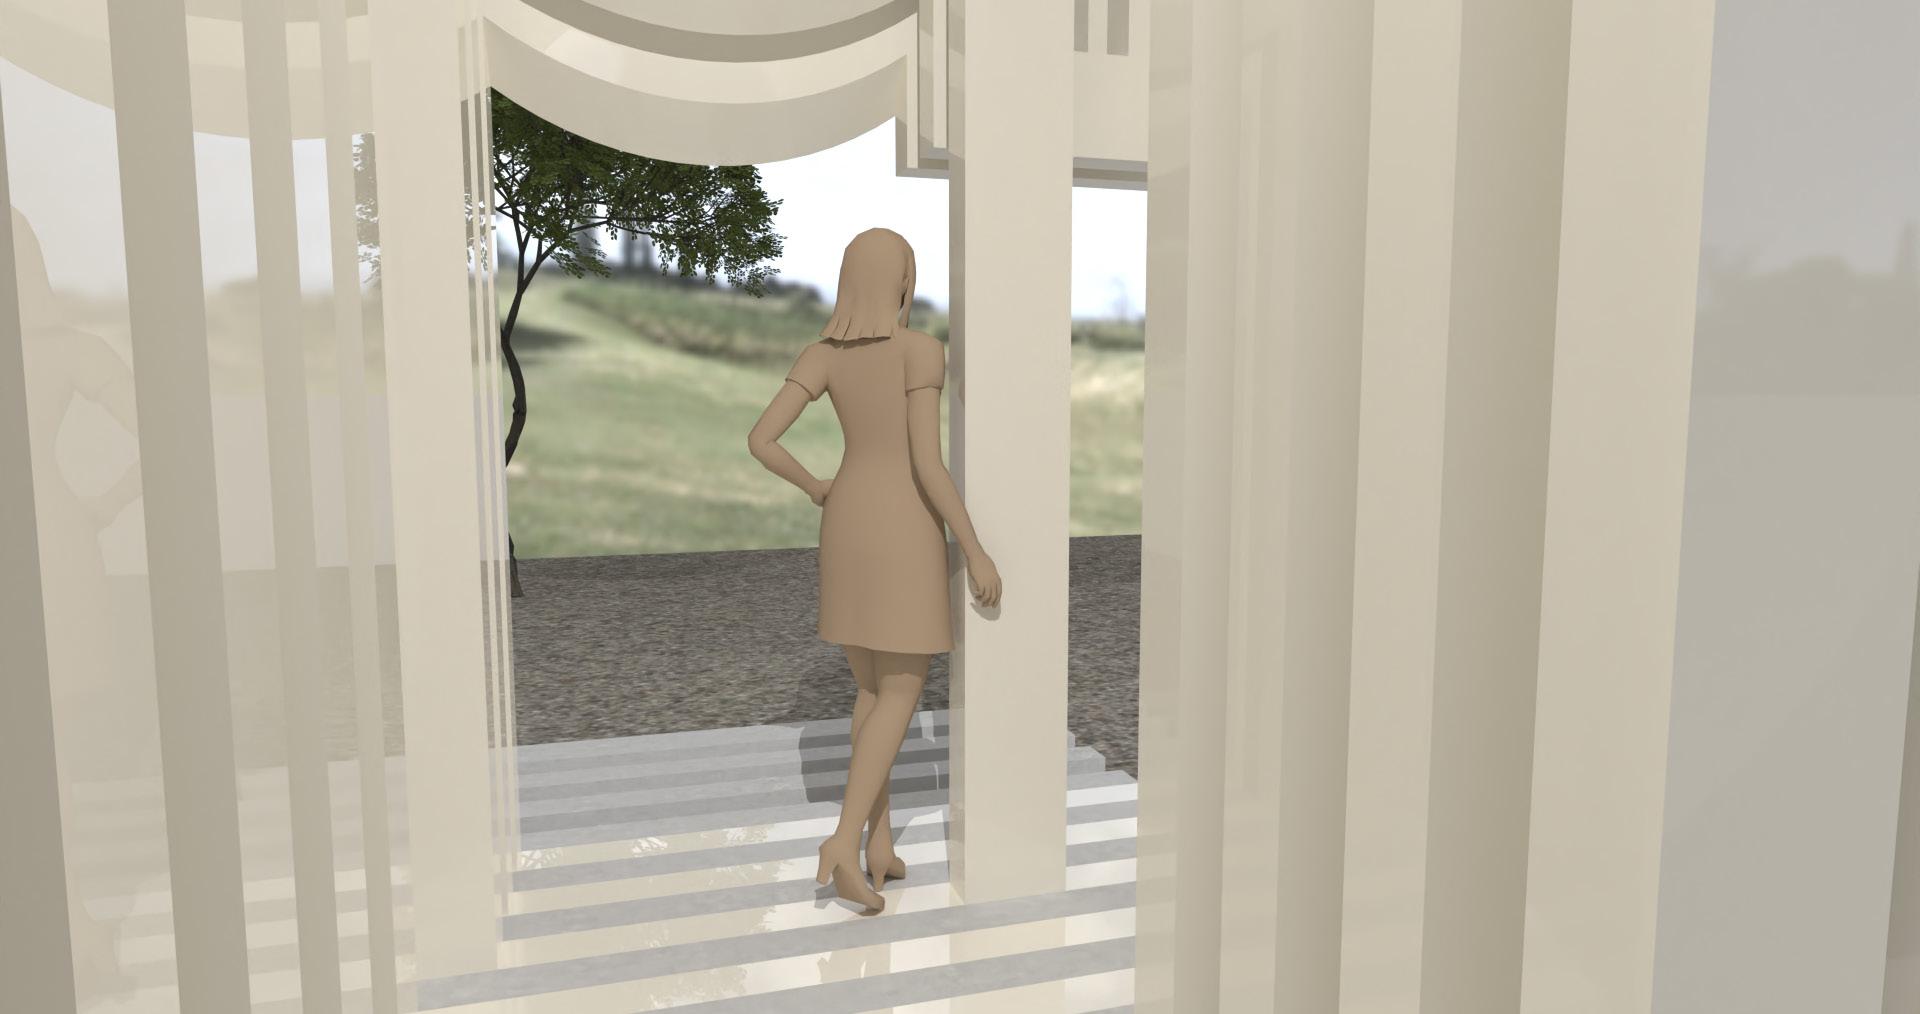
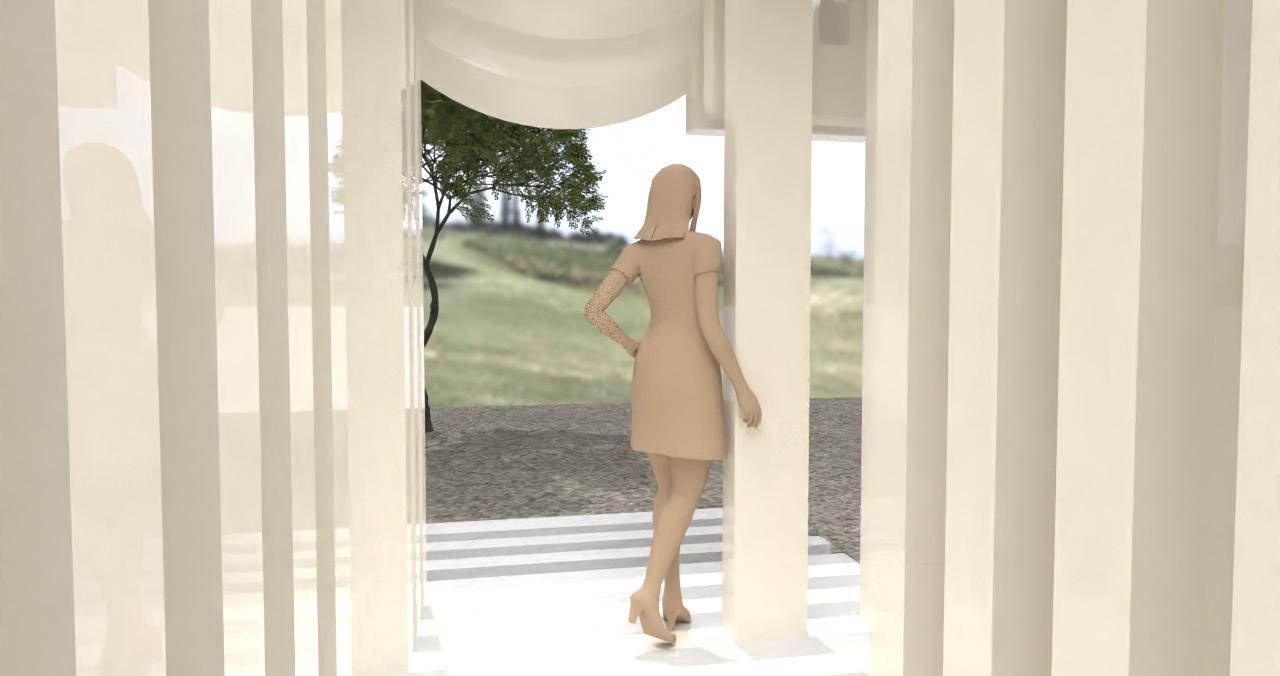
For the last part of Module 3, we delved dep into model rendering. We used Rhino Rendering and material selections to create our visuals. On top of this rendering, we worked with our physical model that was created during week 7.
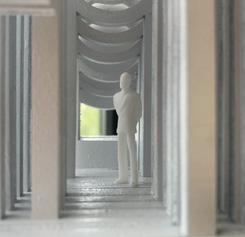
During the rendering process, I realized that the most difficult part of it all was finding a solid view of the space that captured all the elements I wanted to highlight. For my interior, I wanted to showcase the circular frames, the pillars,
as well as how light interacted with the slats. Finding camera and lightin positions to present all of that was difficult. I found myself spending a lot of time adjusting camera and light angles, and redoing the renderings until it turned out how I wanted it to look. I think there could be a faster way to do this, and I plan on figuring that out with time.
For my physical model analysis, I wanted to a gradient that represented cool temperature being transferred throughout the interior. Personally I think this heating study was successful.

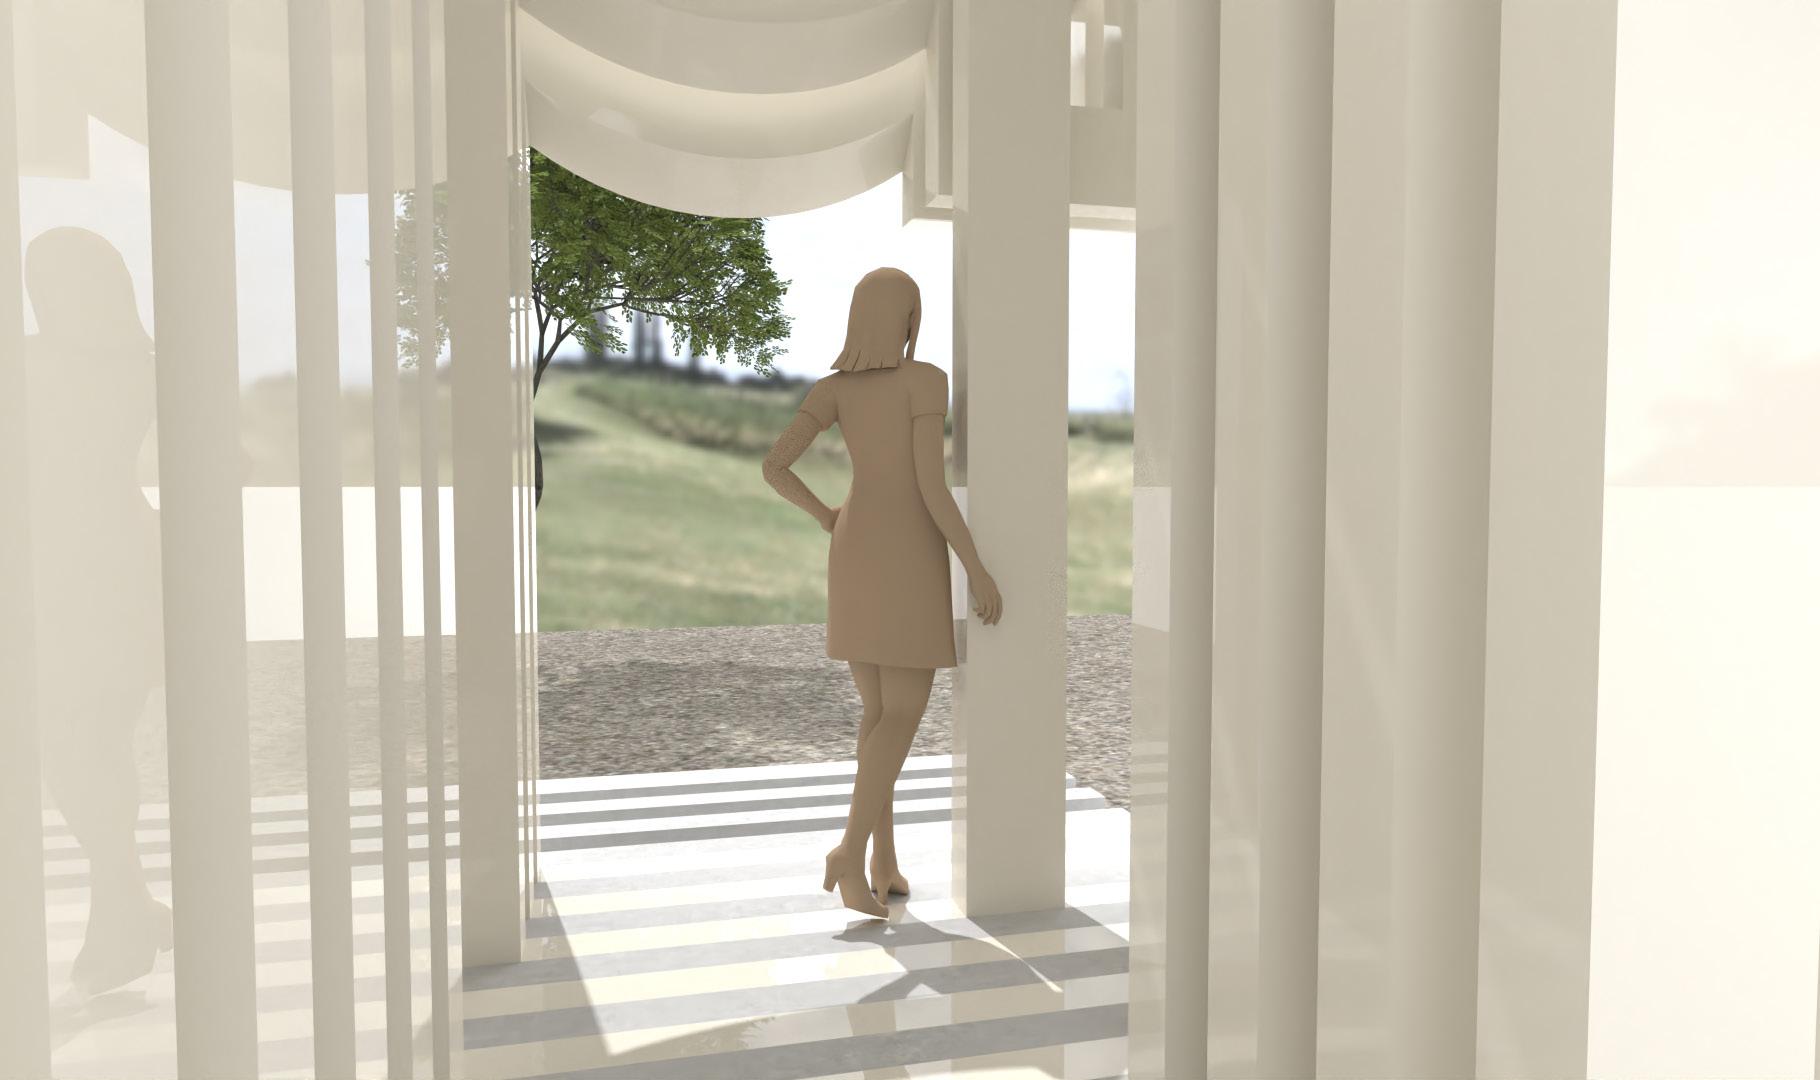
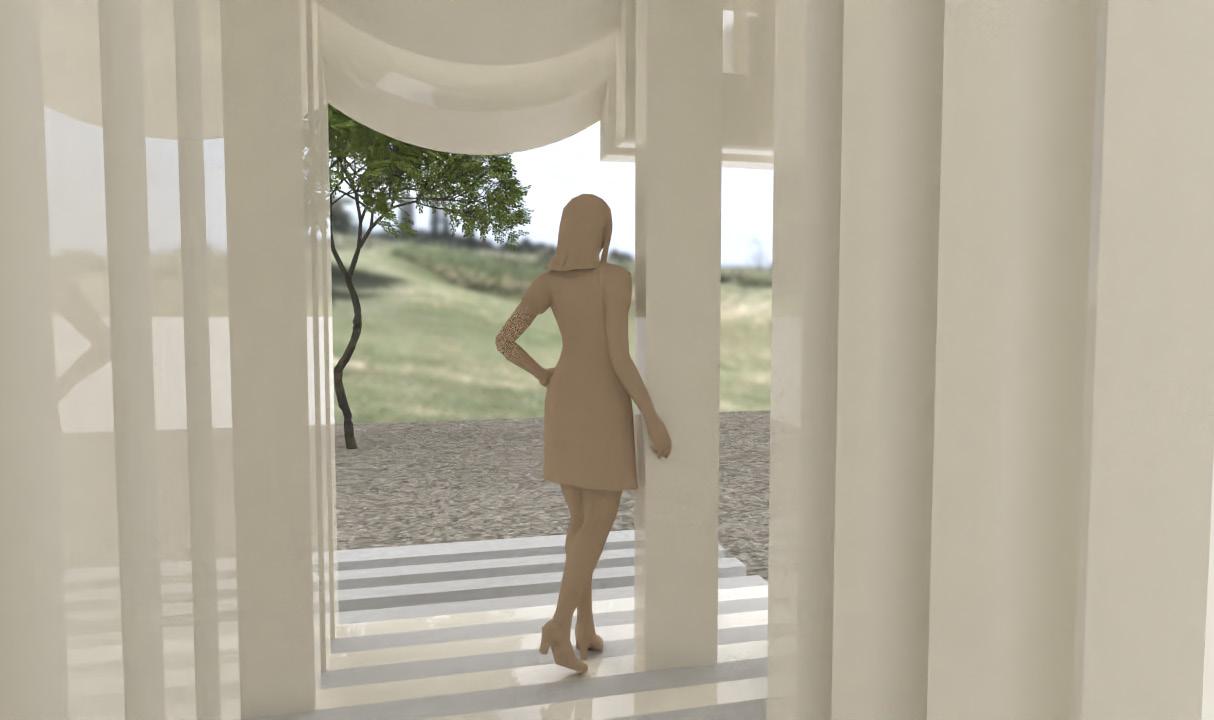
Images
Left Image: Sun & Material Render
Top Right Image: Sun Render
Bottom Right Image: Skylight Render
Top Image: Spot Light Render
Middle Image: Point Light Render
Bottom Image: Rectangular Light Render
Week 02 Cory Olsen
Week 03 Nancy Cheng
Week 04 Dylan Wood
Week 05 Ignacio Lopez Buson
Week 06 Philip Speranza
Week 07 Siobhan Rockcastle
On Thursday from Week 02 to Week 07, a guest lecturer was featured in our classes. These lectures were relevant to the topics we were epxloring in class, and gave us information to use as we continue or education at UO.
Some ideas that stood out to me were the importance of technology, developing design style, and light and context.
Cory, Nancy, and Philip got me thinking about design style. Each of them had their own interests and methods for producing media. During Cory’s lectures, he really
delved deep into design style. I’m excited to learn how to make my designs my own!
Every one of the lecturers demonstrated how technology can be used to improve design, but Ignacio was the one that stood out to me the most. His experience in Landscape Architecture showed a part of digital modelling I hadn’t ever thought of. It’s mind blowing how much you can do with Rhino and Grasshopper.
Last was all about ligt. Nancy and Siobhan had a lot of insight to give on this topic. I’m looking forward to learning more.
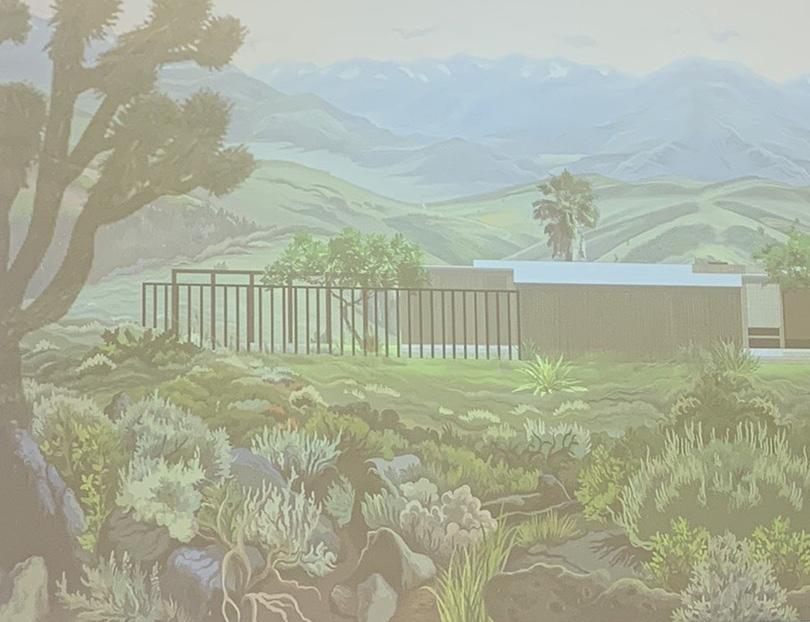
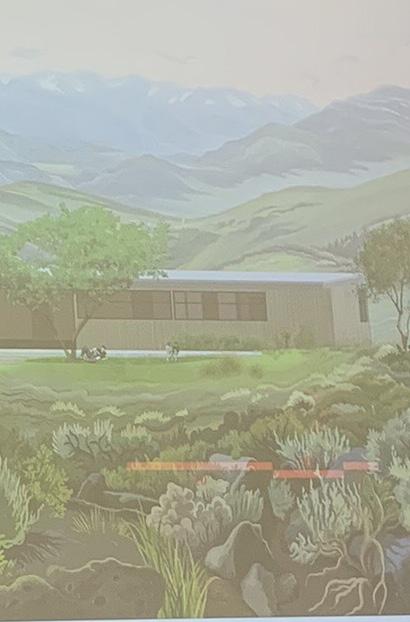
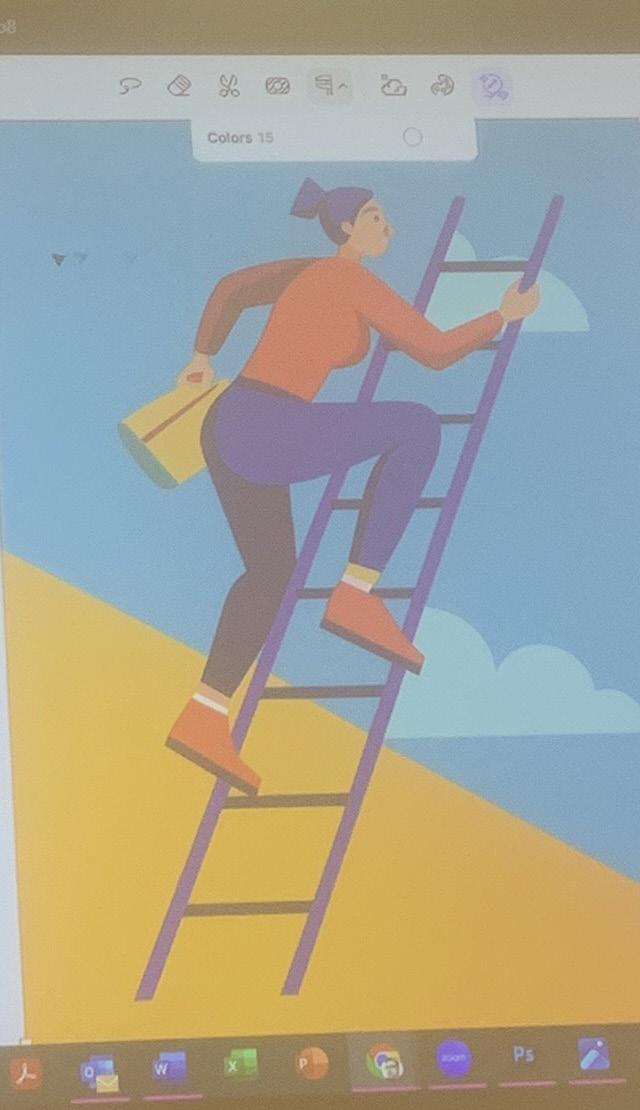
Focusing on media and AI, Cory Olsen’s lecture got me excited for the future of my education. It was intriguing to see how you can mix digital media to create a unique outcome and style.
I’ve questioned before how people can make online designs that fit their own design style, and after this lecture, I understand it much better. Though different processes and programs, I can build my own style and process. Some feedback I’ve gotten from GE’s is that
understanding digital media enough to know how to create a design in a particular style you want to present is when you really start to be successful in your digital design work.
Eventually, I want to have both a style and process that works well for me. Multimedia and collage have been something I’ve wanted to play with, and I think they lean well into a post-digital style. If I can develop these interests, I think I can become a stronger designer as a result.
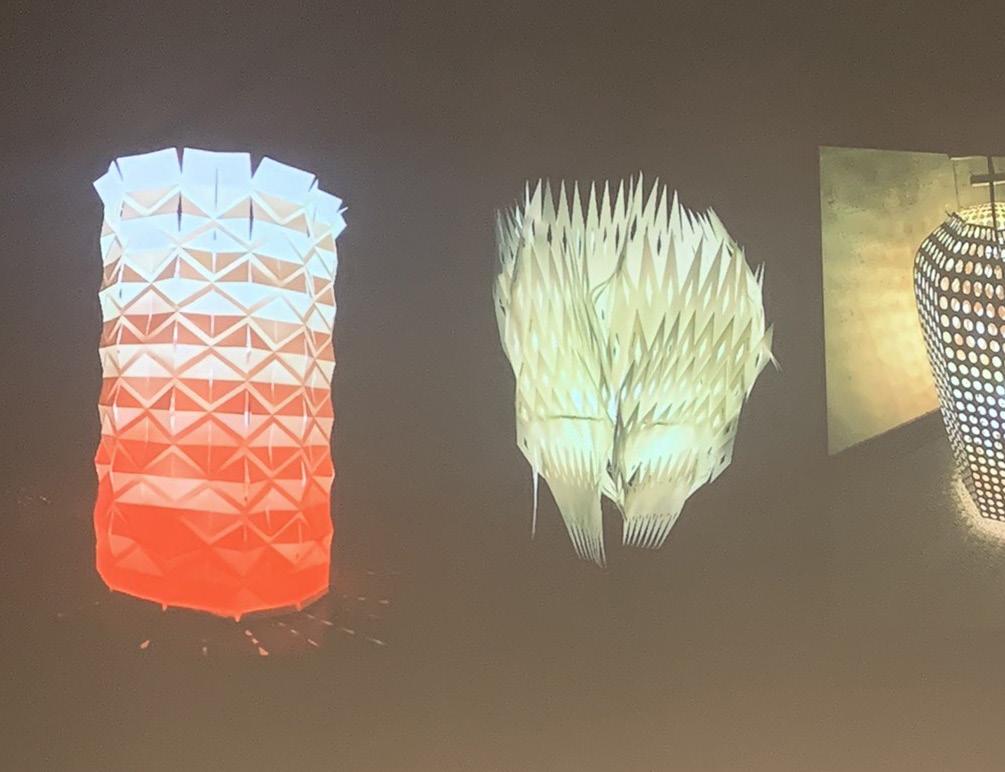
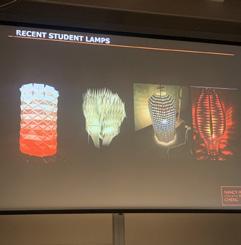
Nancy’s lecture offered great insight into the power of iterative design. Specificall, she showed us how powerful of a tool both physical iterations, and Grasshopper iterations are.
Her ideas made me think harder into the process that I use to generate ideas. How can I make process for myself that is effieicent, and allows me to generate quality ideas quickly?
Seeing the examples that her students have come up with for innovative modular
structures and lighting is inspiring. I’m a fan of modular design, and am wanting to practice more in my design work here in school.
This makes me think about how I can start implementing modular design into my iterative process. I’ve worked with modular origami in the past, and that could be adapted to make building models.
I now know that Nancy Cheng is a great resource if I’m looking for feedback regarding modular design and how to proeprly do iterative processes.
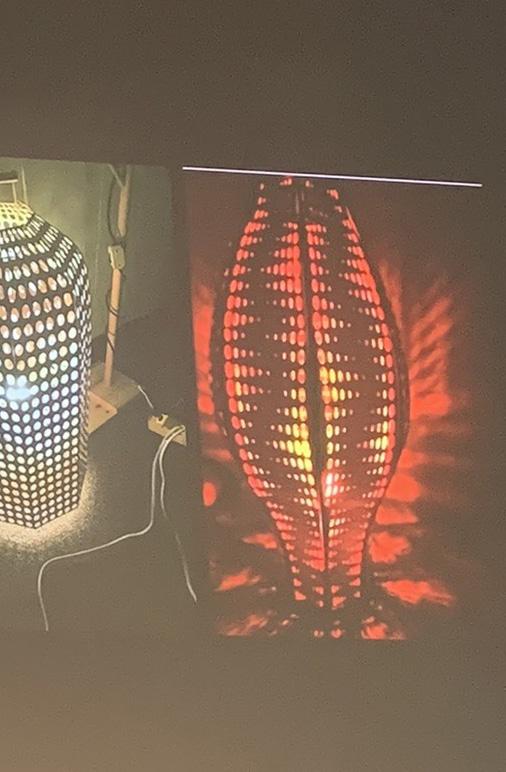
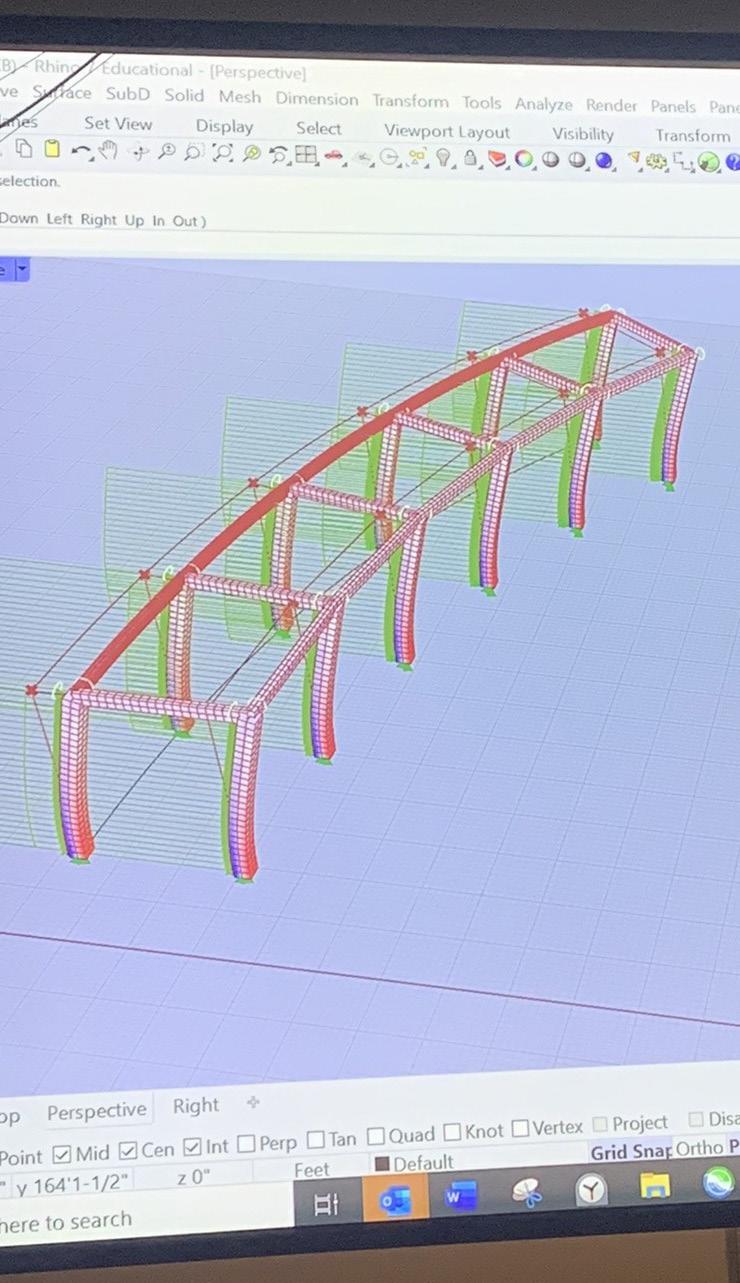
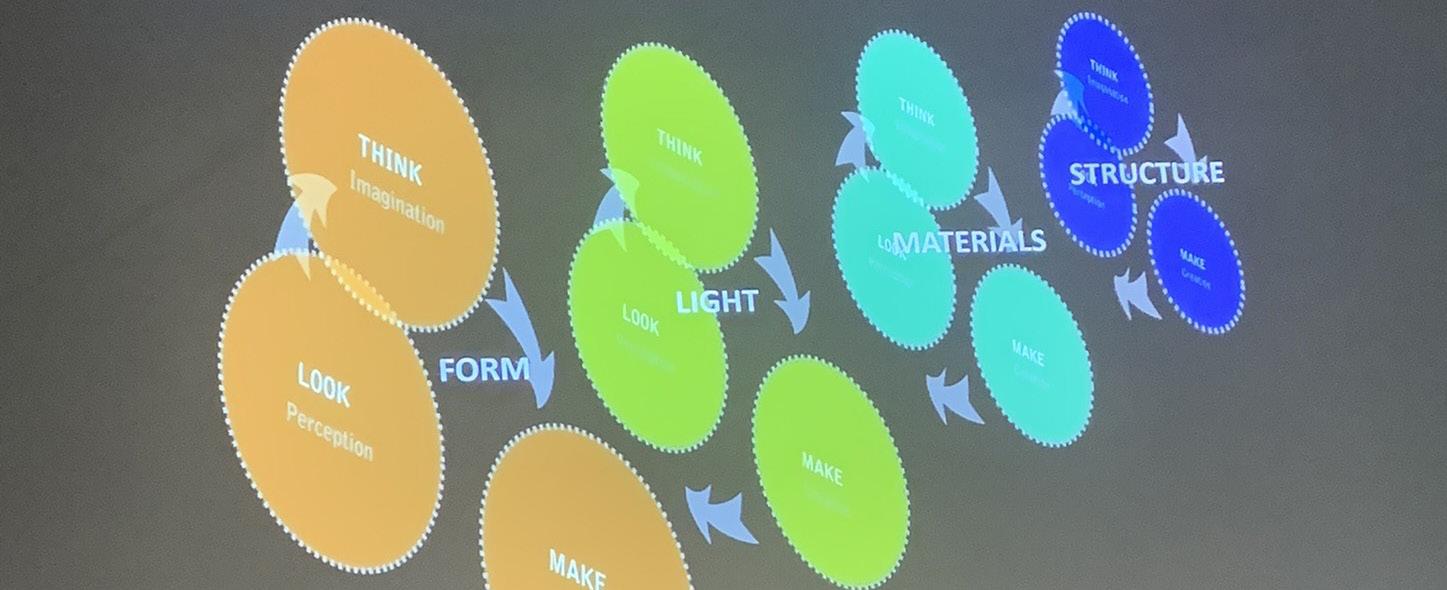
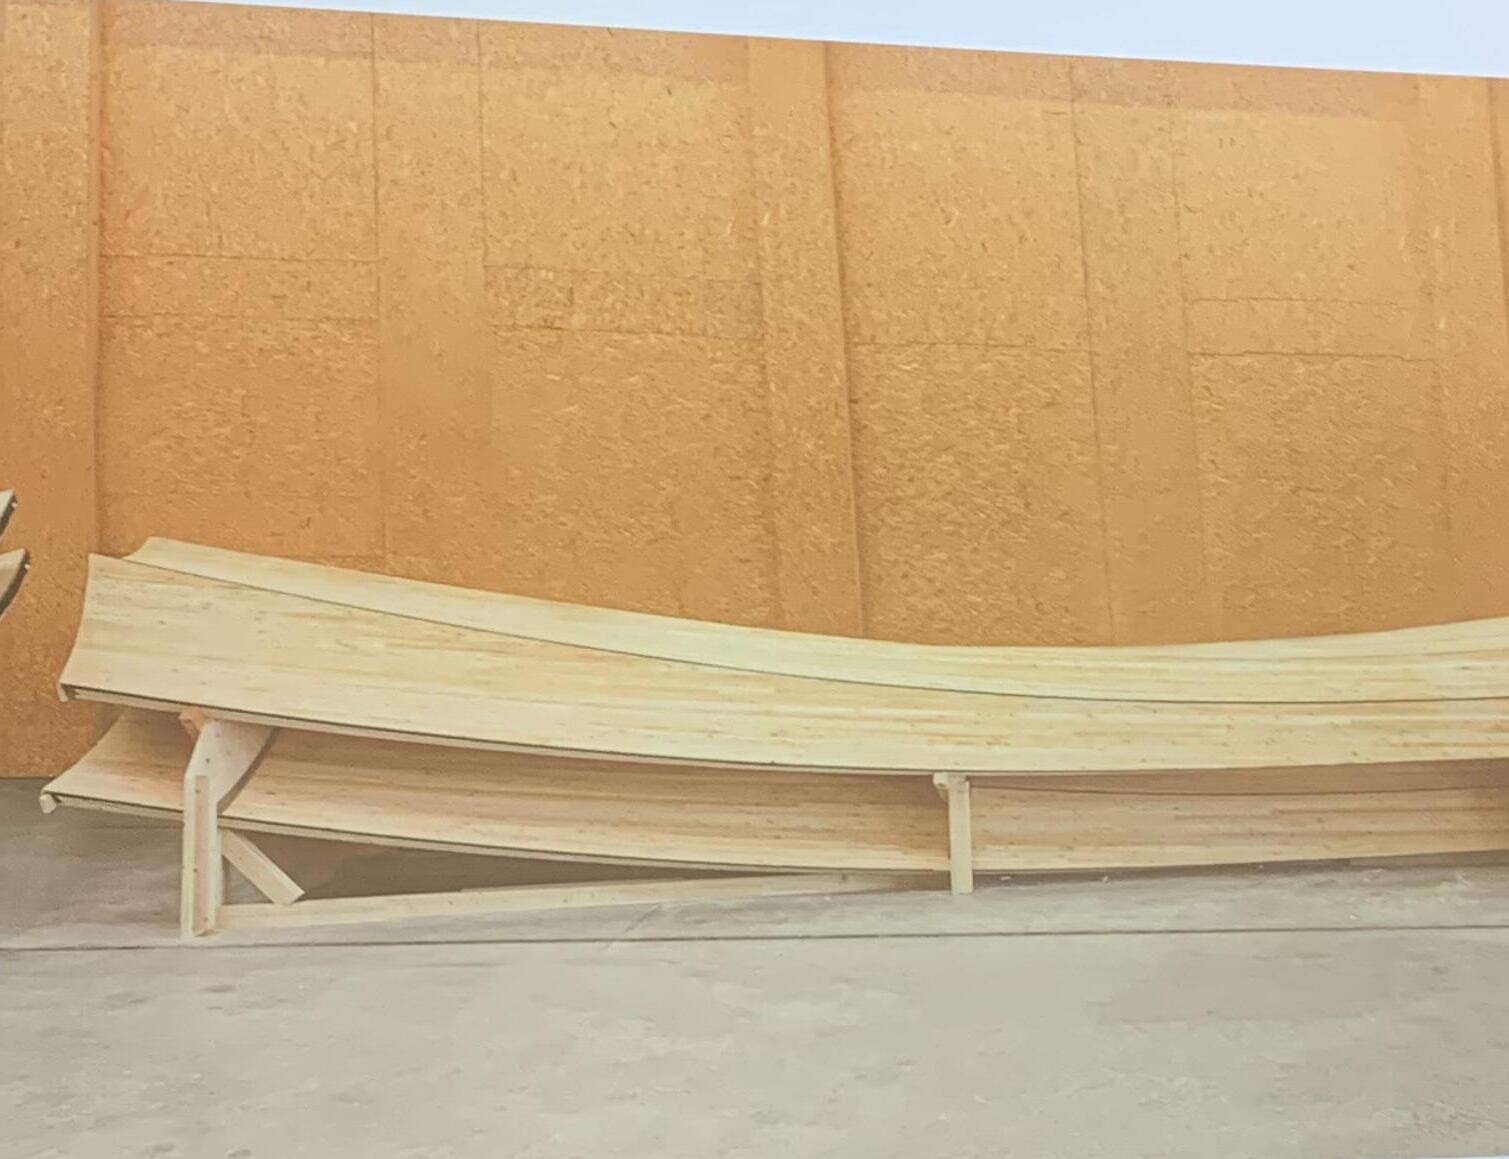
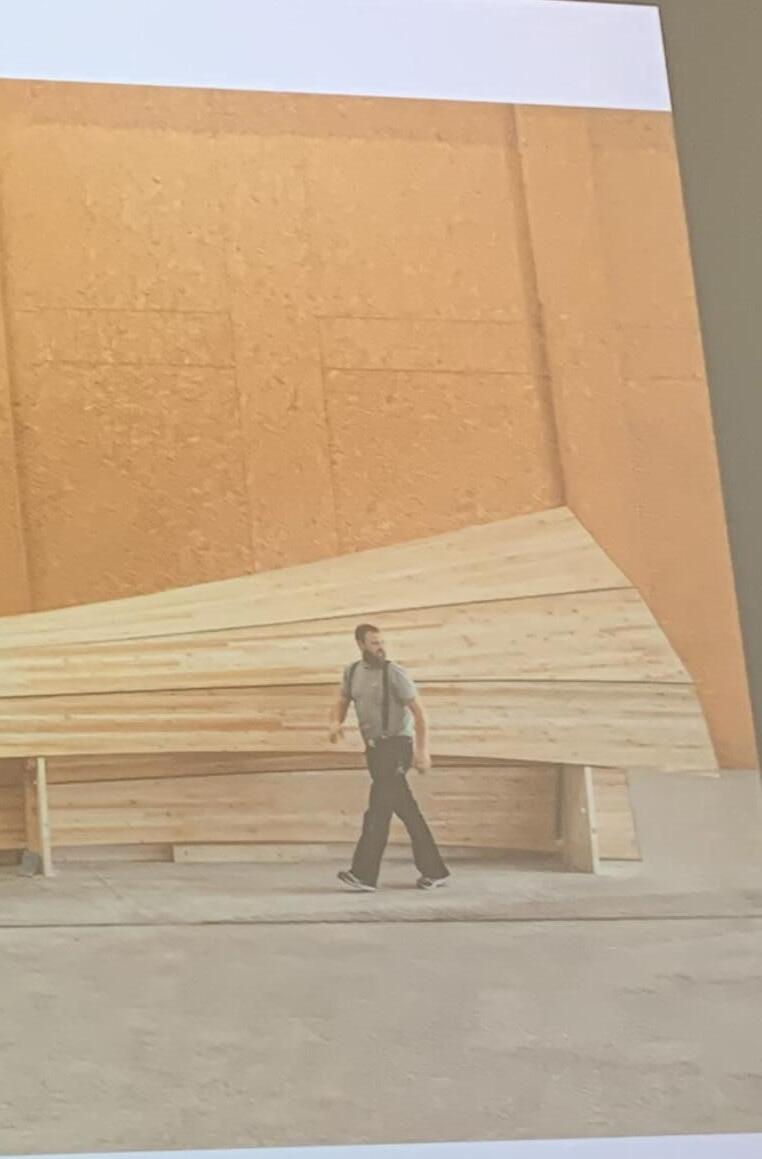
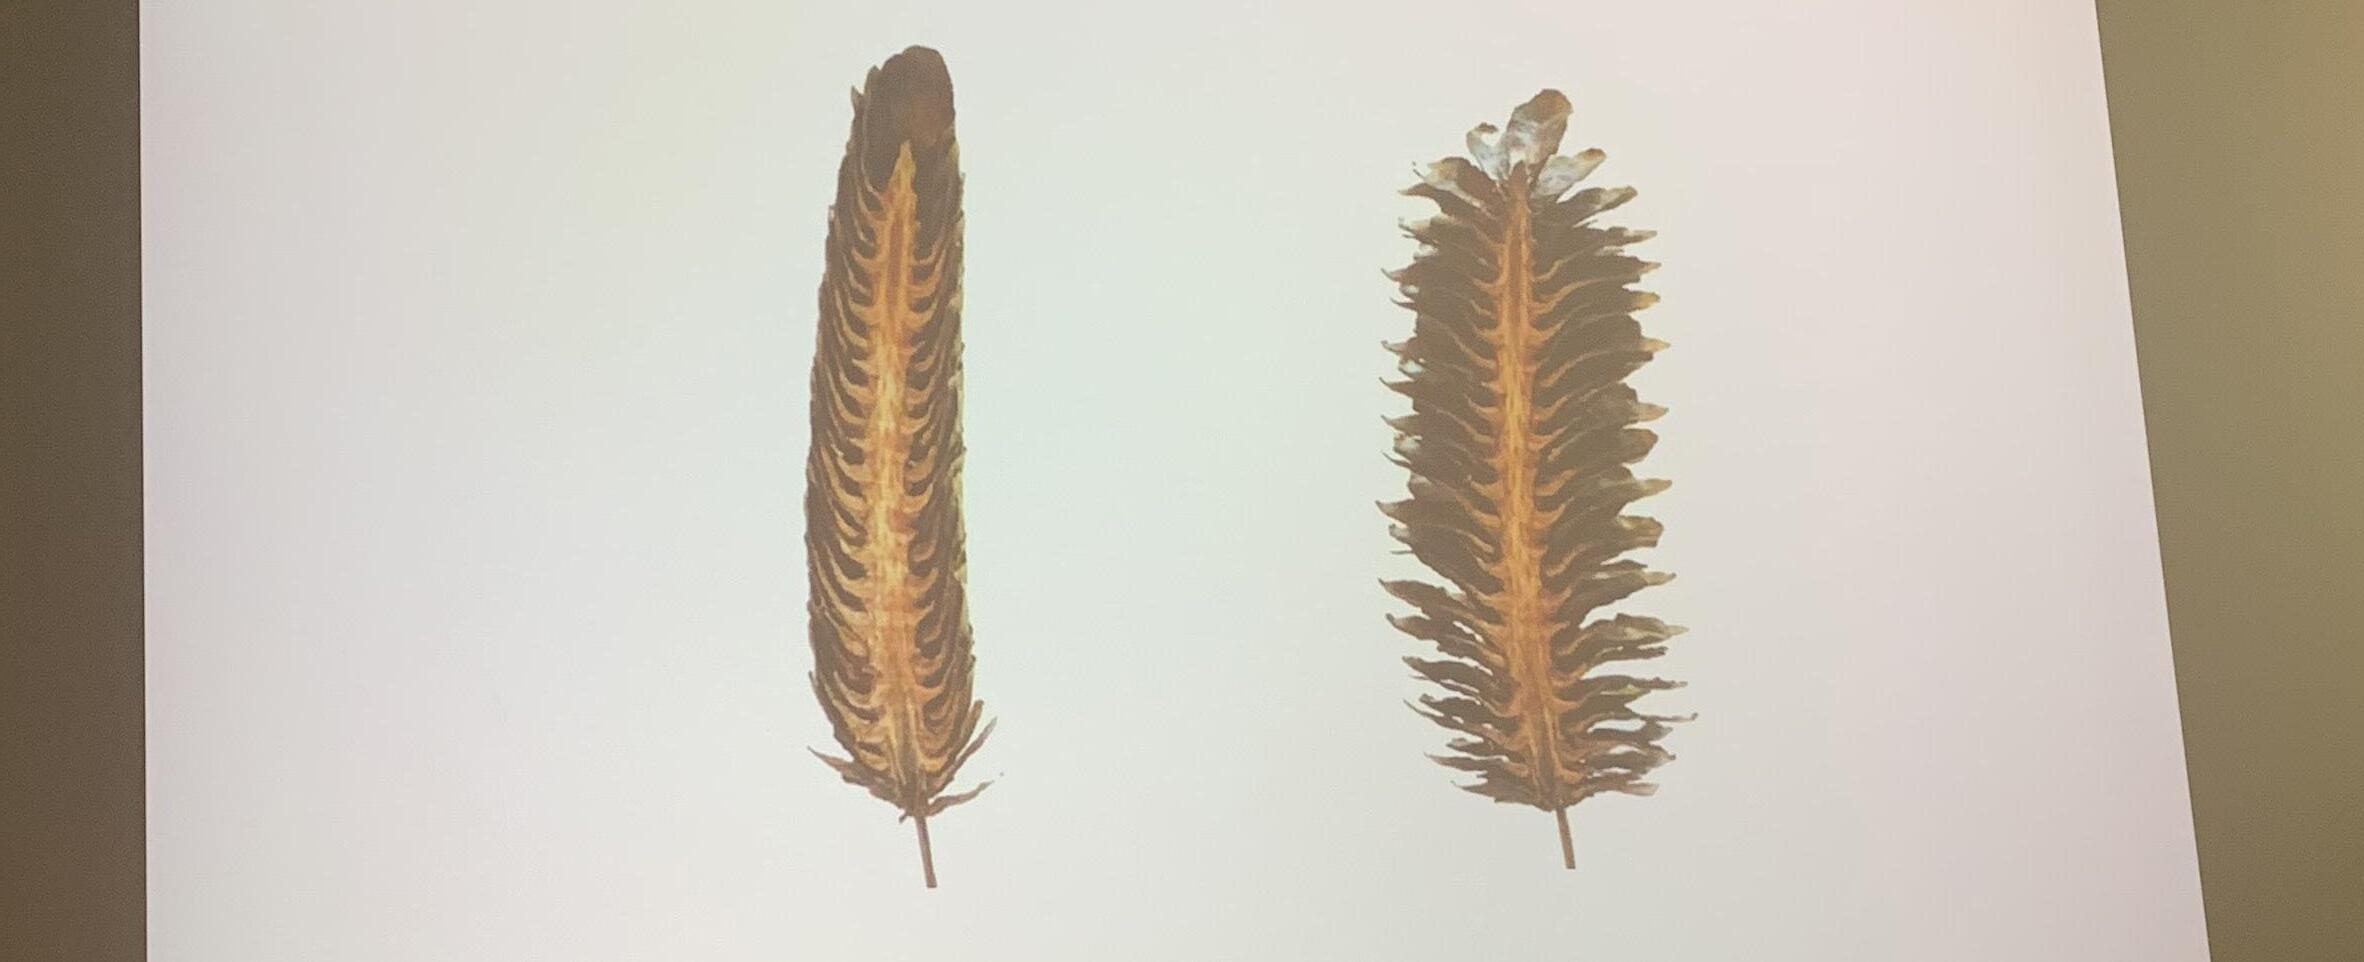
The guest lecture featuring Dylan Wood was not only informative about mass timber construction and manufacturing, but it also showed me potential avenues I can take my design education.
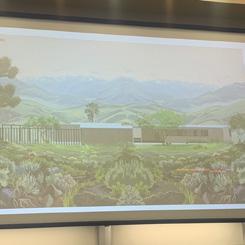
After attending a panel lead by mass timber suppliers and the architects that designed Chemeketa Community College’s Agricultural Complex, I’ve had an interest in mass timber construction. It’s exciting to see that the University of Oregon is partaking in plenty of research into this topic.
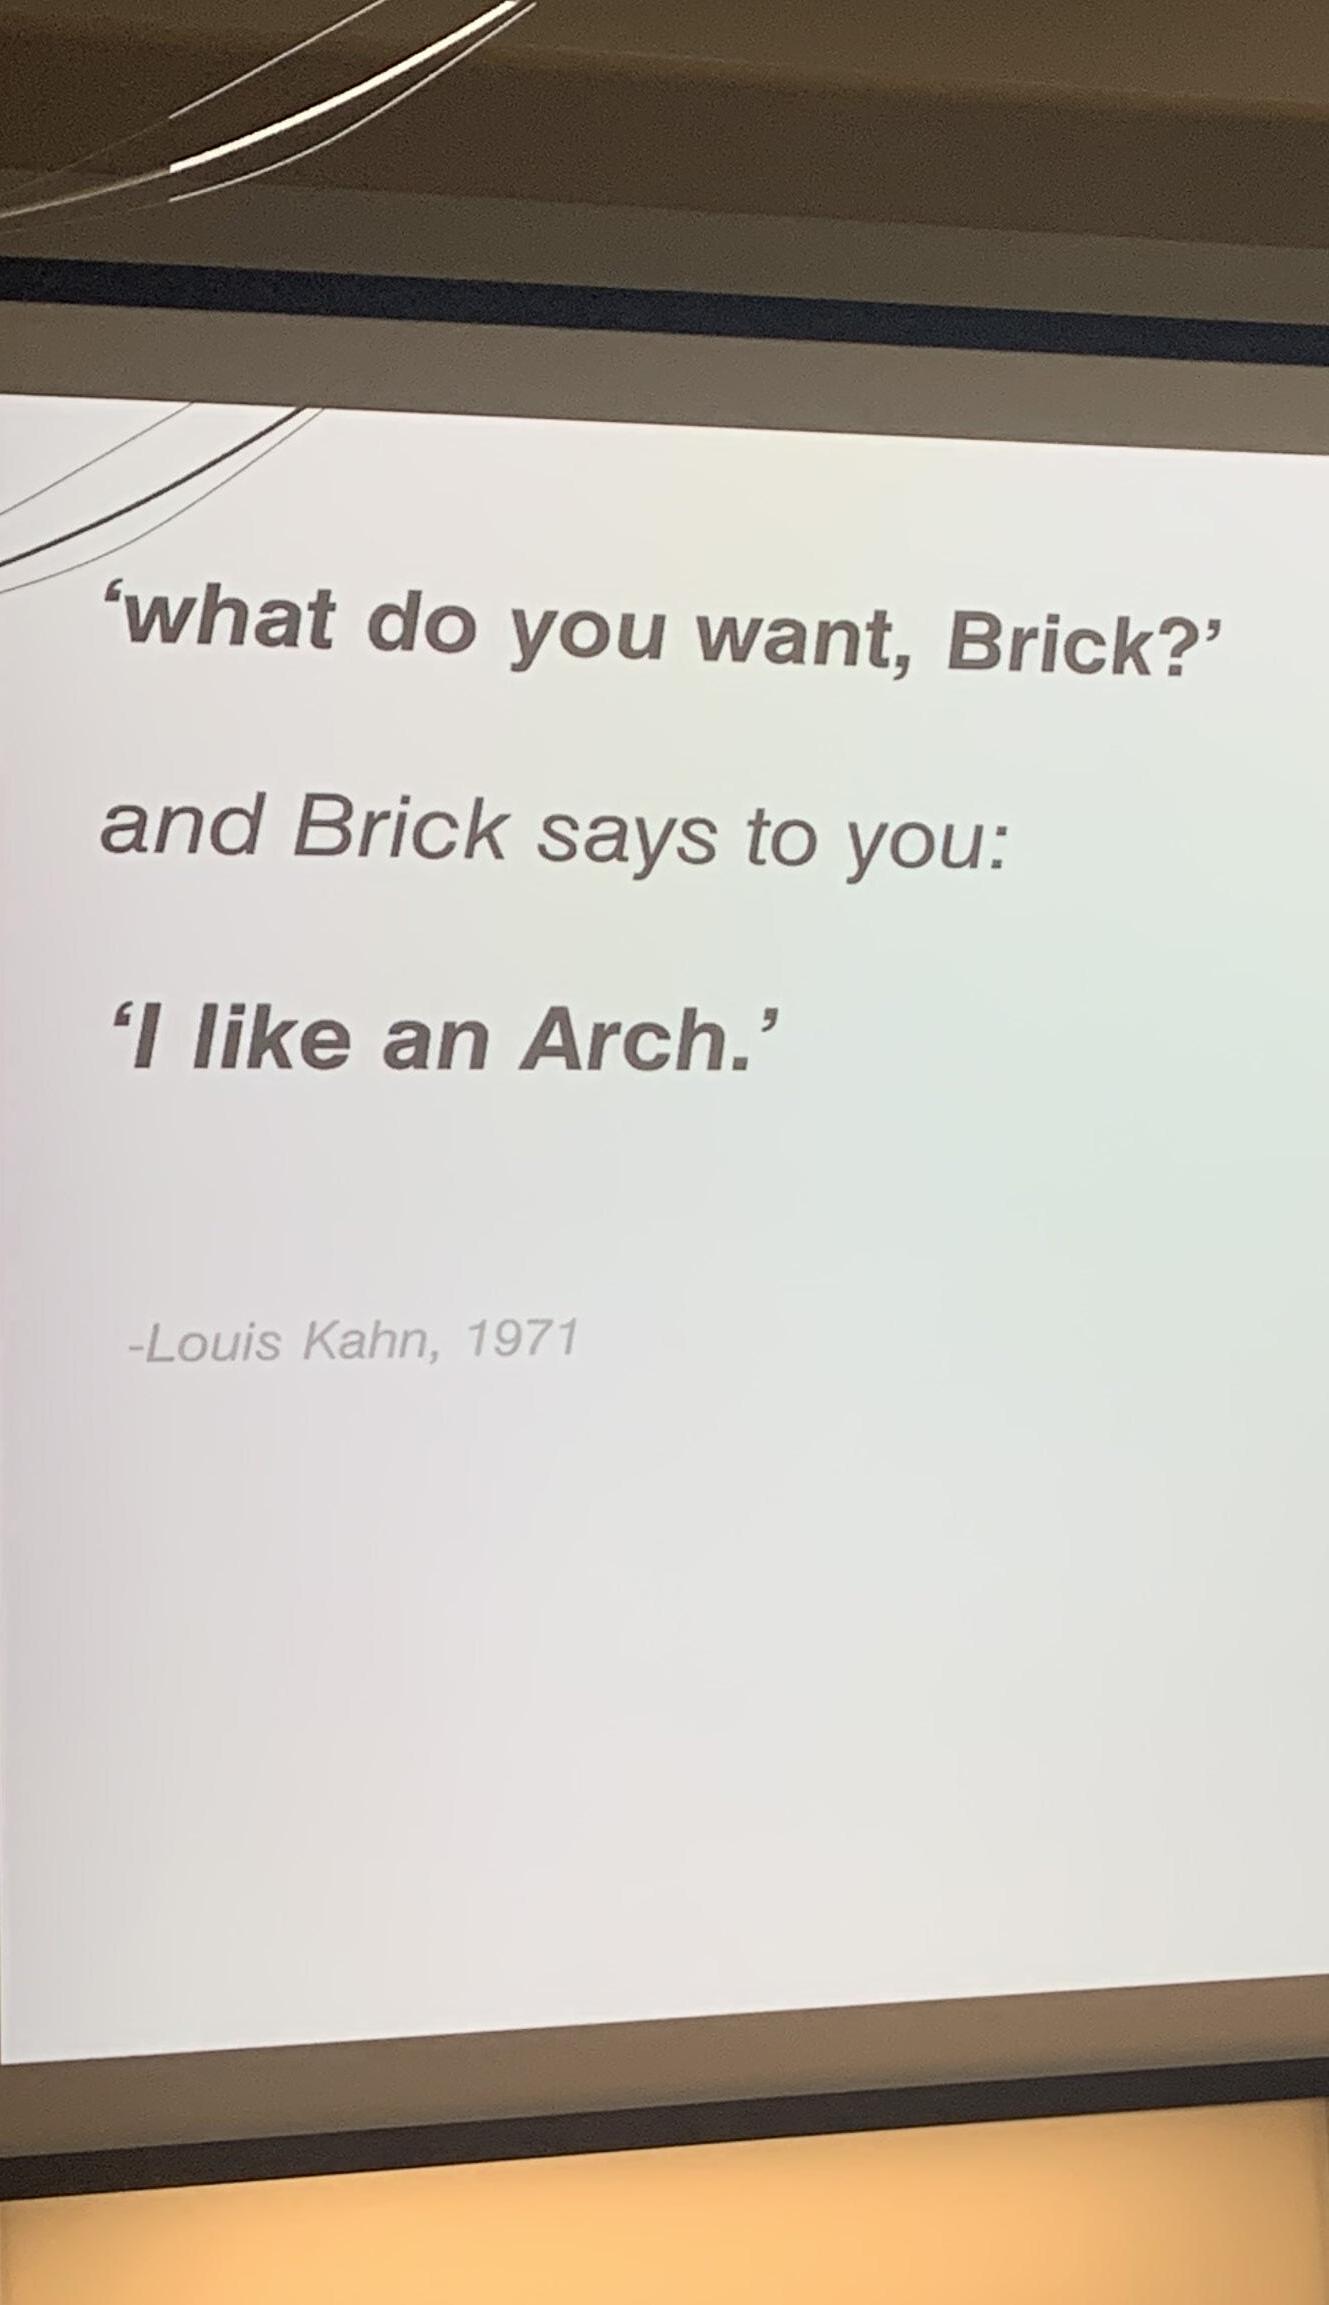
Louis Kahn’s quote regarding asking the material for advice as to how it should be utilized to build is thought-provoking. There are many applications for mass timber, and I expect to see it more throughout my education.
While it is a flexible material, and is opening new possibilities for construction, I’ve been motivated to think critically about how sustainable the material really is by my studio professor. If I can learn the specifics of carbon emission, manufacturing, and application for this material, I could potentially offer unique insight for firms I apply at.
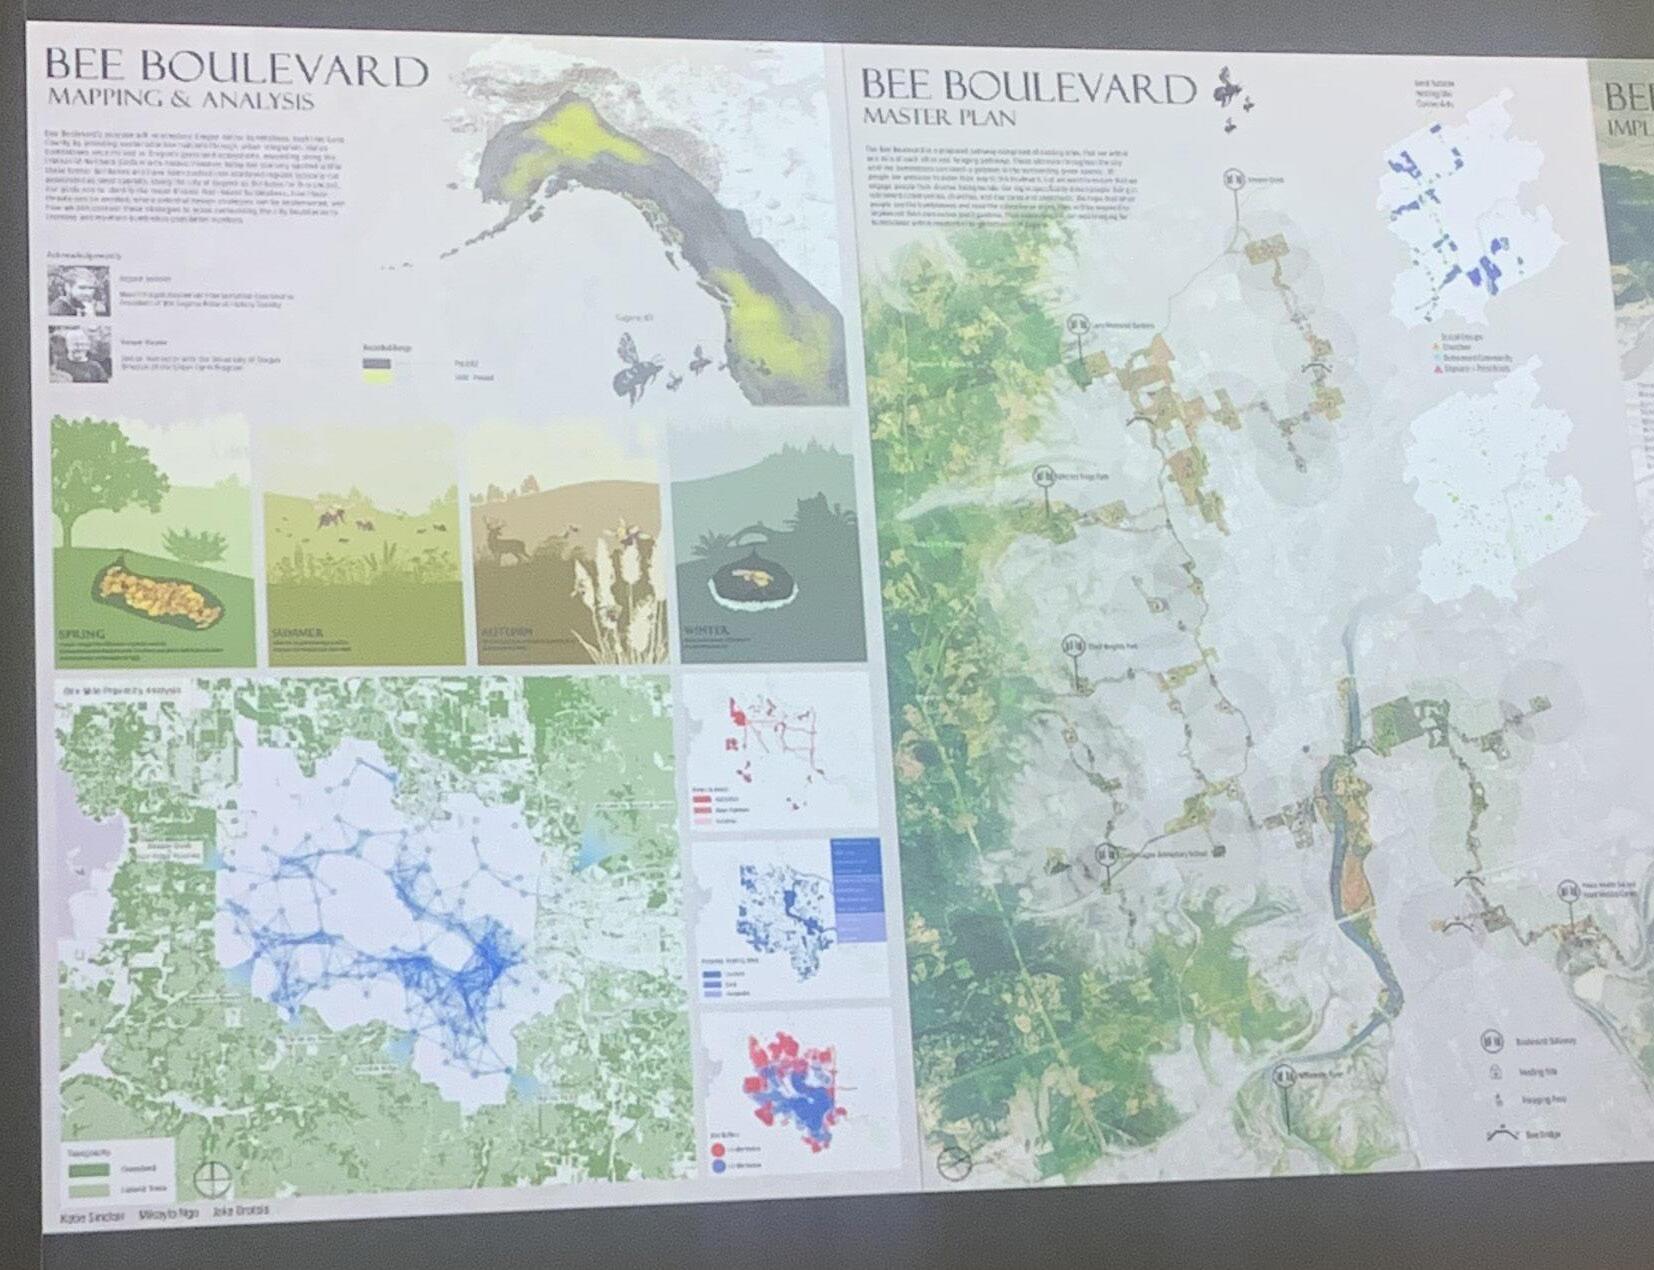
Ignacio’s guest lecture gave us all a look into how technology can be utilized to improve design, and create solutions we may not have been able to without it.
I hear many things from different professors about how technology is or isn’t good for our design process. Ignacio was clear about how his support for technology doesn’t undermine creative process, if anything, it can be used to improve it. I’ve found personally, that incorporating technology during certain delevopmental stages can solidify if an idea is relevant or works.
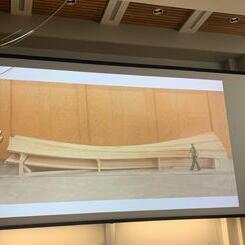
Showing his site studies, and personal projects really inspired me. I’ve had an interest in multidisciplinary design work, and his projects really worked within many different realms of design. His bench design for UO was especially fun. I went and tested them out recently with a friend from another major, and we were both pleasantly surprised by how comfortable they are.
Ignacio mentioned he plans to do a study abroad to the Canary Islands. I’m not sure where I’ll be during year 3, but it does pique my interest. Seeing his and Philips abroad work gets me excited for potential opportunities with study abroad.
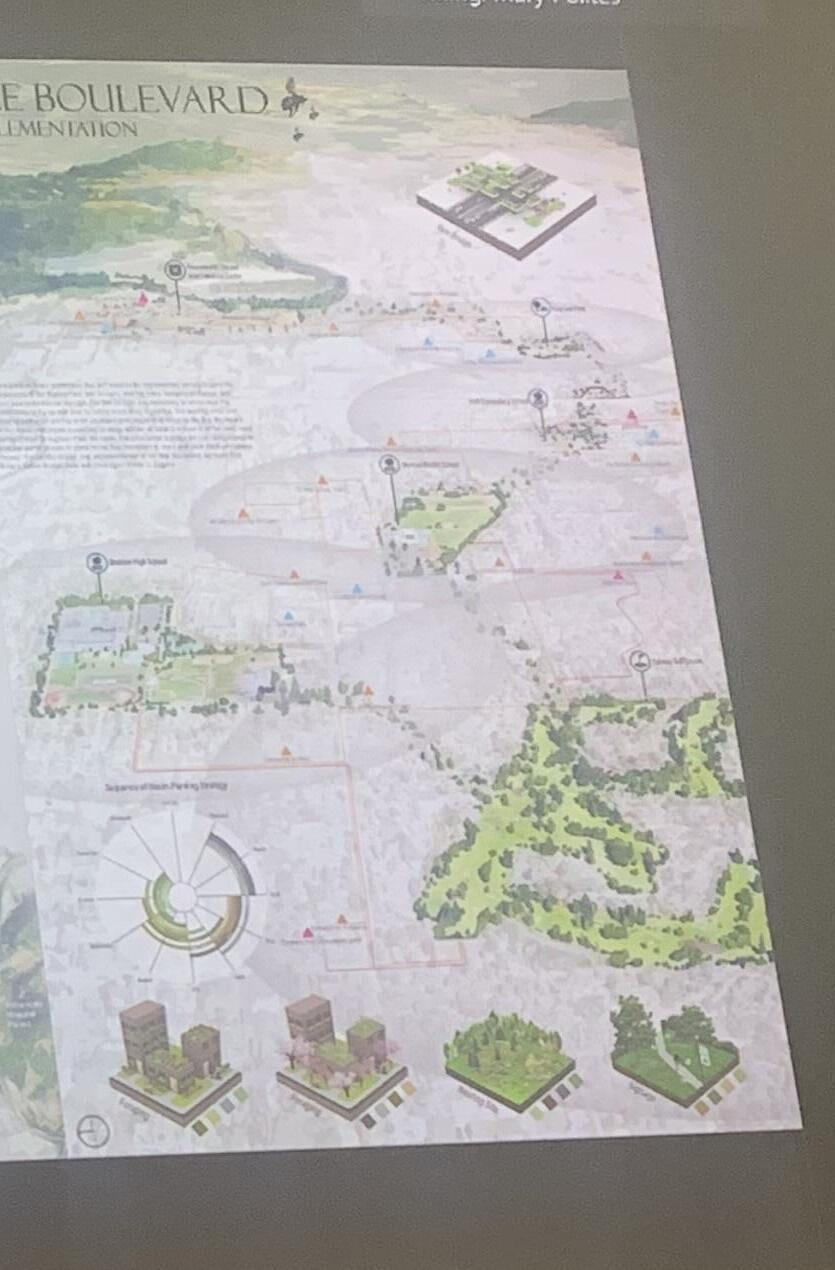
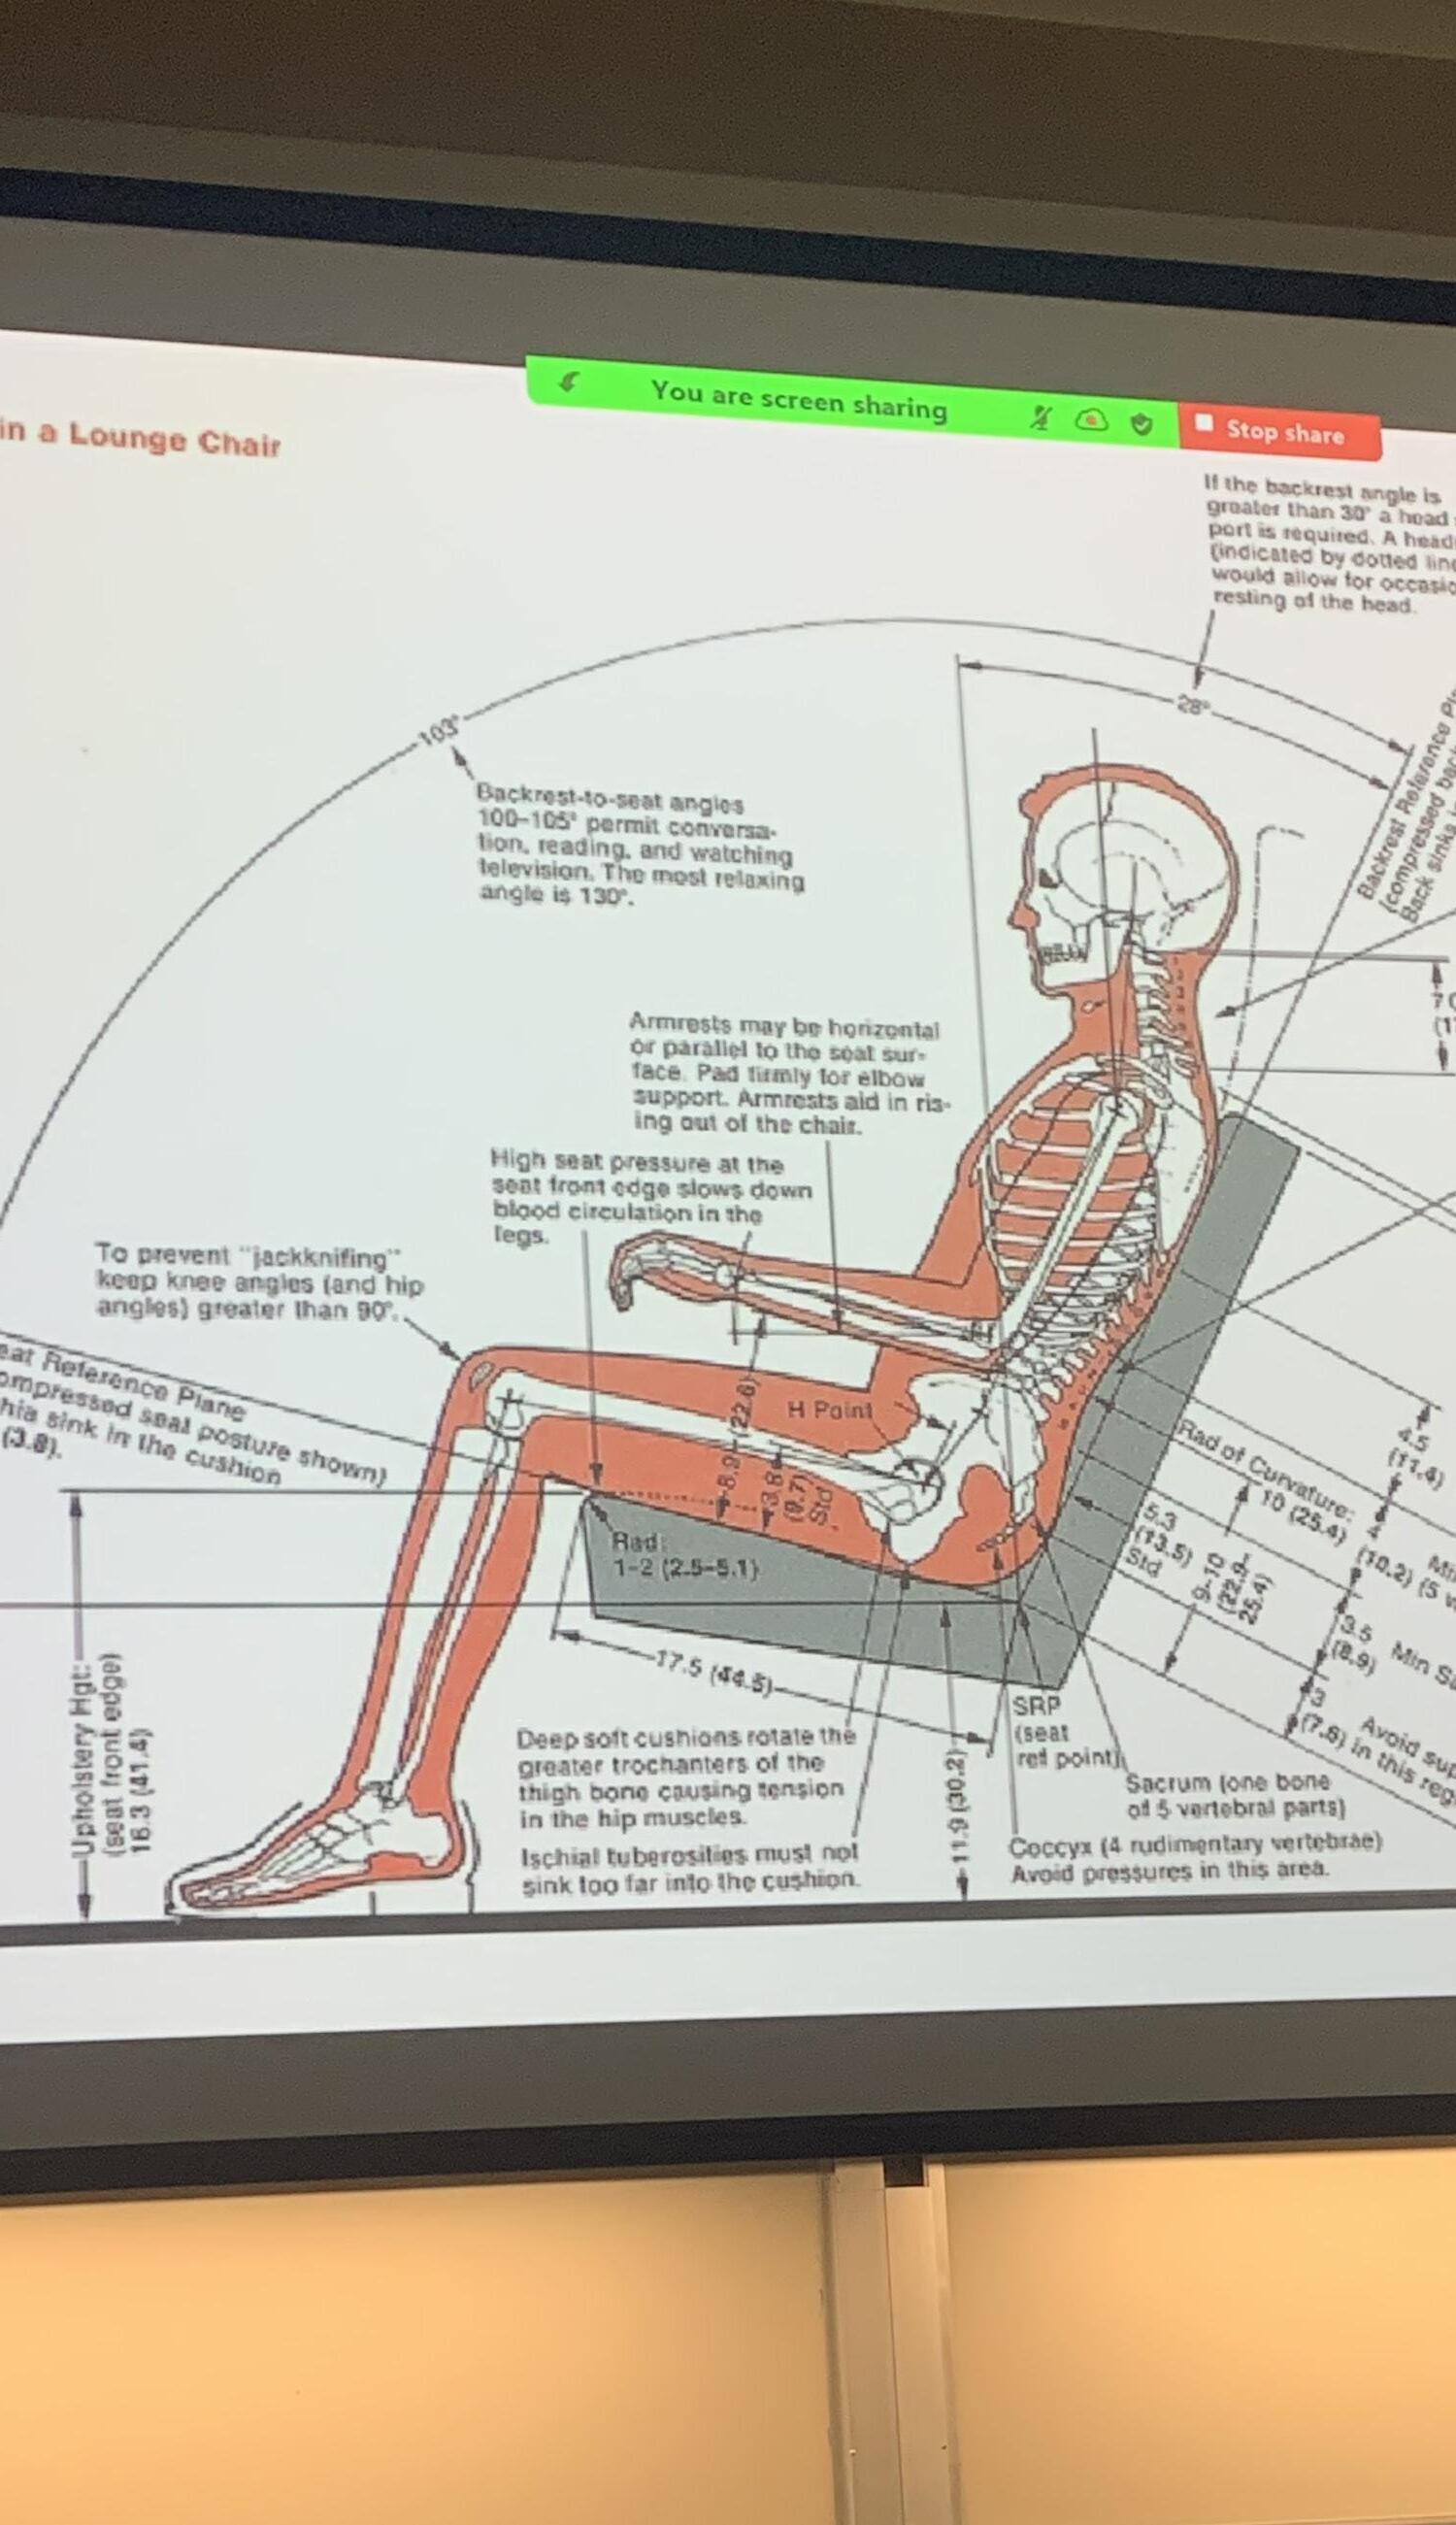
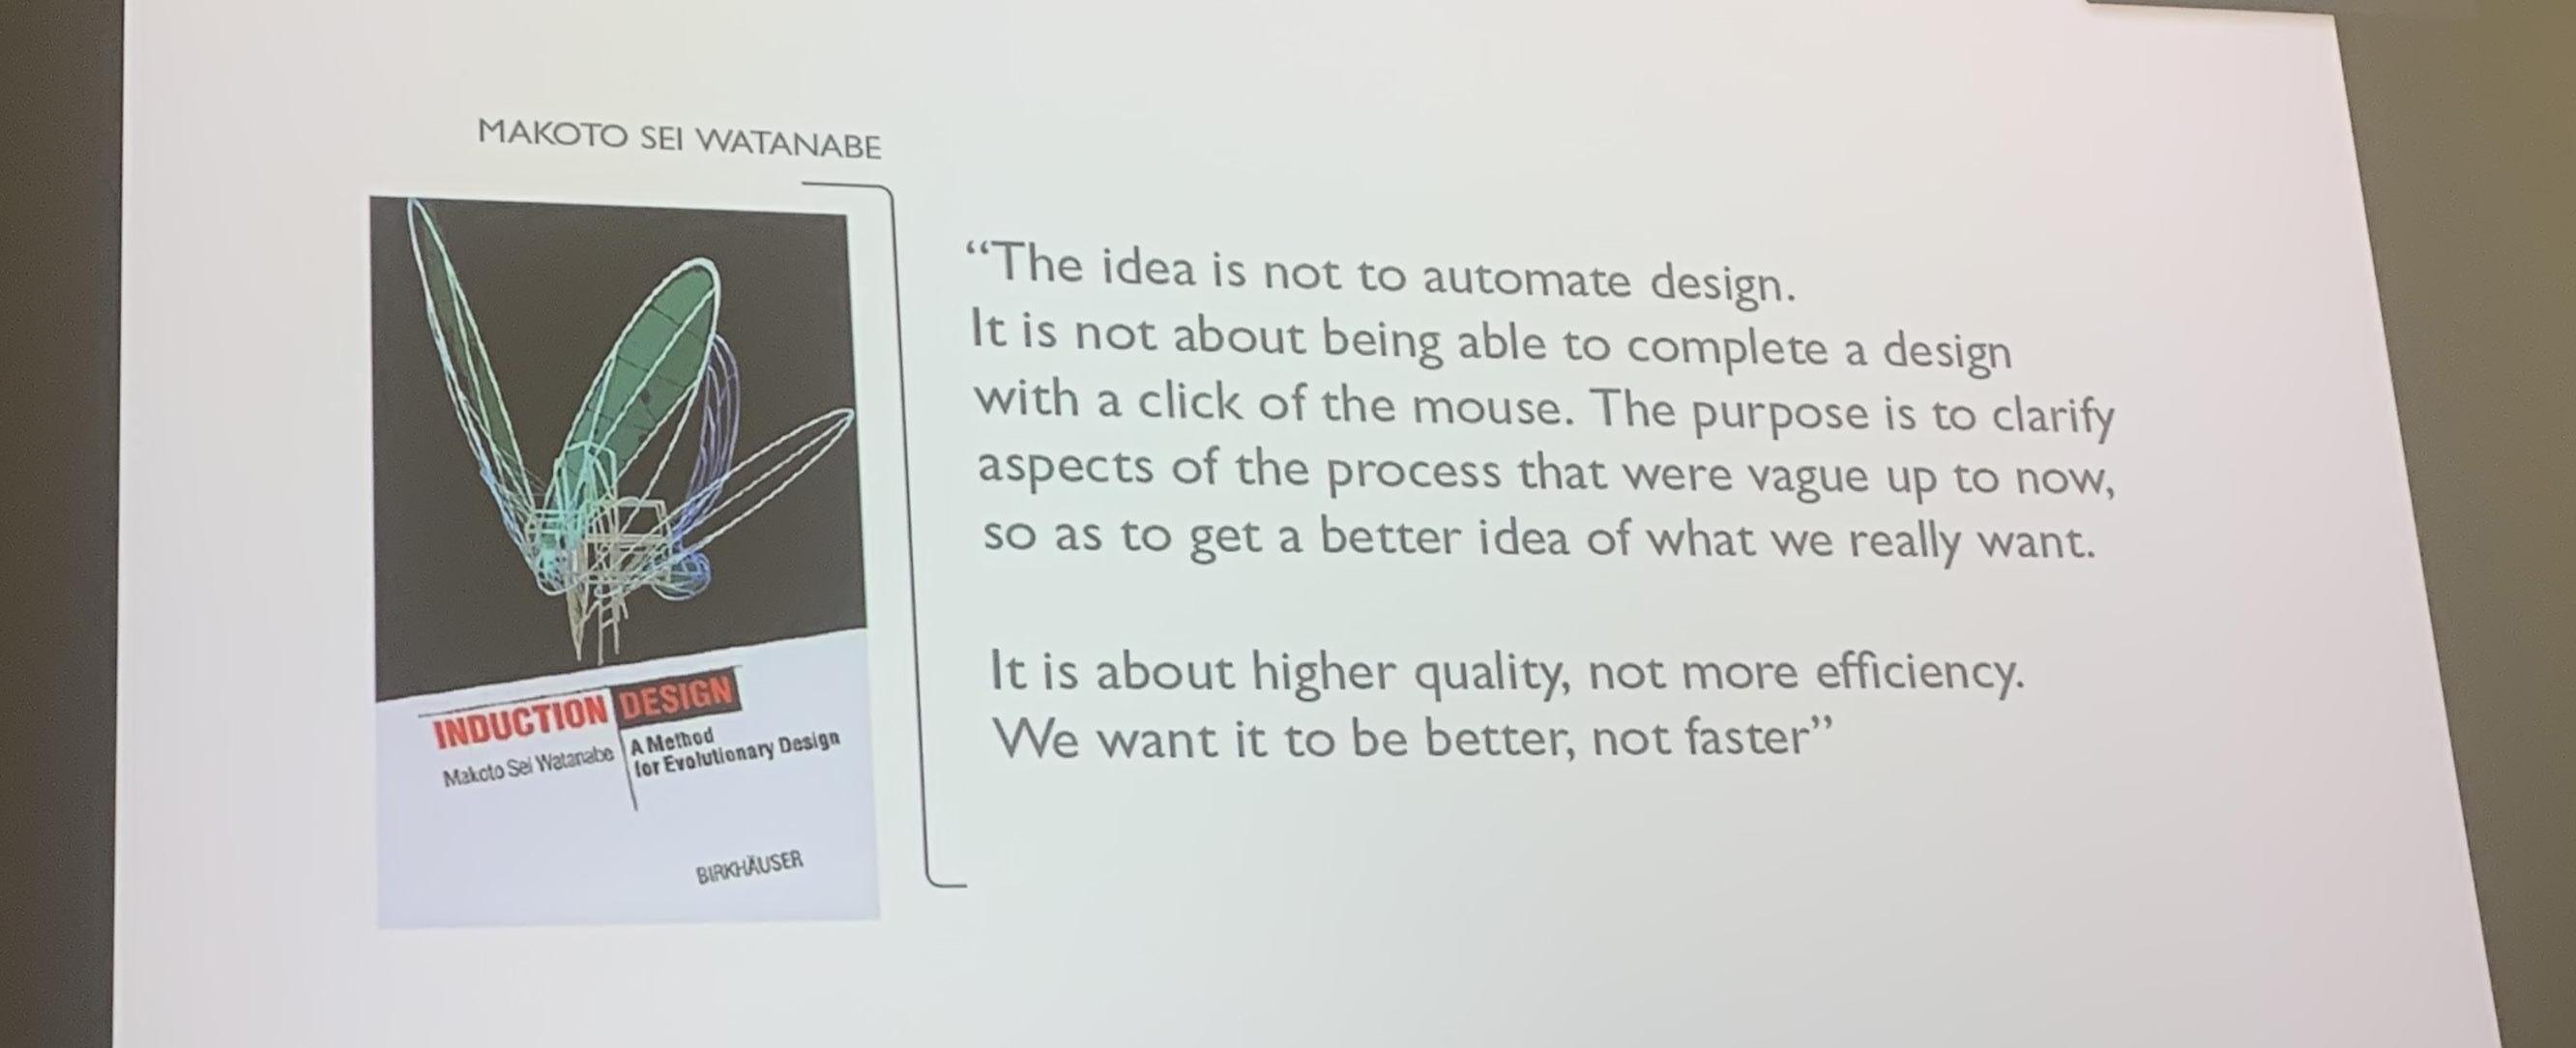
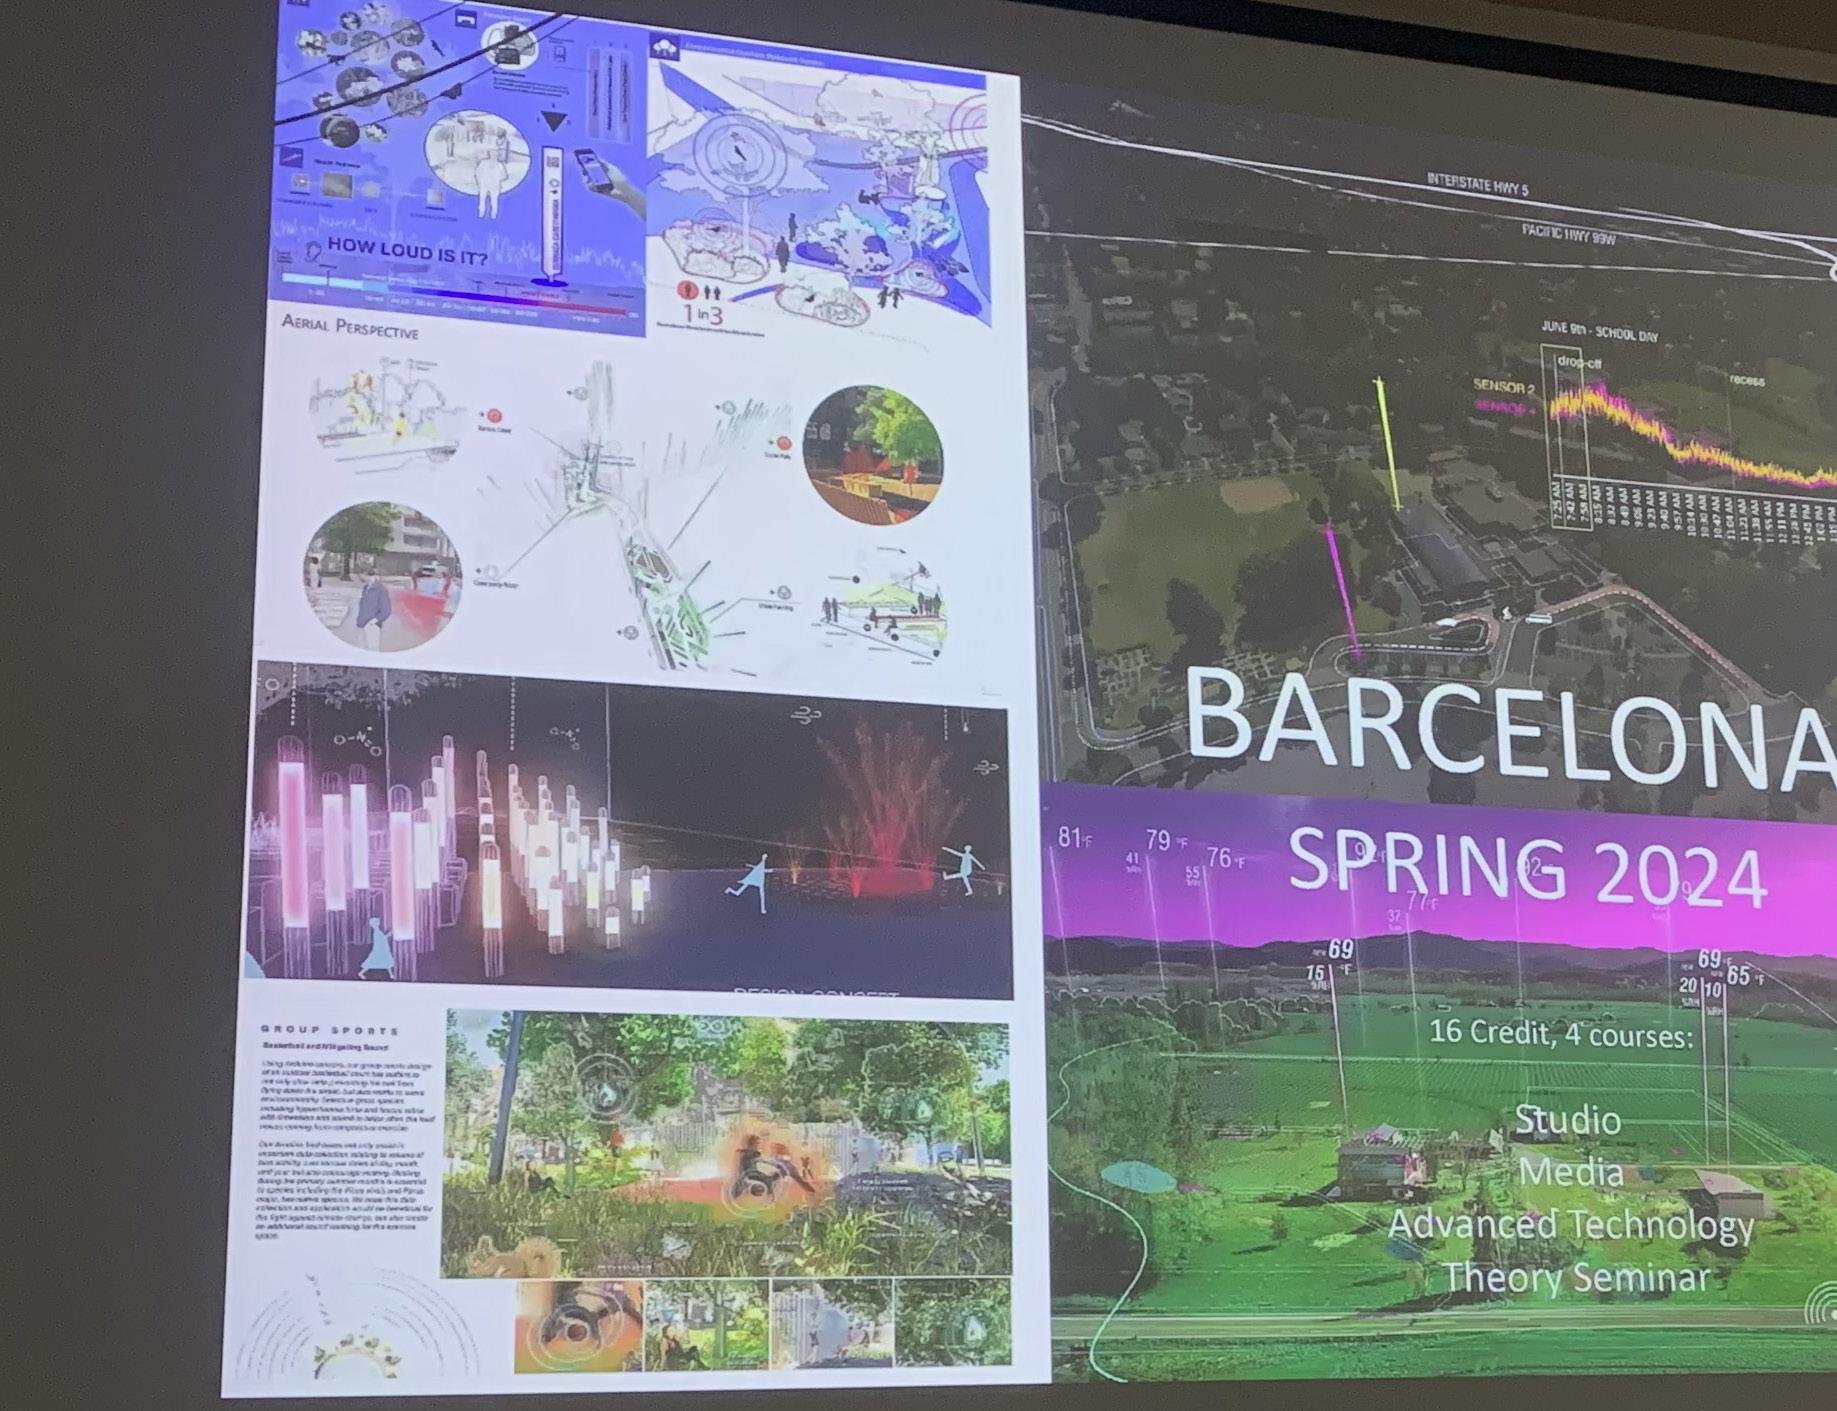
It’s difficult to achieve very communactive yet concise digital models for me. Oftentimes, I find myself focusing too hard on the exactness of the form of the building, rather than what my model is trying to communicate. Philip’s presentation was a great reminder that communication should be at the core of our model’s purpose.
The examples of site analysis, and interior presentation were especially helpful for me to see. I want to get to a level of design
experience where I can communicate the reasons why I designed something. Philip Speranza’s models are an example of what I plan to achieve.
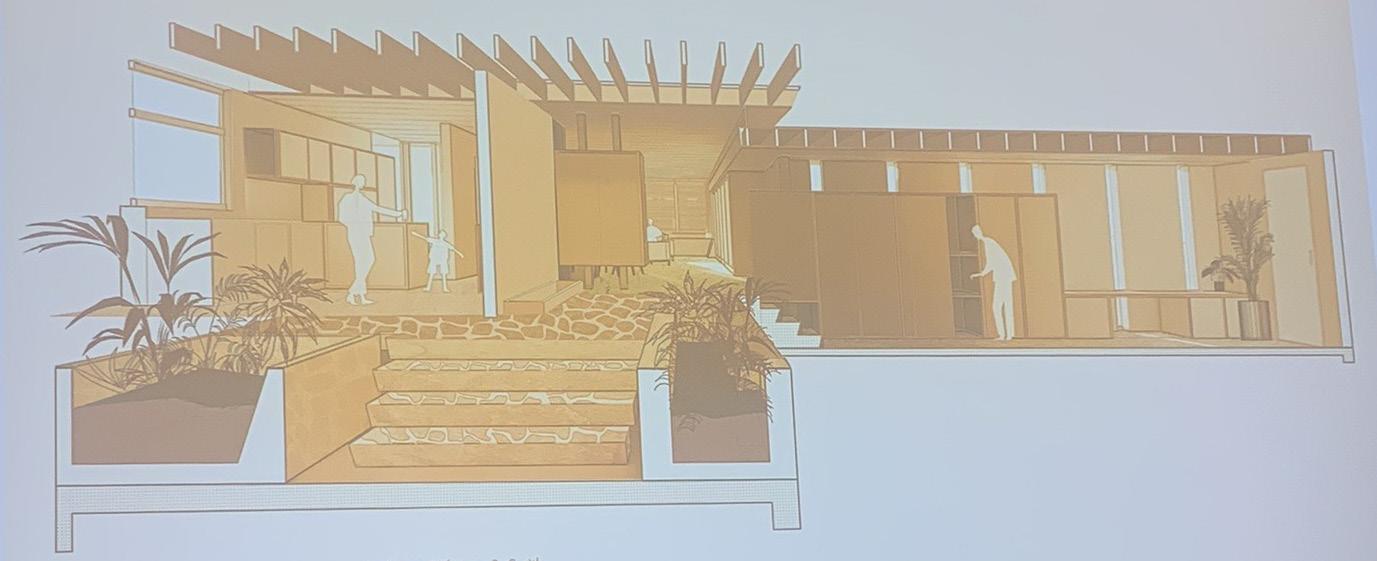
During a tour at Studio E in Eugene, I found more examples of how we can communicate as designers. It’s clear that if you can do this well, you can sell the clients on a design decision that may be less cost efficient initially, but will improve the sustainability or longevity of the structure. This is the sort of communication I want to solidify before I get into the field.
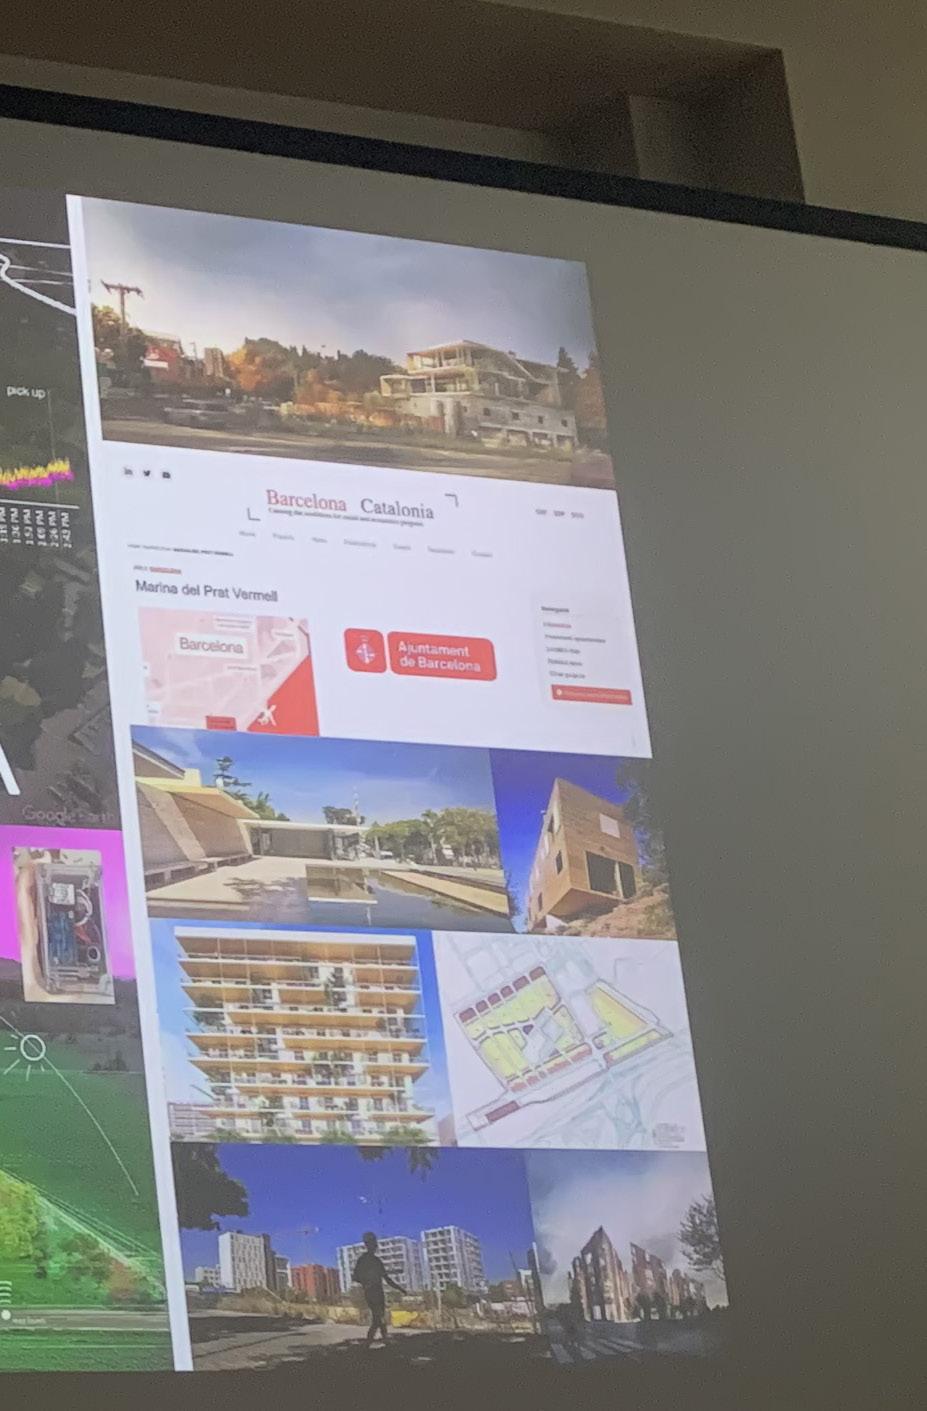
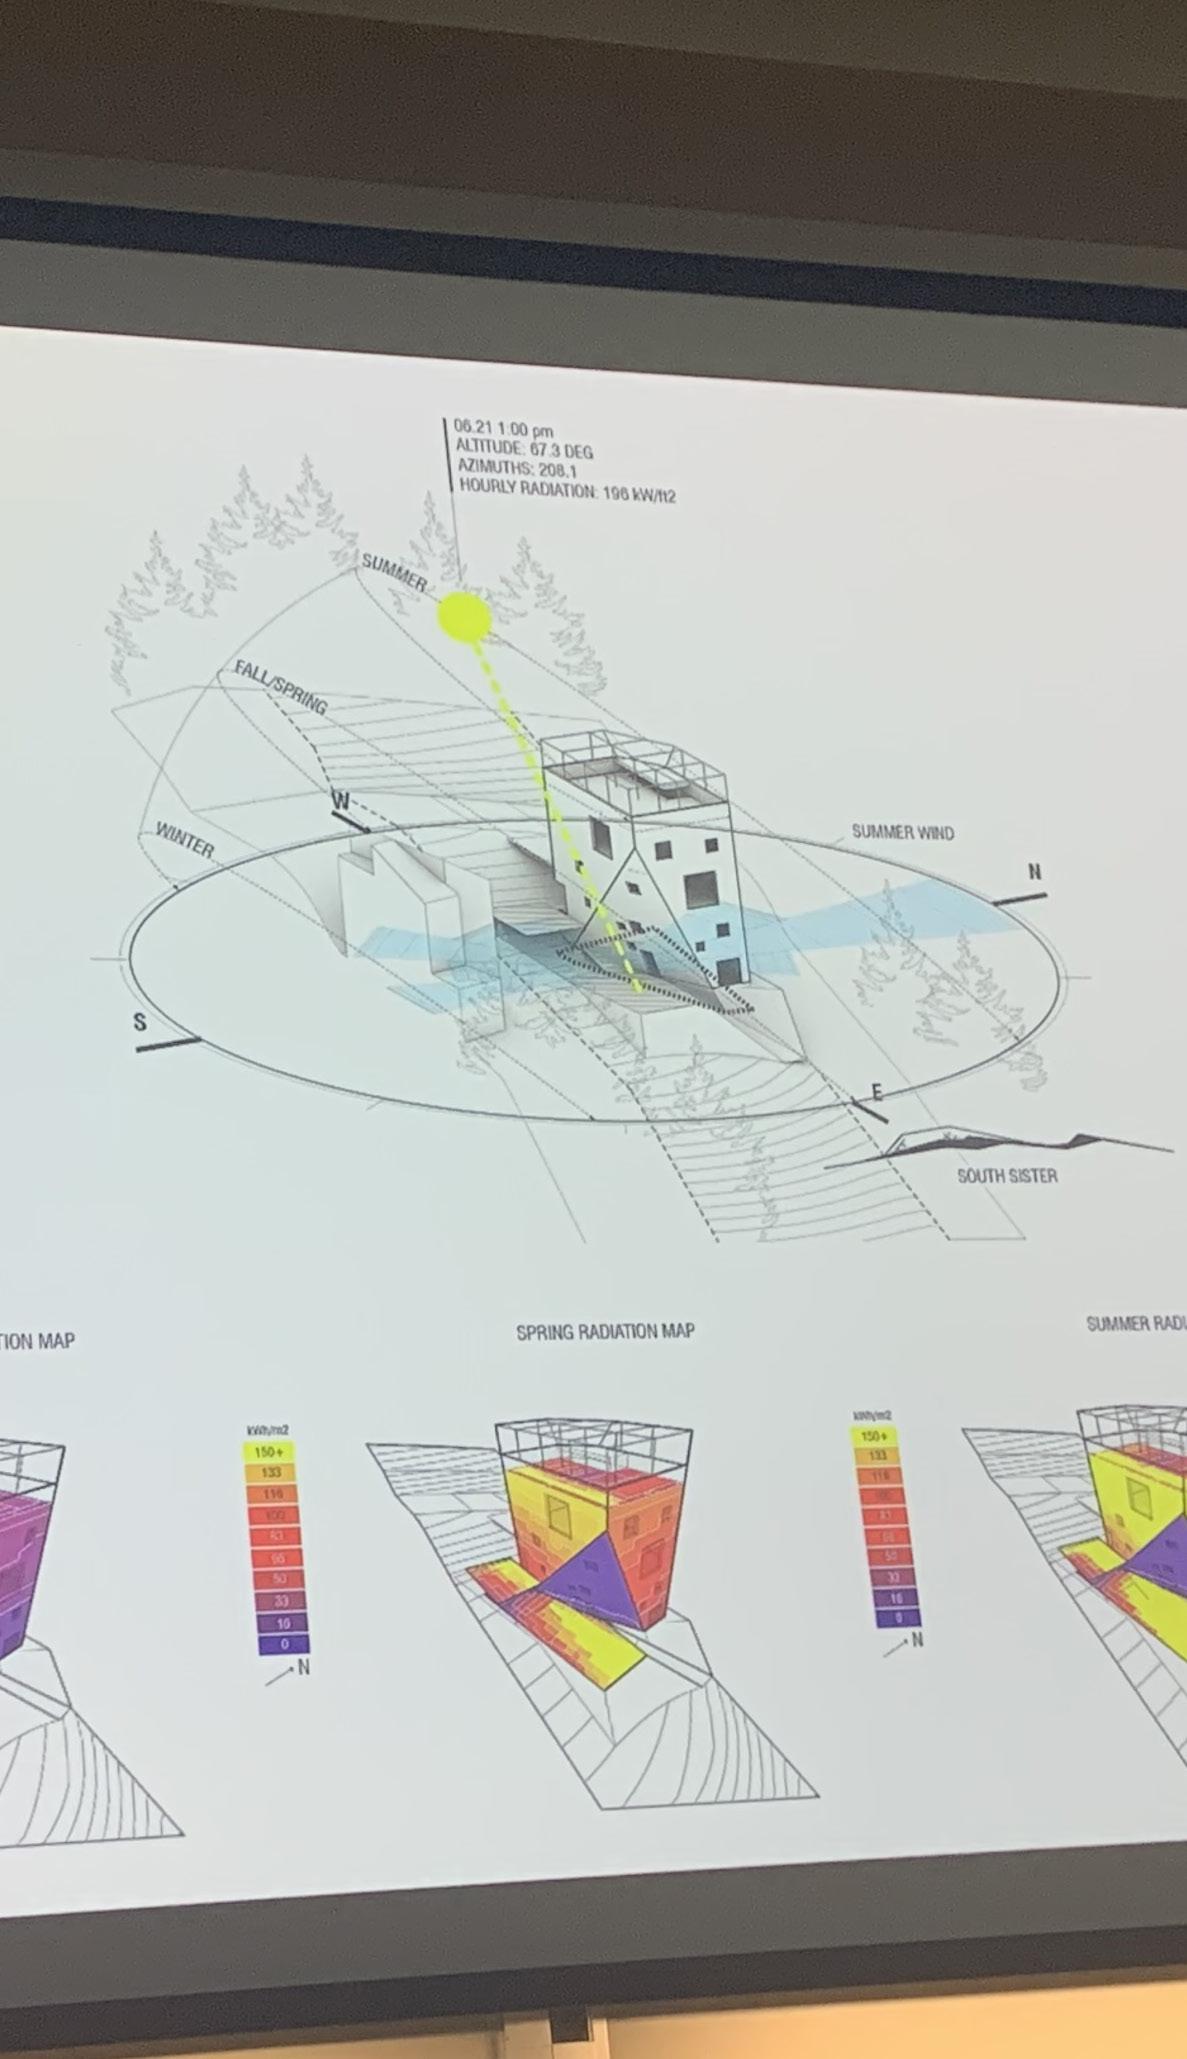
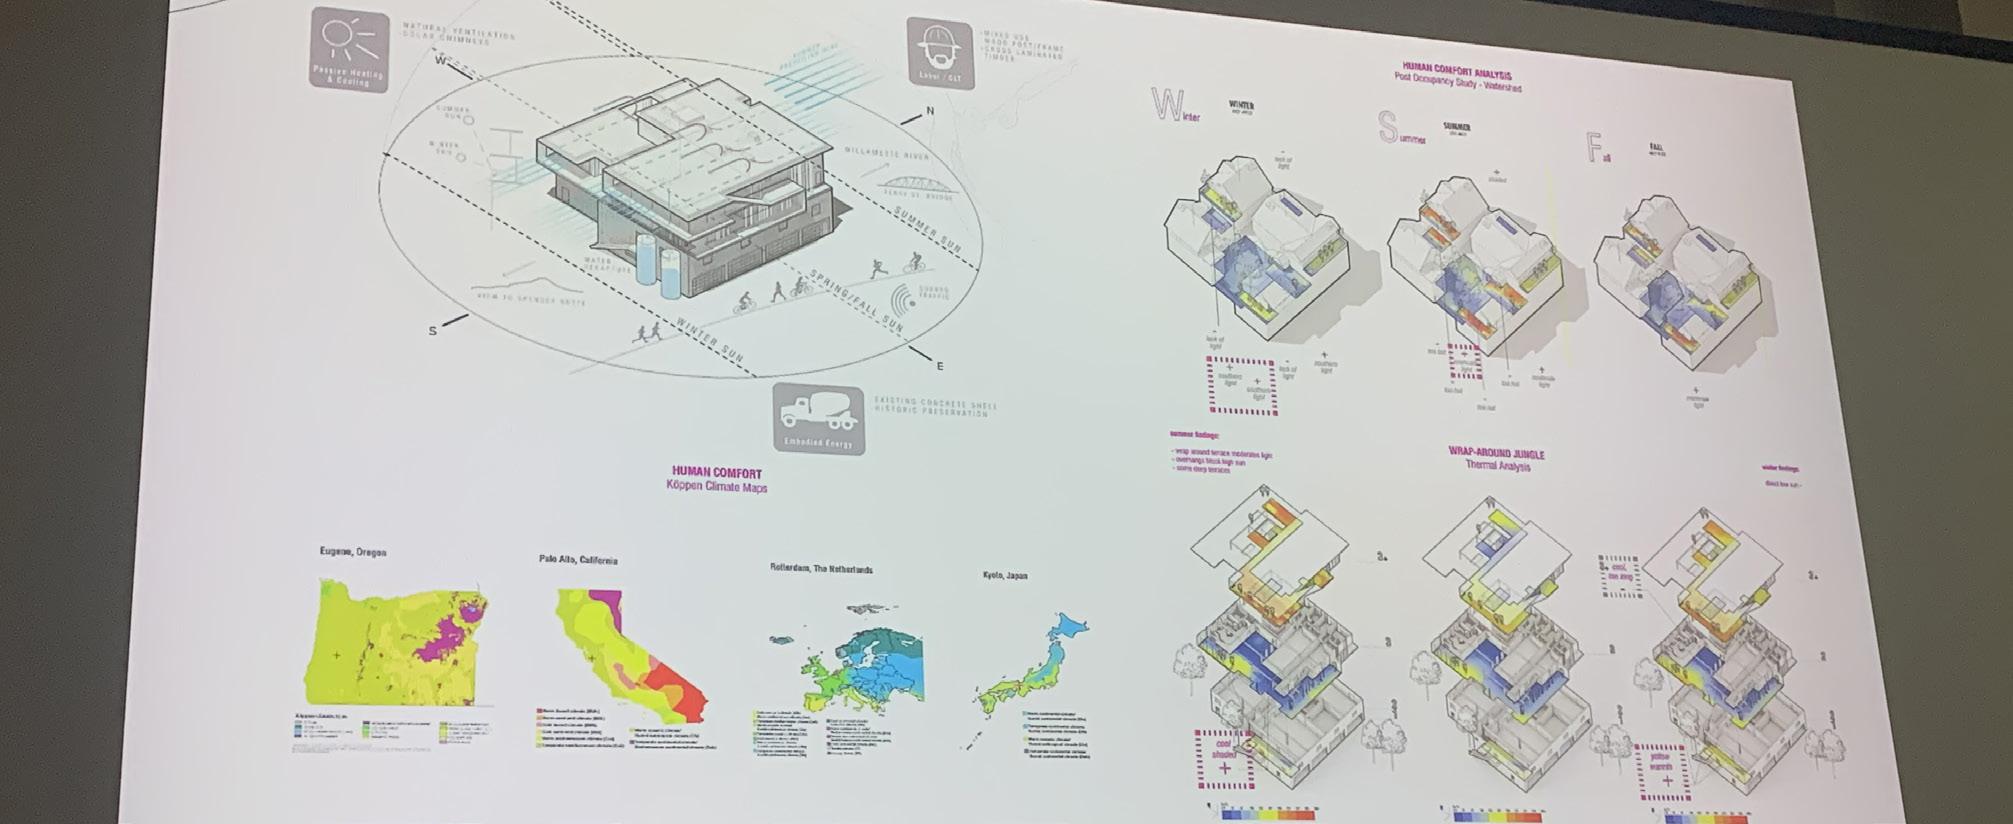
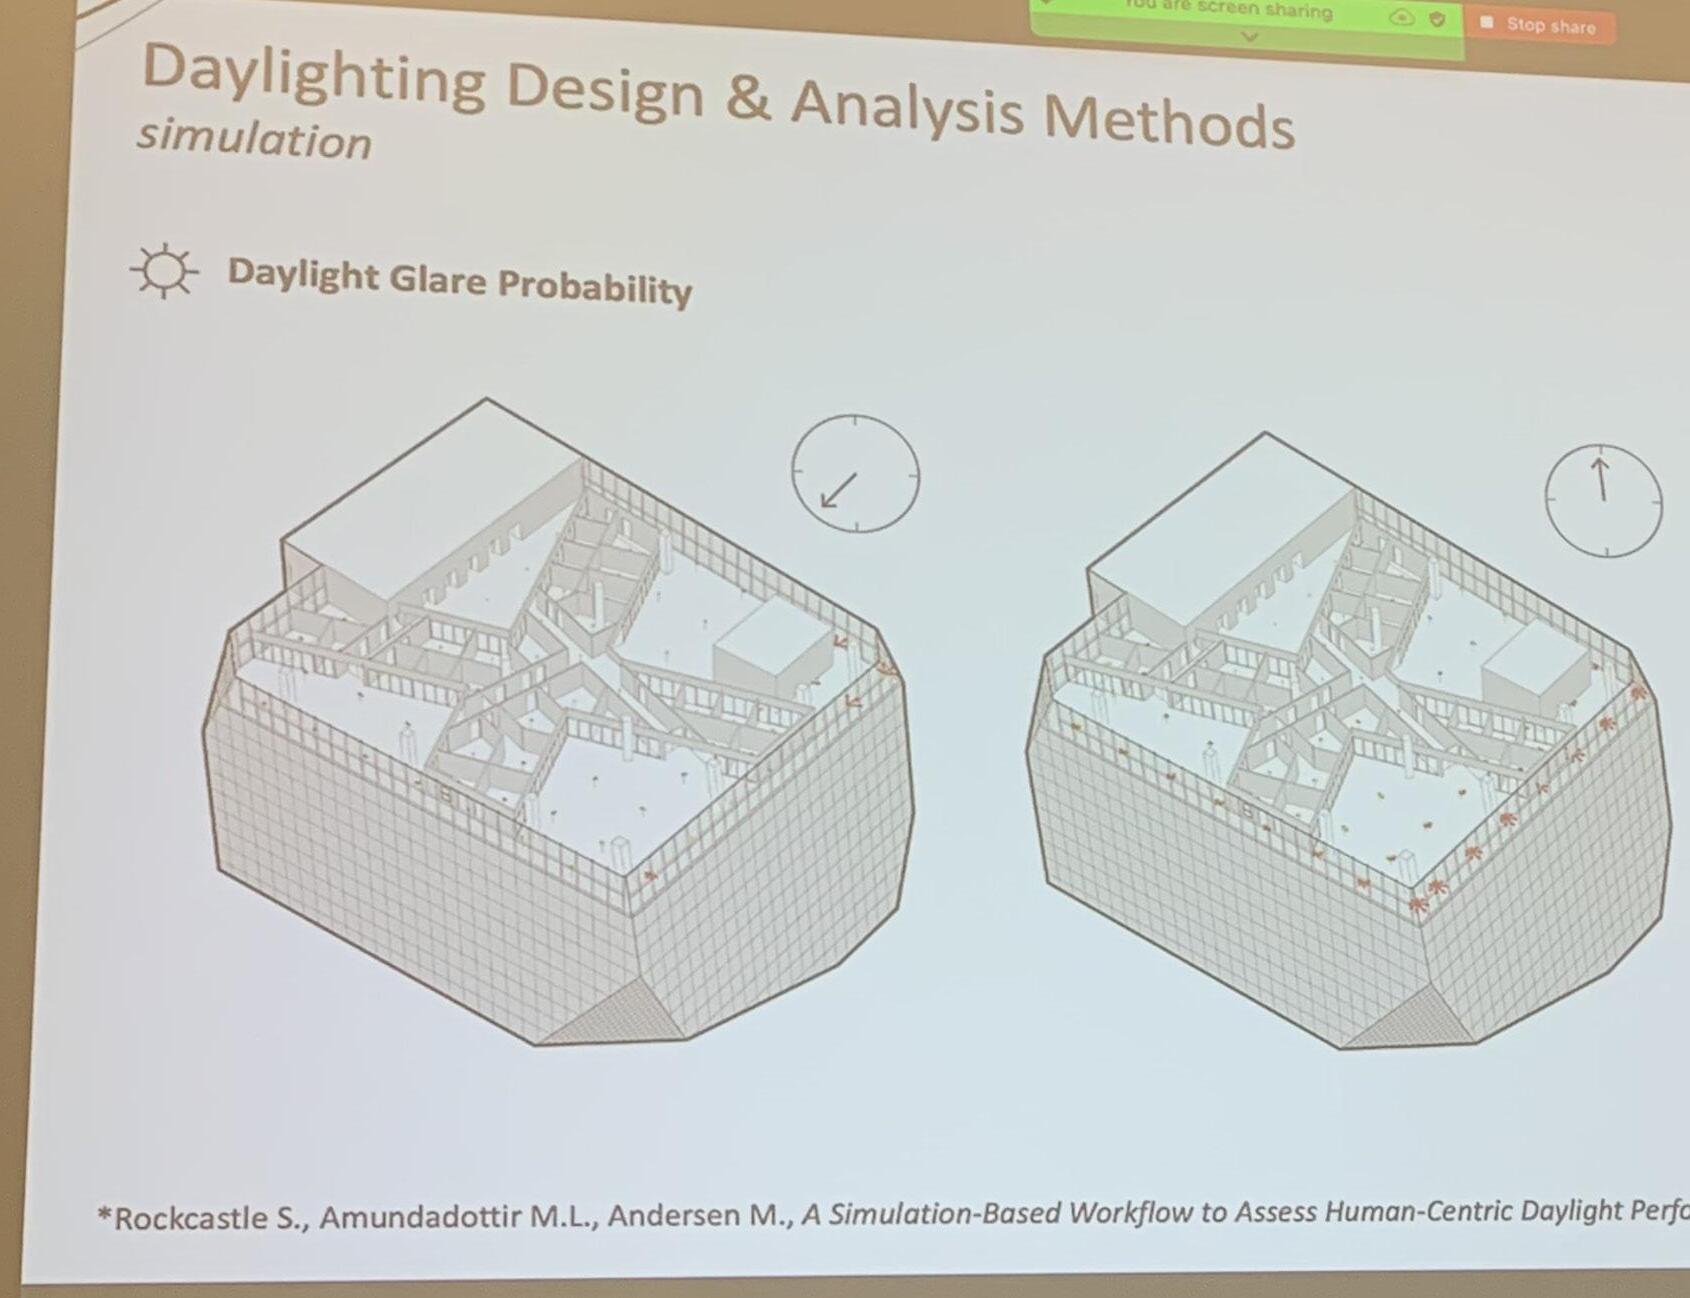
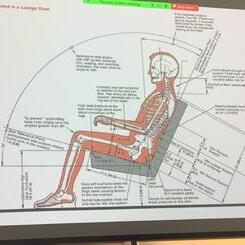
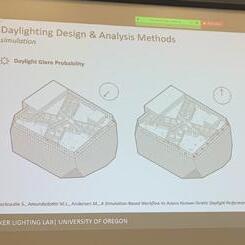
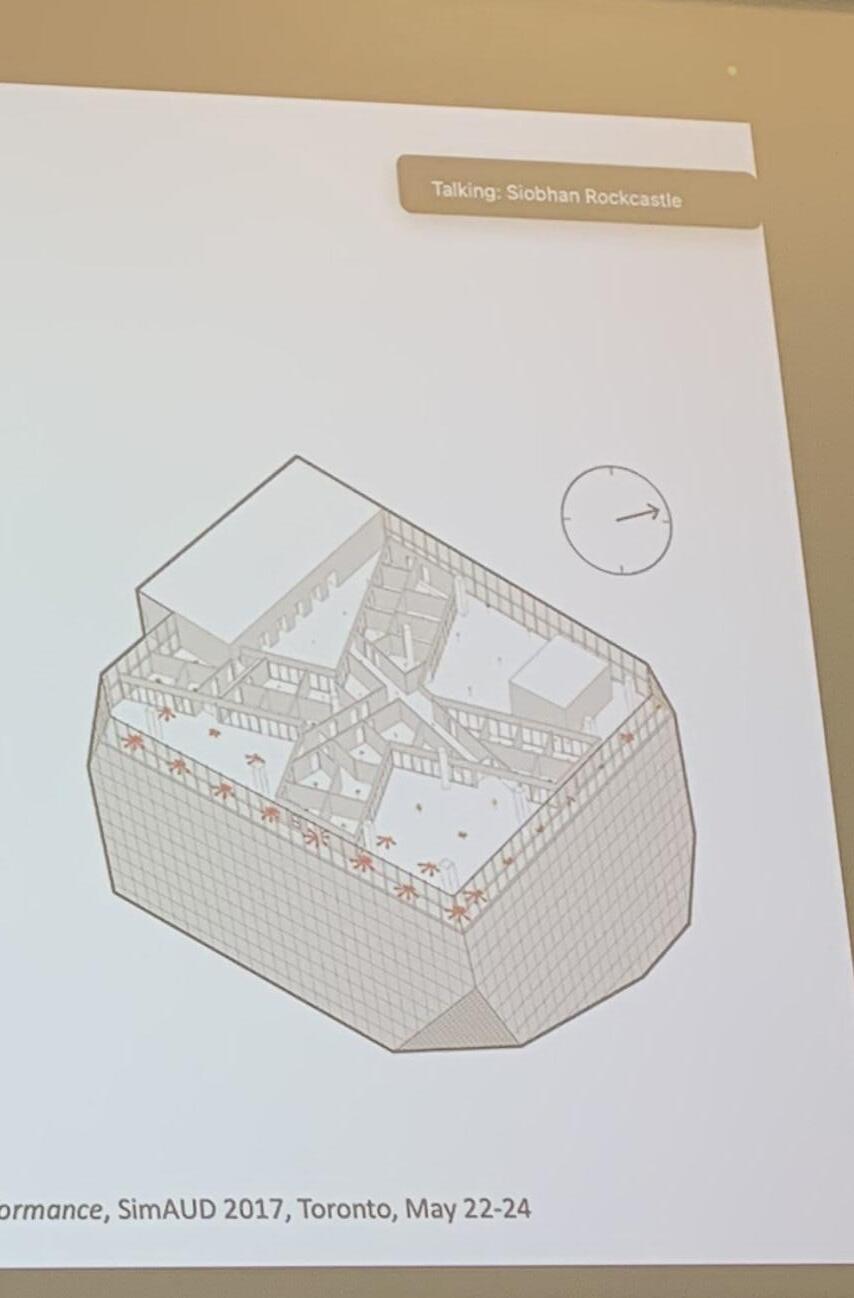
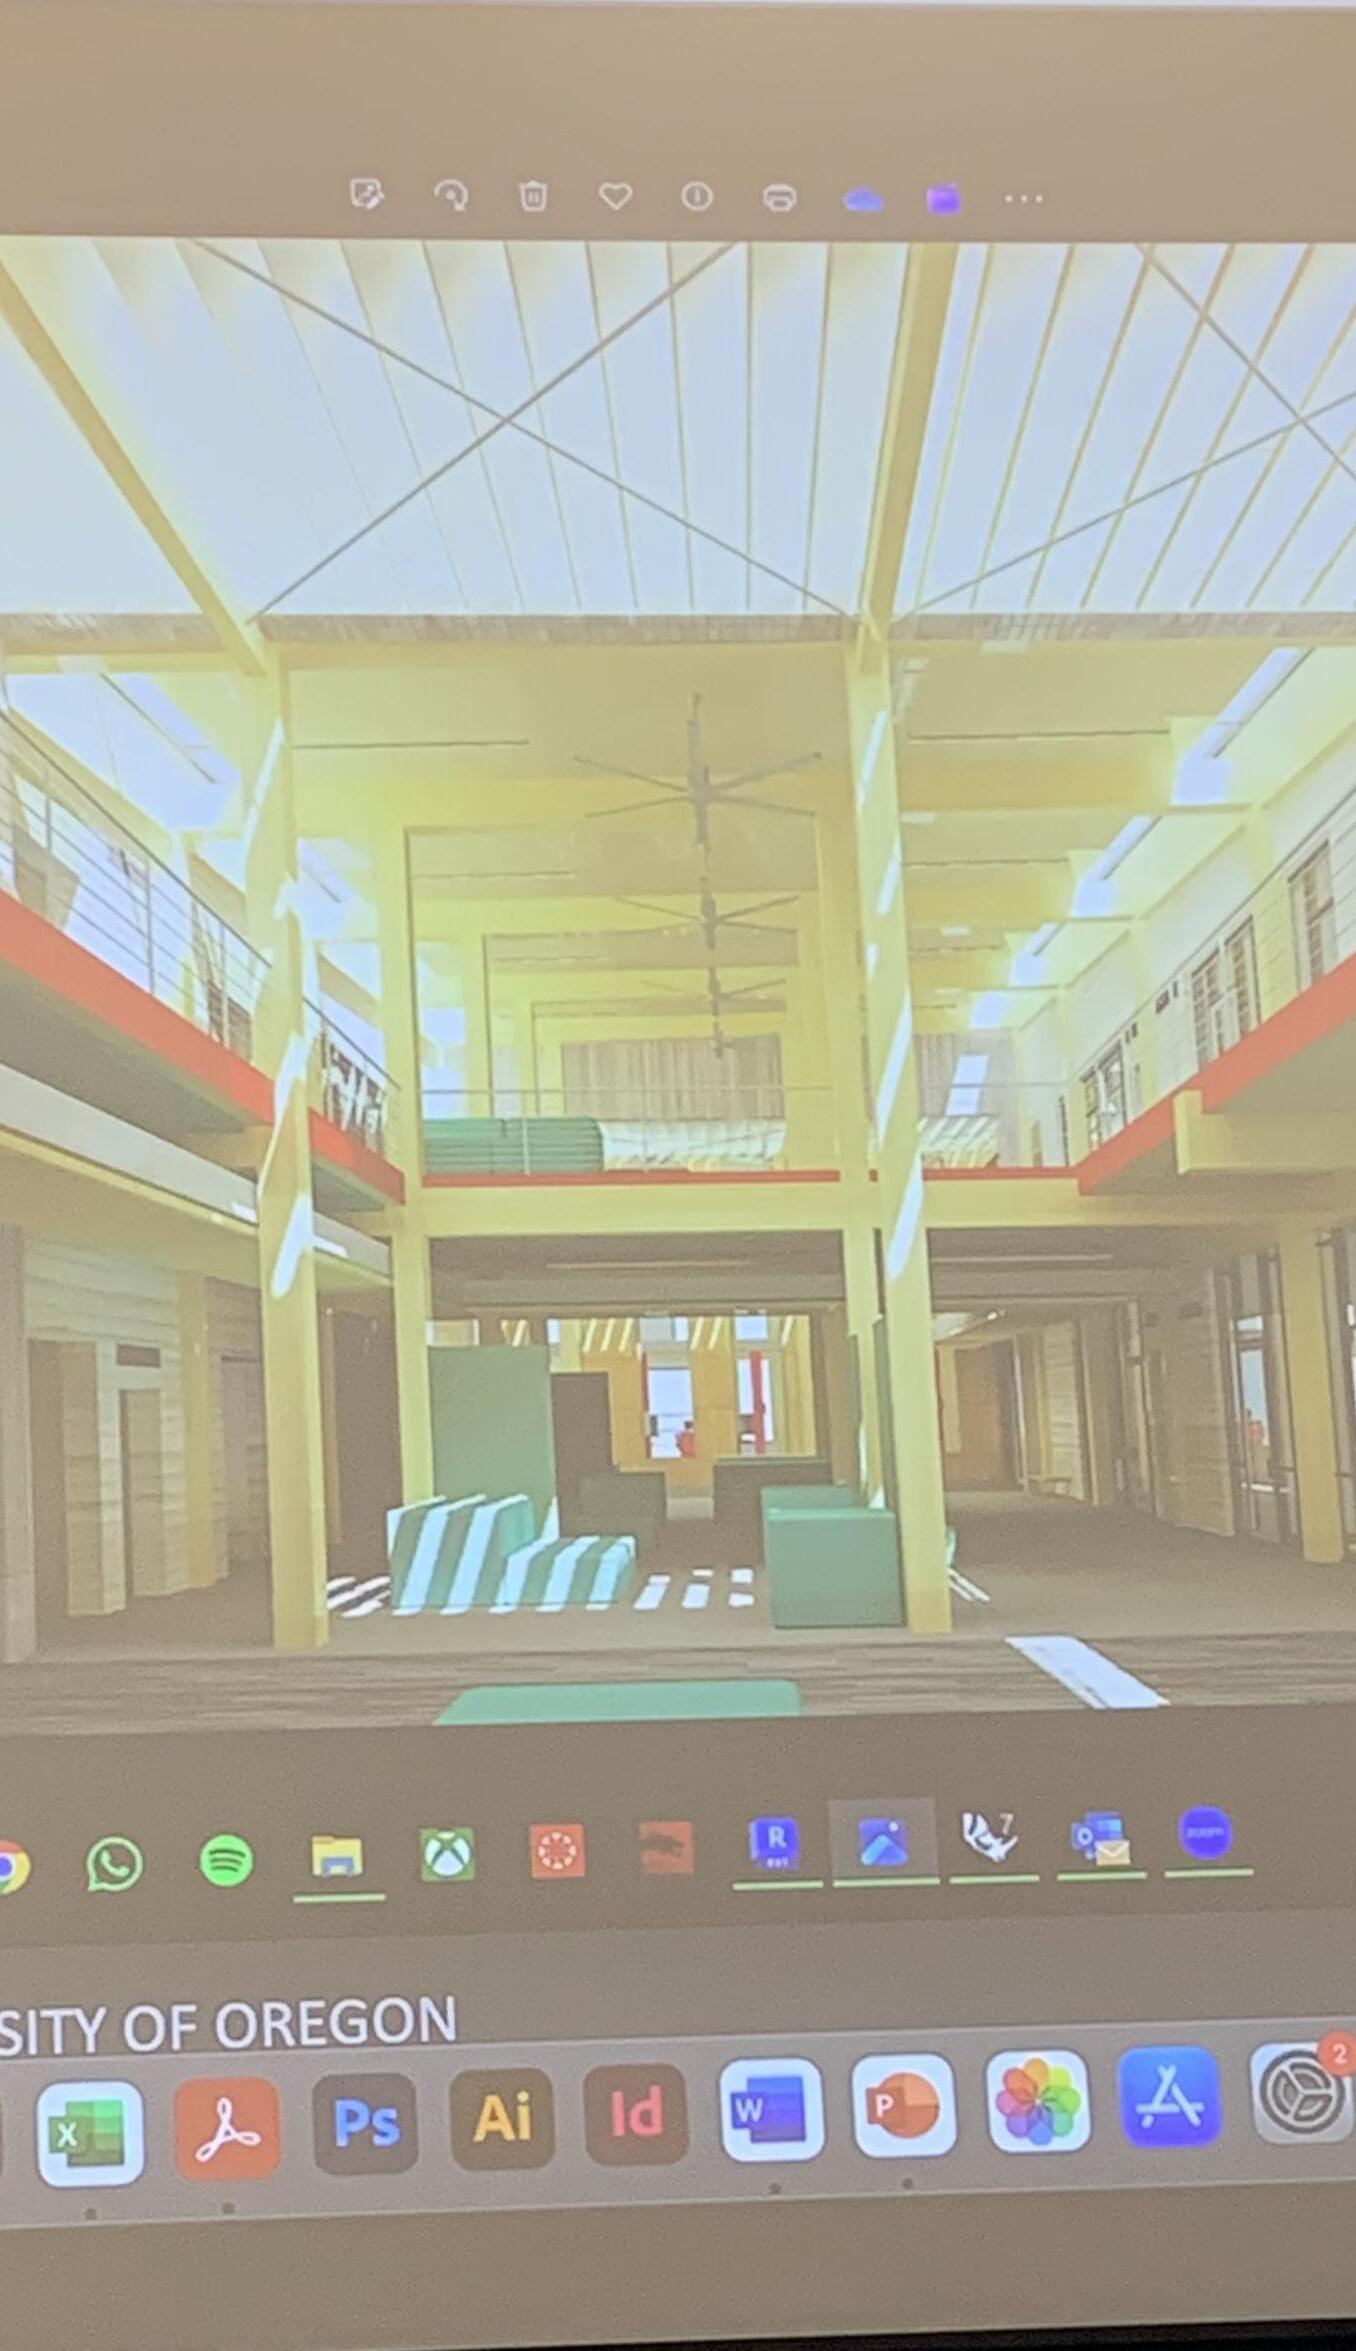
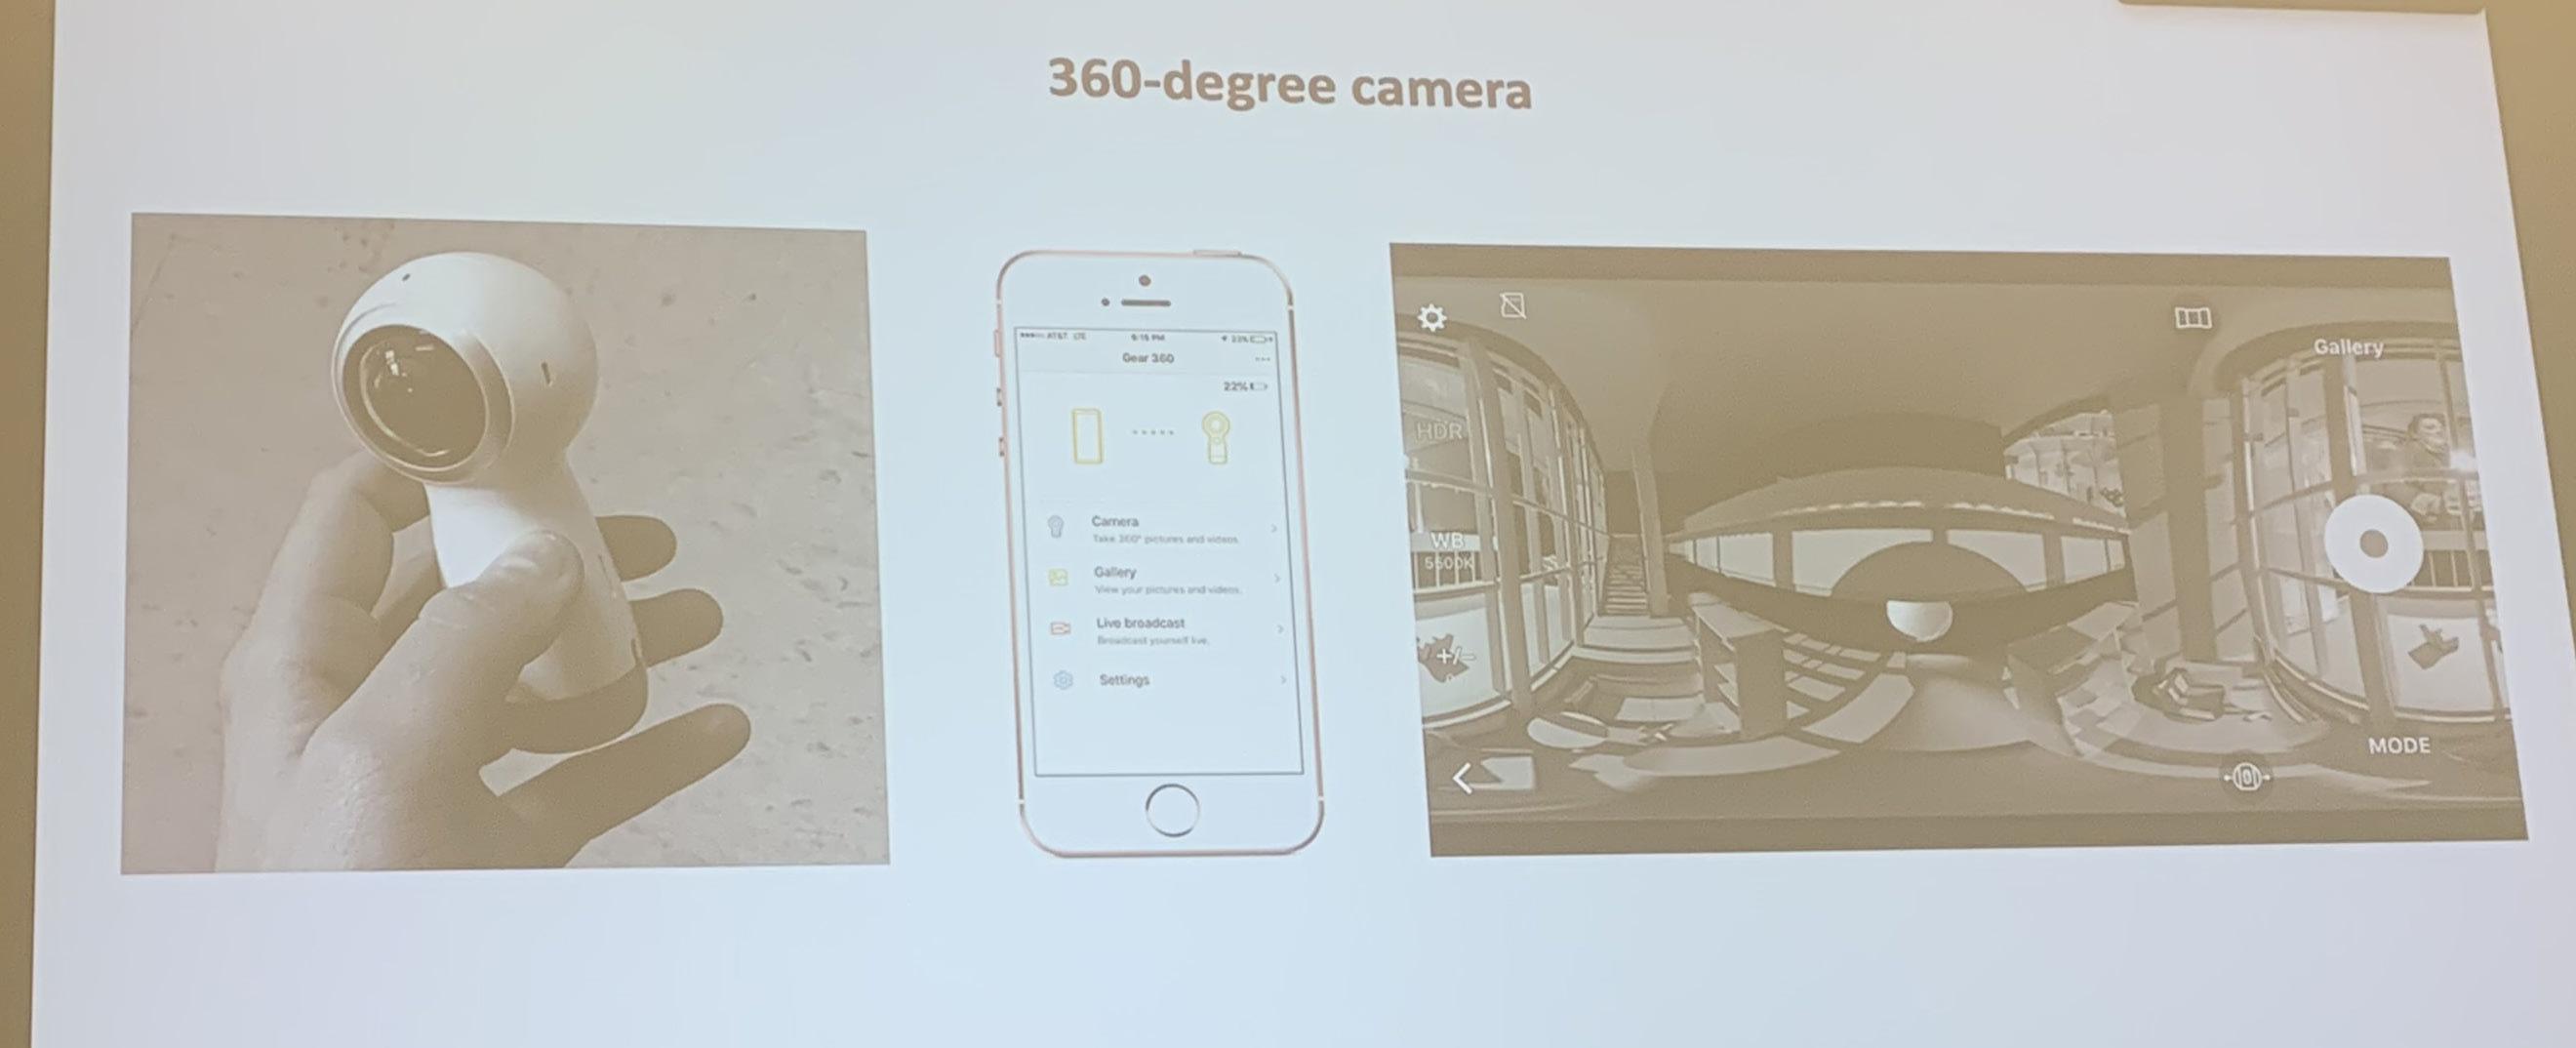
As shown through Module 3, light is an integral part of any site’s context. Siobhan’s presentation demonstrated the importance of light in many ways, how we can manipulate our designs to balance the pros and cons of light, and how we can capture light interacting with our buildings.
It was intriguing to learn how light can improve mood and how we interact with our spaces. Knowing that we must balance overheating and glare with
proper passive heating systems and good working light conditions is an important lesson that I can start to integrate into my current designs. These factors are a part of the building users’ every day lives. If we don’t think of them in depth, we’re going to make it harder for the building to function in a way that can benefit the people that use it.
One of Siobhan’s students gave us an example of how we can use digital rendering to communicate light conditions. I’m excited to get my renderings on this level.
Extra Credit
Management Schedule
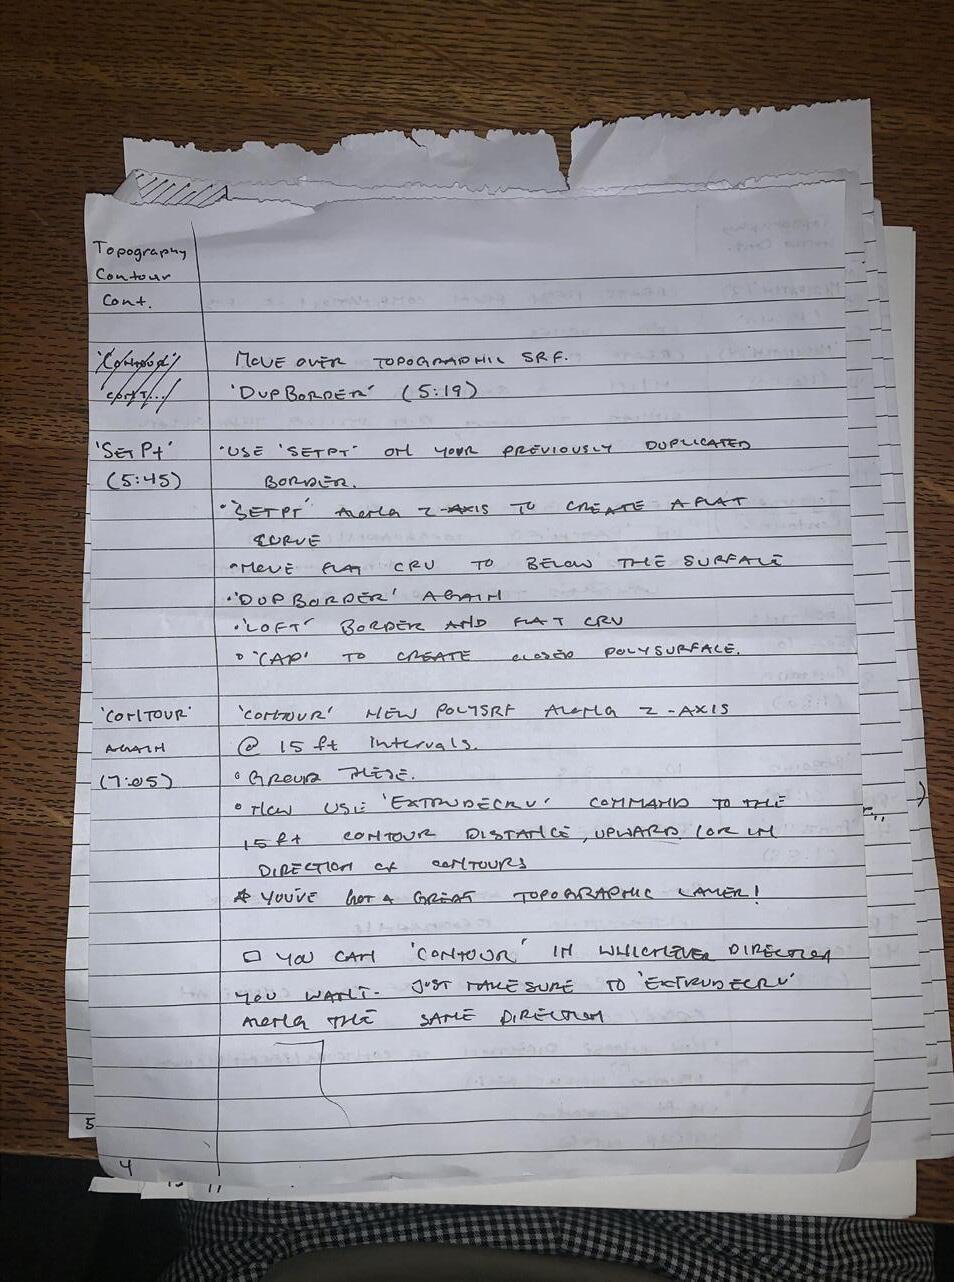
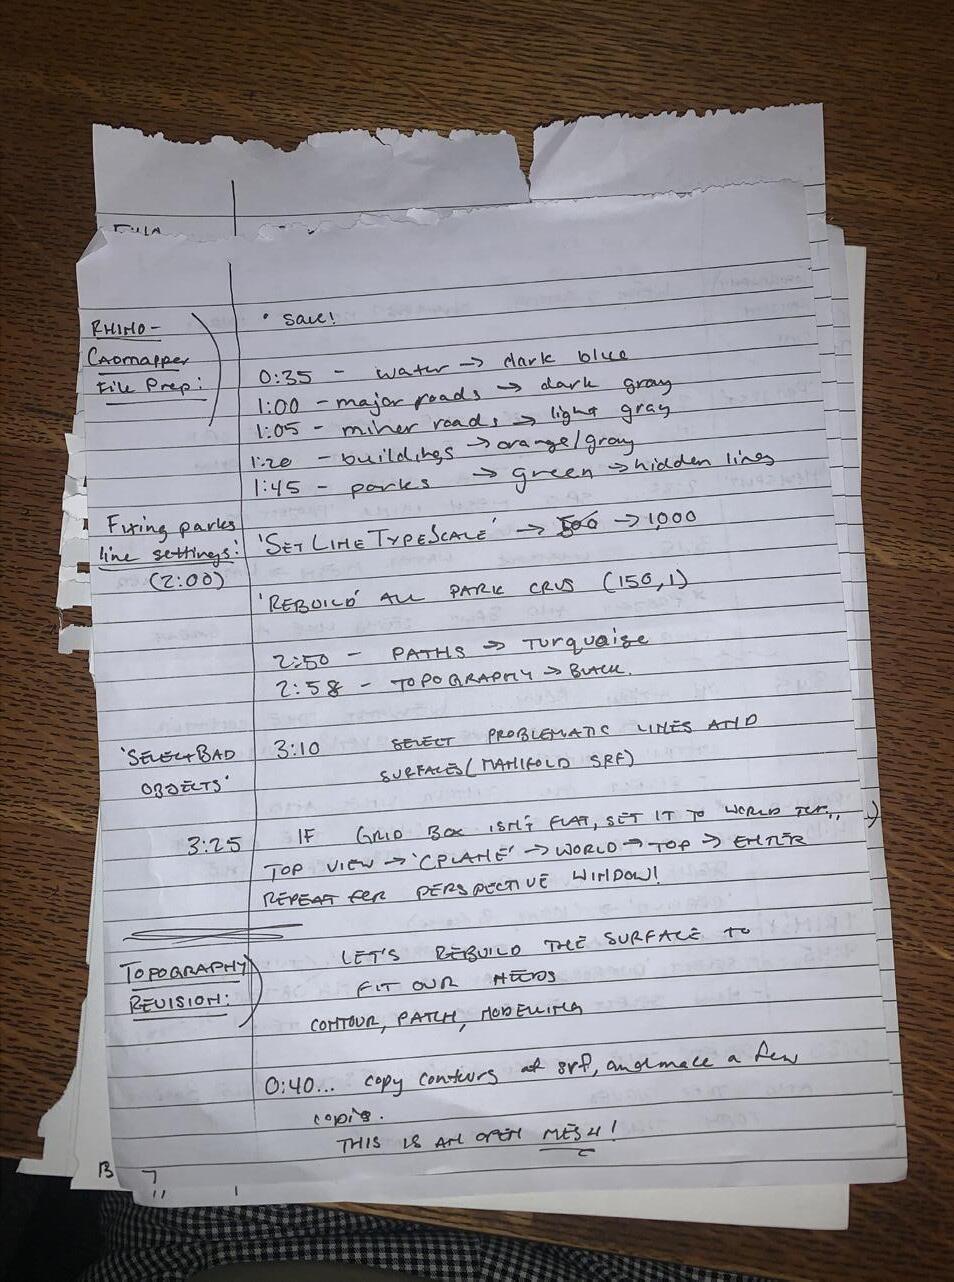
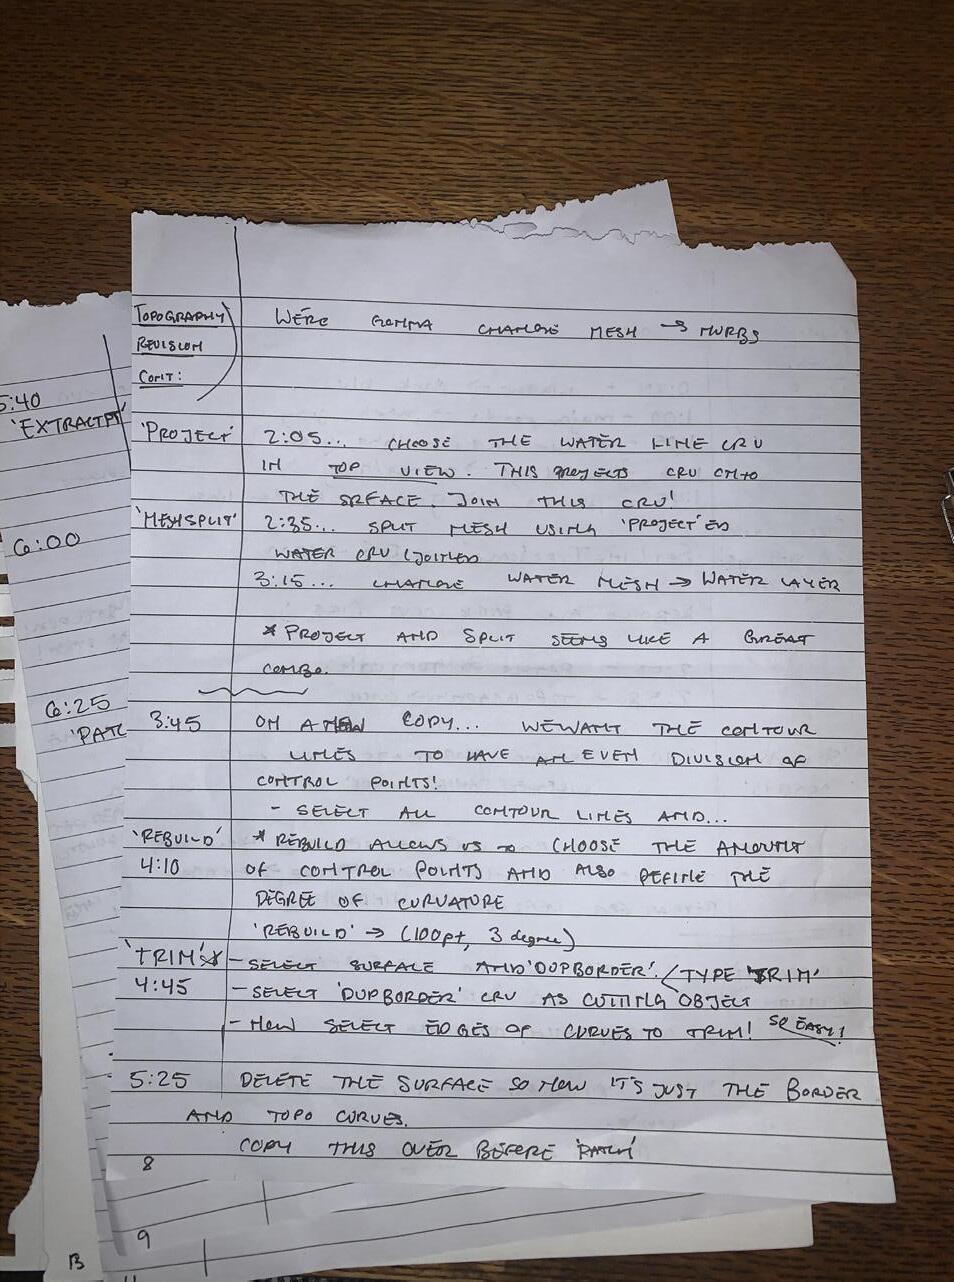
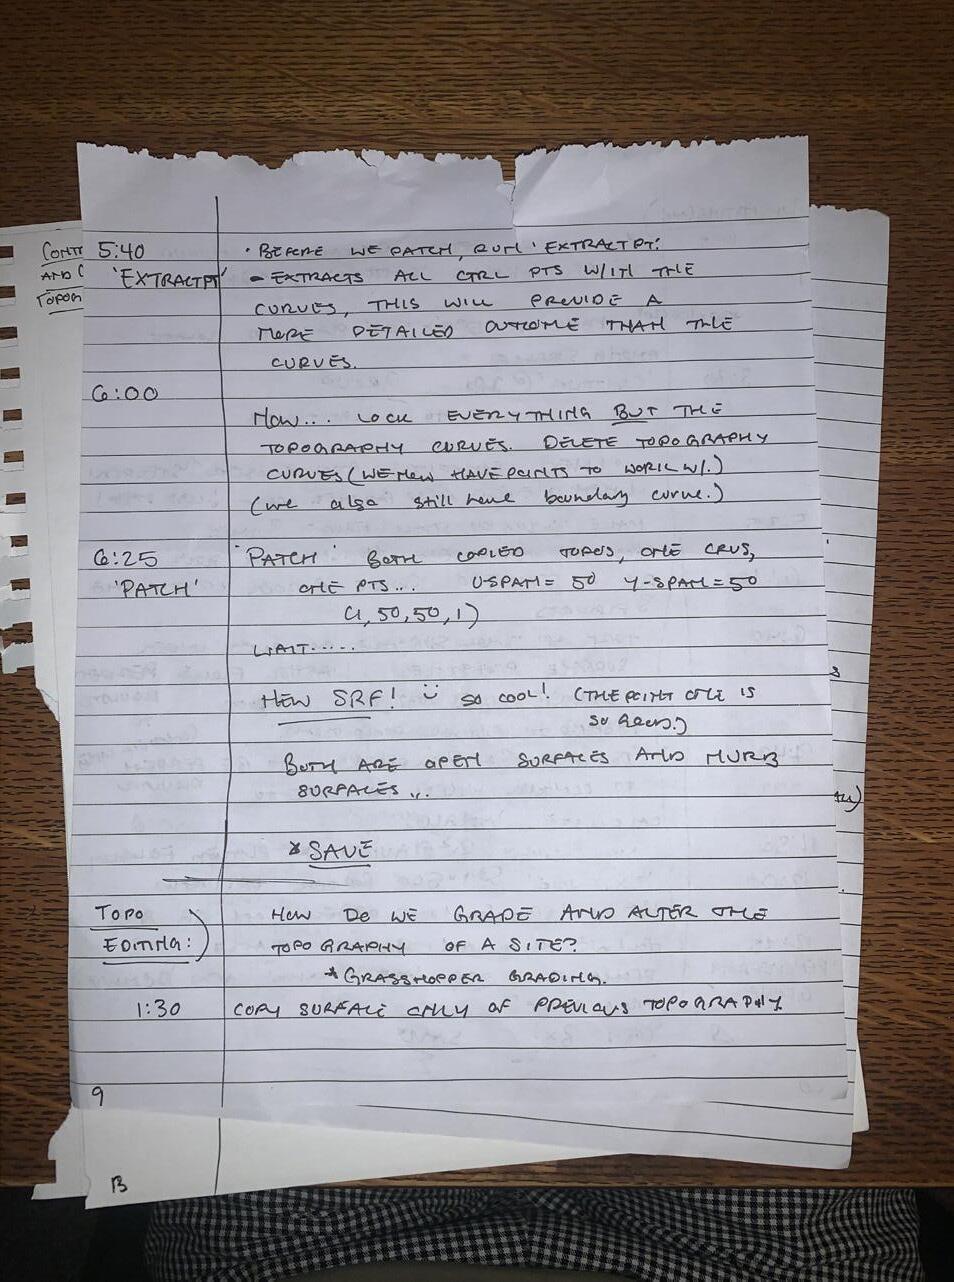
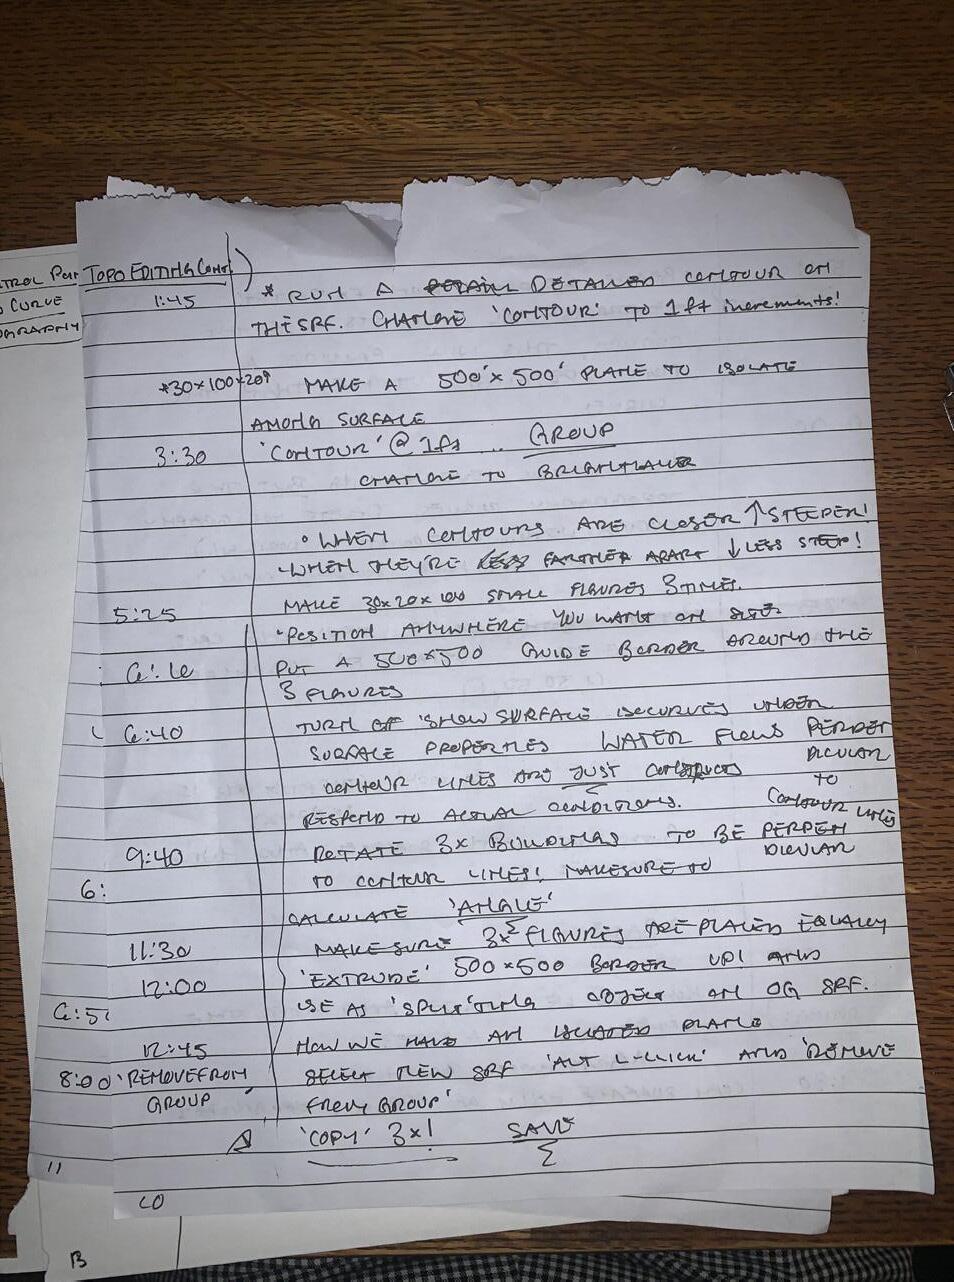
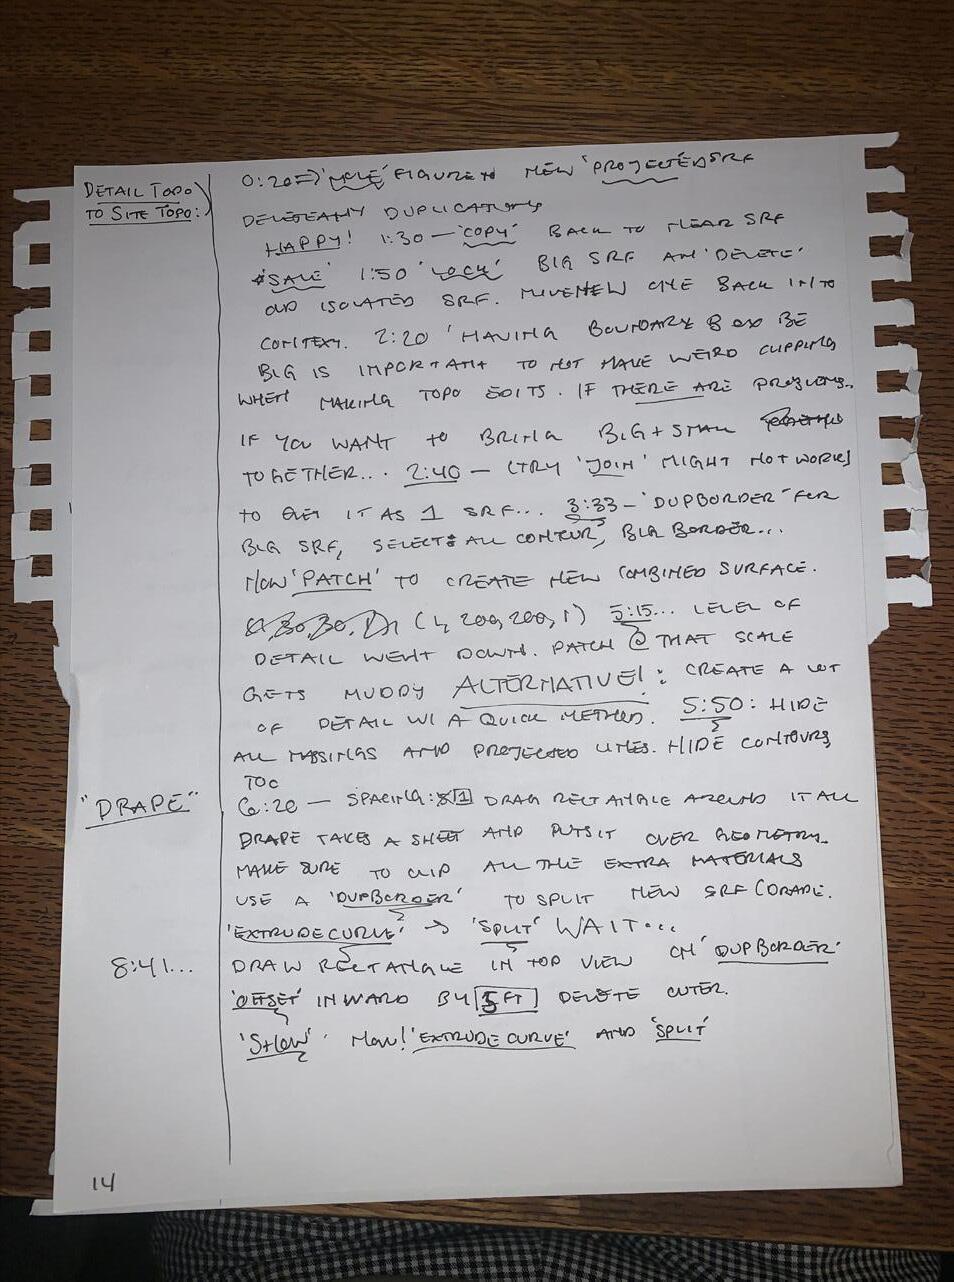
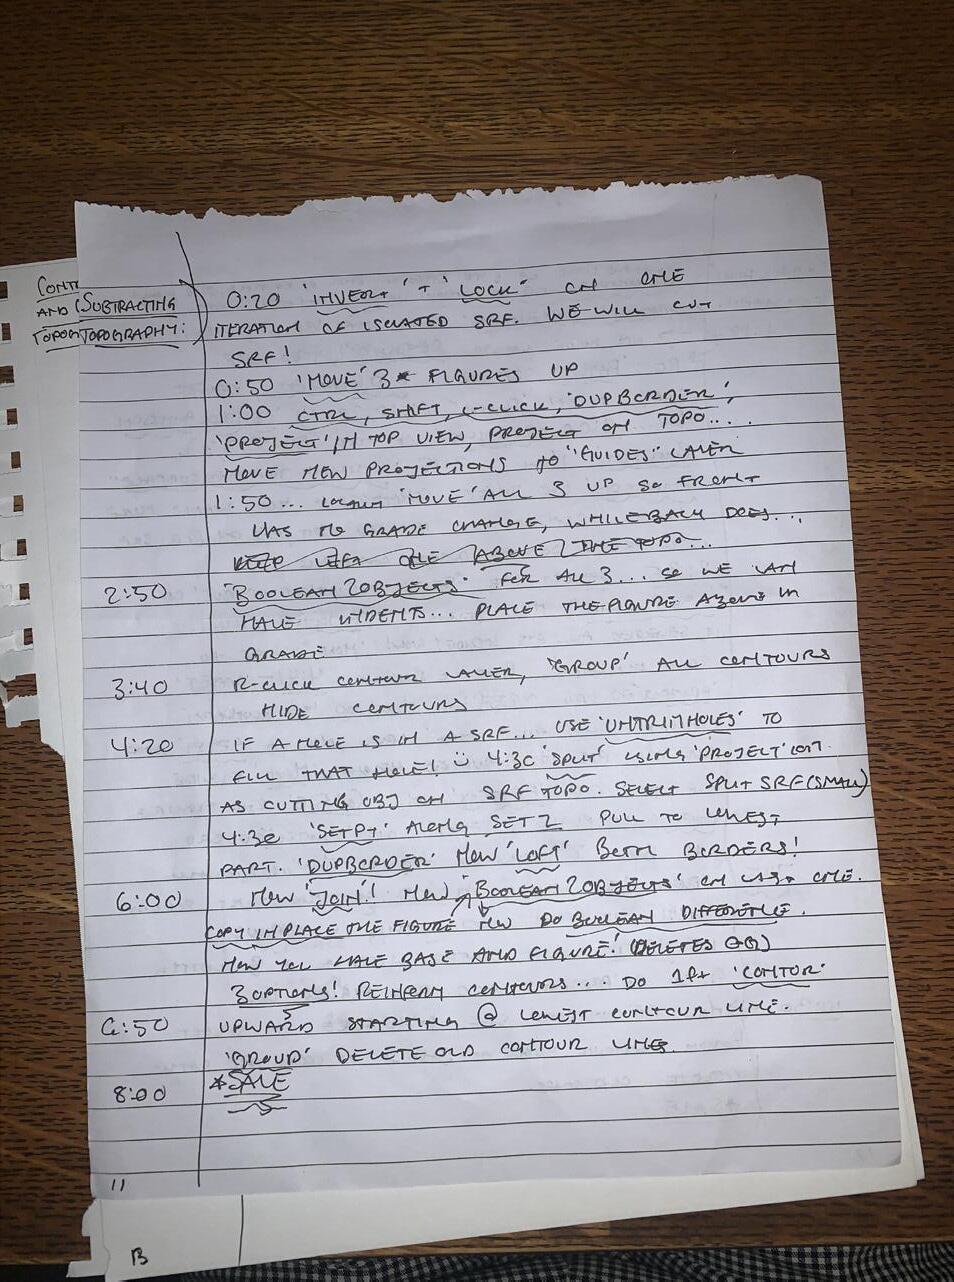
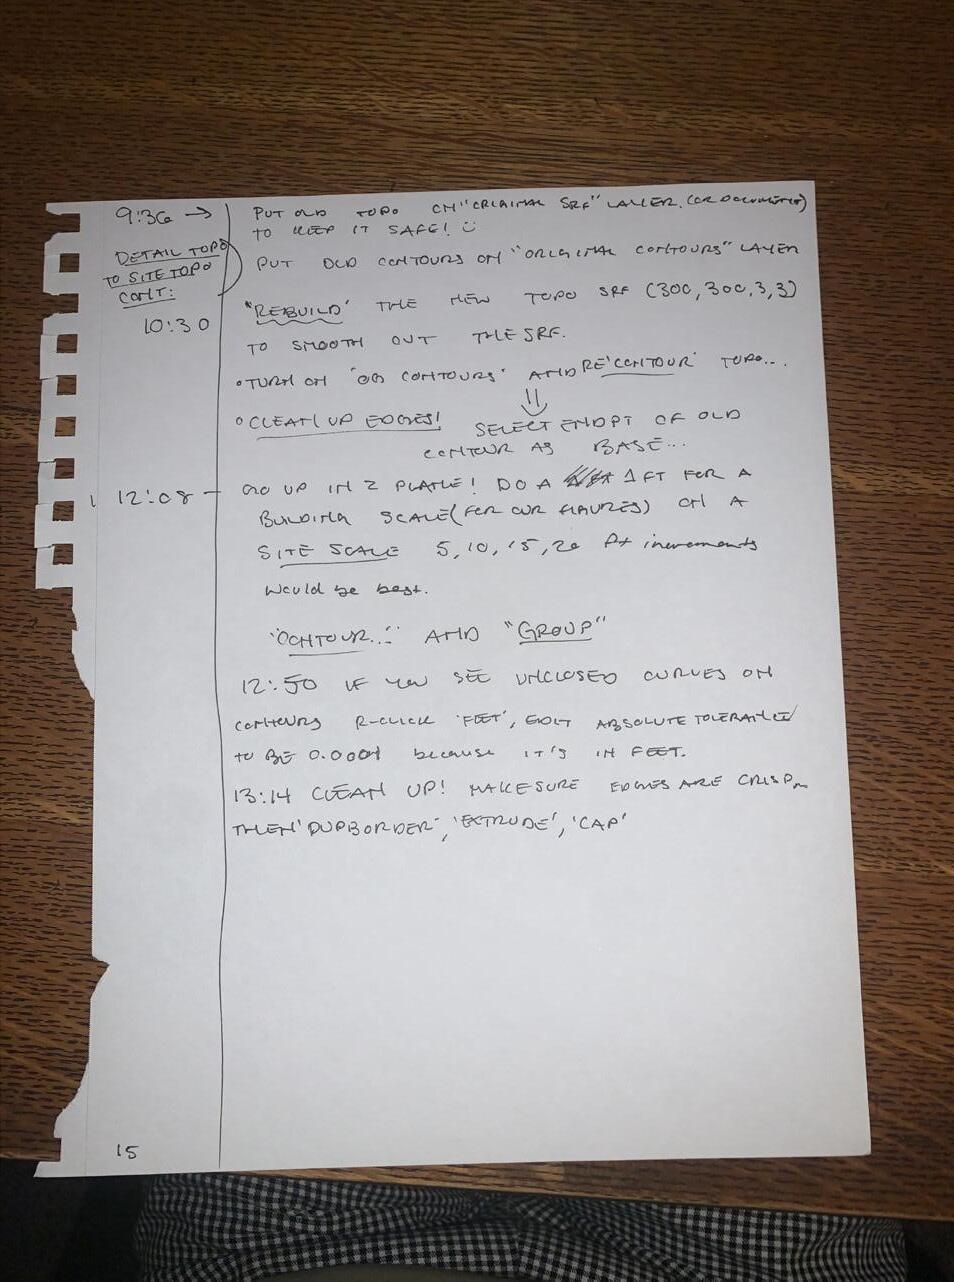
Handwritten Notes
During the term, I made sure to take advantage of every extra credit opportunity offered. These assignments were important additoins to the standard curriculum, and ended up helping me understand the material better.
The first assignment was the Time Management Schedule. This was a bit difficult for me, because I’m not the best at keeping a calendar or planner. Still, it was great to visualize what my weekly schedule looks like. Knowing that things will continue to get busier in this degree solidifies that I need to be focusing on time management as I continue farther in this program.
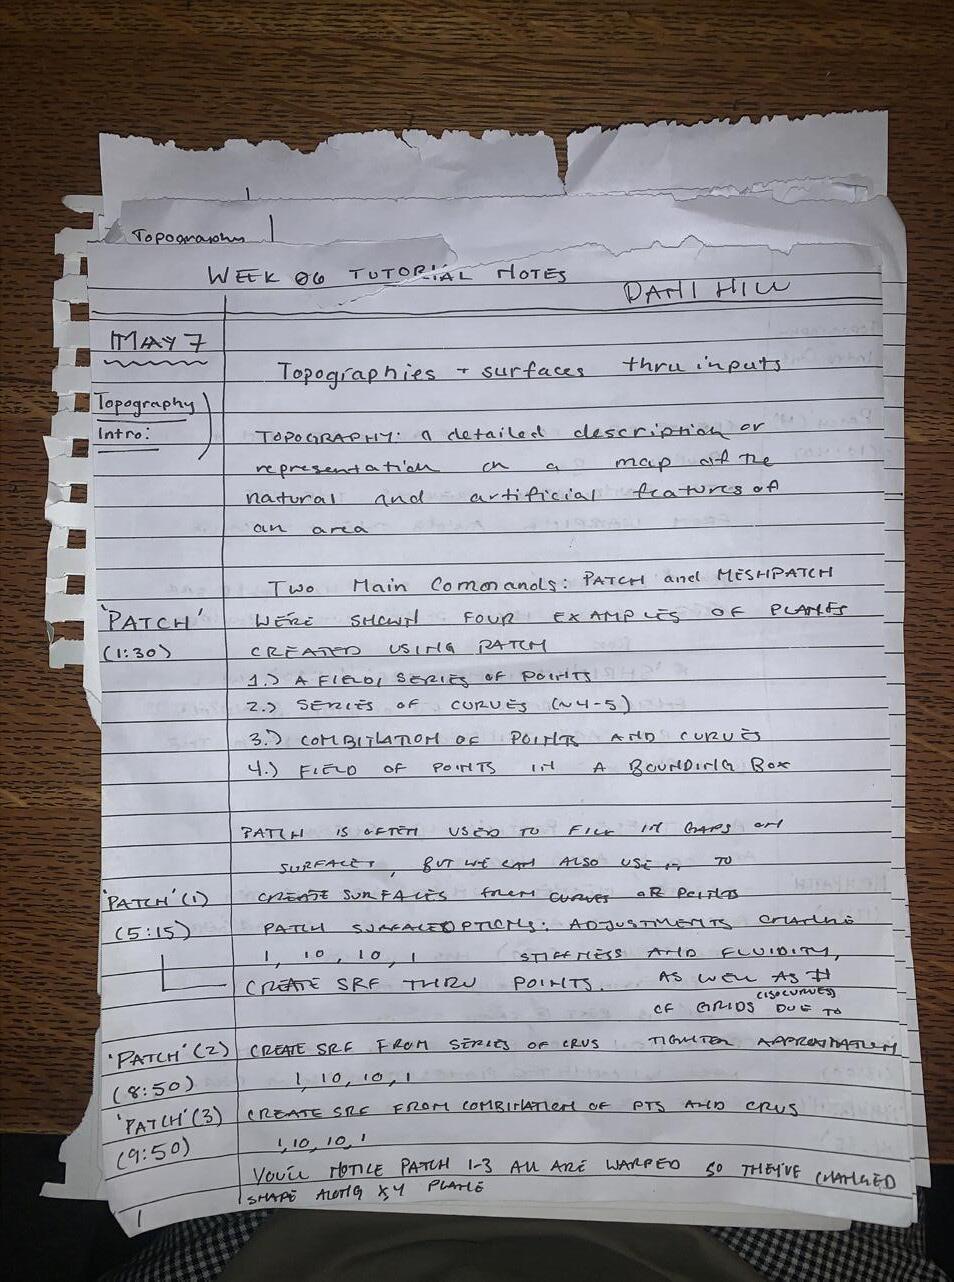
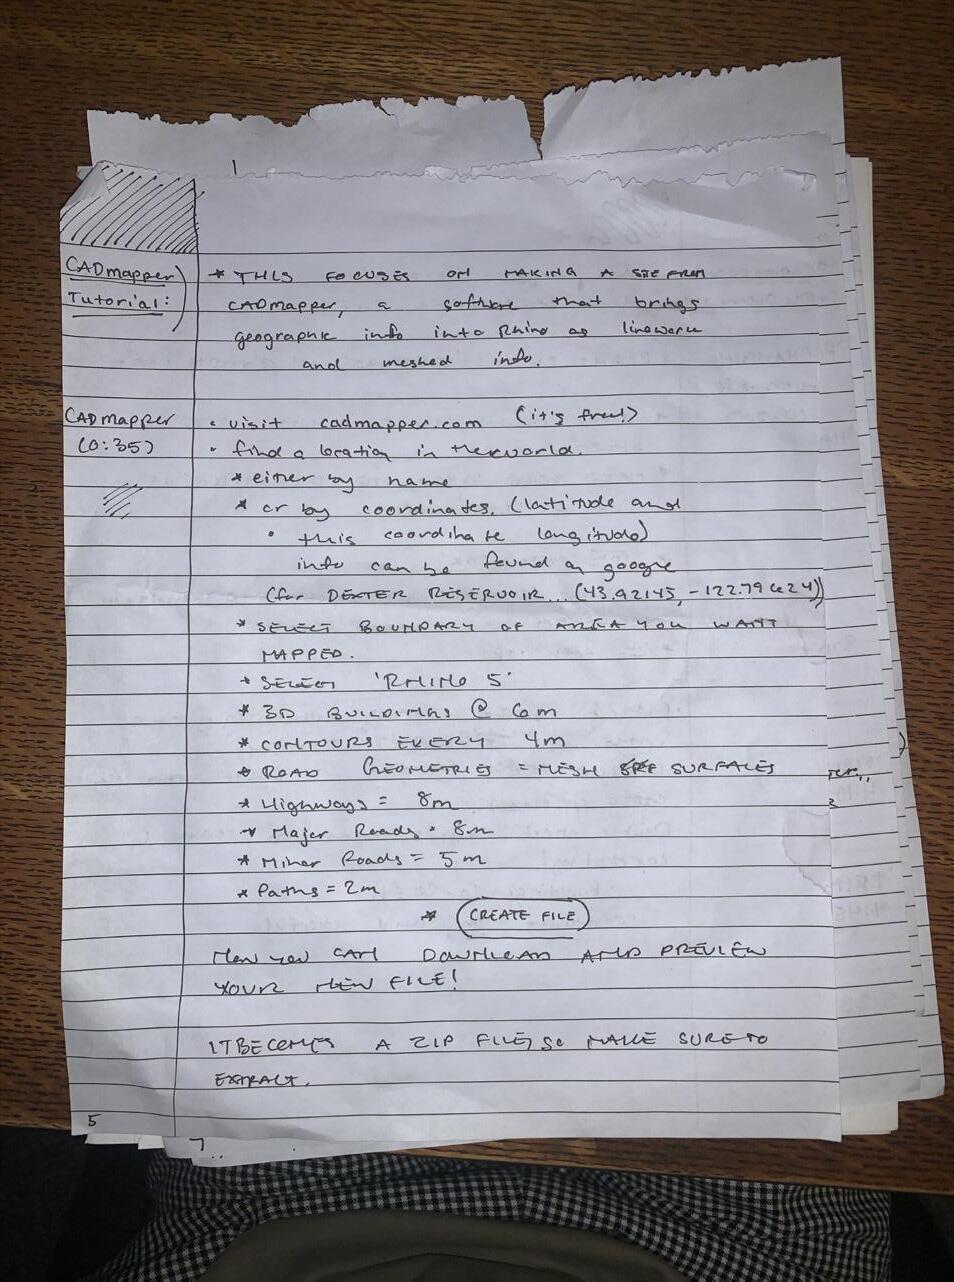
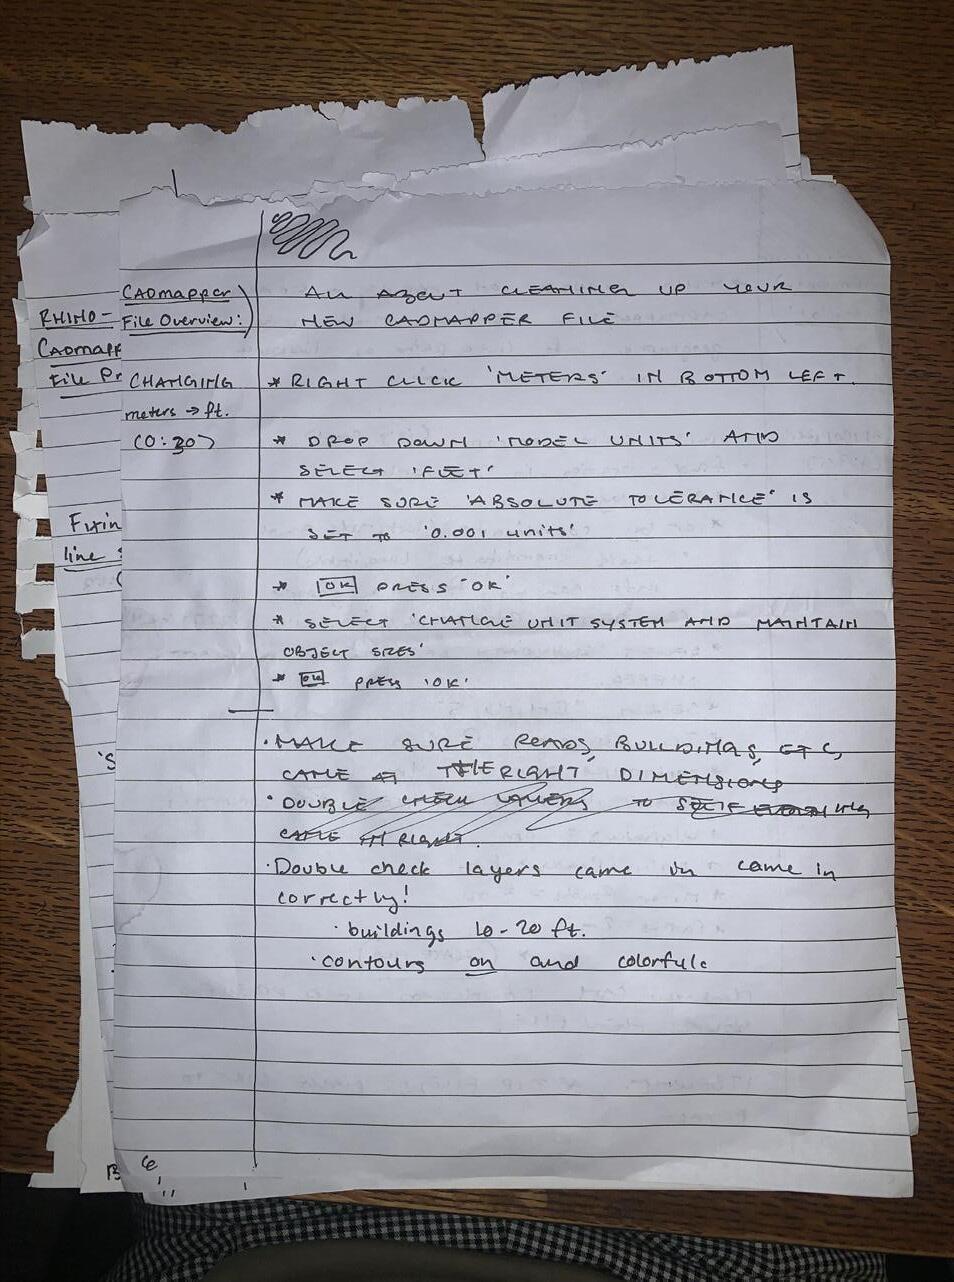
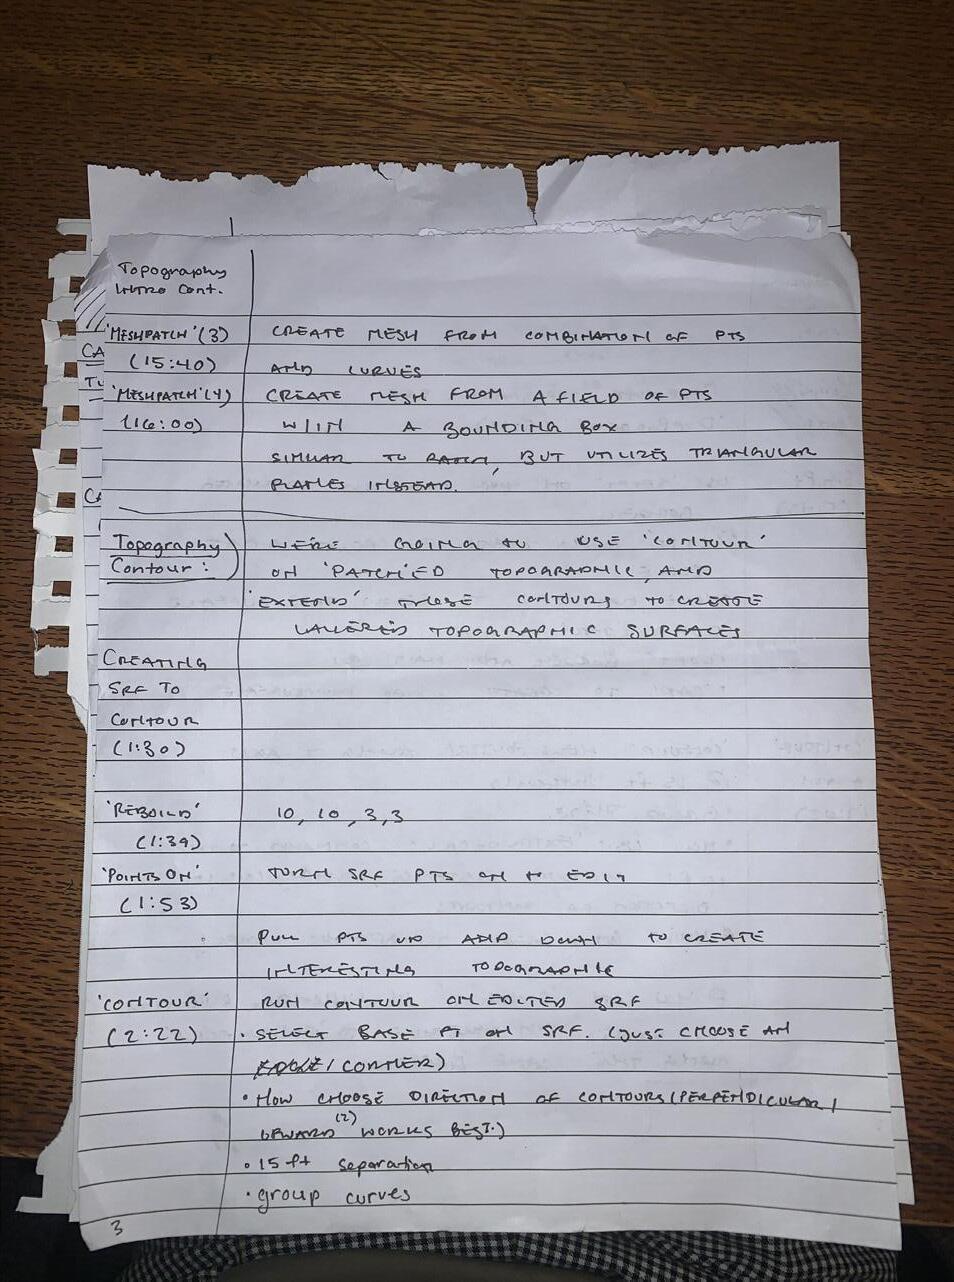
The handwritten notes were especially helpful for me. I chose to take notes on the topography week, which was one of the more lengthy and complicated weeks. It helped me solidify the workflows and clickstreams for basic topographies. The Set Pt command proved to be very helpful.
During the term, there were two sets of three office hours I attended. It was great to ask the GE’s questions and get feedback. Some of them even gave me advice for how to handle my continued education in digital modelling after this class.


