

“Architecture should speak of its time and place, but yearn for.”
- Frank Gehry
I am a freshman student at the University of Oregon studying Architecture. I am looking forward to understanding more about working with the concepts of space, light versus dark, and playing around with the textures for building exteriors, I am interested in the topic of sustainability and utilizing building construction to forward the idea of how environmental initiatives can change the health and wellness of the spaces around us
Throughout this school year, I plan to focus on the dualities of repetition versus uniqueness along with dark versus light. I believe there is a lot of space to explore in regards to the dualities of playing around what can be classified as uniqueness rather than repetition in a design. Similarly, I find that there is an interesting variation in the way spaces can be made more public or private simply through the usage of the way they dabble with the light in the space. For instance, one can create a space that is more public with brighter lights which incite more welcoming and open layouts. On the other hand, a space can seem more private through the complexities in the depths of the shadows and darkness that is brought into a secluded environment. Moreover, my ambitions with regards to architecture this year are to focus on the dualities of repetition versus .uniqueness and dark versus light
Portfolio: https://www.maximagems.net/architectural-portfolio

Pages 8-9
Module 1
Laser Cut Model of Primitive Solid

Pages 14-15
Module 2
Digital Primitive Rules


Page 11
Module 1
Laser Cut Model of Primitive Solid

Page 16-21
Module 2
Digital Primitive Rules


Page 11
Module 1 Laser Cut Model

Pages 22-25
Module 2
Digital Primitives Additives
Page 12
Module 2 Laser Cut Template

Pages 26-27
Module 2
Digital Primitives
Subtractive
Page 13
Module 2
Model of Primitive Solid

Pages 28-29
Module 2
Assembly Primitives


Pages 30-33
Module 3 Topography

Pages 54-55
Guest Lectures


Pages 34-41
Module 3 Digital Frames

Page 56-57
Guest Lectures
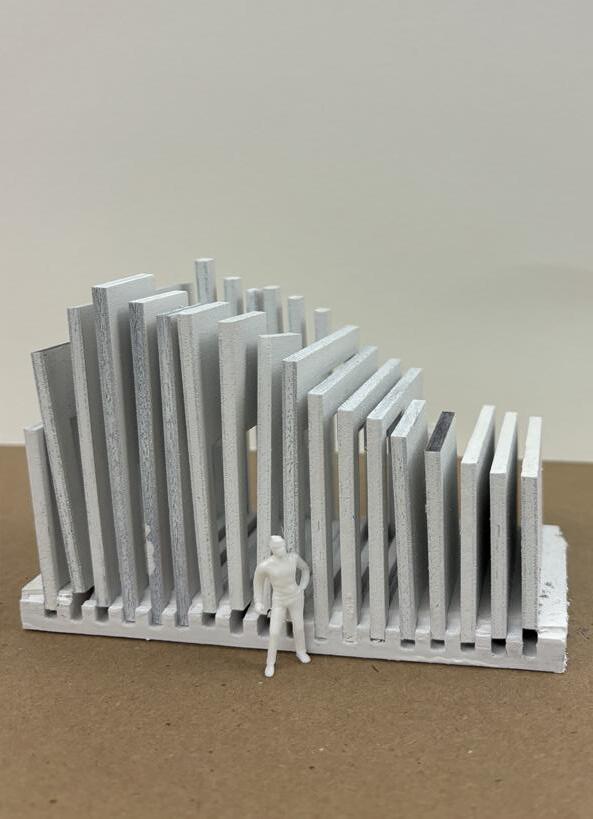


SOFTWARE USED Rhino 3D
MODELING MATIERALS
1/32” Chipboard
Xacto Blade
Cutting Mat
Tacky Glue
FABRICATION TIME
30 min. Laser Cutting
1 Hour Assembly
6 Hours Digitally Modeling
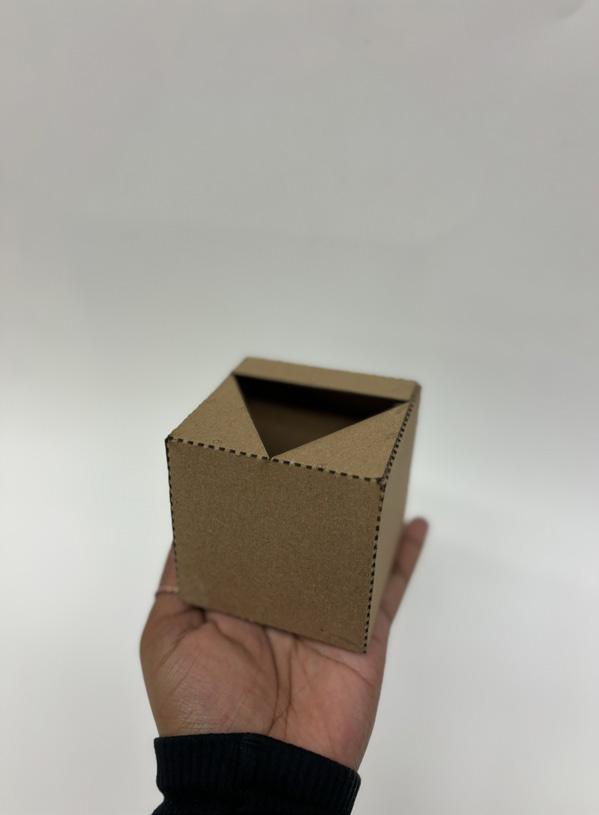
For the Module 1 assignment, we were tasked with creating a model through a laser cut file that illustrates the intersection between two primitives. In addition to the creation of these two structures, we designed an enclosure that displays the plan and side elevation views of the two structures with annotations. The process of creating the laser cut file to actually laser cutting the primitives was an endeavor. In my career, I have not had the opportunity to learn how to use the Rhino 3D software, so this project was a good time for me to put my design skills to the test. However, since I have basic proficiency in AutoCAD,,
I mirrored my exisiting skillset into learning how to operate Rhino 3D. Along with this, I branched out to exploring various YouTube tutorials to expand my knowledge in the Rhino 3D software. After completing the Rhino 3D portion of generating the laser cut file, I used my laser cutting appointment in the Design Shop to cut my file out of the chipboard. Finally, I reached the conclusion of the Module 1 assignment, where I had to complete the final touches in my model. I assembled my primitives and enclosure with tacky glue, and allowed it some time to dry before taking pictures of my final


model for the portfolio. Some issues I encountered while working on the project was during the construction of the laser cut file on Rhino 3D. For instance, I had trouble with the line weights as they did not show up as intended in Tutorial Videos. After discussing this issue with the GE during lab, it was concluded that this was an issue that was due to a complication between Rhino 3D and the graphics on
my computer, which is something that is currently out of my control. In the end, we tried to troubleshoot this issue by matching the line weights to the best of my ability with regards to what was asked for in the assignment. Another issue that I encountered was in changing the color of the two cubes from the default gray to a nice creme color. While resolving this, I discovered that my version of Rhino


required me to change the color of the solids through the Material function and in the layer called “SOLIDS” in the Layers function. After troubleshooting this problem with extensive research on Google online, I realized that sometimes what may seem like an unresolvable issue can be settled through a small fix.
Overall, I believe this process was very beneficial in adding to my skillset as I was able to learn how to use a laser cutter, how to create a laser cut file, and how to use the Rhino 3D software.
As this was my first time operating a laser cutter, I was worried about how the laser cut product would turn out in its final stages. However, I was pleasantly surprised with how everything worked out in the end. Something I would do differently if I had the chance to do this project again is to try creating a model with different shapes. As this was my first time utilizing softwares, I used this project to add more skills to my toolbelt. Neverthless, I believe that playing around with different shapes such as pyramids or hexagons would be more creative for a new model.

TEXT
Rhino 3D
Adobe Illustrator
Adobe InDesign
FABRICATION TIME
1 Hour Assembly
15 Hours Digitally Modeling
MODELING MATERIALS
Rhino 3D
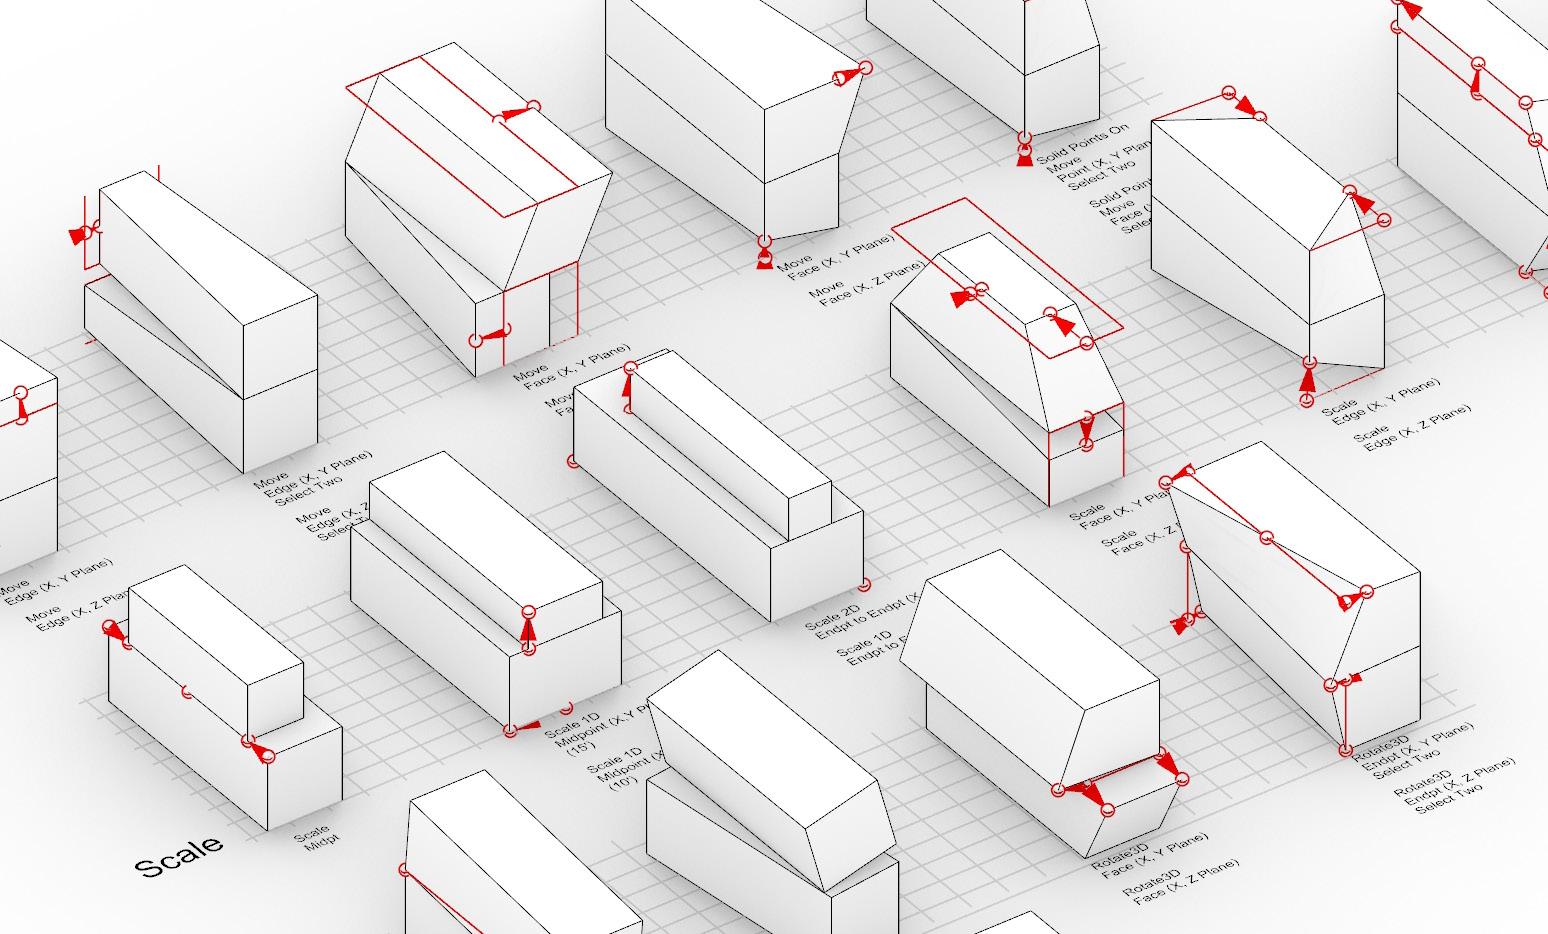
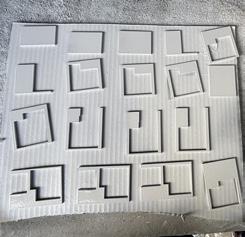
For the Module 2 Assignment, we were tasked with experimenting with solid forms. We did this in the form of learning how to utilize the Rhino 3D tools in order to Move, Scale, Rotate, and Mirror rectangles. After following the step-bystep process demonstrated in the Tutorial videos, we were given the assignment of creating 20 iterations by combining two of the following tools: Move, Scale, Rotate, and Mirror. In my process of creating the 20 iterations, I found that I particuarly struggled with coming up with iterations that were different from one another. Once I figured out how to mobilize a
certain tool, such as rotating the face of the rectangle in one direction, I found it difficult to switch up that tool to another one, rather than repeating that same tool for each iteration. In order to solve this, I ensured that I only used a tool in one method a handful of times. In this assignment, I was able to experiement with the Rotate tool in particular since it is so multi-faceted in that you can rotate the face and endpoints of the object. Through this process, I found that it was quite exciting to play around with the iterations, and come up with different forms of what was originally a simple rectangle.
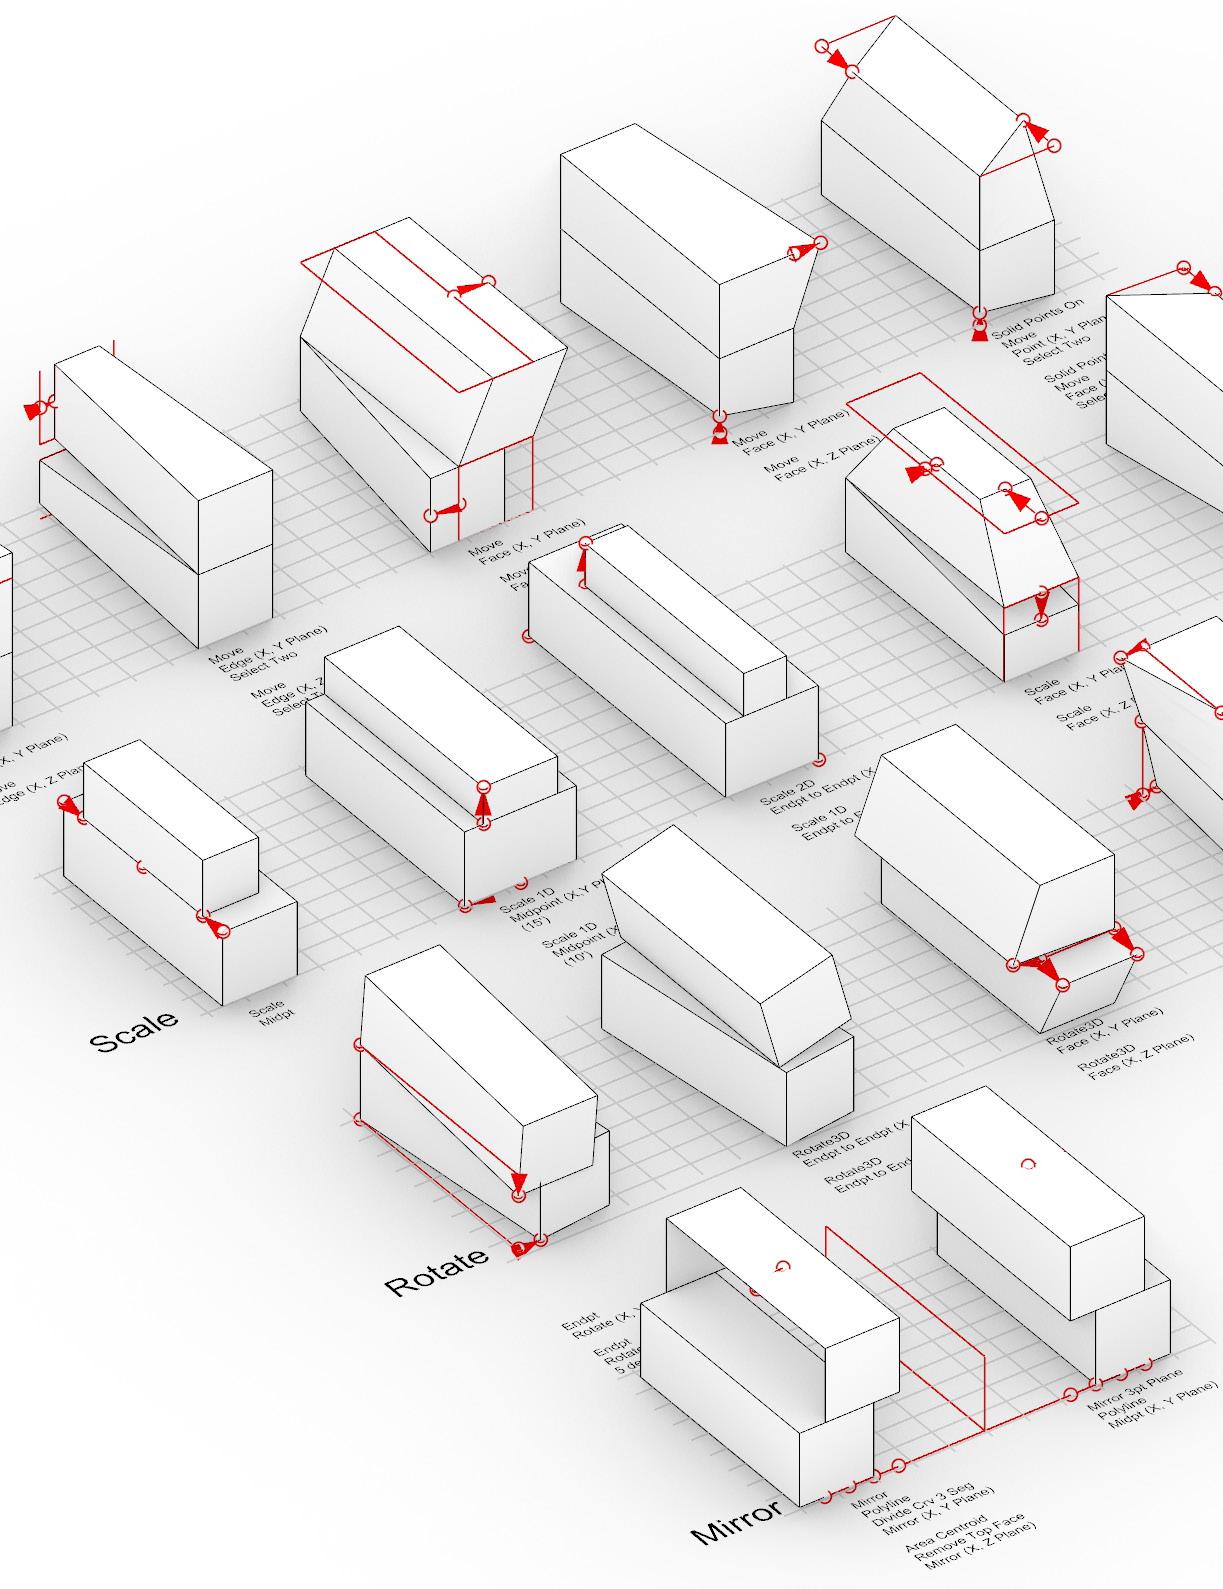
MoveEdge(X,YPlane)
MoveEdge(X,ZPlane)
MoveEdge(X,YPlane) SelectTwo
MoveEdge(X,ZPlane)
SelectTwo
MoveFace(X,YPlane)MoveFace(X,ZPlane)
MoveFace(X,YPlane)MoveFace(X,ZPlane)
SolidPointsOn MovePoint(X,YPlane) SelectTwoSolidPointsOn MoveFace(X,ZPlane) SelectTwo


MOVE X, Y
SCALE X, Y
ROTATE X
MOVE X, Y

With regards to the Rule X 100 part of the assignment, I utilized the Move, Rotate, and Scale functions. Through the use of those 3 concepts, I created 100 iterations, and chose 4 to highlight on the page to the left. I selected those 4 iterations to highlight because I felt that those 4 really highlighted the skills I learned using Grasshopper. Since I am new to the
Grasshopper software, I found it to be a little difficult to create my iterations, but was abe to after some trial and error. If I were to do this assignment again, I would play around with the type of iterations created with the 3 basic functions of Move, Rotate, and Scale to design eccentric iterations. Overall, this part of the assignment was a fun way to explore Grasshopper.


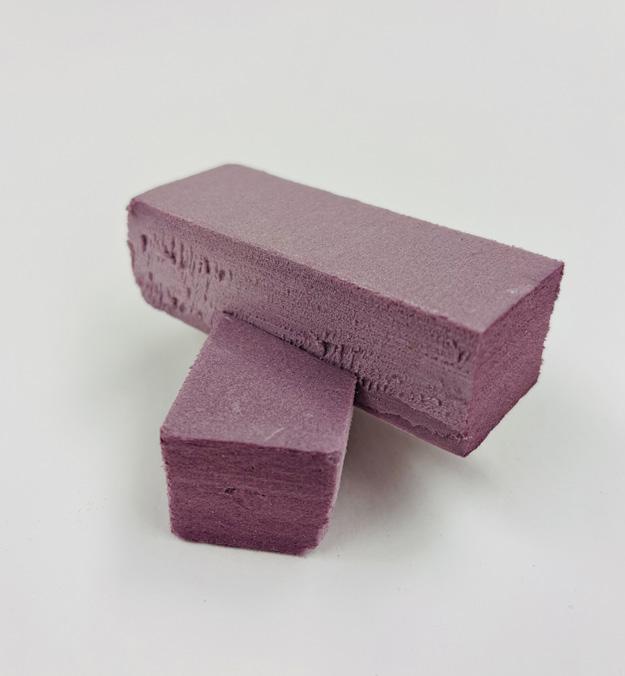
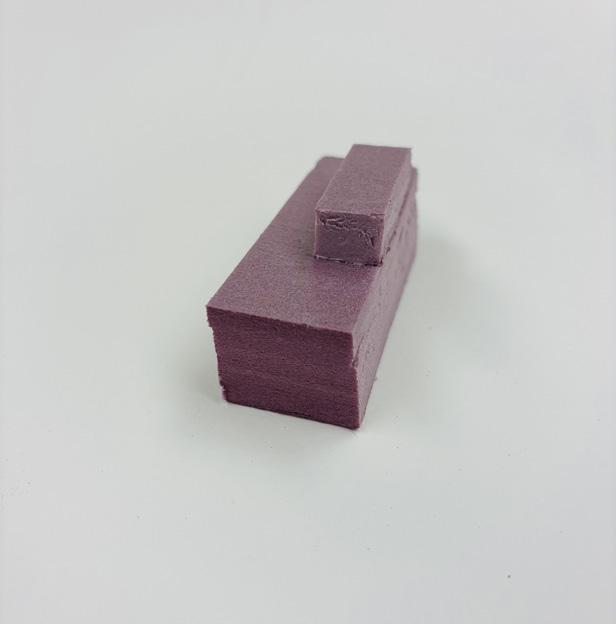
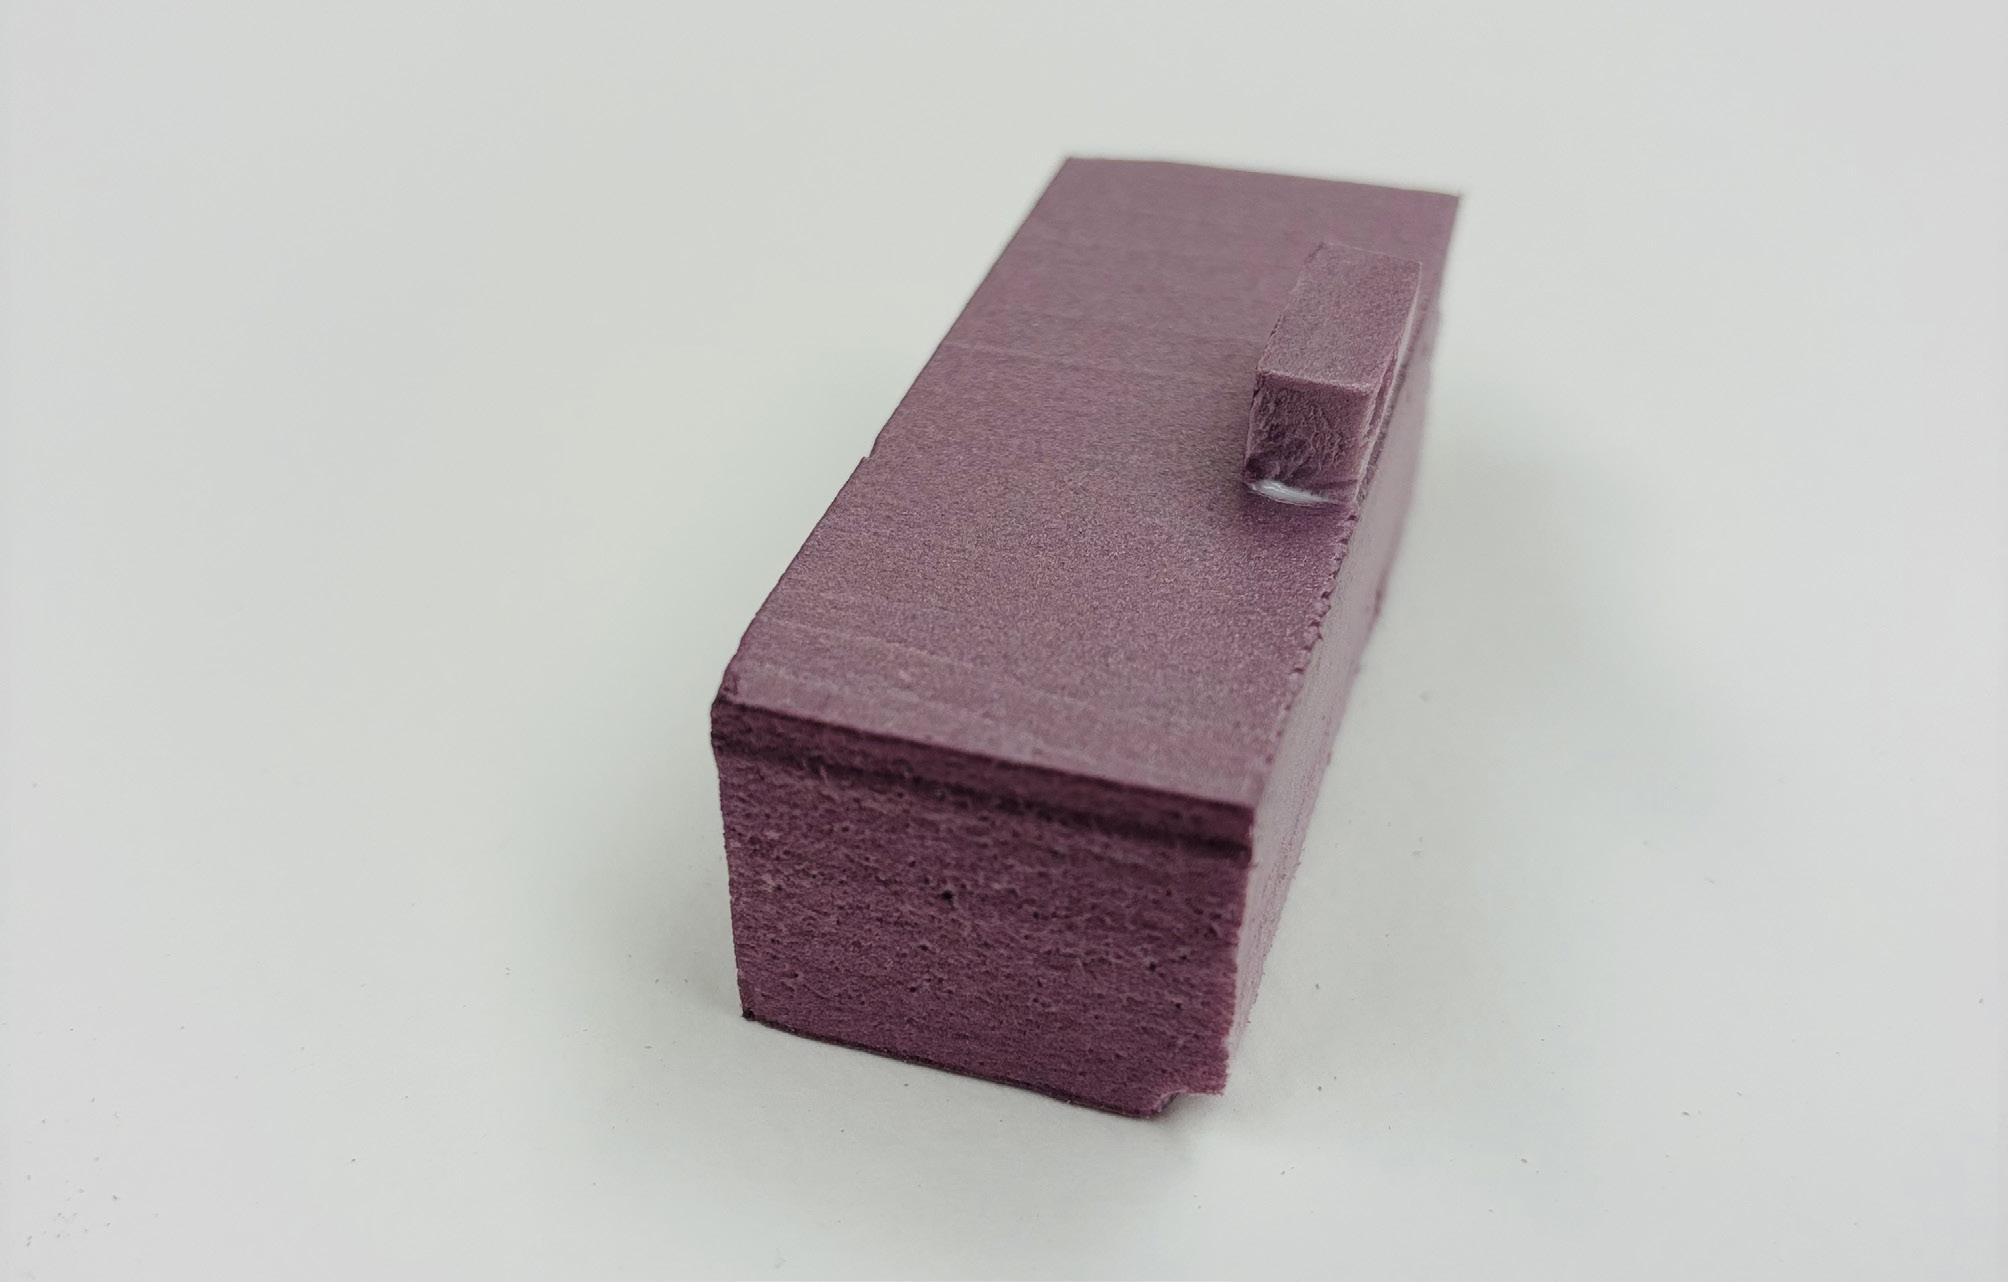
For the Subtractive Aggregations part of the assignment, we were tasked with the exploration of utilizing the clipping plane and interacting with the alignments of shapes to create various iterations in Rhino 3D. In my process, I had some issues with understanding how to alter two rectangles to use the Boolean Difference command. At first, when I tried to follow the video tutorial,
the Boolean Difference command was doing the opposite of what was displayed in the tutorial. After some troubleshooting using Google, I found out that I was selecting the objects in the wrong order. So, I made sure to select the shapes correctly once I understood that and got the correct result. Overall, I found this part of the assignment to be quite the learning process.





SOFTWARES USED
Rhino 3D
Adobe InDesign
FABRICATION TIME
1 Hour Assembly
15 Hours Digitally Modeling
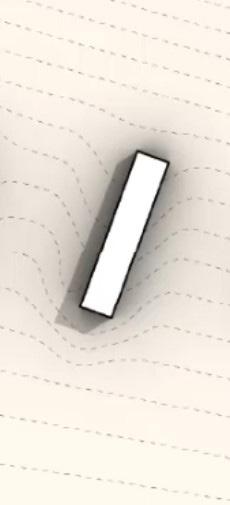
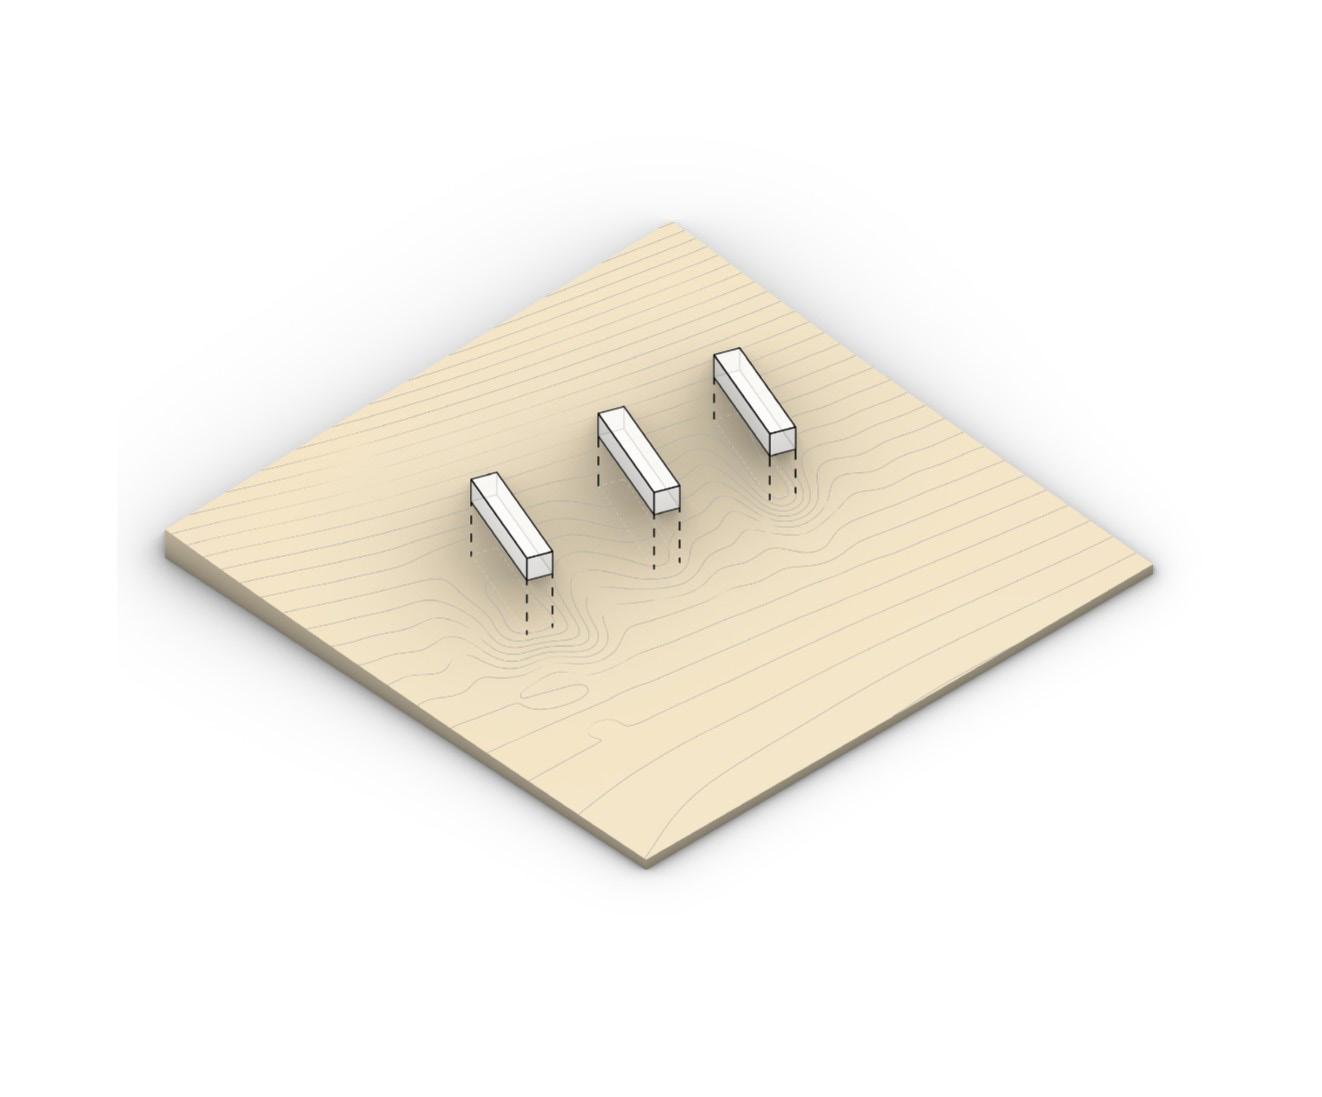
For the first part of the Module 3 Assignment, we were tasked with creating topography that had small structural blocks on top to replicate buildings. With regards to this part of the assignment, something I particularly struggled with was figuring out how to work with the Rhino 3D software to create the topography. This was an issue for me as I was not happy with how similar all the curves in my topography looked when I initially created it. After some careful consideration, I decided to edit my topography so that there was more variation in each of the curves. This way, the topography would replicate
MODELING MATERIALS
1/8” Wood
1/2” Wood
Tacky Glue
Spray Paint
Yellow & Blue Paint
2 Paintbrushes
the environment that exists in the real world, meaning that I would create curves that looked more realistic and had more intentional waves to them. Something I would do differently if I were to complete this assignment again is play around with the movement of the topography to mimic a completely different site. I would also take time to recreate existing buildings to fit in the topography. I believe that this part of Module 3 is a great way to be introduced to fascinating softwares such as Cadmapper, and learn how to utilize such software with relevance in our architectural projects. Overall, I found this assignment to be useful.


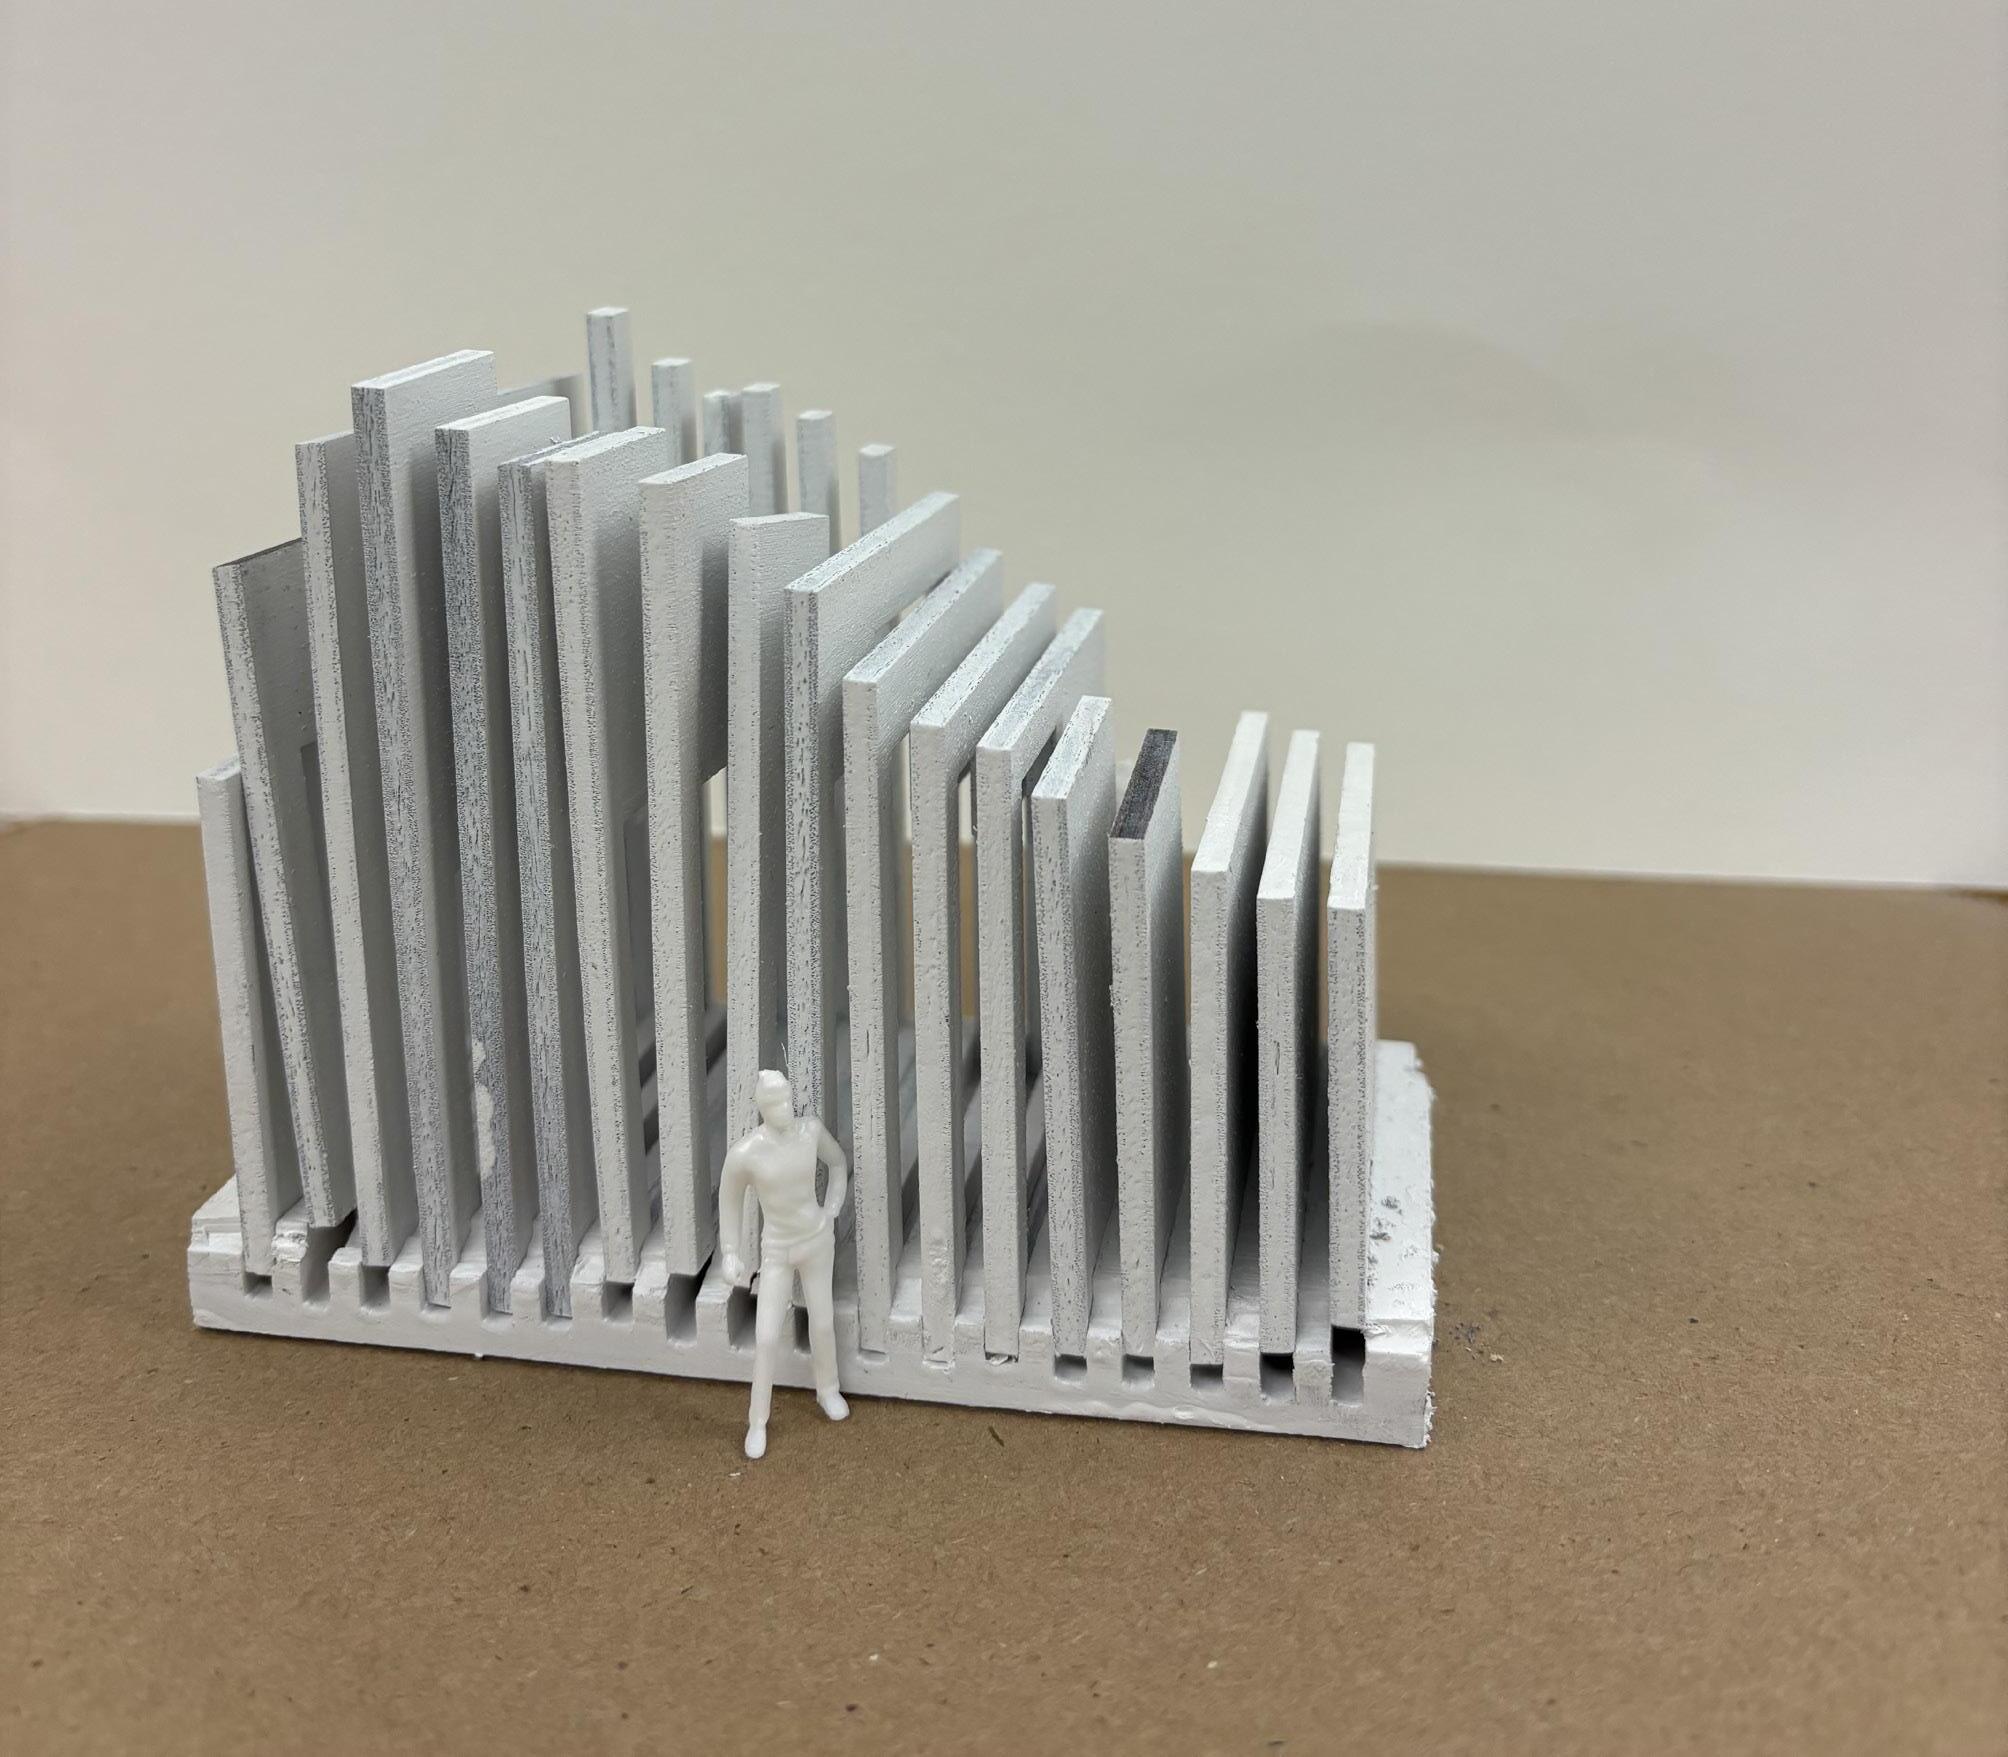
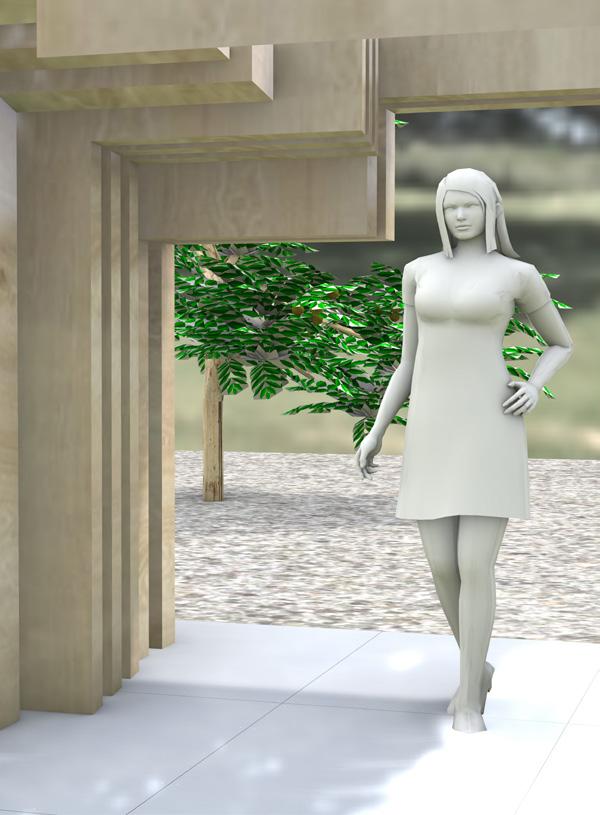
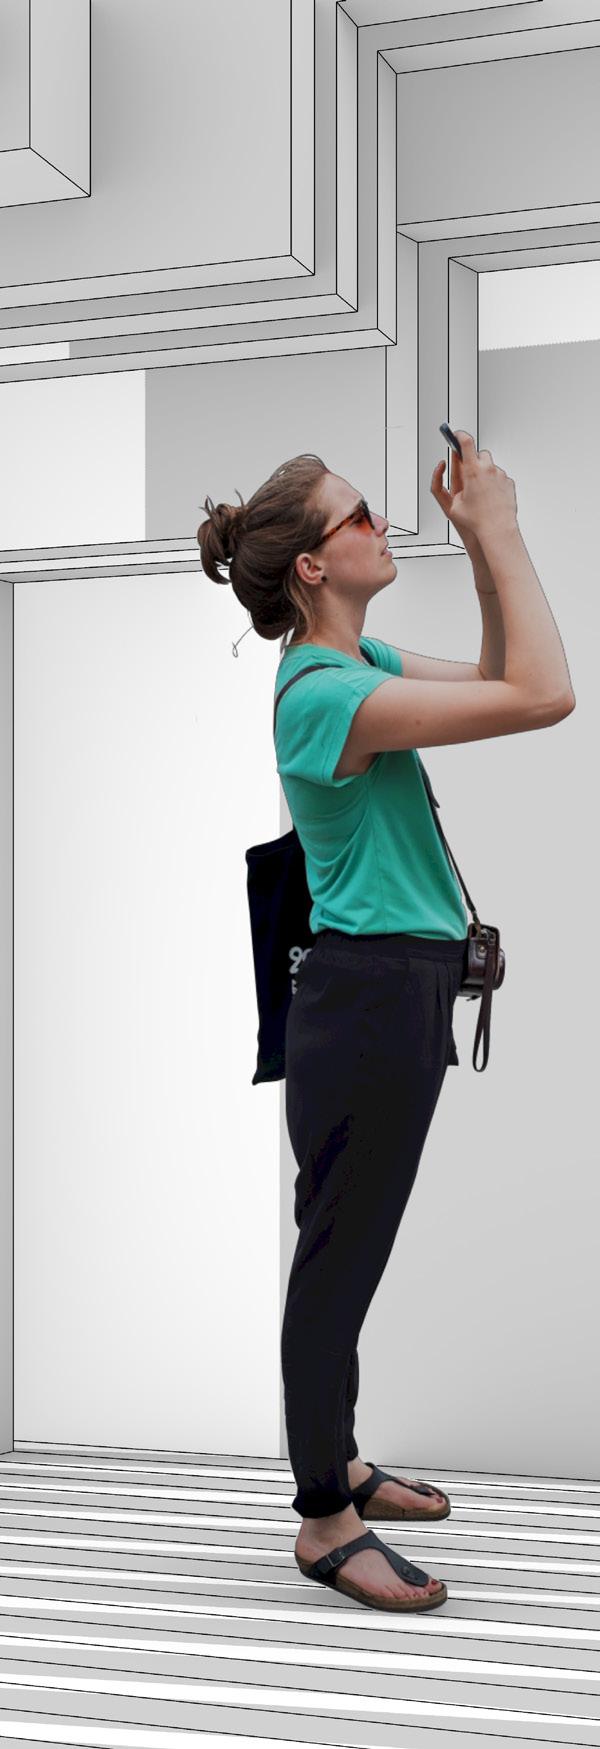
With regards to the Boolean Frames Model part of the Module 3 Assignment, we were tasked with designing and constructing a frame model out of wood. Some of the key takeaways from this part of Module 3 are learning about how to utilize the Sun aspect in the Rhino 3D software, and how to use the tools we have previously learned about in new innovative ways. One example of a Rhino 3D tool that I found to be quite fascinating was the Boolean Difference command. I particularly found it interesting how easily
I could utilize the Boolean Difference command to subtract from several lined up rectangular shapes to create a skylight and intriguing compositions through space. The Boolean Difference command is one tool that is permanently imprinted in my mind simply due to its easy and multi-purpose use. Something I would differently if I were to create another Boolean Frames Model is be bolder in the shapes I create using the Boolean Difference tool. Overall, I found this part of the Module 3 Assignment to be quite informative and impactful in building my Rhino 3D software skill set.


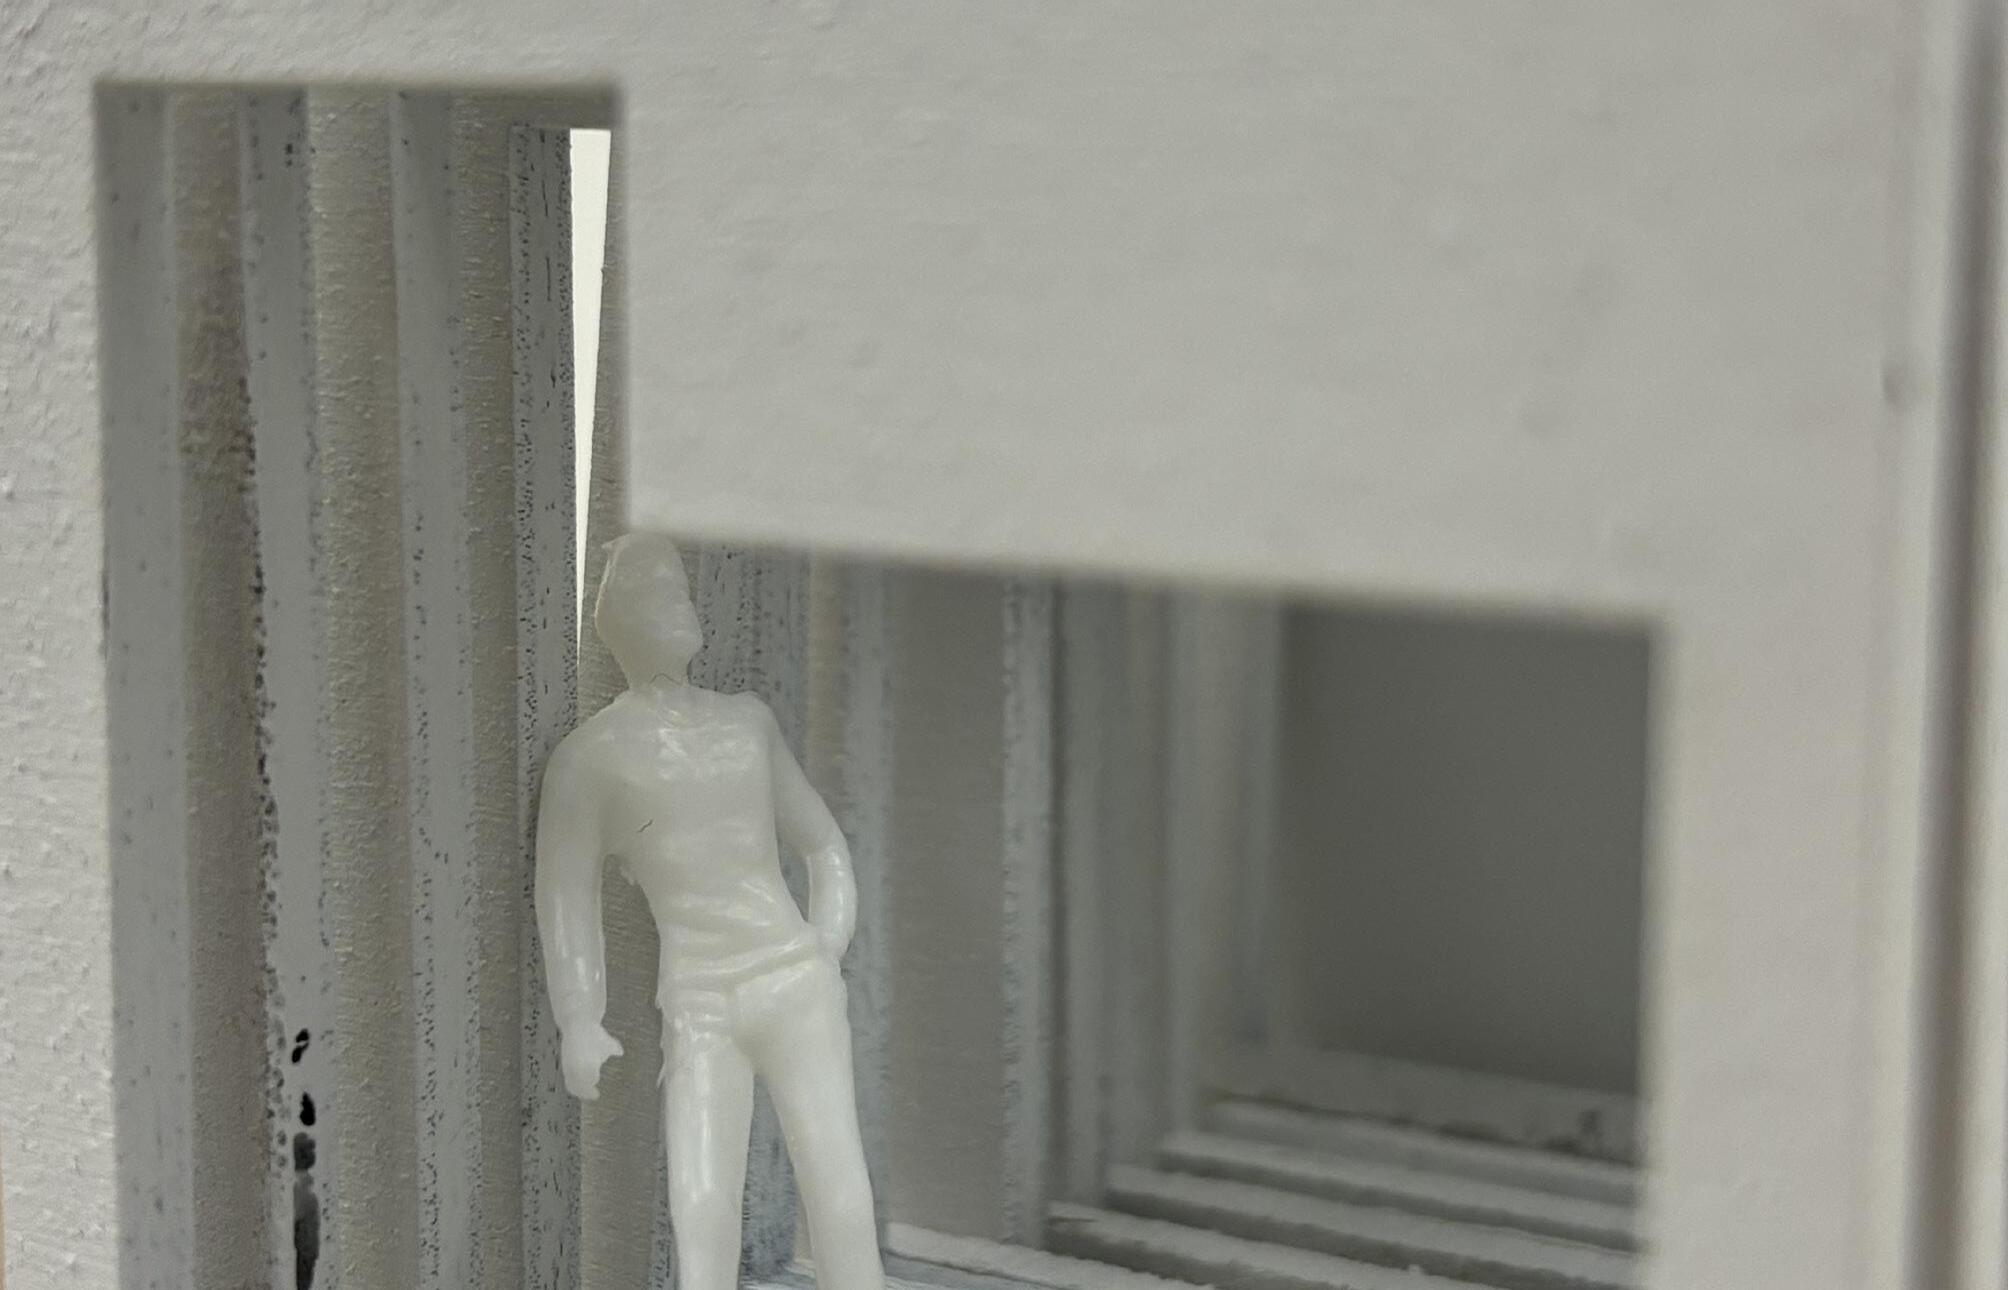


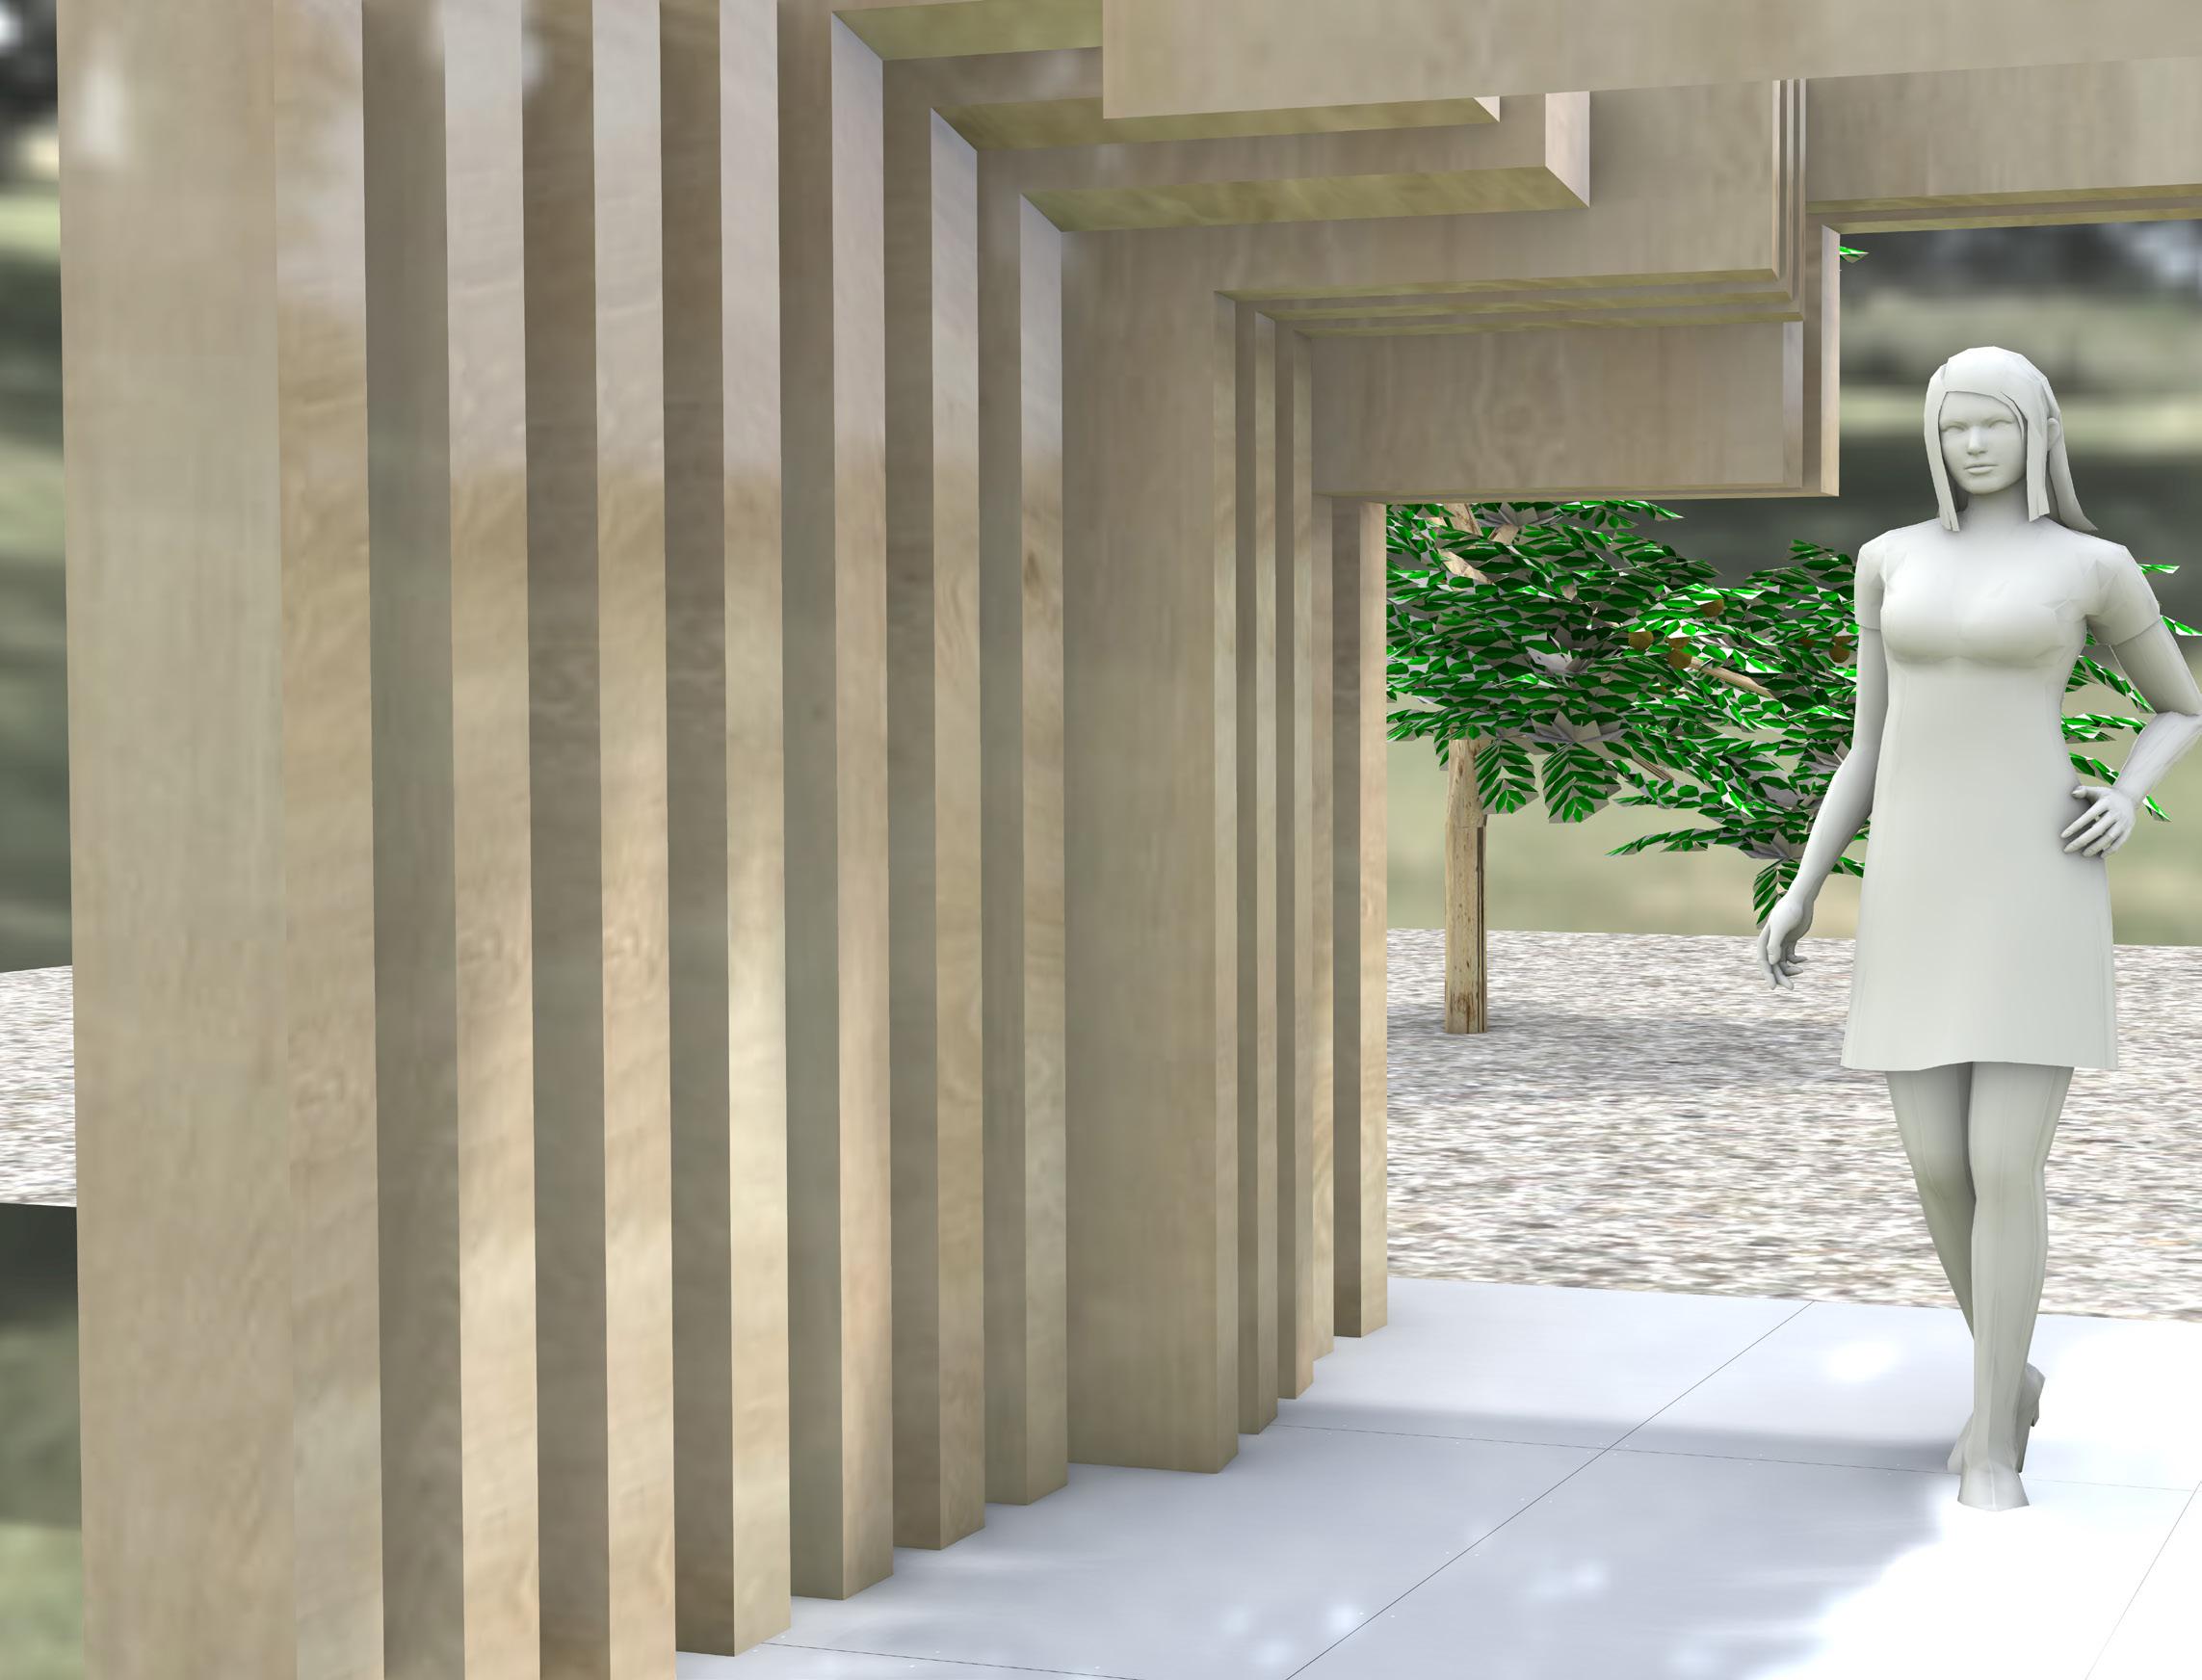
With regards to the Rendering and Physical Models part of the assignment, I found the rendering to be the hardest part. Something I particularly struggled with was having patience with my computer as it was having trouble with loading the rendering in the Rhino 3D software for each of the different light views. I found that it took a significant amount of time for me to sit and wait for the rendering to load on my computer. However, sometimes the rendering would simply not even load and the
Rhino 3D software would crash, causing me to have to restart my computer a good number of times. Something I had trouble with was learning to be patient with the technology and understanding that the Rhino 3D software is heavy for my computer. With regards to spray painting my model, I had no issues as it was a very straight forward process. Something I had trouble with in this area was painting the sides of each panel in my model as it turned out be a bit messy. Overall, I found this part of the assignment to be quite the learning experience.


Images
Top Left: Sun & Material Render
Top Right: Sun Render
Lower Image: Skylight Render
Images Opposite Page
Top: Spot Light Render
Middle: Point Light Render
Lower: Rectangular Light Render



Serenity - North Light and Warm Tone

Calm - North Light and Cool Tone
Week 02 Cory Olsen
Week 03 Nancy Cheng
Week 04 Dylan Wood
Week 05 Ignacio Lopez Buson
Week 06 Philip Speranza
Week 07 Siobhan Rockcastle
With regards to the Guest Lectures aspect of the Arch 222 class, I found them to be quite insightful and informative. Through the past six weeks of Guest Lectures, I was excited to learn more about various aspects of architecture, such as different softwares and conceptual applications of architecture in the industry. For instance, with respect to Professor Cory Olsen’s lecture, I was able to learn about the importance of rendering Rhino 3D files to include backgrounds. I found this to be particularly interesting to learn about because I was intrigued by the fact that renders could be done through the
Rhino 3D software, in addition to other softwares like Photoshop. Additionally, with reference to Professor Nancy Cheng’s lecture, I was fascinated with her presentation on the importance of cut and folded surfaces, and how they can shape light in ingenious ways. I found this to be insightful because I believe that it is important to understand the concept of light, and how one can utilize it to the best of their abilities to highlight elements in their buildings. Overall, I found these six Guest Lectures to be perceptive and intriguing because I was able to learn a lot about various architectural topics.


For the first speaker Cory Olsen in the Guest Speaker Series, he primarily spoke on the topic of rendering Rhino 3D files to include backgrounds. He discussed the importance of having a rendered background for a final project, emphasizing that a background really sets the scene for the building by giving it more life. With the inclusion of a rendered background, your designed building seems more realistic as you are able to see how the structure would look in real life, rather than solely existing as an idea. A particularly intriguing aspect that Professor Cory Olsen deliberated was that there can be a negative effect of having a “too rendered” version of your project idea since when you give a client a beautifully rendered version of your concept, they may find it hard to let go of that idea. However,
on the contrary, a rendered background is an essential part of visually seeing and understanding what your concept will look like. Another topic that Professor Olsen covers is how exciting it is to try to figure out the processes to produce details when looking at drawings. For instance, it is quite delightful to attempt to guess how someone may have produced elements such as people, trees, and cars in their project. One method woould be through using the stamp tool in Photoshop to illustrate greenery. Another method would be through finding inspiration images on Pinterest and collaging those pictures together to create lovely foliage. Overall, I found Professor Olsen’s lecture to be insightful and I really enjoyed listening to it.


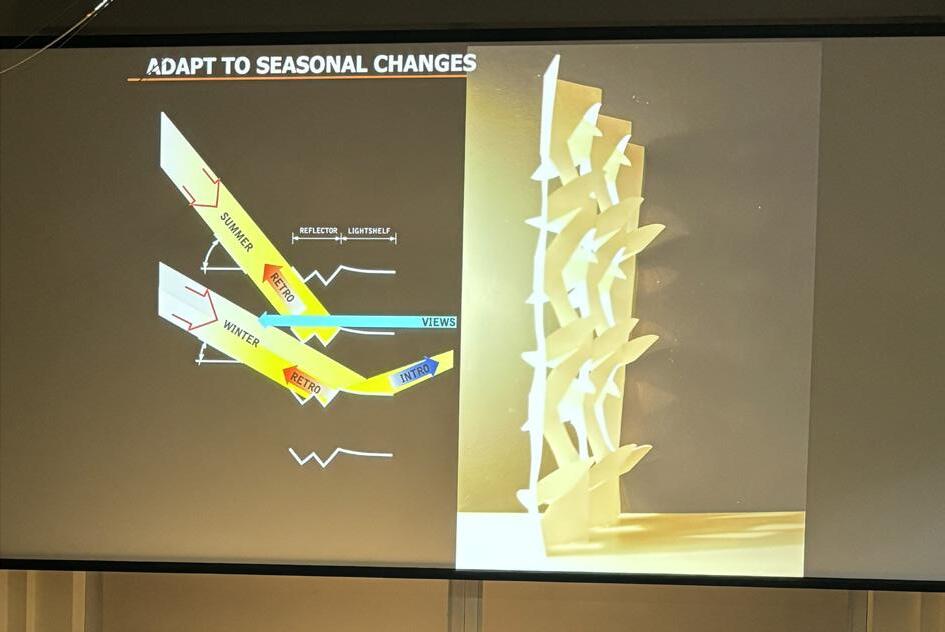
For the second speaker Nancy Yen-Wen Cheng in the Guest Speaker Series, she primarily spoke about how cut and folded surfaces can shape light in ingenious ways. She discussed how various folds in materials can give form to its shape, as cut edges provide aesthetic expression. Similarly, adding flaps to the design can bounce light in an interesting fashion, as light can shape space and dramatize forms. The utilization of light in the larger scale of things allows for the production of extremely eccentric designs. In addition to the symposium of light, Professor Cheng speaks on 3 Key Principles to note. One is Recovering Materials, with regards to the circular economy concept downstream. The second is Enabling Disassembly, with regards to the circular economy concept upstream. Finally, the third principle is Fabrication, with regards to technology at the service of design. These 3 Key Principles
are essential to pay regard to because it is of the utmost importance to follow the idea of sustainability and take good care of the environment while designing a structure. As humans, we have already negatively contributed to the Earth with high levels of carbon and methane, so taking actions to reduce those emissions and harmful effects on the environment is vital when planning buildings. Lastly, towards the end of the lecture, Professor Cheng emphasizes the concepts of how dwellings need to evolve over a lifespan, and how simplicity rules. She highlights the idea that dwellings must adapt with you as a person, over your stages of life, such as from adulthood to parenthood, all while living in a simple structure that serves it purpose and has minimal effect on the environment. Overall, I found Professor Cheng’s lecture to be insightful and I really enjoyed listening to it.


For the third speaker Dylan Wood in the Guest Speaker Series, he primarily spoke on the topic of utilizing existing materials in the environment to serve as inspiration for future construction. For instance, an example that was explicitly discussed was the cycle of how pinecones are usually rigid in their structure, but when they are close to expiring, they release an abundance of seeds into the environment. This was used as a segway to turn to the topic of material programming. Professor Wood explores how the moisture found in wood can be used to form new structures. Wood has a moisture content that usually spans from 10 to 22 percent. Hence, by drying out the existing moisture, a natural curve in the wood would be found. He explains how he used kilns in a factory to slowly dry out the wood over the span
of a few days, so that the resulting warp would be gradual and natural, rather than stiff and sudden. Another major topic discussed was the quote “Design is a plan for arranging elements in such a way as best to accomplish a particular purpose.” by Ray and Charles Eames. Professor Wood emphasizes that it is important to prepare all aspects of the project before going to the site for construction since the more information that is prepared ahead of time, the easier it is to build. The lesser the amount of construction required, means a smaller environmental impact, a lower cost for the project, and overall better planning and organization.
Overall, I found Professor Wood’s lecture to be insightful and I really enjoyed listening to it.


For the fourth speaker in the Guest Speaker Series, Professor Ignacio Lopez Buson spoke about the creative utilization of digital technologies in landscape architecture. Professor Buson focused on three primary areas during his talk, Nature , Technology, and Design. With regards to the area of Nature, he discussed the ideas of regeneration, preservation, and hybridization with the emphasis on the idea of integration. Following this, with regards to the area of Technology, he talks about the ideas of decoding, simulation, and research with the emphasis on the idea of analysis. Furthermore, with regards
to the area of Augmentation, with regards to the area of Design, Professor Buson speaks about the ideas of experimentation, optimization, and communication. During this lecture, he speaks about the importance and overall significance of why we should utilize digital technologies to our advantage. Some of these reasons include real-time feedback, simulations, iterations, innovation, speed, productivity, scale-free, and complexity. Overall, I found Professor Ignacio Lopez Buson’s Guest Lecture to be quite insightful as I was able to learn a lot about the ideas of using digital technologies in my own career.


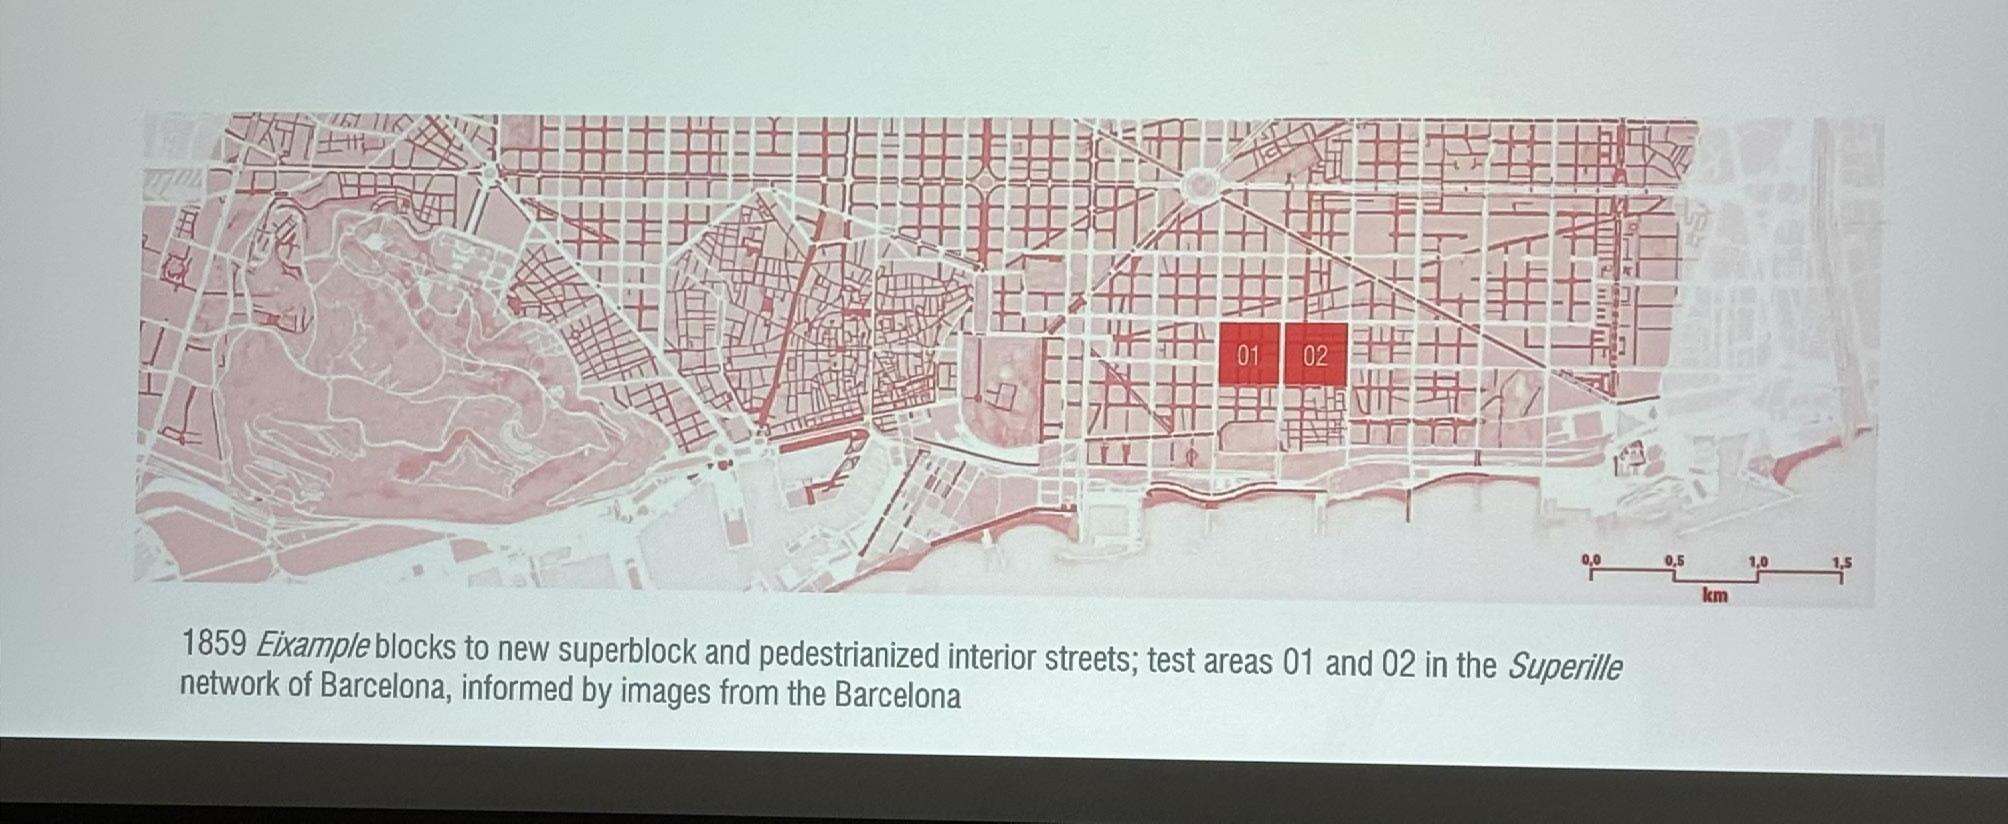
For the fifth speaker in the Guest Speaker Series, Professor Philip Speranza spoke about the utilization of Fine-Grained Urbanism, with a focus on Date Driven and Design Phenomena. Throughout his lecture, he spoke about various different past projects of his, along with some current ones. Some primary ideas he talked about include figuring the radiation values of buildings through each season of the year. He illustrated this in the form of a radiation map for each season, and described what each radiation value meant in the map. By explaining this concept to us, we were able to better
understand what the significance behind doing a scientific study of the radiation values of buildings were. It is crucial to understand the values of radiation for buildings prior to construction because materials have a value of radiation, which need to be tested to see if they meet code before the building is built. Additionally, Speranza discusses his study abroad program in Barcelona and what their classes focus on during their time. This was particularly interesting to me as I am interested in studying abroad sometime during my time at UO. Overall, I found this lecture to be quite informative.


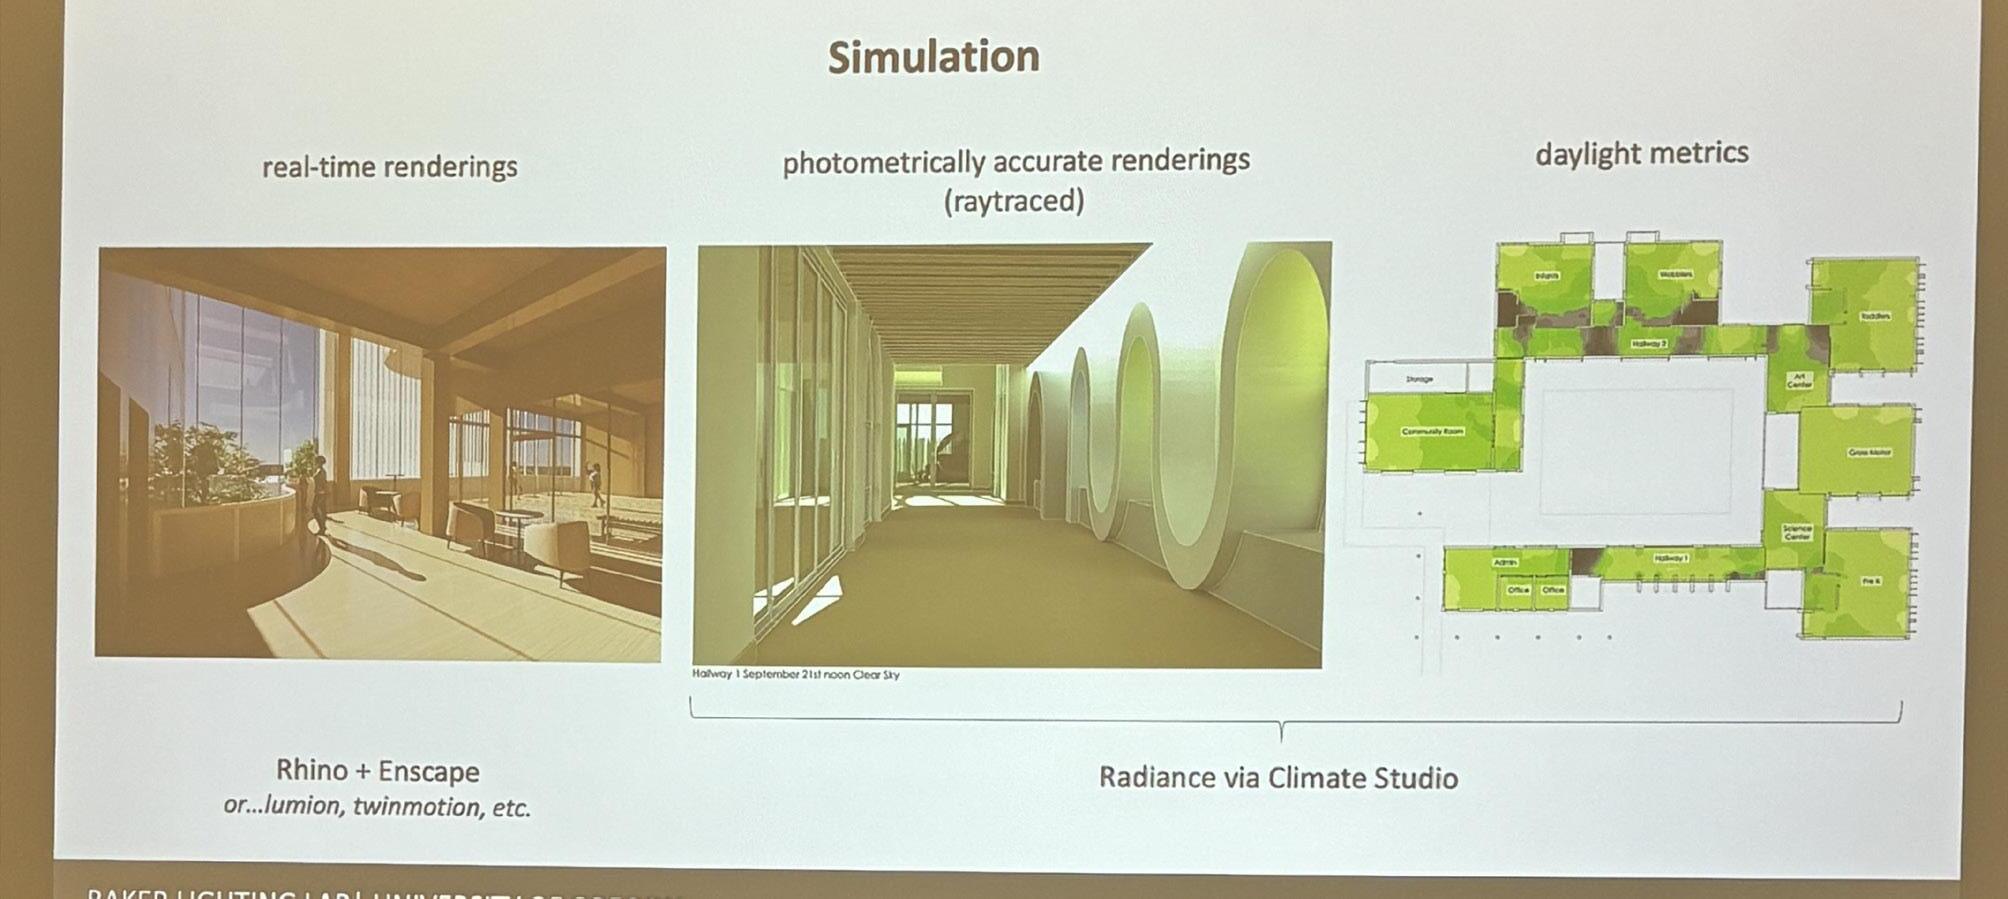
For the sixth speaker in the Guest Speaker Series, Professor Siobhan Rockcastle spoke about the importance behind modeling light. During her lecture, she provided several examples of various spaces and buildings to illustrate the significance light has on them in different layouts. One idea she emphasized was how daylight can transform composition as daylight can brighten up a space by highlighting certain elements in a room by shining light on them. She also mentioned that daylight produces variable effects as daylight can make a room bigger with light and smaller with darkness and shadows.
Professor Rockcastle mentions that the importance of the Circadian Entrainment on humans. During this lecture, I learned that the Circadian Entrainment referred to the influence of light on the non-visual system. There are Circadian Rhythms that refer to sleep and wake, hormone secretion, body temperature, and cognitive function. There are also direct effects such as melatonin suppression, pupil constriction, subjective alertness, and performance. Overall, I found Professor Siobhan Rockcastle’s lecture to be quite intriguing and informative for me as I learned a lot of new concepts.

With respect to the Appendix, I have only completed the Time Management Schedule part. I realized that I adhered to the example schedule I had made to a good extent. I am a person who thrives on having a packed and productive schedule, so it is important to me to have everything organized and in order. I am a busy person by nature, so I usually have a lot of extracurriculars and jobs to keep me occupied. However, something I struggle with is making time for myself to relax. I also have trouble with prioritizing sleep, which is an essential human function. Over the past school year, I have come to realize
that I need sleep more than I think. My sleep schedule previously was in shambles as I barely slept three to four hours every night. This resulted in me feeling tired all the time and having headaches. Hence, I made it a point to prioritize sleeping every night, and have successfully been getting seven to eight hours of sleep nowadays. I found the Time Management Schedule to be helpful in organizing my days with all my tasks, and allowing myself time to do self-care and wind down after a long day. Overall, this Extra Credit Assignment was effective, and I enjoyed putting it together in InDesign.


P 08
Sadhana
Ramesh Babu
P 11
Sadhana
Ramesh Babu
P 13
Sadhana
Ramesh Babu
P 16
Sadhana
Ramesh Babu
P 18
Sadhana
Ramesh Babu
P 20
Sadhana
Ramesh Babu
P 26
Sadhana
Ramesh Babu




P 10
Sadhana
Ramesh Babu
P 12
Sadhana
Ramesh Babu
P 15
Sadhana
Ramesh Babu
P 17
Sadhana
Ramesh Babu
P 19
Sadhana
Ramesh Babu
P 25
Sadhana
Ramesh Babu
P 27
Sadhana
Ramesh Babu



P 34
Sadhana
Ramesh Babu
P 39
Sadhana
Ramesh Babu
P 43
Sadhana
Ramesh Babu
P 48
Sadhana
Ramesh Babu
P 55
Sadhana
Ramesh Babu
P 58
Sadhana
Ramesh Babu
P 62
Sadhana
Ramesh Babu


P 35
Sadhana
Ramesh Babu
P 41
Sadhana
Ramesh Babu
P 44
Sadhana
Ramesh Babu
P 51
Sadhana
Ramesh Babu
P 57
Sadhana
Ramesh Babu
P 60
Sadhana
Ramesh Babu
P 65
Sadhana
Ramesh Babu