
ANGLED SUCCULENTS
Natalie Chrisman
To my knowledge, not much research has been done on growing succulents at different angles and allowing for proper water drainage. For this reason, my research will look at the relationship between succulents and which angle they grow at. More specifically I will look at how succulents react to growing horizontally, vertically and at 45 degrees. Since succulents need a
well draining pot to stay healthy, I plan to make custom pots that have specific drainage holes based on which angle they are growing at. Since succulents don’t have deep roots, the pots don’t need to be very tall but roots can easily rot if they are in too tight of a space. I will use a hand watering irrigation system and measure the amount of water needed to keep the plant
healthy. This research will provide information on which angle a succulent prefers to grow at and if a specific angle needs more watering than another. This is important research because green walls are a growing interest in design and it is important to understand all the components that come along with these live walls. Understanding what species works best and the watering
needs for a project helps execute the live wall properly.
1- Photo: Succulent Wall in California
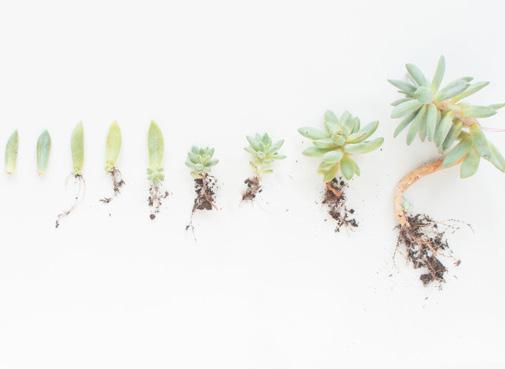
2- Photo: Growth of a Succulent
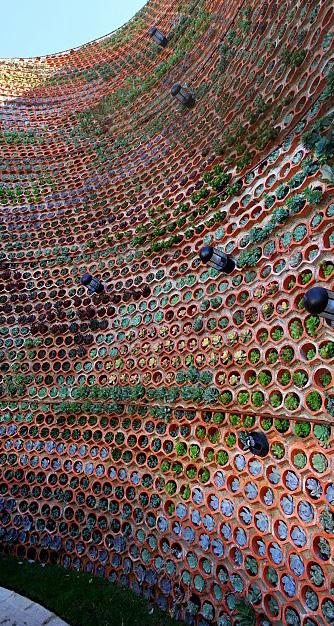
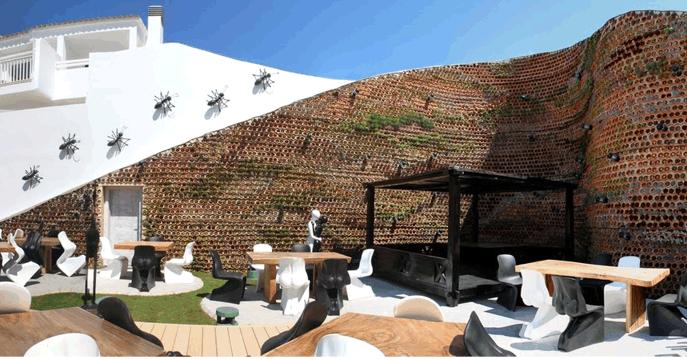
This succulent wall is designed to act as a sound barrier between apartments and a courtyard to a hotel. The walls consist of ceramic terracotta containers individually filled with different species of succulents. No information is given as to how the pots are connected and standing, but the pots are placed at a slight angle towards the interior to allow for irrigation to enter. Irrigation is done
with a combination of drip and hand irrigation due to the various orientations of walls which require different watering schedules. A benefit to this wall is that if a succulent dies, it is easy to replace it, considering each plant is in their own pot. Overall, the wall is very eye catching and isn’t just there for visual appear but functional as well.
HOTEL USH - IBIZA
SUCCULENT WALL IN COURTYARD
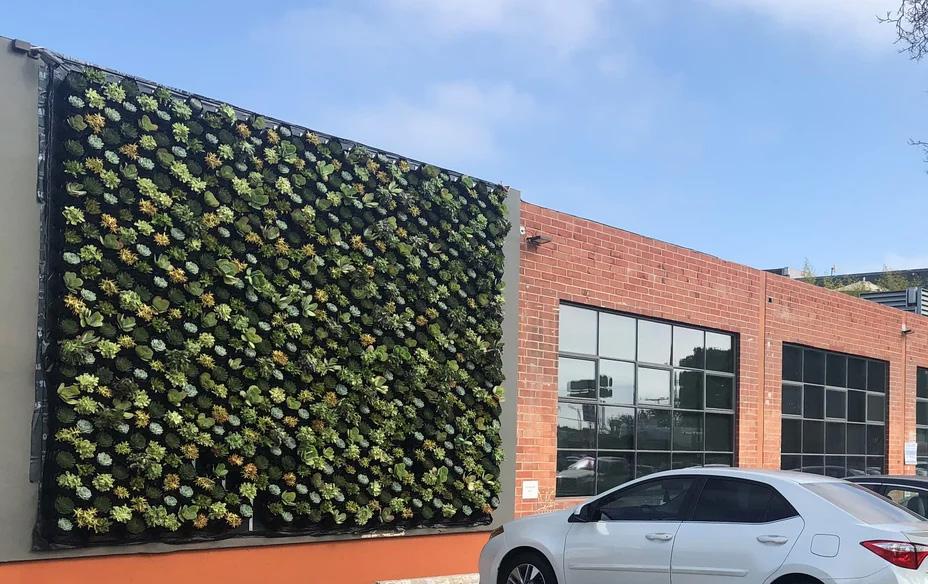
PACIFICA SUCCULENT WALL
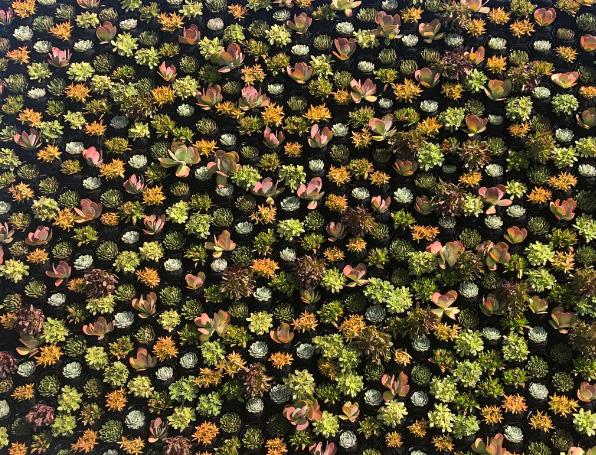
This succulent wall comes from a green wall company called GrowUp that specializes in living green walls, succulent walls, moss walls and faux walls in the US and Canada. This one specifically was for the exterior of an office in California. Each succulent is planted in their own pot which is then connected to the system that GrowUp built. This comes with a self irrigating system
which GrowUp designed a few years ago. GrowUp’s irrigation system is made up of three main components: the master tank, the pump and the drippers. Automation of the whole system is simple to install: the pump is connected to a timer, which is set to allow for the correct amount of watering time. The water input is connected to the master tank. The water input is regulated by the float
valve and an overflow protection system is available. The pots are designed to drip into each other and for the water to move down through the system. By flooding each pot and allowing it to drain the plants receive as much water as they need without overwatering. By capturing all the excess water runoff and recycling it through the system no water is wasted in the
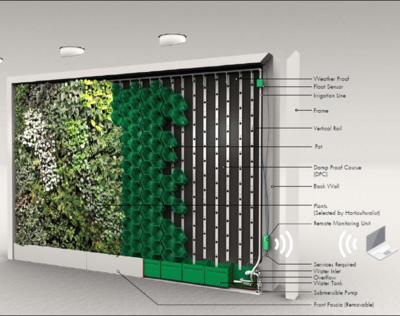
process. This makes the GrowUp system extremely water savvy and environmentally friendly - making it a great way to improve your LEED (Leadership in Energy and Environmental Design) score.
2
3
1 - Photo: Pacifica Succulent Wall
- Photo: Pacifica Succulent Wall
- GrowUp Irrigation System
ORANGE COUNTRY, CALIFORNIA
WALLY GROW LIVE BACKDROPS - DIY
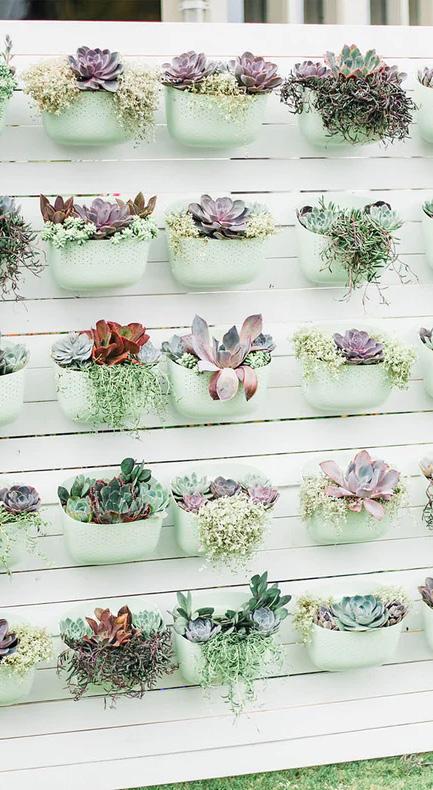
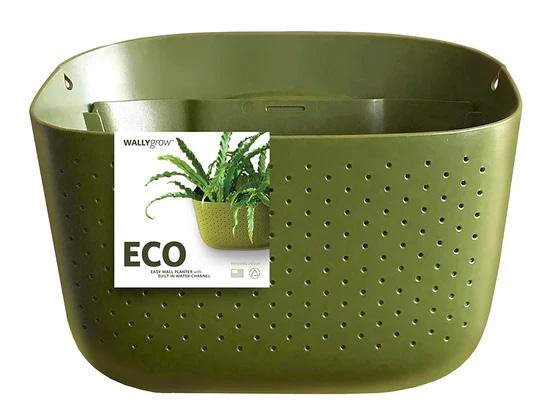
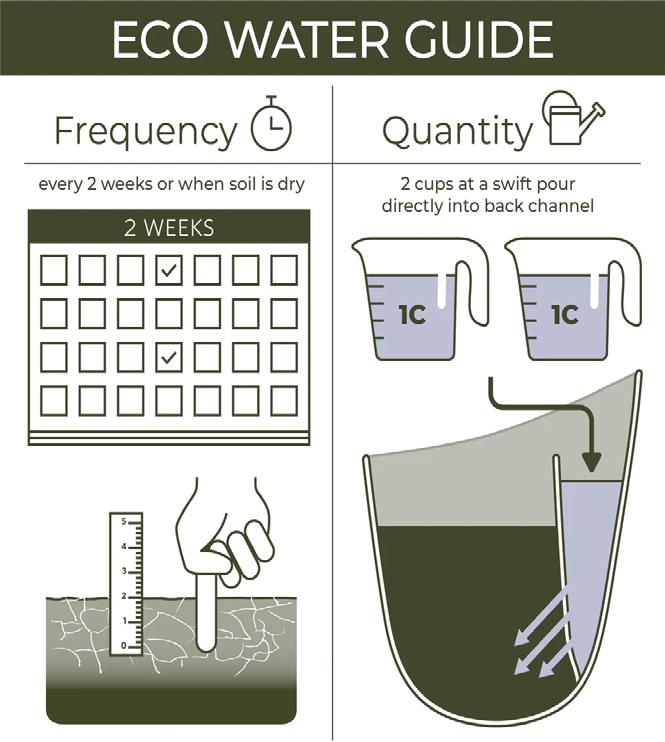
This DIY succulent wall was made using Wally Eco planters that are attached to a wood wall. These planters are “the ultimate ecosystem for plants”. The smart watering channel design allows water to hit the roots directly. You place 2 cups of water (or specific amount depending on species) in the back and it drips directly to the roots. The front perforated holes allow for
breathability to prevent common plant diseases, such as root rot. These planters work great for many plants and be attached to any surface.
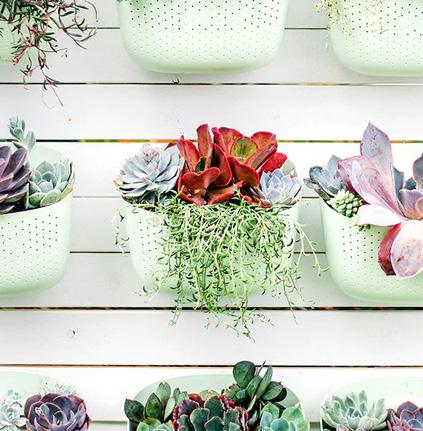
1 - Photo: DIY Wally Grow Live Backdrop
2 - Photo: Wally Grow Planter
3 - Diagram: Wally Grow Planter 4 - Photo: DIY Wally Grow Live Backdrop
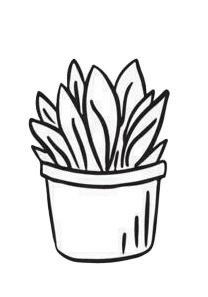

In this experiment, I will be focusing on keeping the succulent healthy by understanding the watering needs for succulents based on what angle they are growing at. Considering Eugene is an environment that succulents don’t usually prefer, which is humid and cloudy, I will need to get the watering down for them to be successful. First, I need to construct pots with
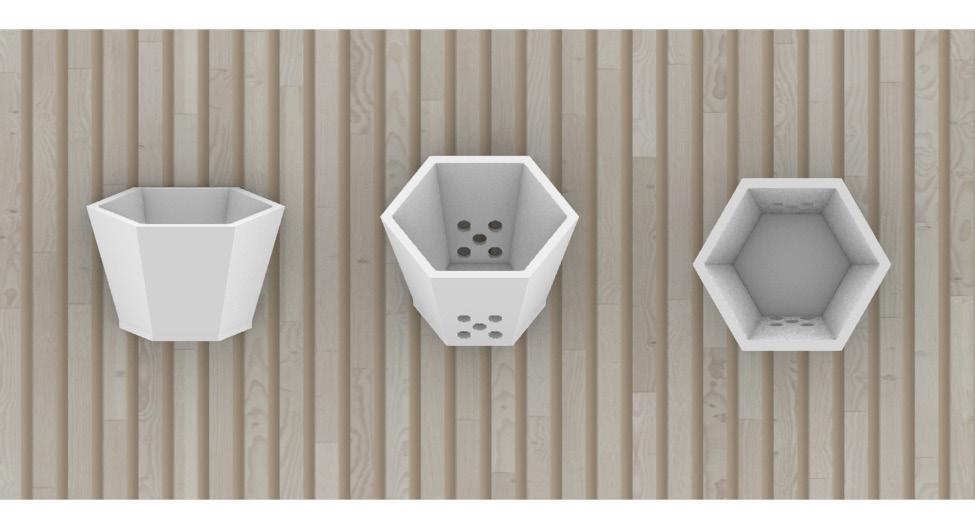
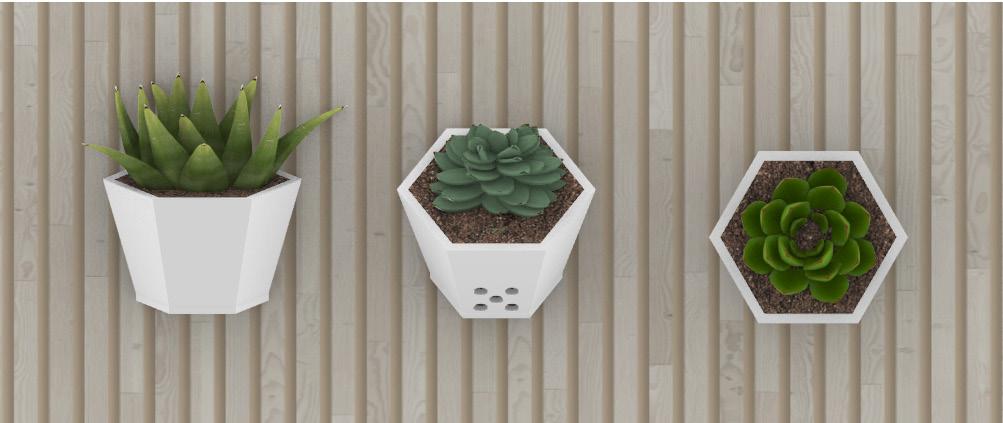
proper drainage, so I will cast pots with drainage holes in different spots based on if the pot will be completely vertical, horizontal or at a 45 degree angle. As seen in the above diagrams, the arrows represent where the drainage holes will be located. I will need to build a system where the pots can sit and grow in properly based on the angle I will be testing. I will hand water

until I get the amount of water necessary to keep the succulent healthy and the goal is to maybe change to an irrigation system for automatic watering in the future.
1 - Diagram: Drainage Holes Vertical Position 2 - Diagram: Drainage Holes 45 Angle Position
3 - Diagram: Drainage Holes Horizontal Position
METHODOLOGY
FABRICATION PROCESS
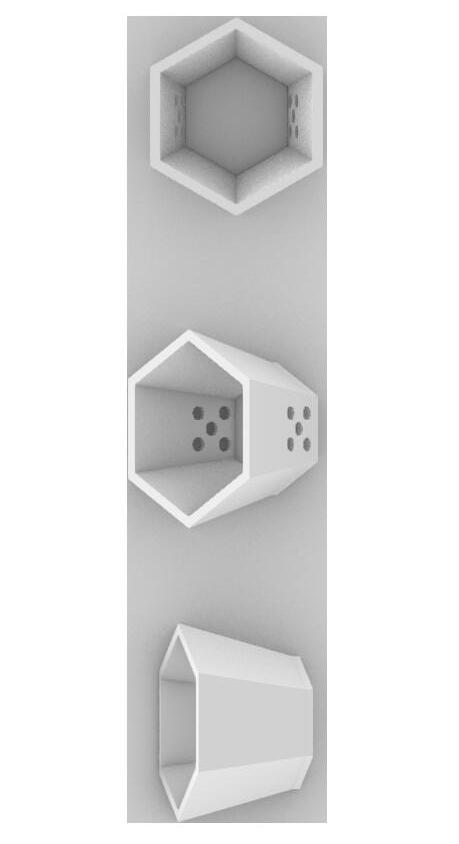
To develop this experiment, I will first start off by designing pots based on research I found on proper drainage of pots and where the holes should be located considering gravity and what angle the succulent will be at. The vertical pot will have drainage holes only on the bottom, the horizontal one will have drainage holes on the sides, and the one at a forty five degree angle
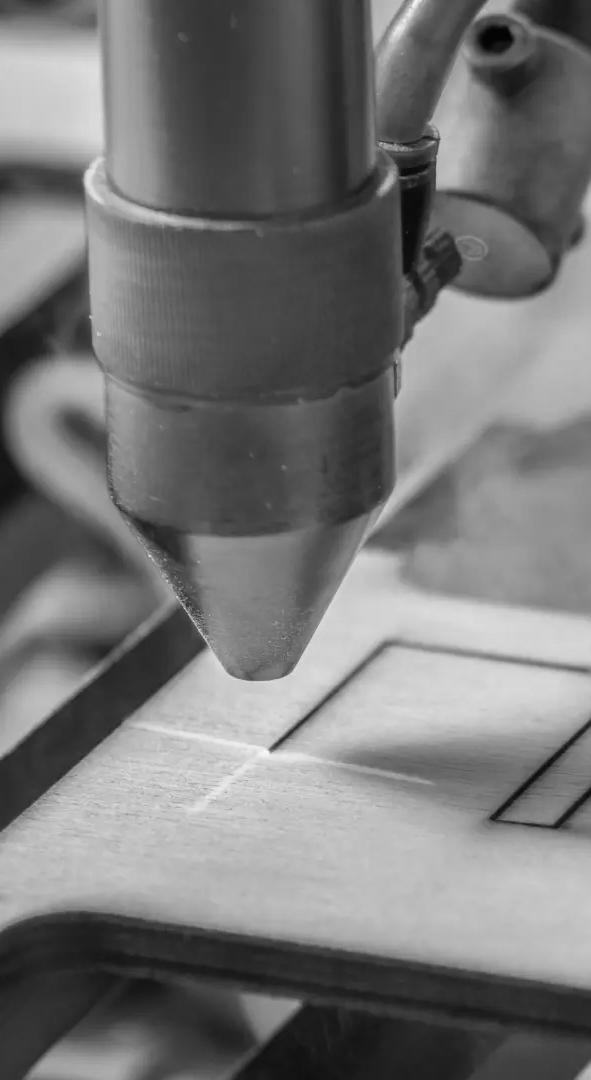
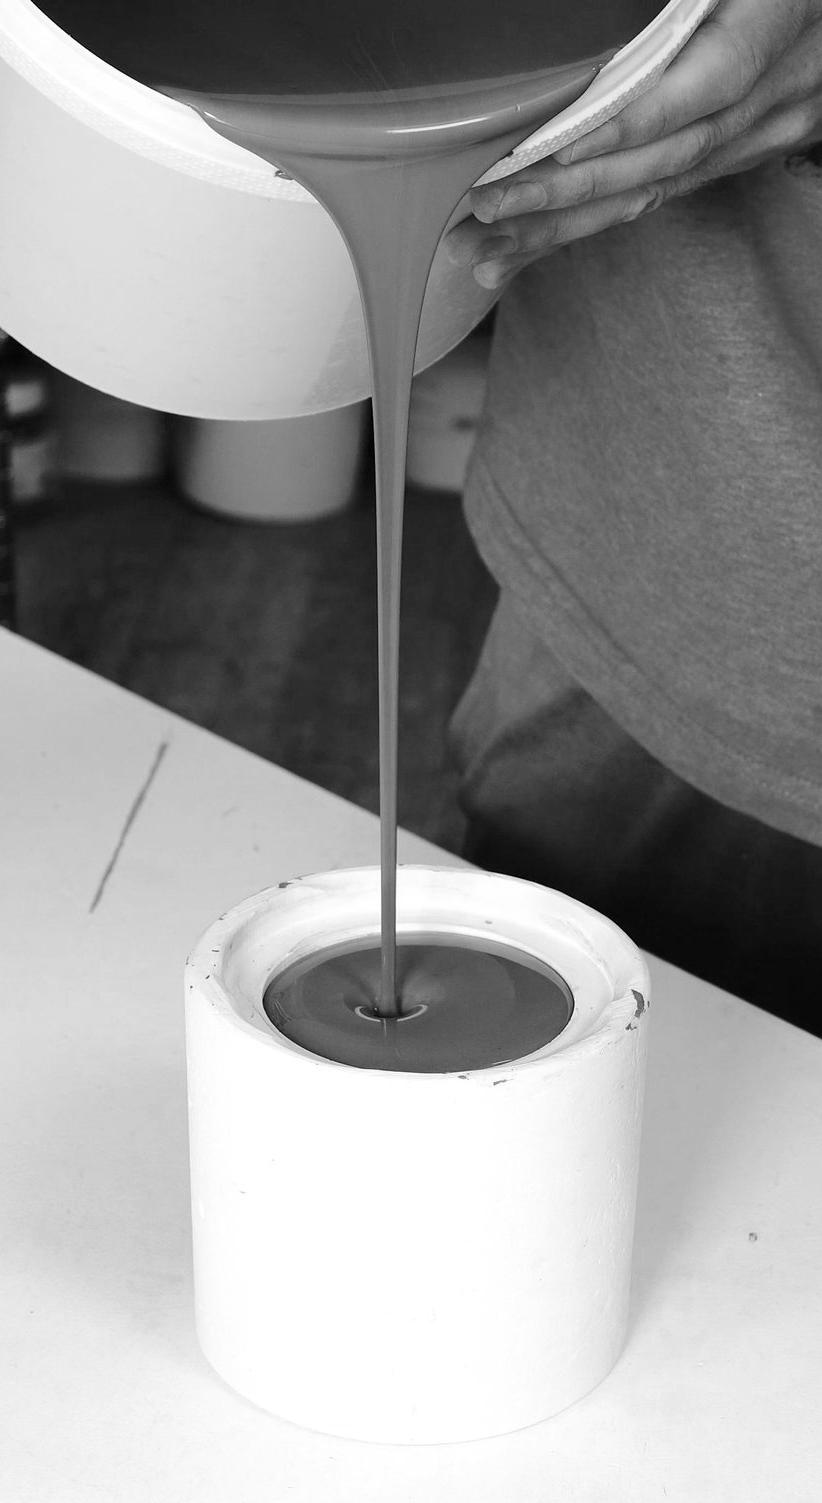
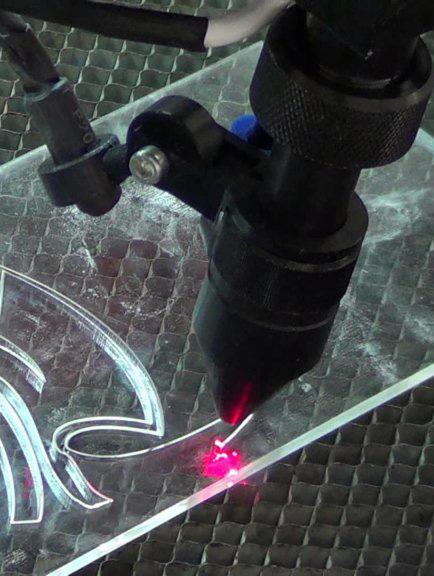
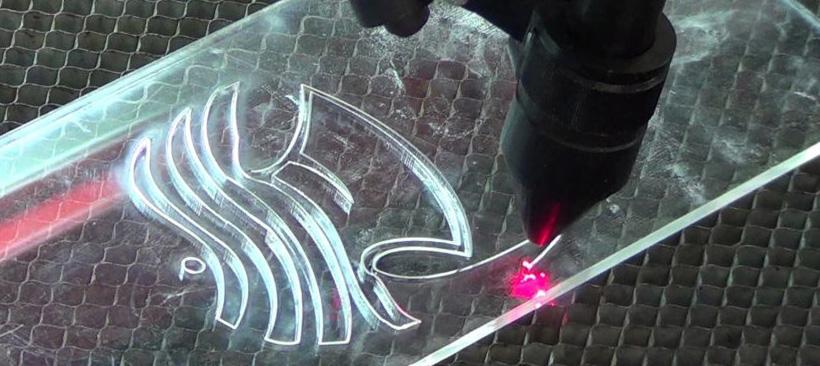
will have drainage holes on both the sides and bottom. To construct these pots I will create a mold that I will use to cast pots using plaster. These molds will be constructed of wood and I will laser cut to get the accurate shape and size. I will create an inner mold as well to get the negative space. Once the molds are ready I will use wood dowels to plug the drainage holes and start
pouring the plaster in the molds. After an hour of letting the plaster harden, I will release the pots from the molds and clean up the edges by sanding and filling any necessary spots. Once the pots are ready, I will plant the succulents and attach them to a wood sheet using a string and drilled holes and hang them at their proper angle. I will study any changes by examining any dried or
1 -
2
3
4
Diagram: 3D Pot Designs
- Photo: Laser Cutting Molds
- Photo: Casting Pots
- Photo: Plaster Drying Before Removal
moldy leaves.
METHODOLOGY
MATERIALS
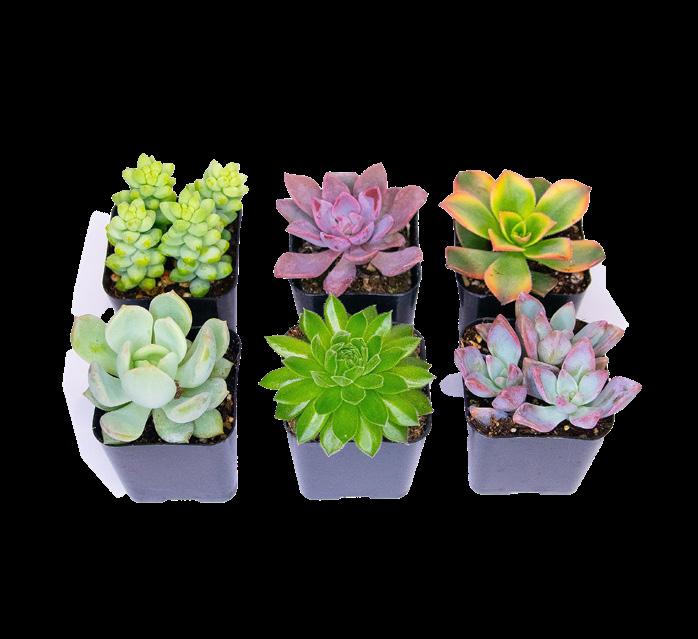
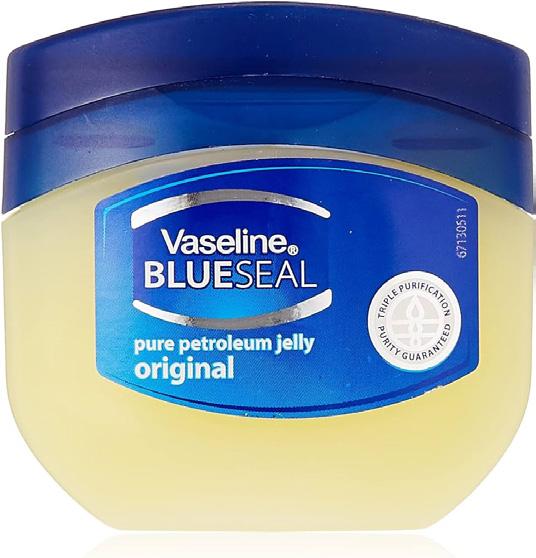
These are the materials needed to complete the fabrication process. Some items not shown that will be needed as well include:
• Cold Water
• Mixing Bucket
• Stirring Stick

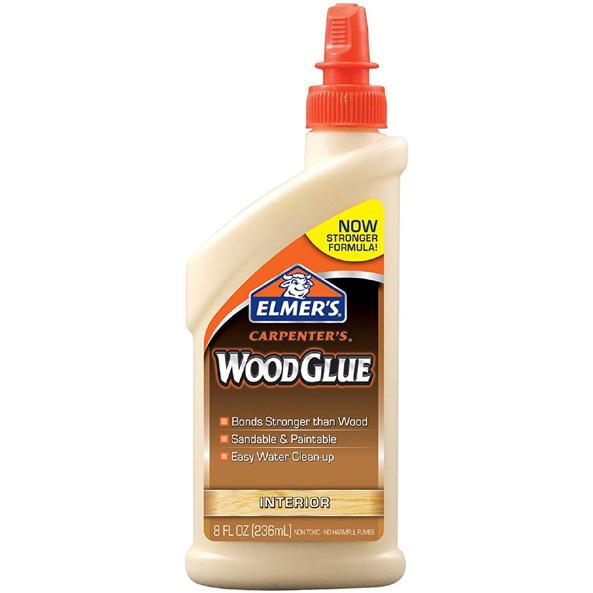
METHODOLOGY
PARTS & ASSEMBLY
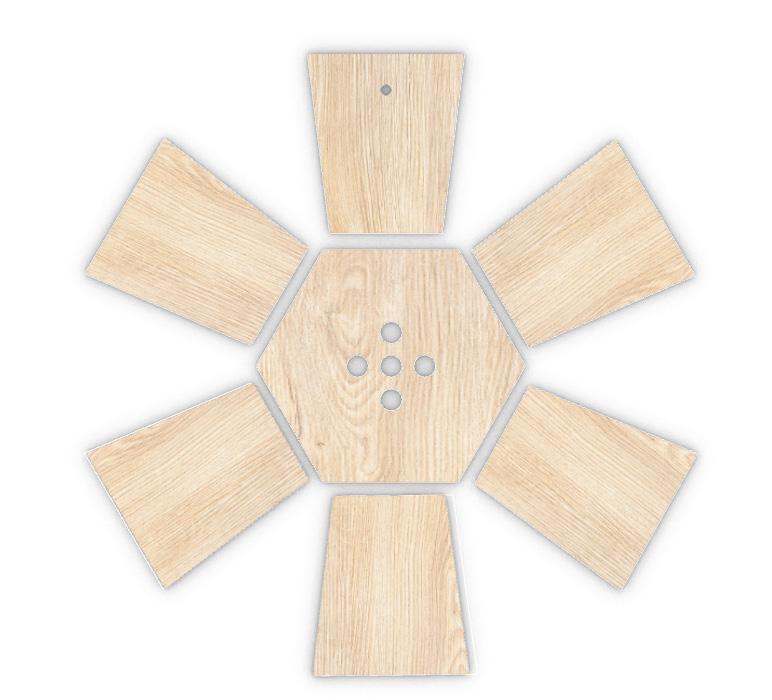
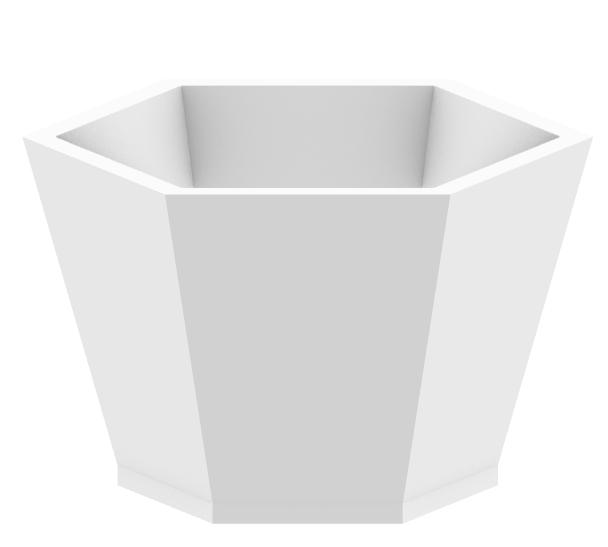
Pictured above is the assembly process of the molds and creating the walls. There are three separate molds (one for each angle) that are not shown. The pots are 2.5” wide by 3” tall, so they are on the smaller side, Step one is to get the wood pieces to make the molds and glue them together using wood glue. Secondly, measure to the correct length and glue in the wooden
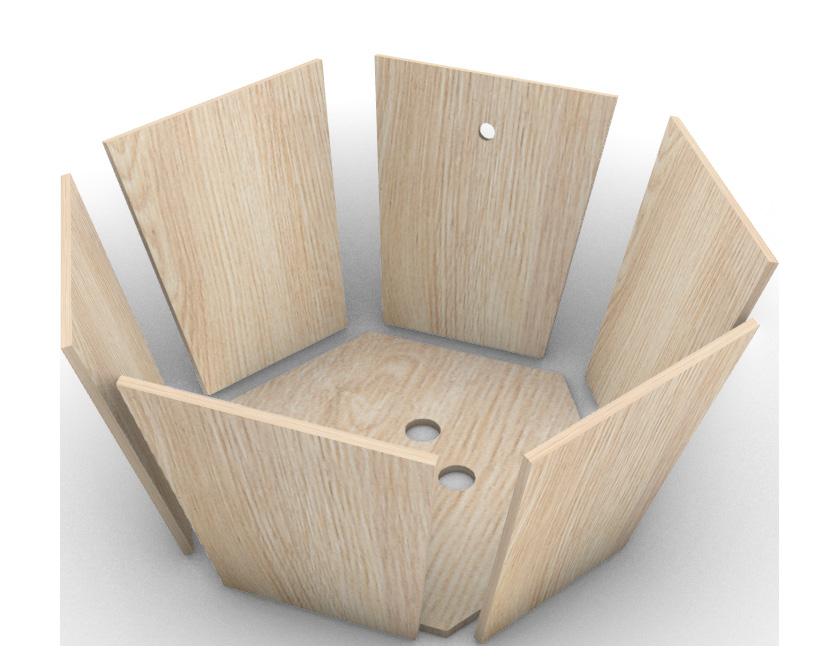
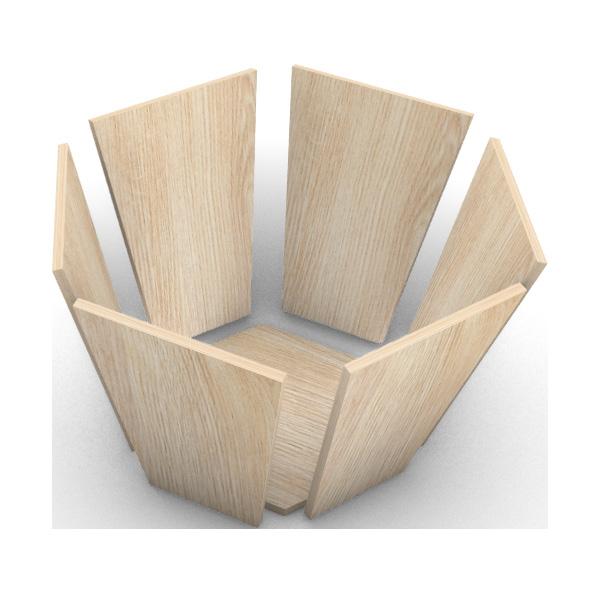
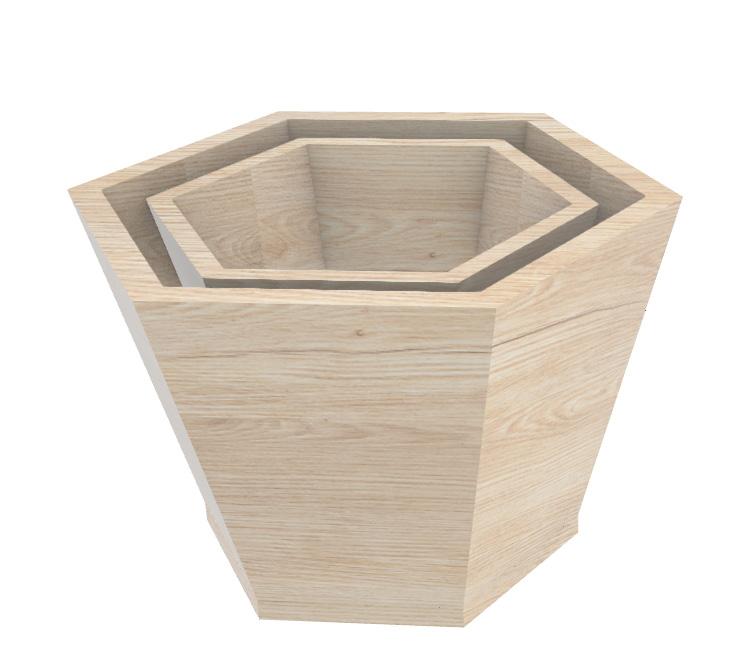
dowels to plug the holes before casting. Once the glue is dry, pour the plaster into the mold and push in the smaller mold. Placing a rubber band around will help keep the smaller mold in place. Once dried, remove the mold and let it sit for a few days to fully cure. Once cured connect the pots to the back “wall” using twine and wood glue. Once they are secured pot the succulents
and start tracking their healthiness.
1 - Diagram: Laser Cut Mold Parts
2 - Diagram: Laser Cut Main Mold Parts Assembling
3 - Diagram: Laser Cut Negative Mold Parts Assembling
4 - Diagram: Molds Placed in Each Other
5 - Diagram: Casted Mold Pot
6 - Diagram: Pots Connected to “Wall”
7 - Diagram: Final Product of Succulent Wall
INTRODUCTION
RESEARCH SPECIES
INVESTIGATION
DEVELOP RESERACH QUESTION
REVISE RESEARCH QUESTION
MATERIAL LIST
RESEARCH PAPER
MODEL TESTING
MODEL PRODUCTION
MONITORING GROWTH DOCUMENTING
FULL SCALE MODELING TEST DESIGN TESTING
SCAFFOLD ASSEMBLIES TIMELINE
This timeline shows the steps that will be taken over the next 9 weeks. There are foru major steps to my research which include research, investigating, testing and full scale model testing.
DESIGN DEVELOPMENT
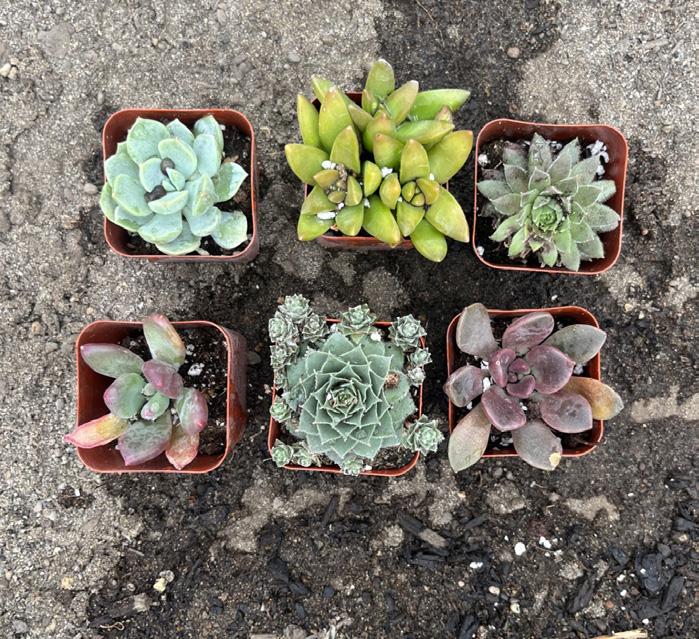
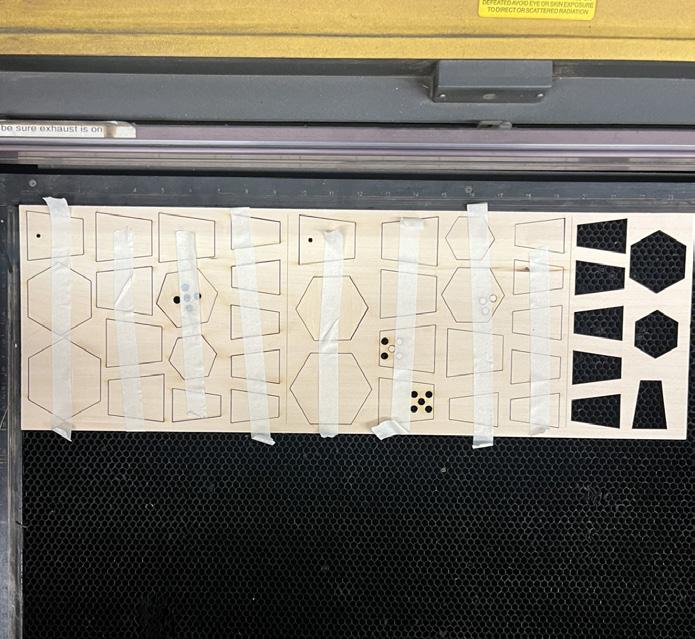
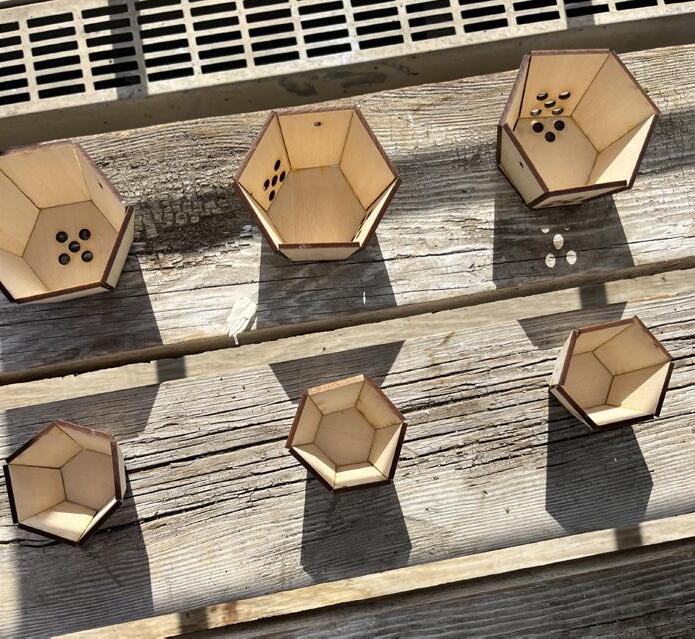
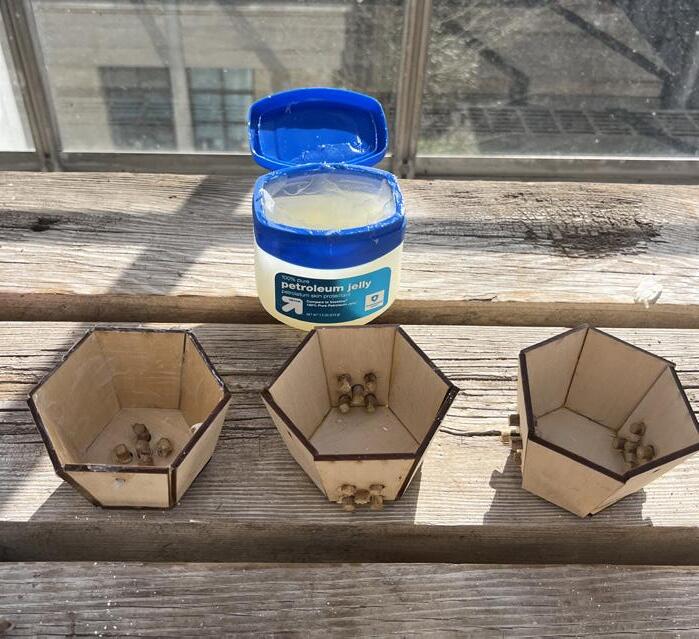
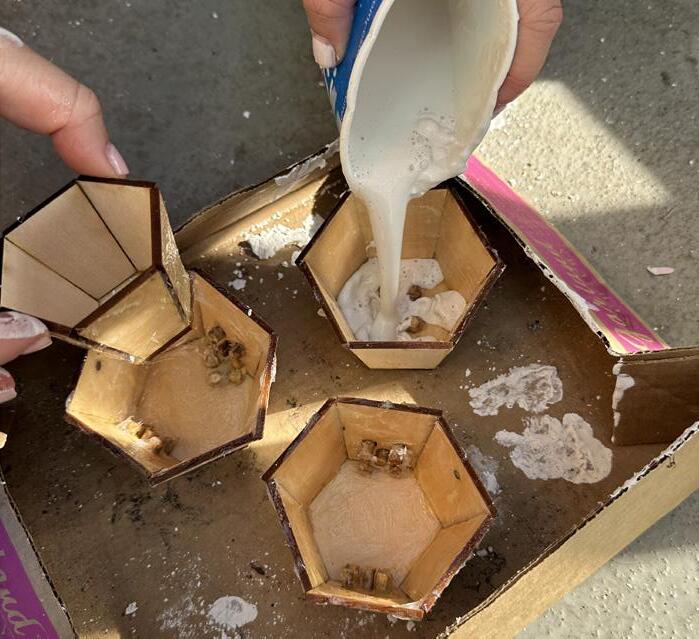
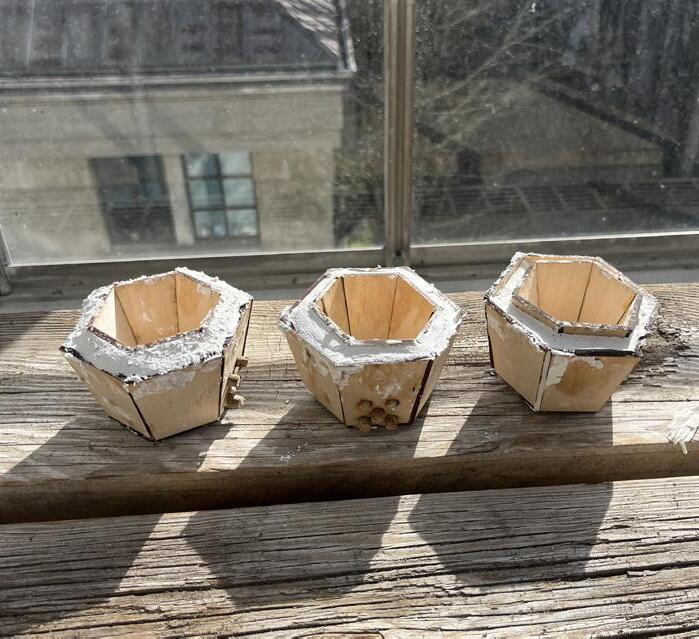
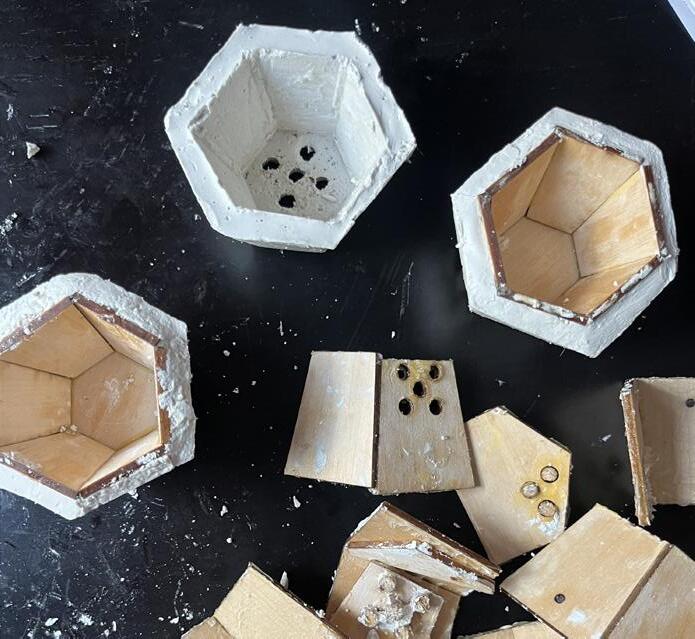
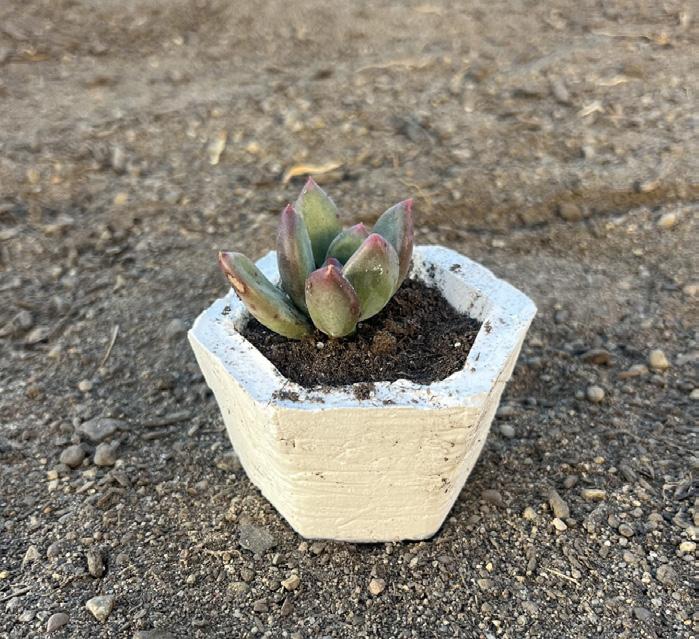
The images above is my progress up until week 7. I started my actual experiment a little late due to material arrival. To start off my fabrication process I needed to build molds so I could cast my pots. The main thing I took into consideration was the size of the succulents I got, which are a little less than 2” wide. After figuring out the measurements I laser cut wood and glued together
the pieces. I made the main mold and then a middle smaller piece which acted as the negative space. Before pouring the plaster into the mold I put petroleum jelly on the wood to help the release process. Once I got the right consistency of plaster, I poured it into the mold. At this moment it worked and there were no problems yet. After letting it sit for 1 hour, like the directions
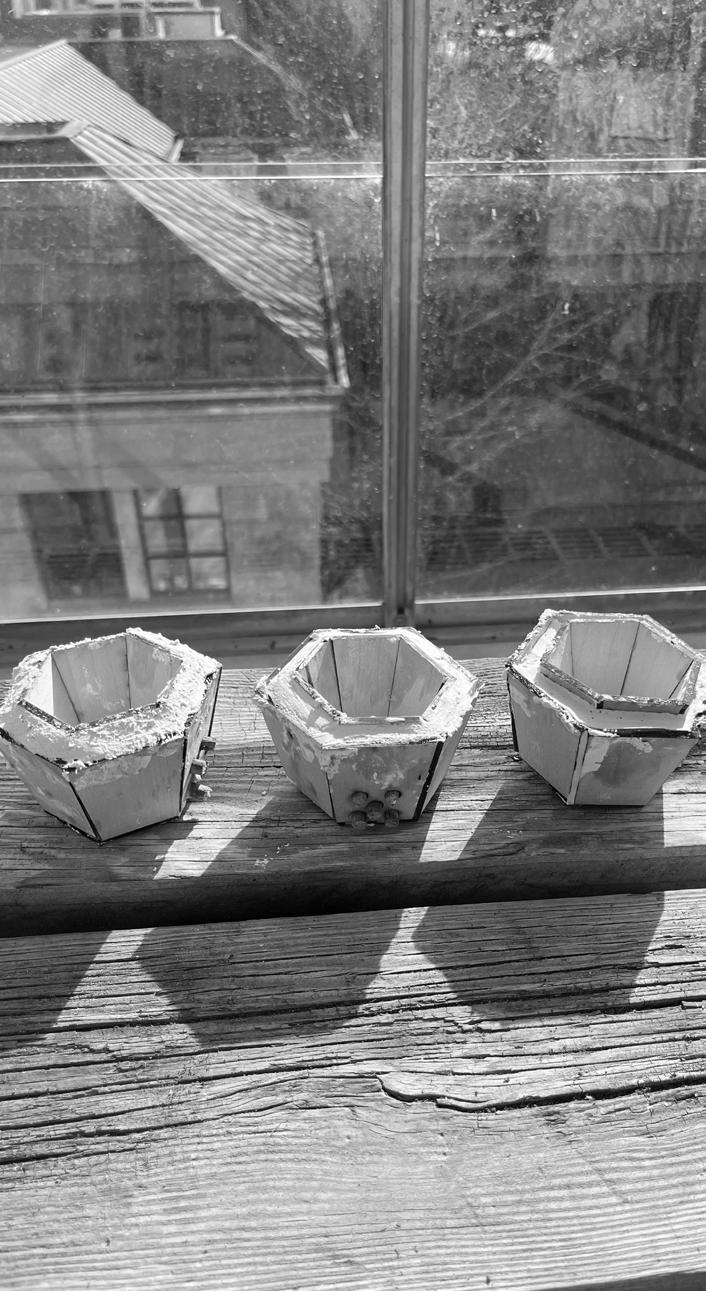
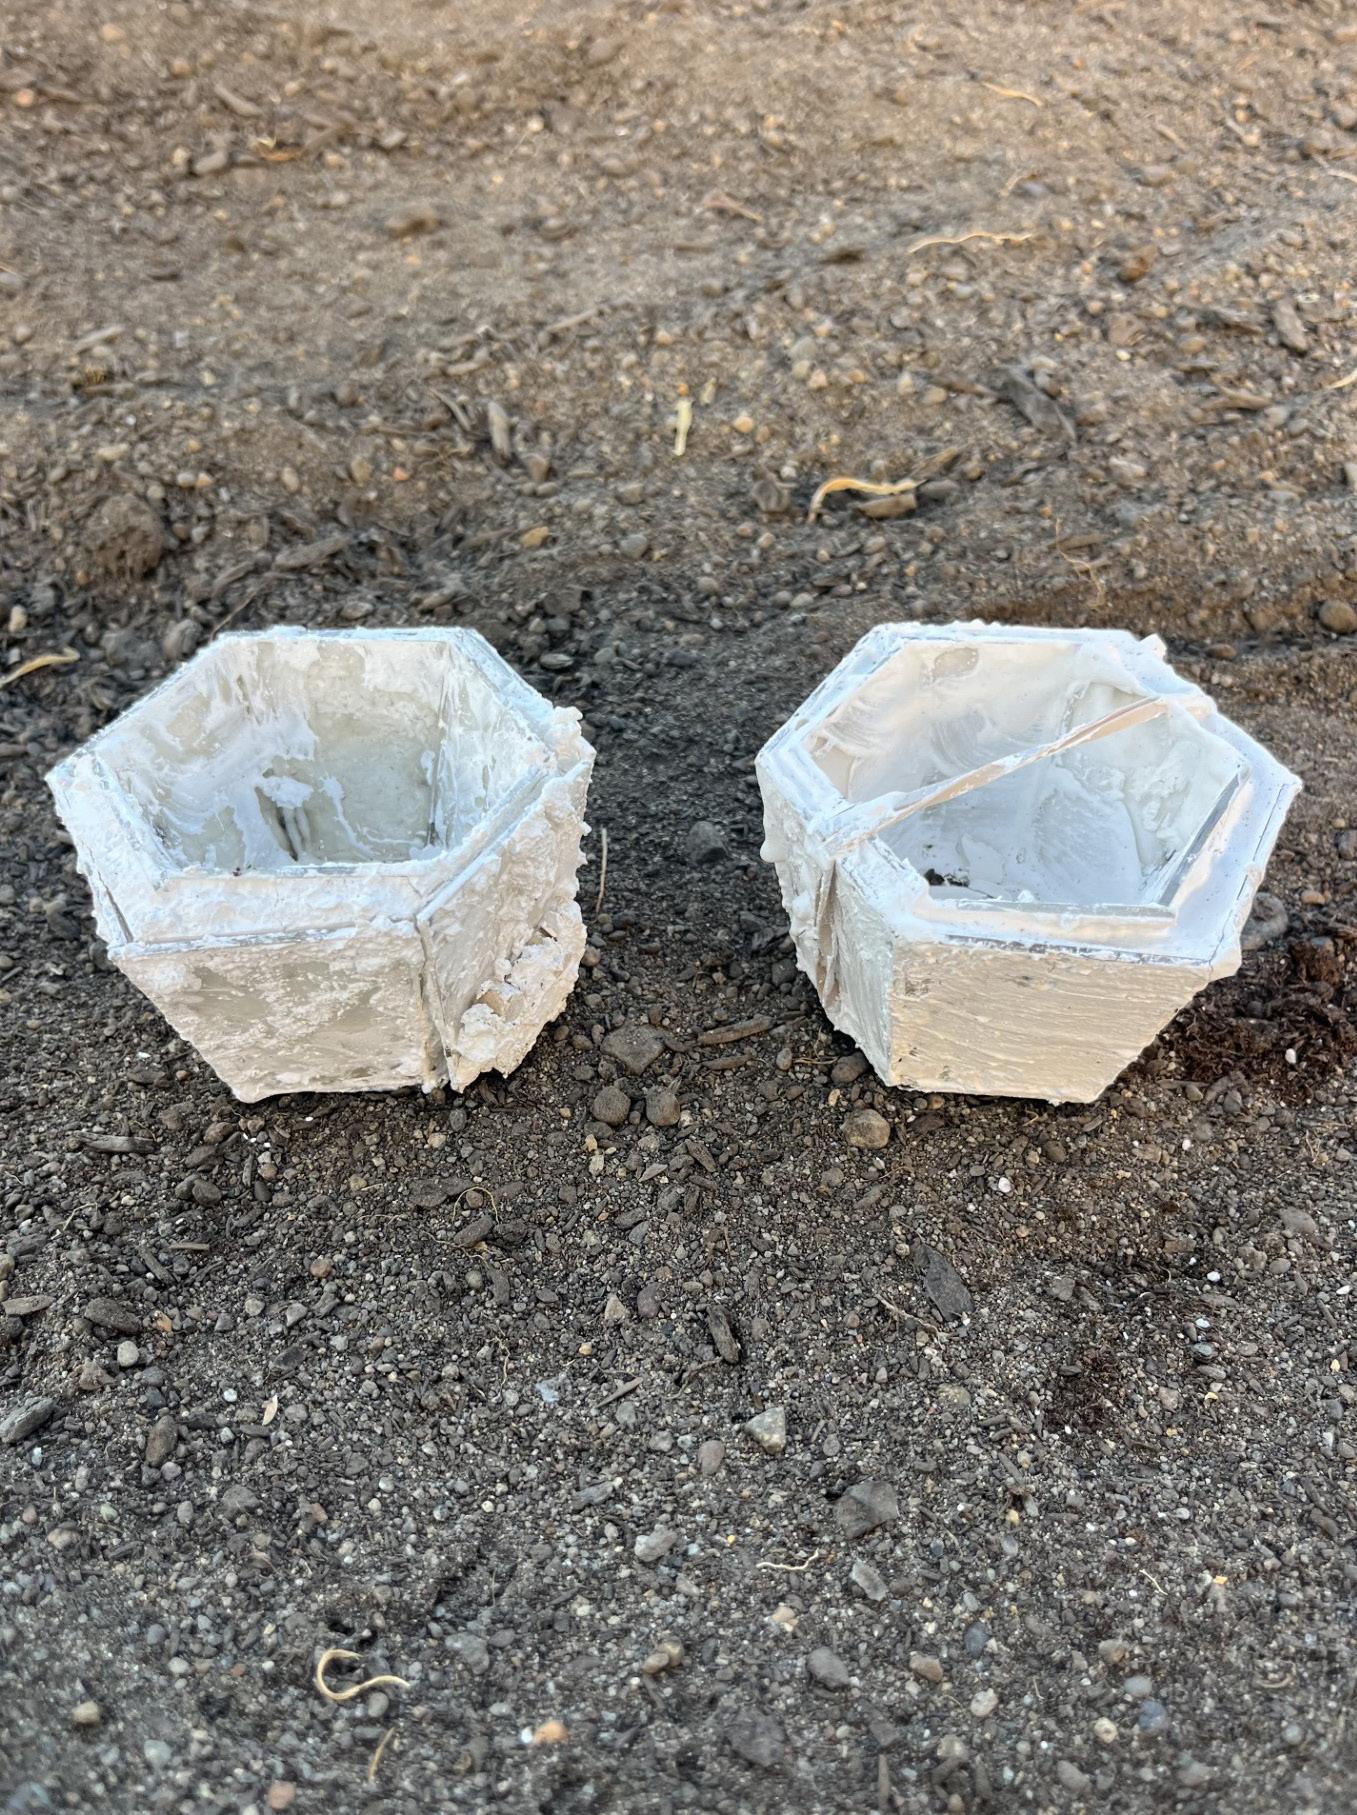
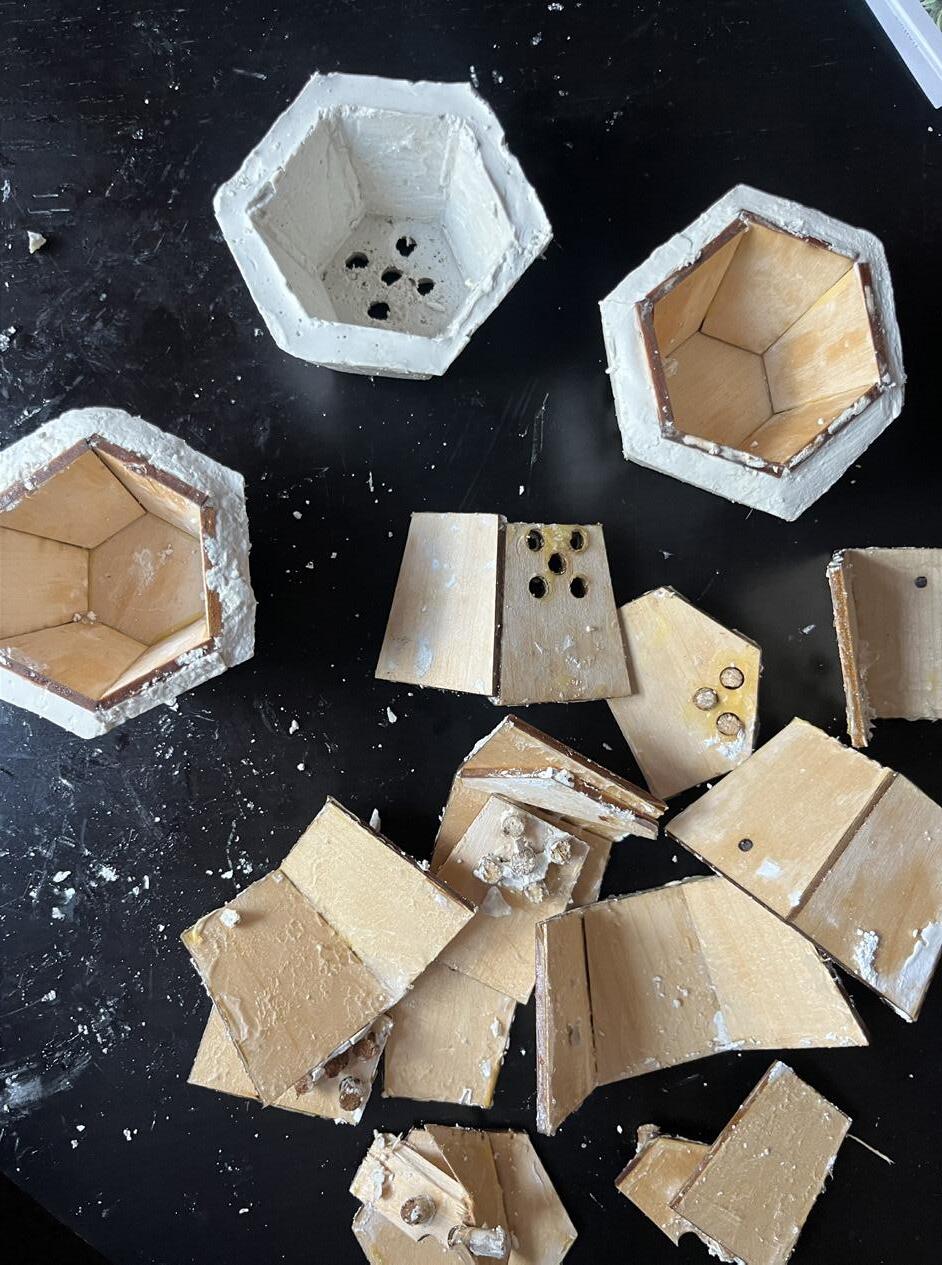
said, the release process did not go as planned. I couldn’t get the mold off/out without breaking the mold and the actual casted pot. Out of the three of them I got one to work successfully. The one I got to work sucessfully was the one that would be at a vertical angle, so I potted that one a few days later to let the mold fully cure. One thing I learned from the plaster was that it did not
like when it got wet again. Maybe it was that it was not fully cured, but at this point I decided to rethink my mold and the materials used.
1 - Picture: Succulent Purchased
2 - Picture: Laser Cut Mold Parts
3 - Picture: Assemble Molds
4 - Picture: Prepare Molds for Casting
5 - Picture: Casting Mold Pots
6 - Picture: Drying of Mold Pots
7 - Picture: Unsucessful Casting of Pots
8 - Picture: One Sucessful Casted Pot
DESIGN DEVELOPMENT
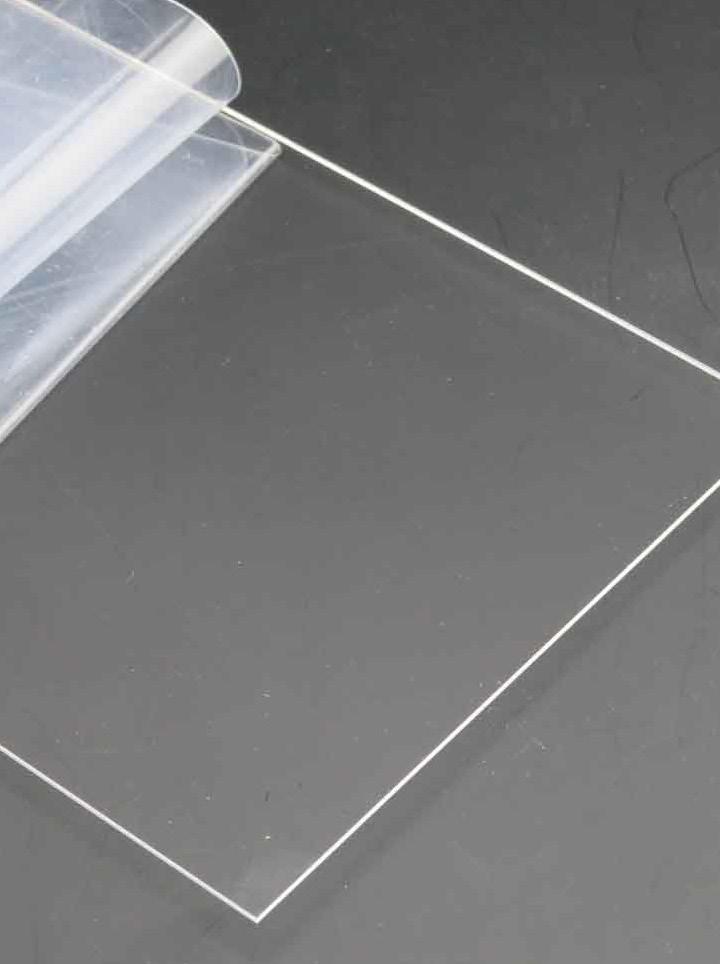
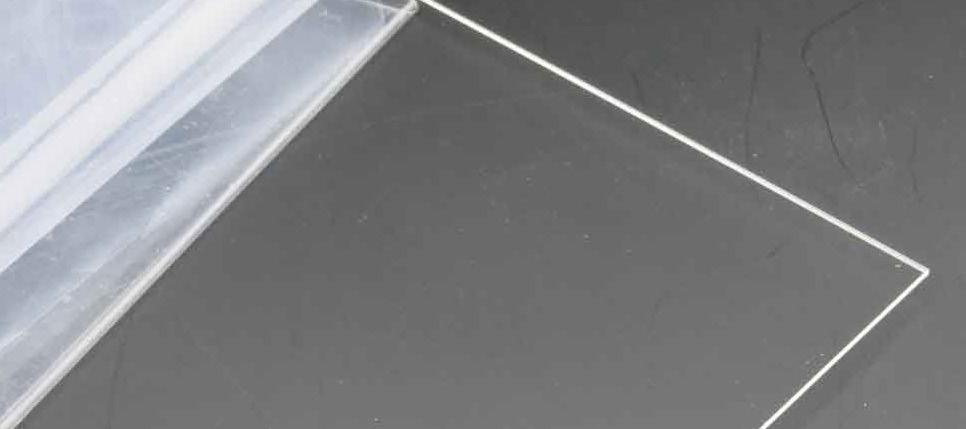
After my unsuccessful first try of casting my molds, I decided to try again using a different material for the molds. This time I used acrylic instead of wood. Some additional materials needed at this point were acrylic, sheets, and superglue. I did the same process of laser cutting the acrylic and gluing the pieces together. After letting it sit for a day, I put Vaseline on the acrylic and tried
casting again. Once again, I was unsuccessful. I think my water to plaster ratio was off, and my molds were pretty small which made it more difficult. I could get the acrylic off, but the plaster cracked a lot easier than it did with the wood. Another problem I seemed to not be able to solve was being able to keep the drainage holes in the molds. Even though I plugged them with the
wooden dowels, the plaster would leak out. At this point, I knew I had to use my backup plan I had already come up.
DESIGN DEVELOPMENT
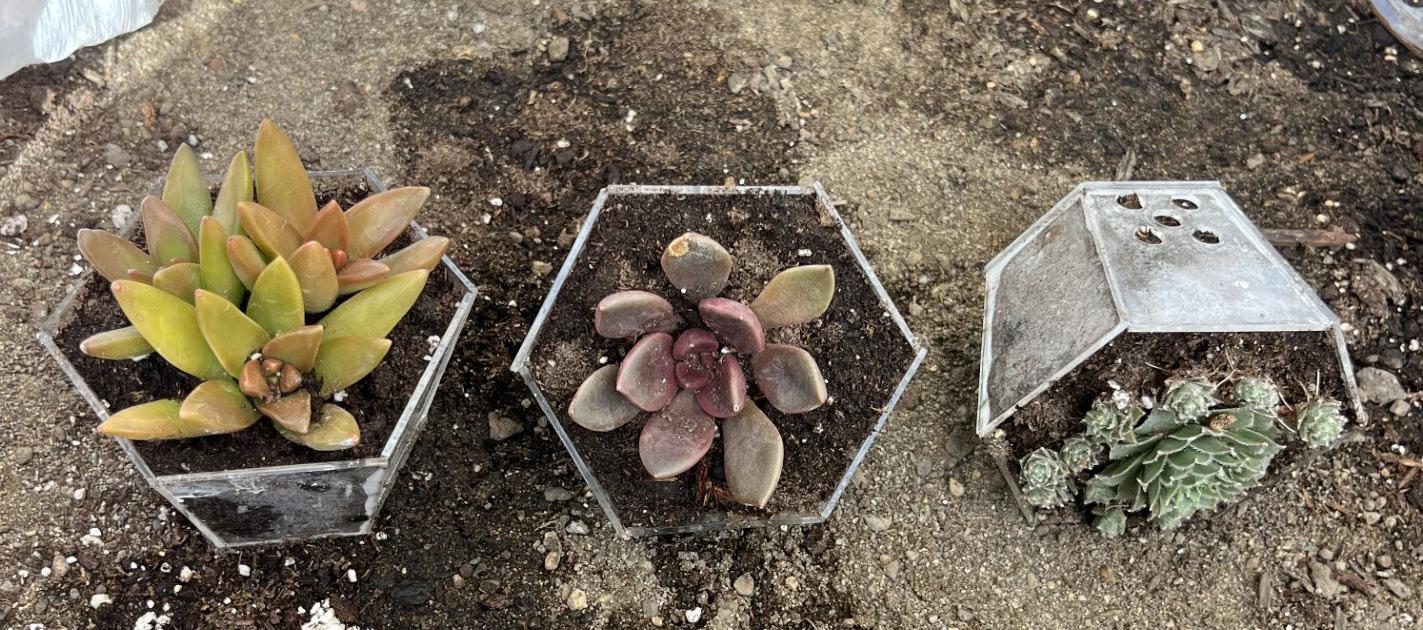
Before I even laser cut the acrylic for the molds, I knew I had to have another back up plan just in case the casting with the acrylic didn’t work out which is in fact what happened. I came up with using acrylic for the pot itself, since it is plastic and durable enough to hold a plant. So when I laser cut the acrylic for the molds, I also cut one extra of every piece to use to build these
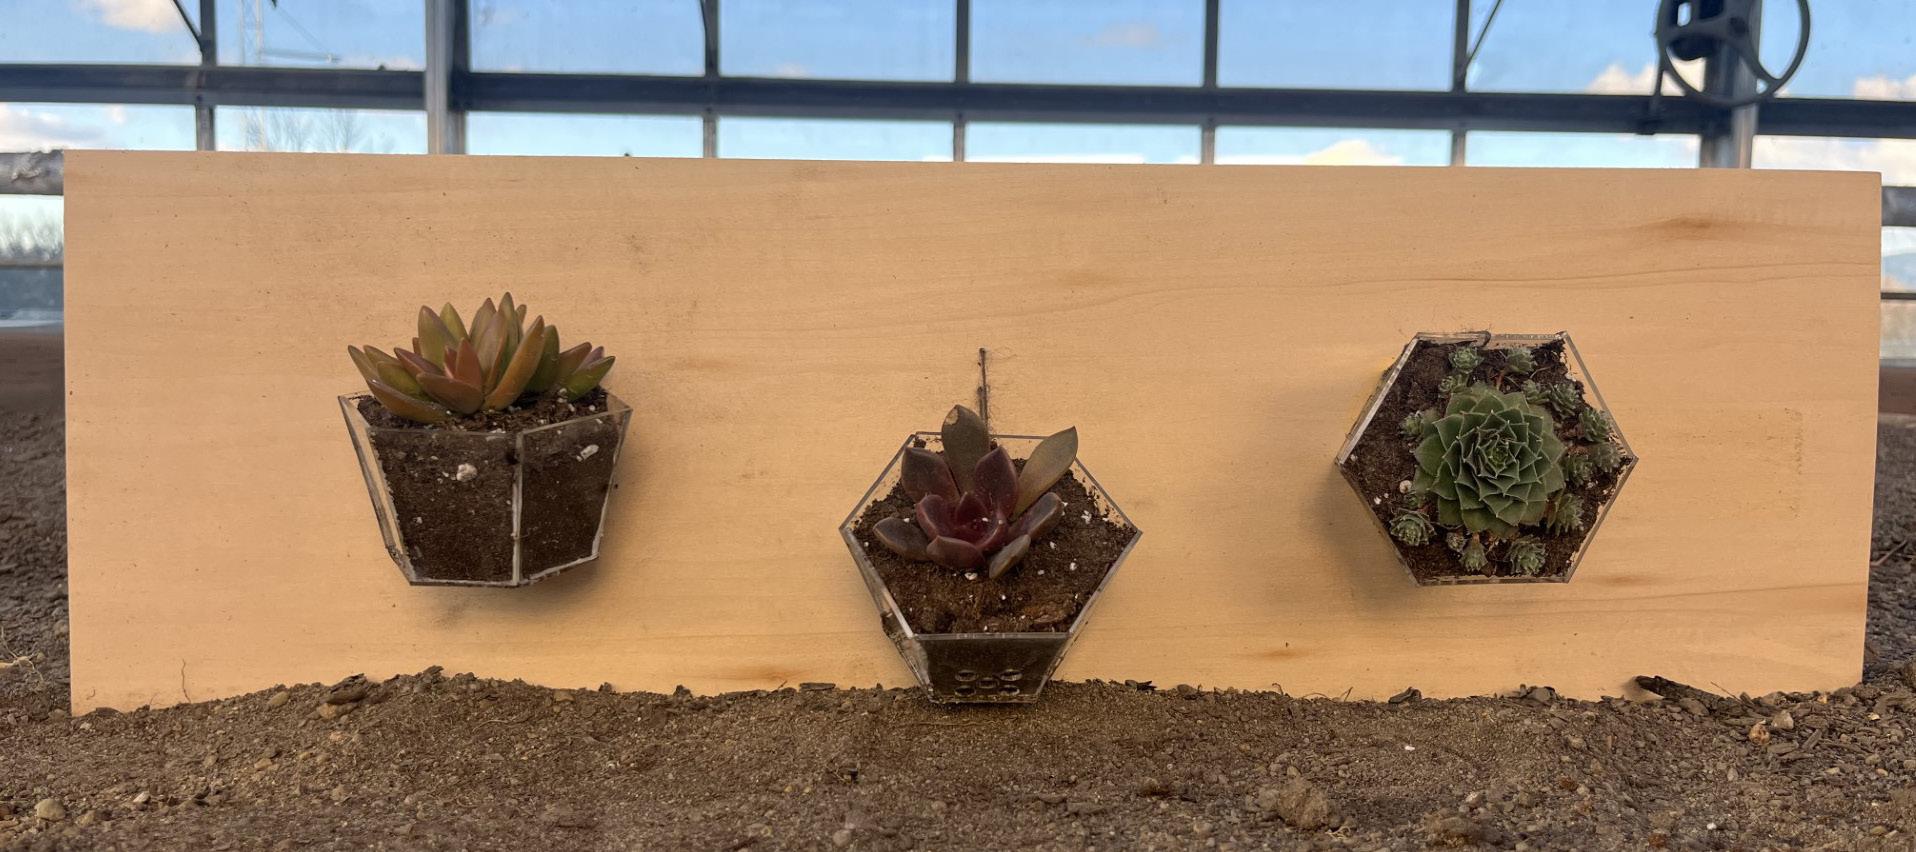
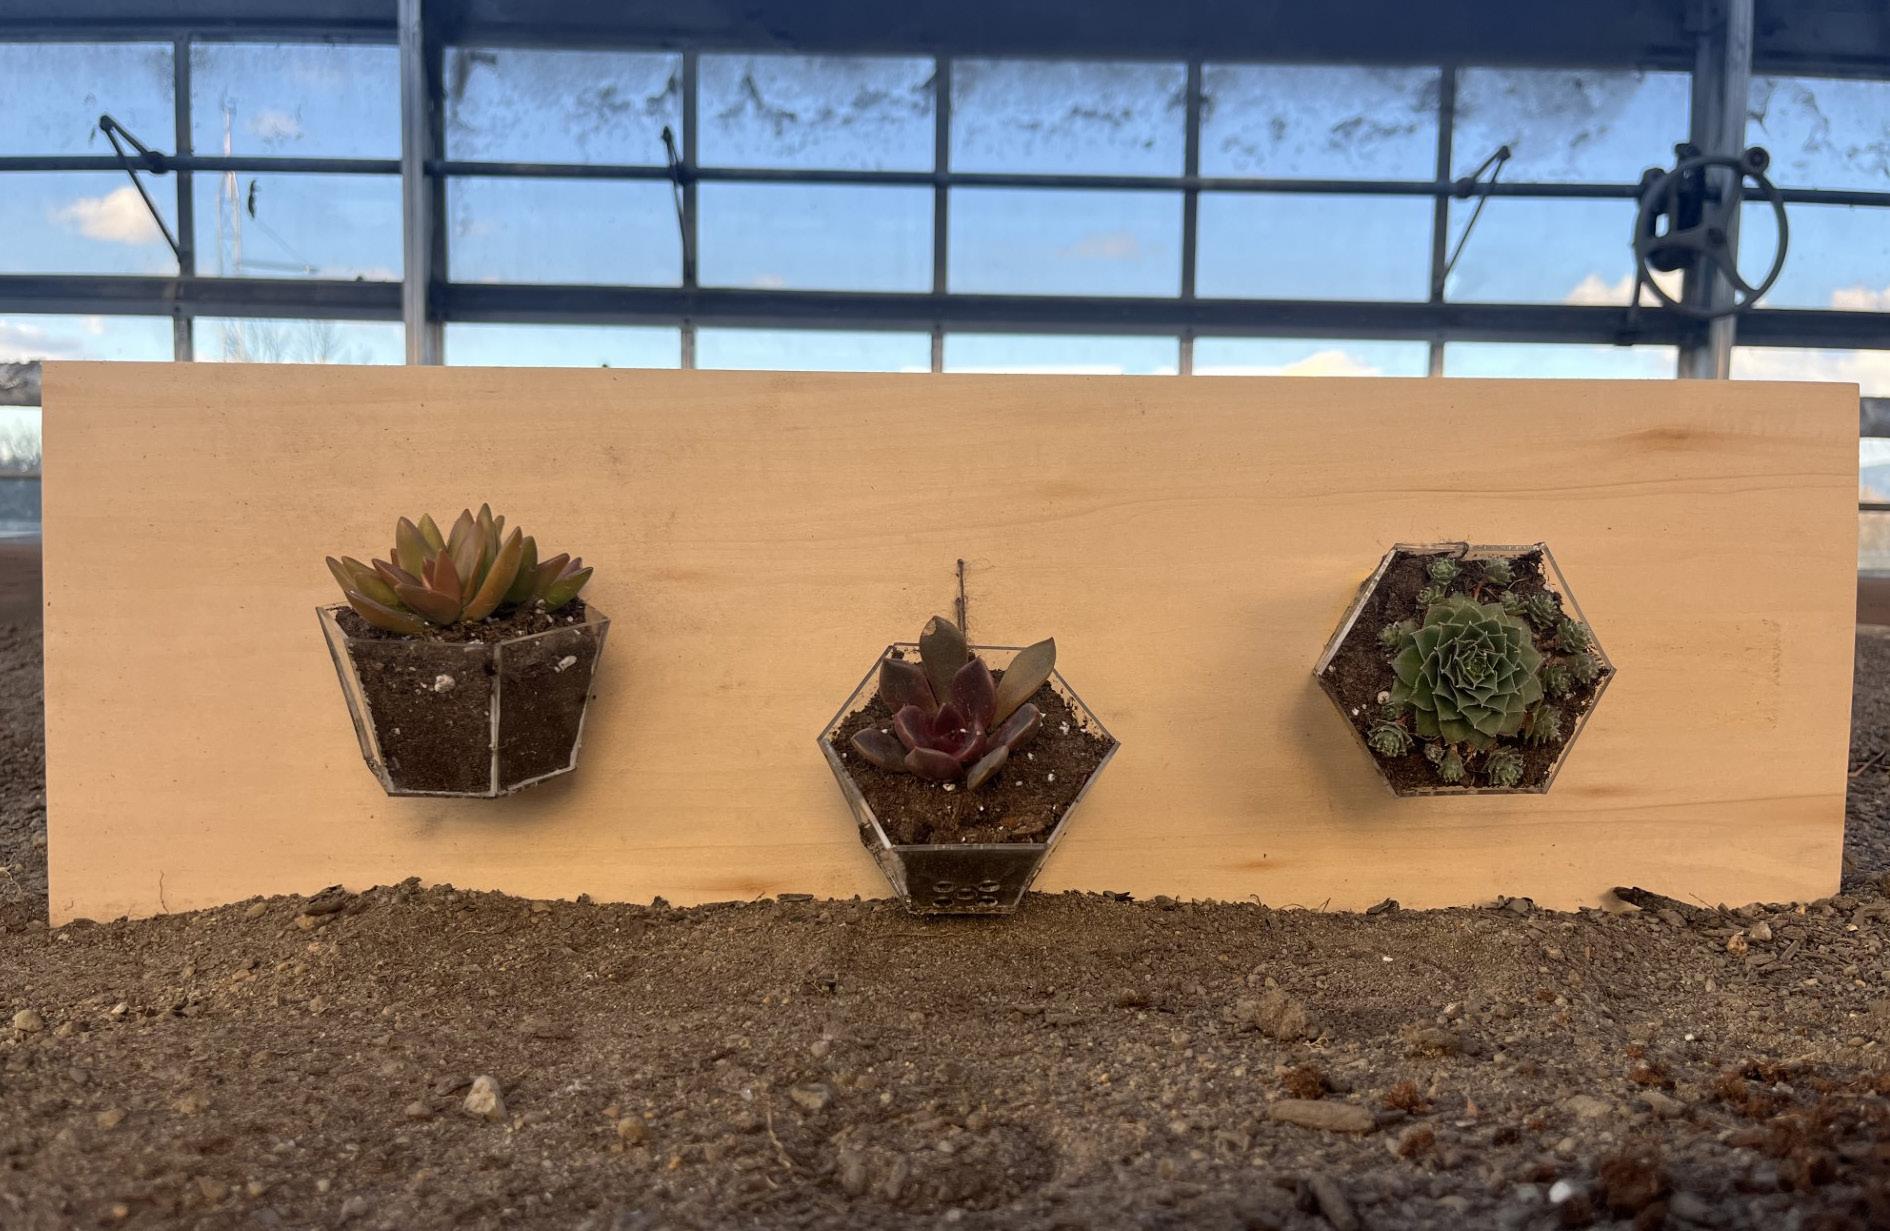
pots. Some additional materials needed at this point were acrylic sheets, and superglue. Once the pots were glued together, I planted the succulents and placed them in the dirt in the greenhouse at their designated angle for a couple of days before I attached them to the “wall.” I attached them to a sheet of wood using twine and looped it through two holes that I drilled into
the wood sheet and back through a hole in the acrylic pot. I used glue to help support and hold the angle that the pot should be placed at. The succulents have only been placed on the “wall” for about 2 1/2 days due to all the errors throughout the project. This has caused me not to get as much data as I would like, but from what I have noticed, watering the pot at 45° angle and the
horizontal one is most difficult. The dirt has also struggled to stay in due to succulents not needing that much water so it dries out.
LESSONS LEARNED
Unfortunately, due to some unexpected factors, I was unable to be as successful as I thought I was going to be by the end of this course. Some of the factors included one week of no class due to weather, personal illness, shipping delays and error casting my pots. I had all my materials needed, so I thought, to be successful, but it did not go specifically as planned.
Making my mold was fine, but when it came to casting the actual mold I was unsuccessful. I could not get my pot out of the mold sucessfully without breaking the pot. More research around casting could have been done on my part to possibly be more successful and achieve this step in my whole process. Even though the original idea of having a casted pot did not
work out, acrylic was another great alternative. The hardest part when it came to the acrylic was getting it to stick together. With that being said it allowed me to have the drainage holes where I wanted and easily water the succulents without having the casted pots react due to them getting wet. Overall the acrylic worked out in the end.
- Picture: Unsucessful Casting of Pots
FUTURE DEVELOPMENT
Overall, I think my project could have been more successful if I had more time. In the end, I think the acrylic worked out well and will hold up better compared to plaster pots. I think the next step I would take would be to add a material like chicken wire, or mesh to help prevent the soil from falling out. I would also start testing the soil and get an accurate need for when
watering is needed. I would test it every day based on the moisture level in the soil. This would help lead me to being able to start developing an irrigation system. In conclusion, I really enjoyed this process since it is something I’ve never done before and a lot of my work was trial and error, next time I would take everything I learned and would hopefully be more successful.
1 - Picture: Picture: Final Prototype, Acrylic Pots on Wall
MATERIAL LIST LINKS:
SUCCULENTS
https://www.homedepot. com/p/SMART-PLANET-2INEasy-Care-Live-Succulent-6Pack-0881173/315106742
POTTING SOIL
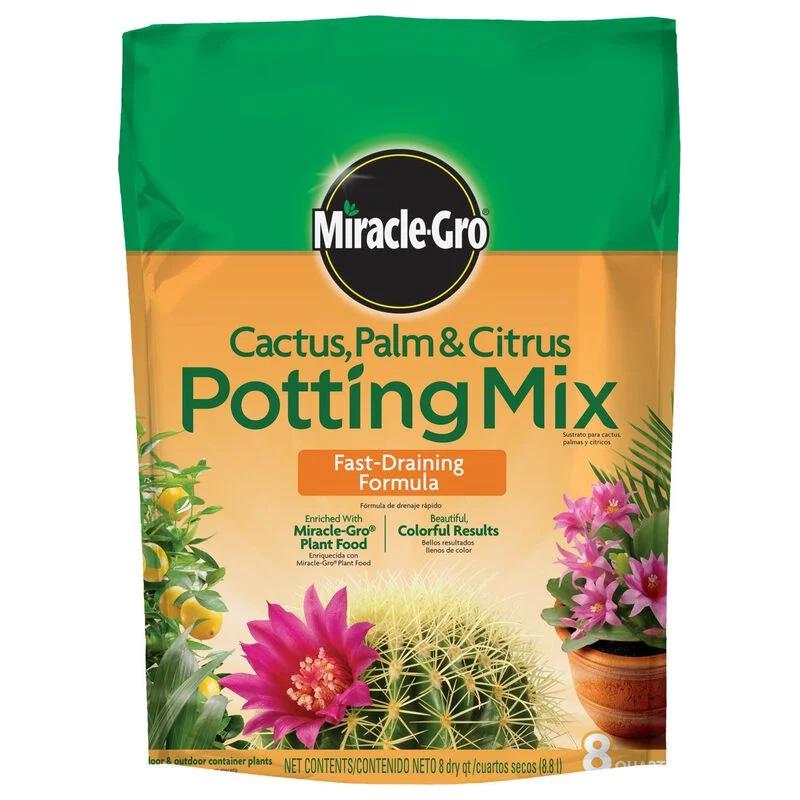
https://www.walmart.com/ip/
Miracle-Gro-Cactus-Palm-CitrusSoil-Great-for-Succulents-8qt/34621226
PLYWOOD
https://www.joann.com/
midwest-products-12in-x12in-plywood-sheet/10177657. html?utm_source=google&utm_ medium=organicshopping
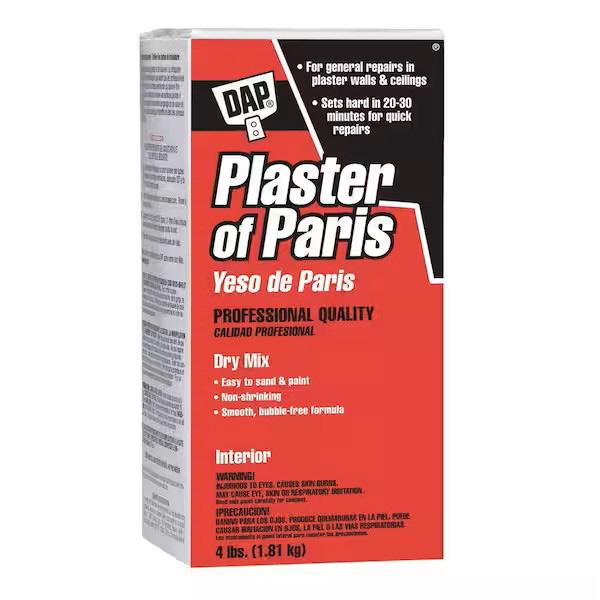
PLASTER
https://www.walmart.com/ip/DAP10319-White-4-lb-Plaster-of-ParisDry-Mix/190101660?wmlspartner= wlpa&selectedSellerId=101523876
VASELINE
https://www.target.com/p/ vaseline-original-unscentedpetroleum-jelly-1-75oz/-/A12980616?sid=612S&ref=tgt_adv_
WOODEN DOWELS
Purchased at Duck Store
SOURCES FROM RESEARCH:
HOTEL USH - IBIZA
https://www.urbanarbolismo.es/ blog/jardin-vertical-en-ibiza-2/
PACIFICA SUCCULENT WALL
https://blog.growup.green/blogs/ succulent-living-wall-exceedsexpectations
https://blog.growup.green/blogs/ growupdates/how-does-thegrowup-irrigation-system-work
WOOD GLUE
Provided in woodshop
TWINE
Already had, no purchase necessary
WALLY GROW LIVE BACKDROPS - DIY
https://wallygrow.com/blogs/ feature/wedding-backdrop-wall
https://wallygrow.com/collections/ eco-wall-planter/products/ecoolive-wall-planter

